Let’s get back to quilty clothing!!!
And it’s going to be soooo easy with the AccuQuilt Bucket Hat Die and a bit of a trick I’m going to share with you here.
Let’s look at your supply list.
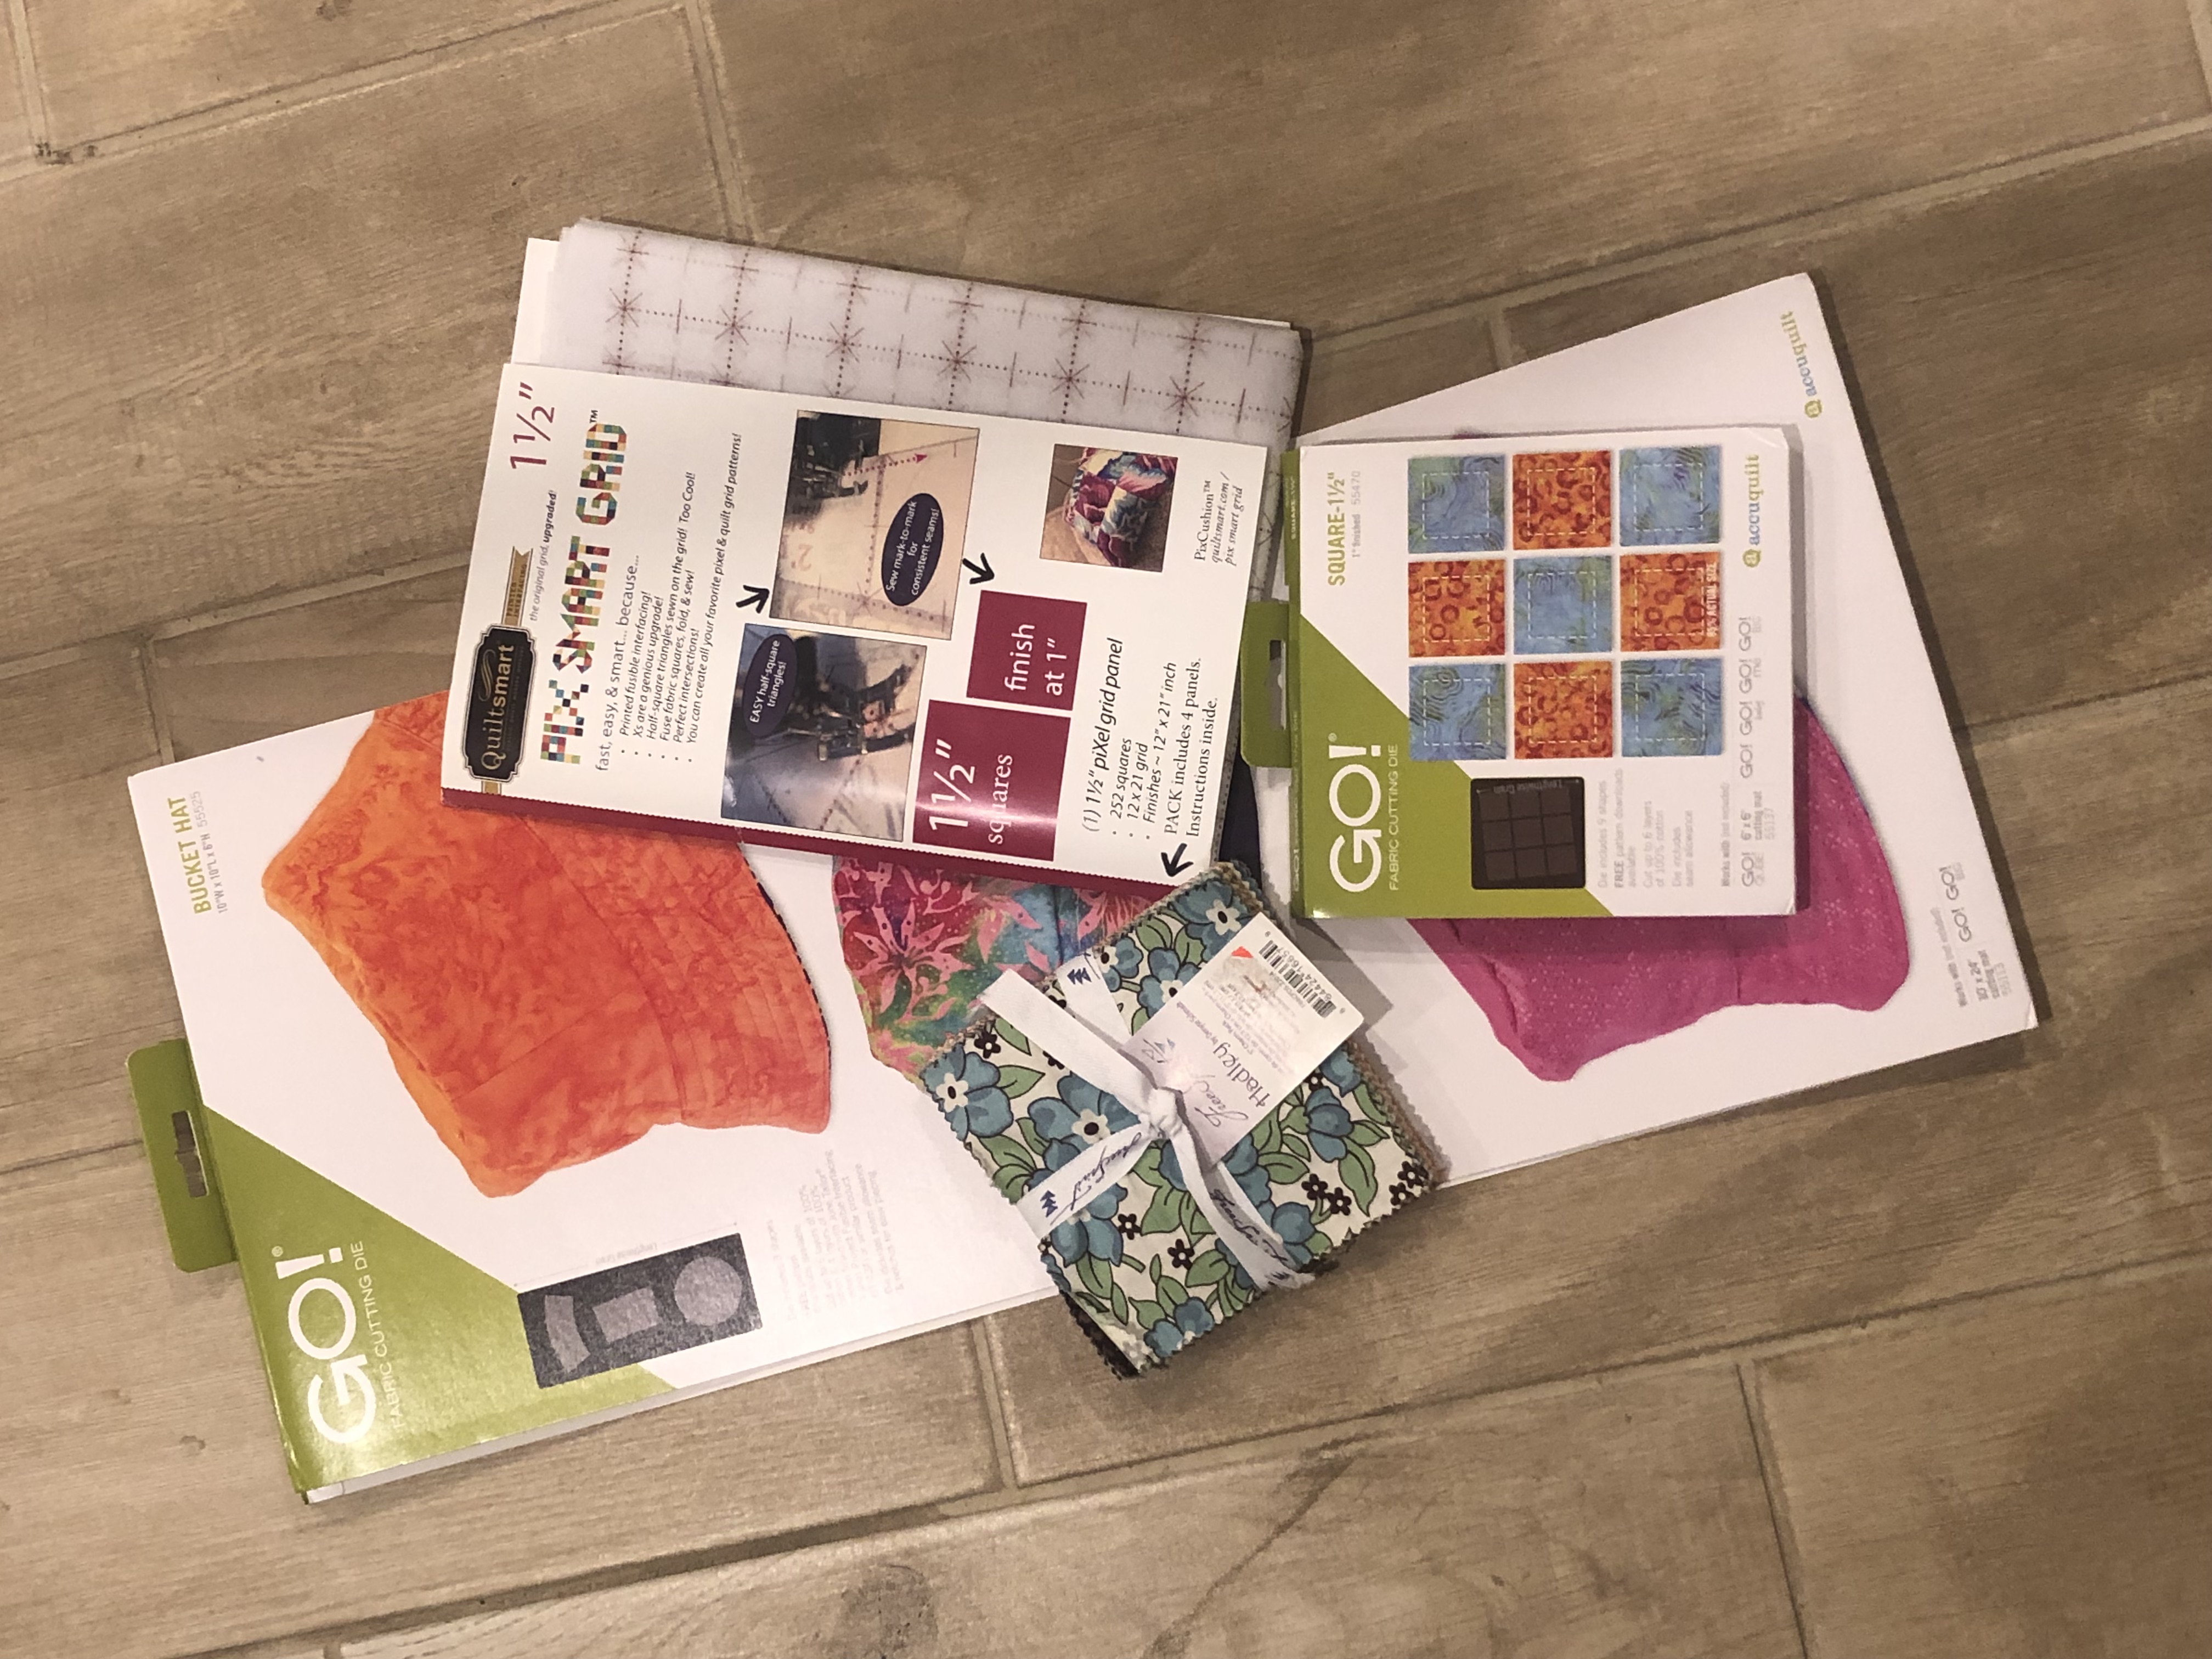
You will need
GO! Square 1 1/2″ (1″ finished) Die
Thirty-Nine 5″ squares (or just one Charm Pack)
1/3 yards of lining
Fusible interfacing. Now HERE is my little trick. I am using Pix Smart Grid 1 1/2″ by Quiltsmart. Its going to do double duty interfacing AND quilting. You don’t need any other interfacing for the project.
Let’s get started.
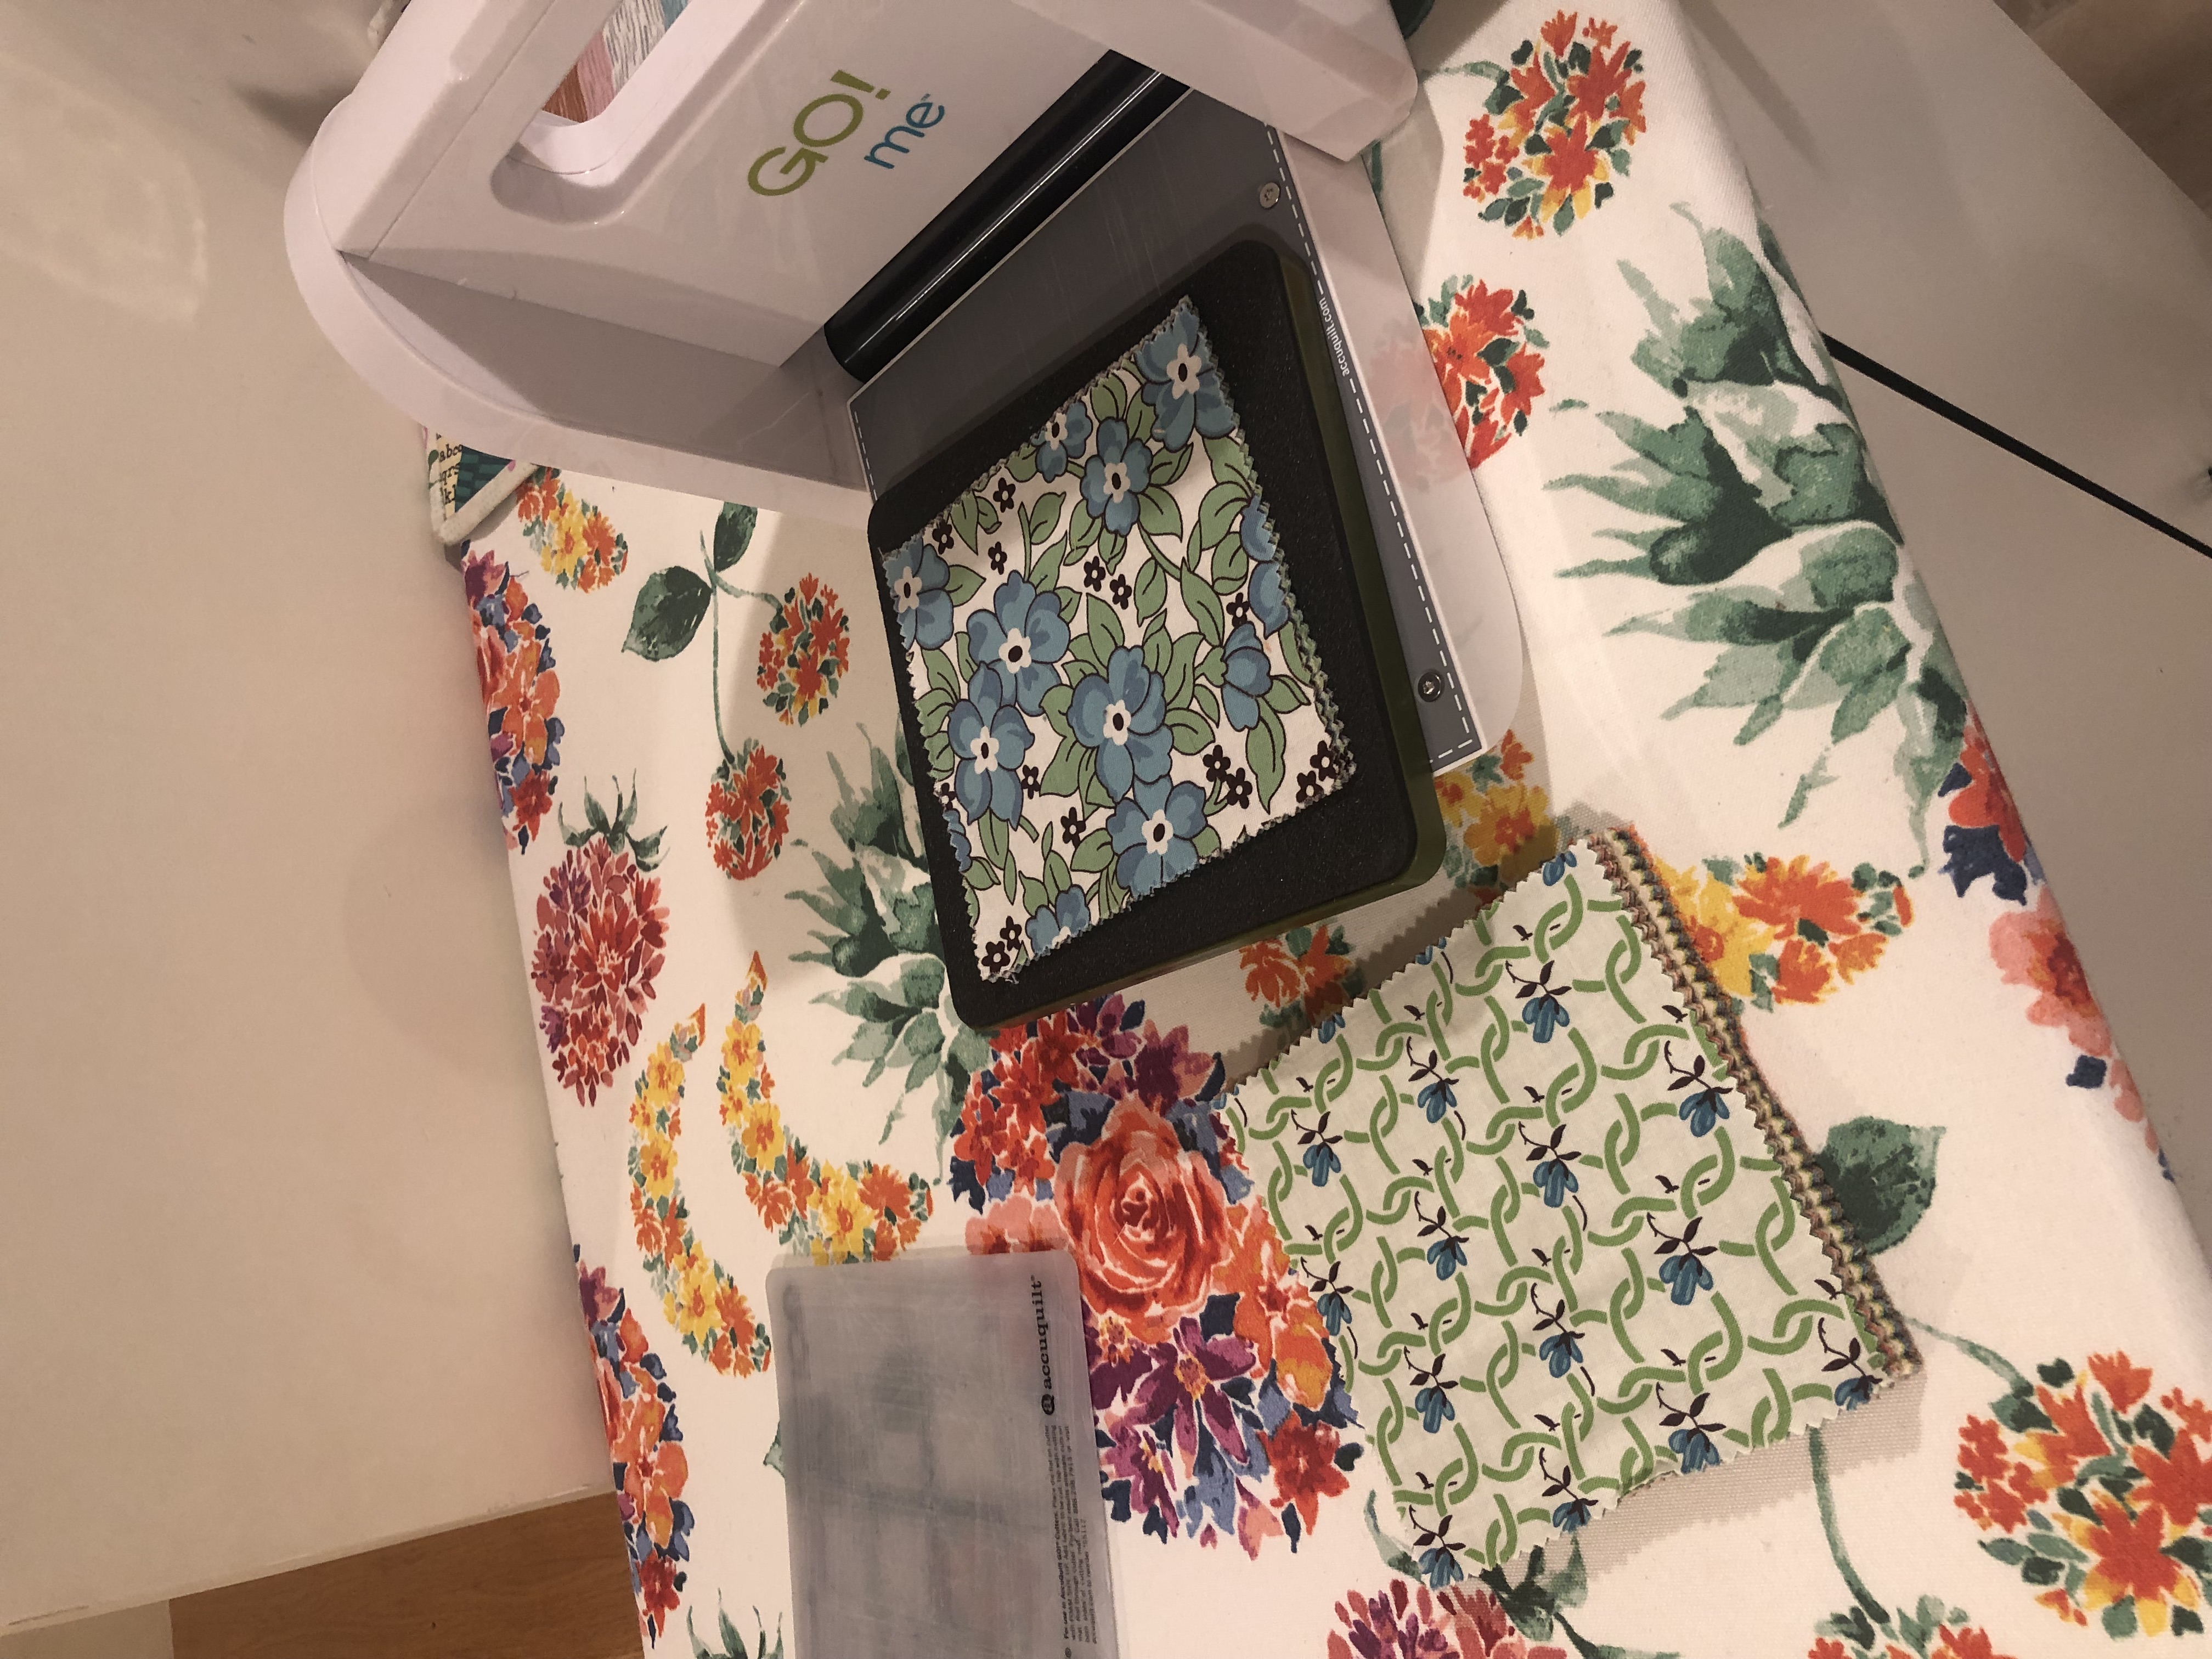
First – Cut those Squares!!!! You can layer SIX 5″ squares on the die and pass it through any of the AccuQuilt Cutters. I used the GO! Me since I like to do some of my work sitting in front of a TV and it is easy to just grab and go with this cutter.
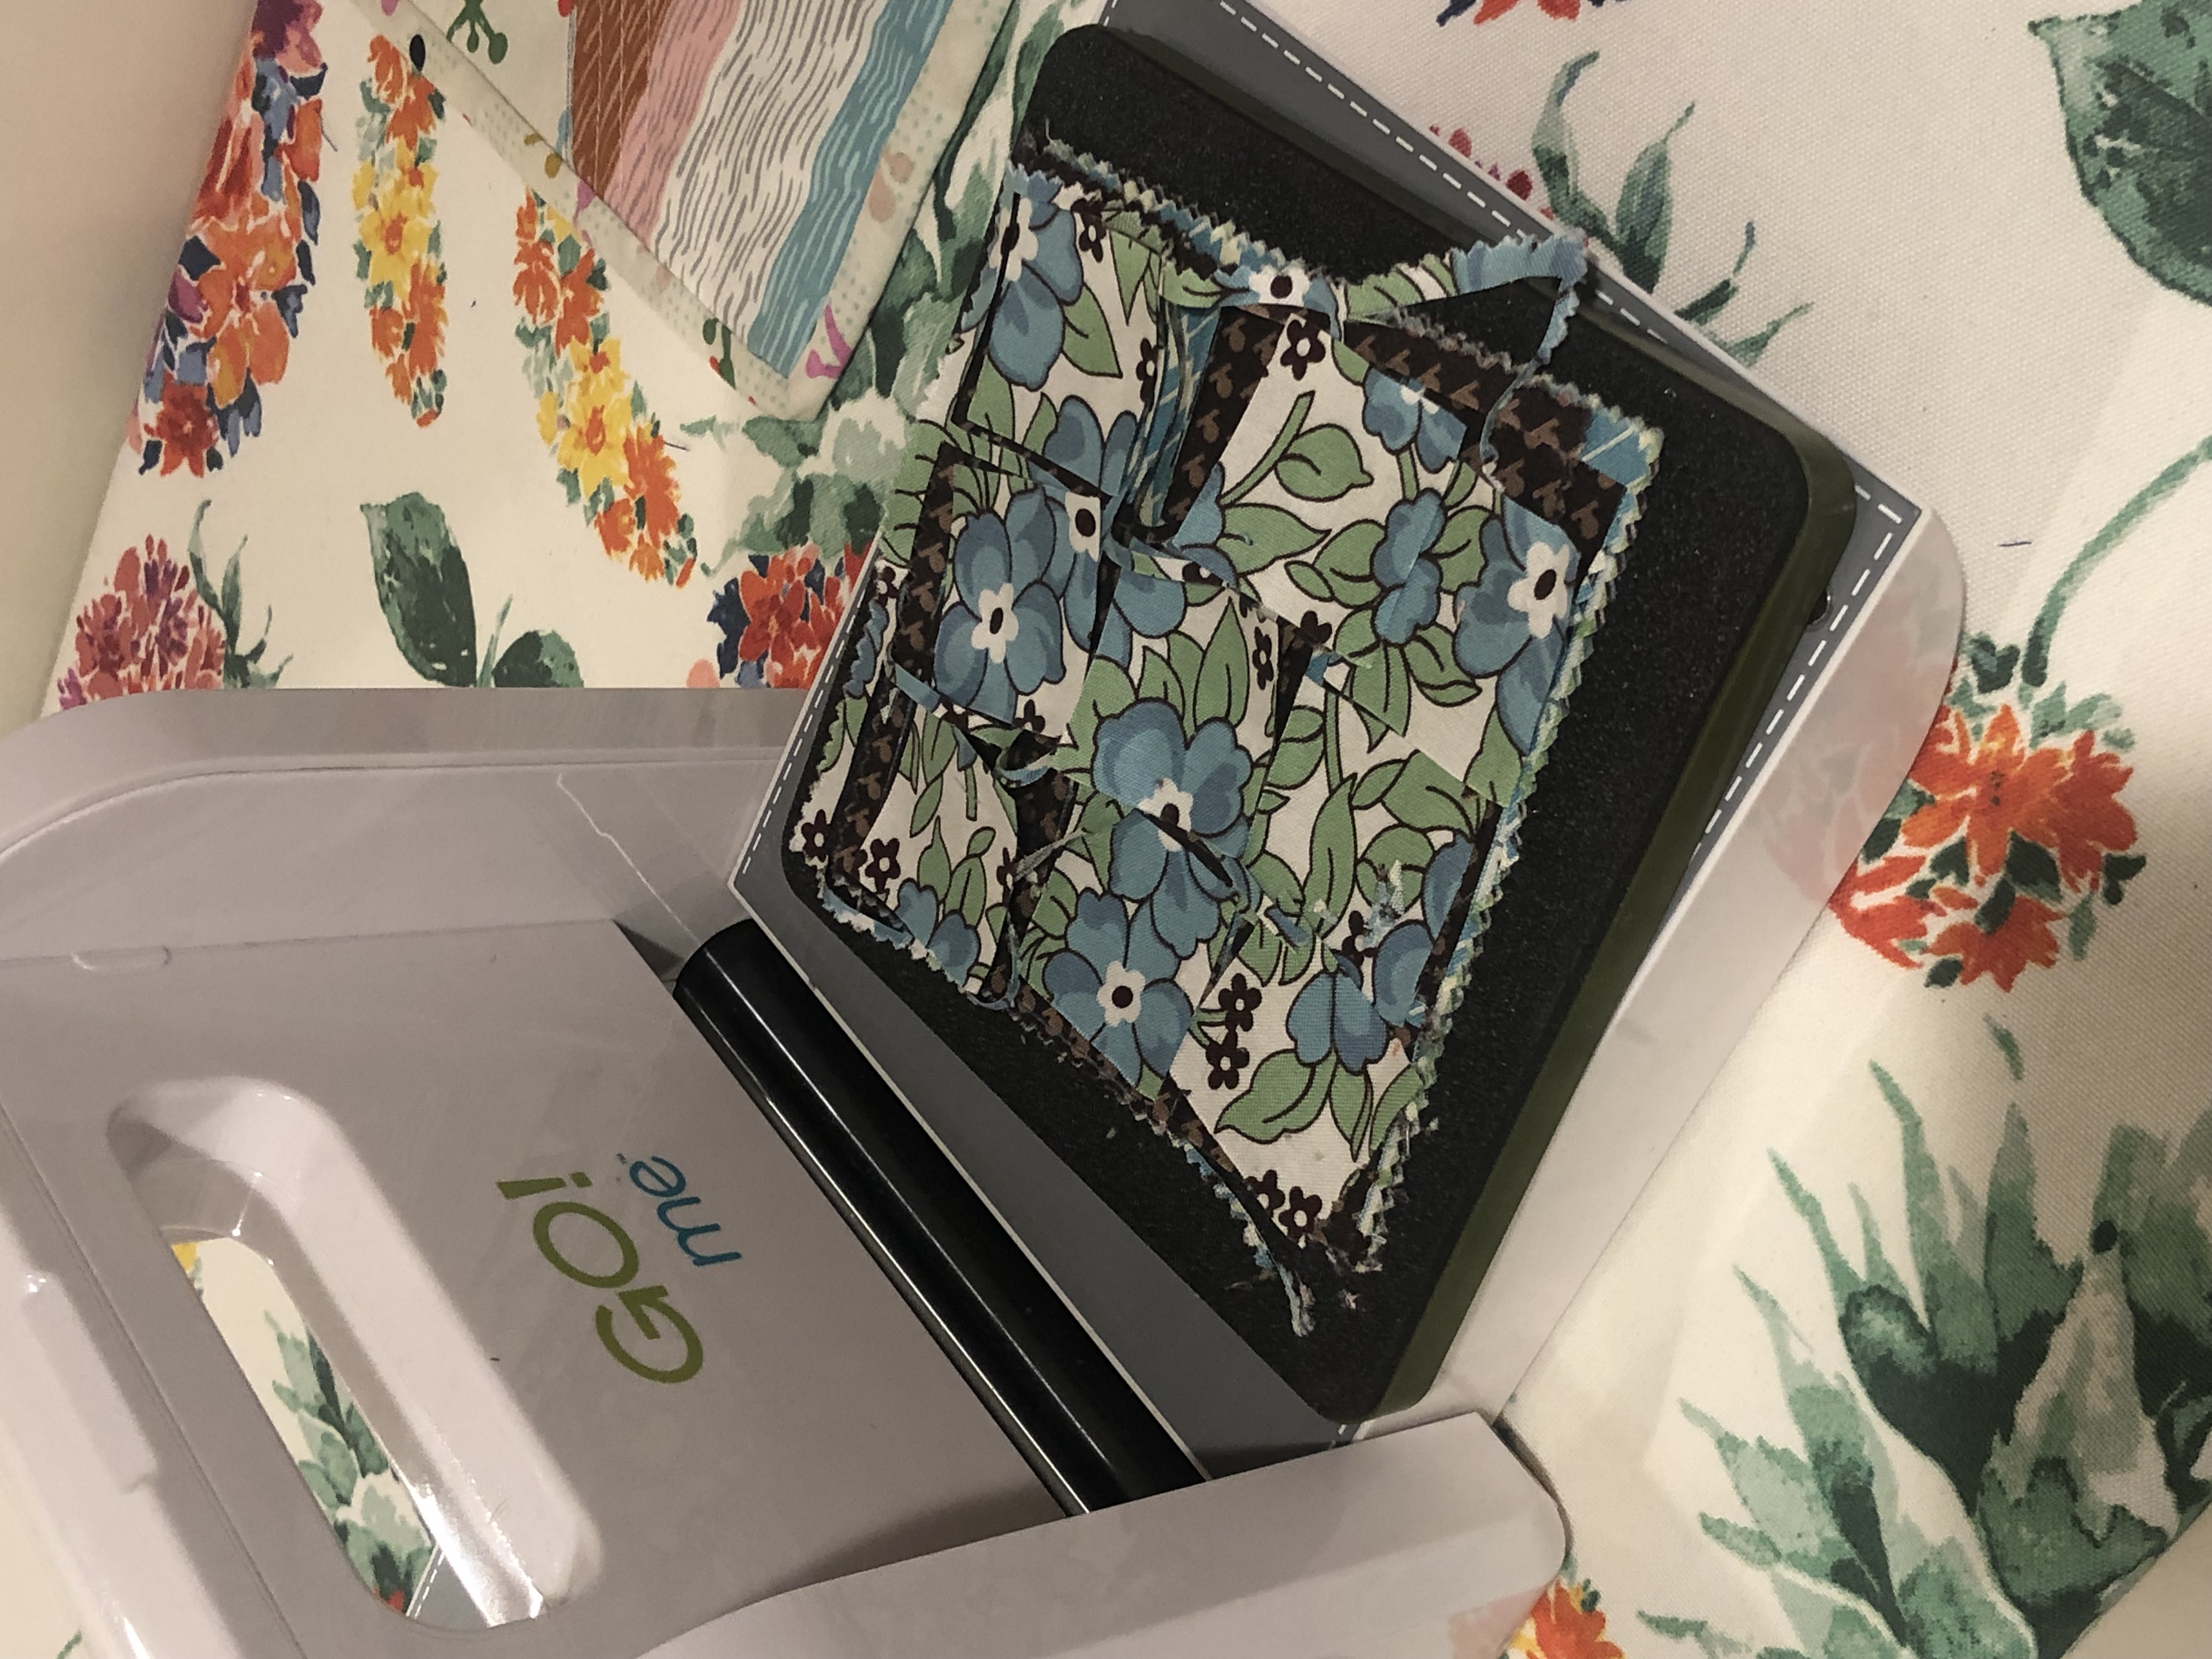
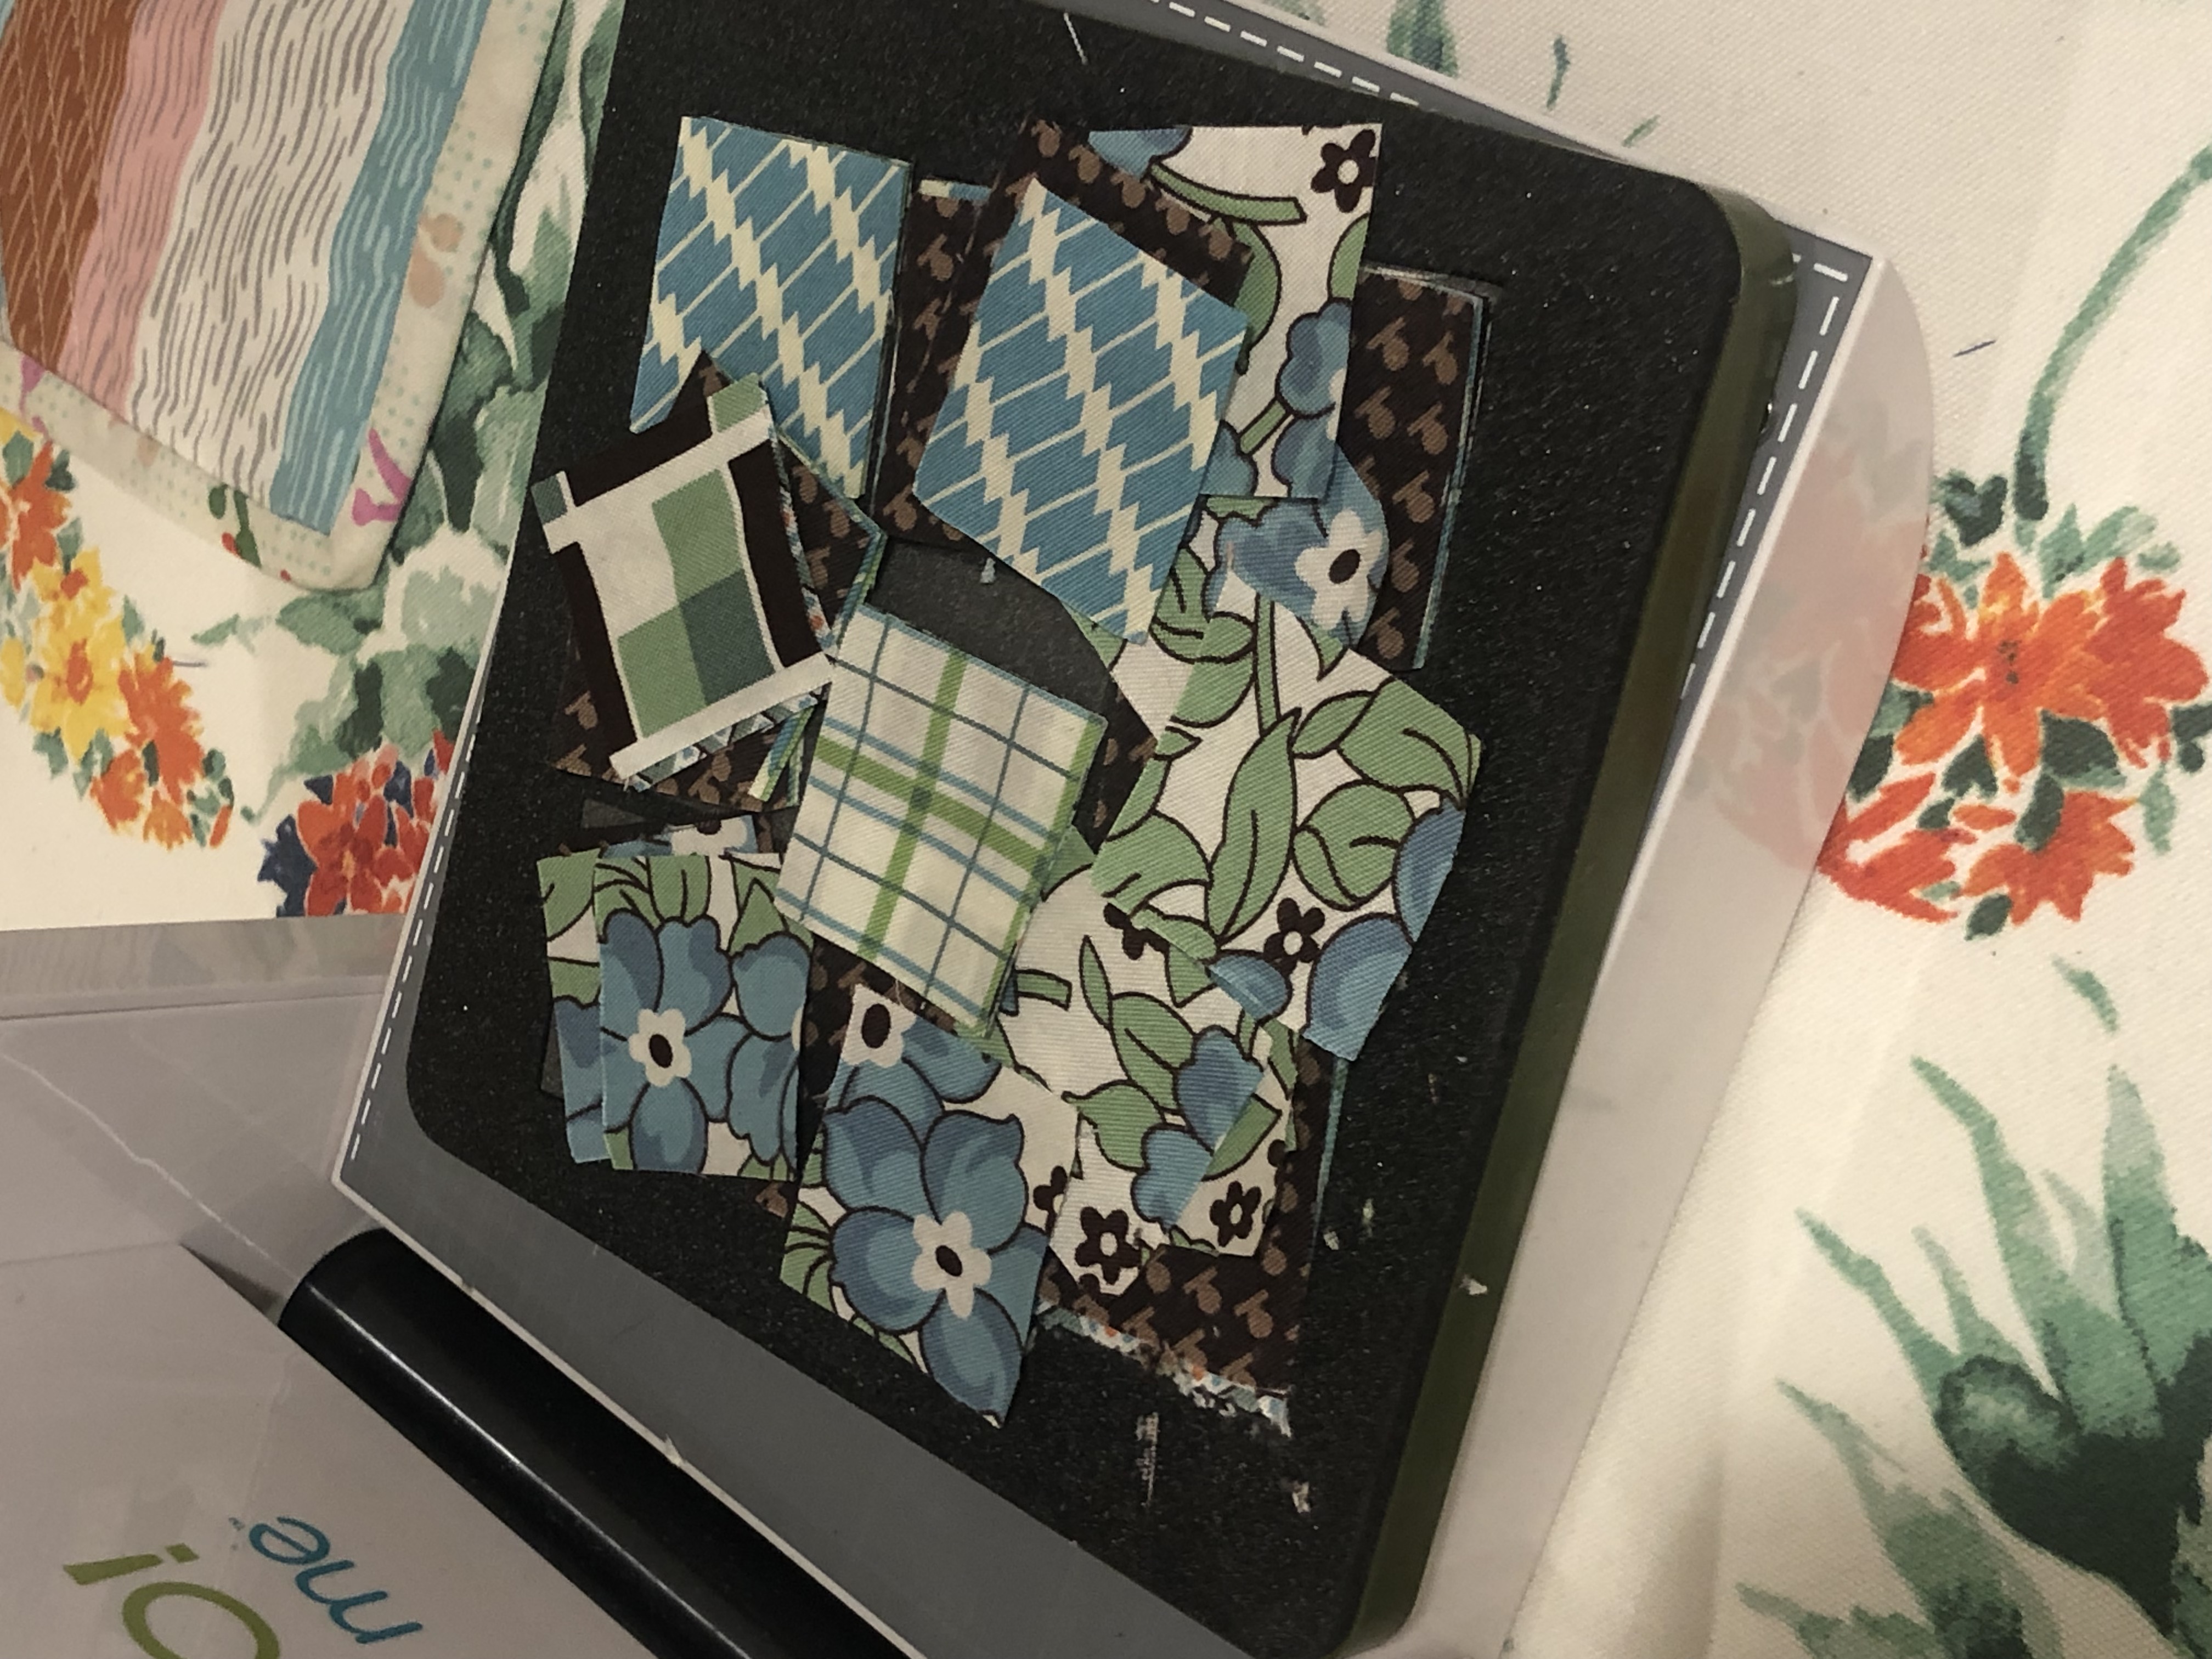
Get a small pouch or bag and fill it up with your squares. Give it a good shake every now and then to mix them up.
2- Cut your grids. Cut directly on the lines. You will need ONE 8 x 8 grid, FOUR 7 x 5 grids and FOUR 9 x 4 grids.
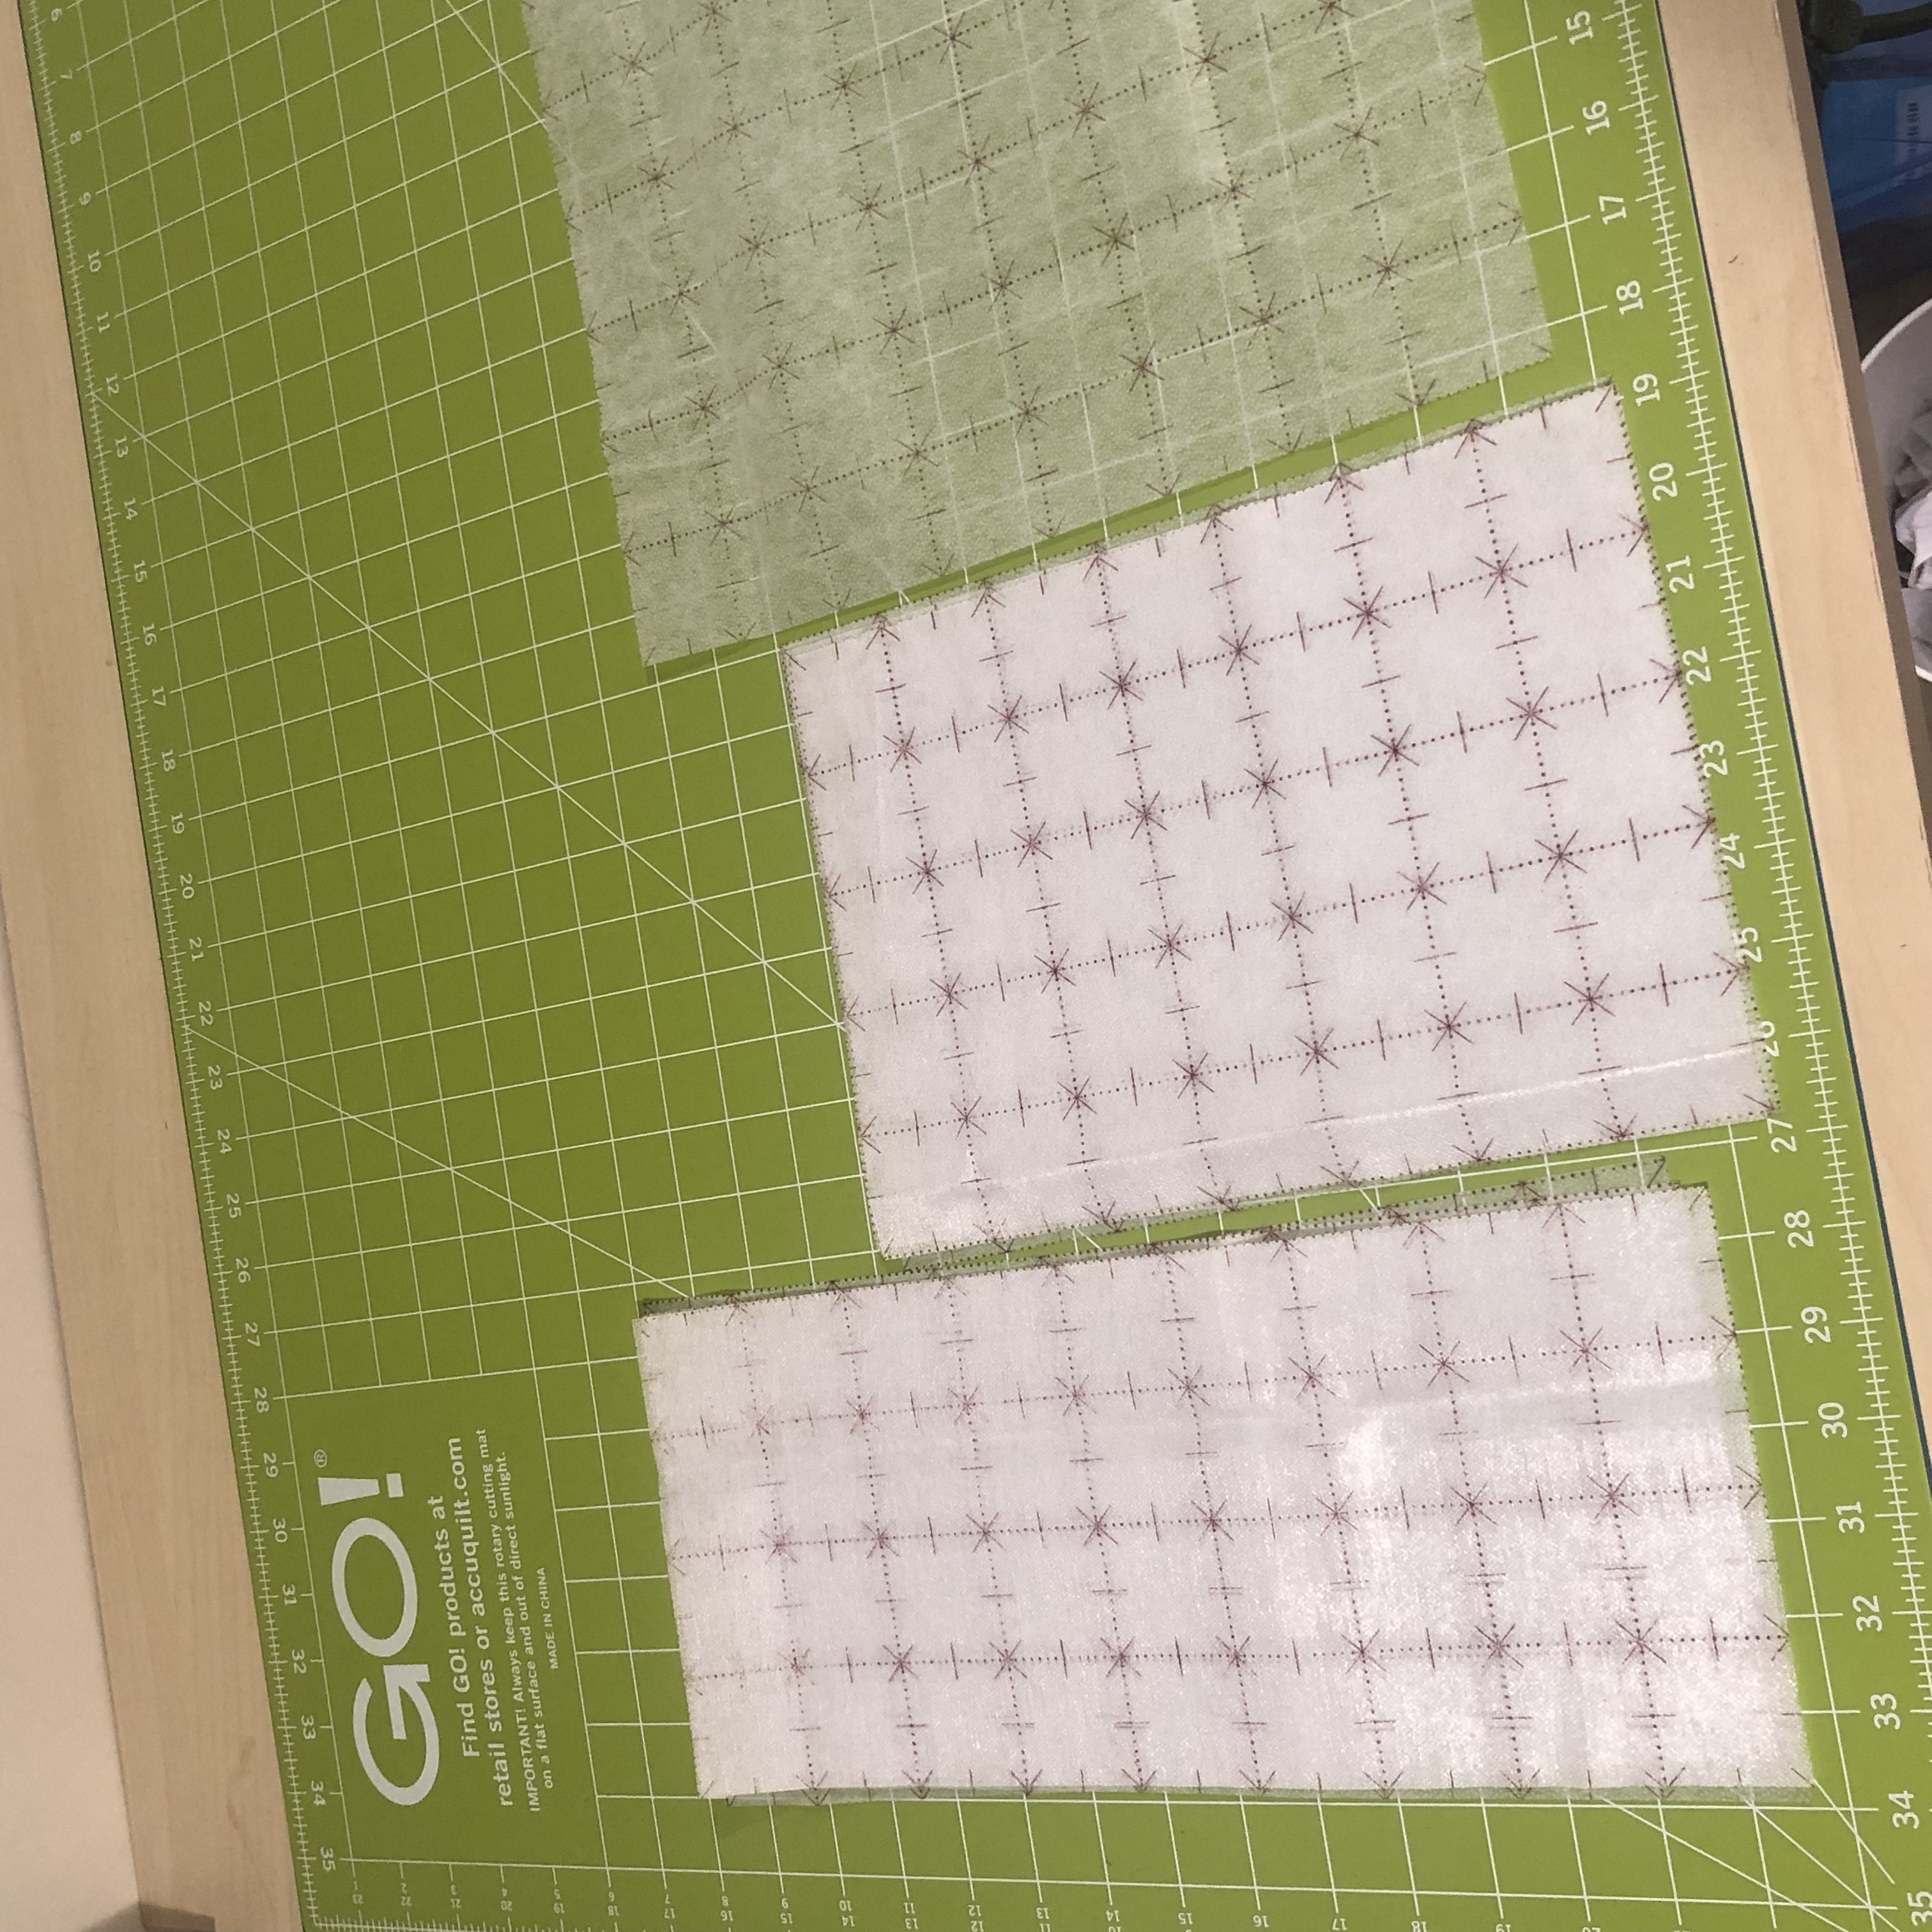
Lay them out on your ironing surface with the rough side facing UP!
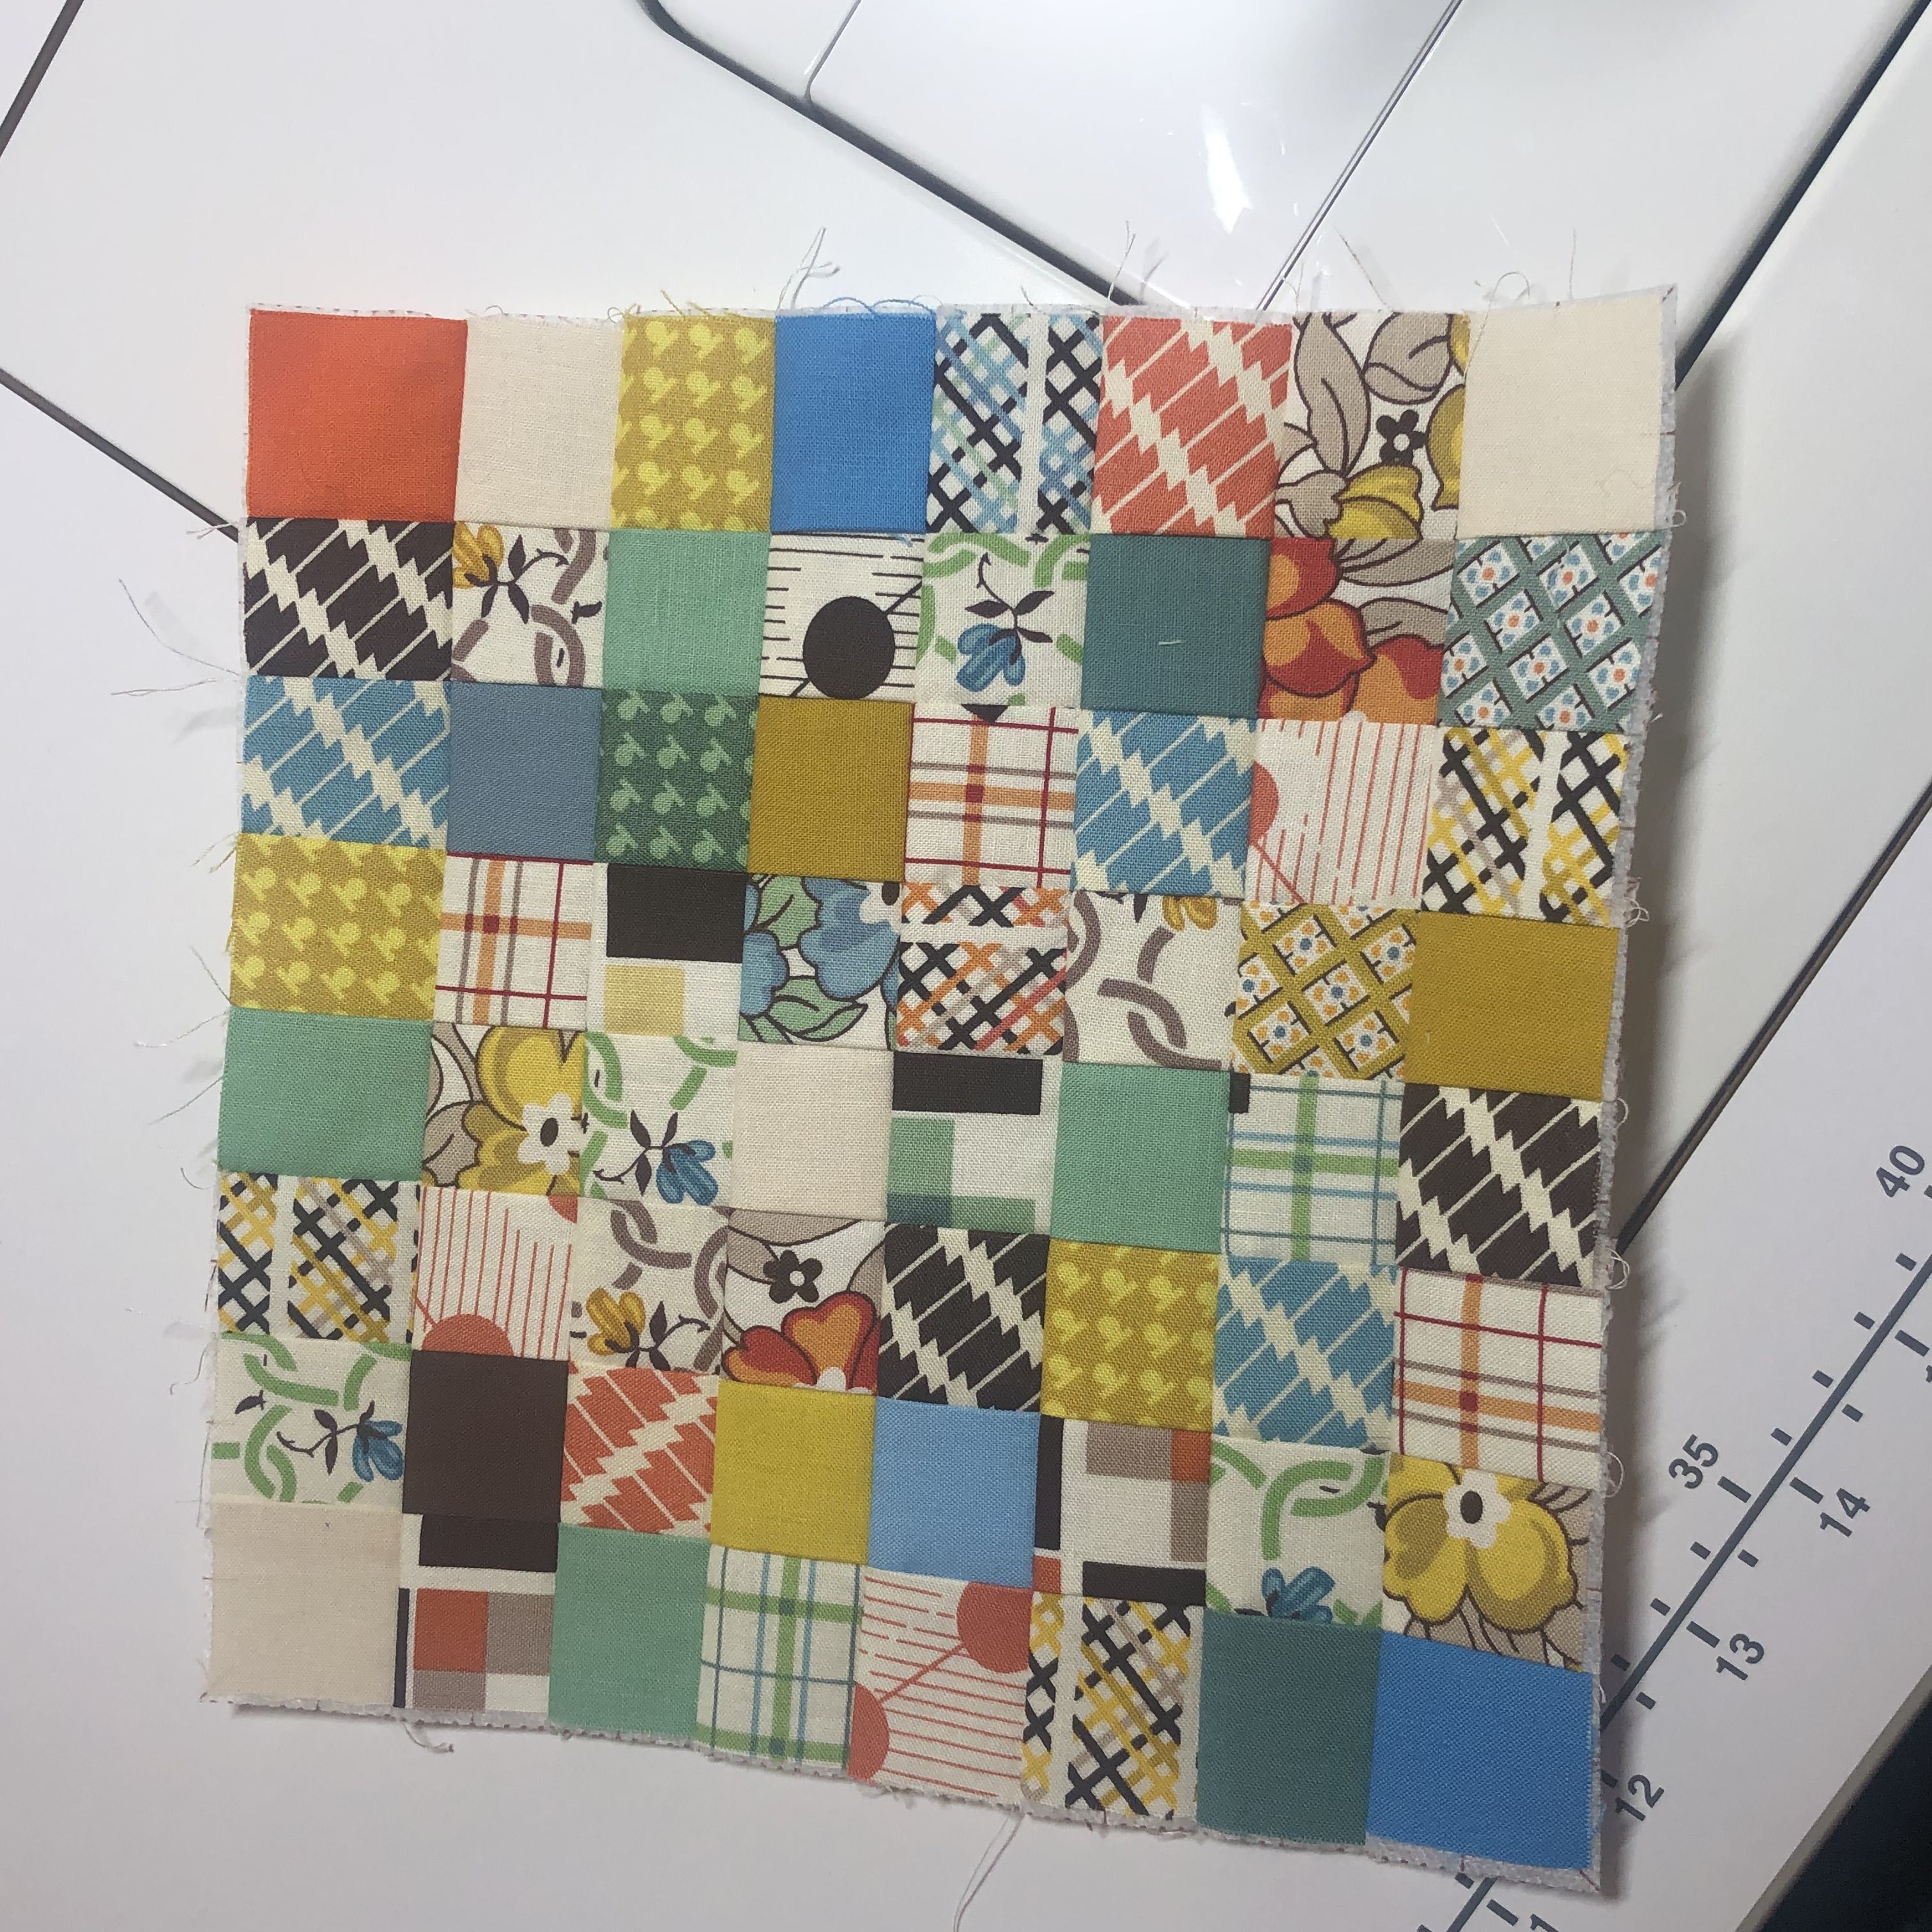
3- Start laying out all your 1 1/2″ squares on the fusible. Just take some out of the pouch and start randomly laying them inside the squares. (I meant to take a photo while I was laying them out, but got too involved and forgot, LOL! Here they are all filled)
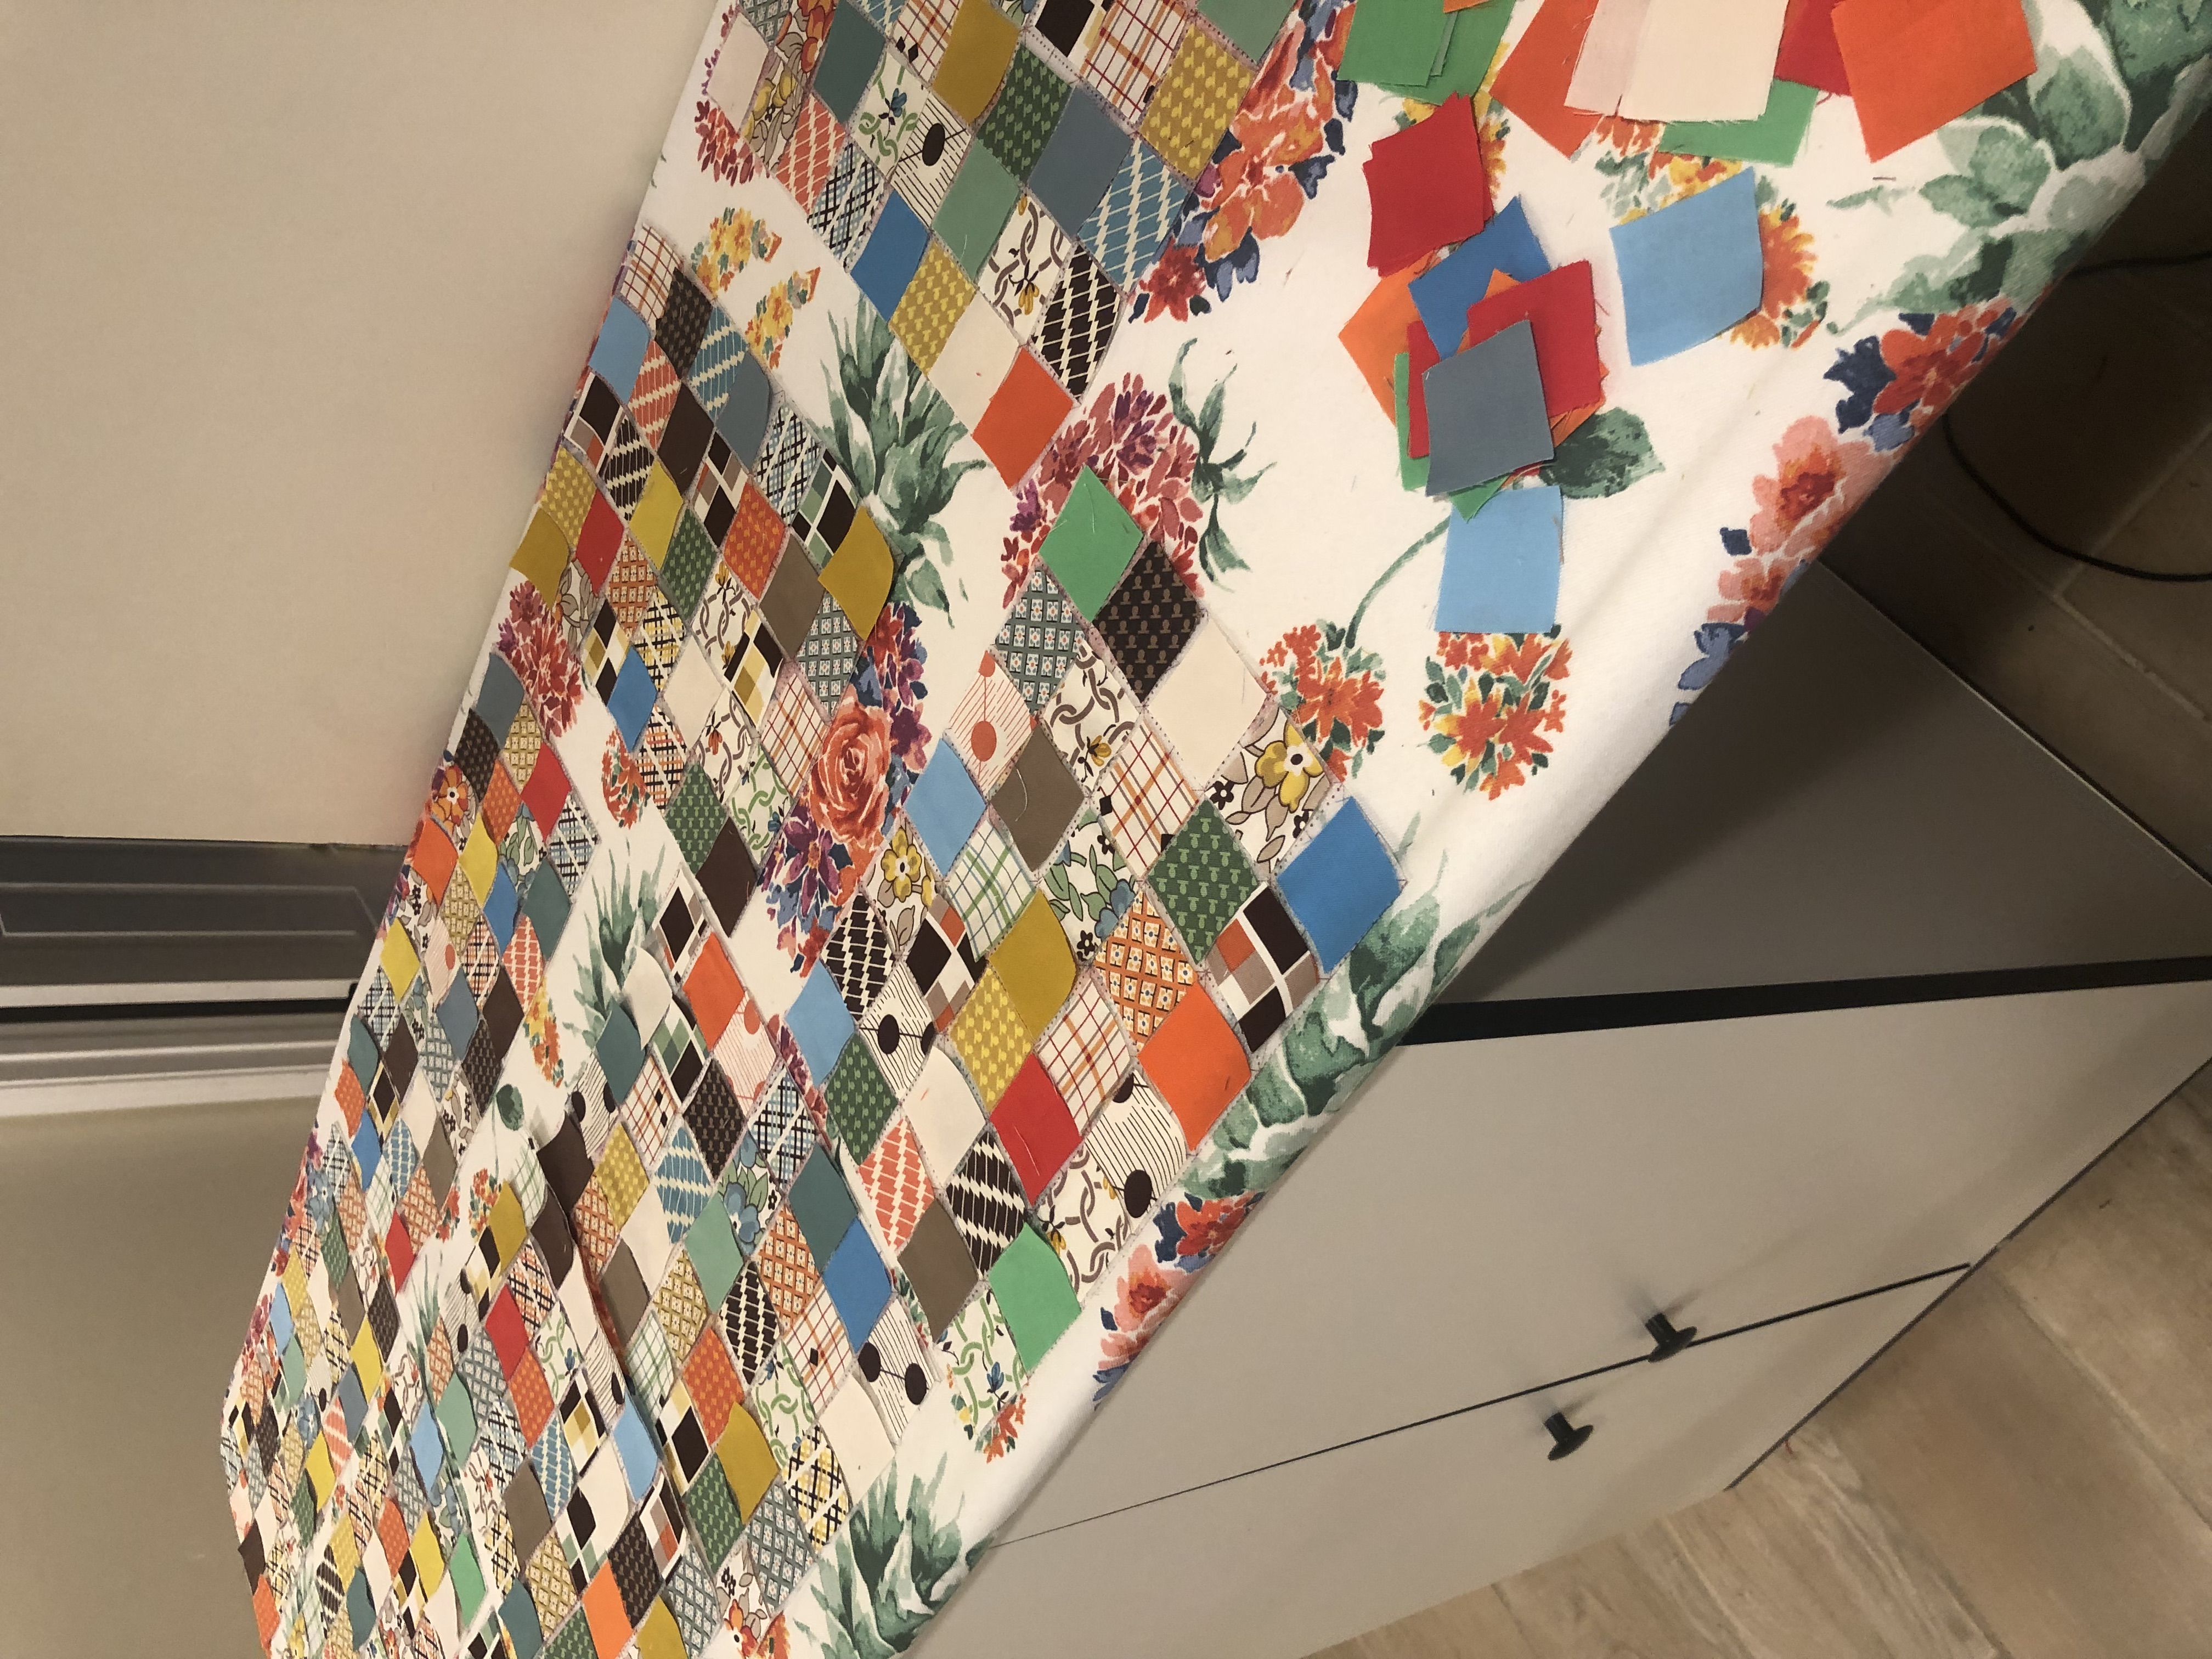
I like to see them all laid out together to make sure I’ve not focused one fabric on one grid. If your ironing surface isn’t that big, spread them out on a table. When you are ready to iron, gently roll the interfacing and fabric and then gently unroll on the ironing board. Don’t worry if they move around too much, you have to do the next step anyway.
4- Use a stiletto (I just can’t do it with my fingers and not make a mess) to center each fabric square inside the lines. There WILL be space between the fabrics, they won’t touch at all. This is okay.
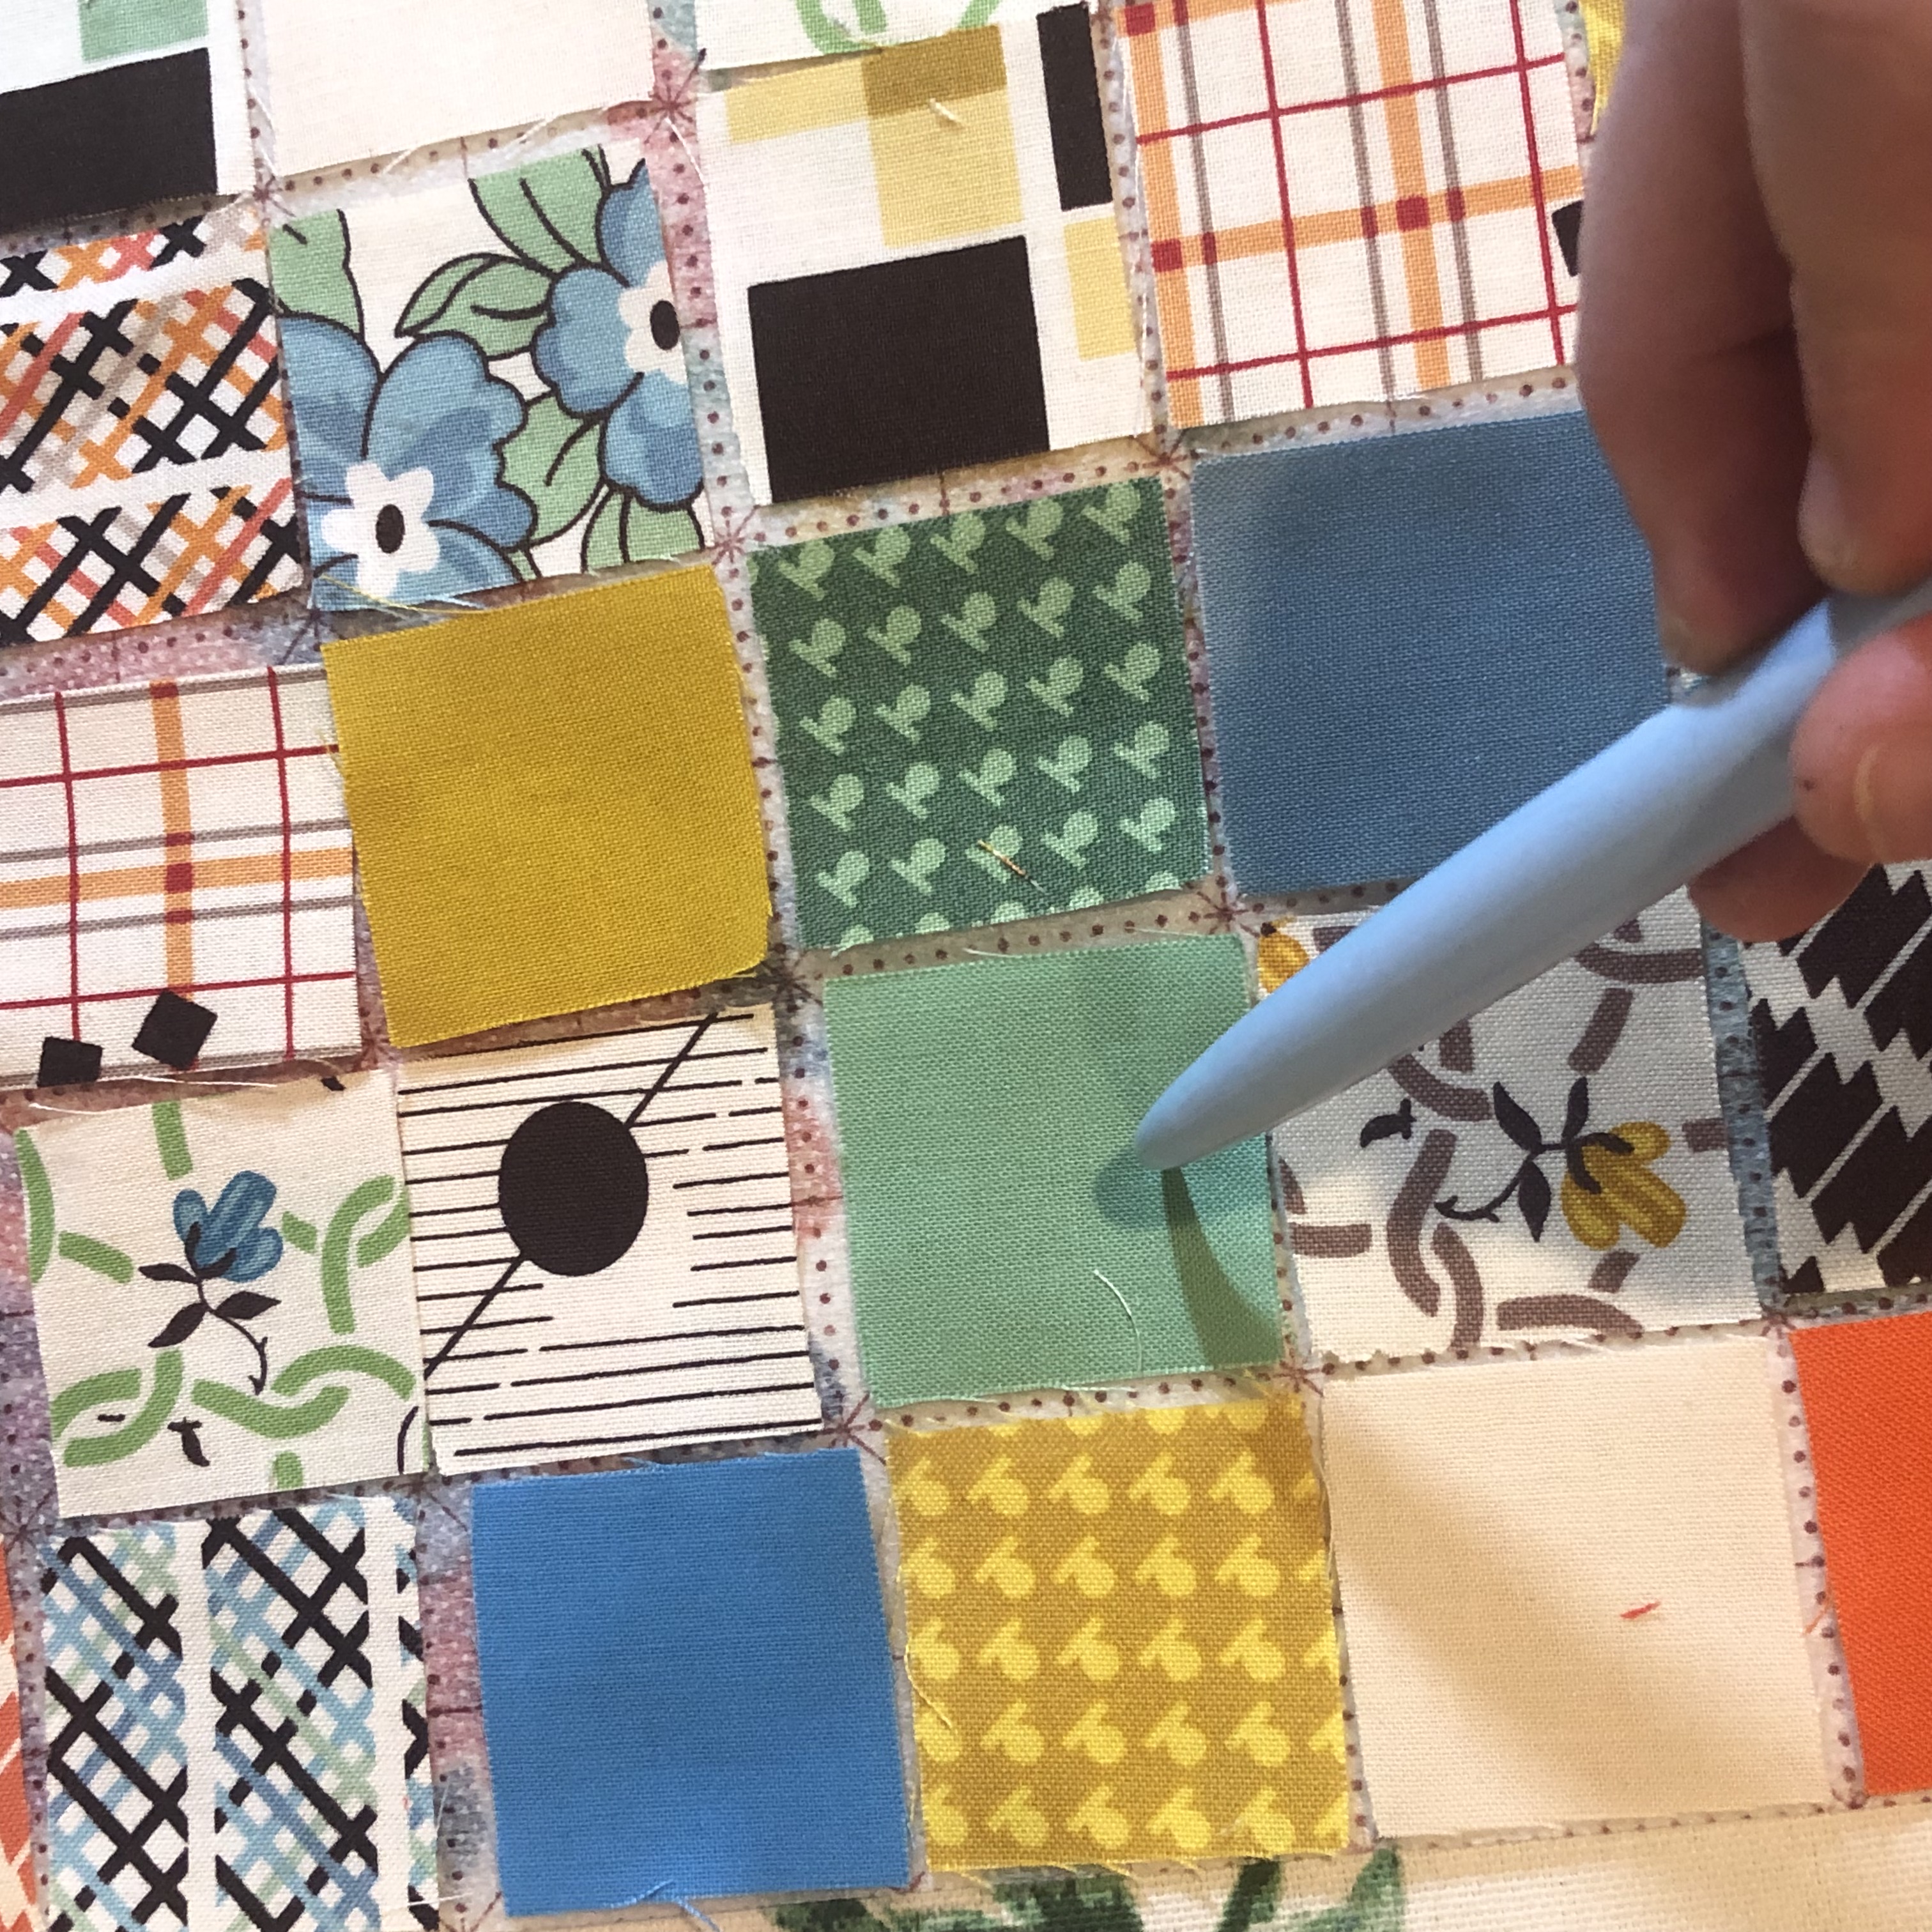
I’m using the Clover Hold it Precision Stiletto.
5- Lay a thin fabric over the squares and PRESS! Press DO NOT iron! Just gently place the iron on the thin fabric, and pick it back up before moving to a new section. (trust me on this)
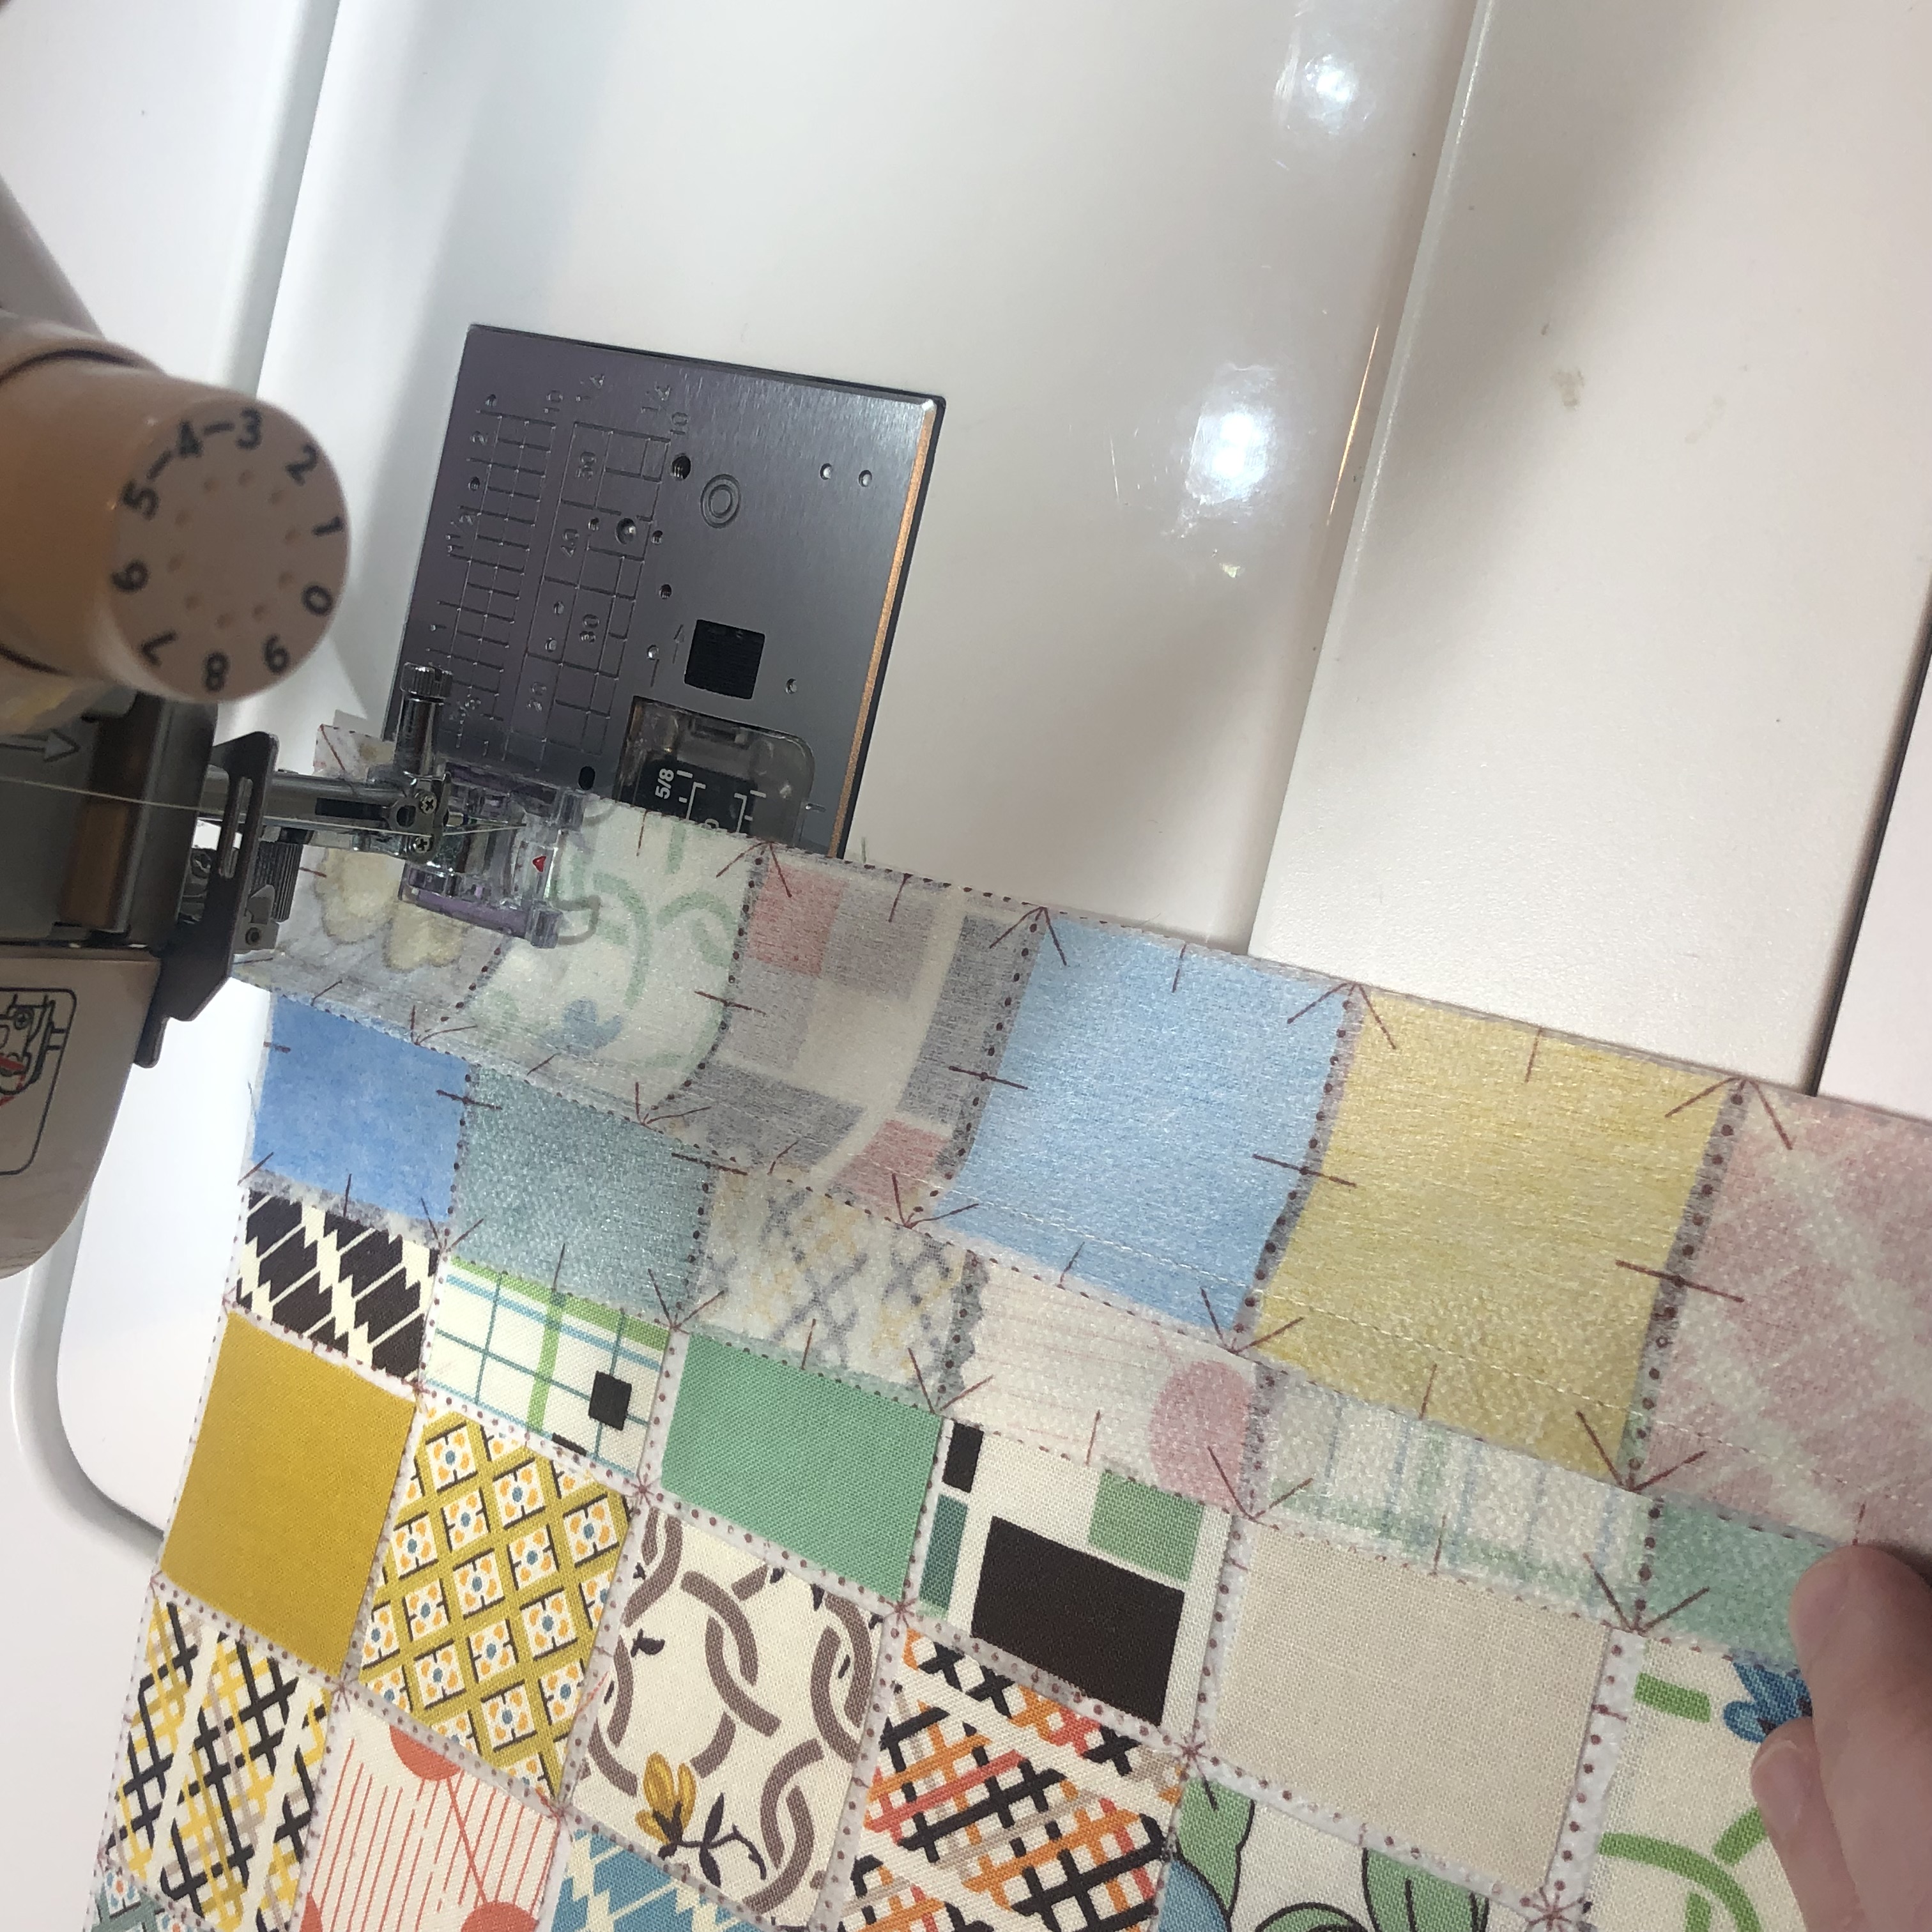
6- Let’s move to the sewing machine. Fold the interfacing on the dotted line so that the fabric is right sides together and stitch with 1/4″ seam allowance. Continue until all the lines parallel to each other are stitched.
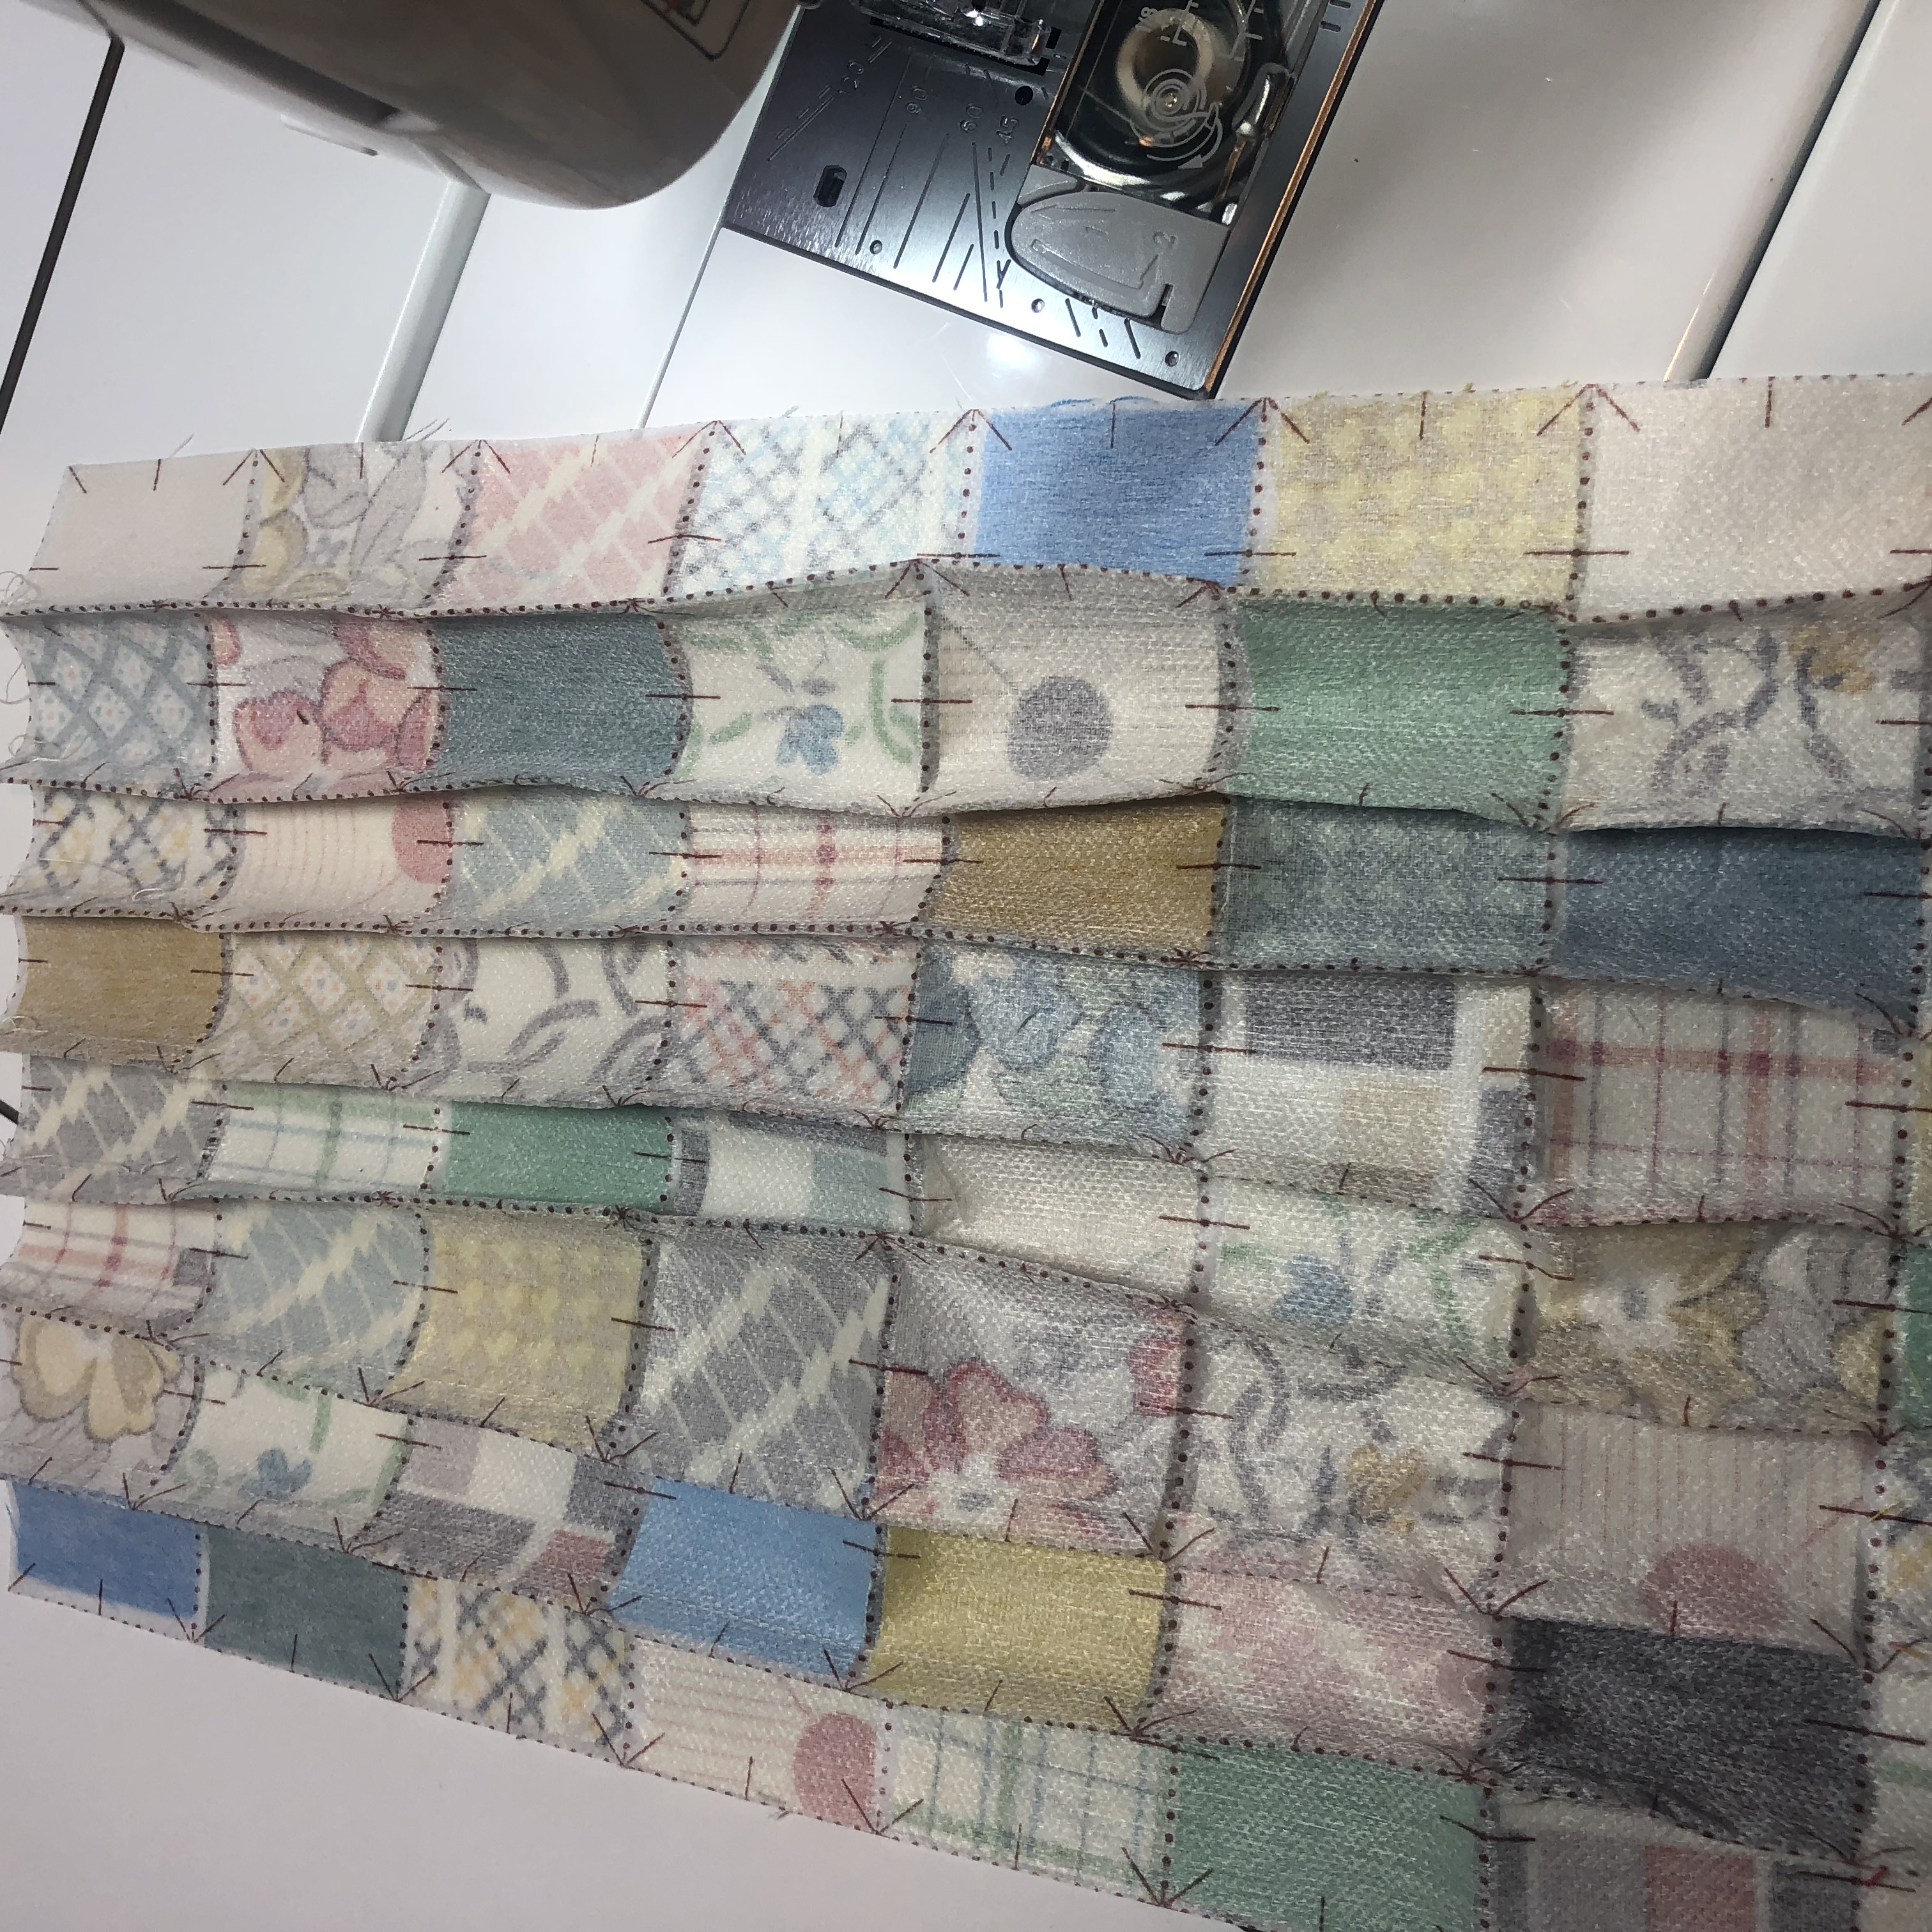
7- Now clip the interfacing between the fabric, up to but not crossing the stitch line. You are doing this so you can press alternating rows.
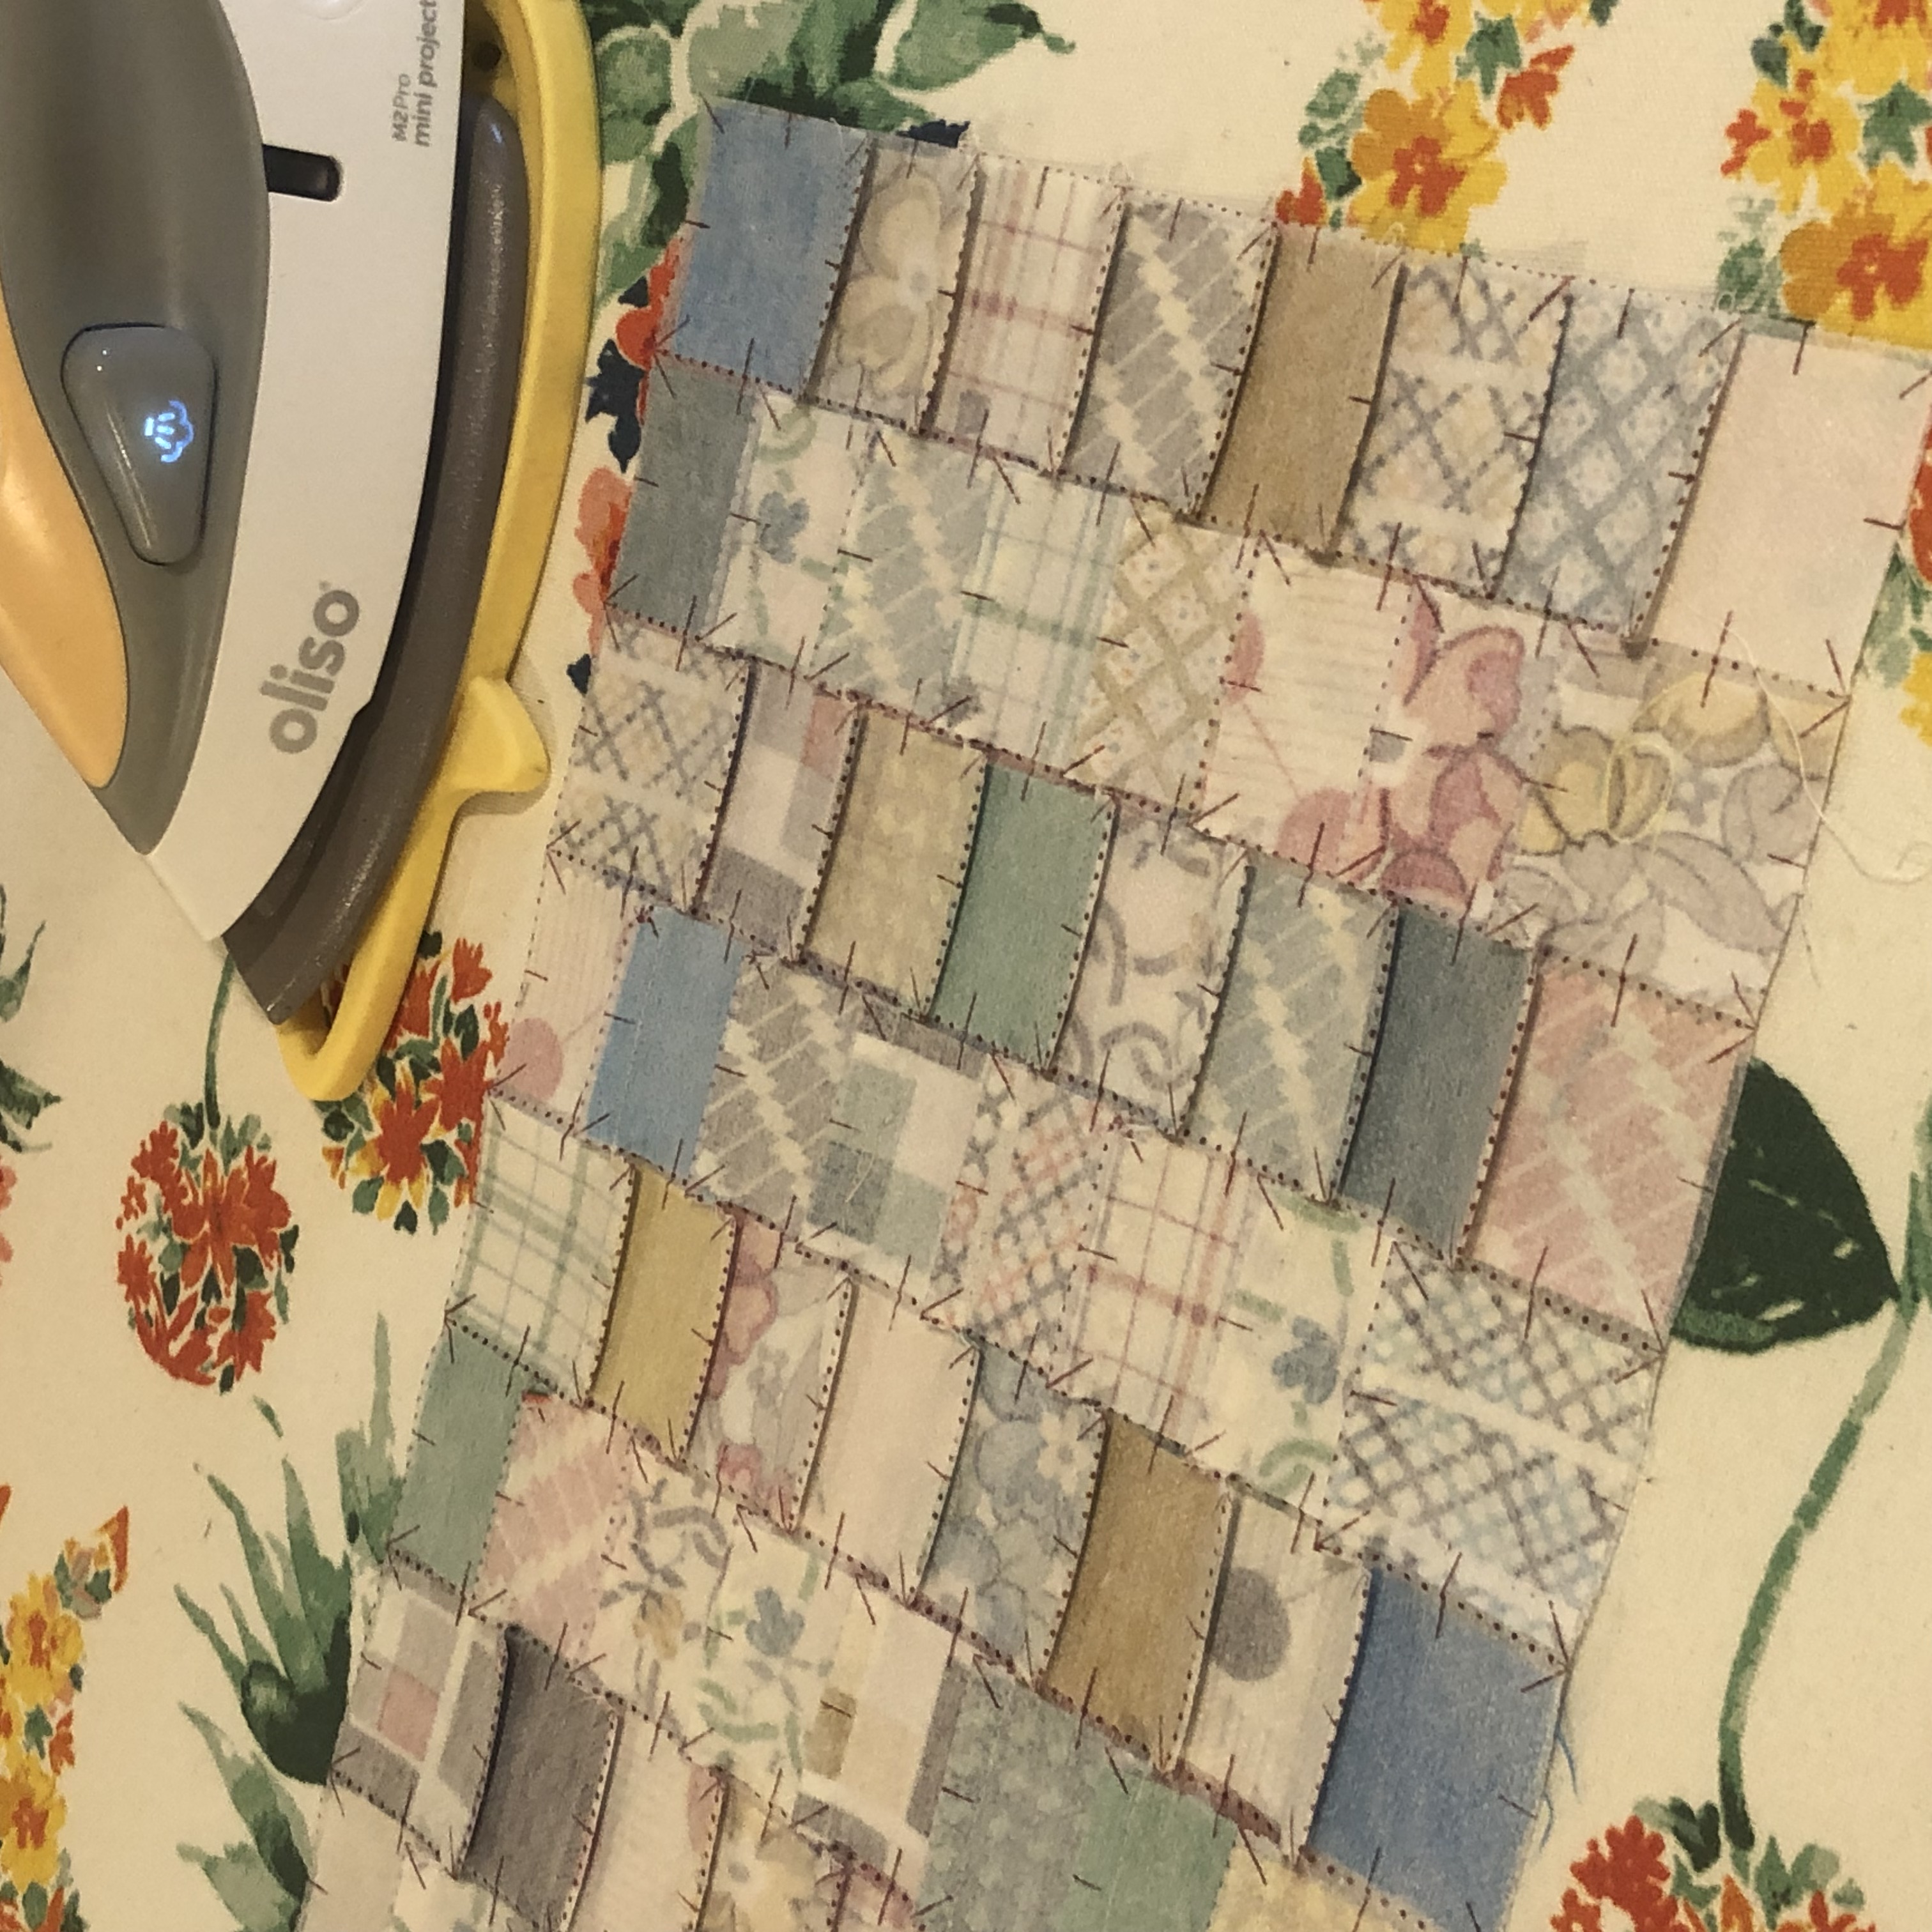
I prefer to use a smaller iron during this part. I’m less likely to burn my fingers while trying to get the seam allowances to press in the correct direction (of course the aforementioned stiletto would be helpful here too) I’ve pulled out my Oliso Mini Project Iron for this part.
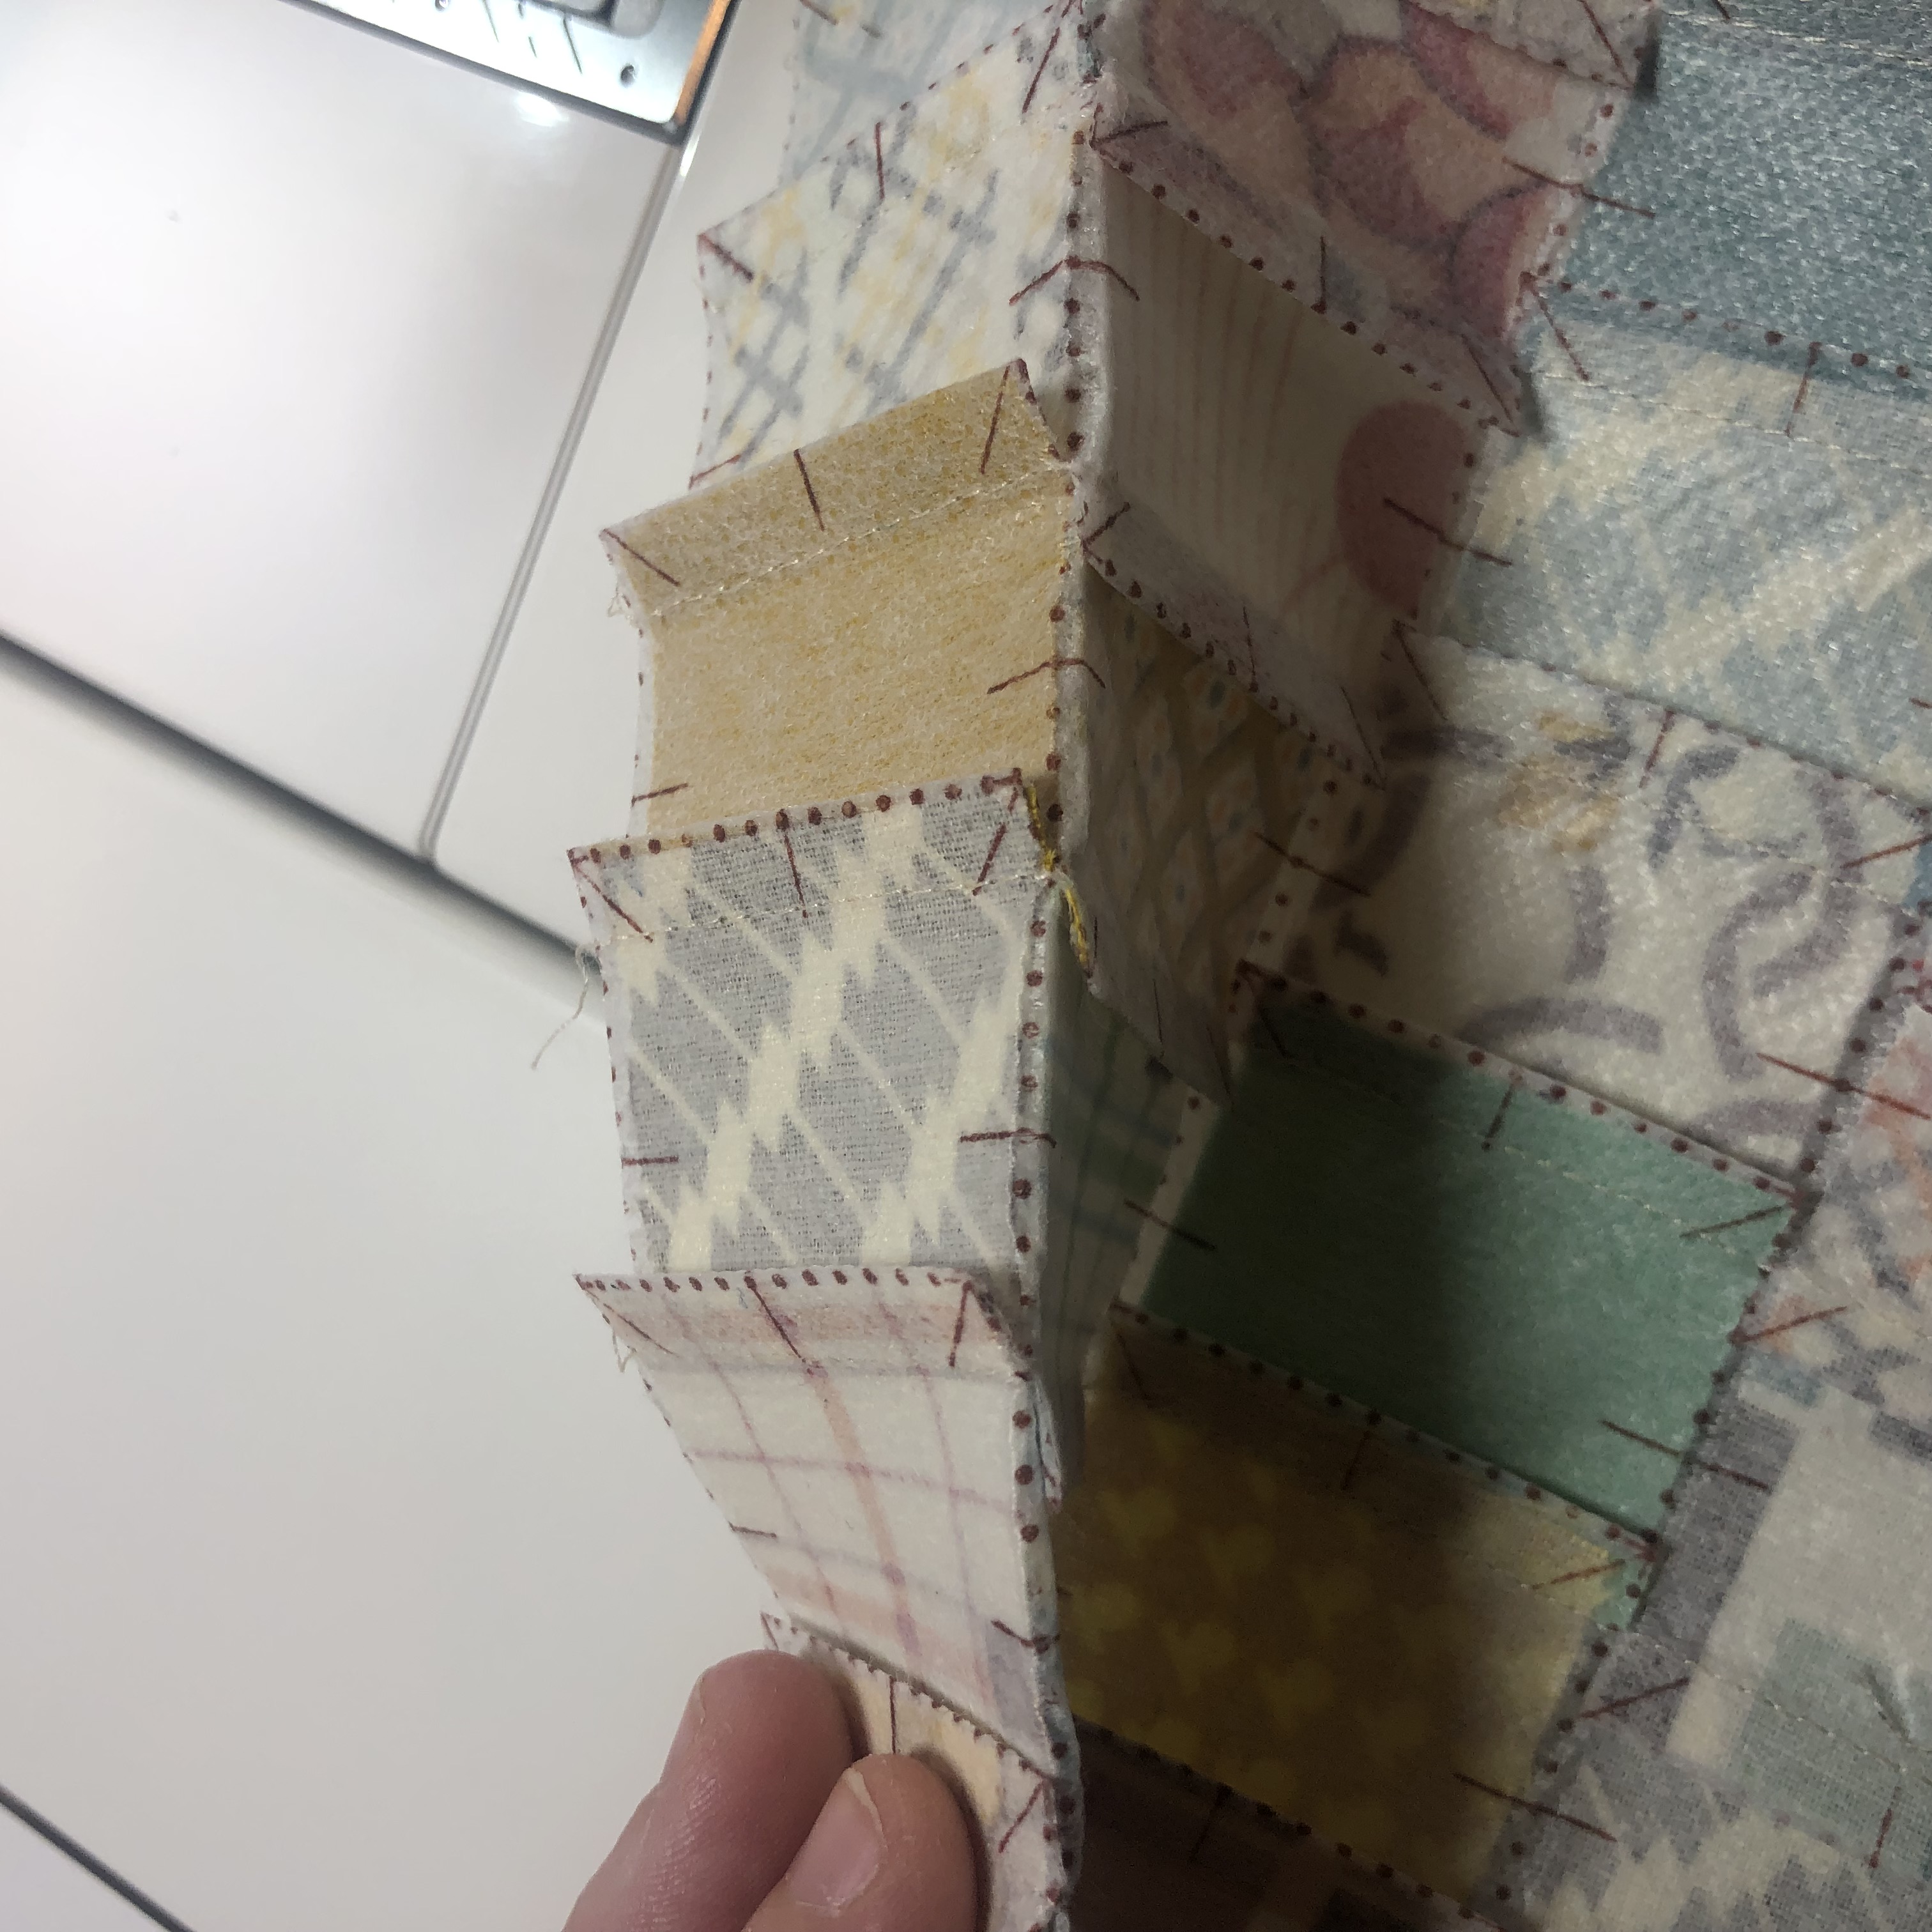
8- now you are going to fold the unsewn lines and you will see that the previous seams will perfectly nest against each other! Stitch all the remaining lines.
9- Now Press those seam allowances to one side (no snipping for this one). Look how nice and flat it looks!!

9- For the piece de resistance!! Add the quilting lines. I increased my stitch length a little and stitched straight lines 1/8″ away from either side of the seam. It looks like perfect patchwork!!
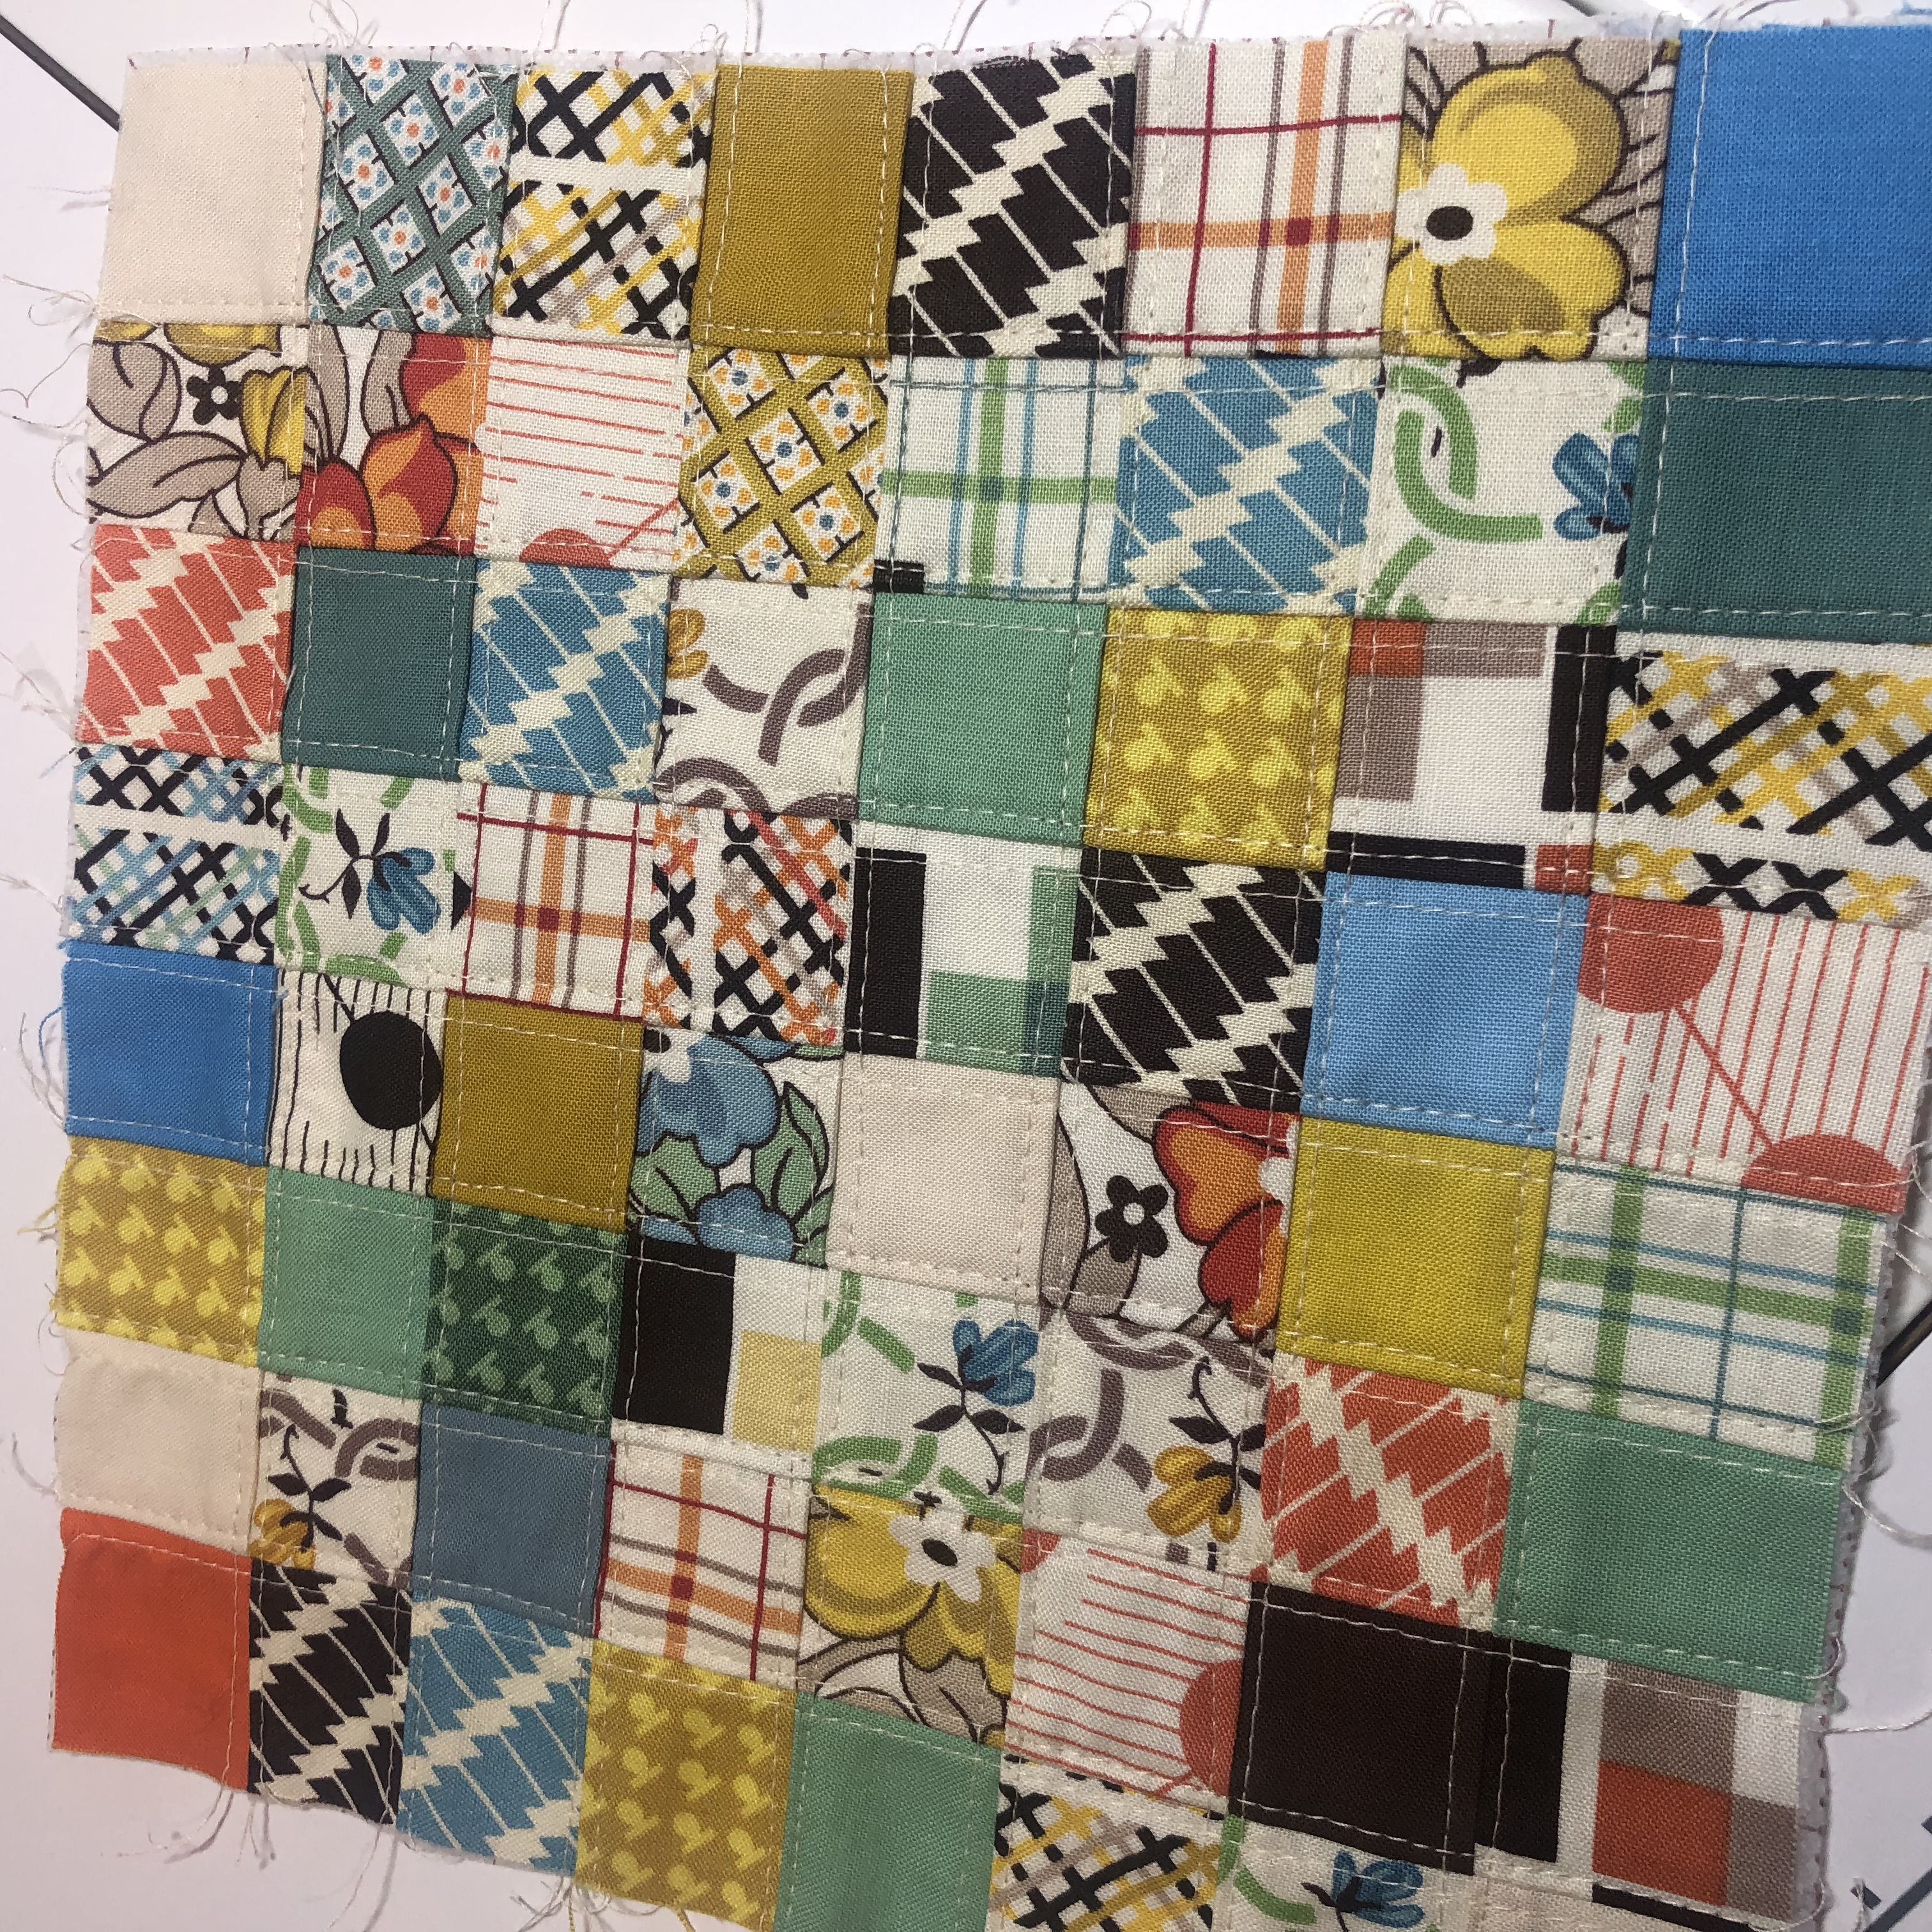
OMG! It’s just so beautiful!!!
You are now ready to follow the instructions on the back of the die packaging. Let’s work through it together.
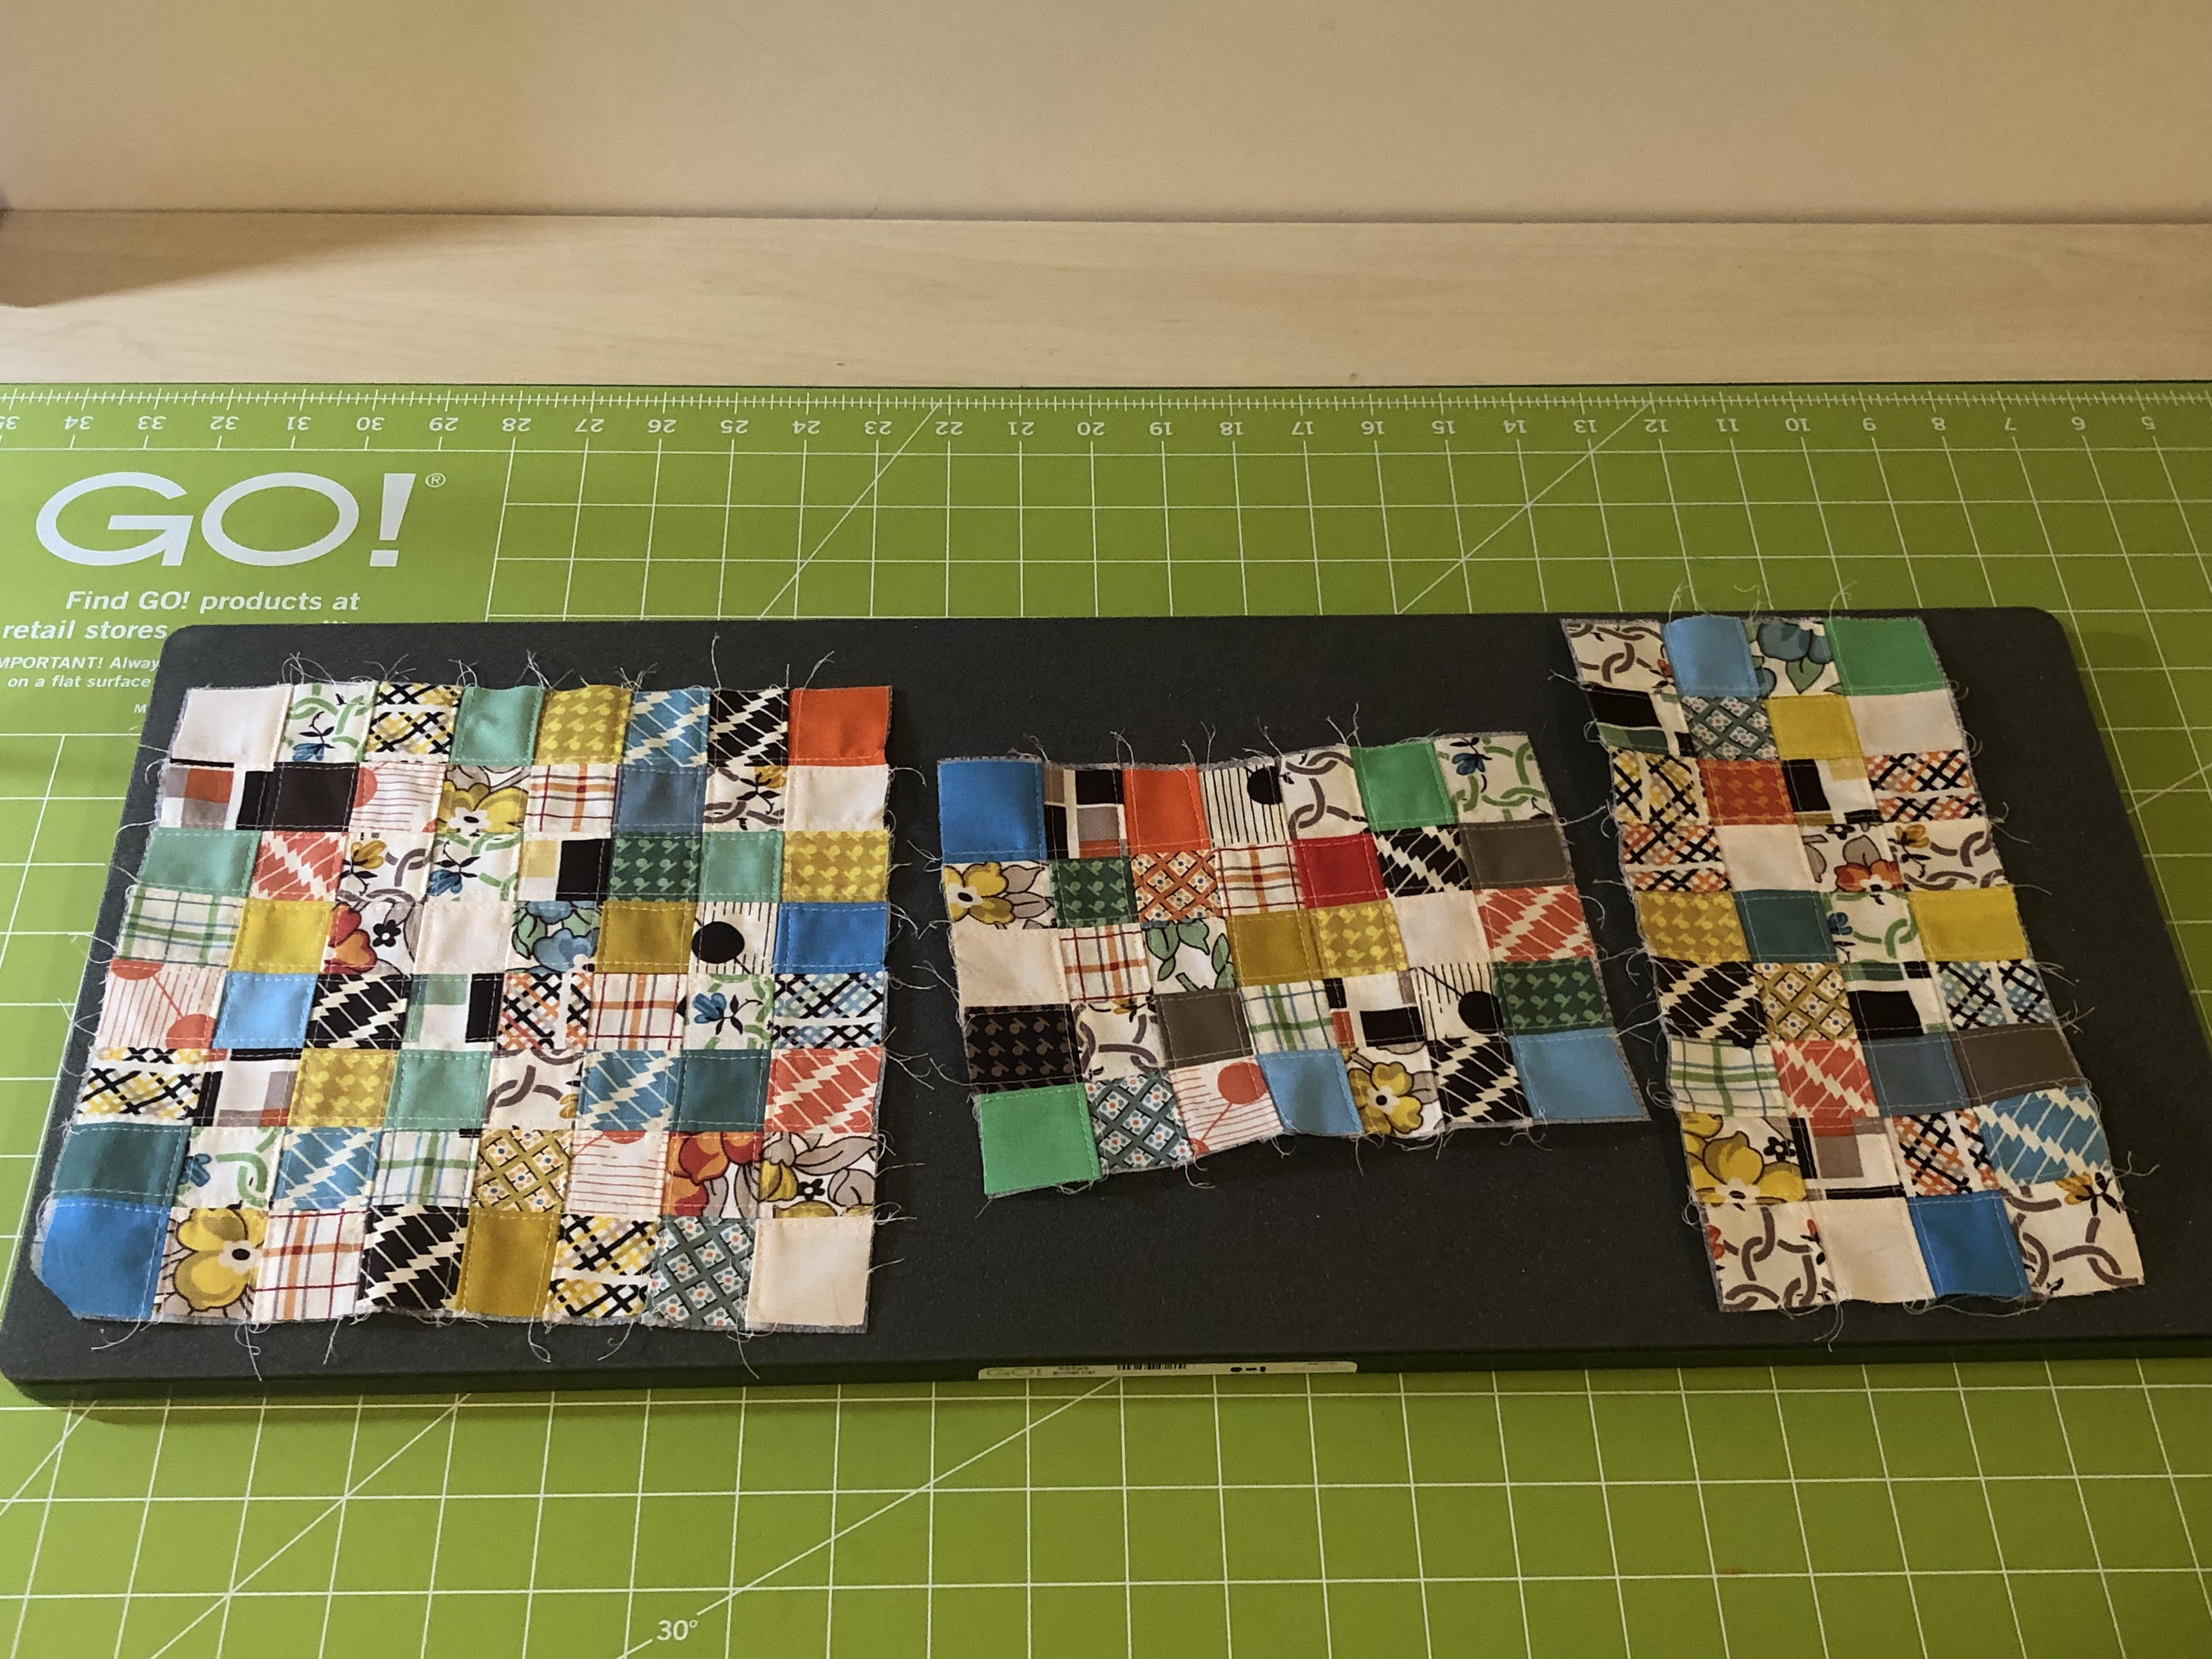
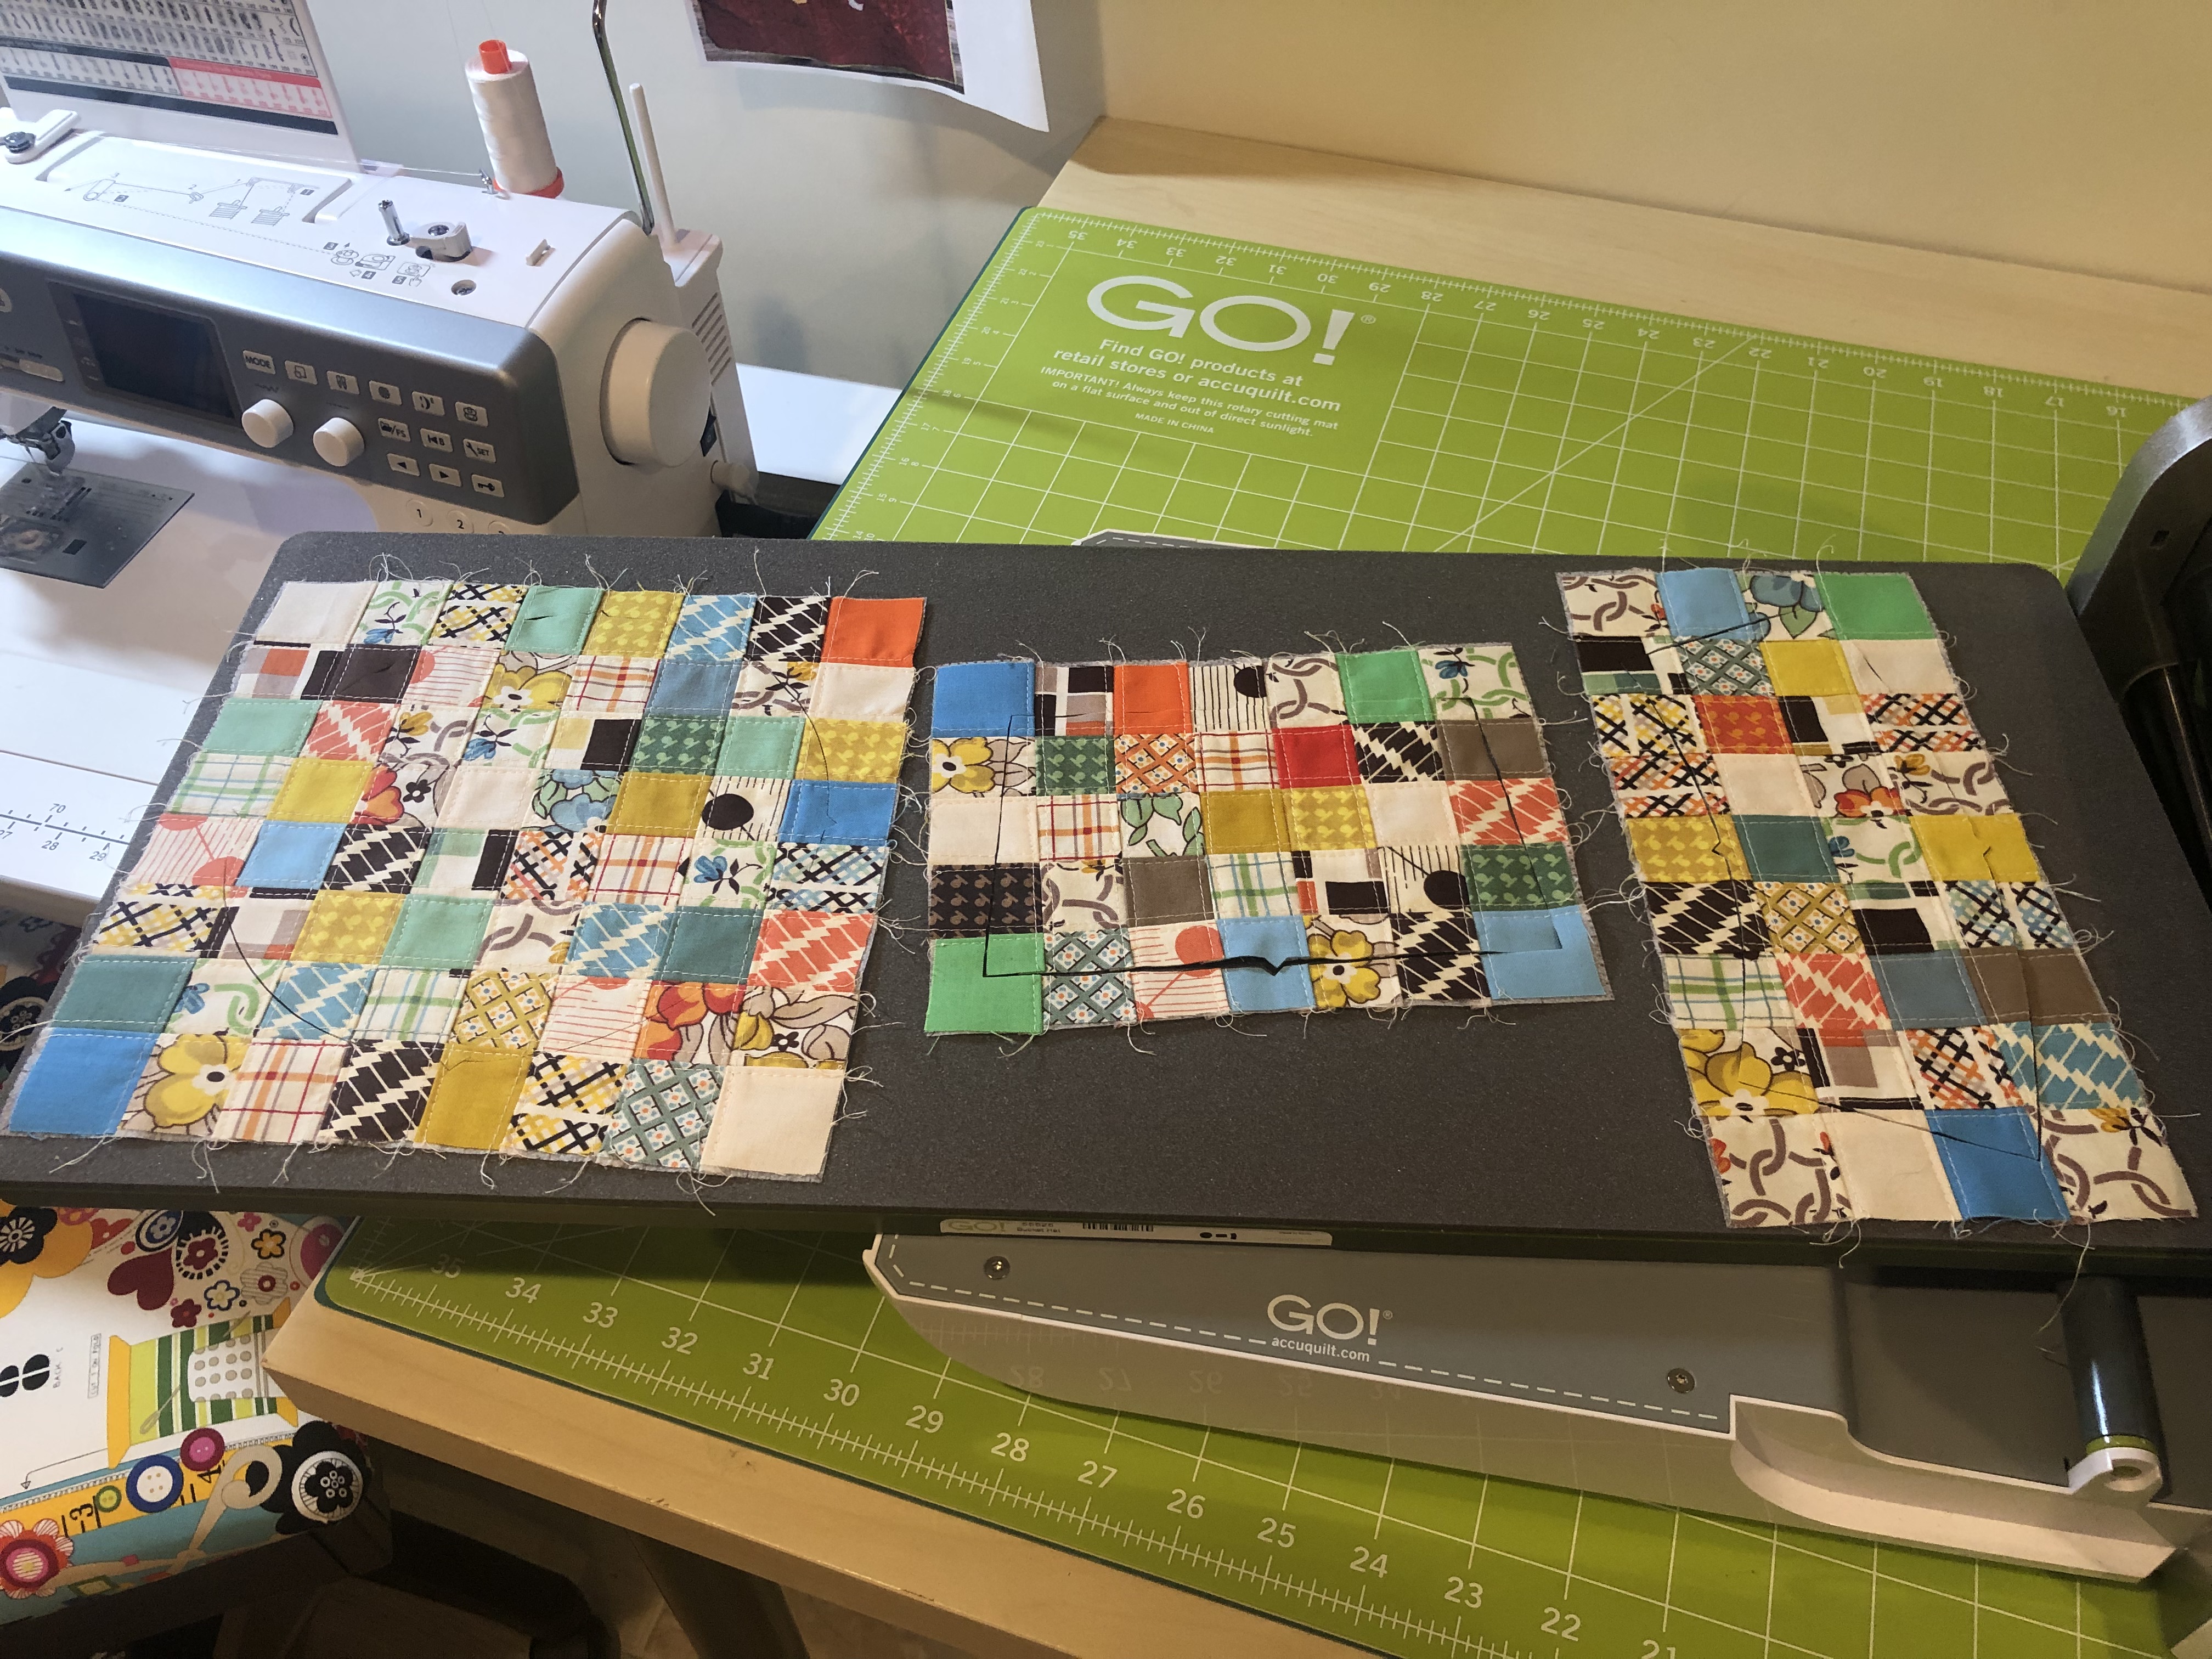
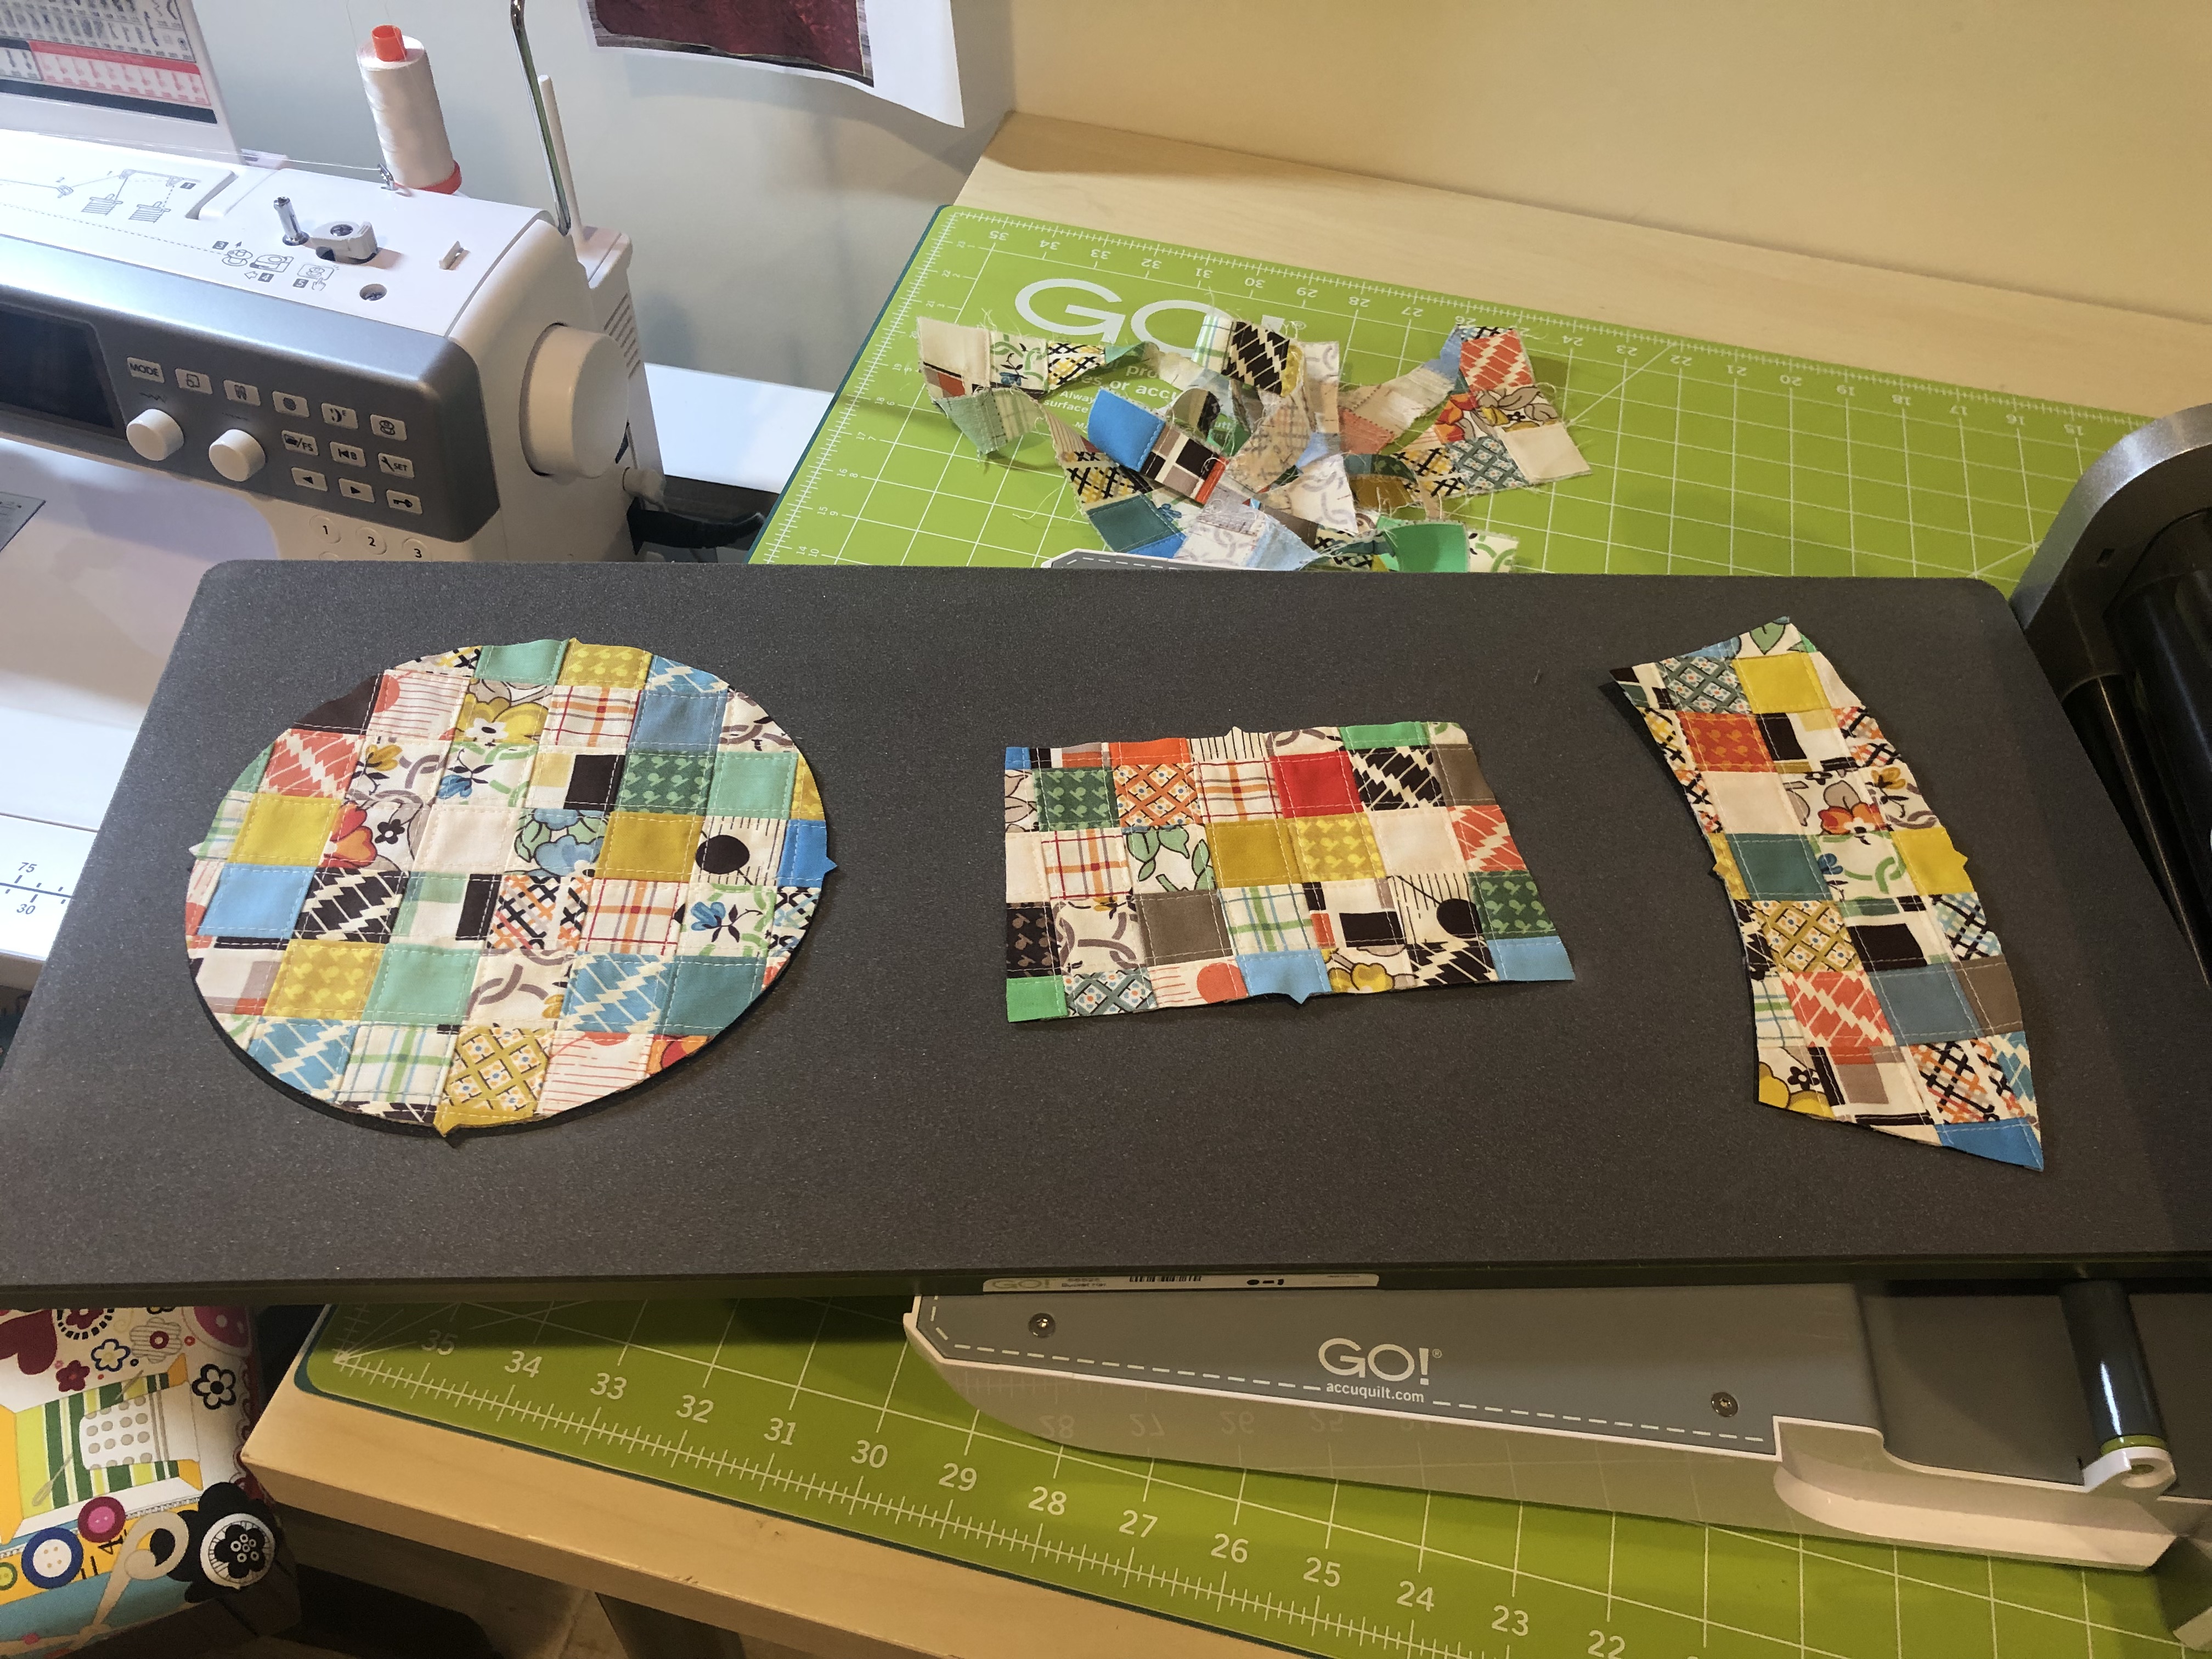
10- Lay all the pieces right sides up on the die. The 8×8 block will go on the Top. The 7×5 blocks will go on the Side blades and the 9×4 blocks will go on the Brim Blades.
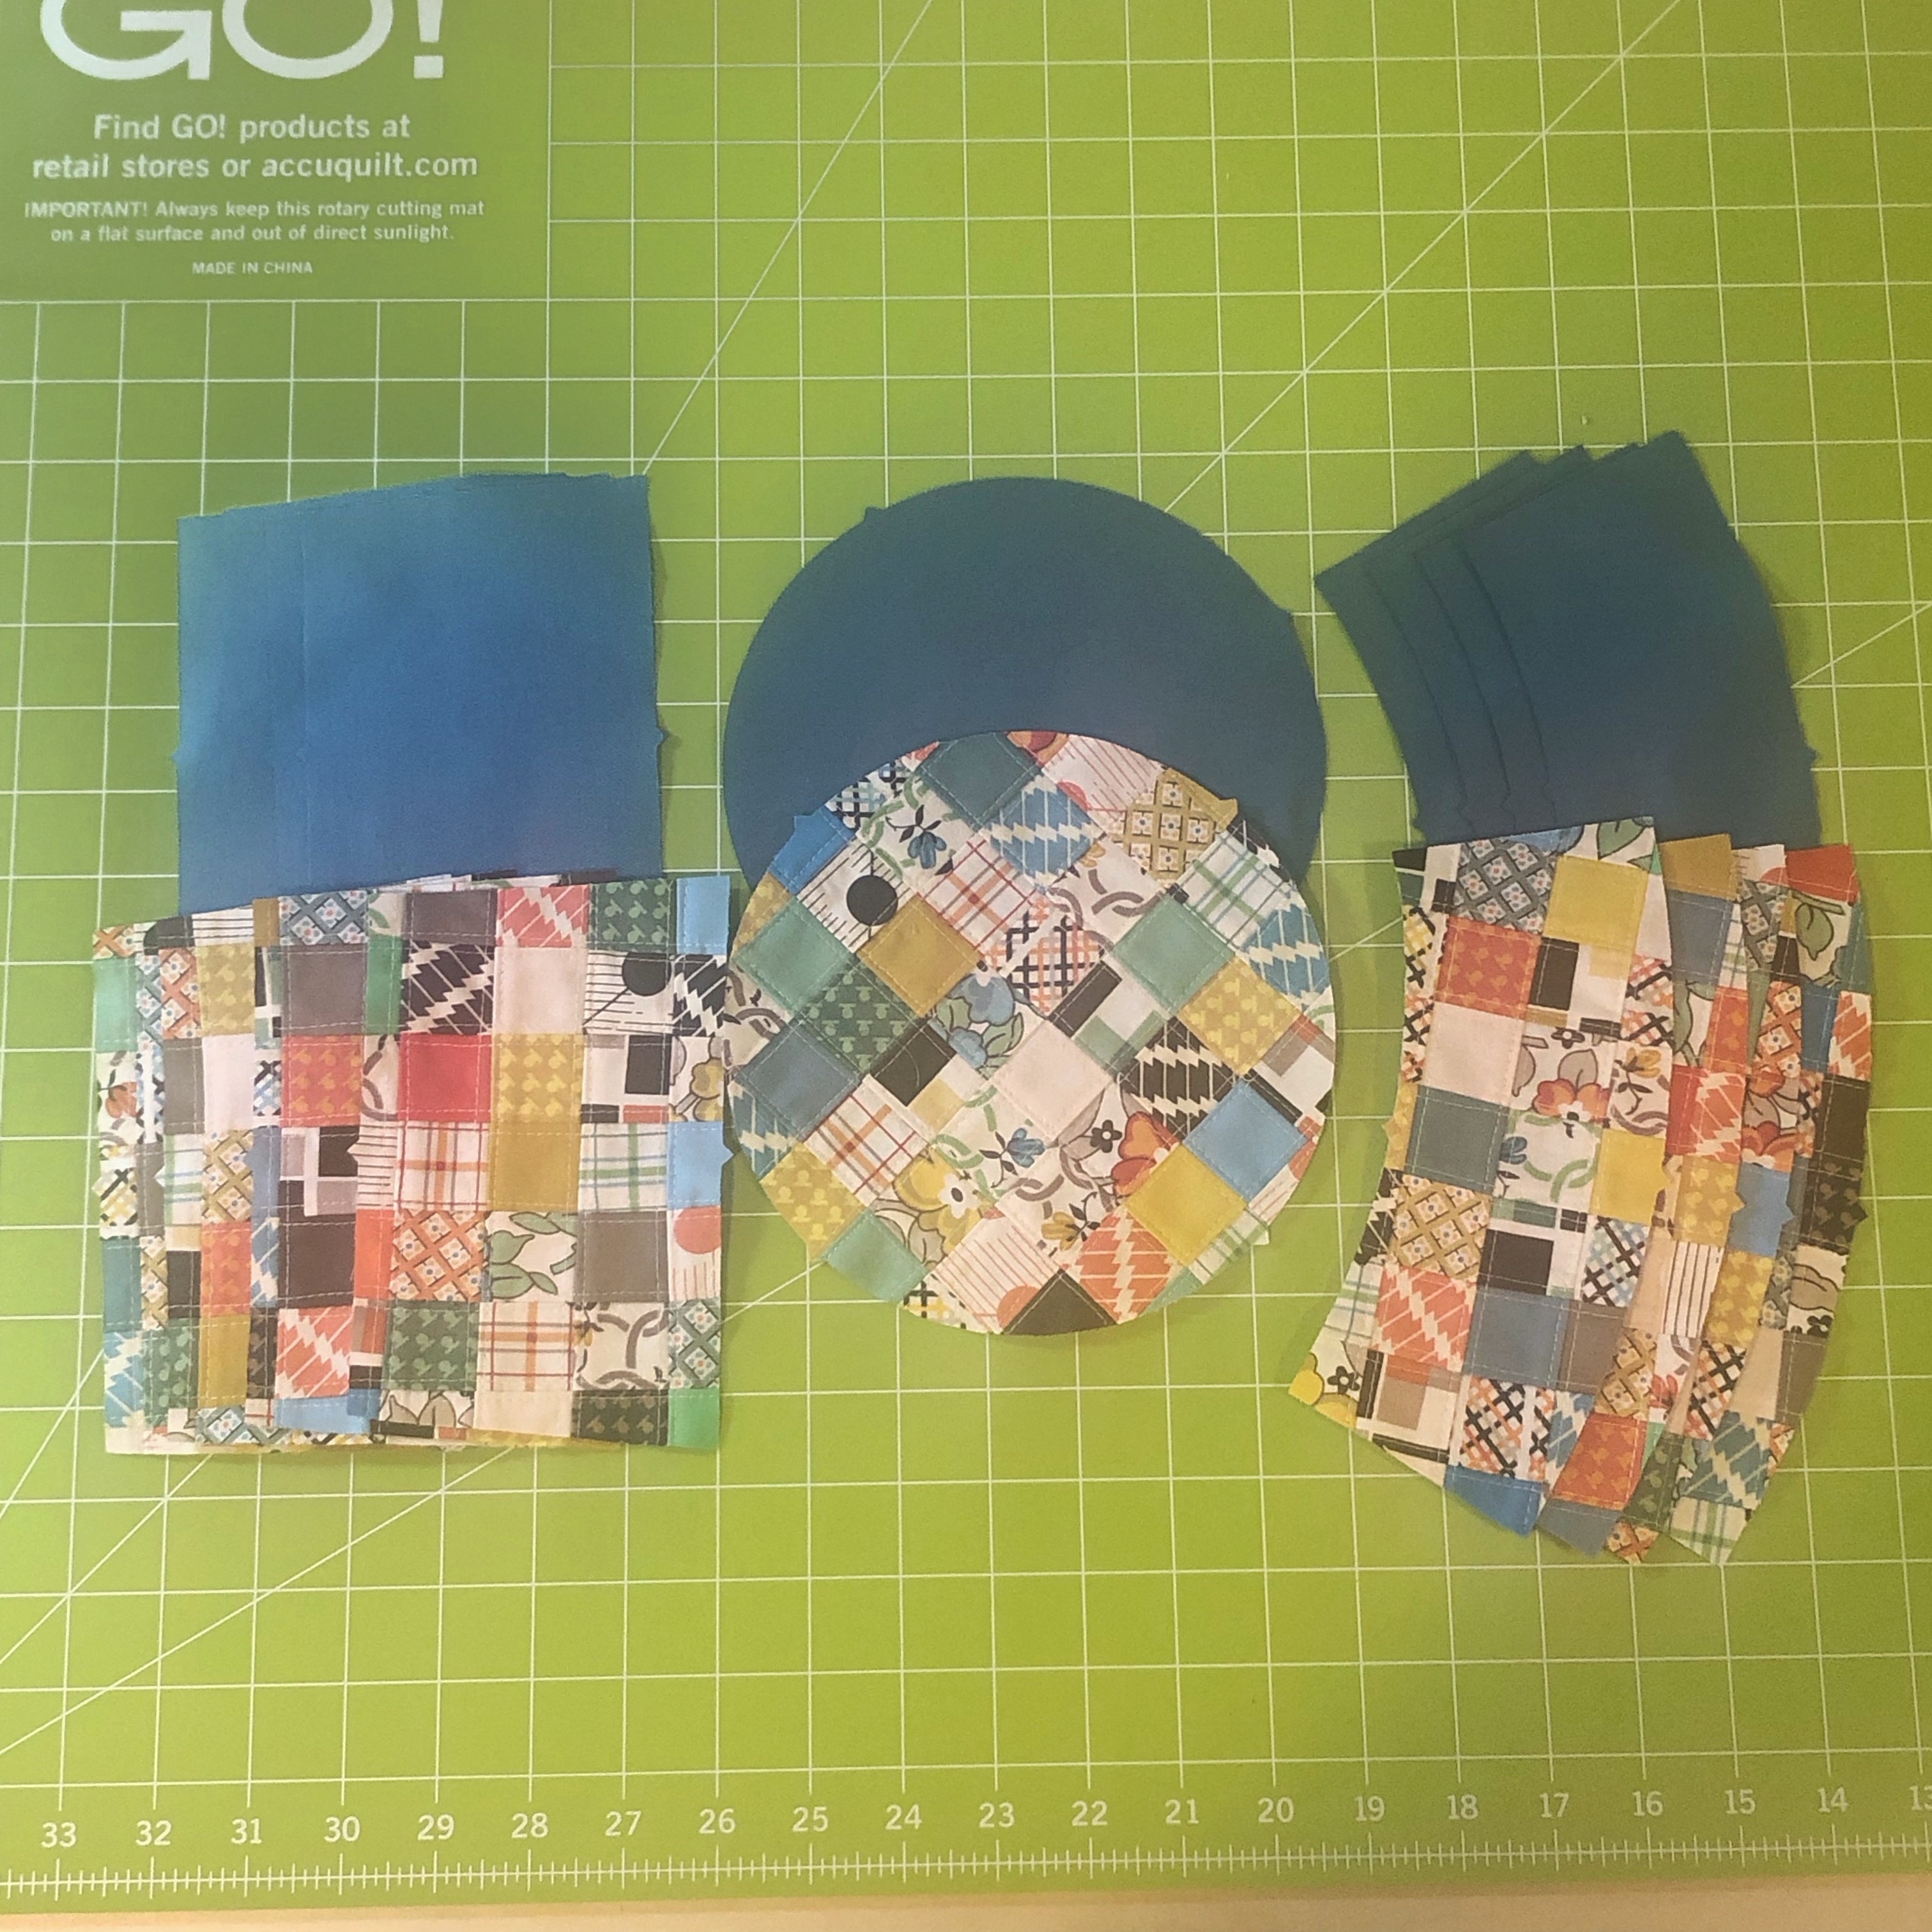
11- Cut the Lining fabric. You will need 1 Top, 4 Sides and 4 Brim pieces. Look at them looking all pretty there.
12- Continue following the directions on how to stitch these all together. But pay attention to this following photo
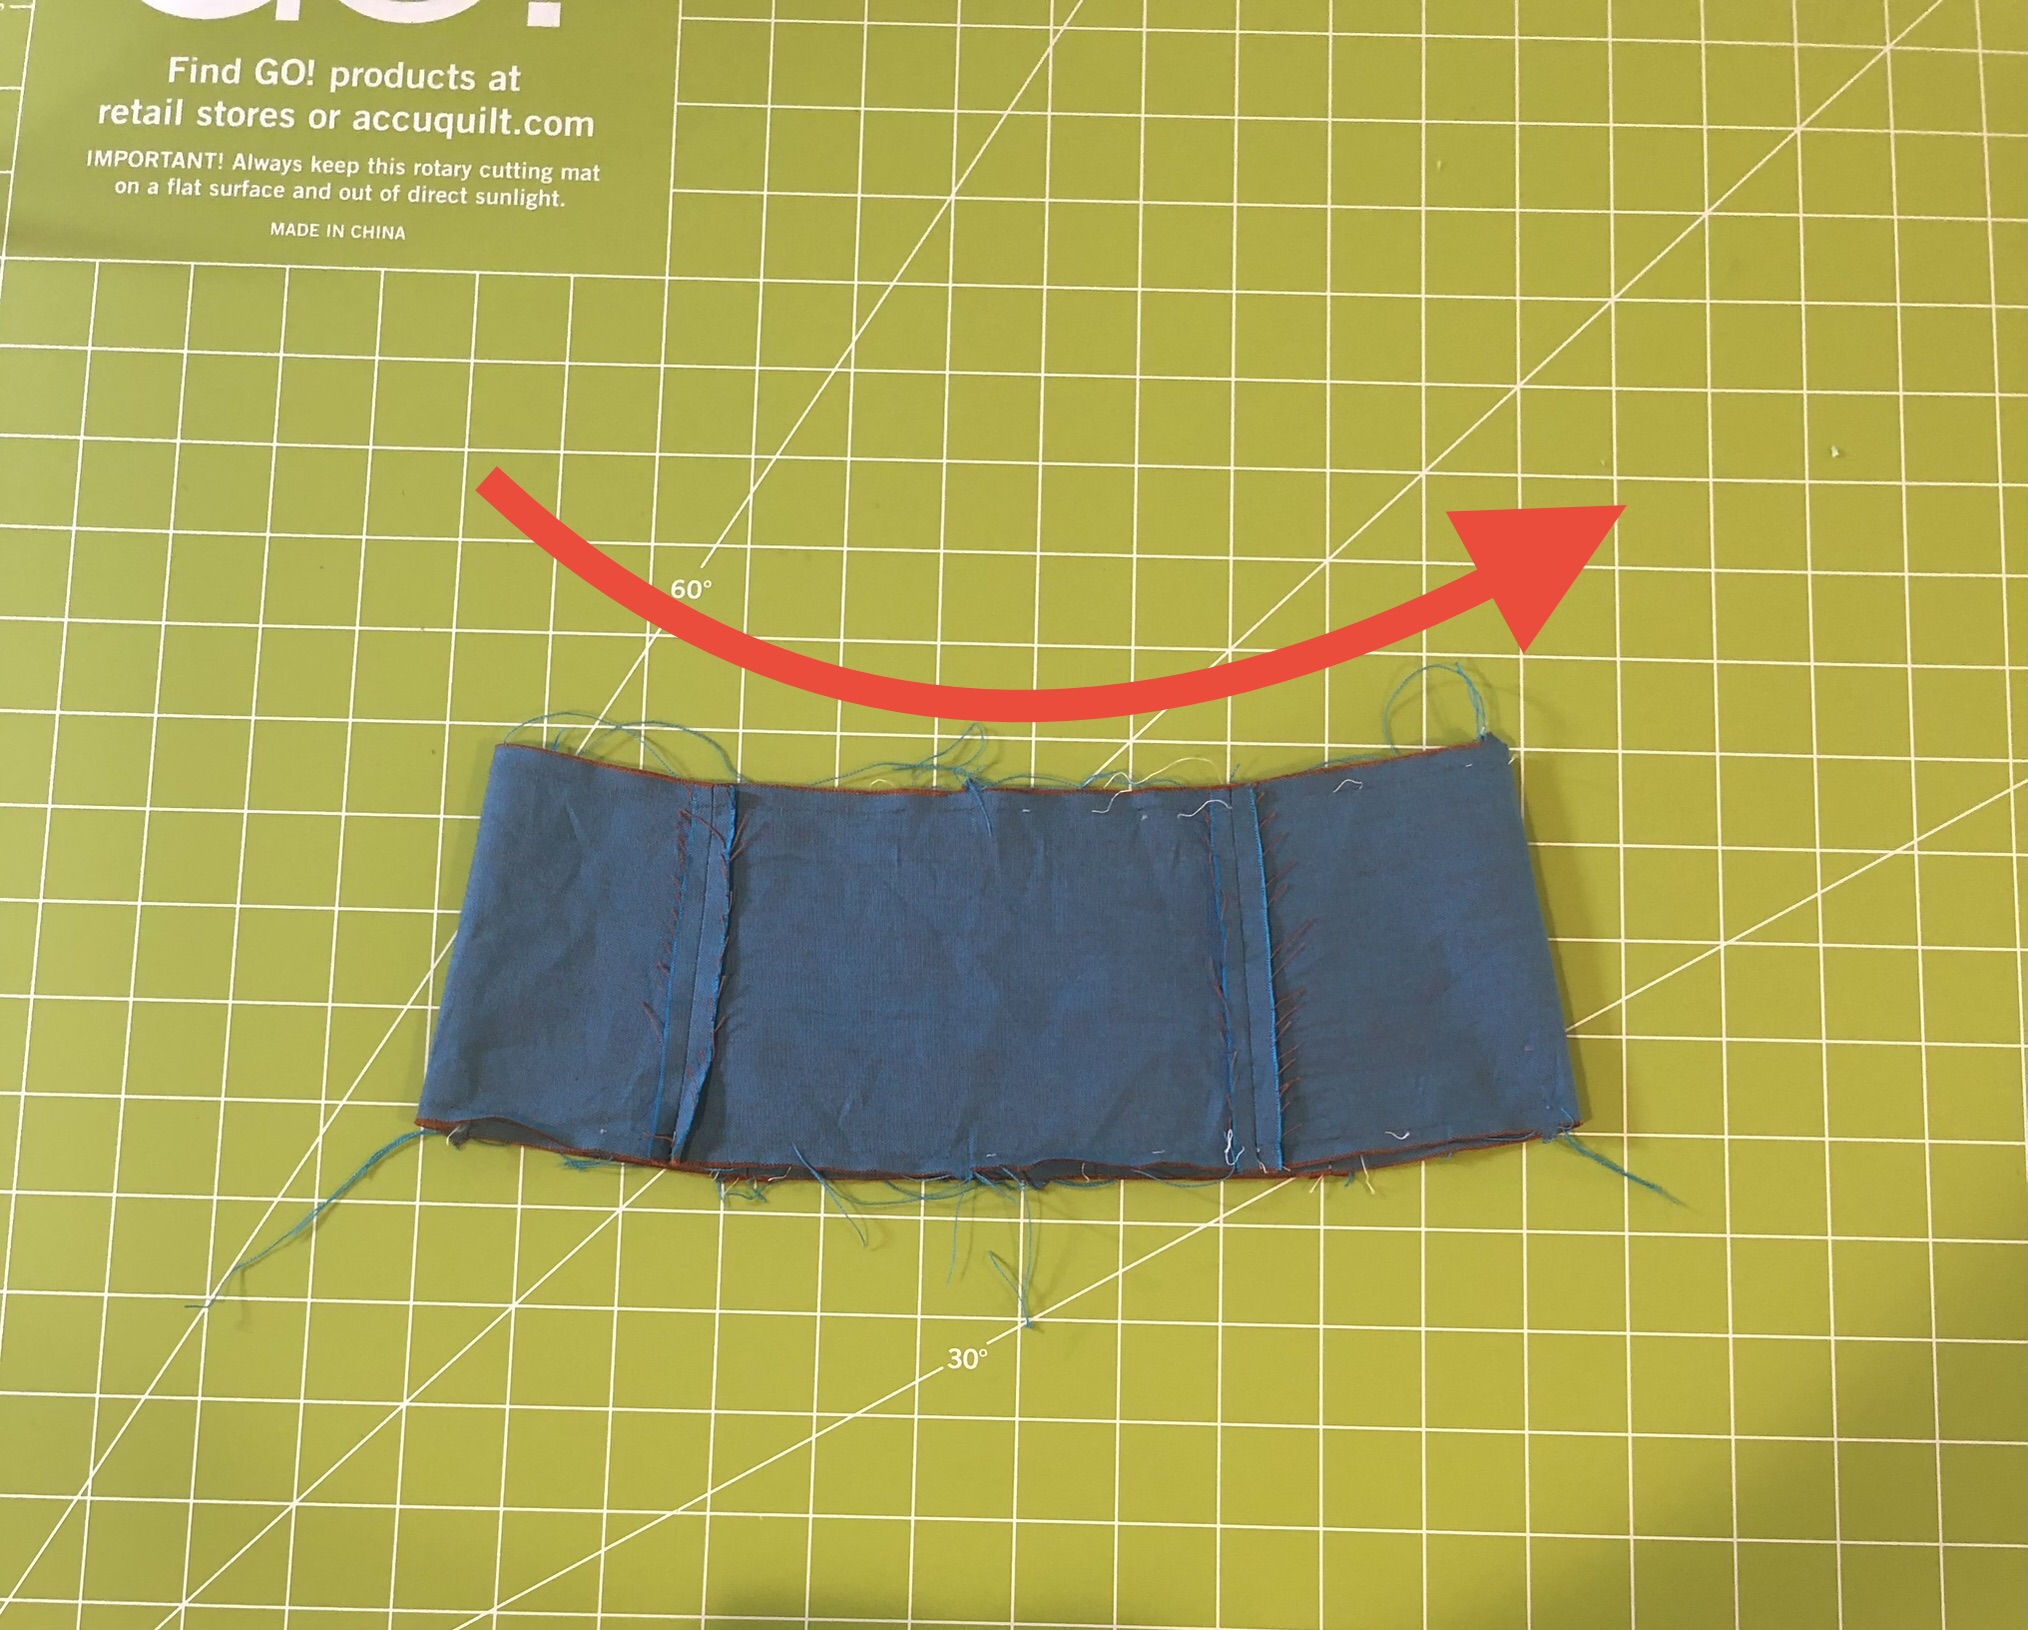
Do you see how there is a slight curve to the Side pieces after you stitched them all together? See how it curves upward in my photo? The shorter side is at the top. This is the side that gets stitched to the TOP piece. The longer side gets stitched to the BRIM piece. (sorry for all the threads, I had to unstitch this twice. oopsie)
Use pins and go slow when adding the top and brim to the side pieces and PRESS well while you go along.
I was worried that a three inch opening wasn’t going to be wide enough for this with all the patchwork, but it was plenty wide enough to turn right side out.
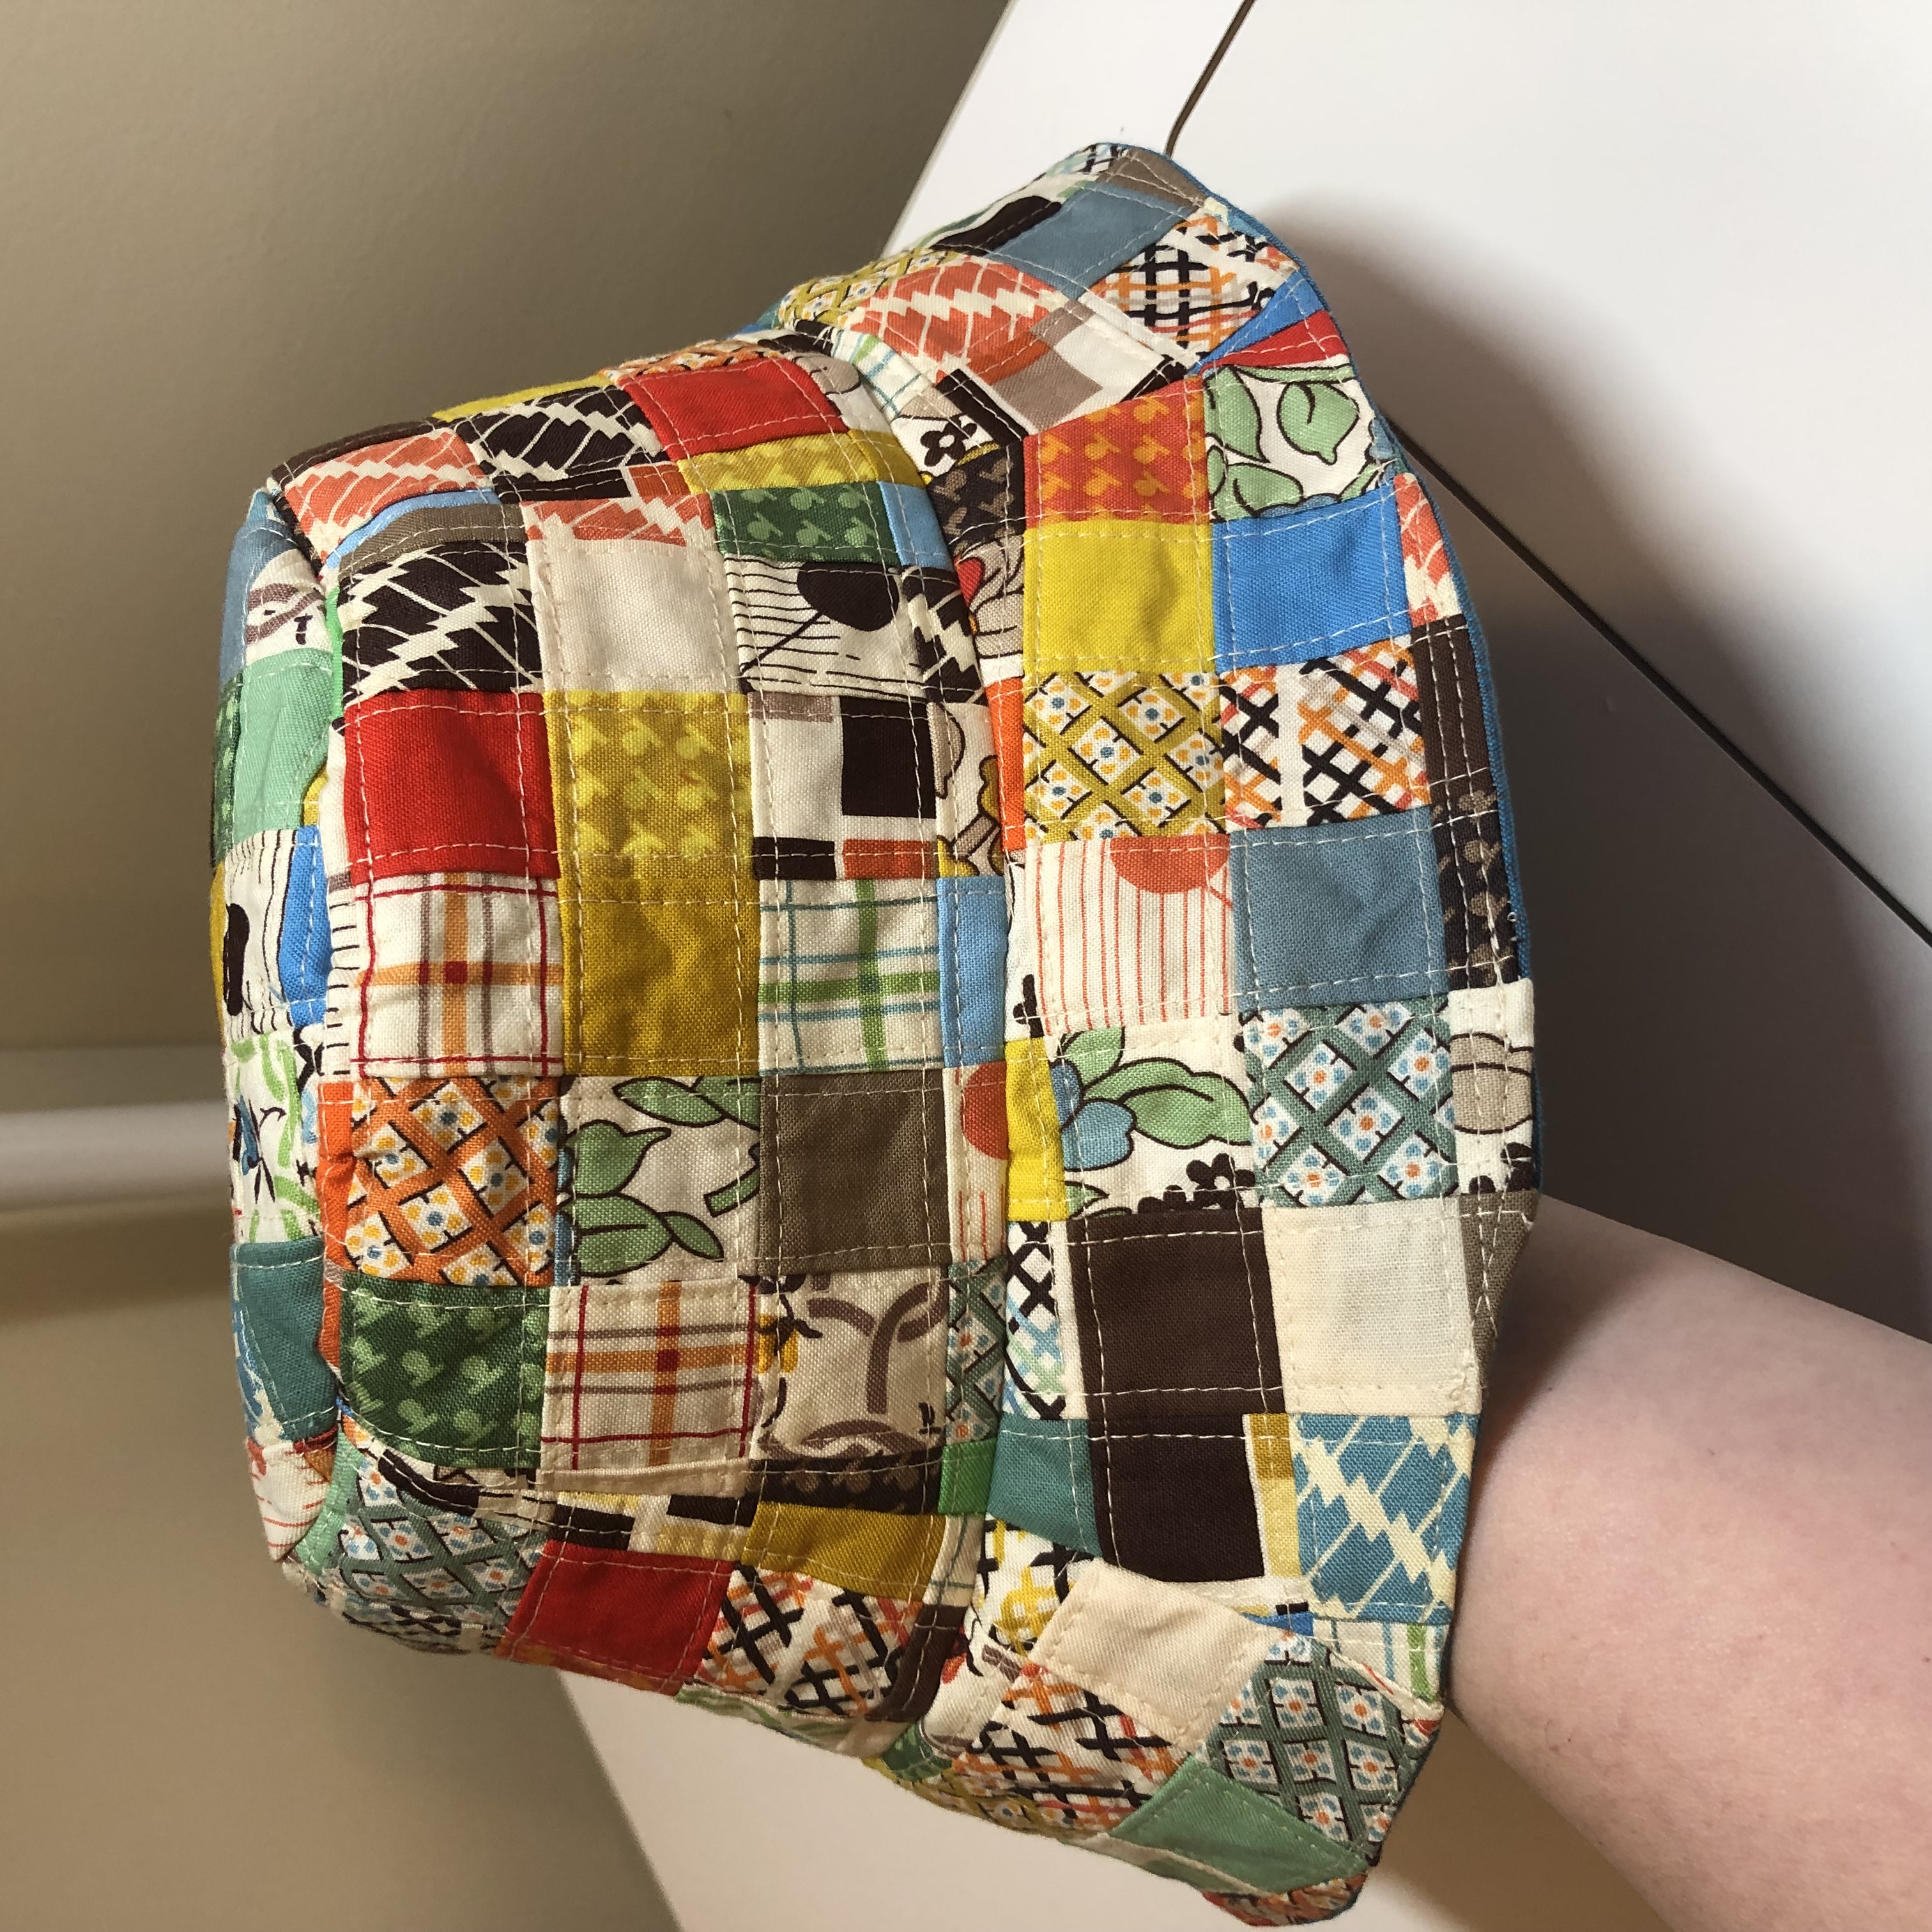
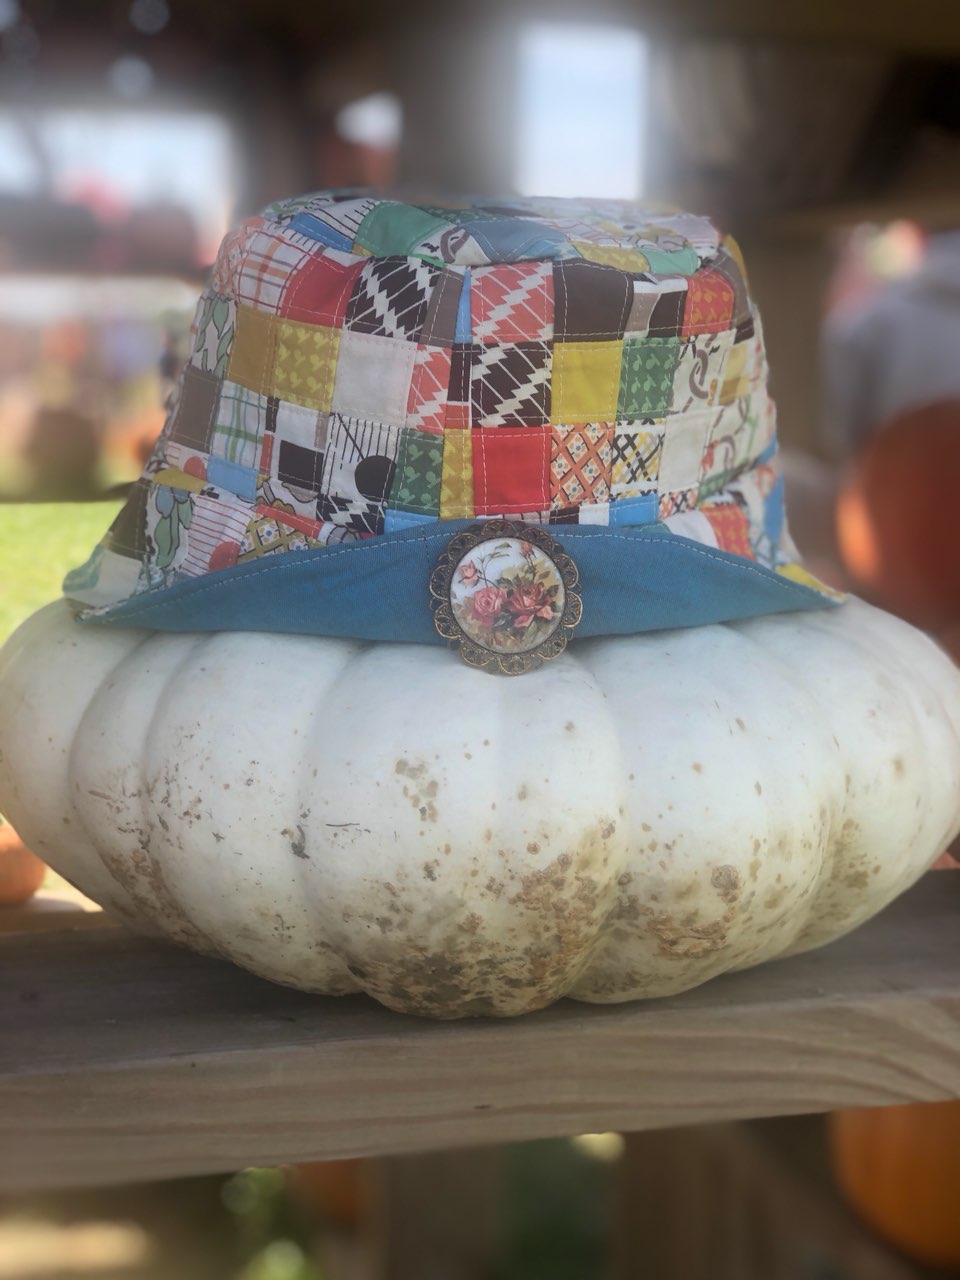
Here it is!! In all it’s glory!!! But I wasn’t quite finished with it yet.
I did some scrounging around through old jewelry boxes and found this broach to add to it.
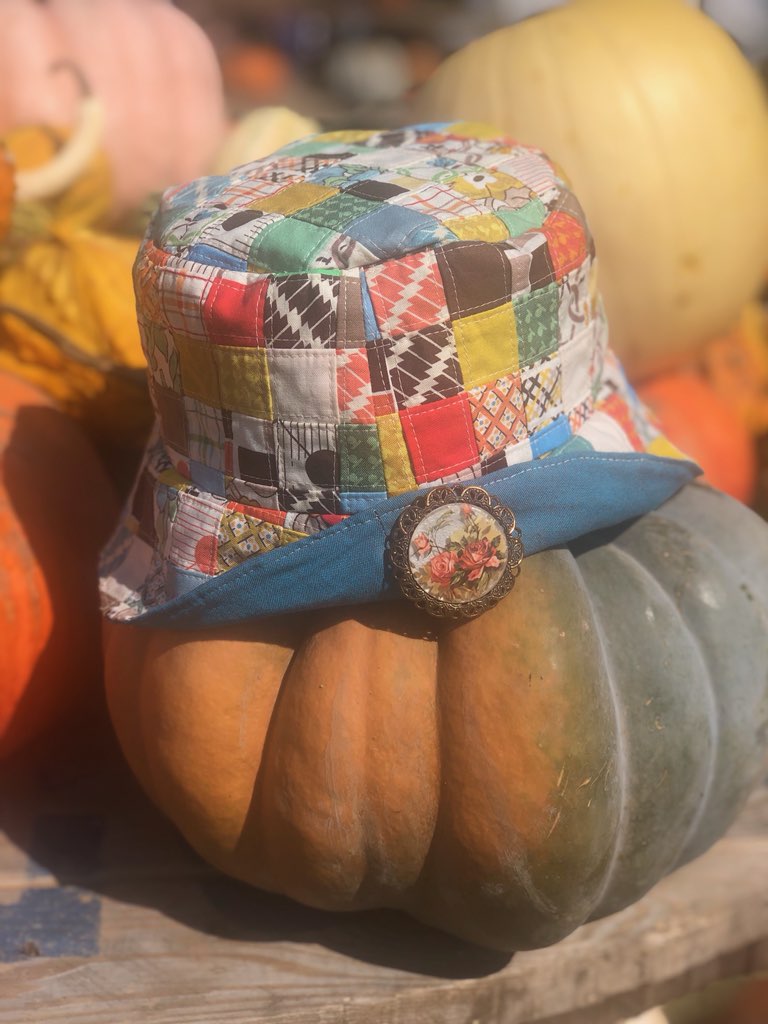
Isn’t it absolutely perfect? And, yes, I did wear it too, not just the pumpkins. Luckily Lucas agreed to play photographer for me.

So, waddya think? Are you rushing off to make one? I’ll be making another once October is over. I think this would be a great class and want to see how long it takes me to make one when I’m not stopping to photograph and write notes!
I hope you come to my Facebook page to share what you make! It’s called AccuQuilt GURU Lissa. Please stop by and say hi!
I really can’t wait to see what you make!
Lovingly,
Lissa
*most if not all links on my blog are affiliate links. This means I will get a small commission if/when you make a purchase at no additional cost to you. This $ helps keep me in business to create this blog and tutorials for you!