Crossroads Quilt Along · Sew Sampler · Uncategorized

A double post

Two fantastic things to show you all this post.

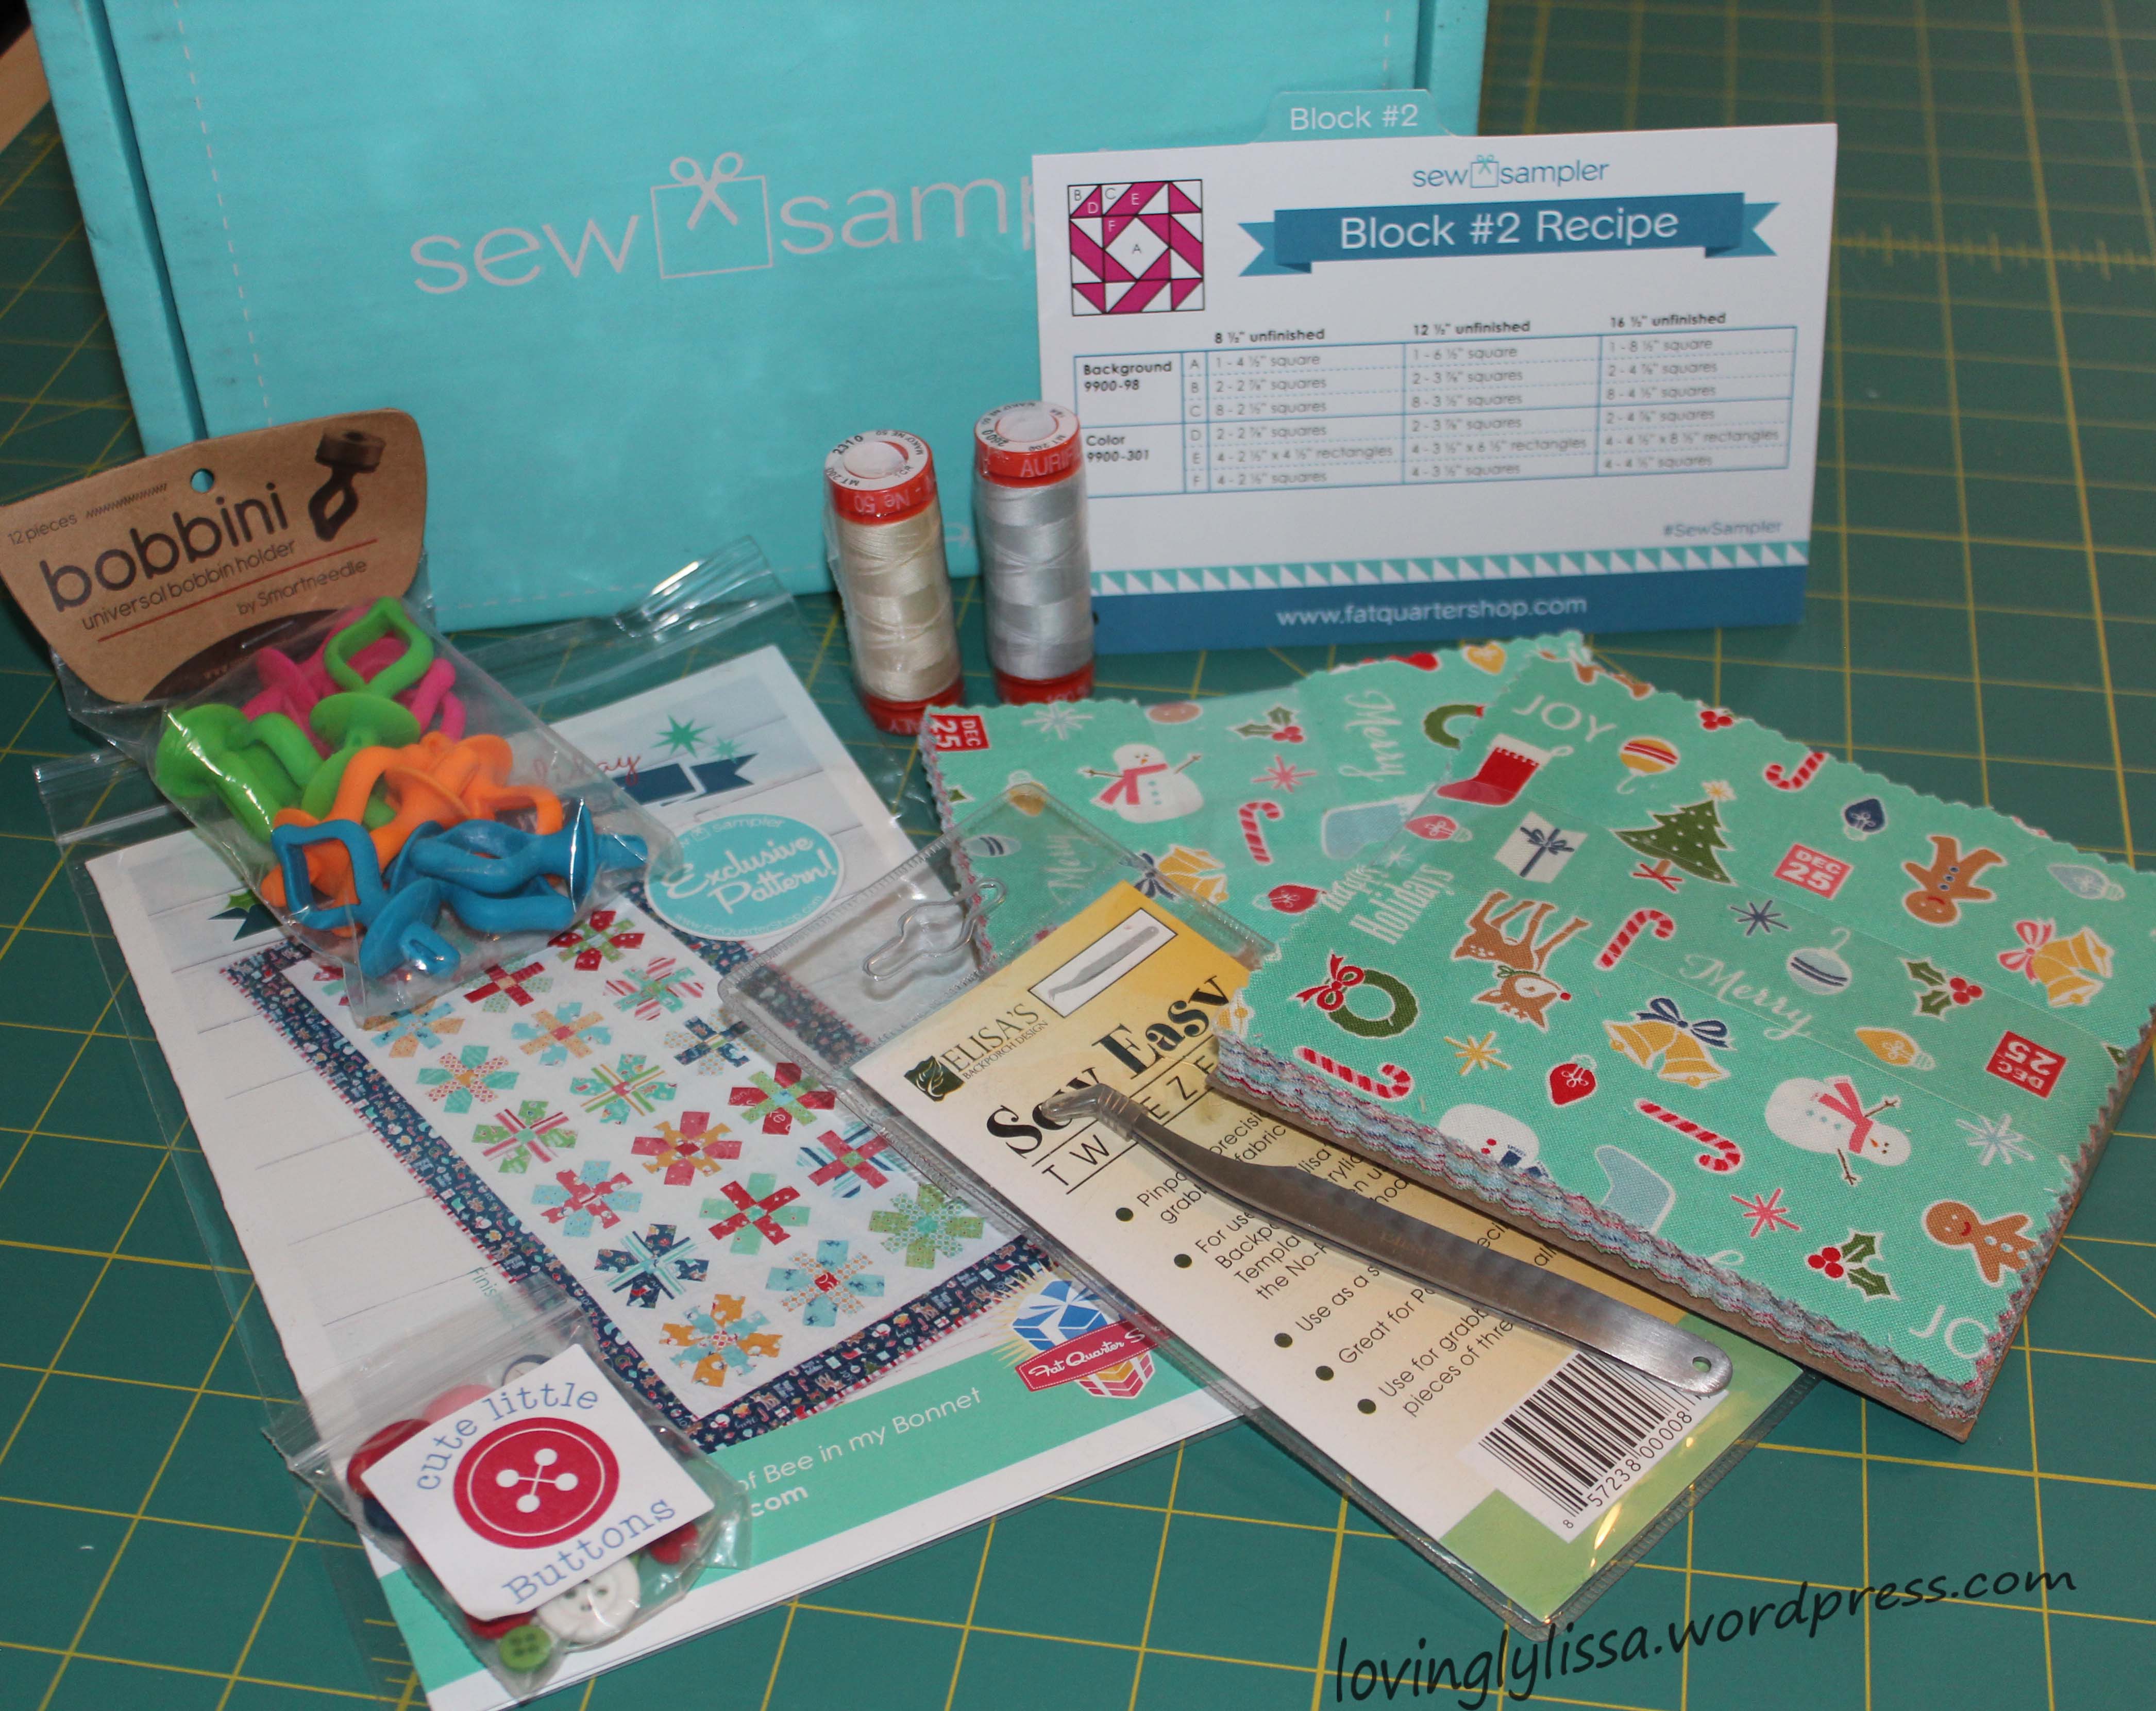
First, my second ever Sew Sampler box from Fat Quarter Shop has arrived.

Once again, Kimberly Jolly has read my mind on things I need or want to try.  I’ve been looking at different ways to store bobbins and can’t wait to try the Bobbini out. I keep hearing about Aurifil thread and want to test it out and here are two spools of it.  A guild I belong to has asked for handmade Christmas ornaments for a charity fundraiser, the fabrics in this month’s box will be put to good use.

sewsampler

I love the little ‘extra’ in the box.  Last month was a crossword, this month a coloring sheet.

color

What a relaxing way to end a day!

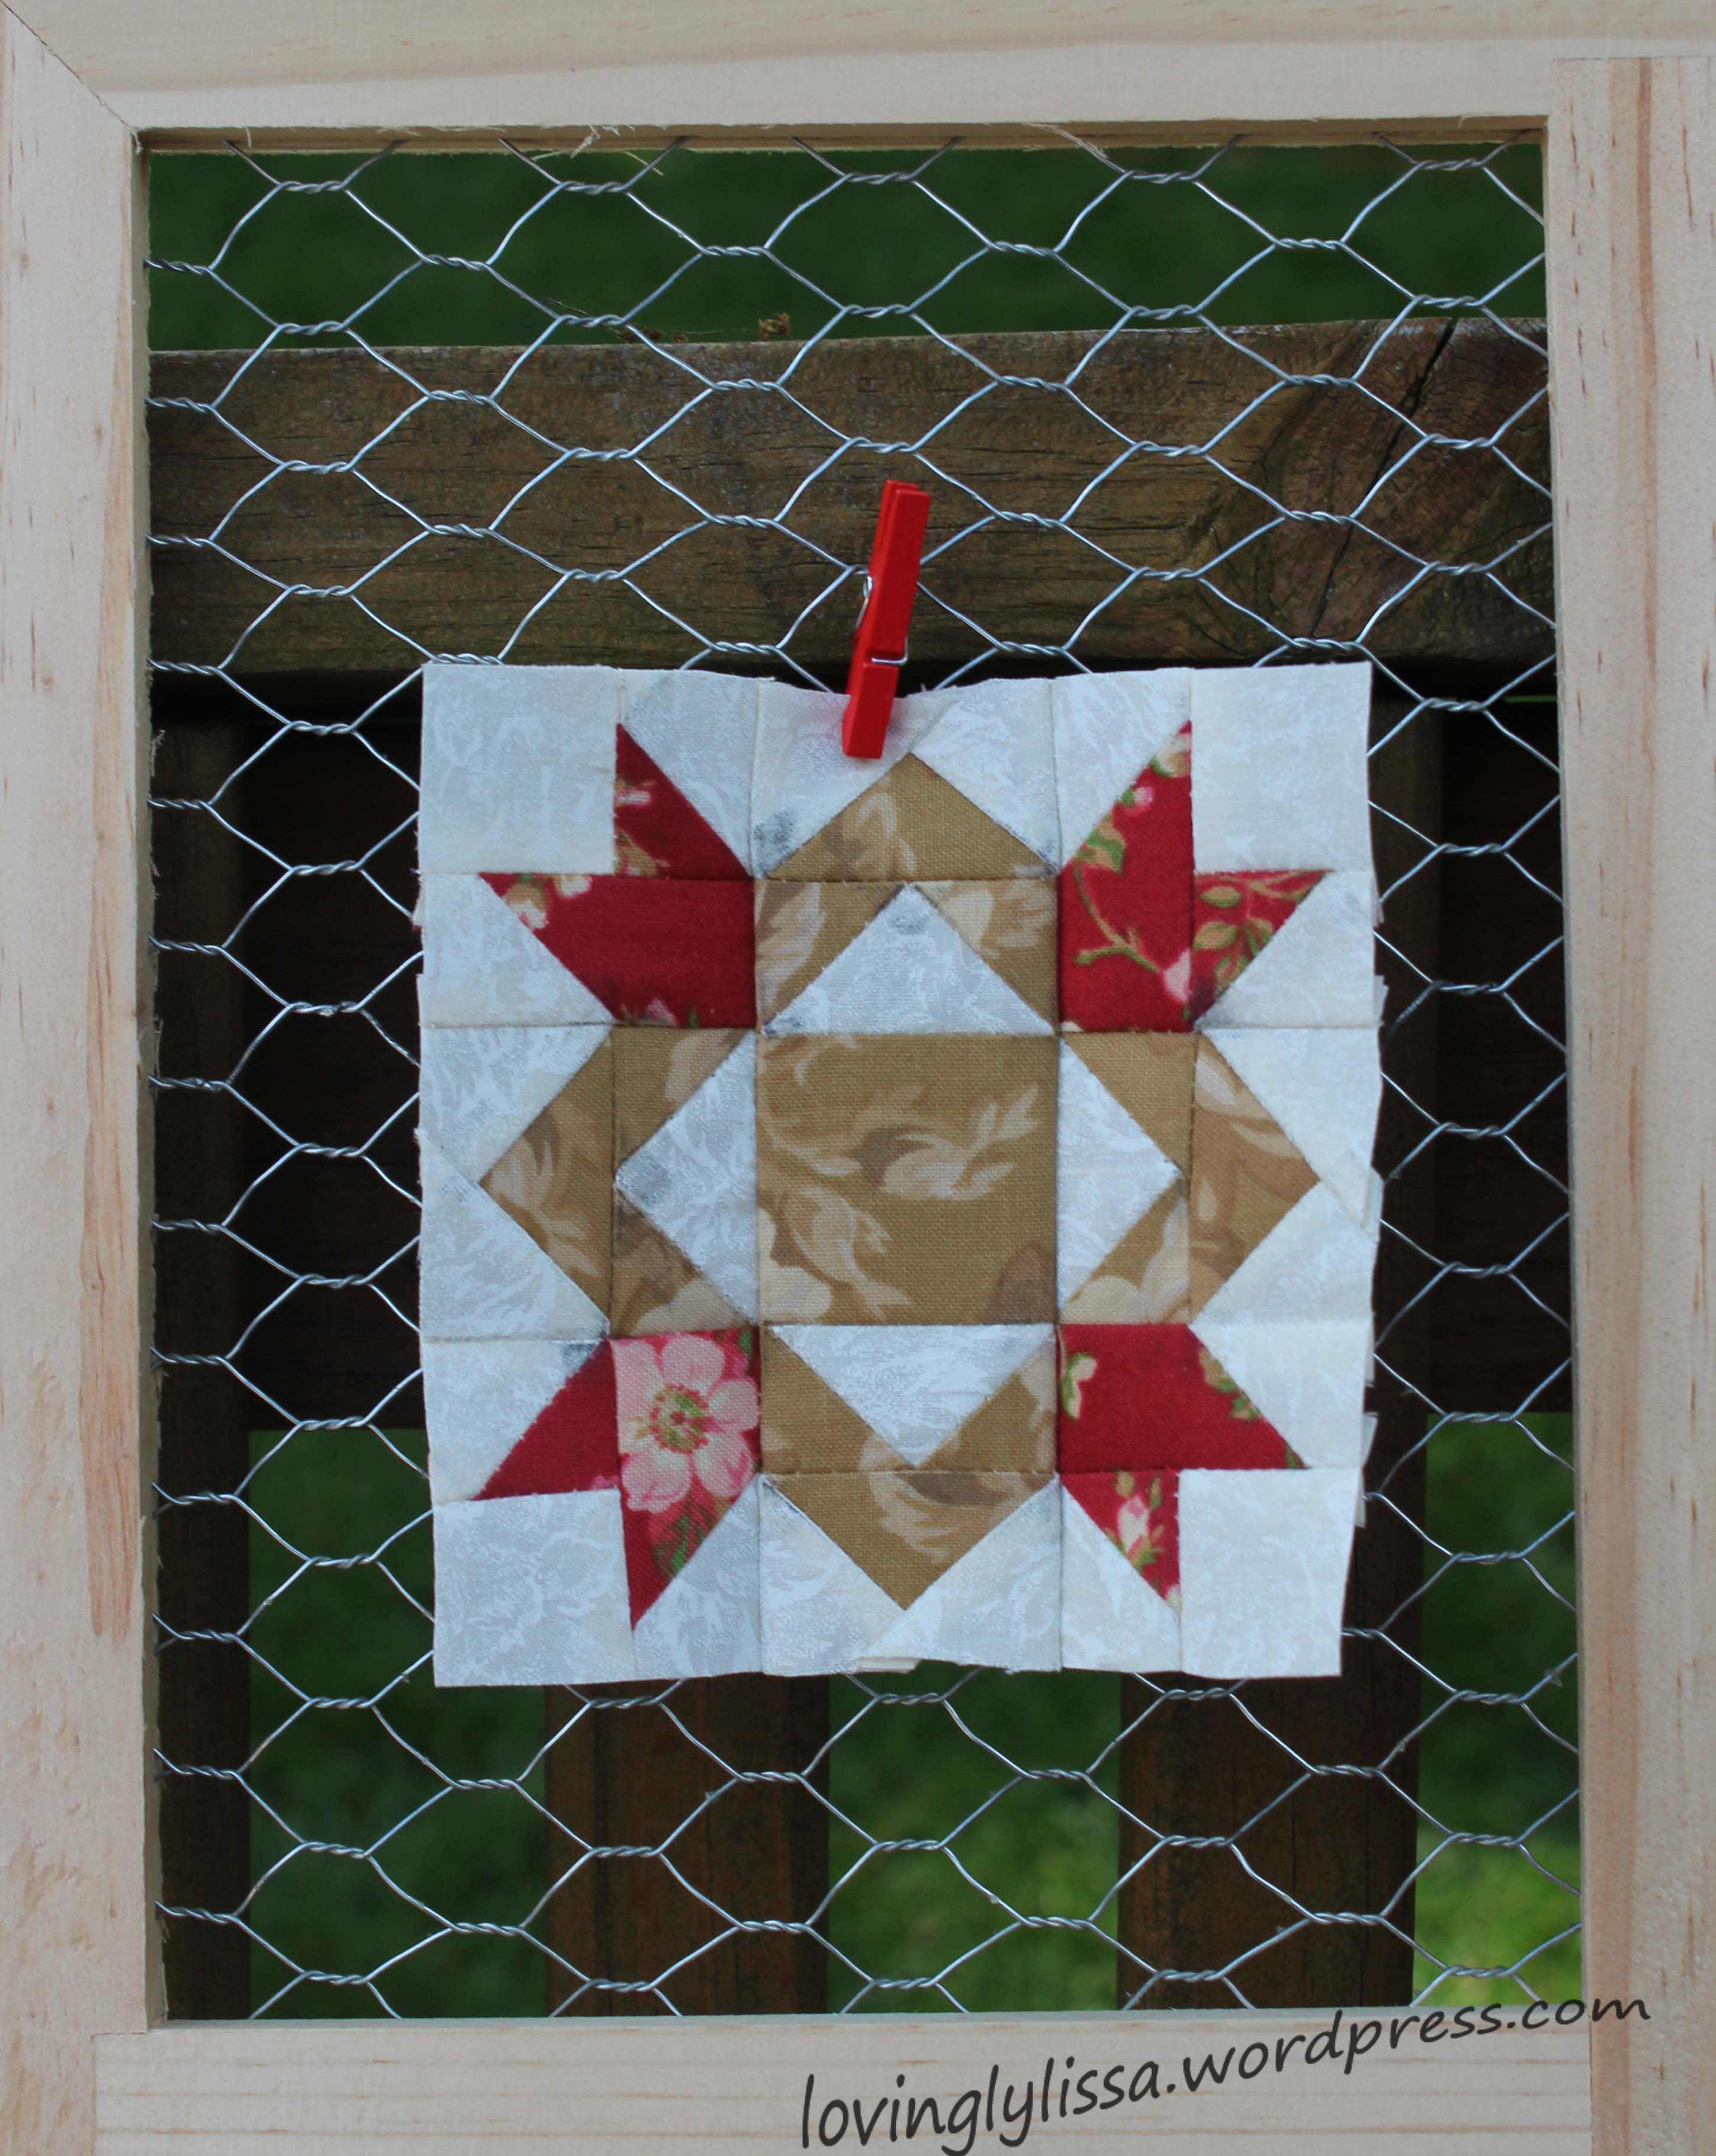
Also this post brings a new mini for the Crossroads Quilt Along by Sondra Davison of Out of the Blue Quilts.

maymini

I’m in love with my color choices for this and can not wait to see a finished product.

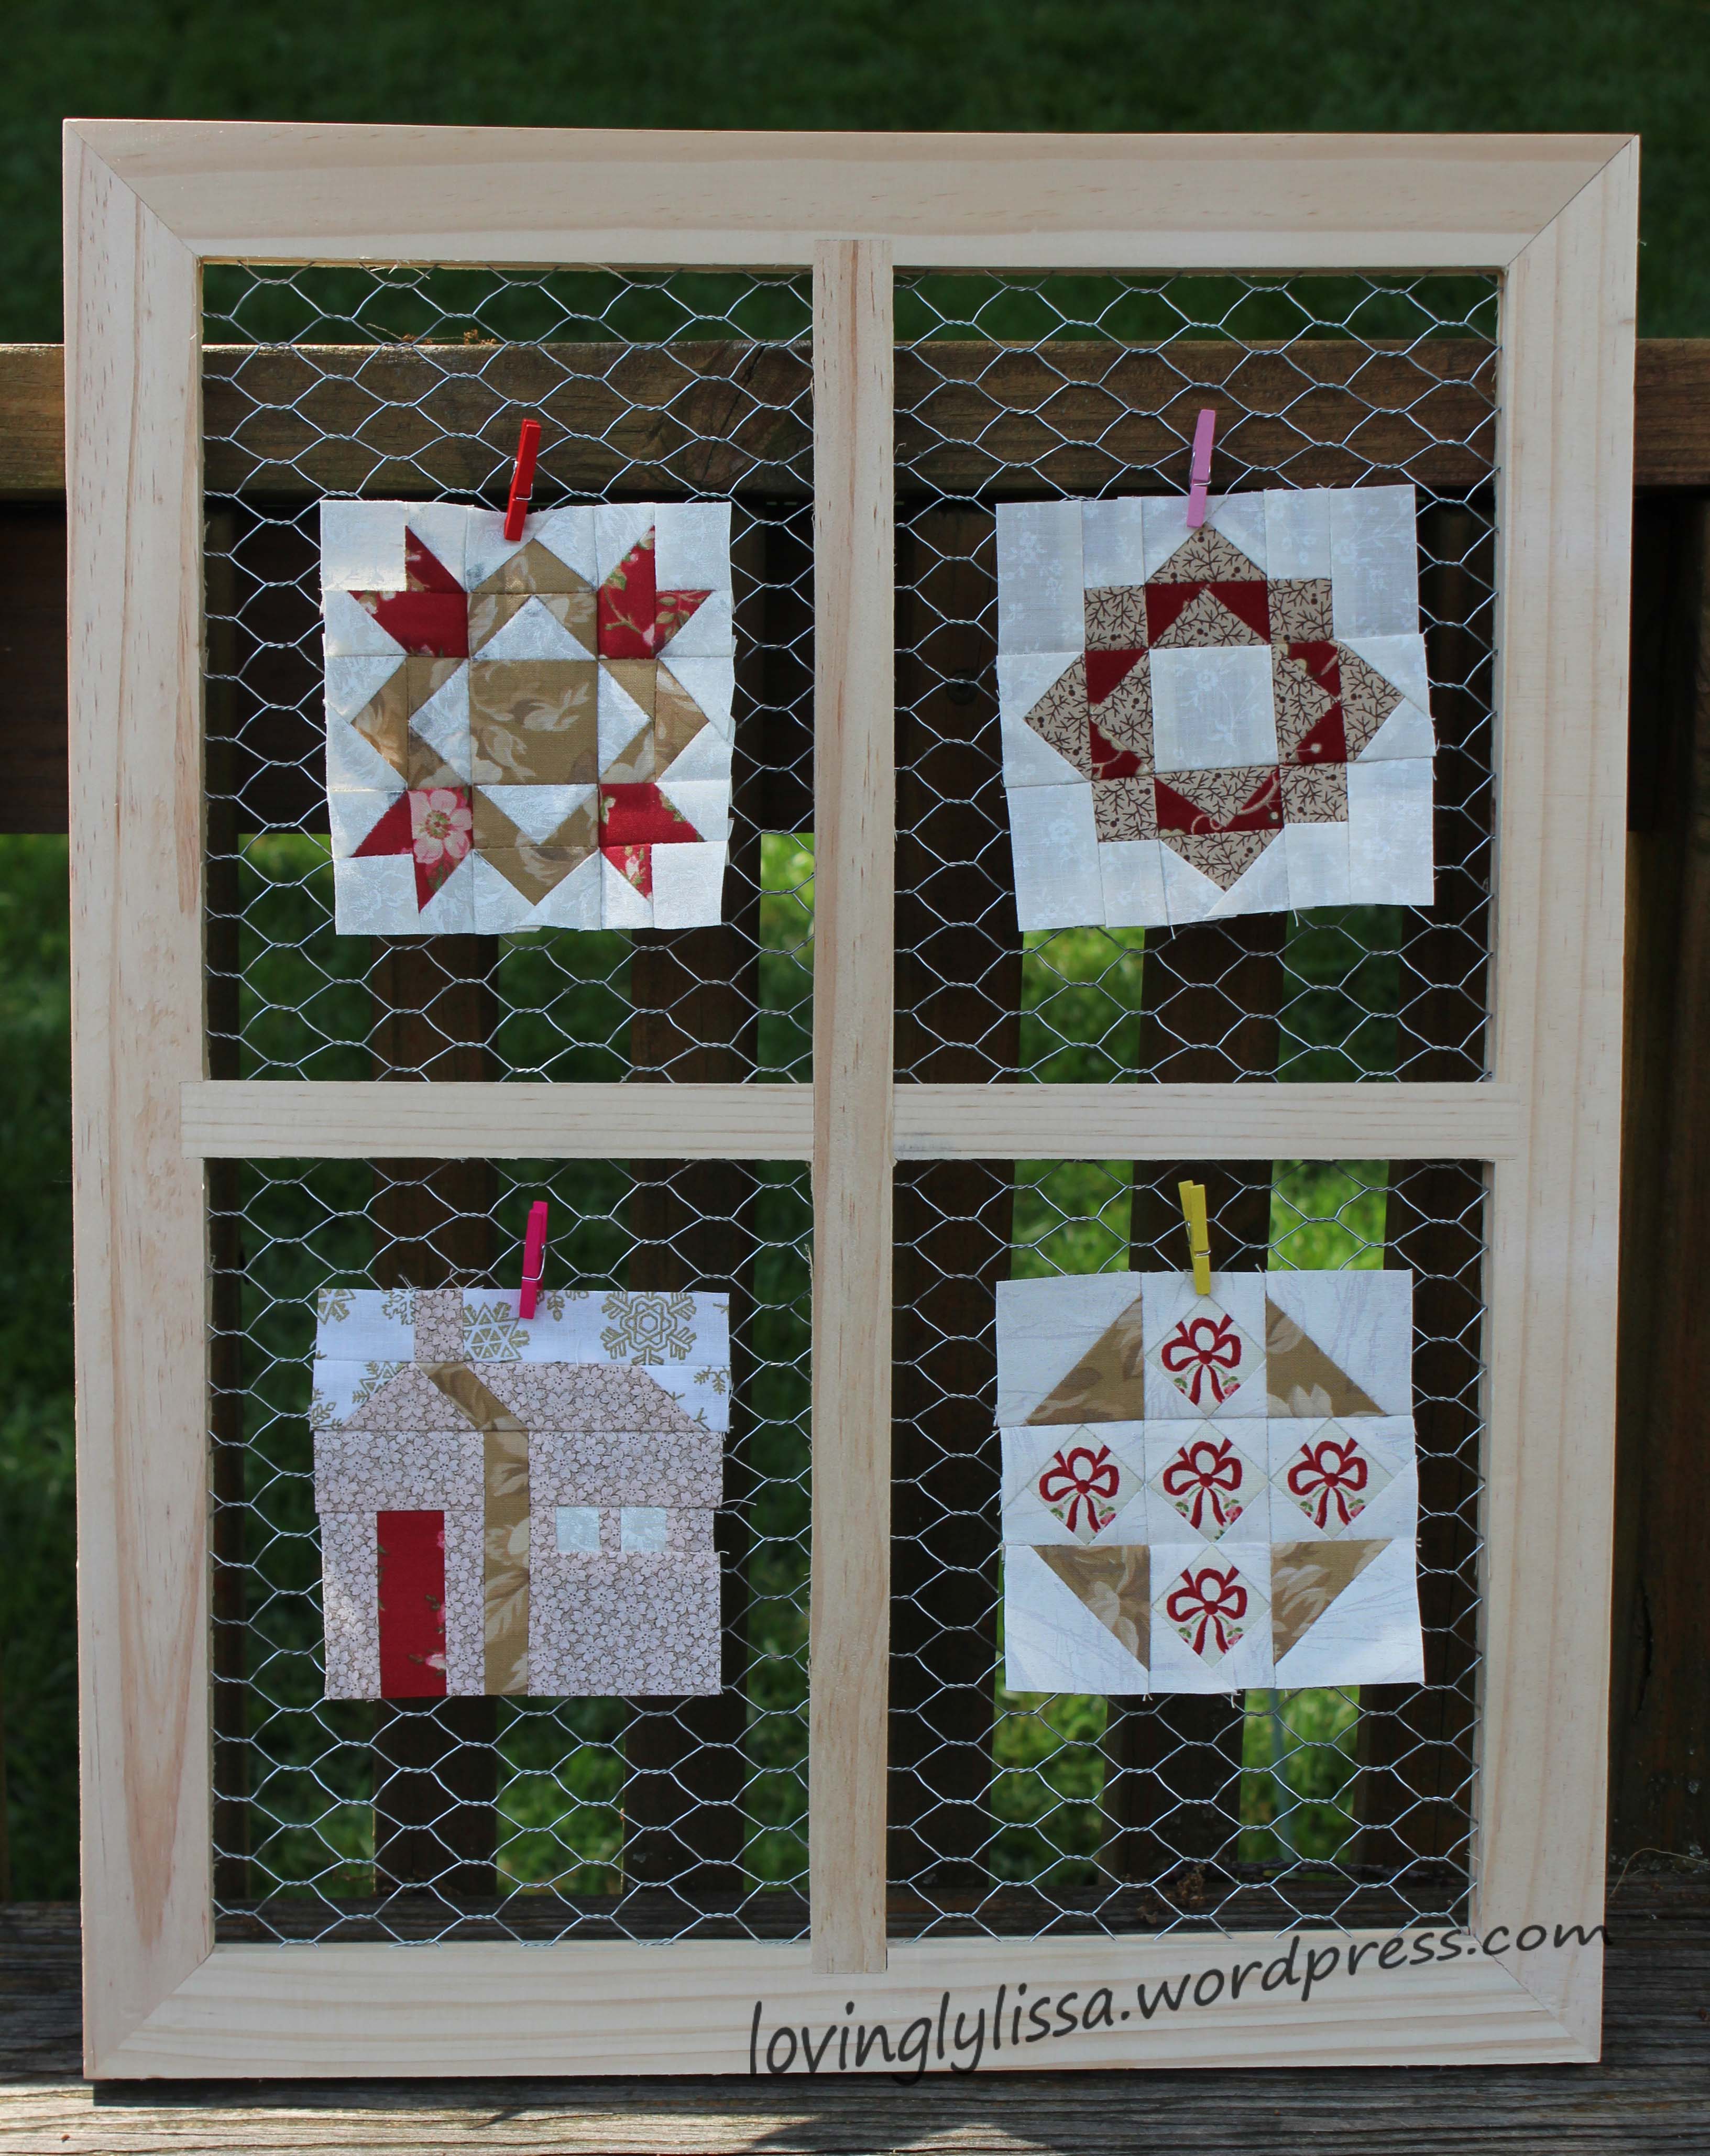
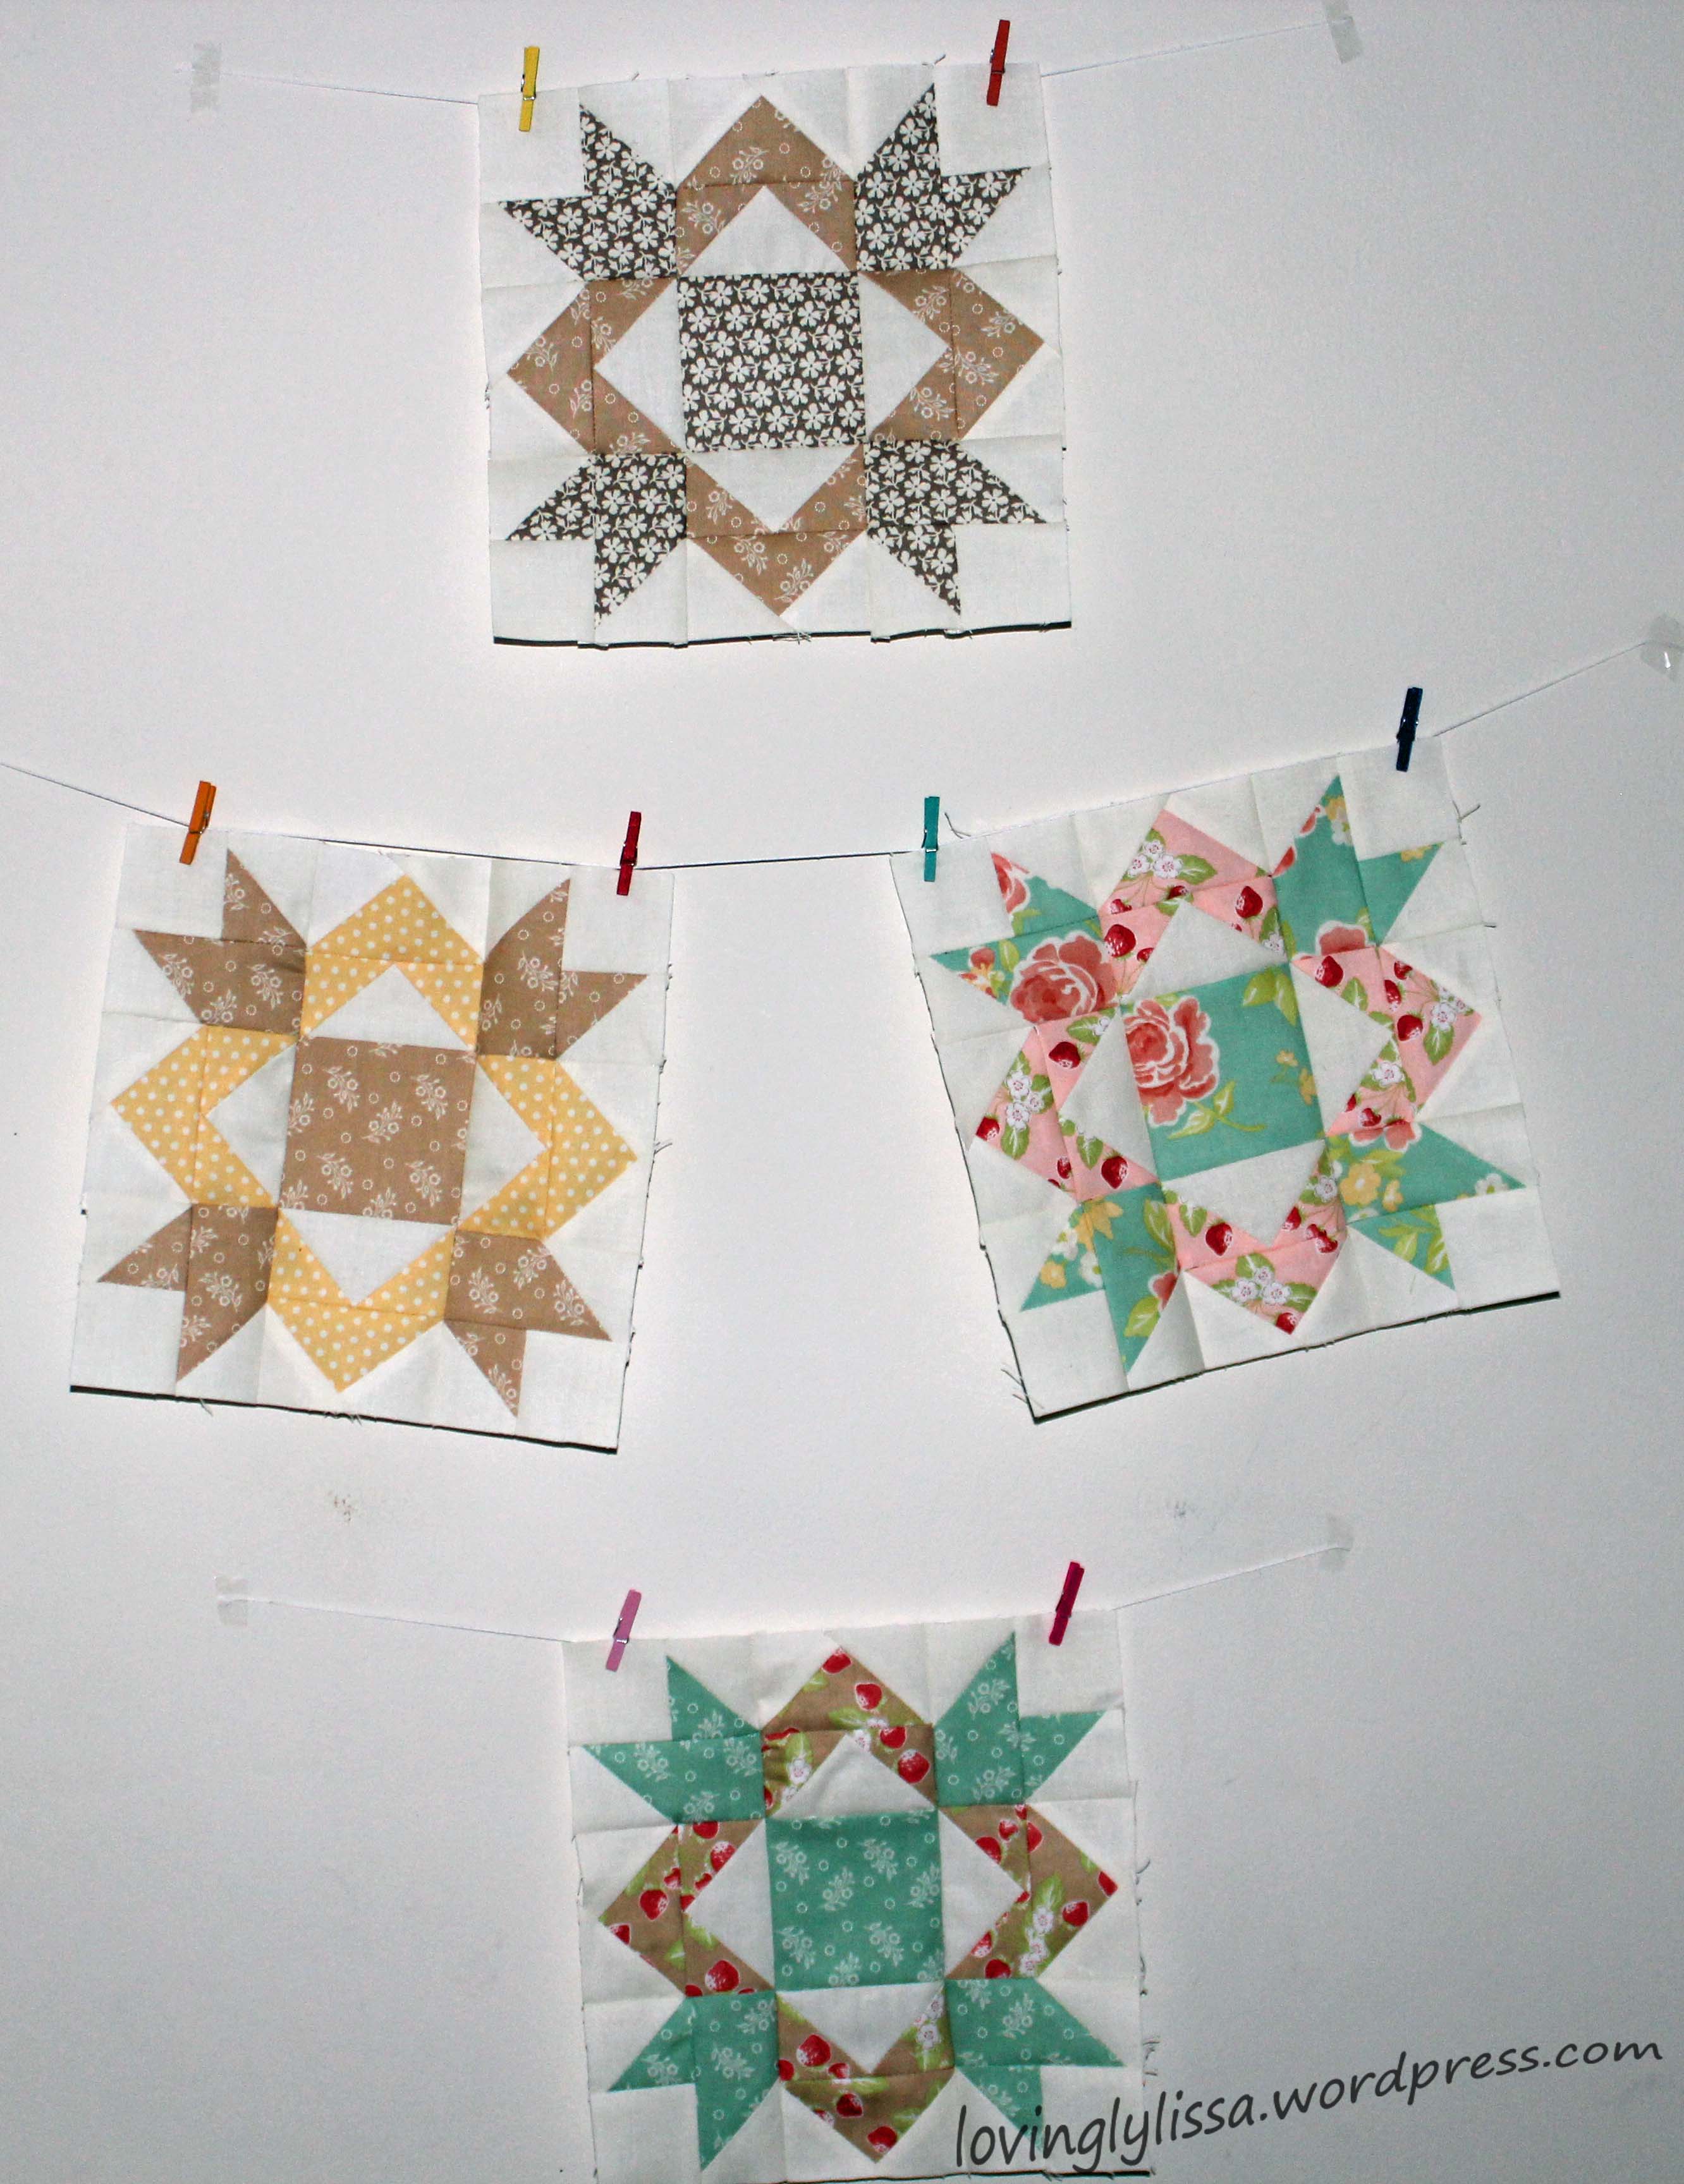
Here are the four I have made so far;

4minis


This post will be my last regular post till the end of August.  My kids are all out of school for the summer and I cannot guarantee time in my craft room when they are  home.  I will post as I complete projects but I know it won’t be twice weekly.

Enjoy your Summer!

Lovingly,

Lissa

Crossroads Quilt Along · Uncategorized

May Crossroads

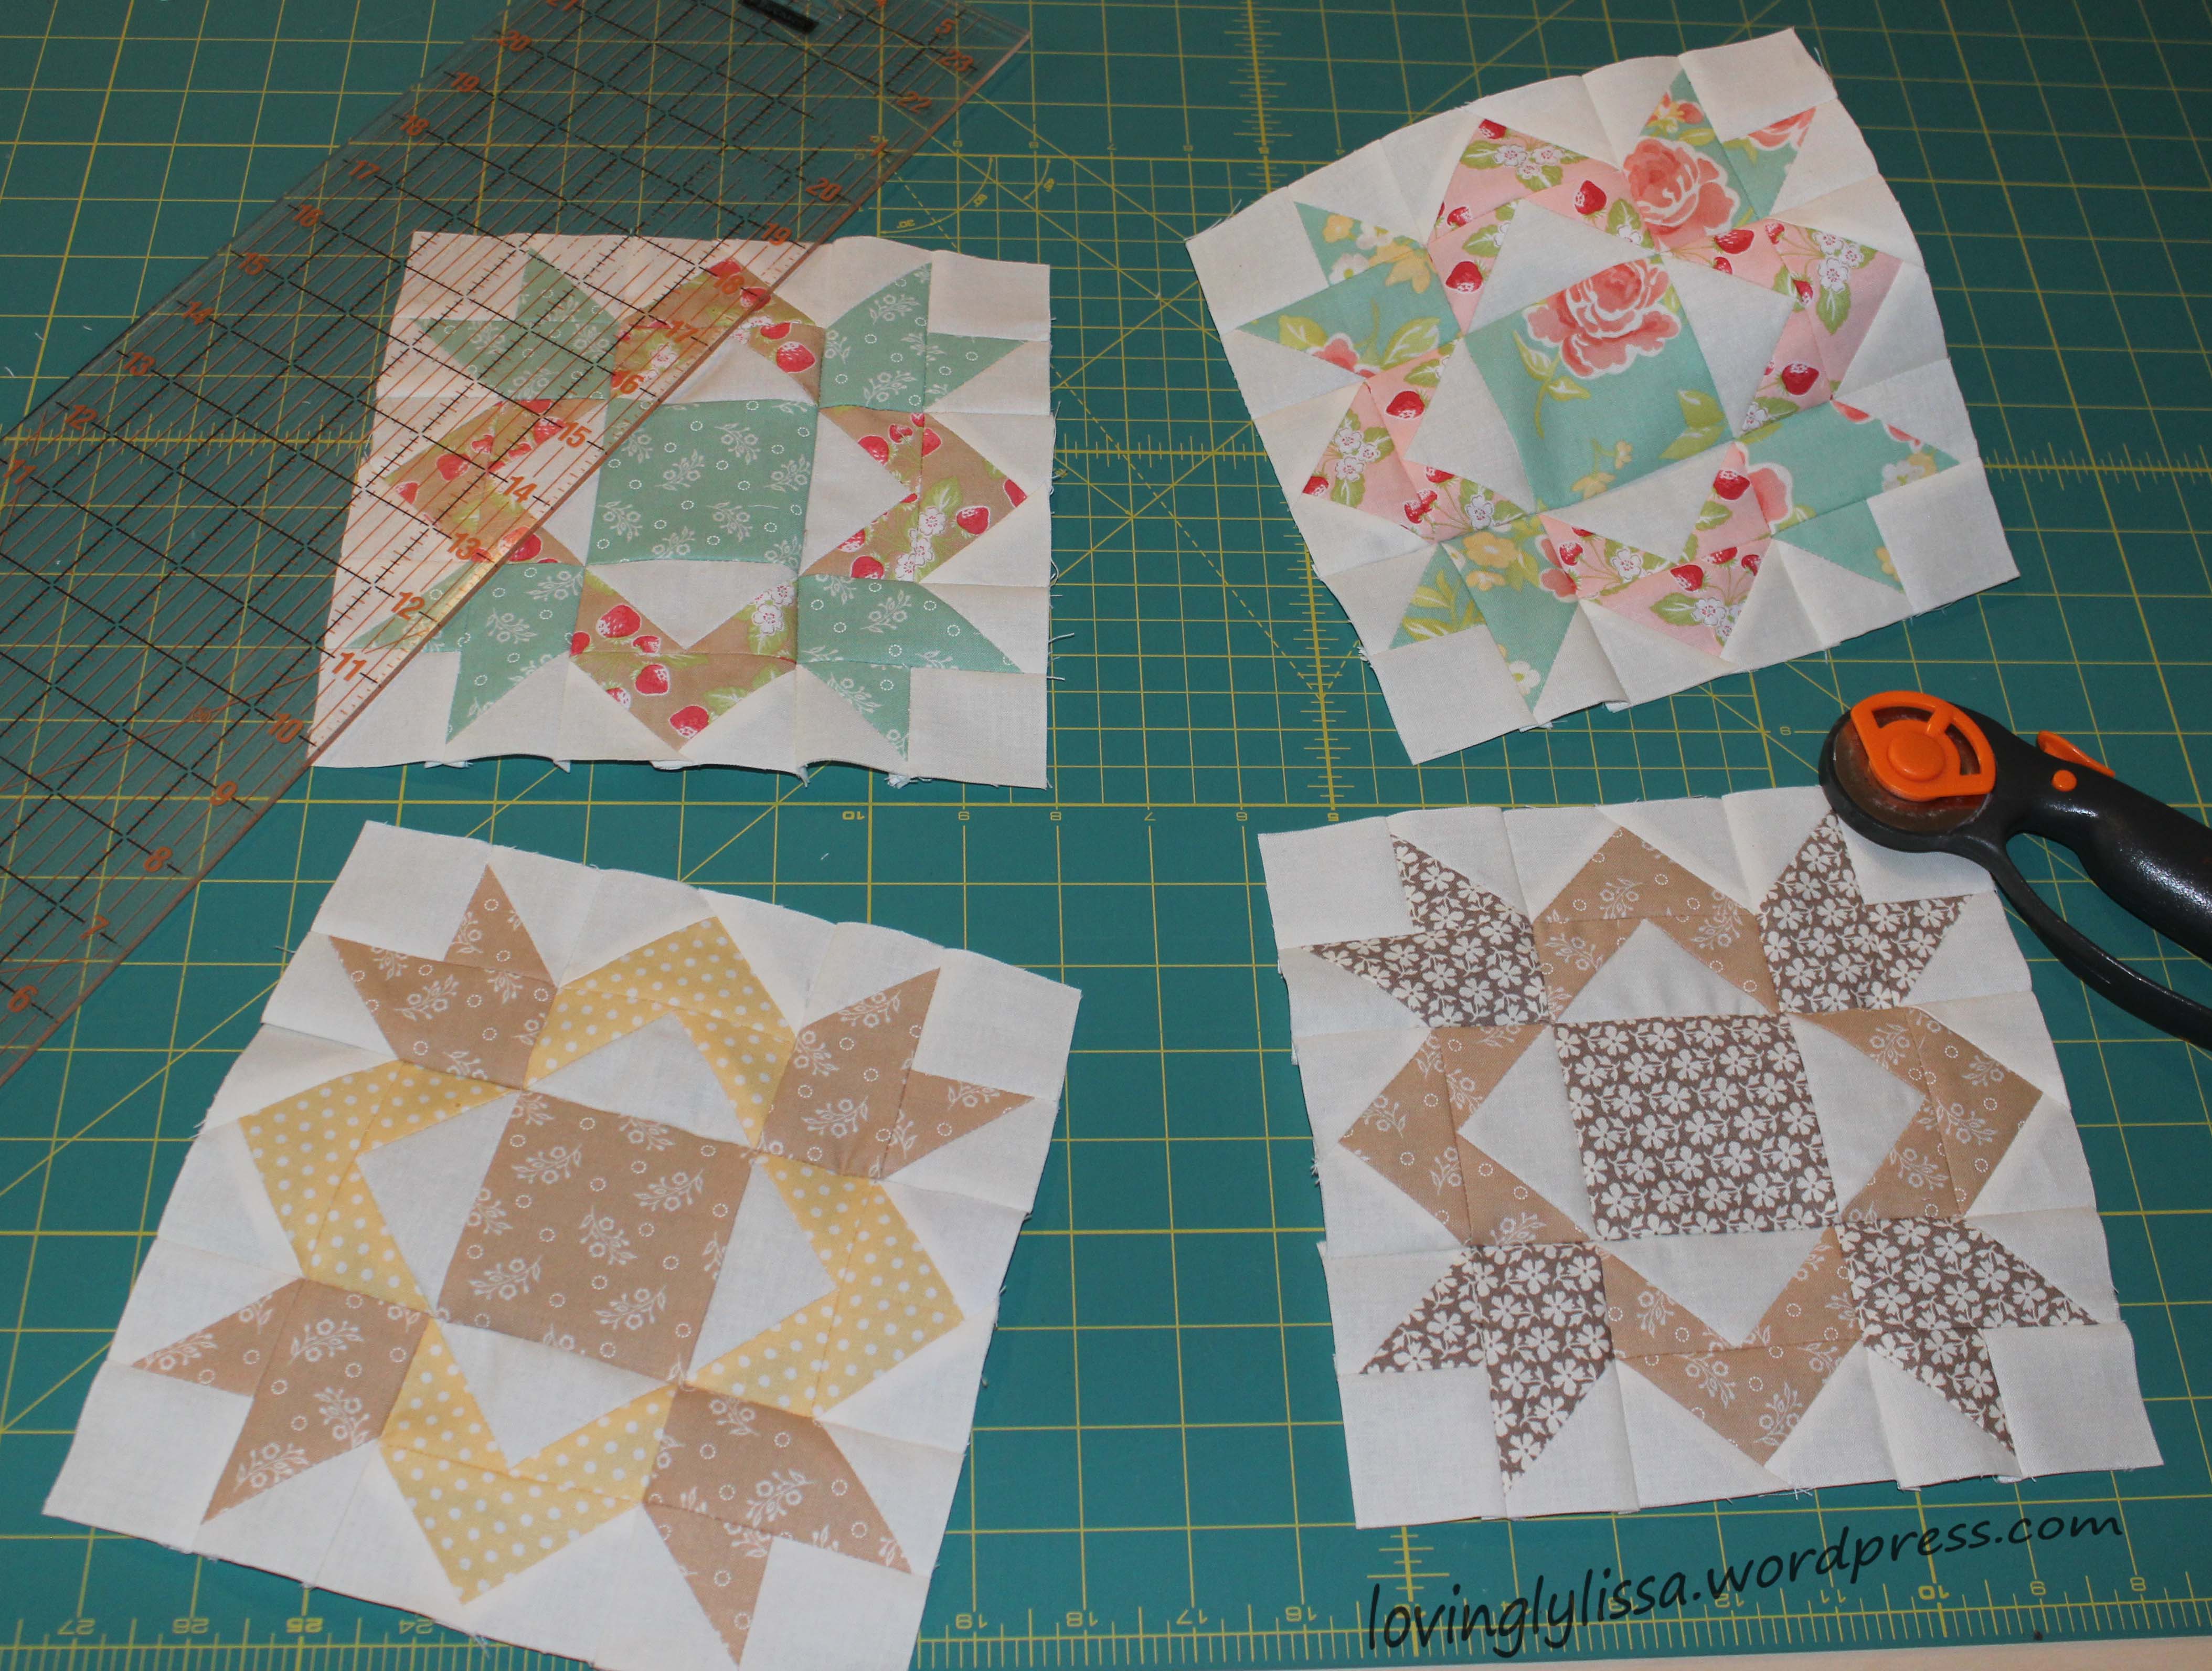
It’s time for the May Crossroads Quilt Along!  I have been having so much fun with Kimberly Jolly’s quilt along, I am so glad my friend invited me on this journey.  In fact we sewed along together via phone this month and it was wonderful.

Here are my Family Blocks;

maycrossroad

maycrossroad1

The Fat Quarter Shop’s Crossroad Quilt along benefits the March of Dimes.  Please join along or donate if you can.

Special thanks to my daughter who was my photographer for tonight’s blog.

Crossroads Quilt Along · Uncategorized

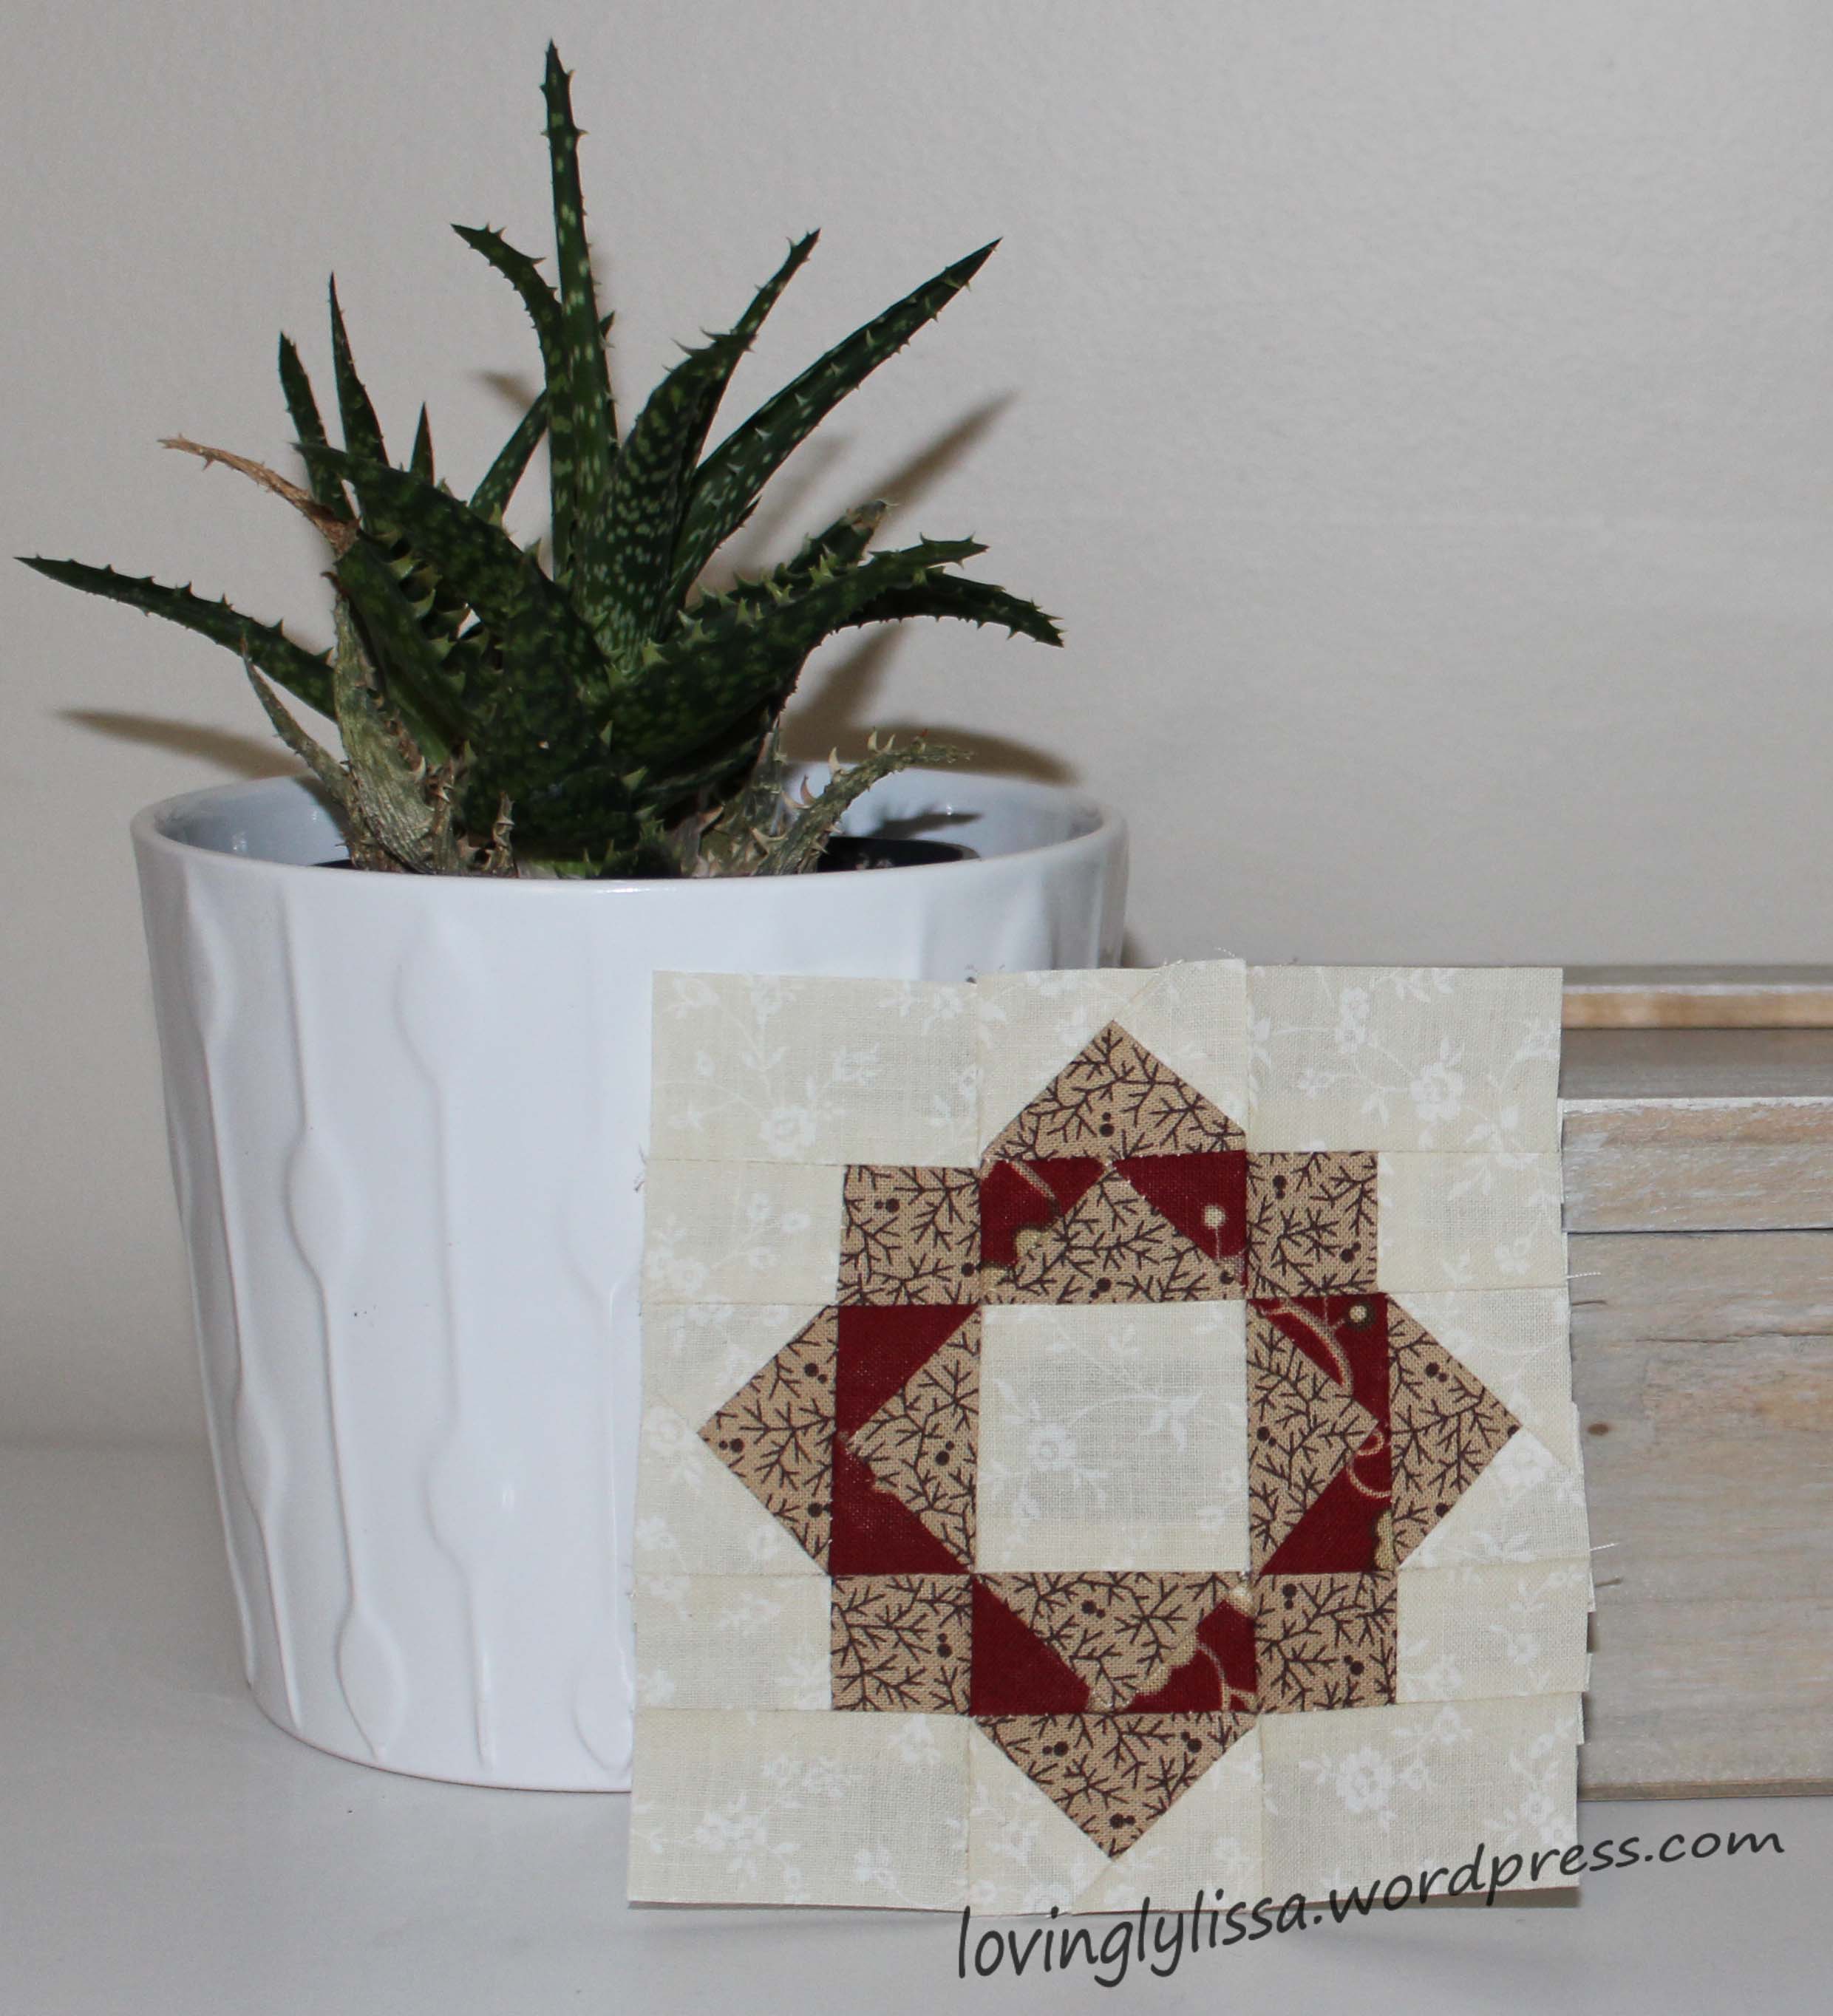
My April Mini

Yes, I am aware it is May now, but the measurements for the April mini Crossroads just went up two days ago as Sondra Davison of Out of the Blue Quilts has been very busy.  I am so glad they were up and I got it done.

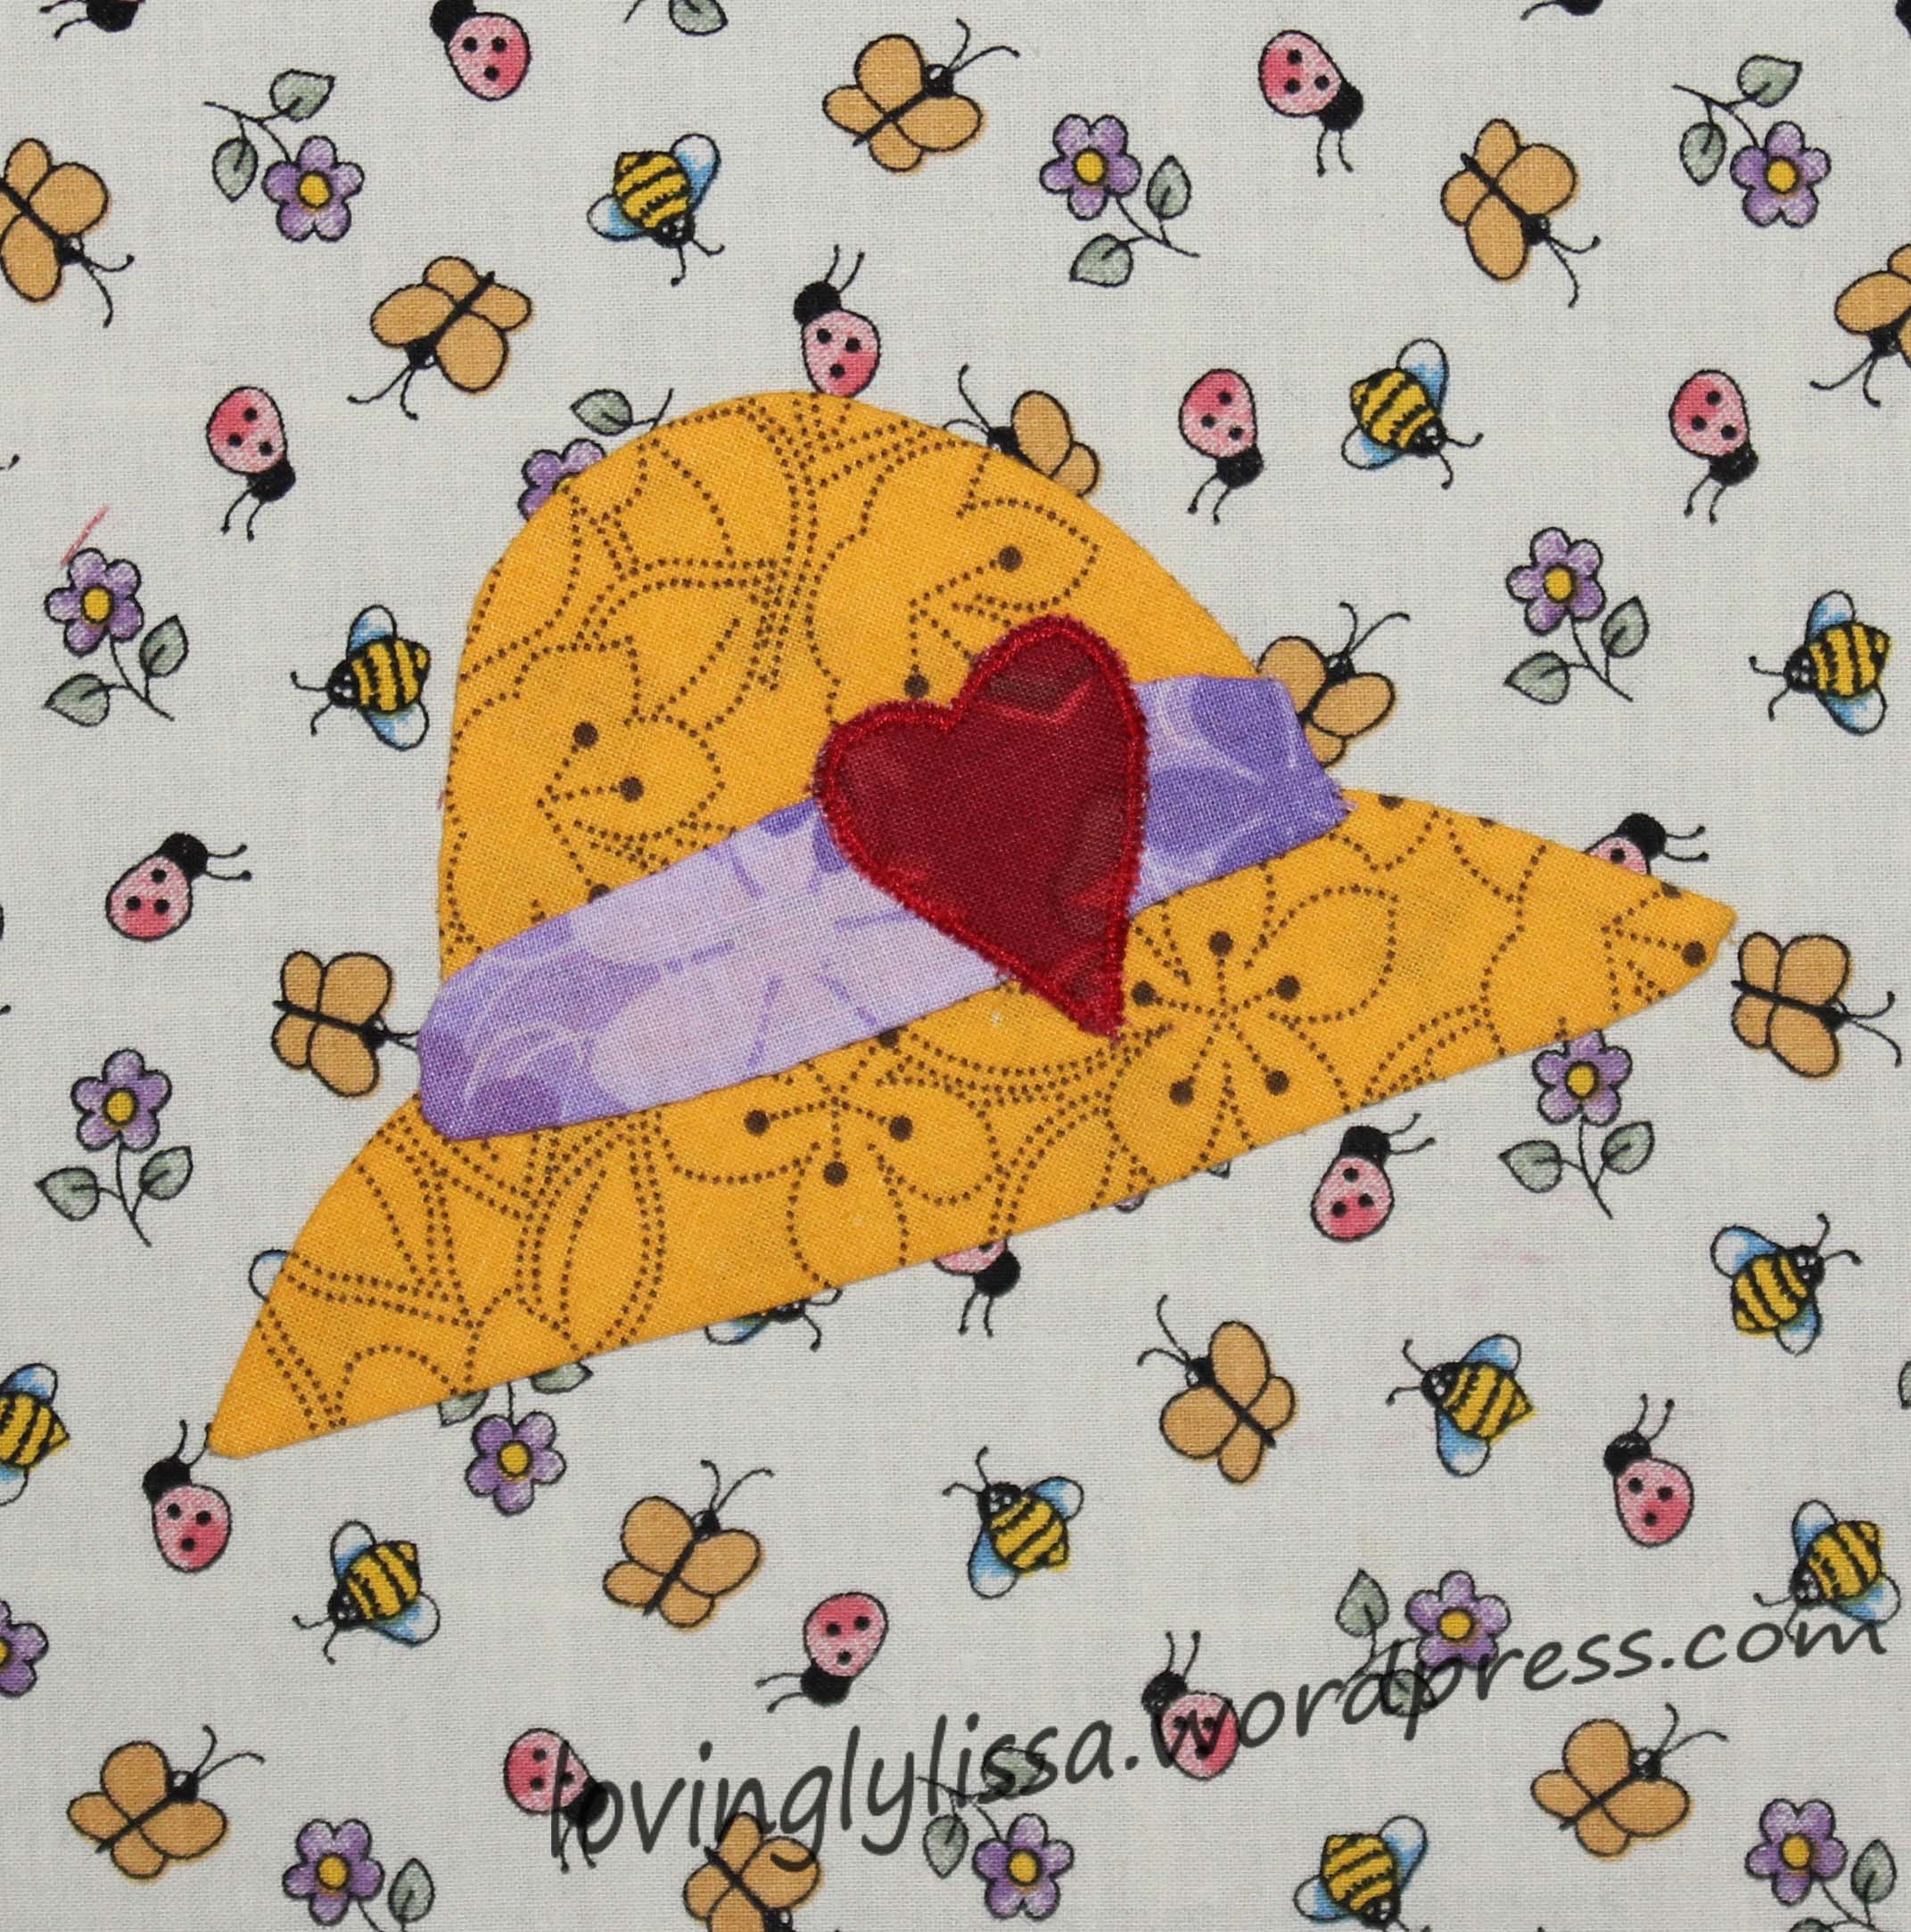
miniplant

The Crossroads block only had two colors to it, but I have been adding bits of red to the other minis and continued to do so this month.  I actually had drawn out the block a dozen times and colored in many versions trying to decide where I wanted to put the red.  In the end I didn’t choose any of the pre-drawn versions and just went with this. I am satisfied with it.

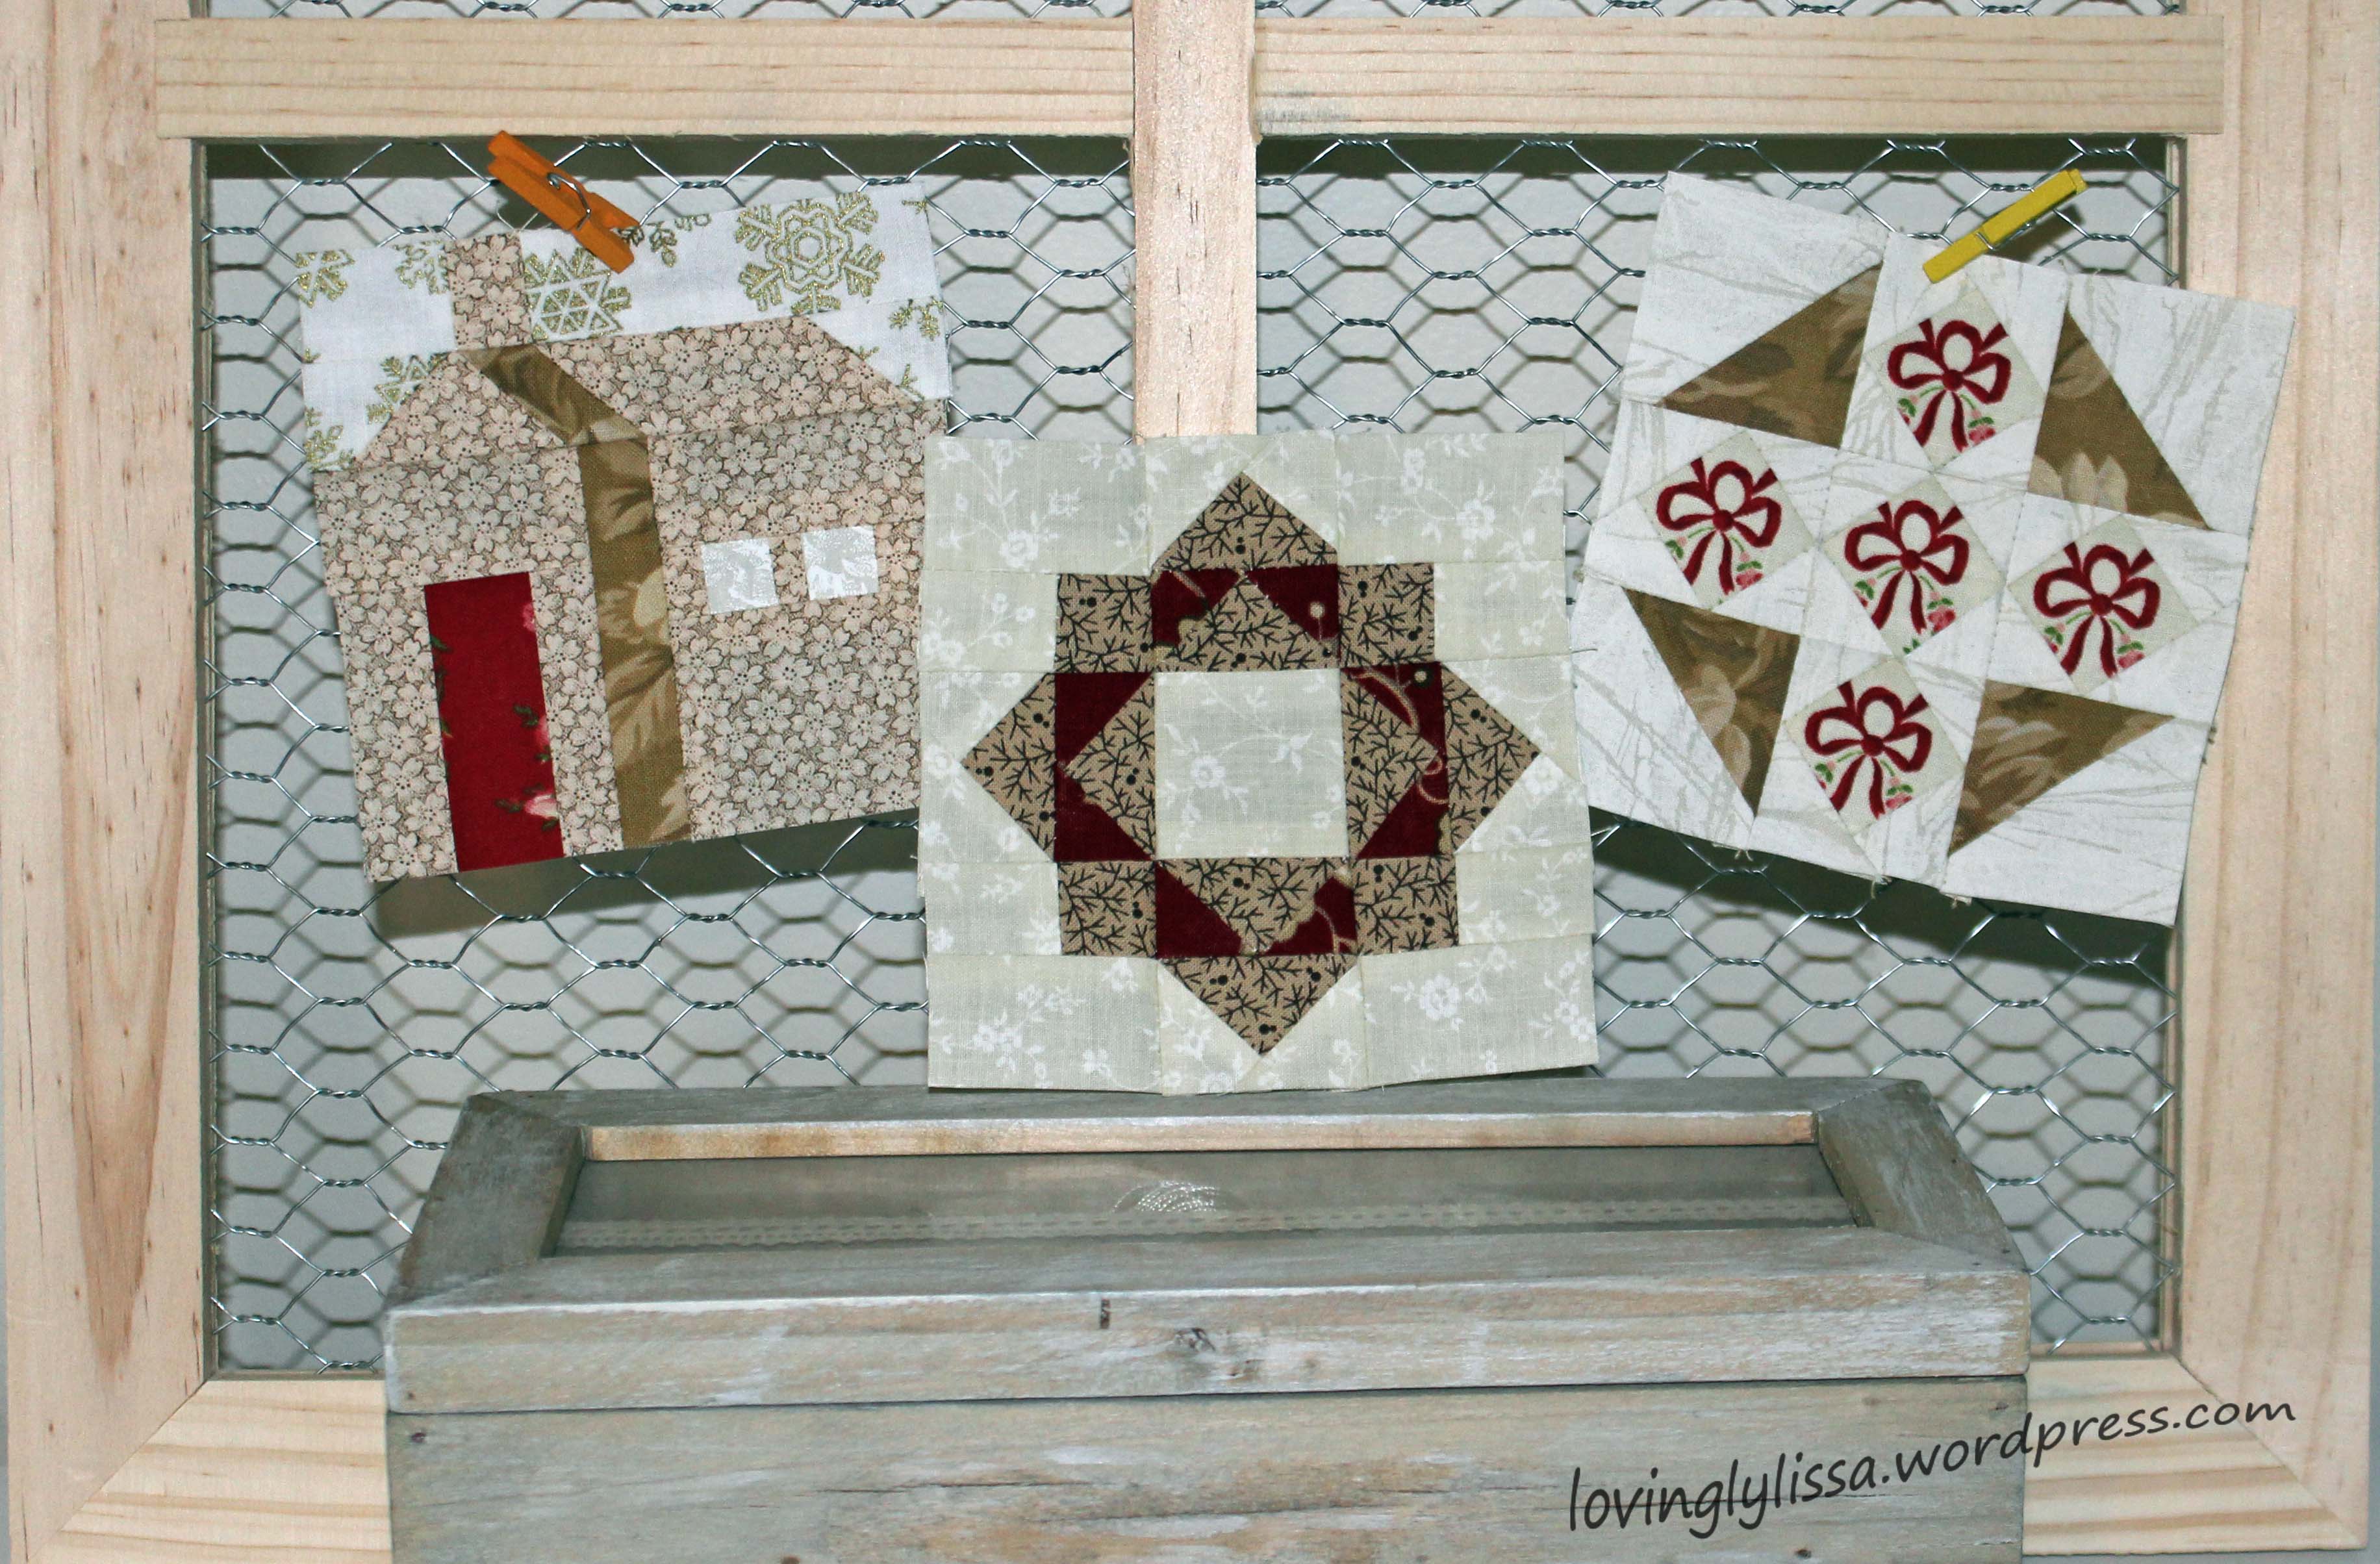
With the Mama blocks;

minimamas

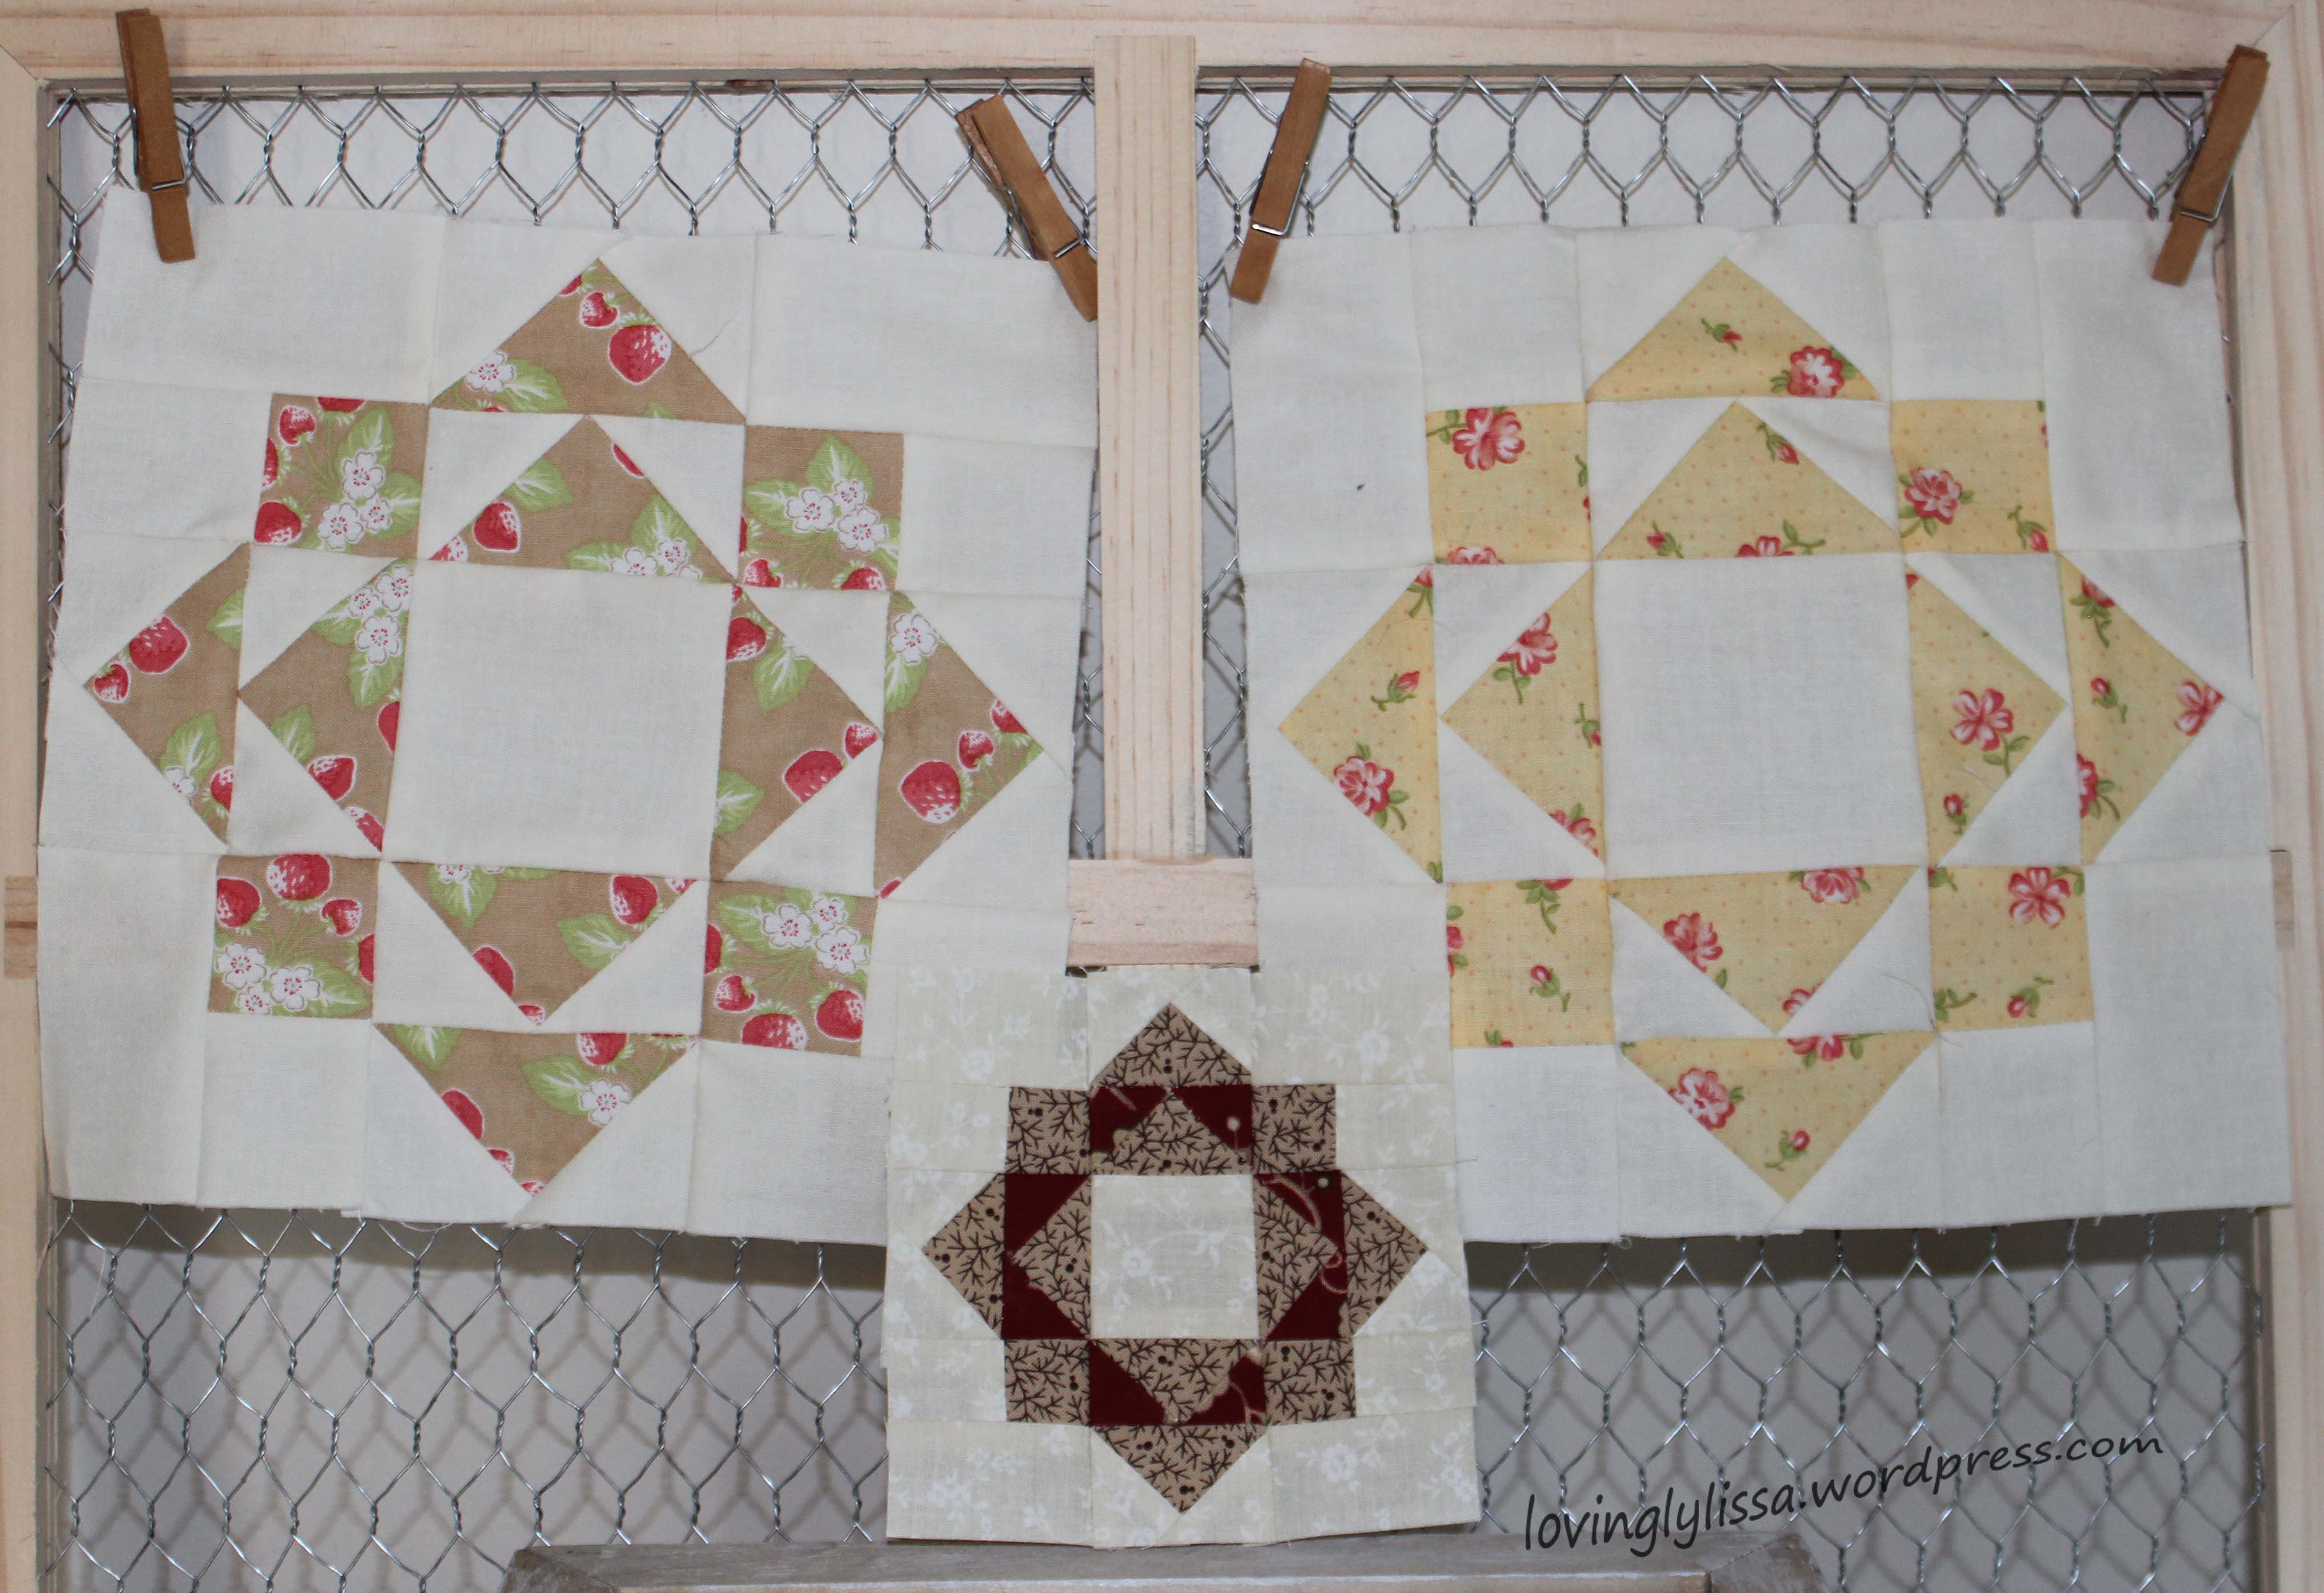
And all my current minis together;

3minis

The finished size of the mini blocks is 3 3/4 inches.  I’ve been working on such small blocks lately that when I went to make a 9 inch 9 patch I felt I was making a king size quilt!!!

Special thanks to Sondra Davison for the measurements.  I am having a great time with the mini version of the Crossroads quilt along.


Uncategorized

A Story to Share

Every year there is a huge fundraiser for the local education foundation.  Included is a silent auction featuring art work done by a classroom.  I’ve seen chess sets, board games, lemonade stands, a whole motley of items that the children participate in creating.

This year I helped out with both of my boys’ classrooms.  The fourth grade project was going to be a bookshelf, but we didn’t want it to be empty.  We thought we would give the class options – they could help decorate the bookshelf or they could author books to be included.

Well, the bookshelf idea went flying out the window.  Each of the students in that classroom wanted to be an author.  Creativity was everywhere!  We had non-fiction football books, sequels to books or shows they loved, mysteries, love stories, and comic books being written.  The project became less about the auction and more about the kids.  How could you not encourage the excitement they had for writing a book!

24 kids created 16 books.  The books ranged from 3 pages to almost 20 pages long.  Once they were done being written it was my turn to work on them.  First I had to shrink the covers, contents, and about the author pages.  Then it was time to bind them up.

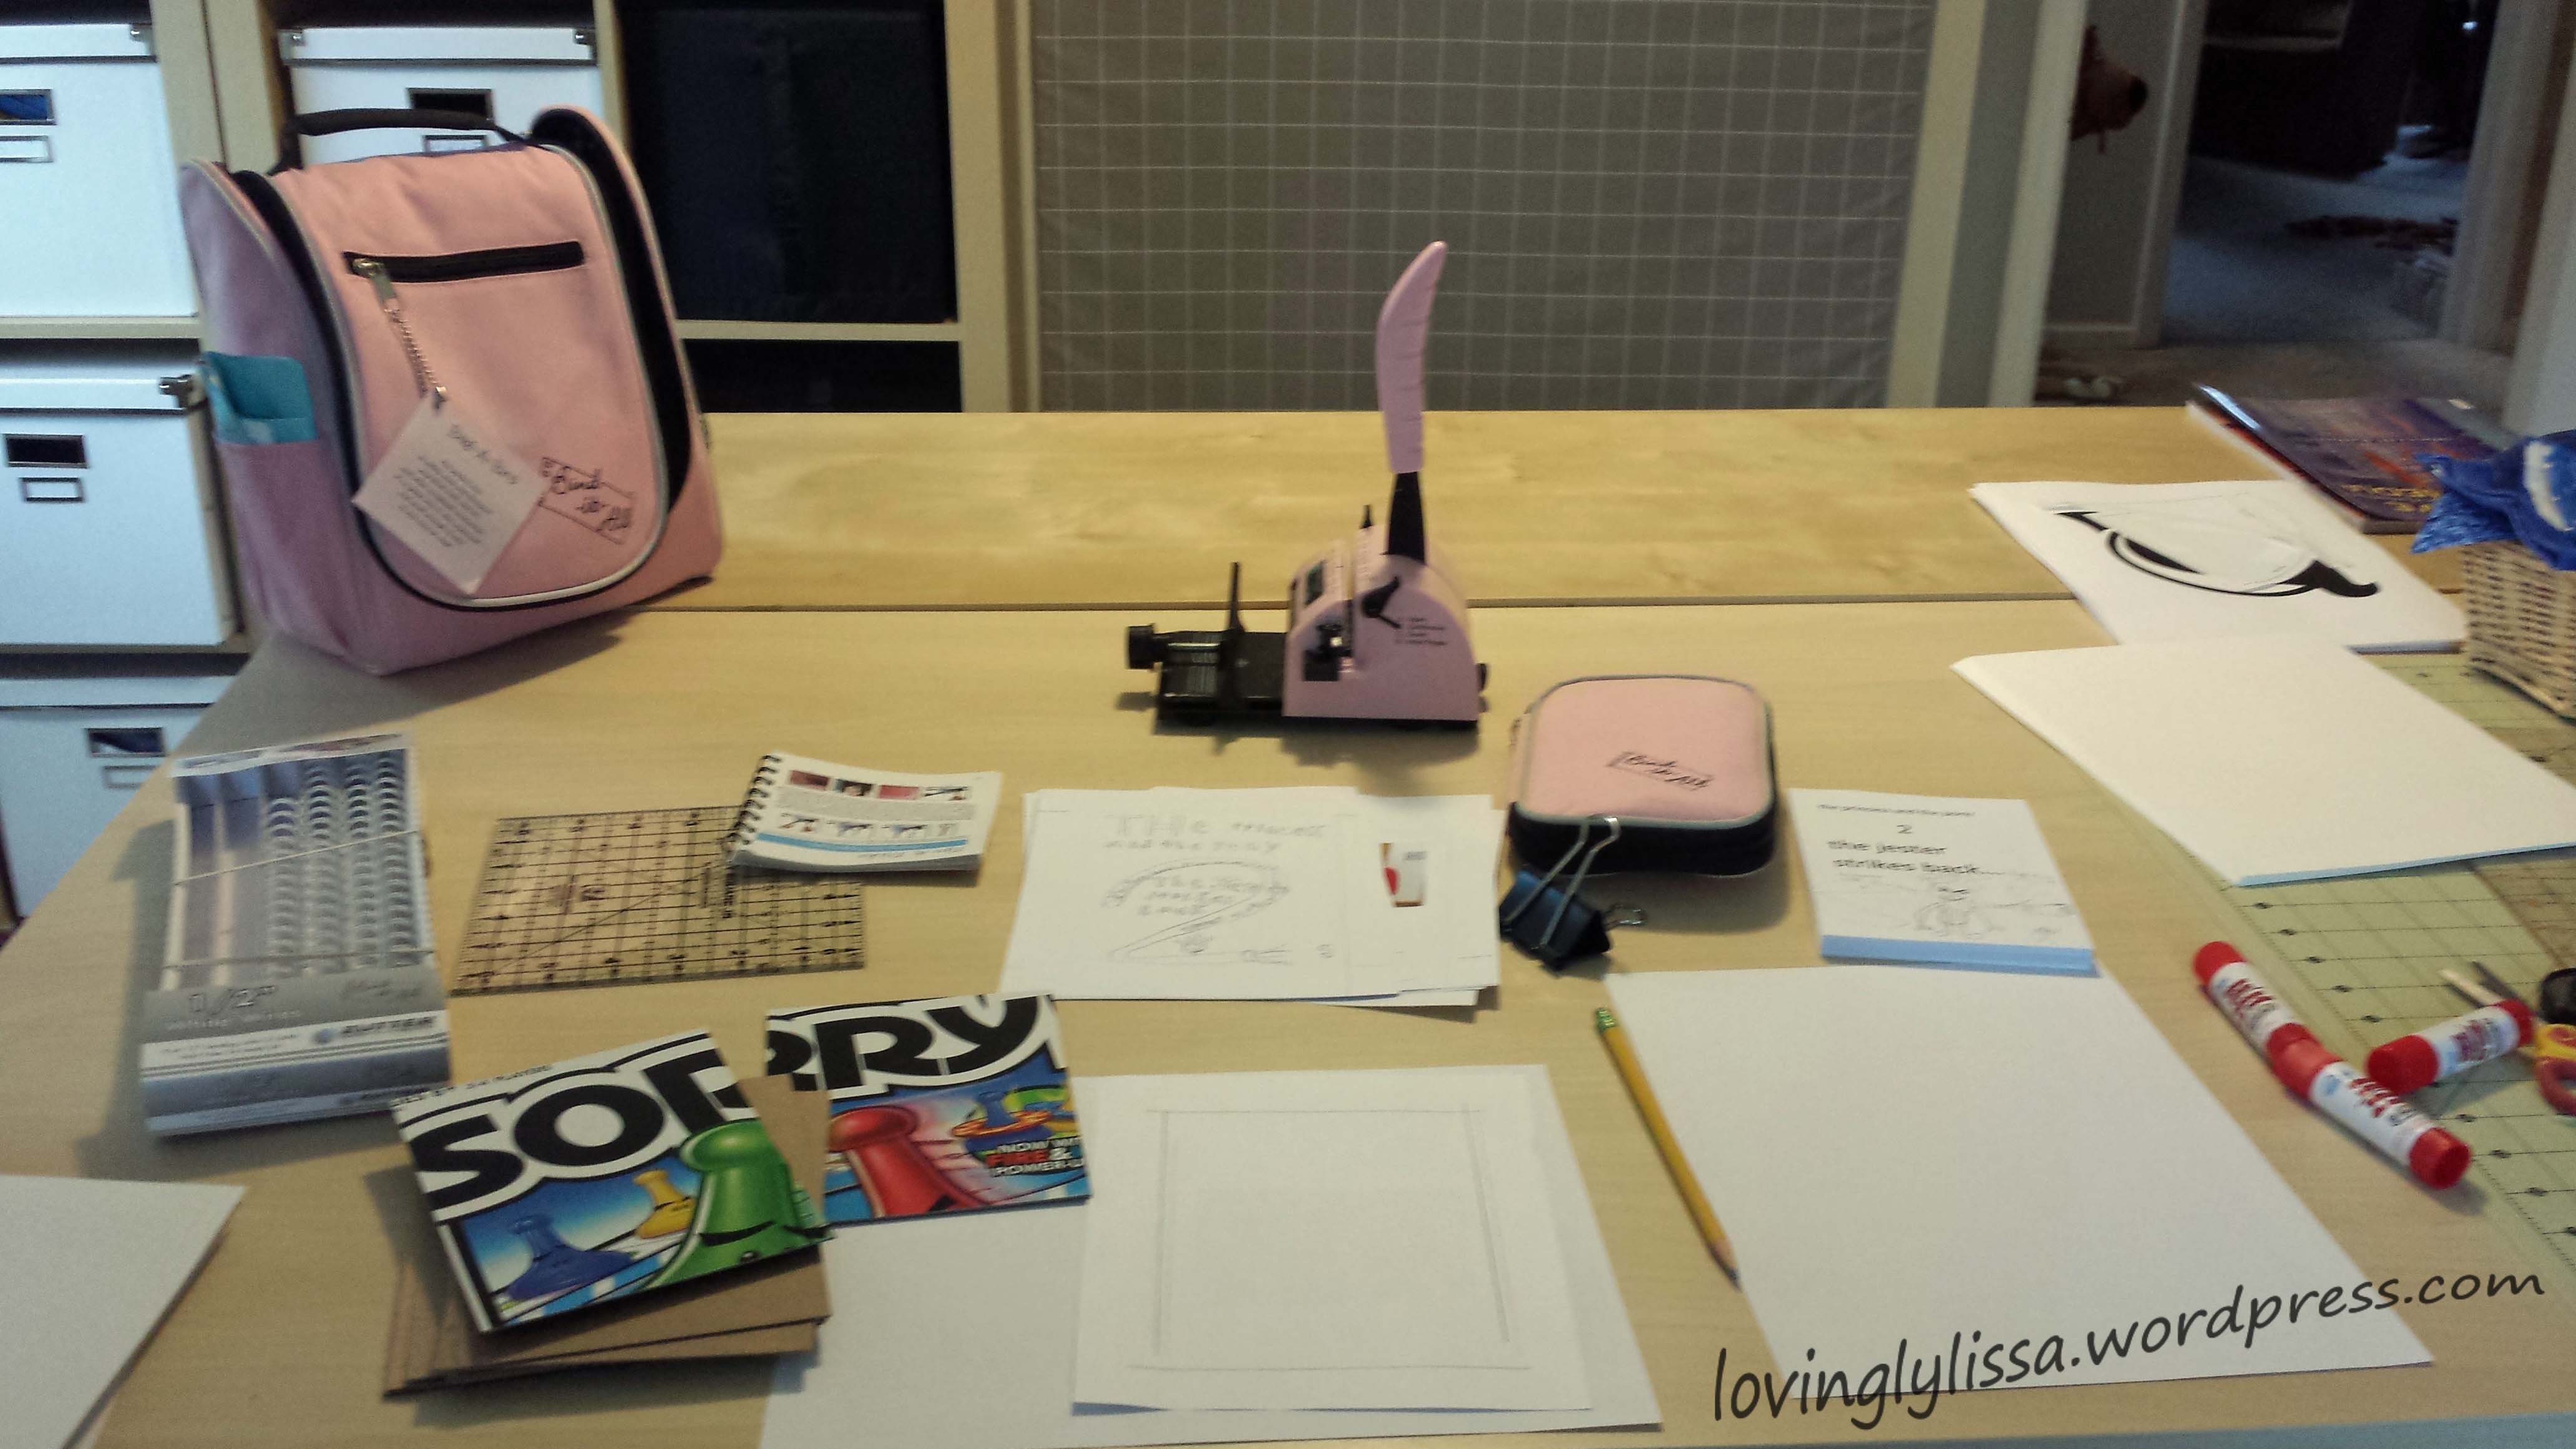
bookmaking supplies

Here is my set up.  I used the boxes from old games as the covers, the books were wire bound using a Bind-it-All.  All 16 books were sold as a set at the auction.  I was told they went for $70.

But that’s not all.  I couldn’t let the kids not have copies of their own books.  I couldn’t let them go without celebrating their accomplishments.  So, I spent the following two months binding 24 more books, one for each of them, and then 16 more to create a set for their amazing teacher.

Here are the final 40 books;

books

The set for the teacher will be signed by the author.  The personal copies have an additional 10 blank pages so that people who enjoy reading the story can leave a message for the author.  We are going to have a big publishing party before school ends to distribute and celebrate their achievement.

I am so incredibly proud of this class.

Quilting tips and techniques · Uncategorized

Row by Row

Every summer quilt shops across the U.S. and Canada participate in the Row by Row experience.  You visit a participating shop and pick up a pattern for a quilt row.  Each shop has their own unique pattern, but they all follow a theme.

I don’t really shop hop and gather rows each summer, instead I visit a local quilt shop from wherever I am vacationing with my family.  Some time in the future I will have a wonderful blanket filled with memories of everywhere we went.

Last summer we went to Gatlinburg, TN and visited the Great Smokey Mountains.  I made a stop at Mountain Stitches by Susan  and purchased a kit to make her row of the grist mills and water wheels.

There was applique involved with this piece and I thought I would try it a few different ways.  Just to see how it would turn out.

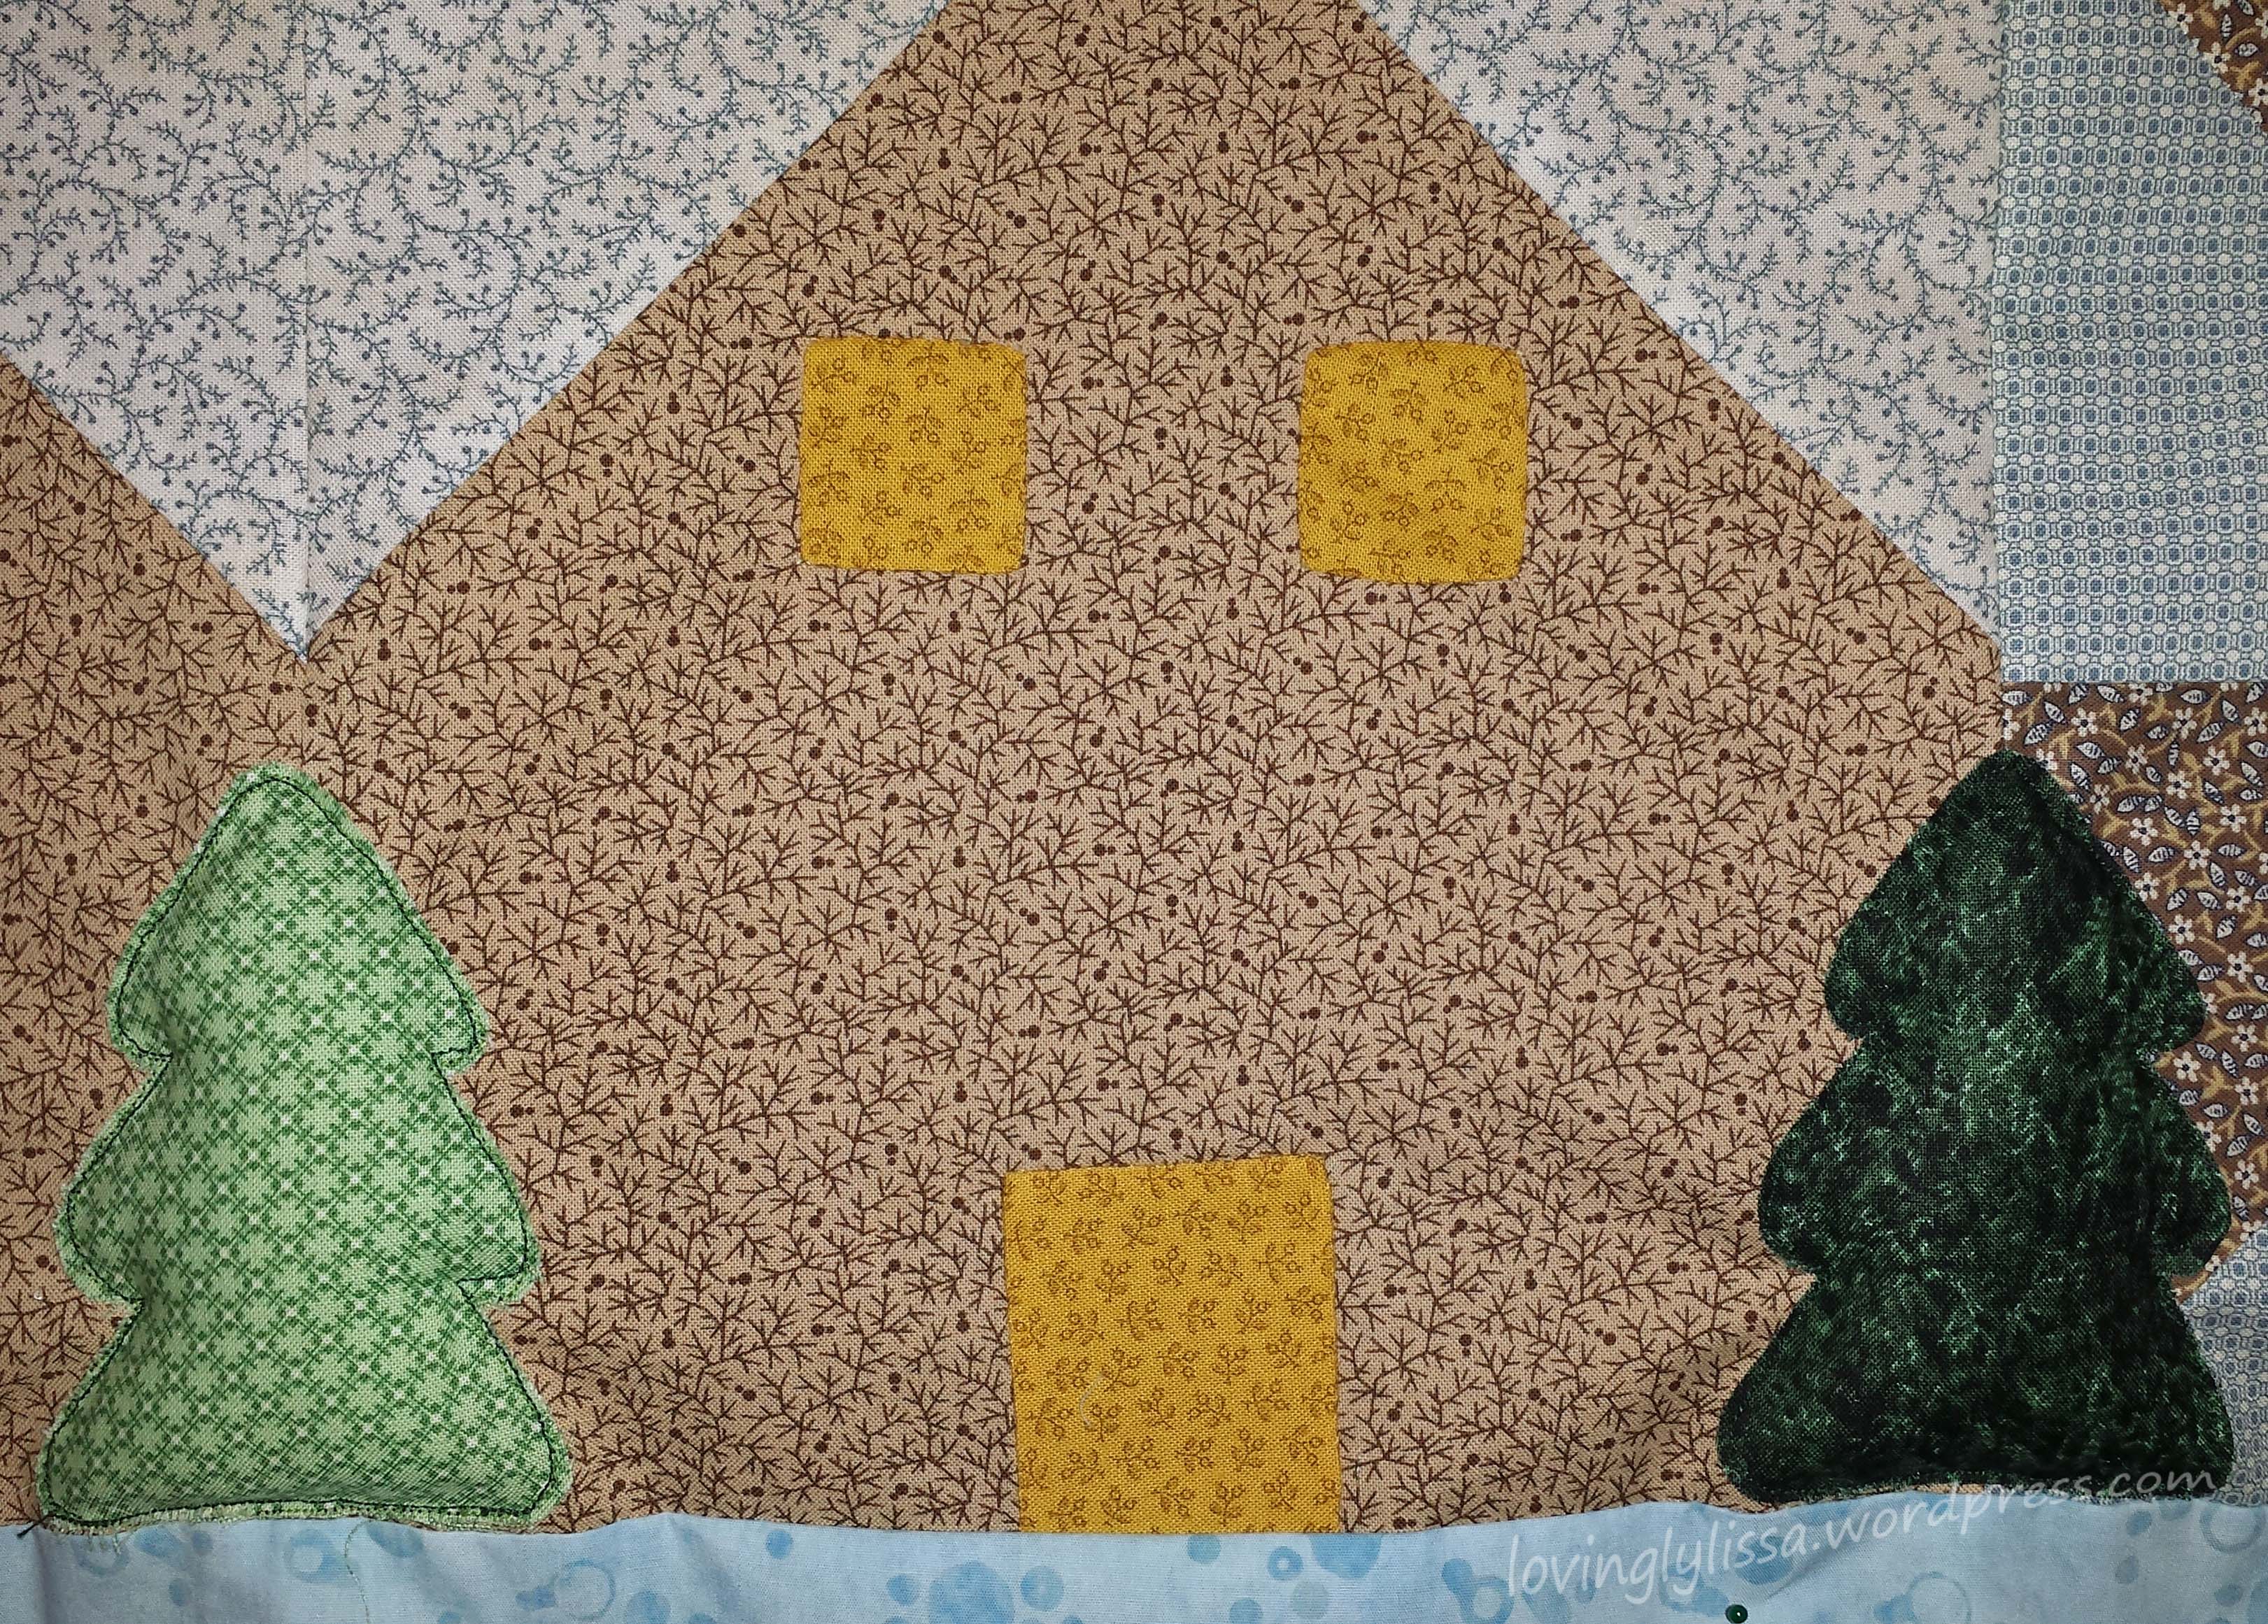
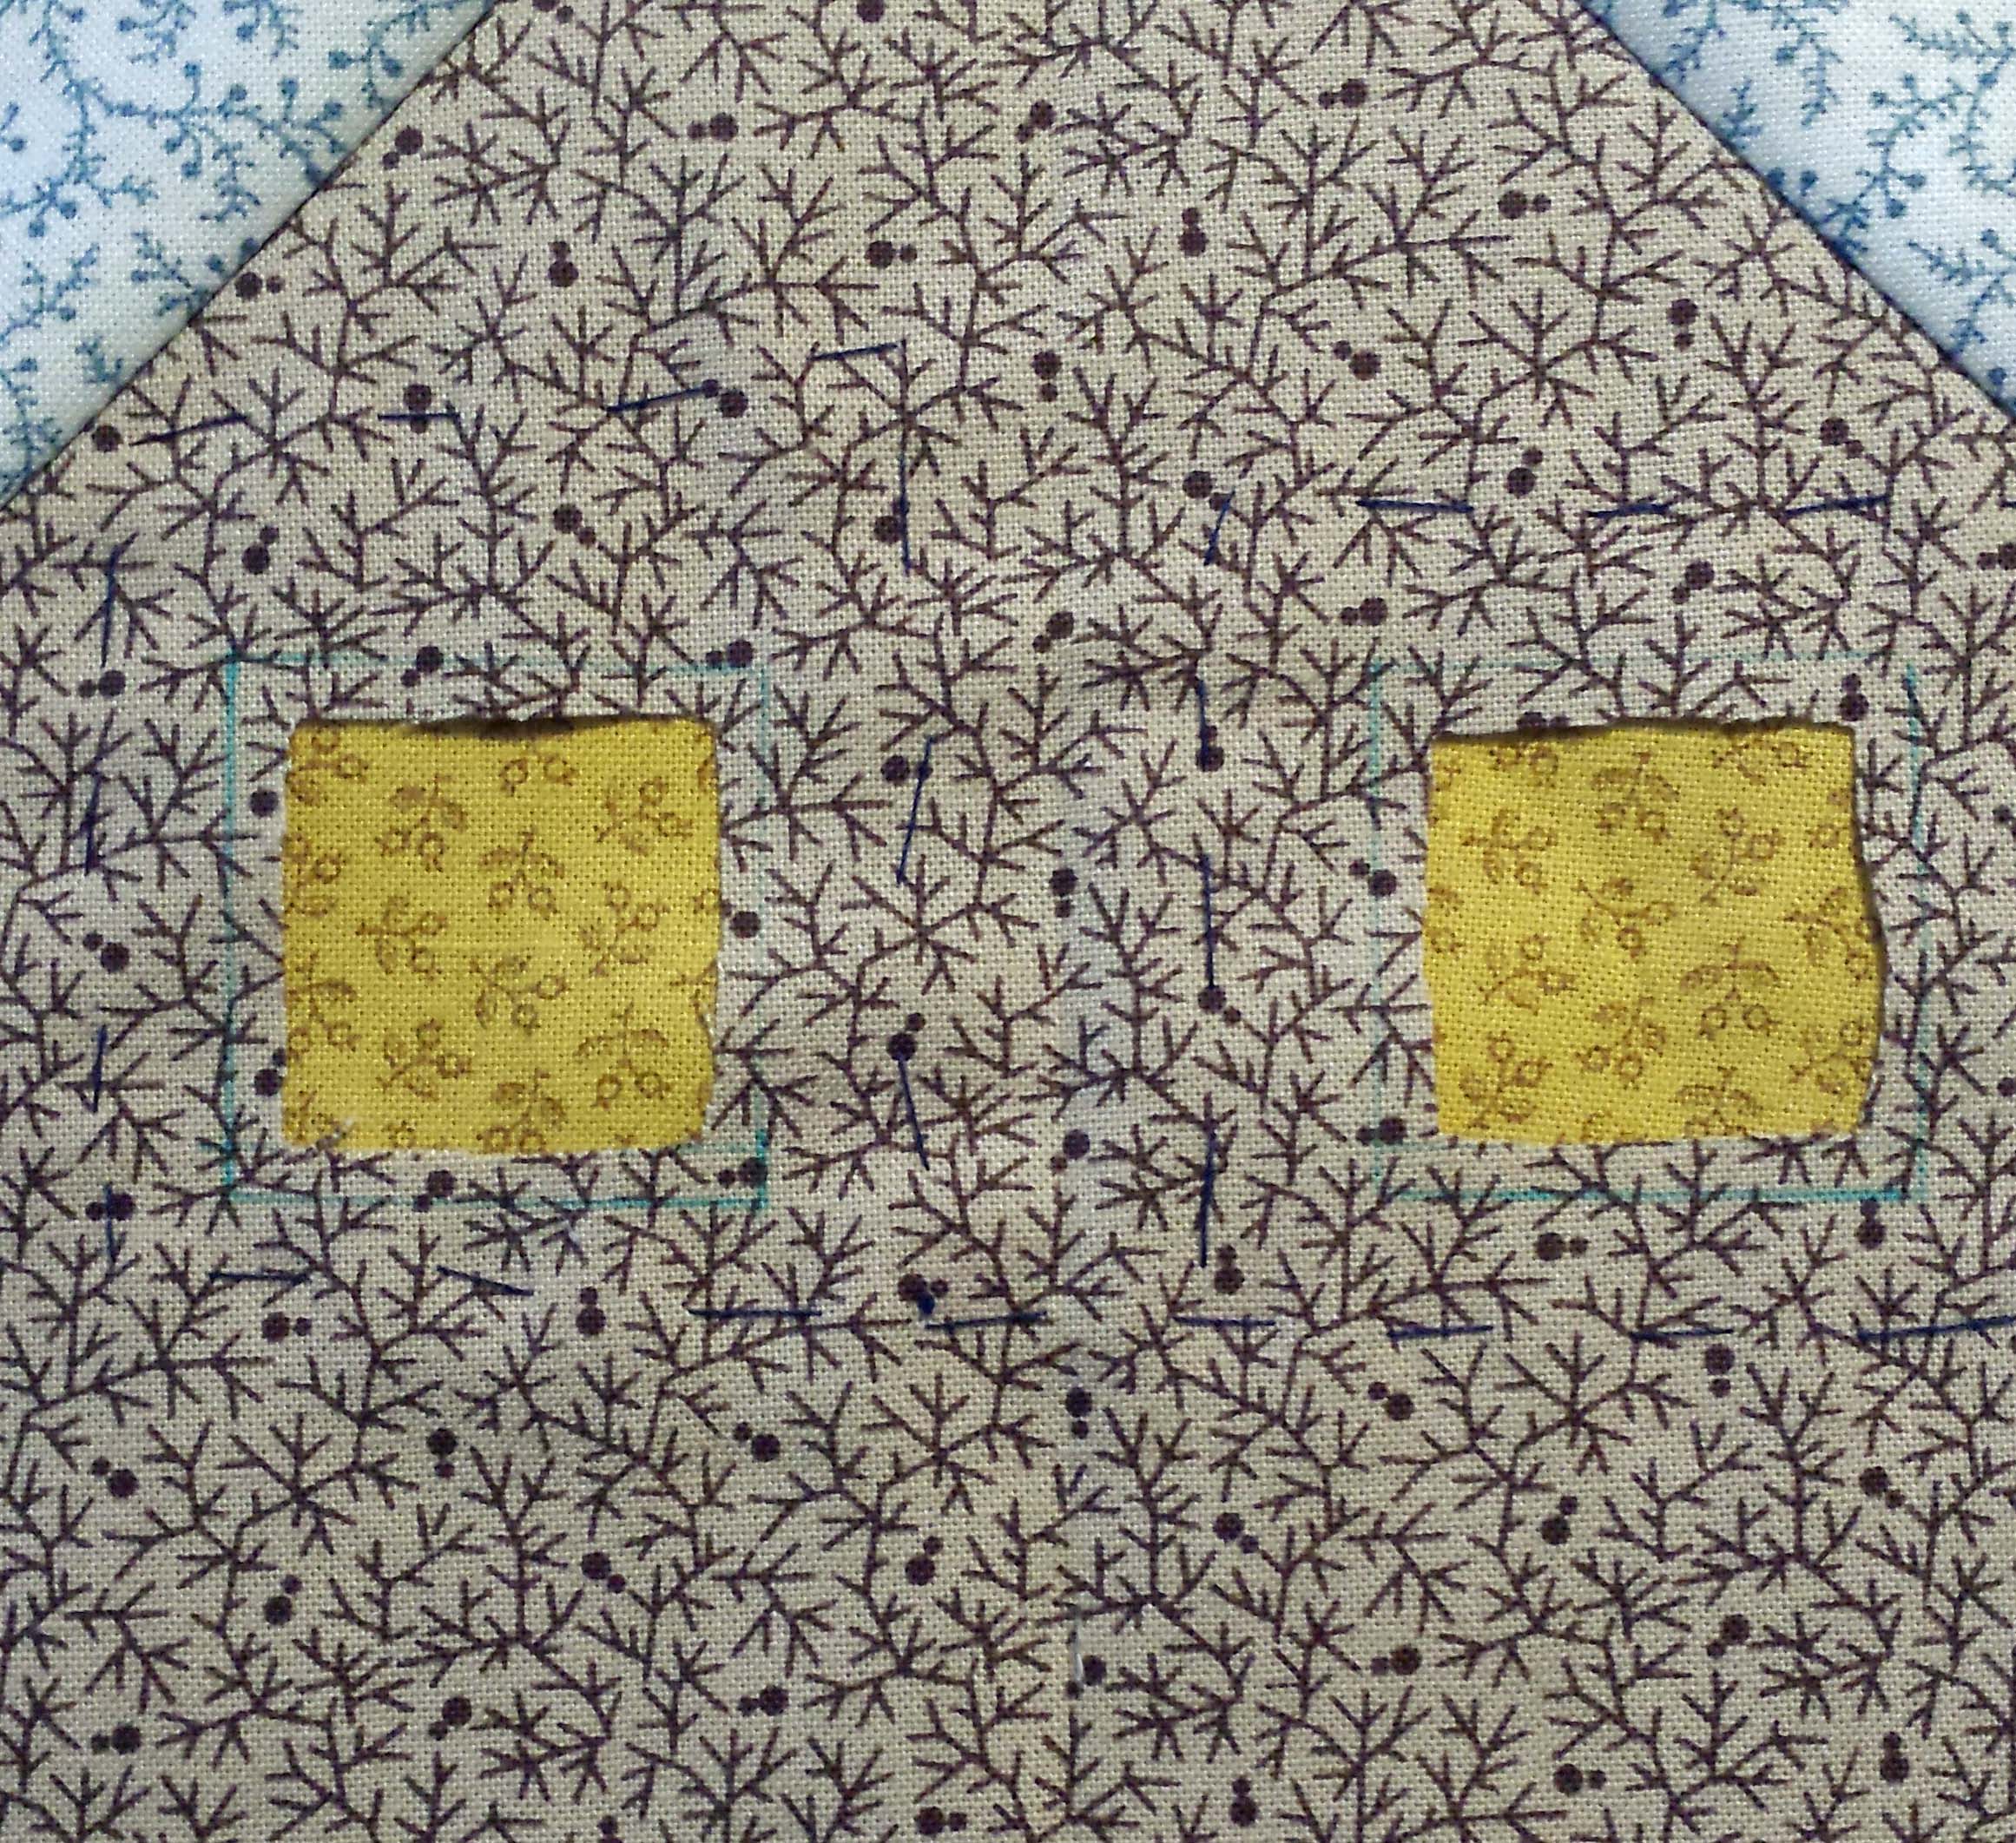
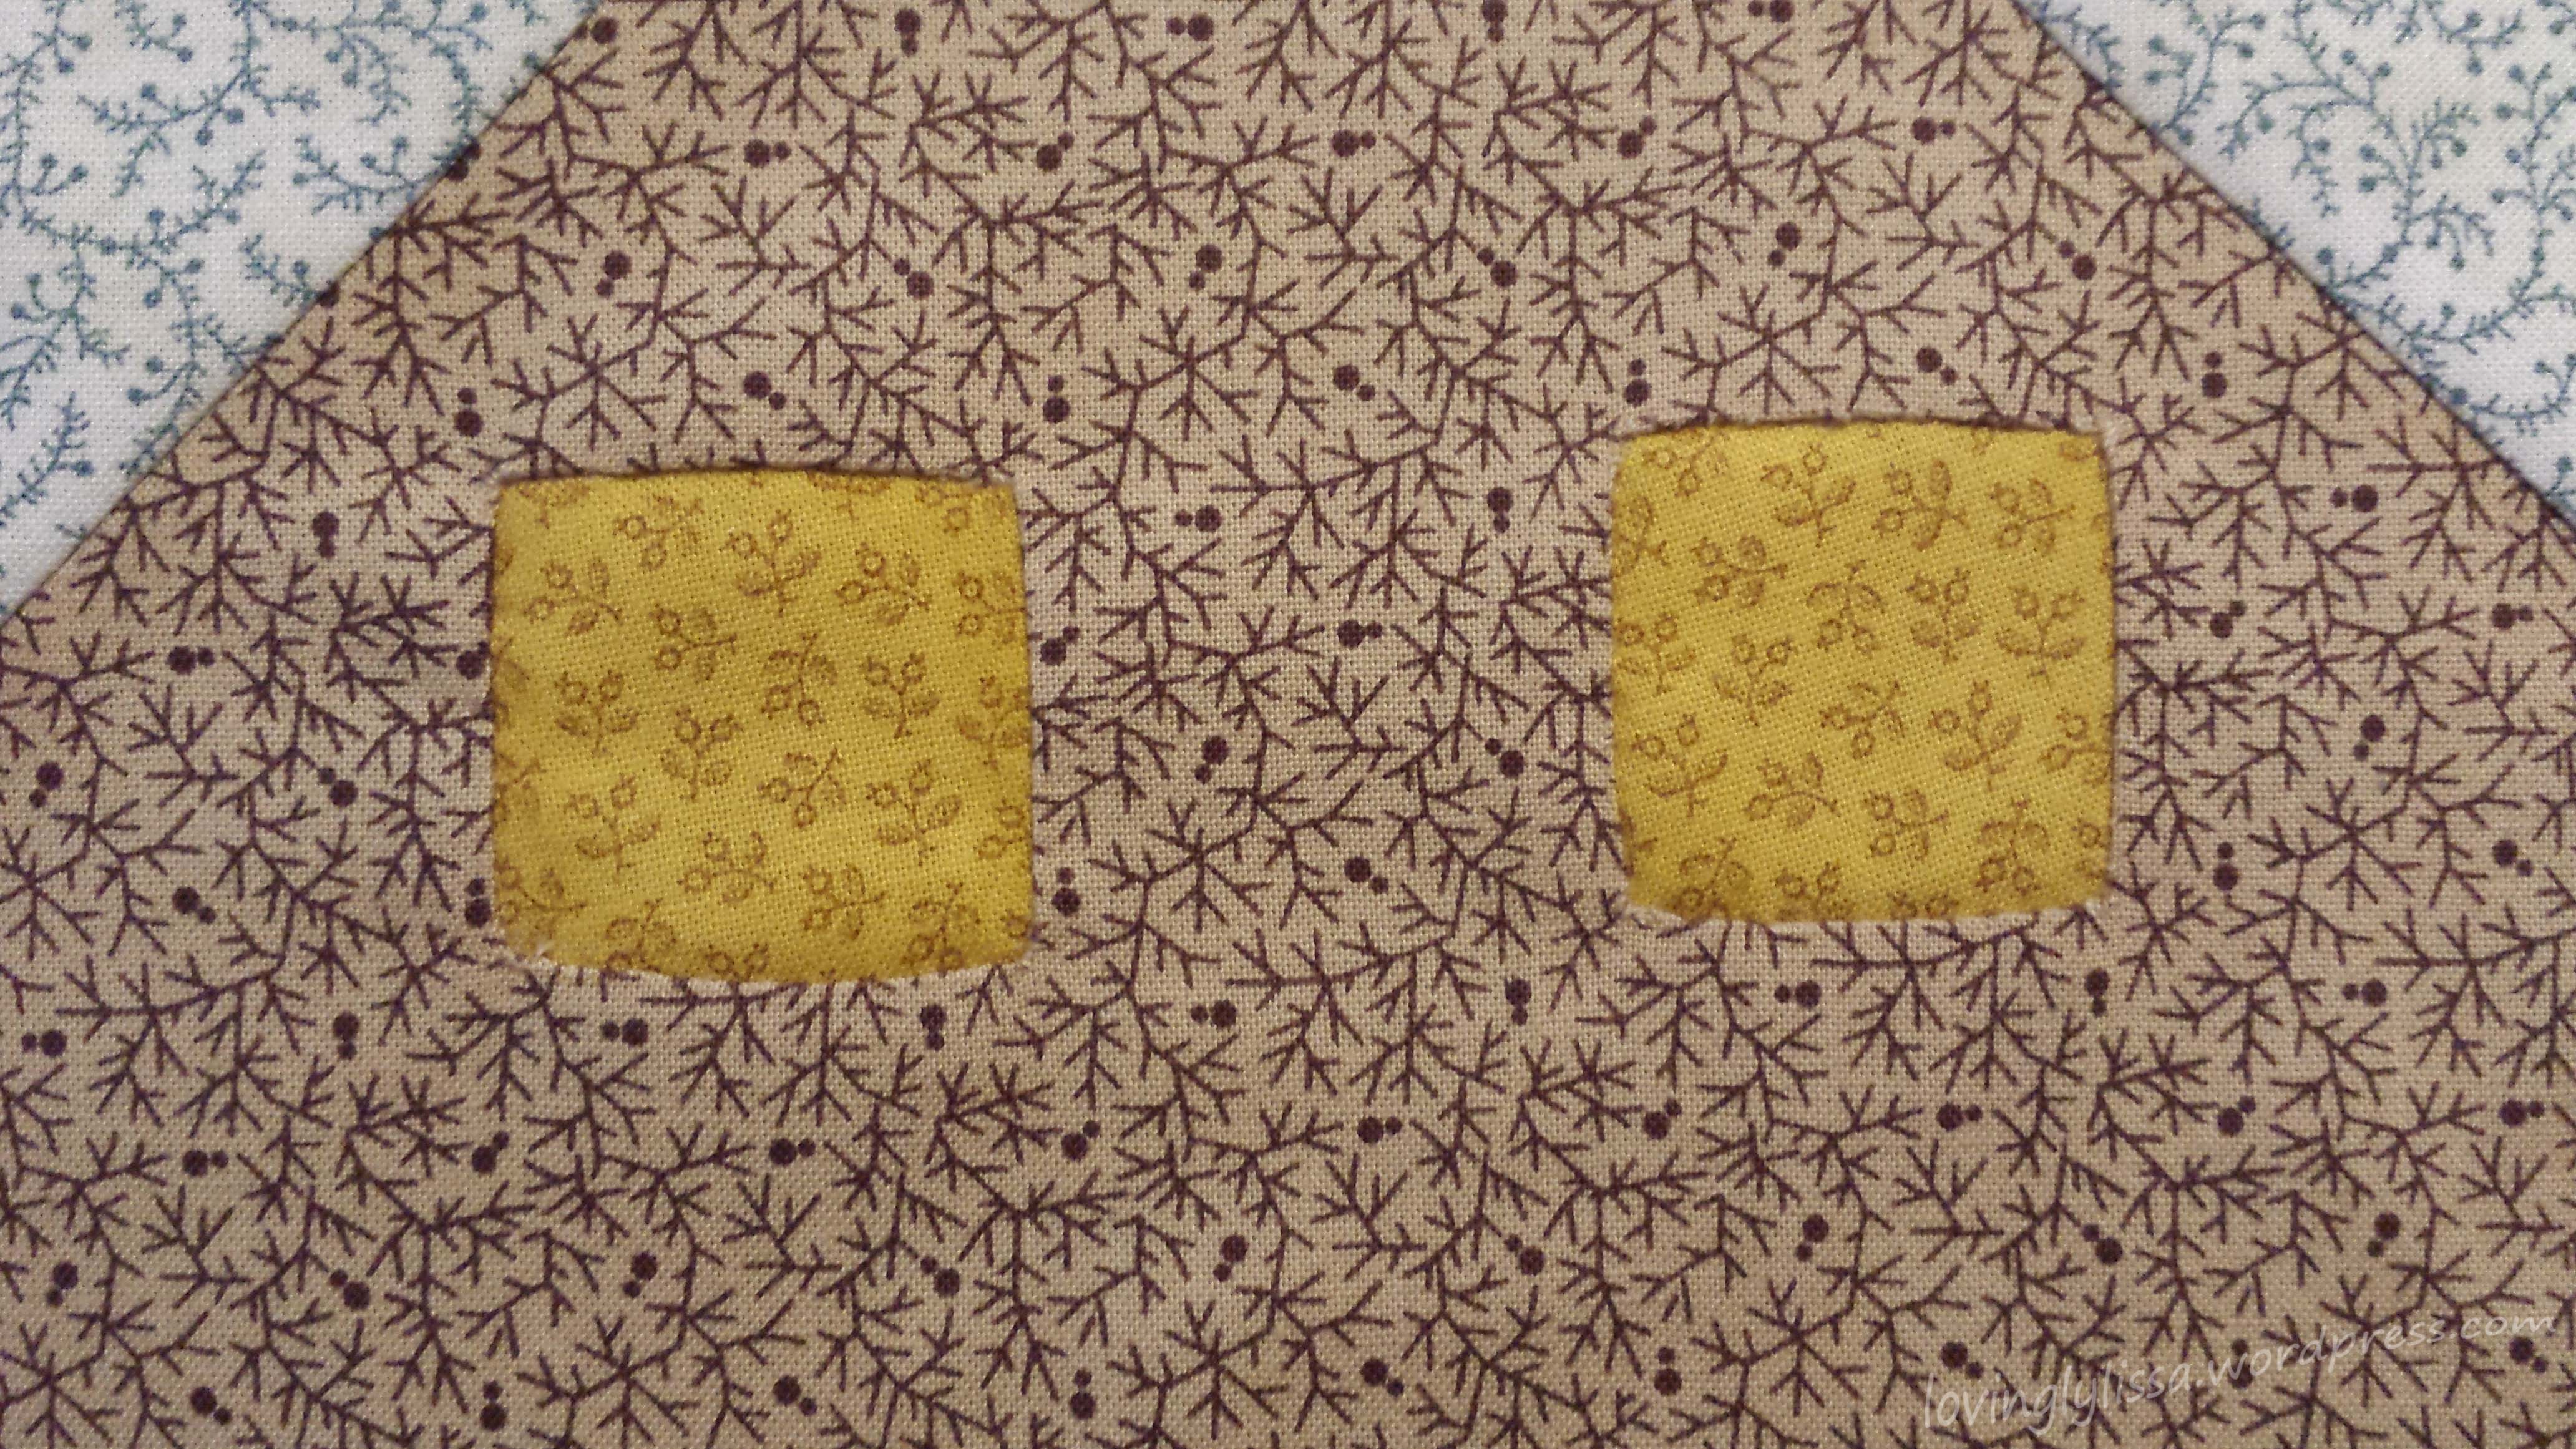
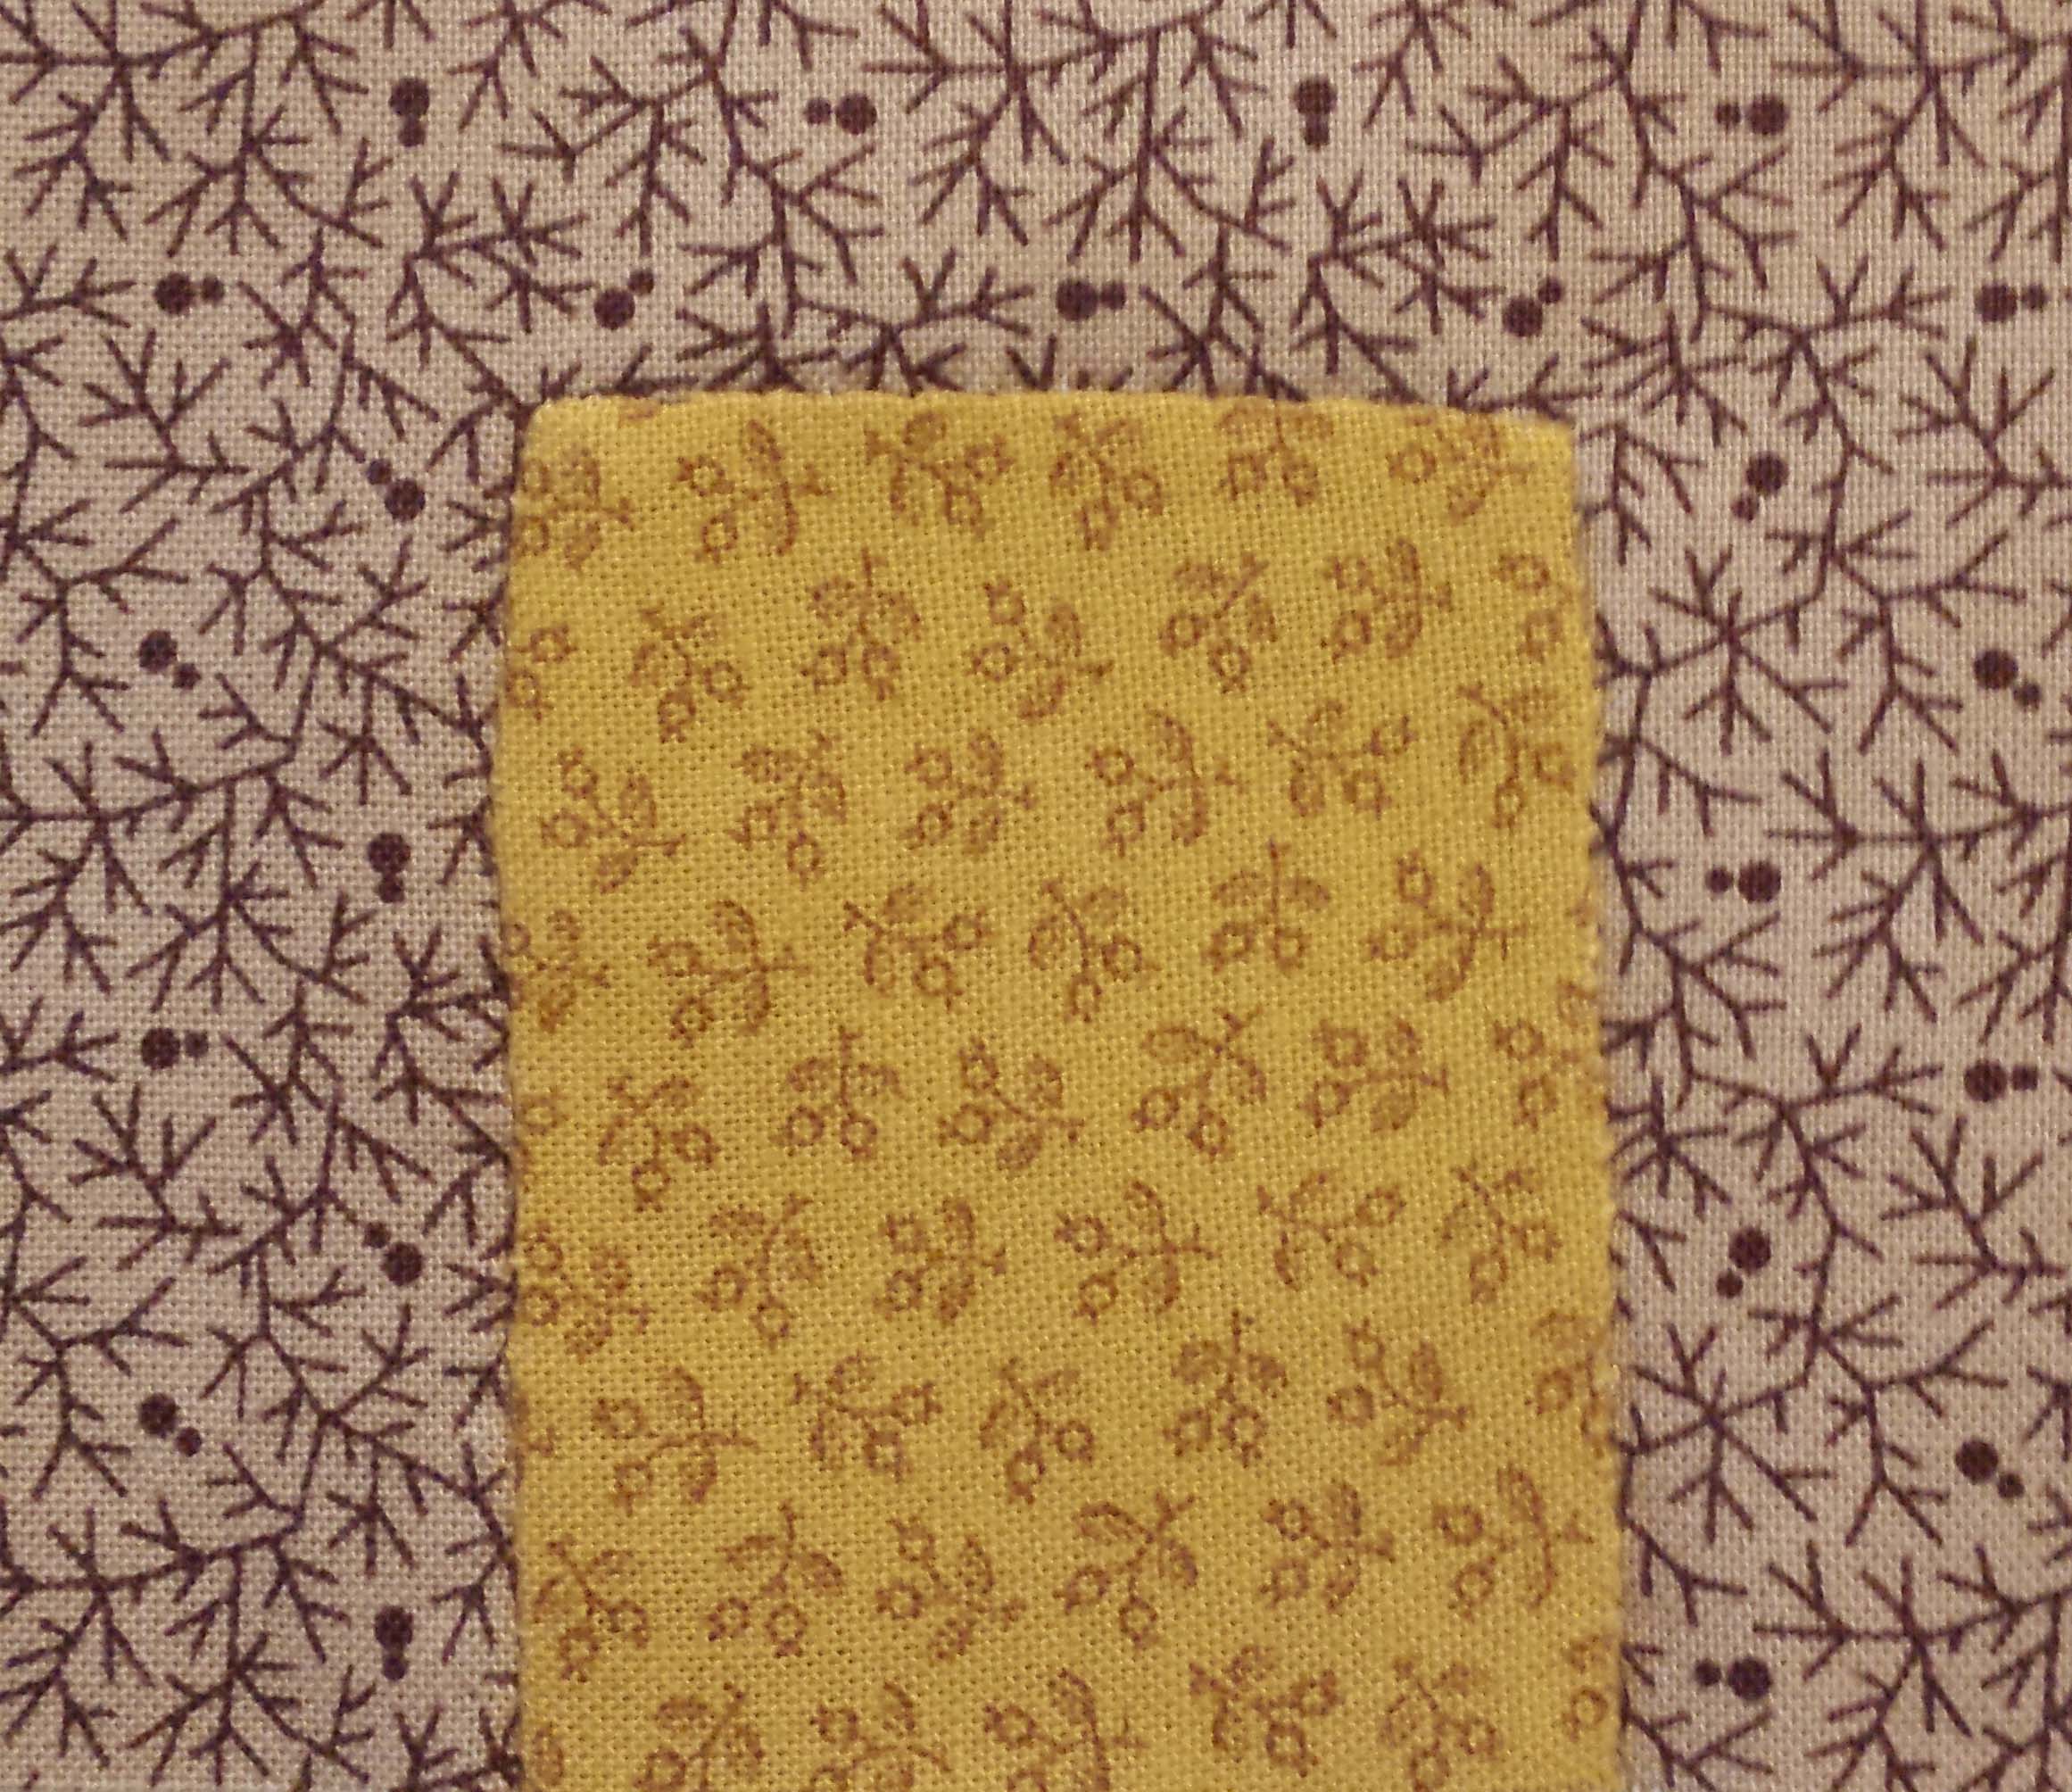
First, the upper windows of the grist mills were reversed appliqued.  This meant I put the window fabric behind the grist mill, and cut the grist mill fabric to show the windows.  I needled turned the grist mill fabric.


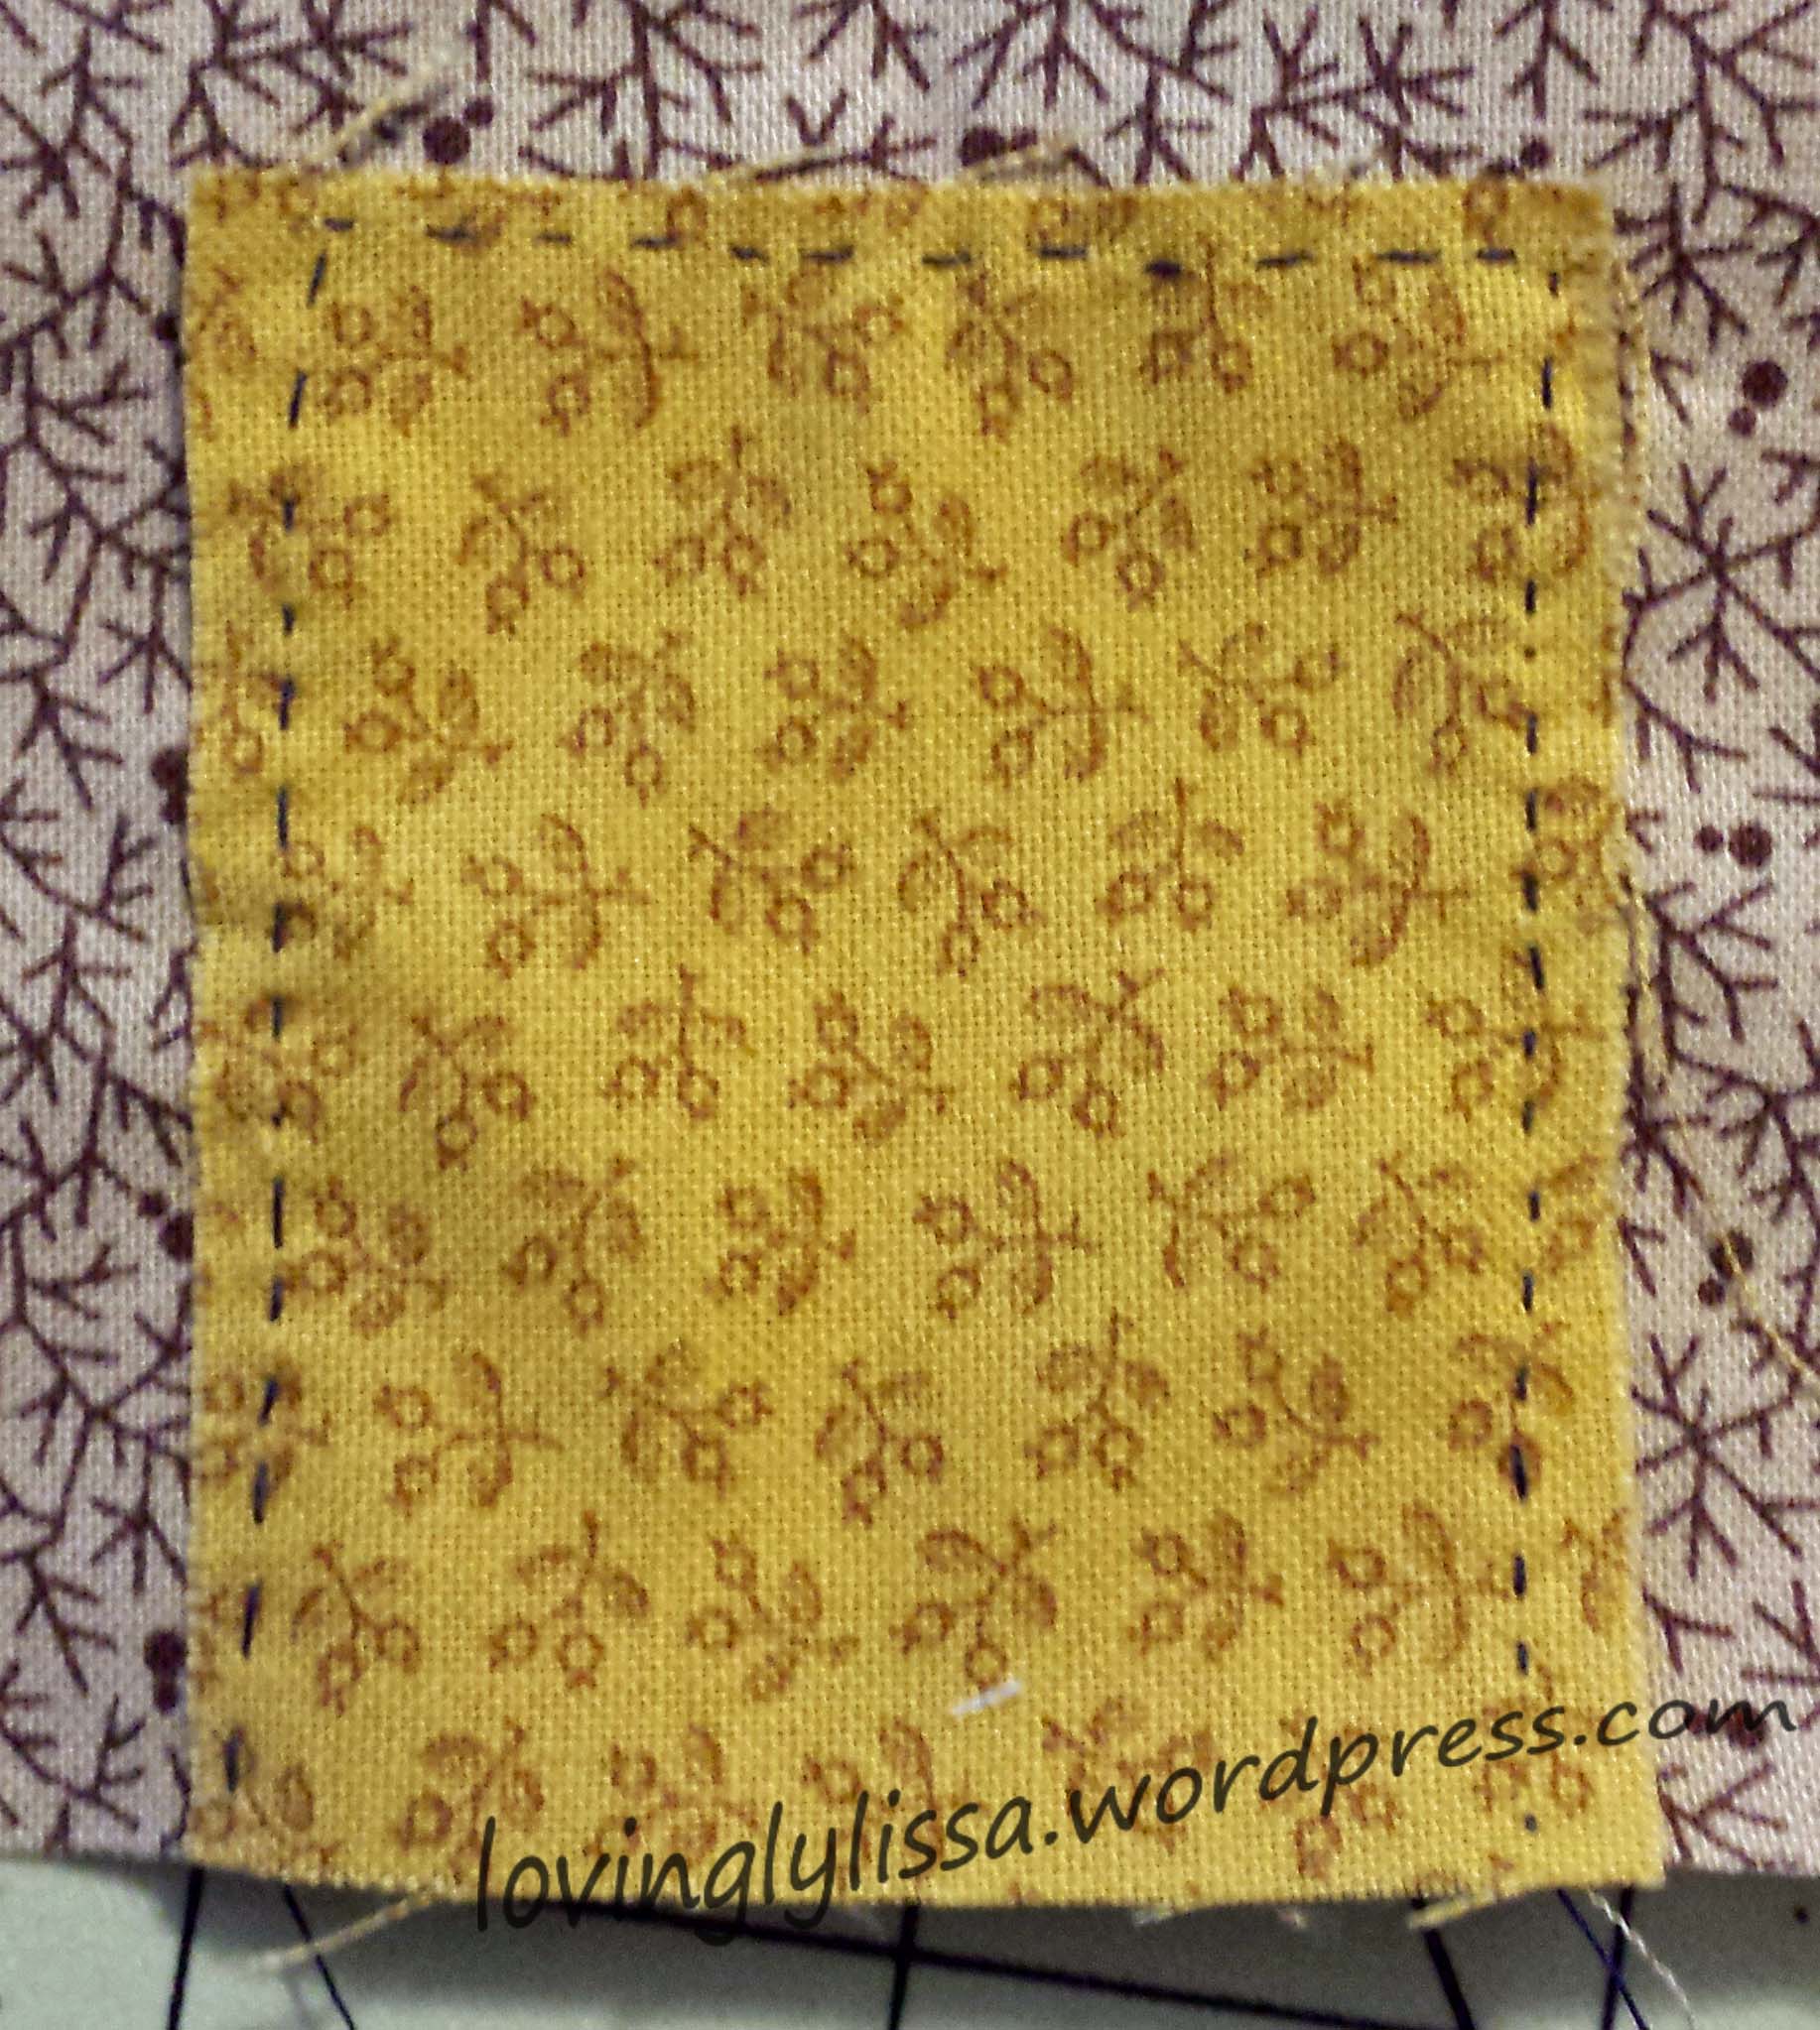
The door was next.  For this applique I did the backbasted method.  You draw the outline of your applique on the back of the piece you are sewing it onto.  Then you lay the piece to be appliqued on top.  Following the drawing you baste the piece on using tiny stitches.  If you let it sit like this for a while, it makes a perforation of the fabric to make turning under easier.  I just pull out a few basting stitches and needle turn the fabric.


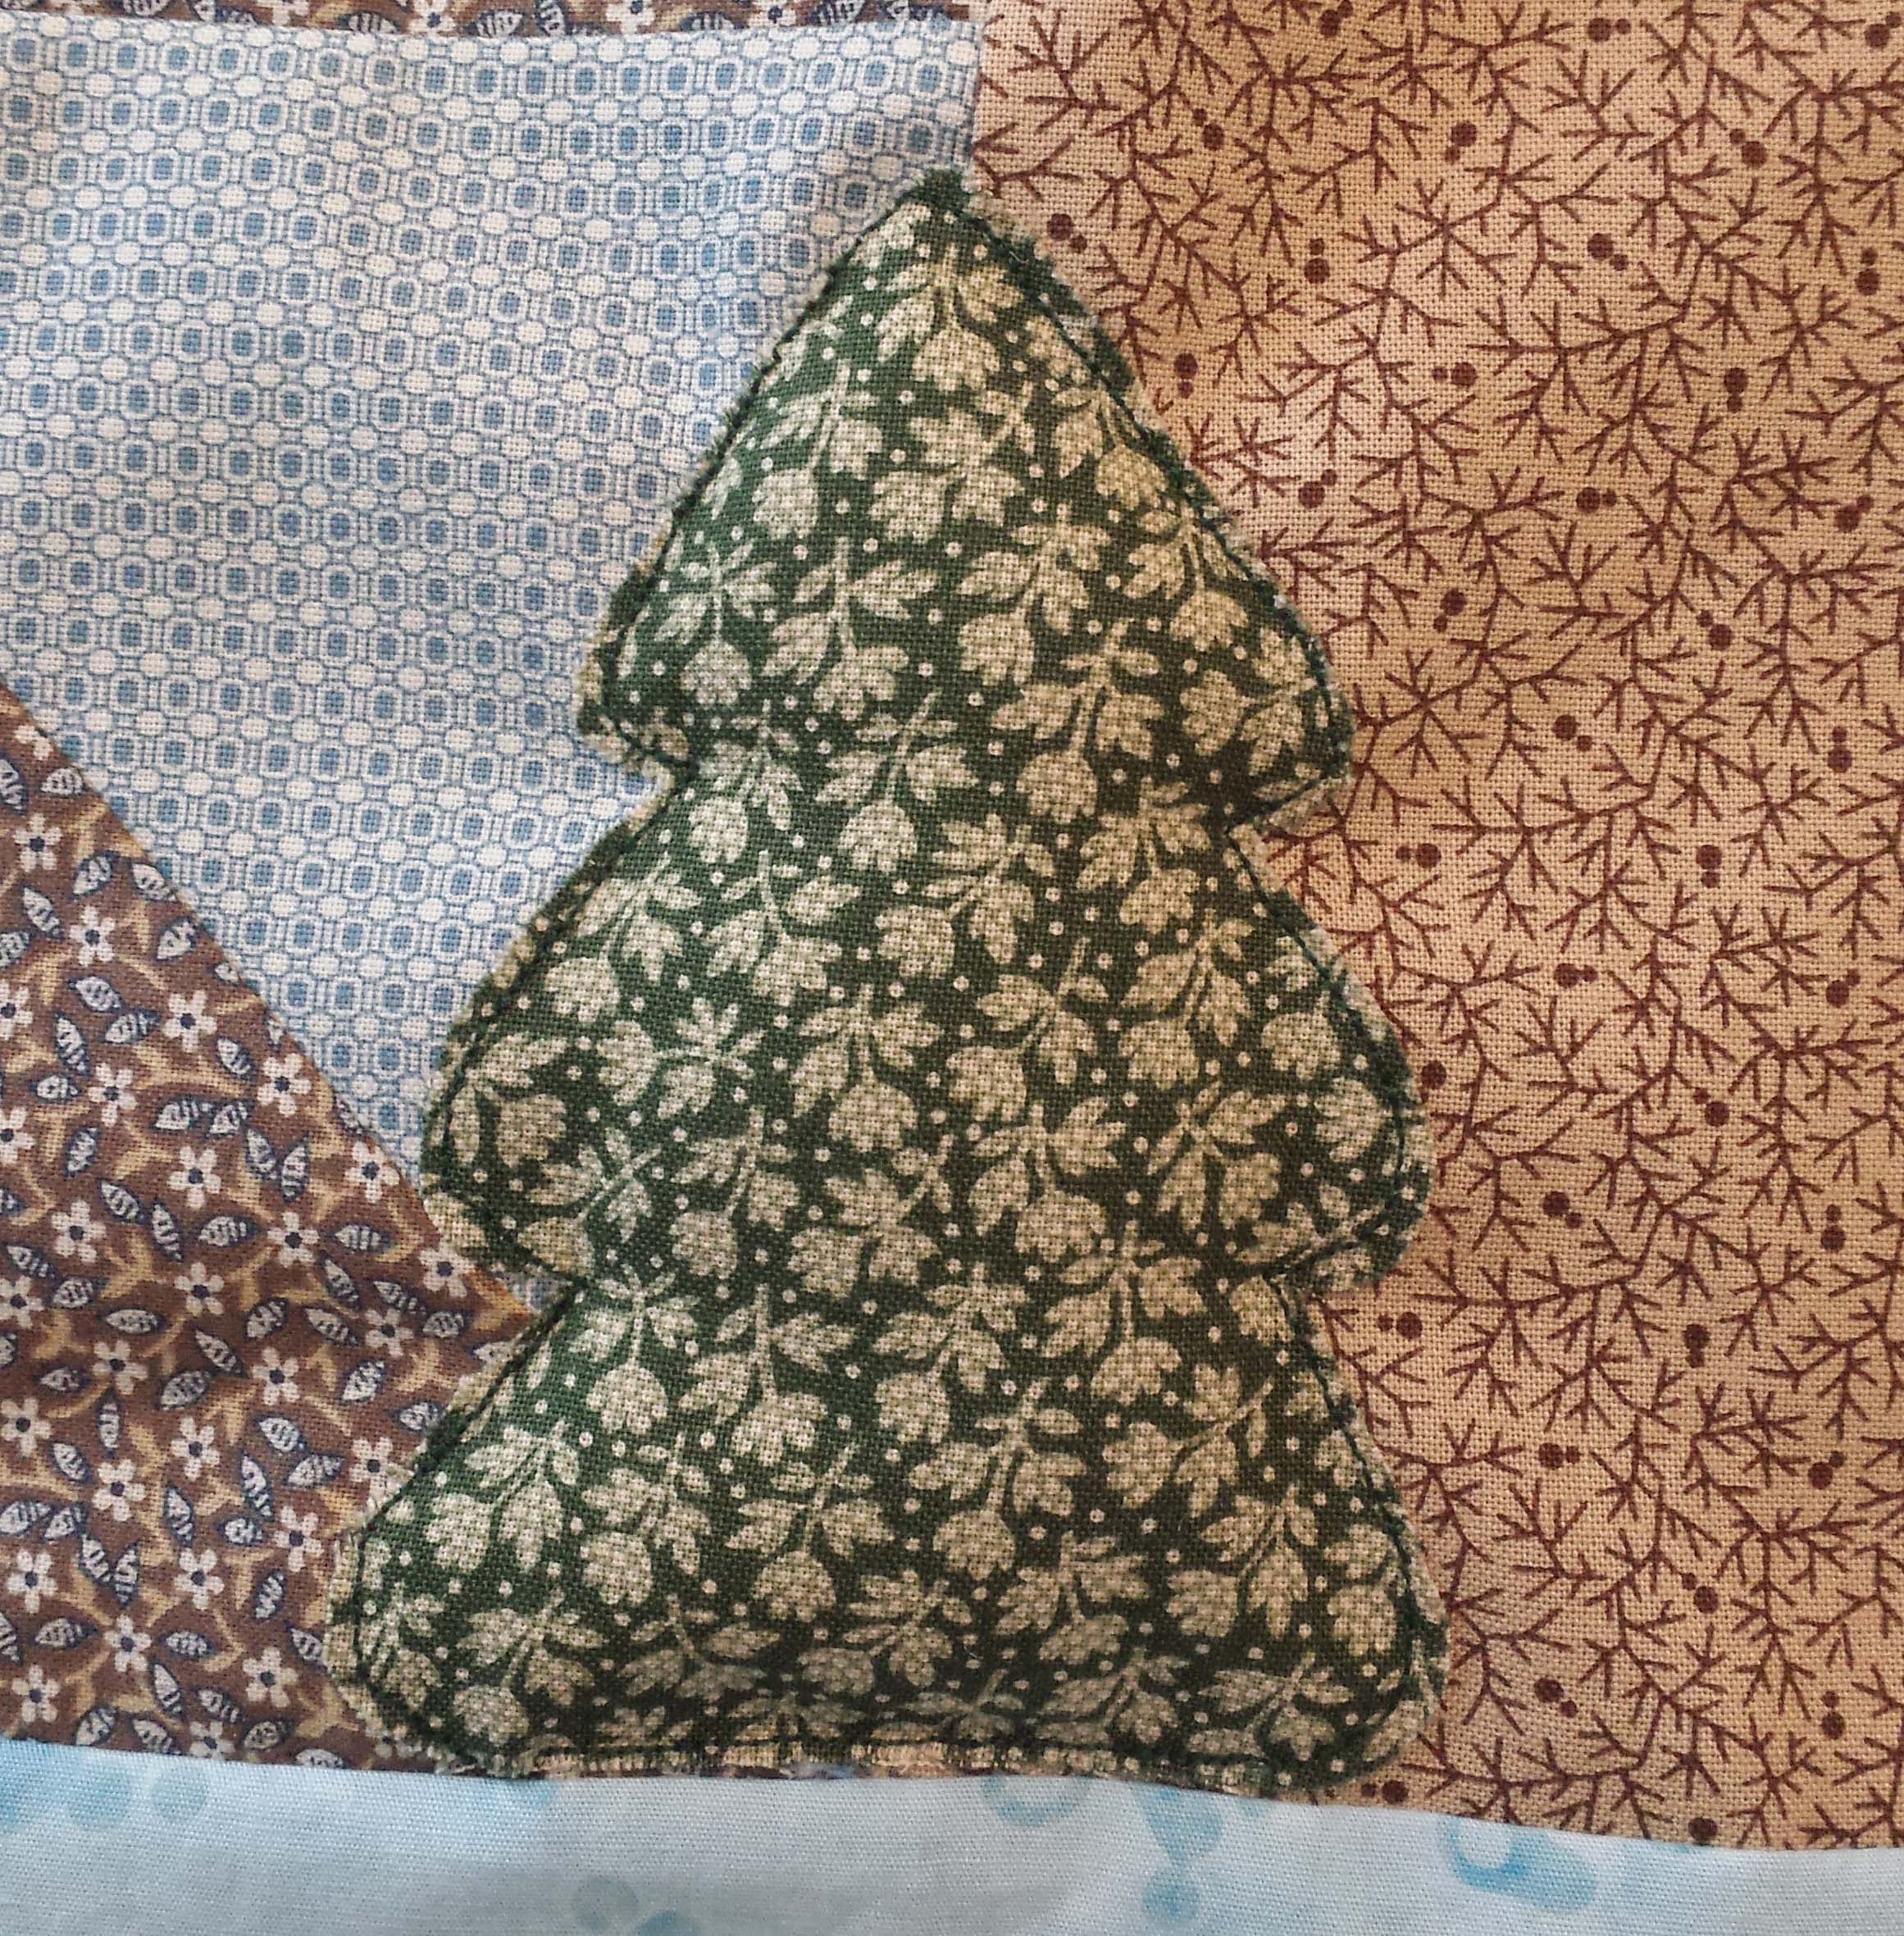
Finally the trees were machine appliqued.  I cut the design directly on the green fabric and used a straight stitch along the edges. The fabric may fray as time goes on, but I think that would be in keeping with the trees.

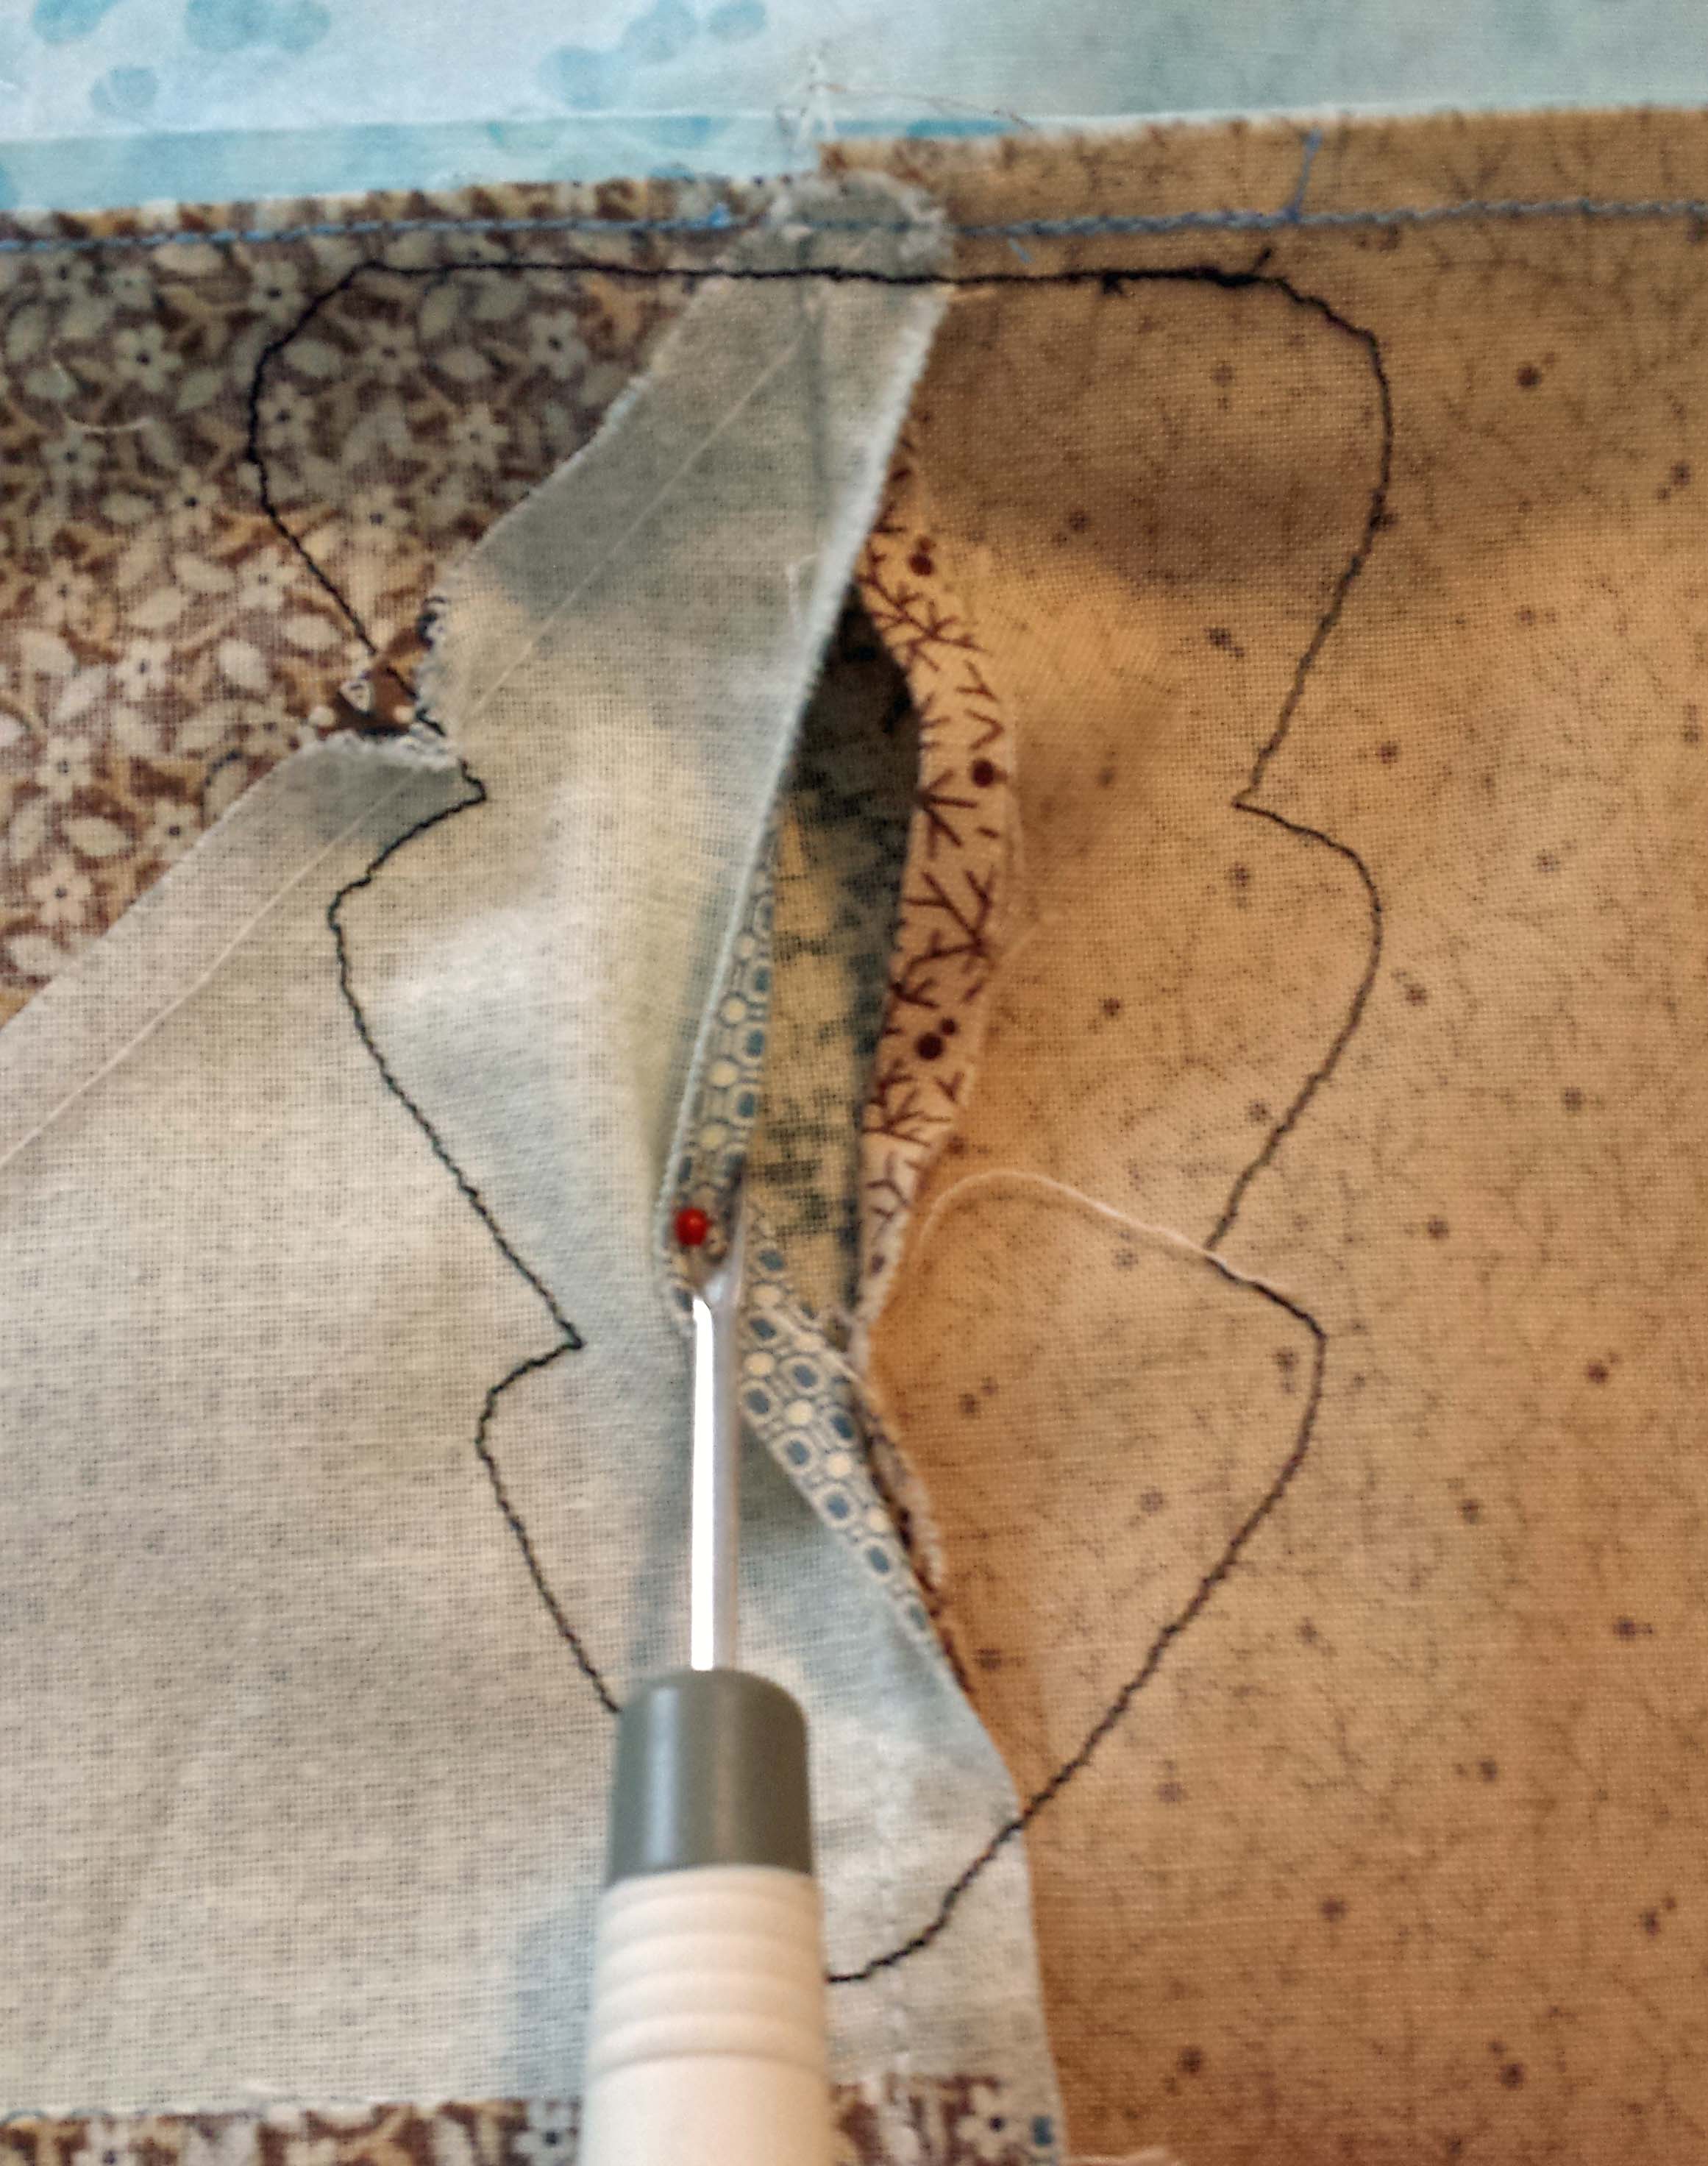
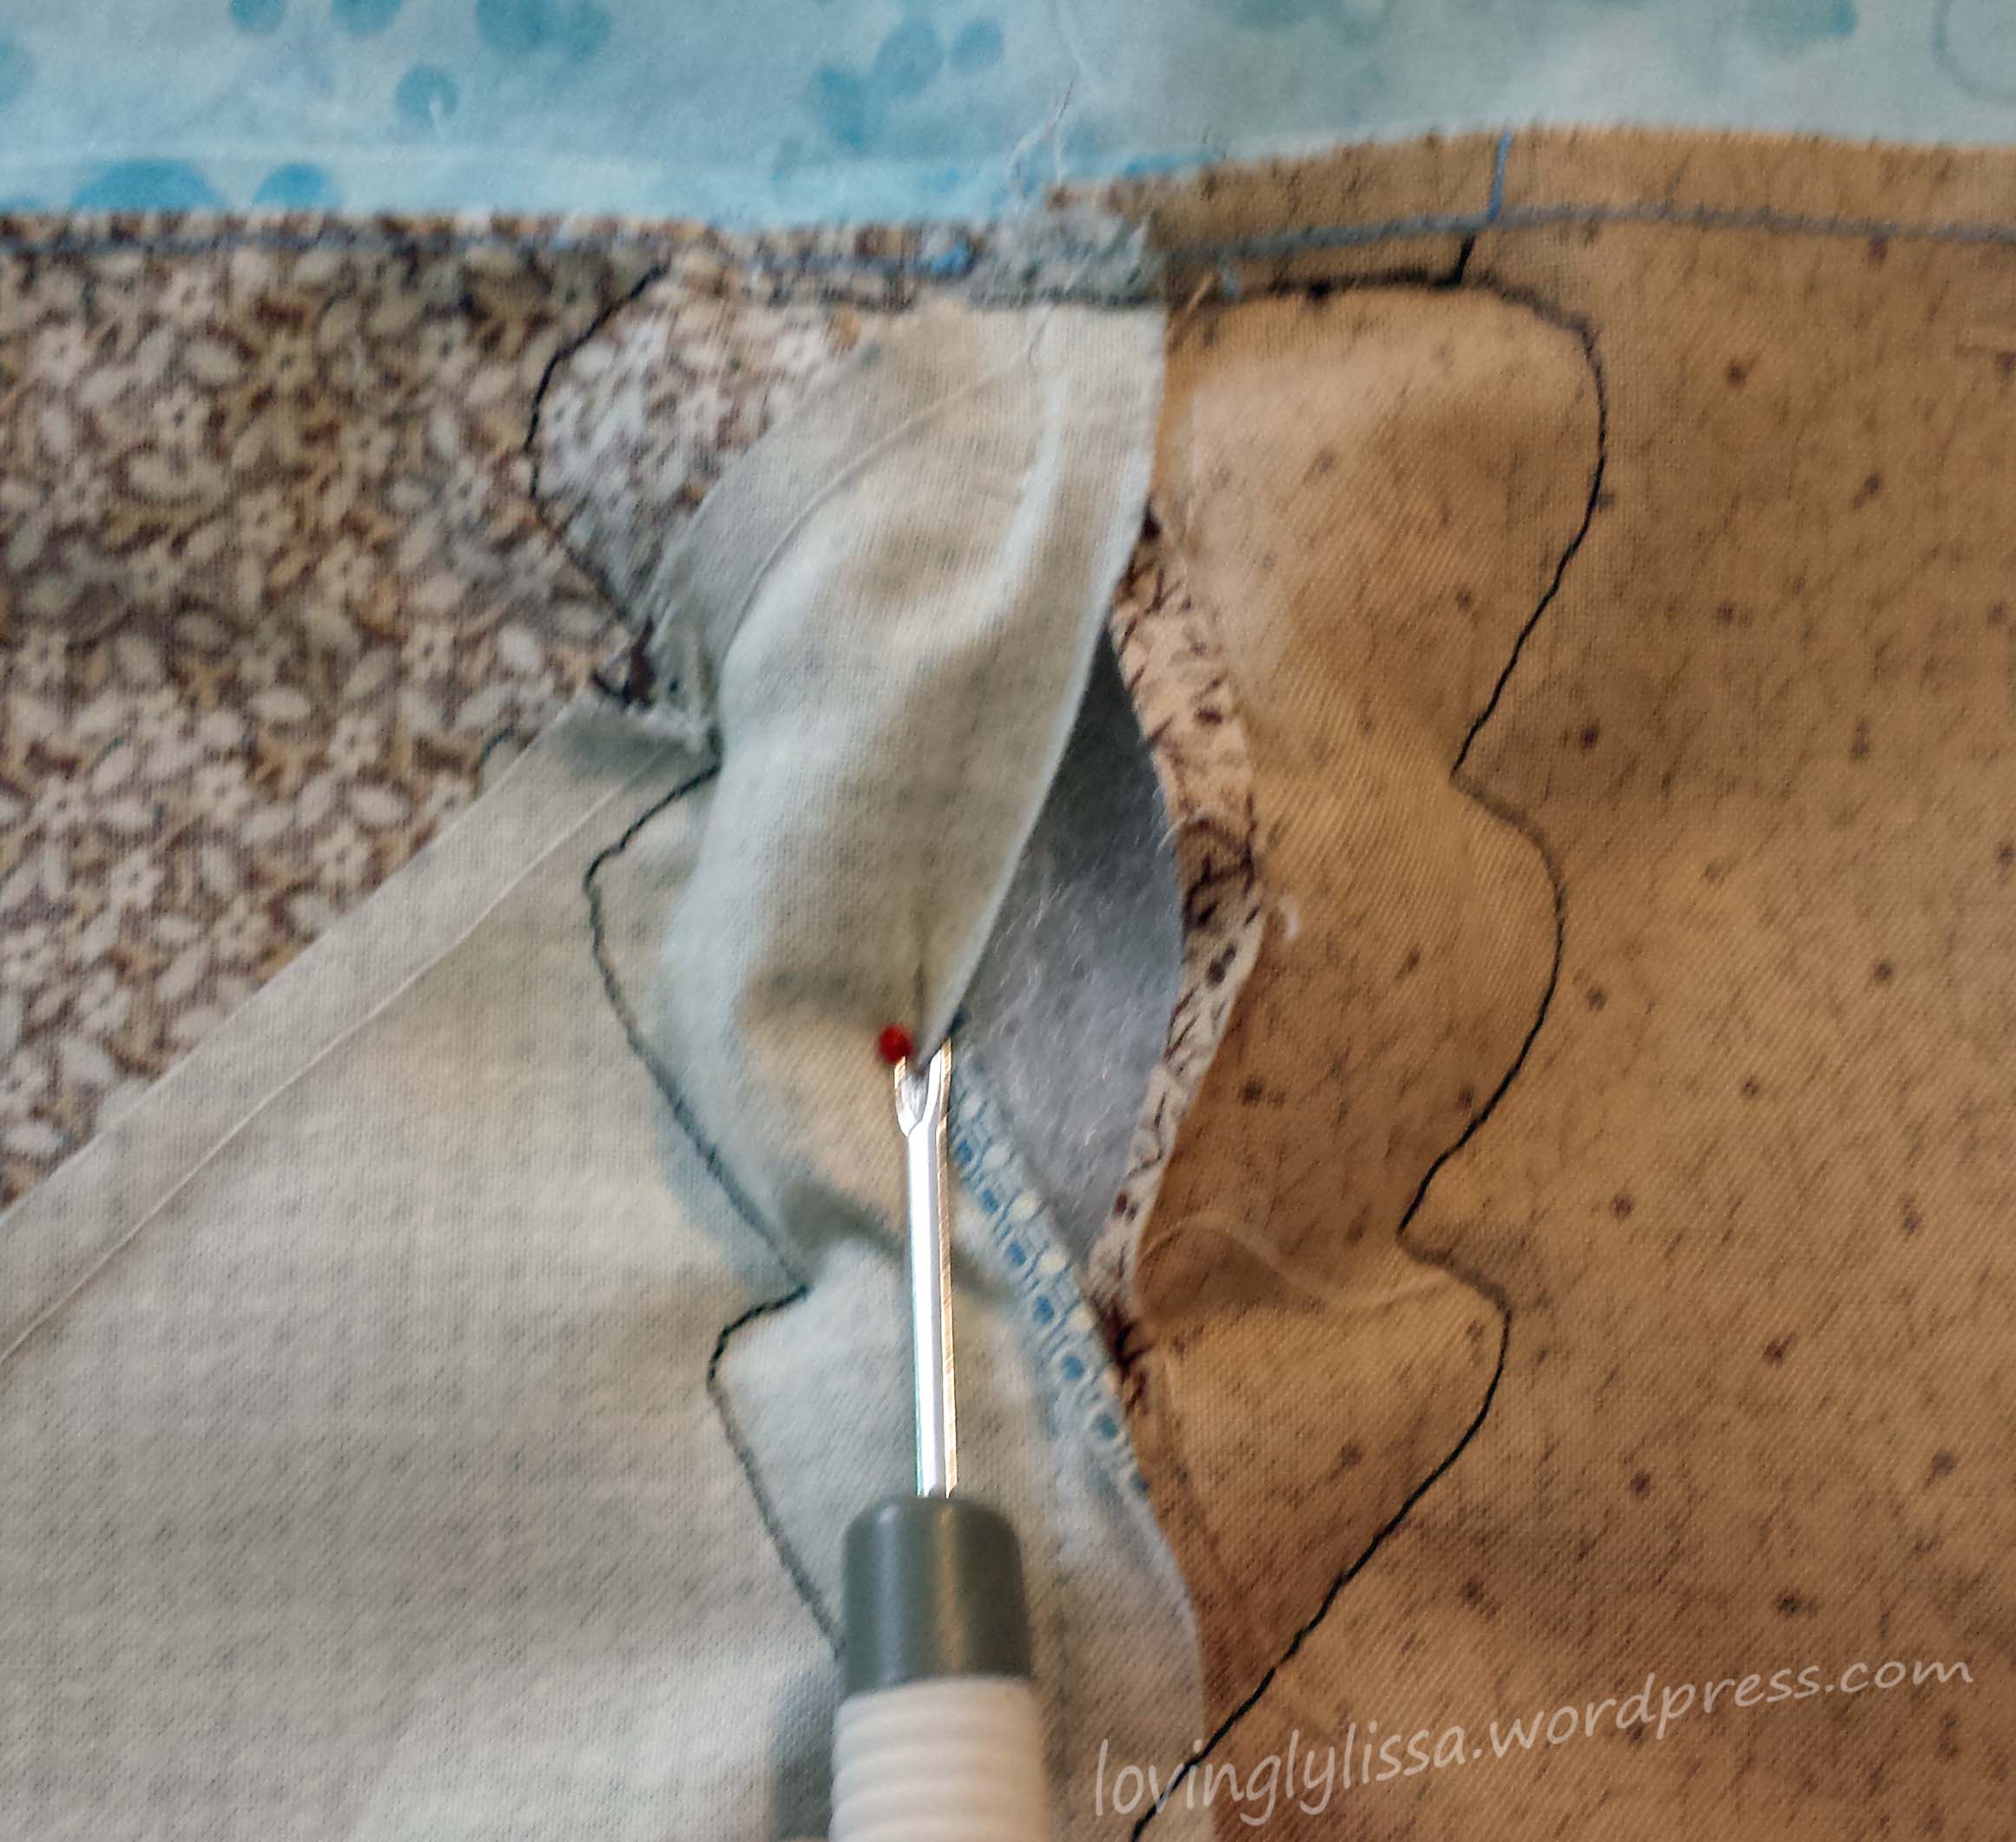
To make the trees pop and add dimension, I opened the seams behind them and stuffed the insides.

open seam
Open the seam.
stuffed seam
Add stuffing.
stuff tree
Finished tree.

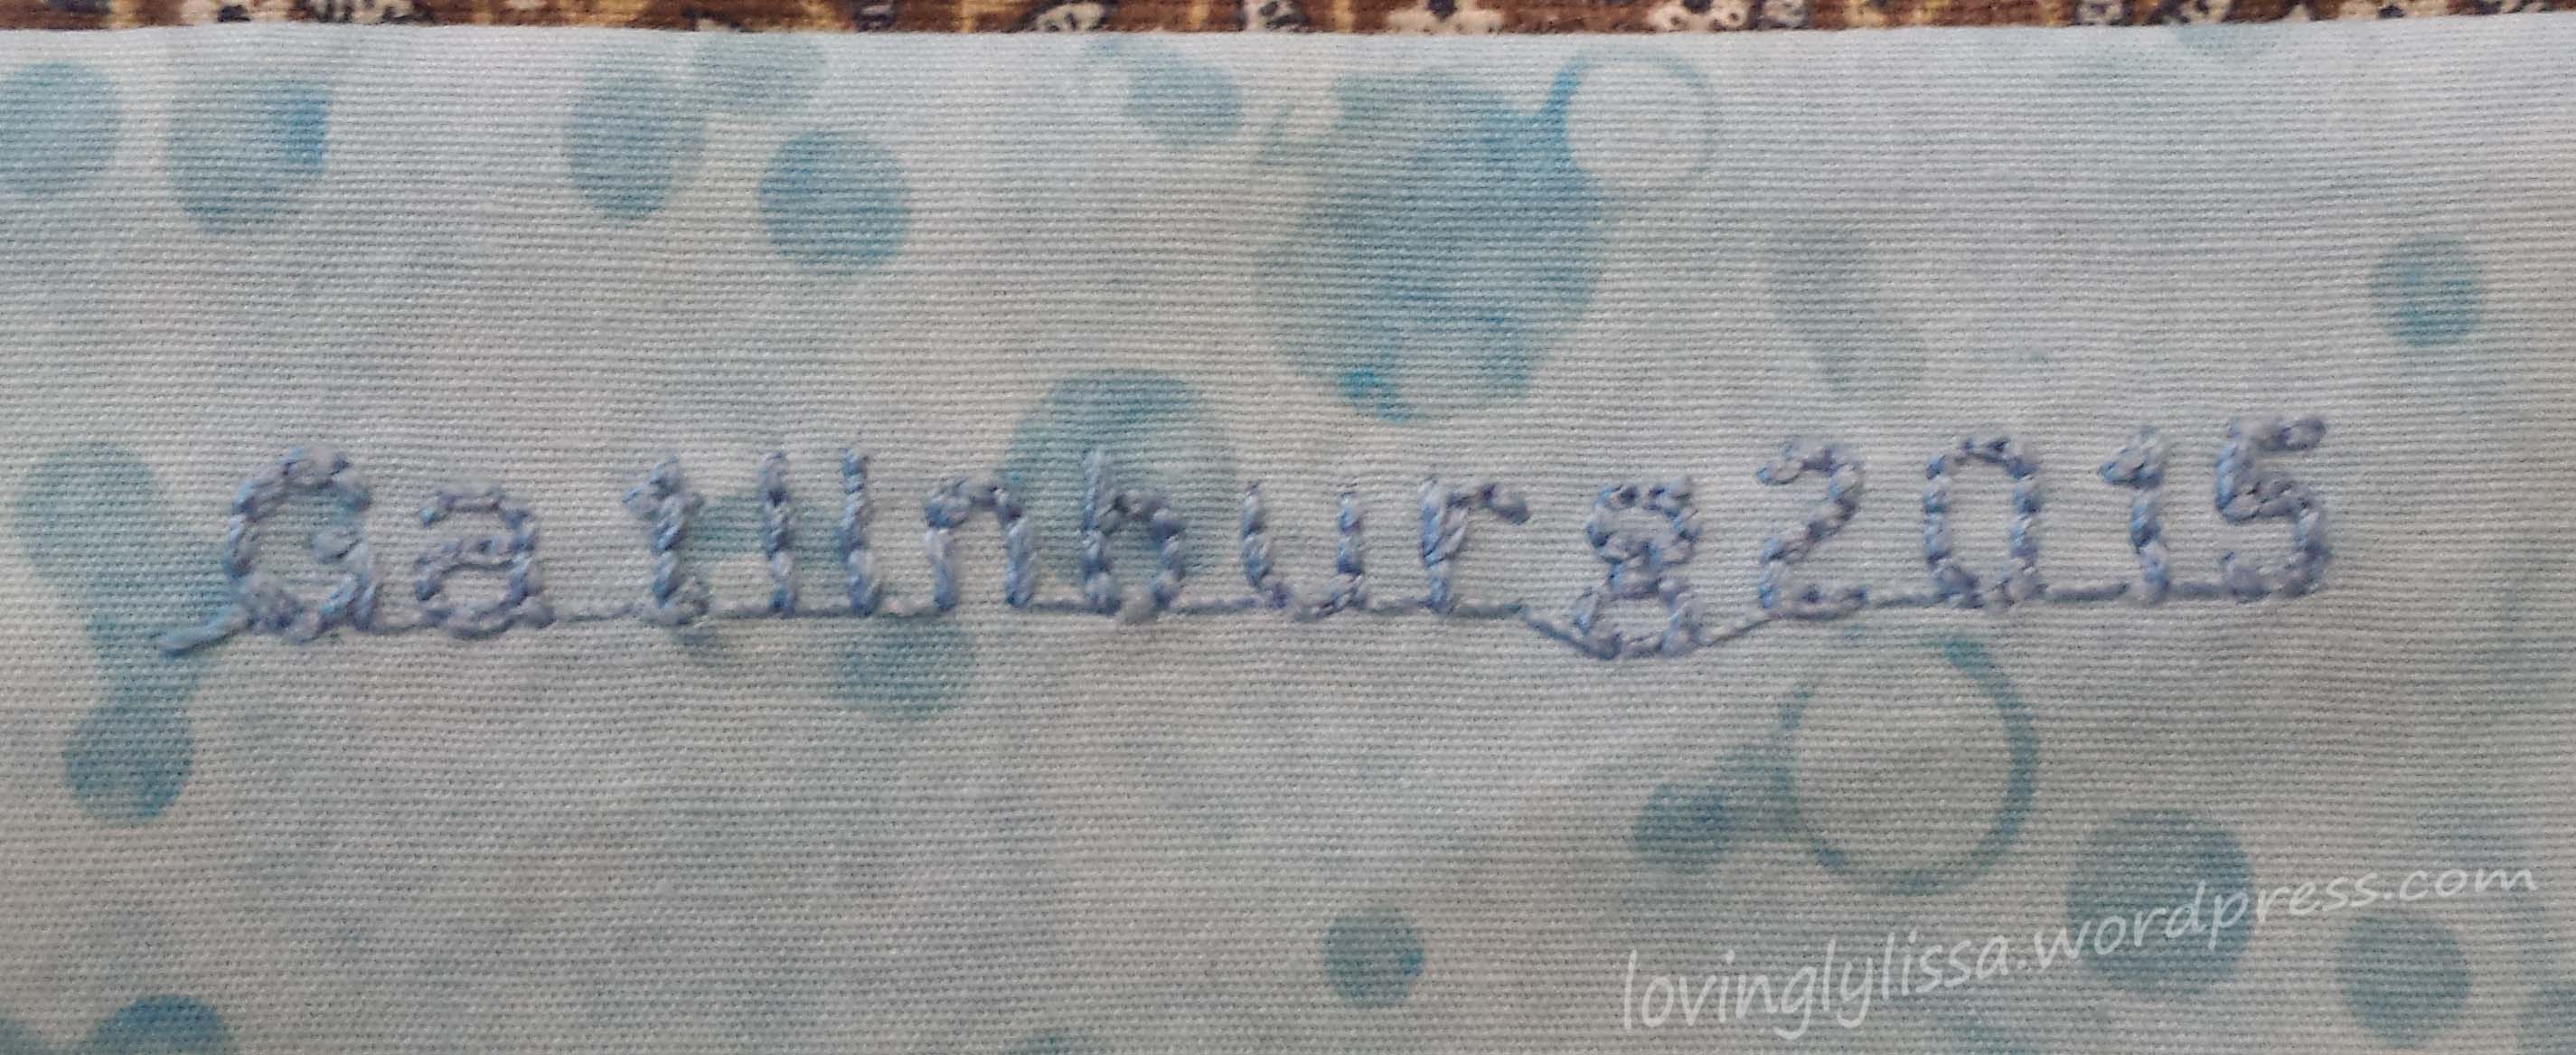
Finally, I added some embroidery to the bottom.  Just to remember where and when.

gatlinburg

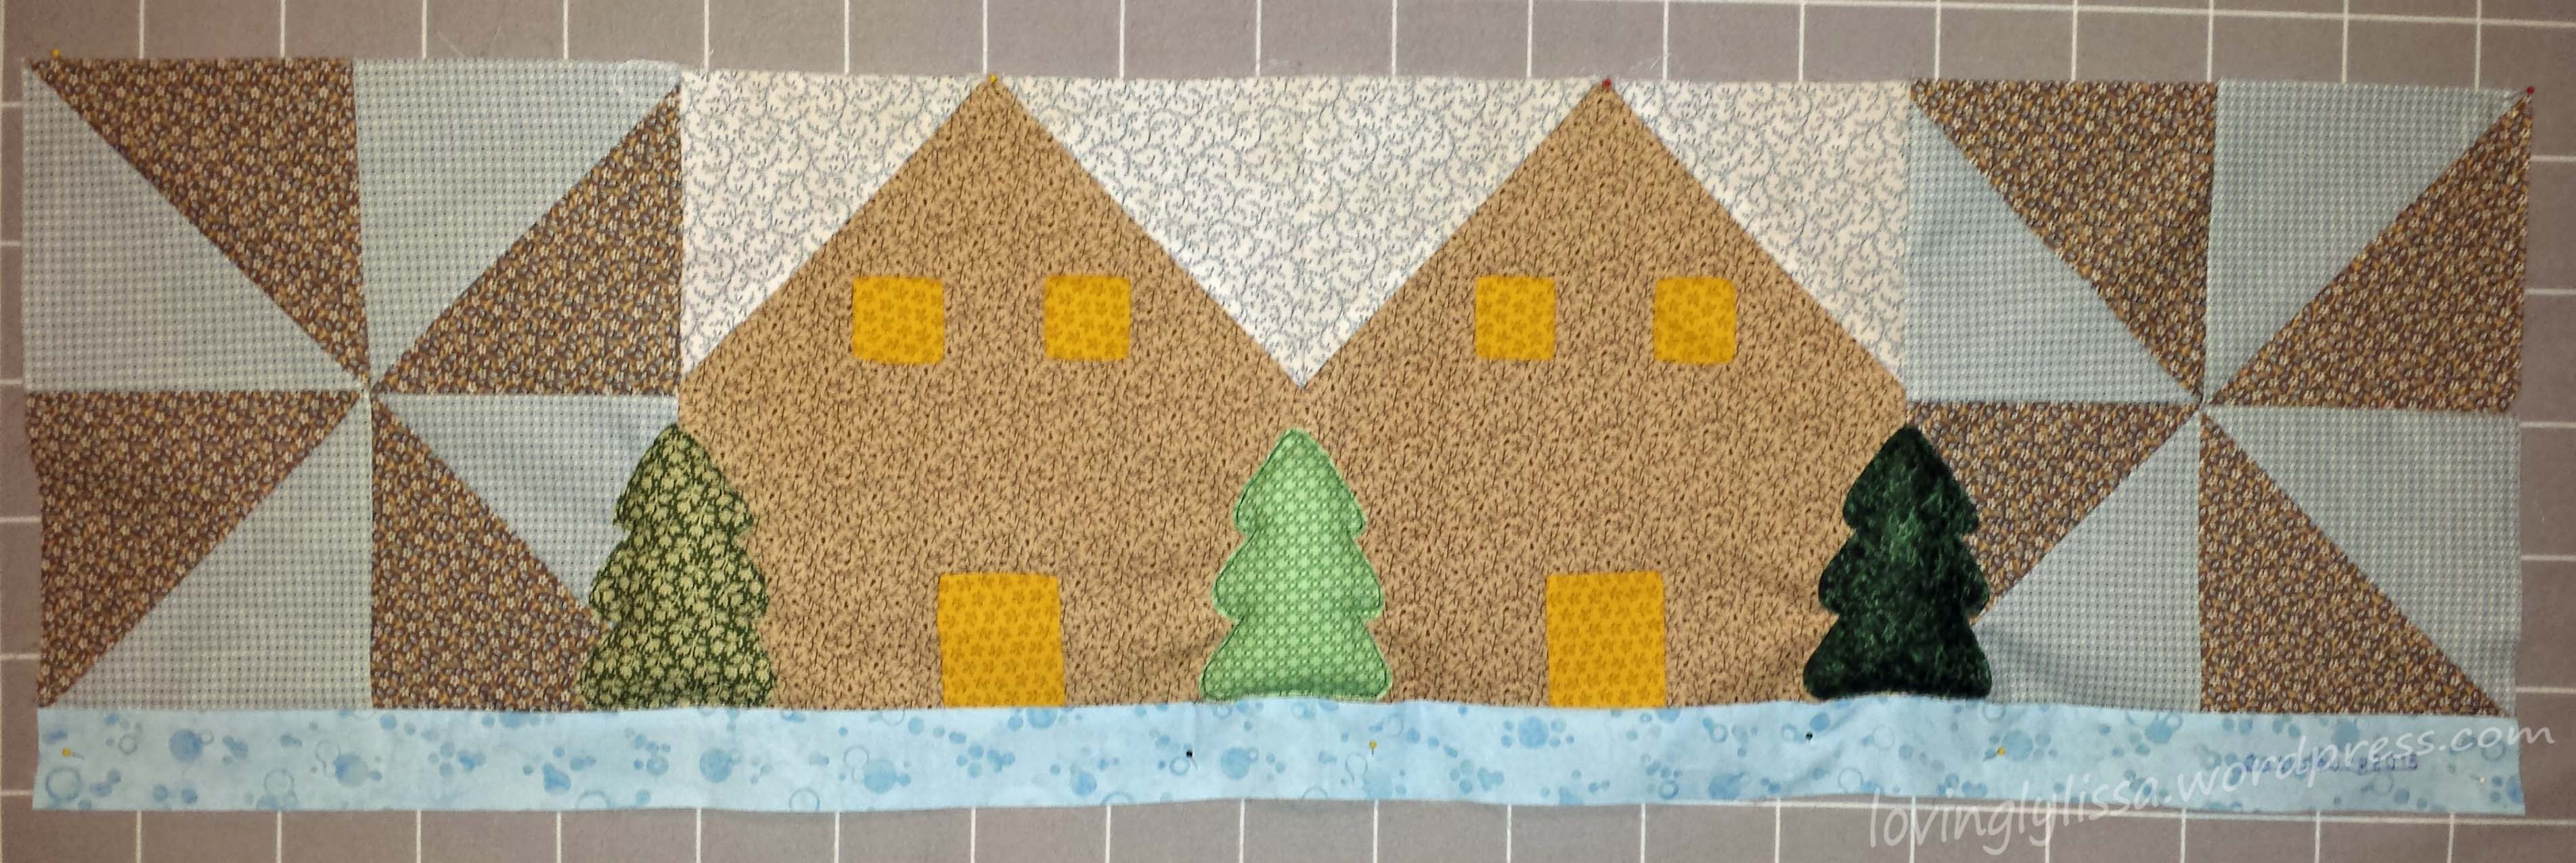
Here is the finished row;

rowbyrow

I am excited to see what rows 2016 brings.


Quilting tips and techniques · Uncategorized

Free Motion

I took a class with Alex Anderson, oh, about two years ago.  We learned how to machine applique using a blanket stitch.  The class was fun and the quilt pattern sweet.  I loved the bright colors.  It took me almost a year to finally finish the quilt top and it has been sitting in my UFO box ever since.

You see, I have a fear of finishing quilts.  I’ve taken a few free motion classes.  It’s not something I do perfectly the first time, so I shy away from it.  After all the hard work I put into a quilt top, I don’t want to ruin it with the quilting part.

But time to face my fears!

The classes I’ve taken on free motion quilting all had different advice.  I’ve mixed it all up and have found what works best for me.

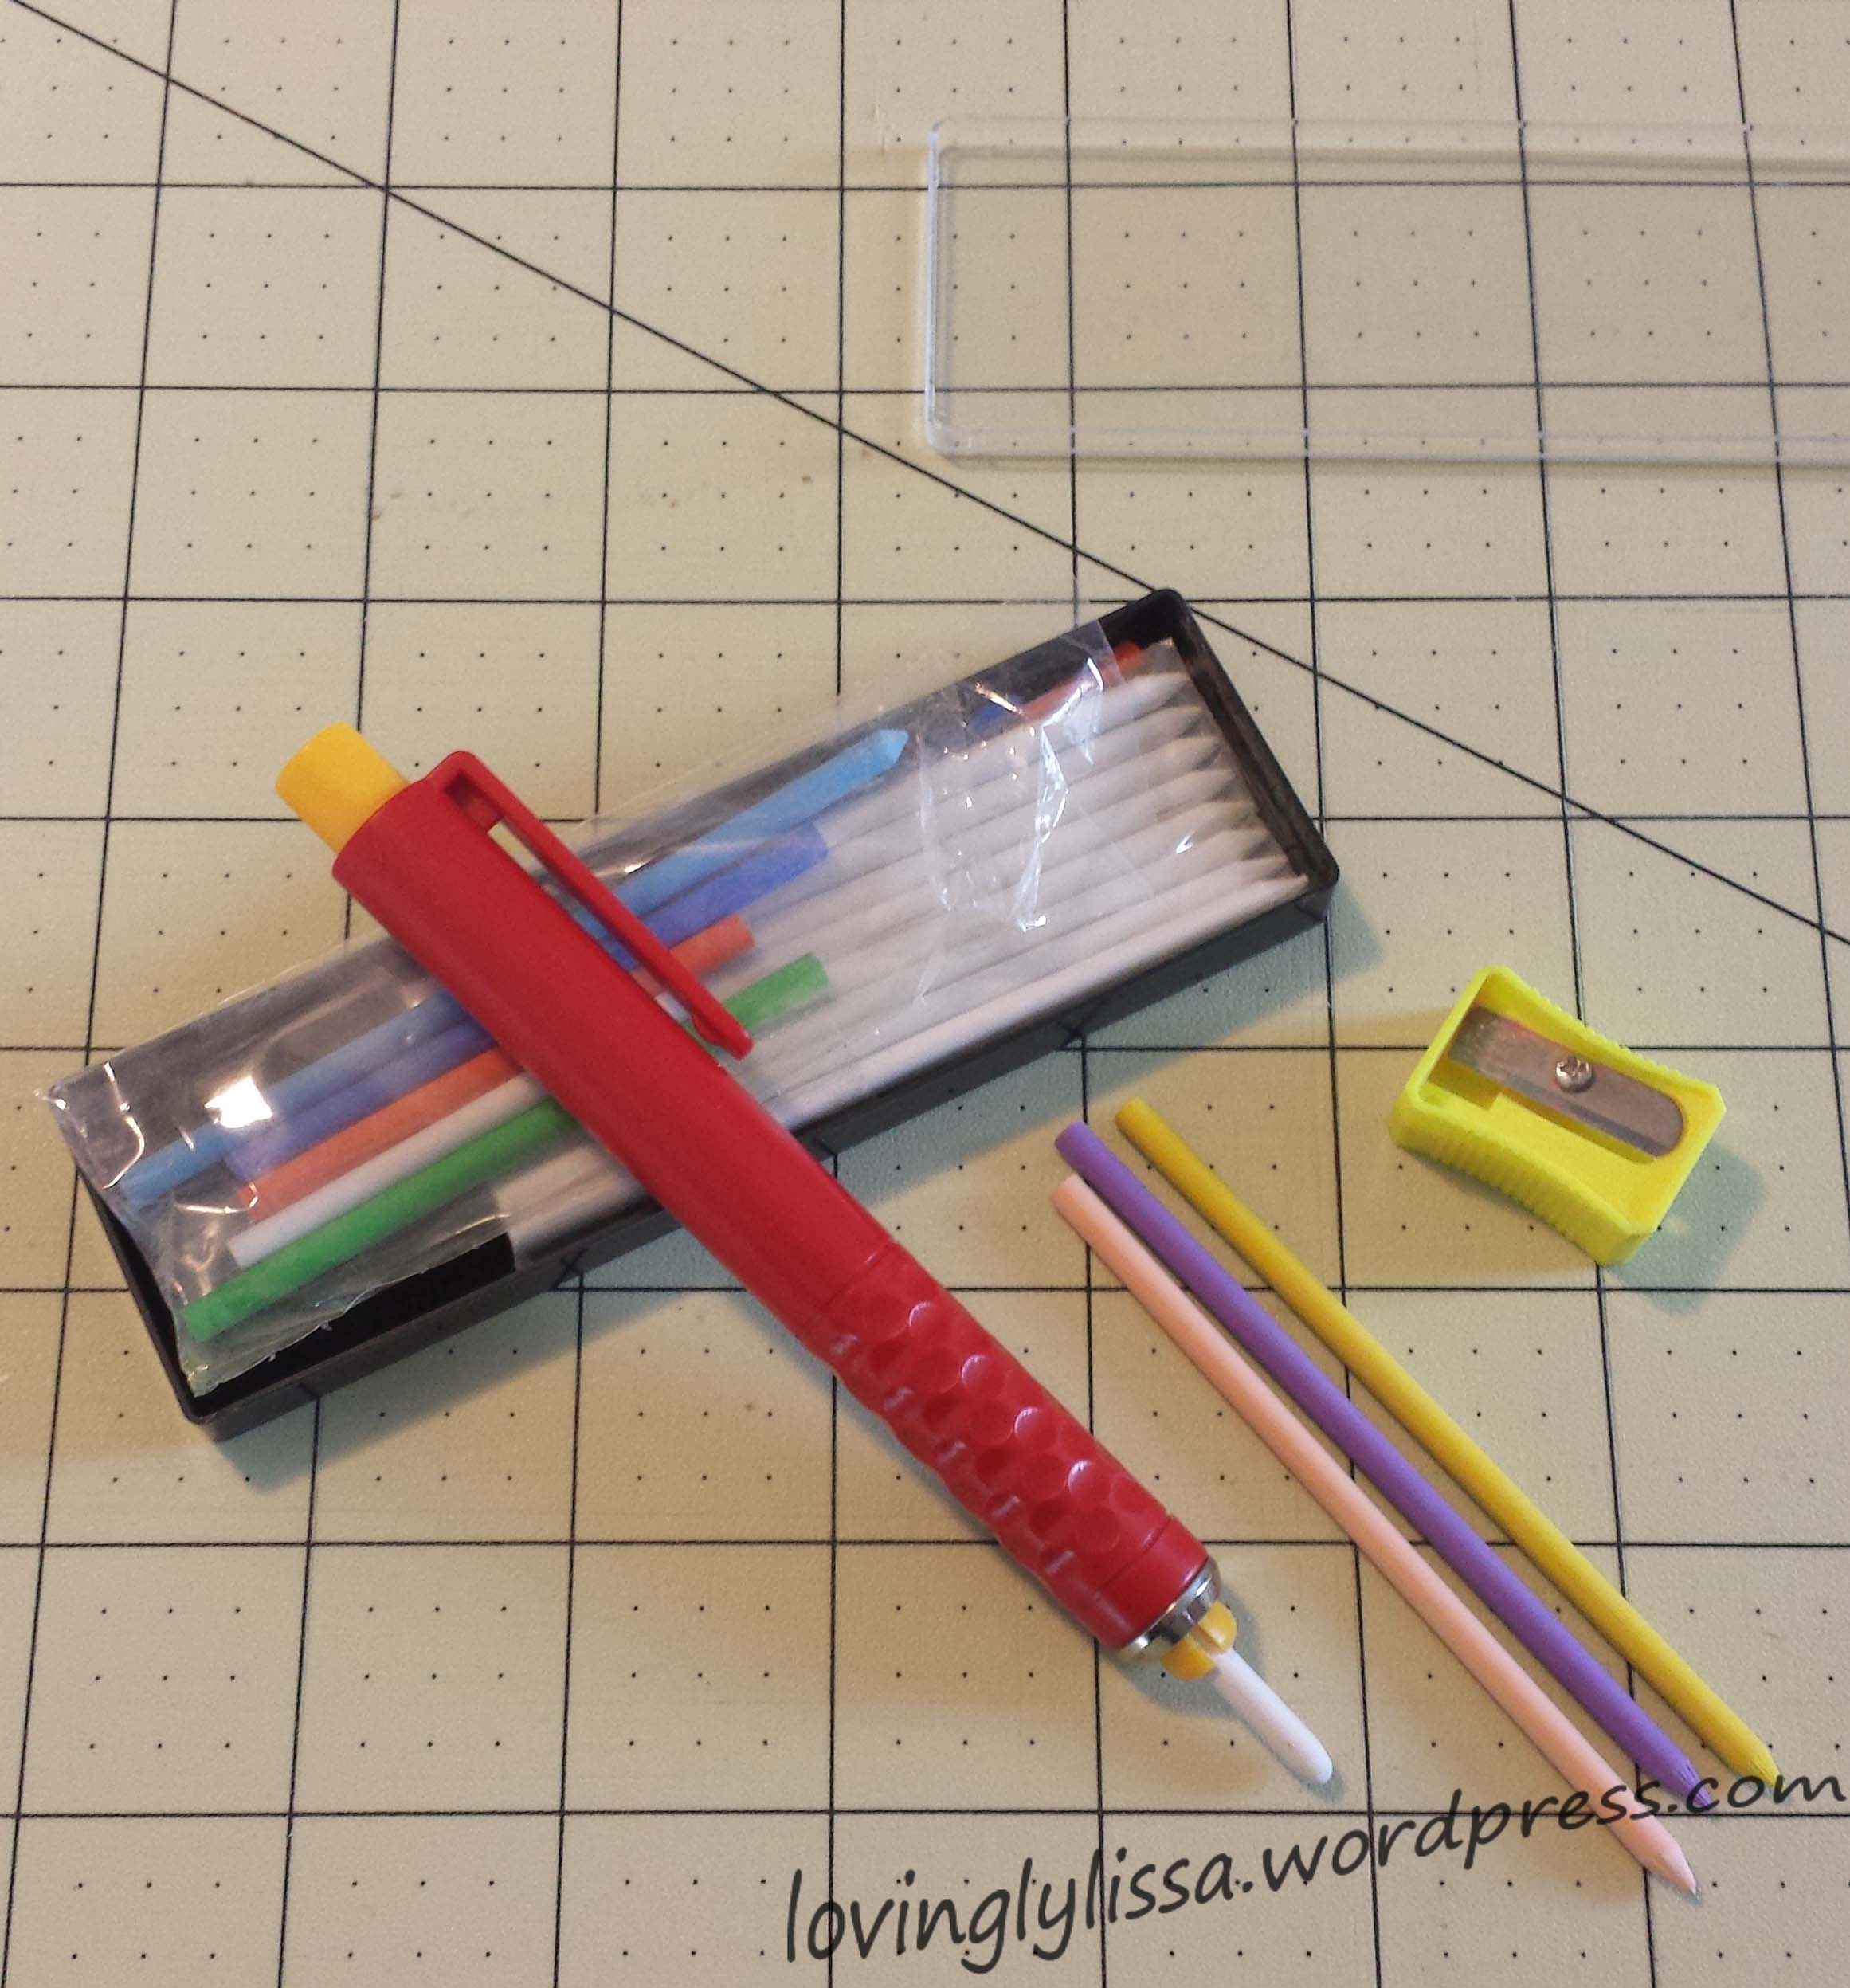
First, I mark my quilts.  I like this chalk set I found at a local quilt shop, I think I’ve also seen it at Joann’s.
markingchalk

I like the interchangeable colors, the case, and the sharpener.  Also the chalk rubs off rather easily, which can be a good or bad thing.

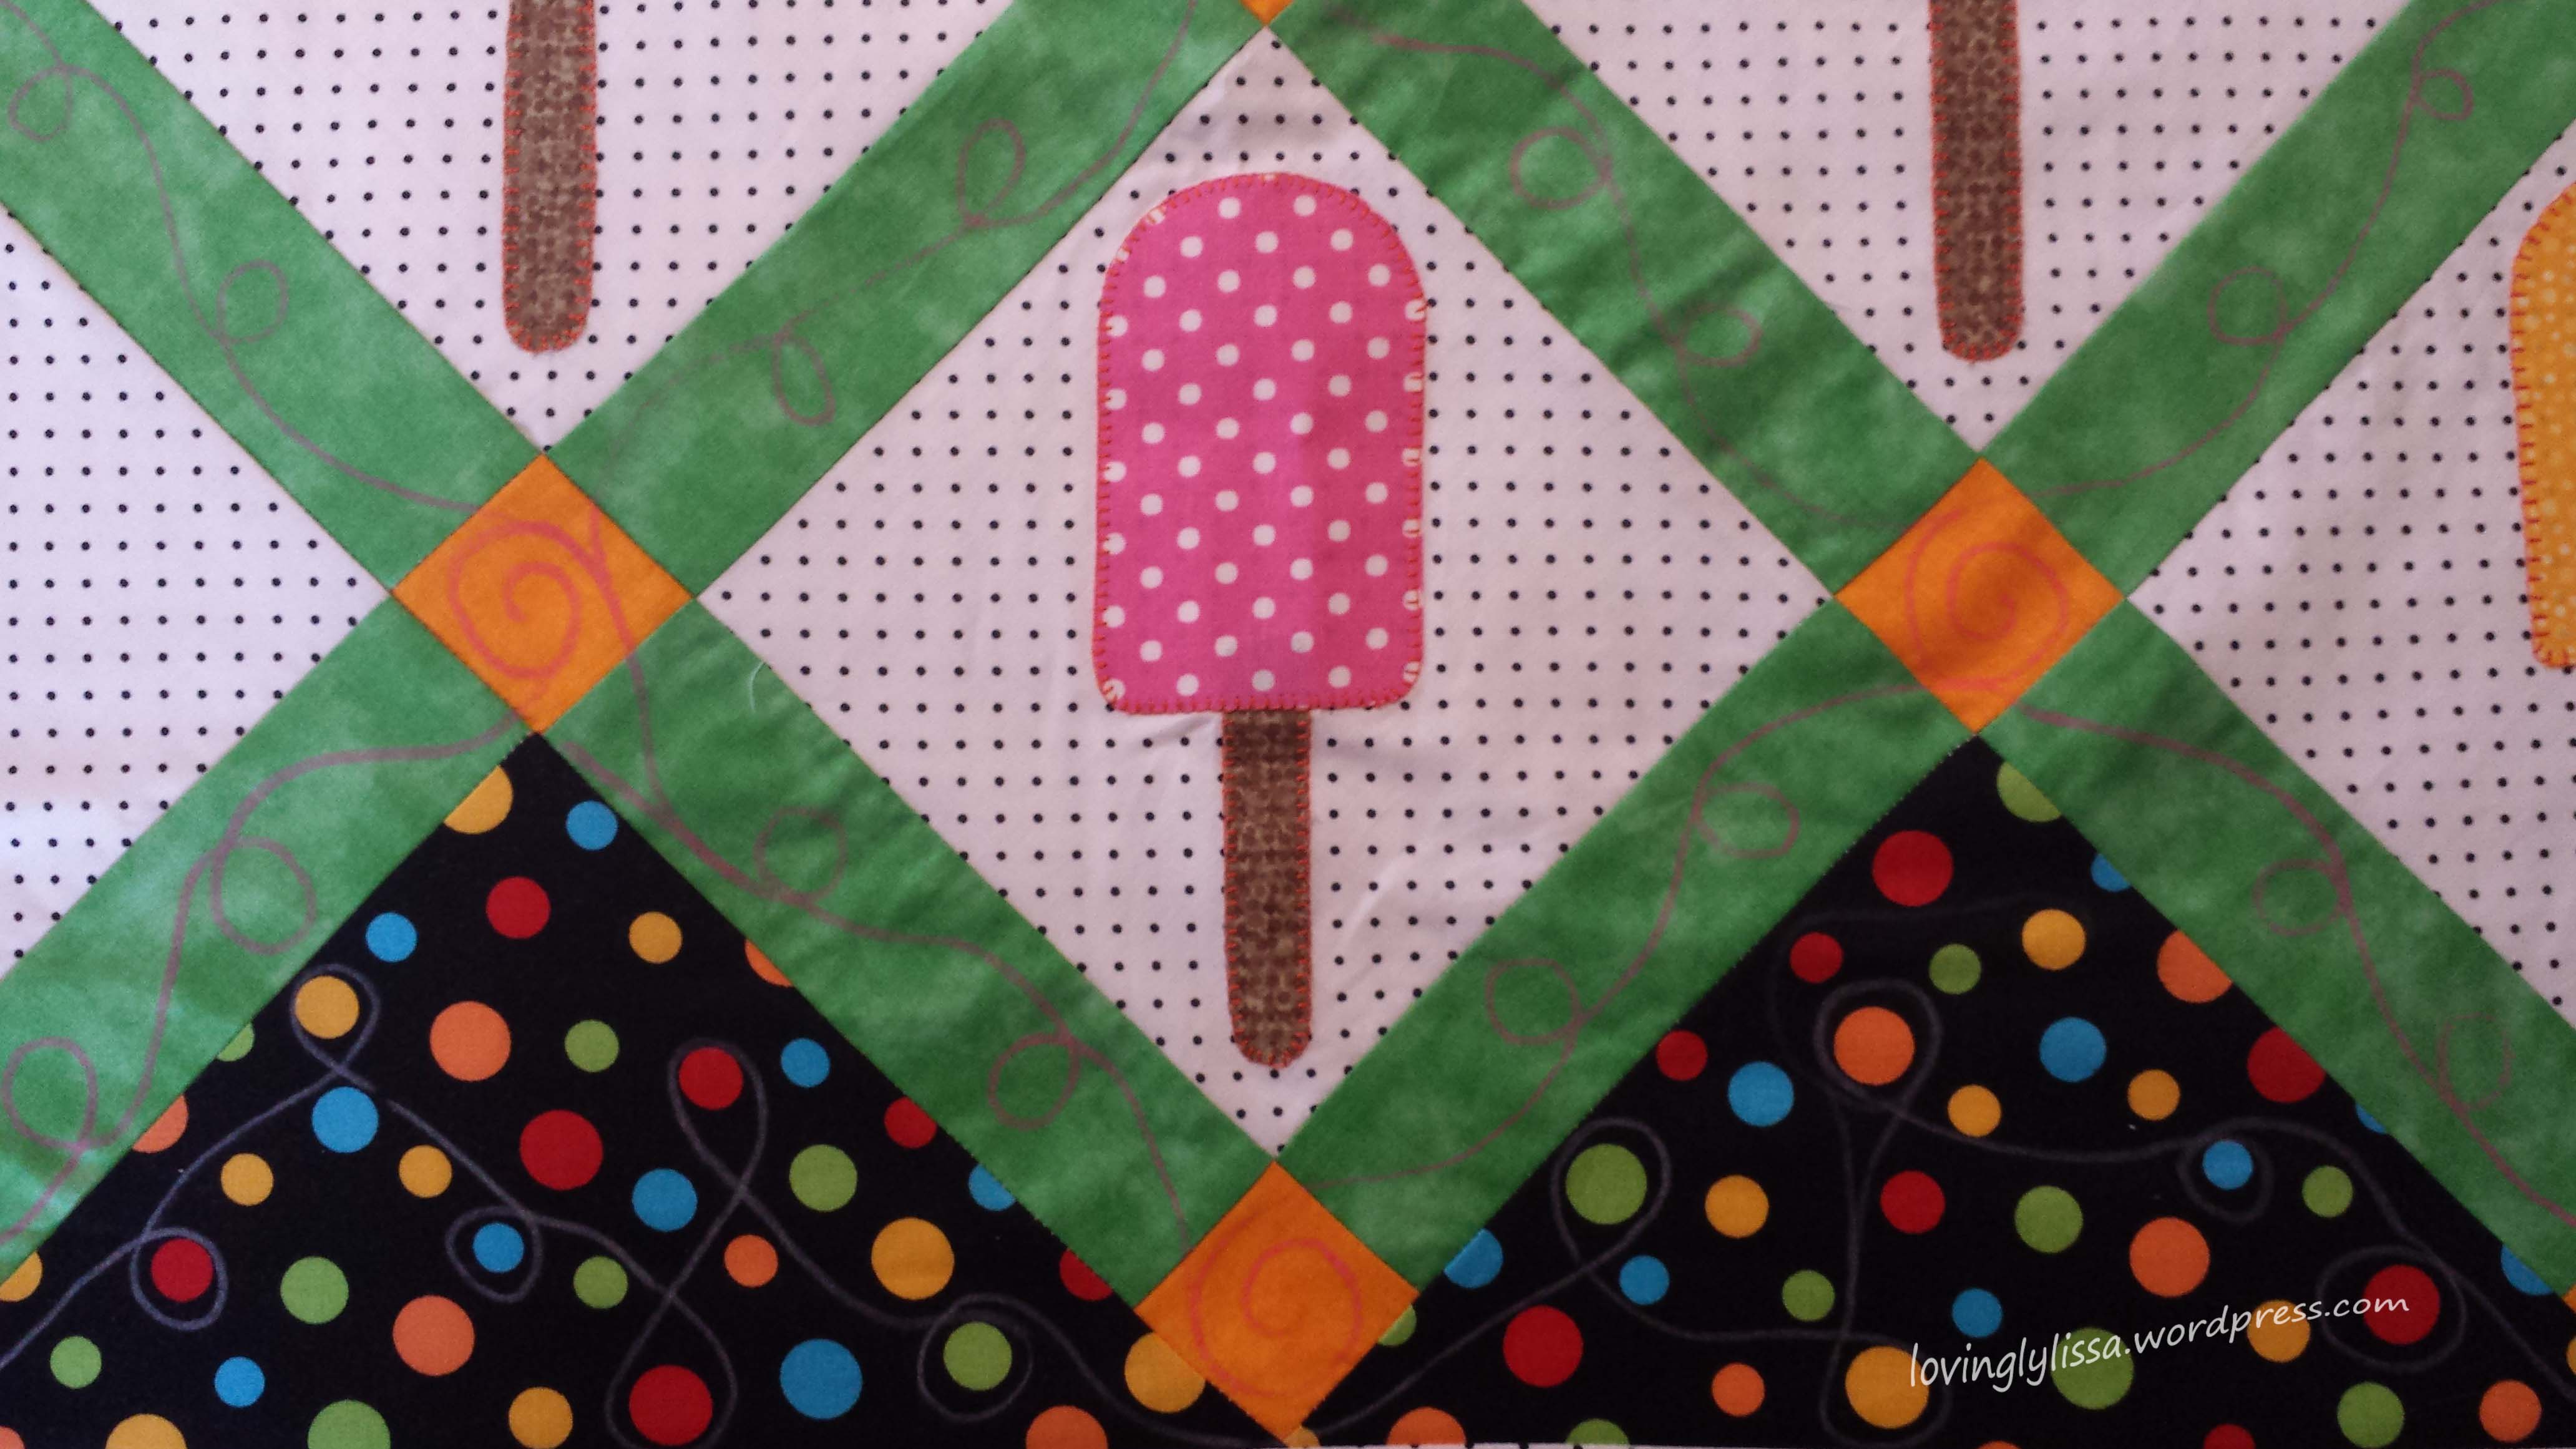
I made a general design on the quilt.  Just to give me a general idea of where to go.  Trying to figure out my next move while sewing just doesn’t work for me.  I get all kinds of confused and frustrated.  I usually find that I’ve quilted very close together in some areas and very spread out in others, and I’ll get stuck somewhere and not know where to turn next.
markedquilt

I keep a stash of 12 x 12 inch batting and muslins in a box.  Before I start free motion on a quilt I make a sandwich out of these a do a practice run.  This gives me a chance to check the tension on the threads and see how my quilt design is going to go.

I do NOT press the pedal to the metal when free motion quilting.  When the needle moves fast I feel like I need to move fast and I just can’t control the stitching that way.  The size of the stitch is as big as you make it when you move the quilt.  So if the needle is slow, I move slow.  I’ve found I’ve had more even stitching this way.

A little tip from me – I take my shoe off and use a bare foot to apply pressure to the pedal.  I feel like it gives me more control.

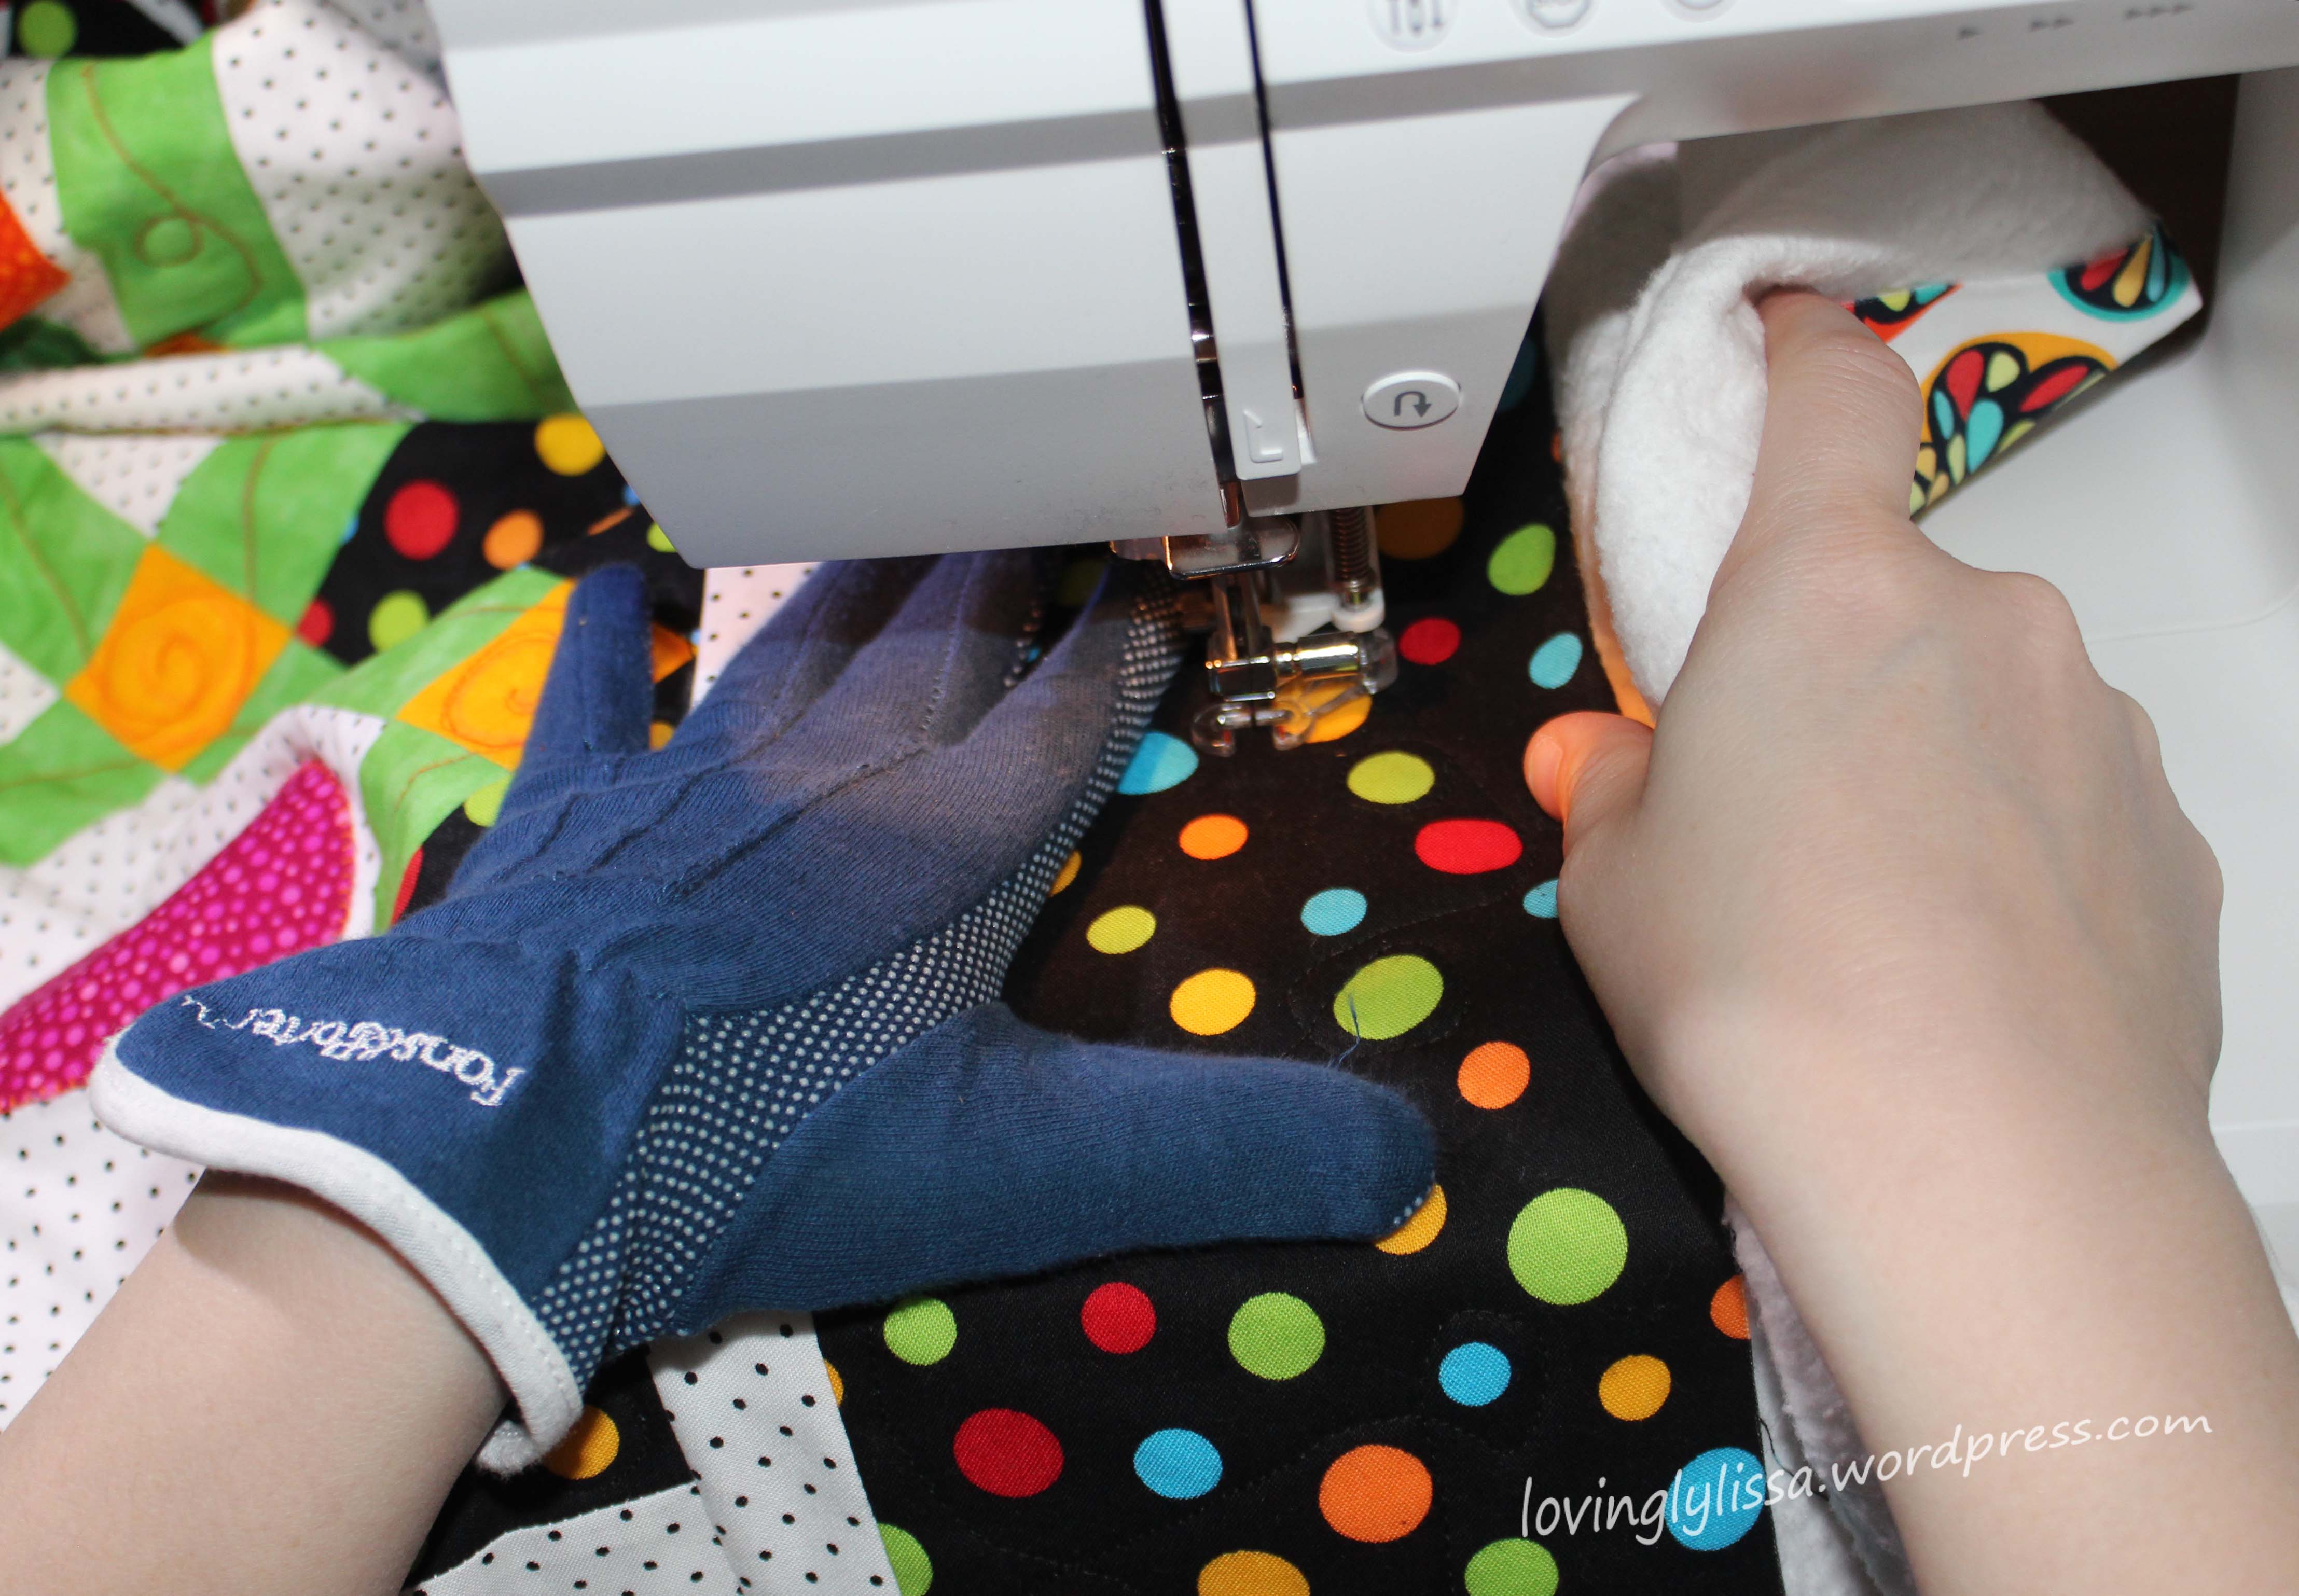
I use a quilt glove on my left hand and use my right hand to actually grip the quilt.
quilthands


It’s really about control.  I feel like I have more control this way.  I do admit, my right hand was hurting after a bit.  I’ll keep working on it to find a more comfortable position.

I also start and stop a lot right now in order to move my hands.  By the end of this quilt I was getting much better at it.

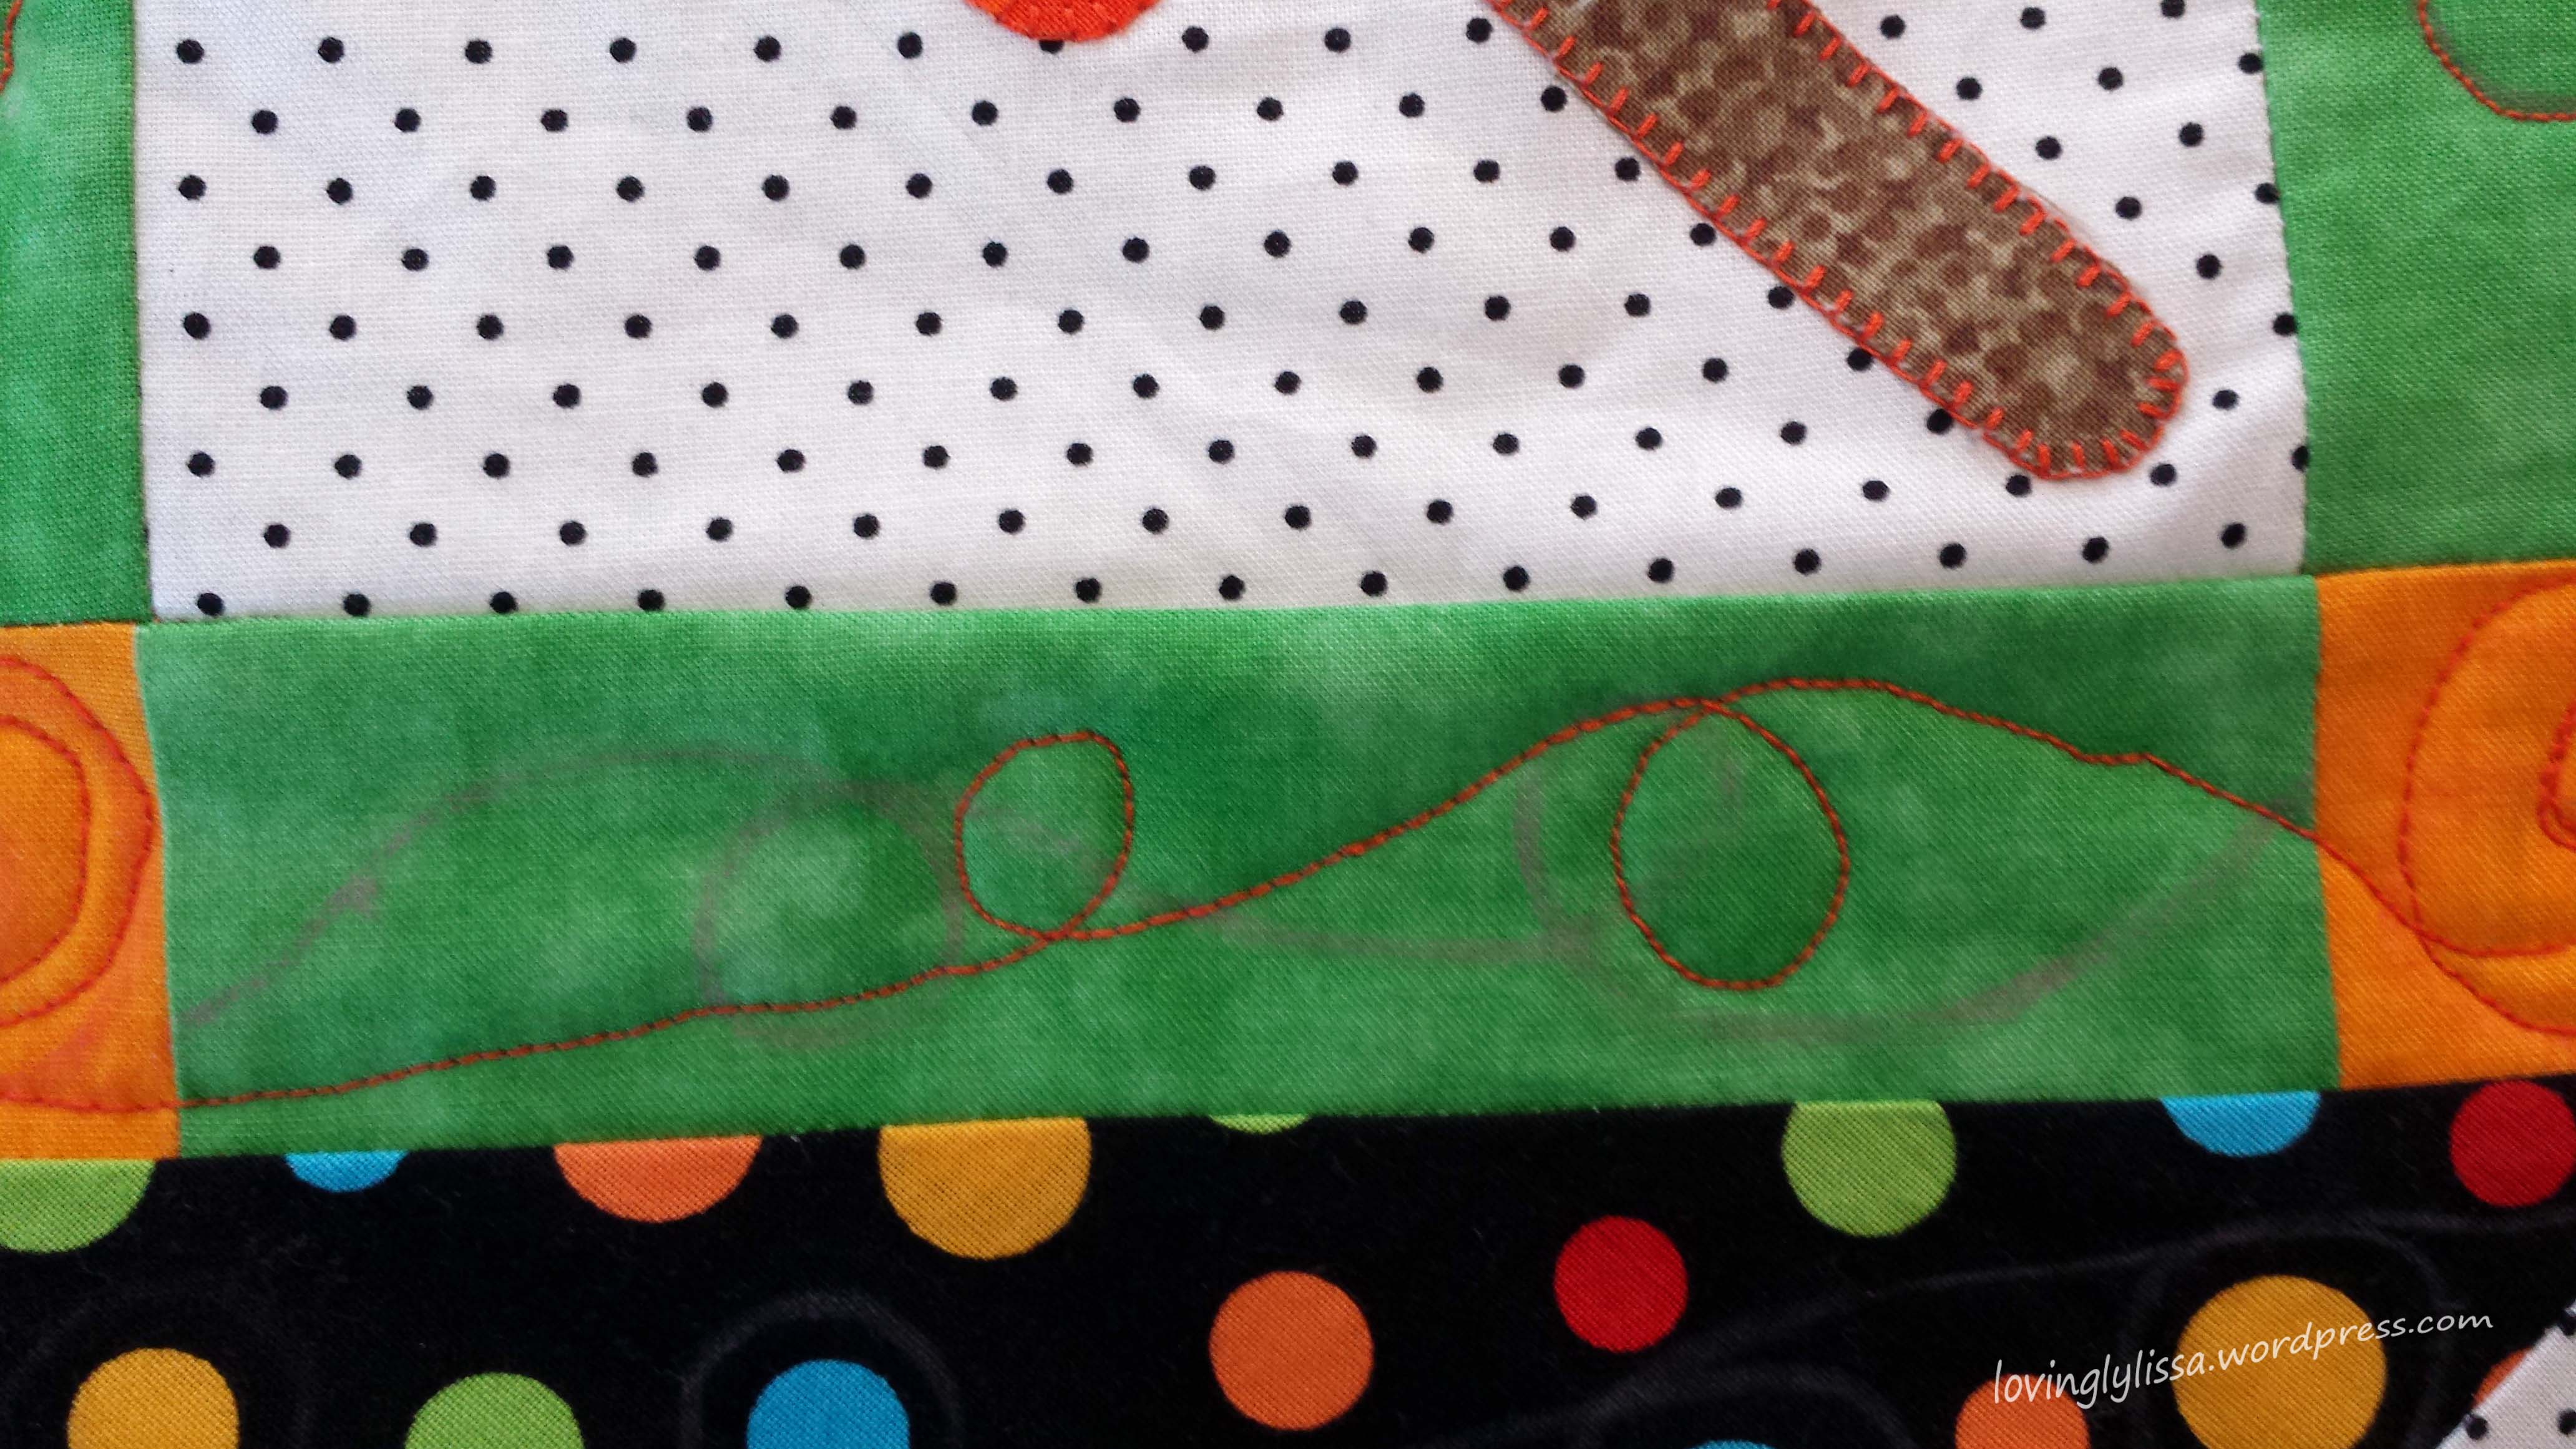
As I said earlier, the markings are just general directions, sometimes I didn’t follow the way they were drawn.  Having them there still helped to know where to go.
quiltedmarks

The quilting is not in any means perfect, but I have to tell you it is MUCH better than I have quilted in the past.  Its just something I will have to keep working on.

You know what?  I don’t think I mind that at all.