Crossroads Quilt Along · Uncategorized

My March Mini

Here is the next mini Crossroads block from Sondra Davison.  The last one I made, I tried something new for me.  I tried something new for me this time as well.  I tried out fussy cutting fabric for the block.  It took some doing, especially as the square was only one and three quarter inches big, but I am happy with the results.

The sun was gorgeous today, so I left the craft room for a photography session outside.

march mini

Here it is again with the Mama block from Crossroads.

march big mini

The large block is finished at 7.5 inches and the mini is finished at 3.75 inches.

The Crossroads quilt along is run by Kimberly Jolly at the Fat Quarter Shop and benefits the March of Dimes.  Please join along or consider making a donation.

Uncategorized

A Favorite Thing

From time to time a blog post will NOT be about quilting.  Perhaps another craft I am working on, perhaps something going on in my life.  Who knows?

Today is one of those posts.  I want to share a favorite part of my craft room with you.

This cabinet;

cabinet

Inside this cabinet is a hod podge of crafty needs.  Popsicle sticks, pom poms, ribbon, feathers, glues and tapes; beads, felt, stamps, and most importantly, google eyes.

When one of my kids gets inspired and asks if I have something to help them create their vision, I love being able to say yes, and open the cabinet doors for them.

My most frequent visitor is my middle child.  In the past he has drawn cartoons and wished that he could make them into stuffed animals, and we have.  In the future there will be a t-shirt quilt that he is collecting t-shirts and fabrics for.  Recently he felt the urge to make a small collage.

denis collage

A short while later and his current masterpiece was ready.

denis collage2

Yup..definitely one of my favorite things….that smile!

Crossroads Quilt Along · Quilting tips and techniques

Stabilize it!

While we wait for the next pattern for Crossroads, Sondra Davison from Outofthebluequilts is giving measurements to make mini versions of the Crossroads Blocks.

I decided to give it a try, with a few changes to the original block.  Instead of the line down the side of the house matching the background fabric, I made it a darker color of the house, and I took out the main window and added a door.

Here are my fabrics. They are just from my stash, I don’t know the lines or designers.

fabric choices mini

I knew the pieces were going to be tiny so I decided to try a fabric stabilizer I had on hand and see if that would make sewing easier.

sew stable

I mixed it up with some water according to the directions, laid the fabrics on a towel, and sprayed away.

wet fabric

It was fun to play with the pieces in the morning.  They felt like thin pieces of paper.  See?  No flopping!

stiff fabric

I did find it much easier to cut and sew these tiny, tiny pieces with the stabilizer applied.  There was less movement when cutting and sewing and no fraying.

Here’s Momma house and Baby house. Baby house was so cute, I made it a little crocheted frame.

mini house w full

And so you can see how tiny the finished block is, here it is next to a tic tac box.  Finished size of the mini block is 3.75 inches by 3.75 inches.

mini house w tic tac

I can’t wait for the mini diamond block to come out!

lovingly, lissa

Crossroads Quilt Along · Quilting tips and techniques

Crossroads Quilt Along – March

My dearest friend has entered the world of quilting recently.  I was wistfully thinking one day how much fun it would be to do a quilt along with her, despite the miles separating us.  The VERY NEXT DAY, I received a text from her asking if I would like to join her in the Fat Quarters Shop’s Crossroads Quilt Along.  Friends for life, no doubt about it.

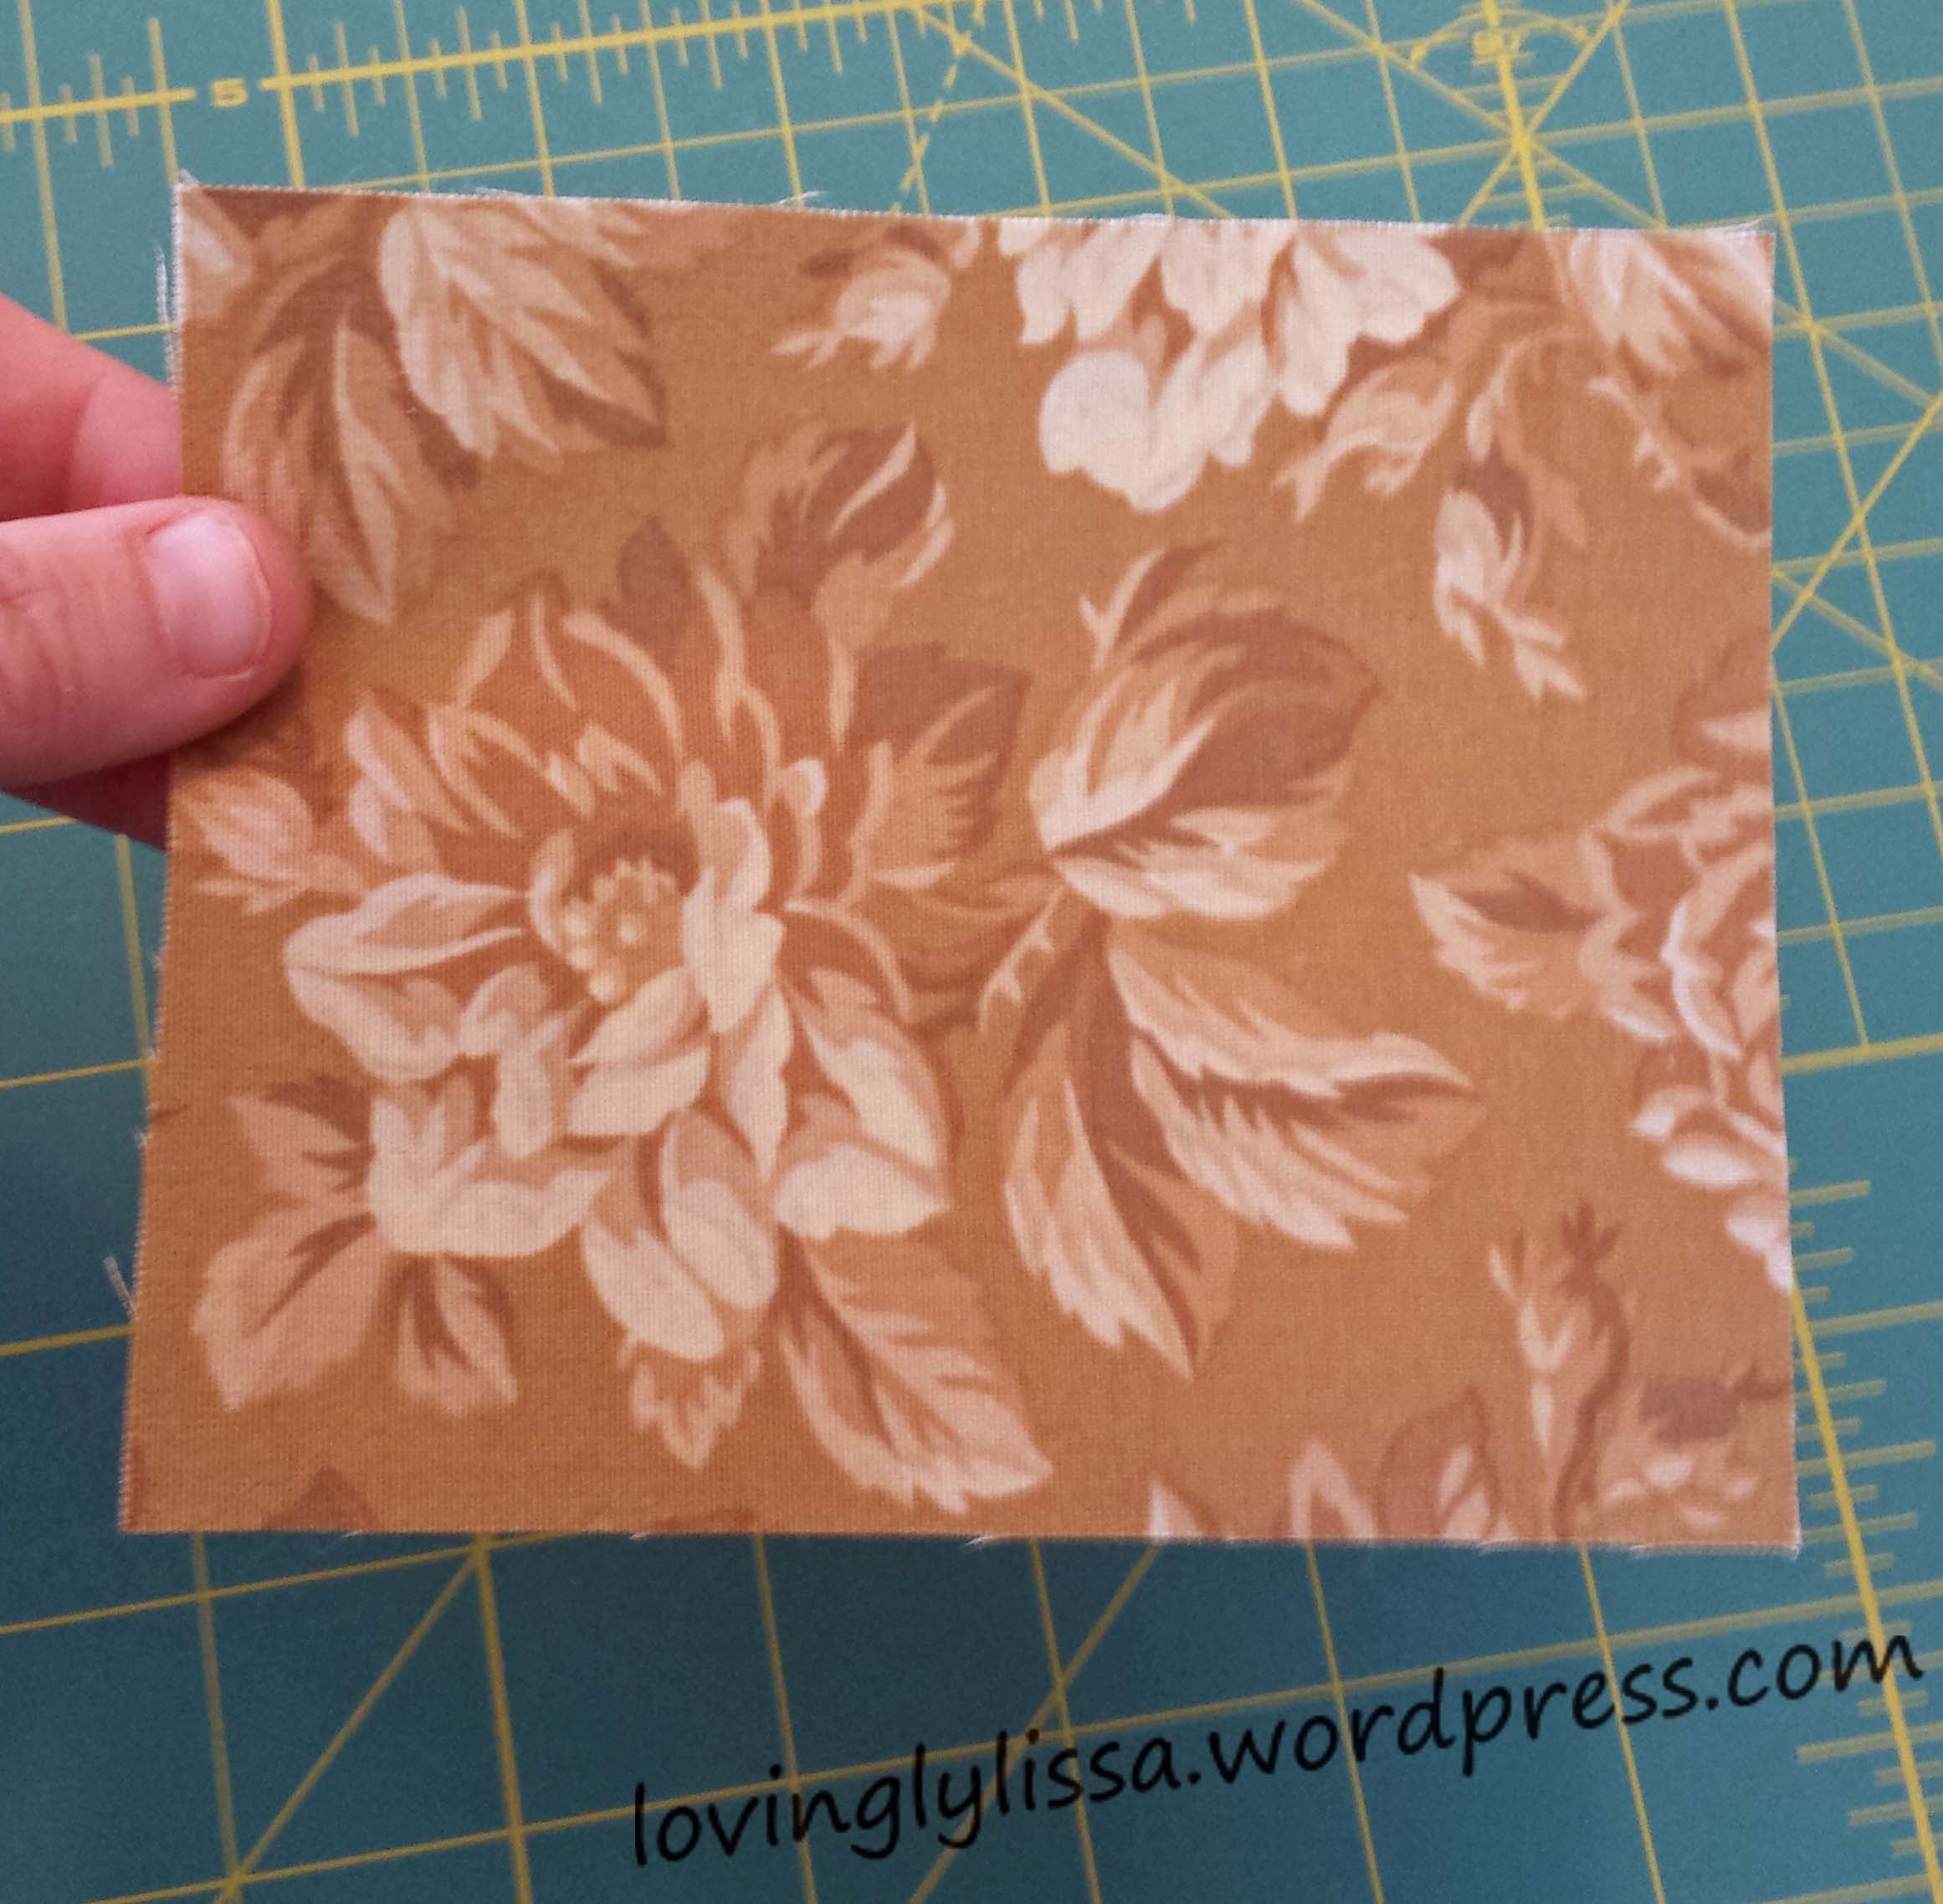
There are kits to purchase if you like, I have found the Strawberry Fields Revisted from Moda quite pretty and not something I would have chosen for myself.  Kimberly Jolly is quite generous with the fabric in the kits, and I found there is plenty left over for mistakes.  The patterns are released monthly on the blog with a link to donate $5 per pattern to the March of Dimes.  Fat Quarters and Moda have teamed up to match $10,000  in donations.  Please consider to this wonderful cause even if you do not join the quilt along.

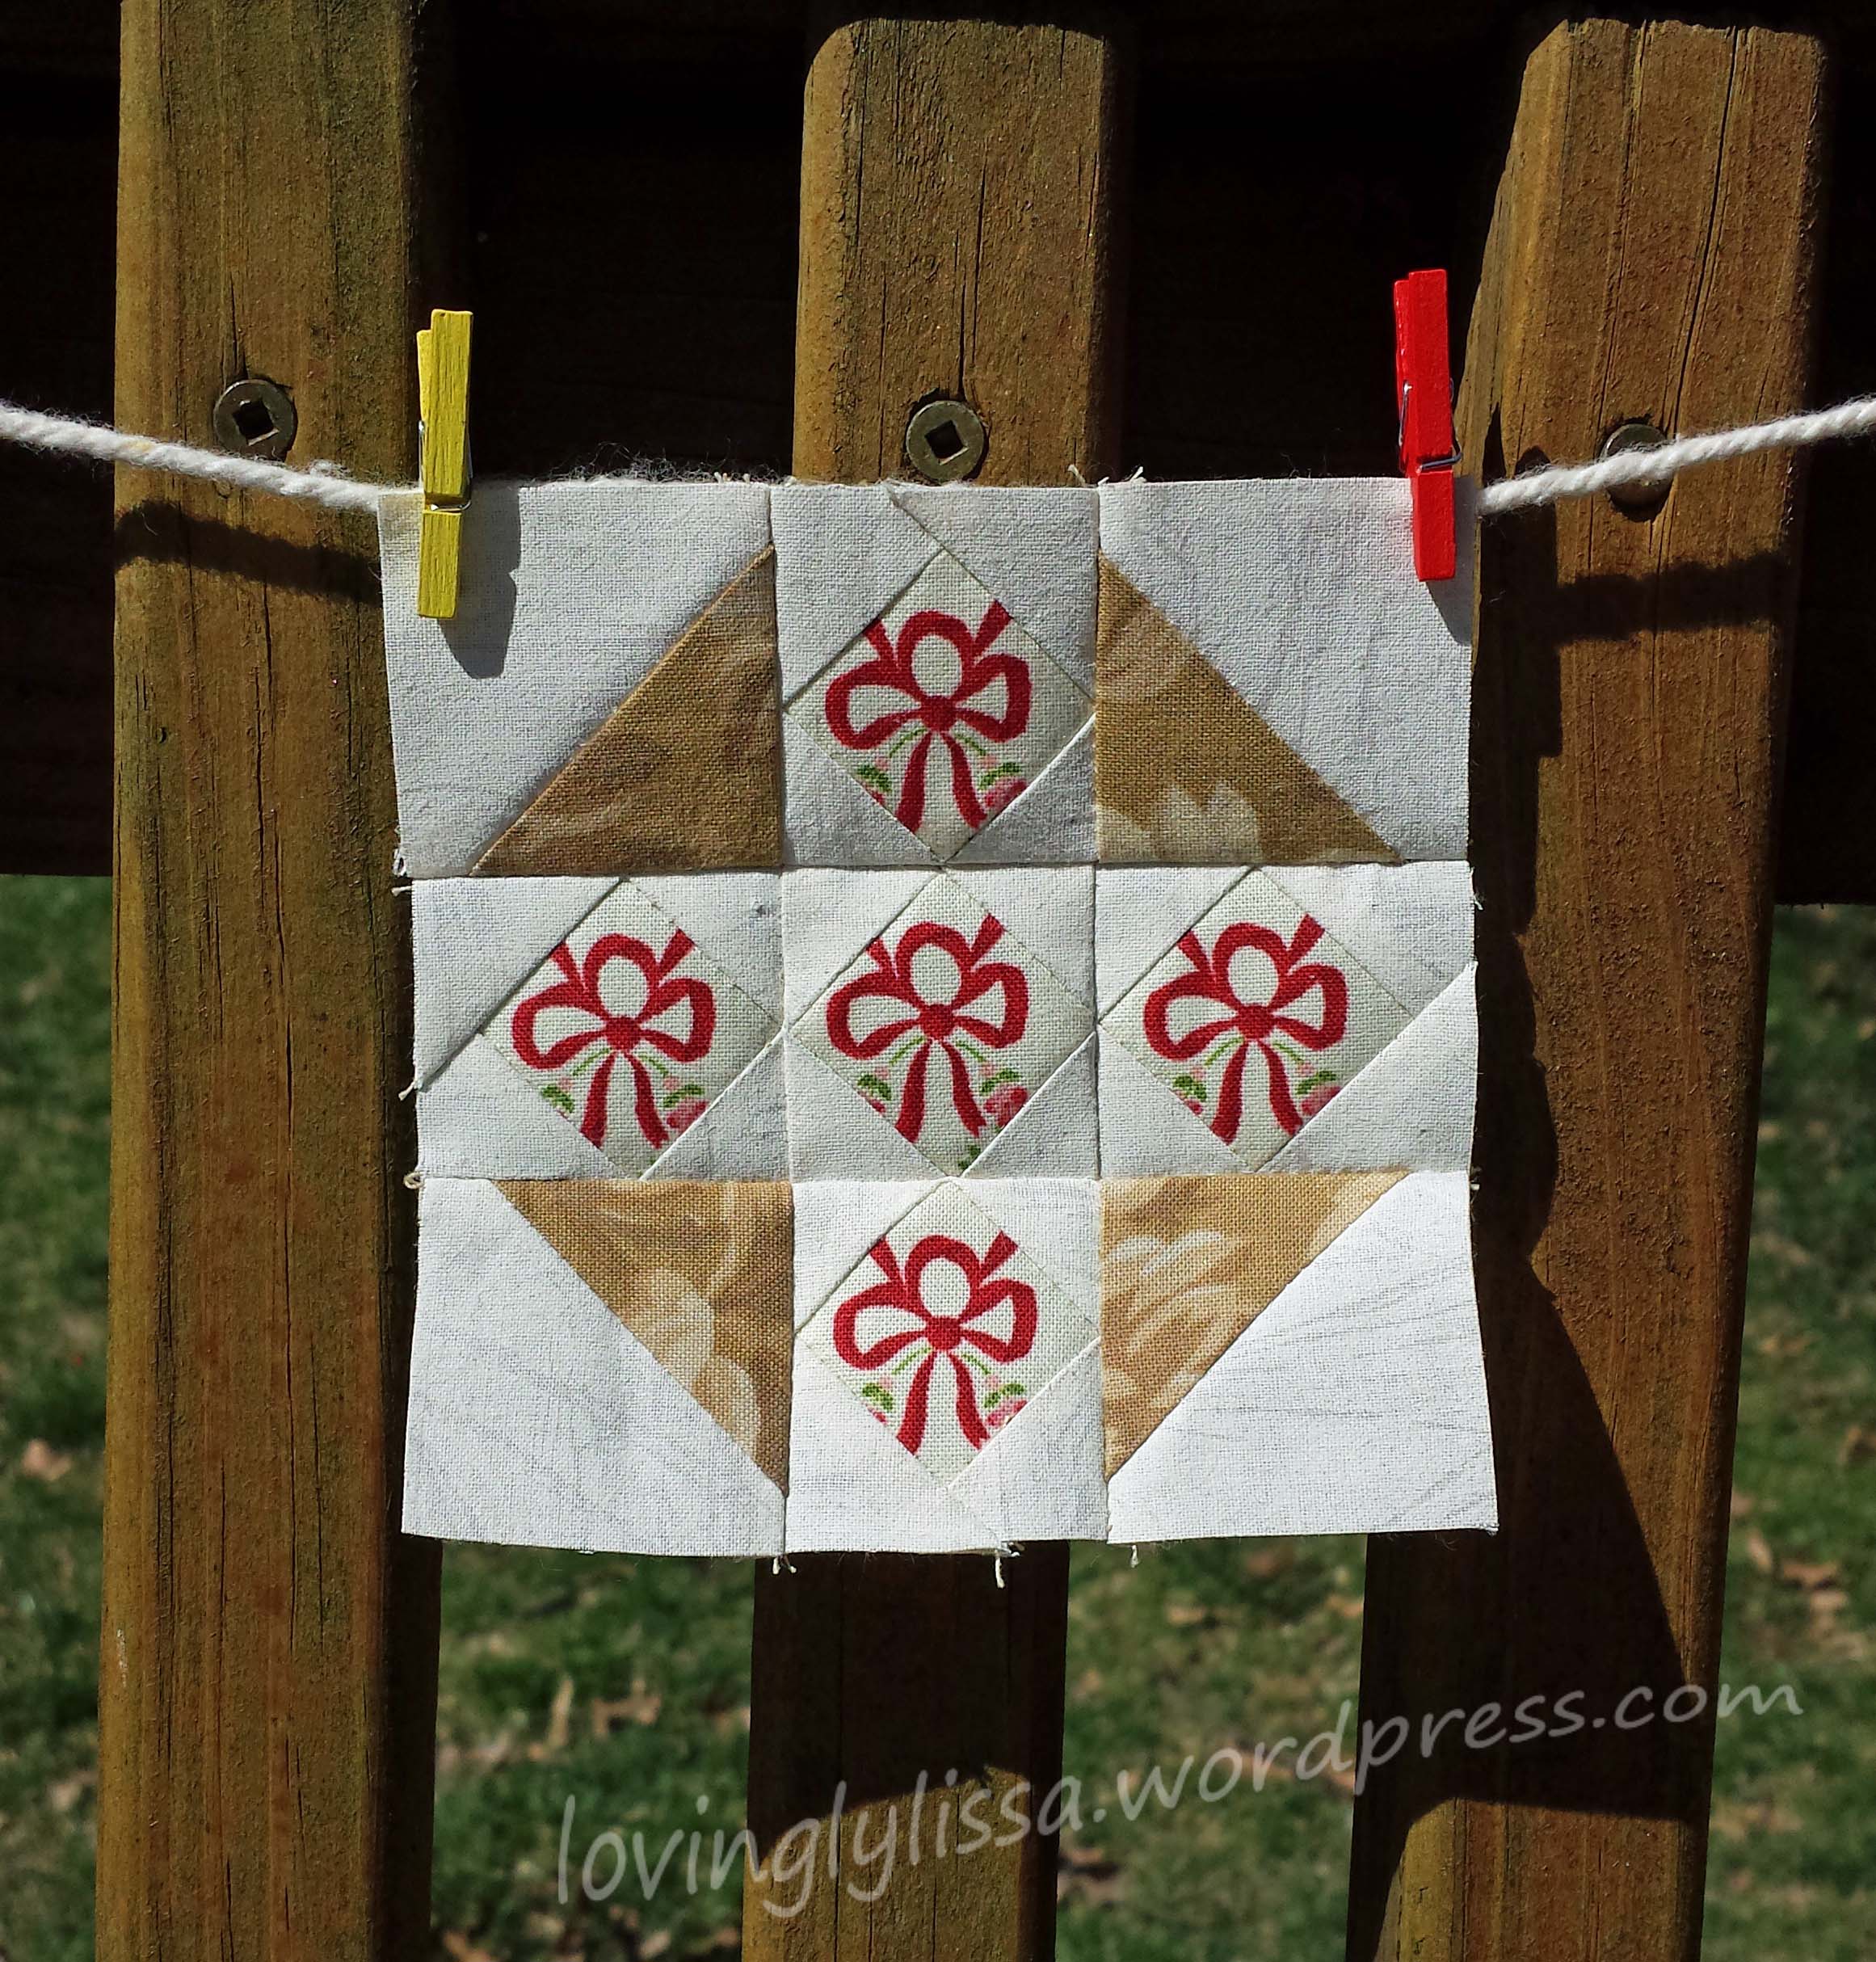
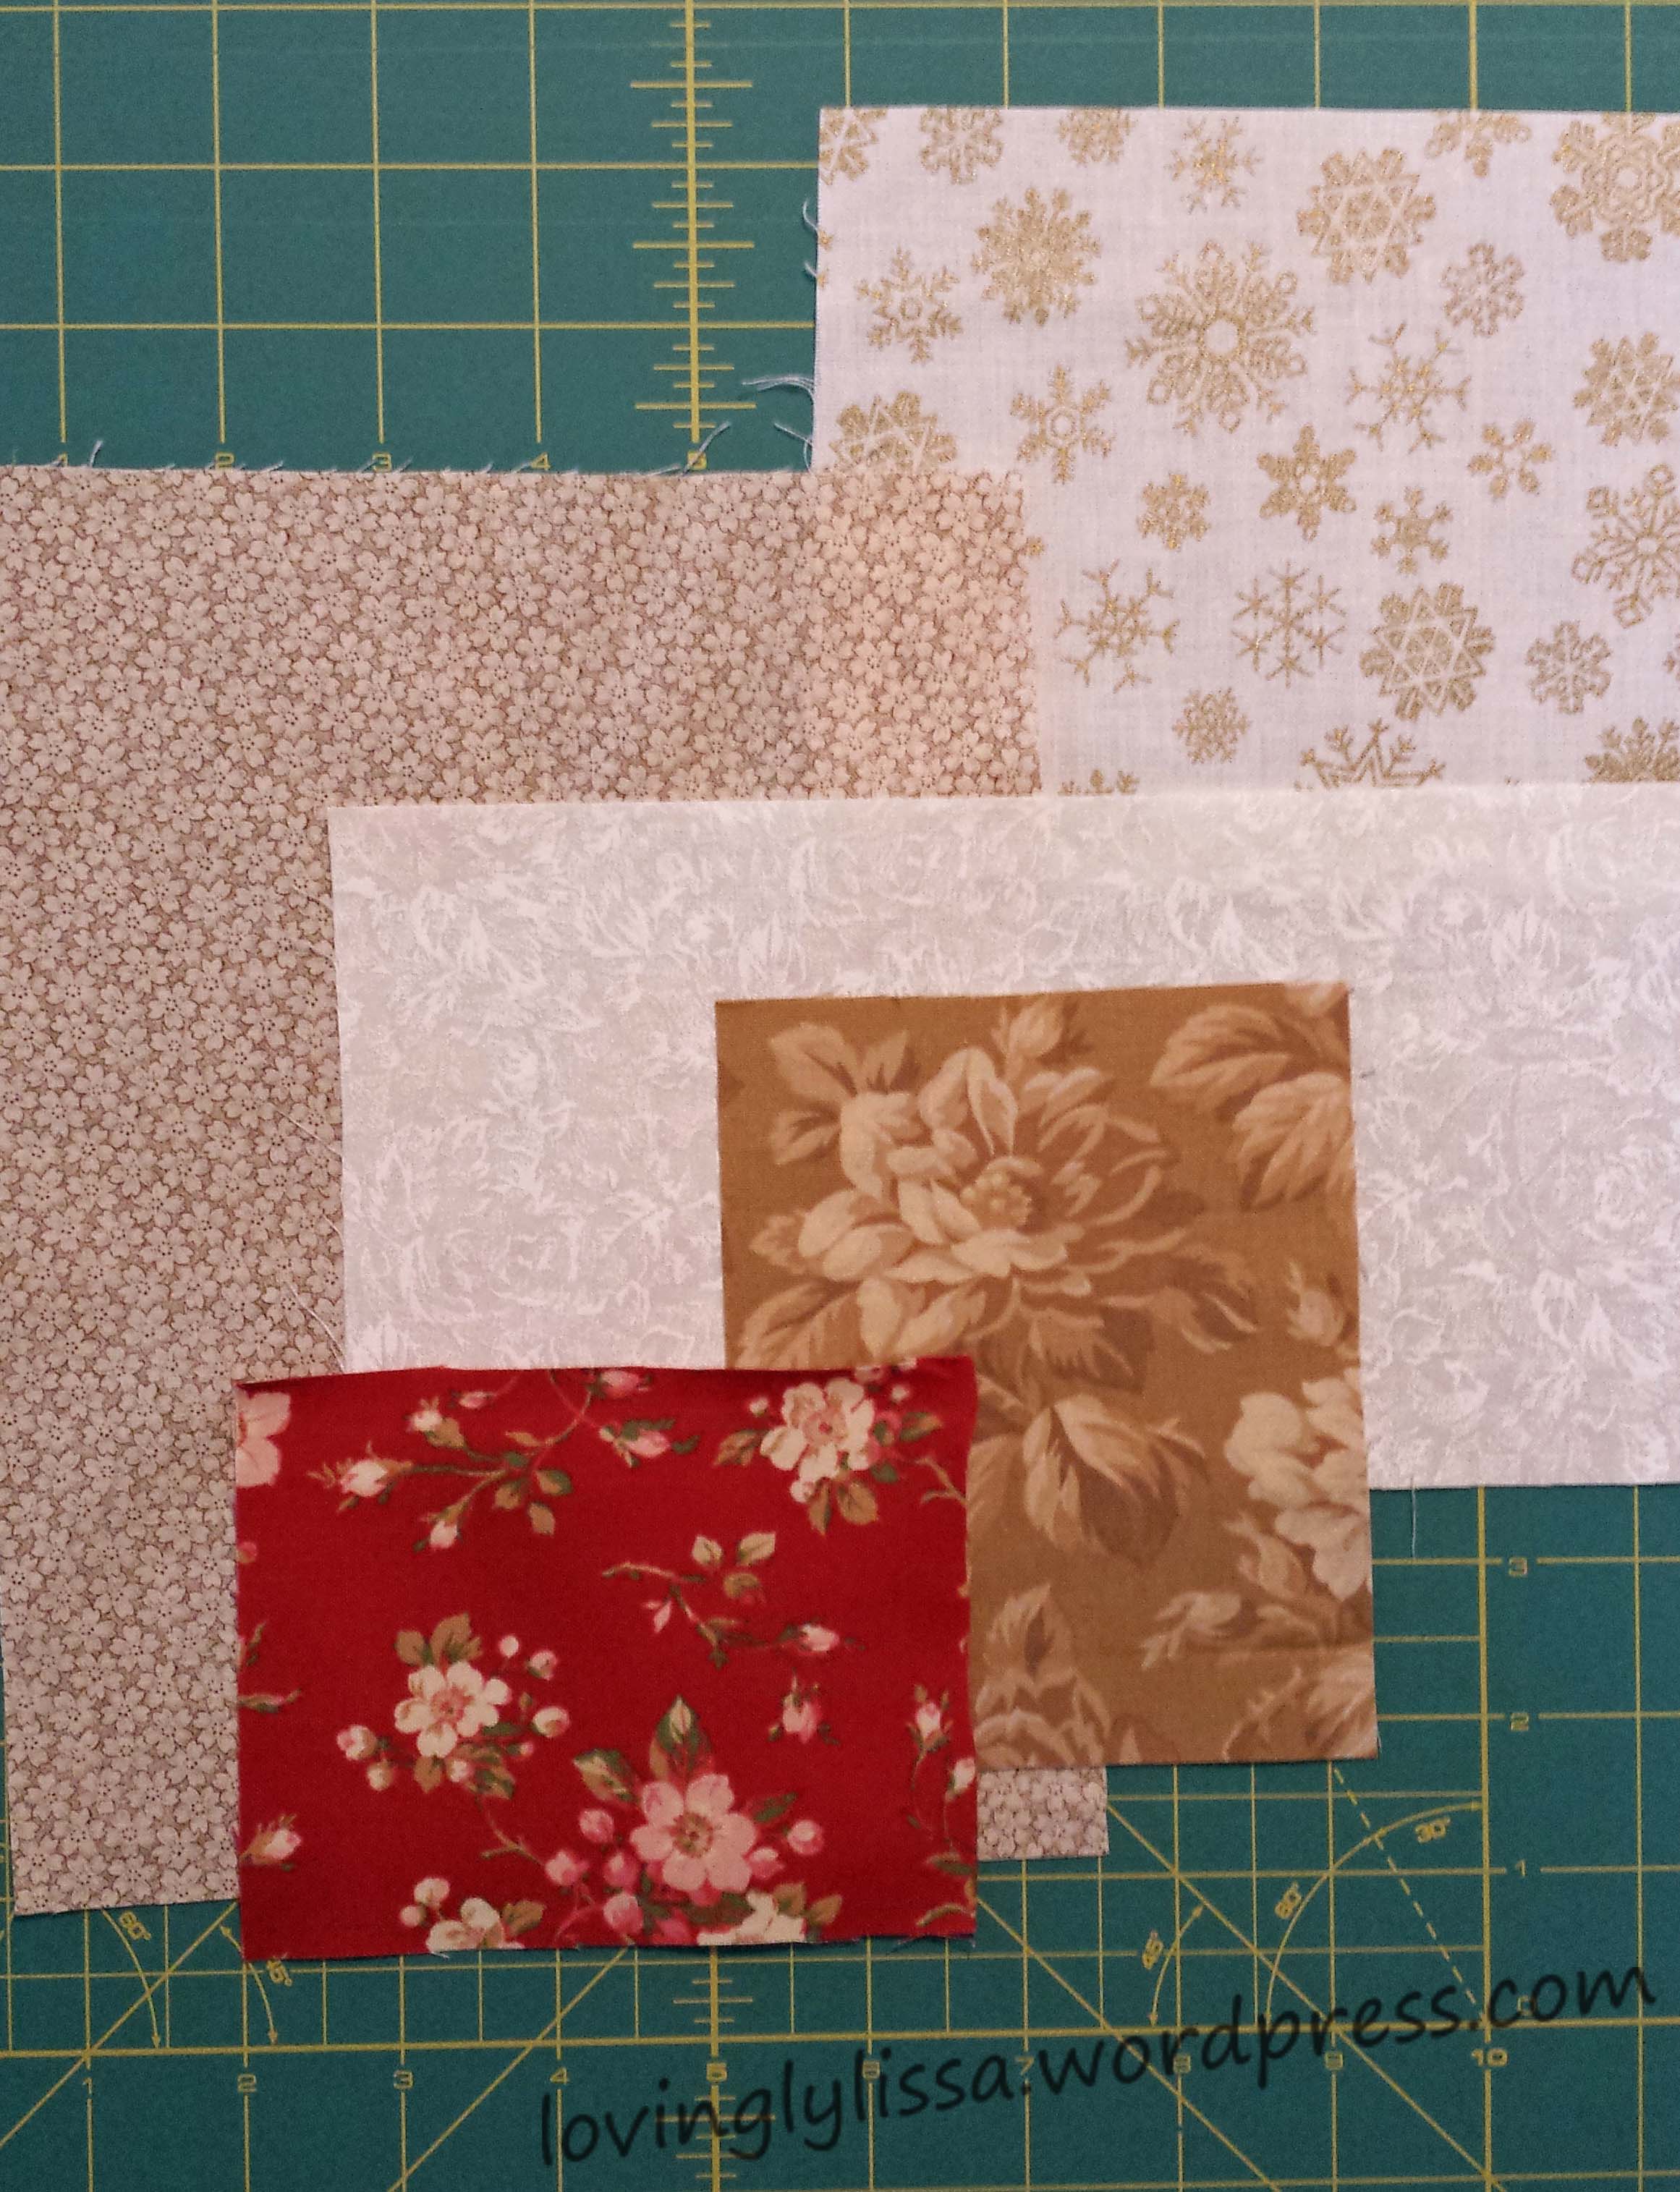
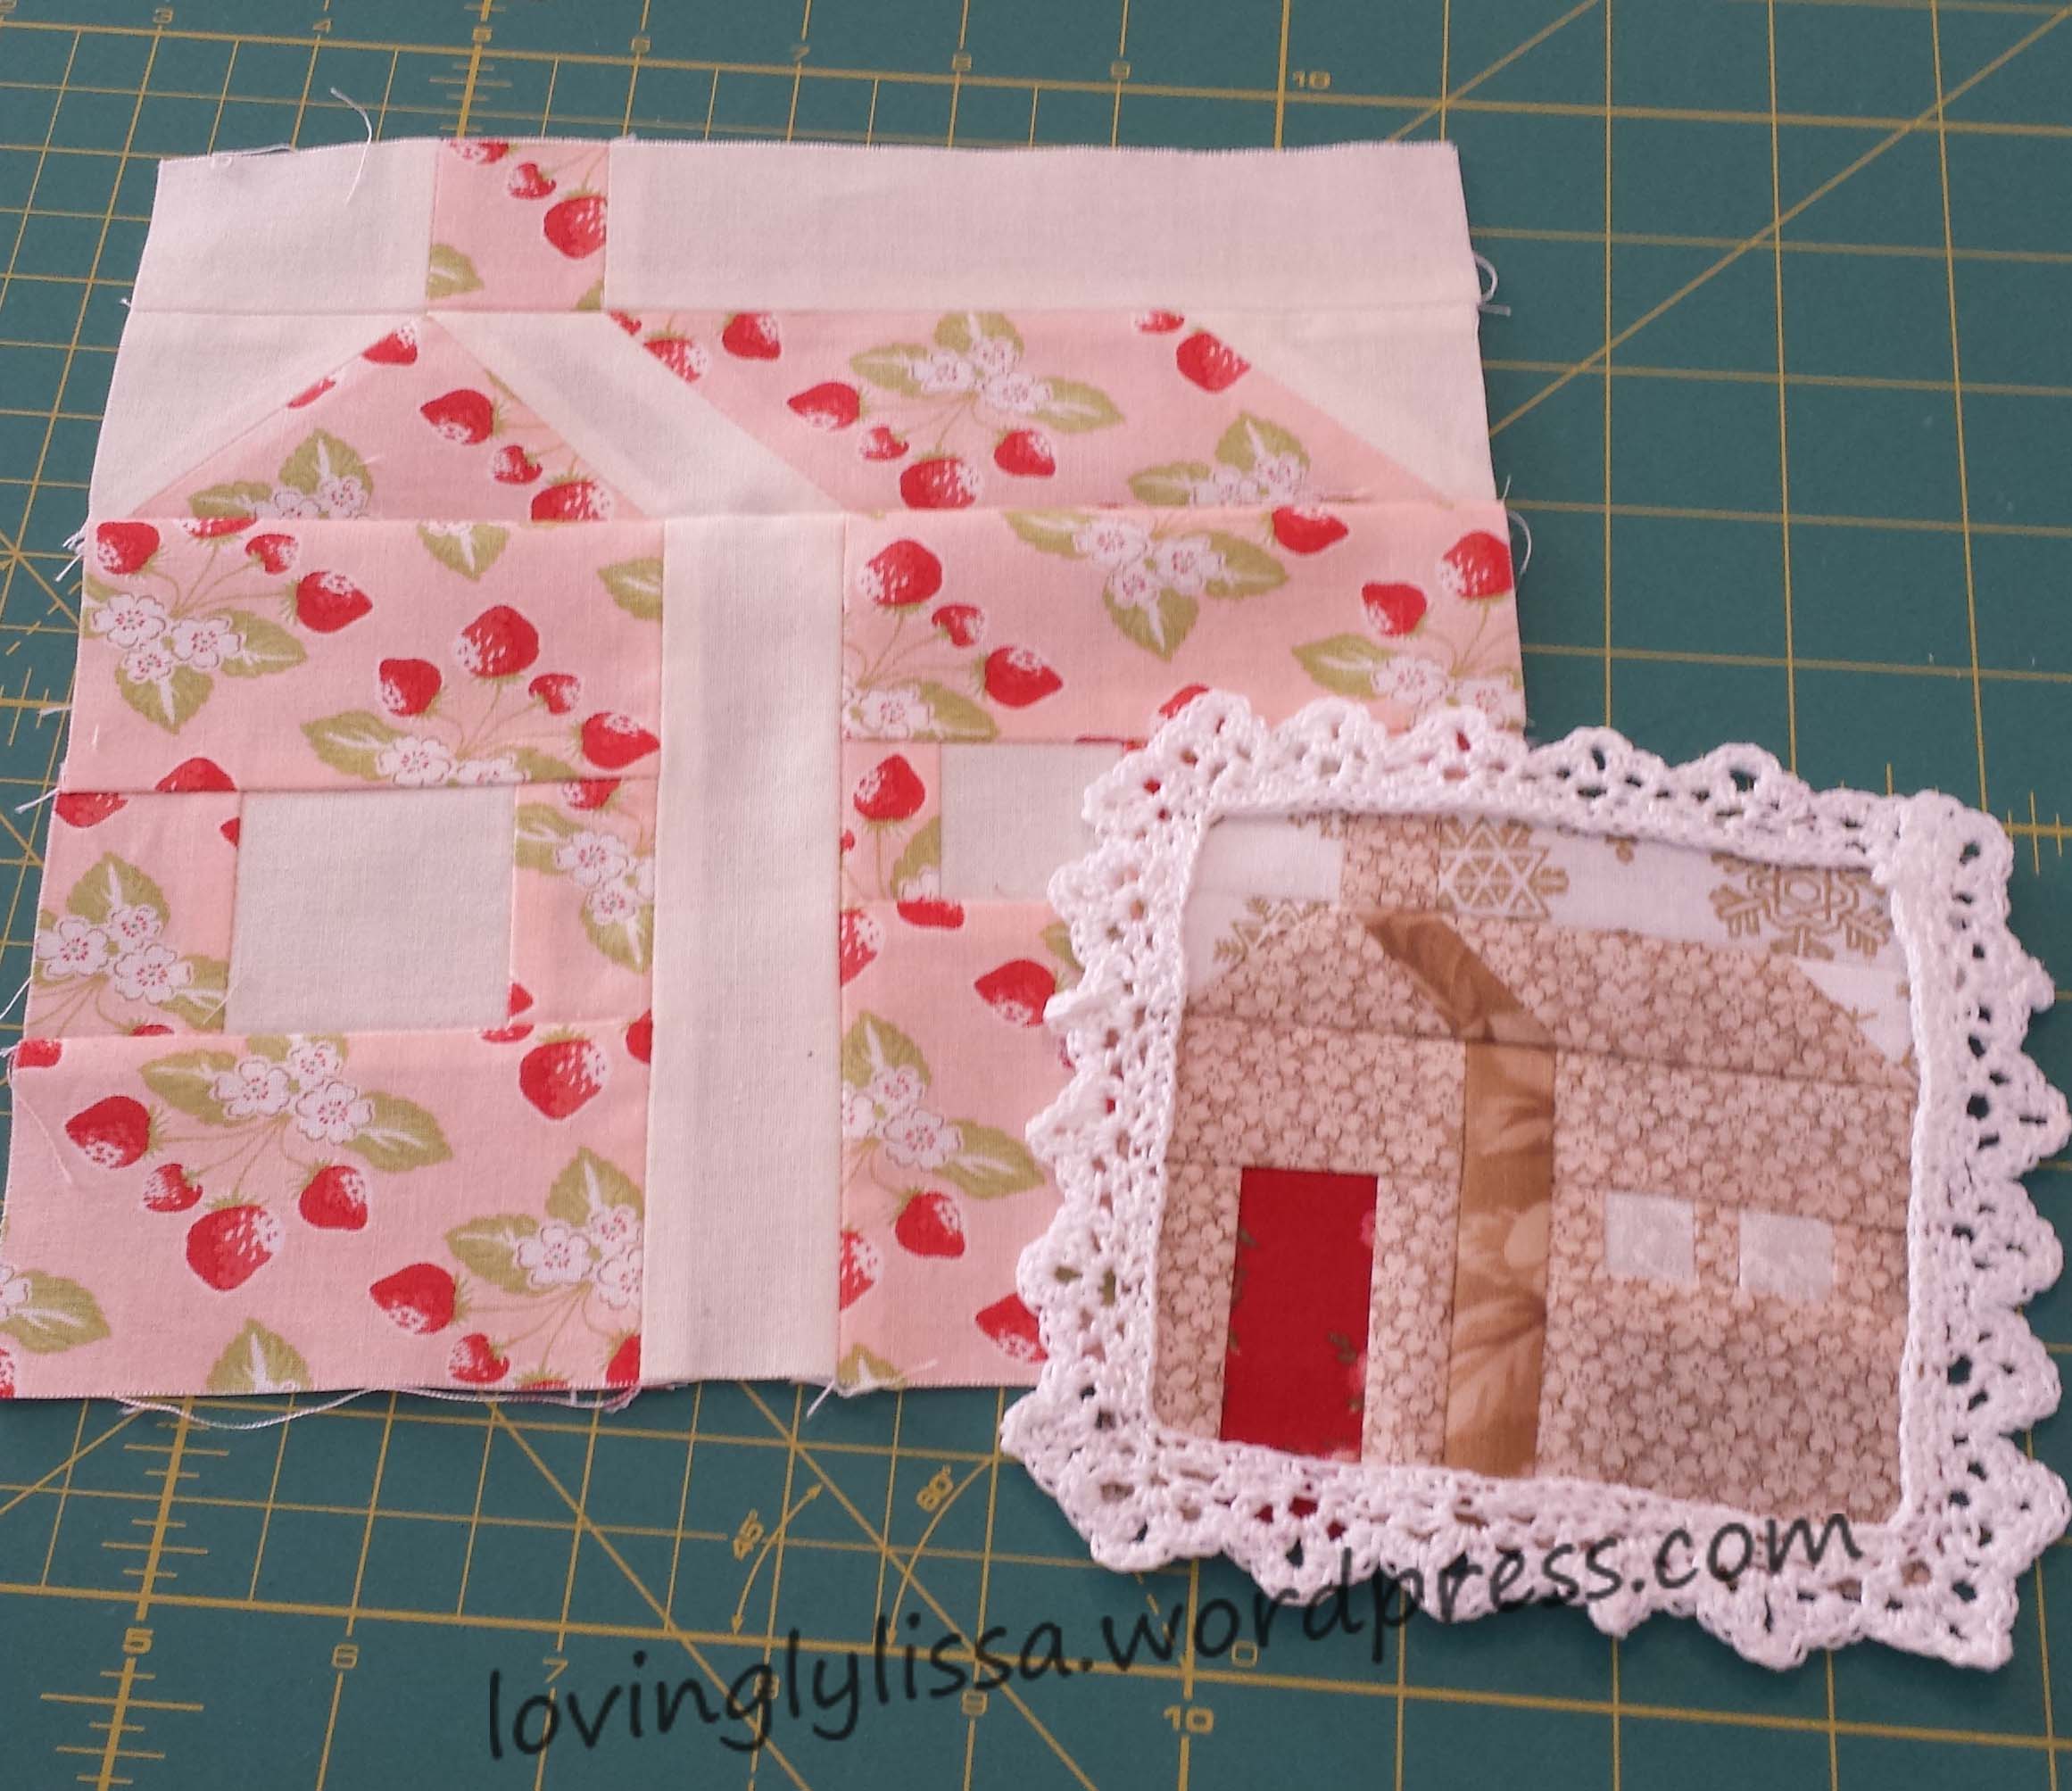
In January my kit arrived with cutting instructions and the instructions to make the first block, the House block.
image

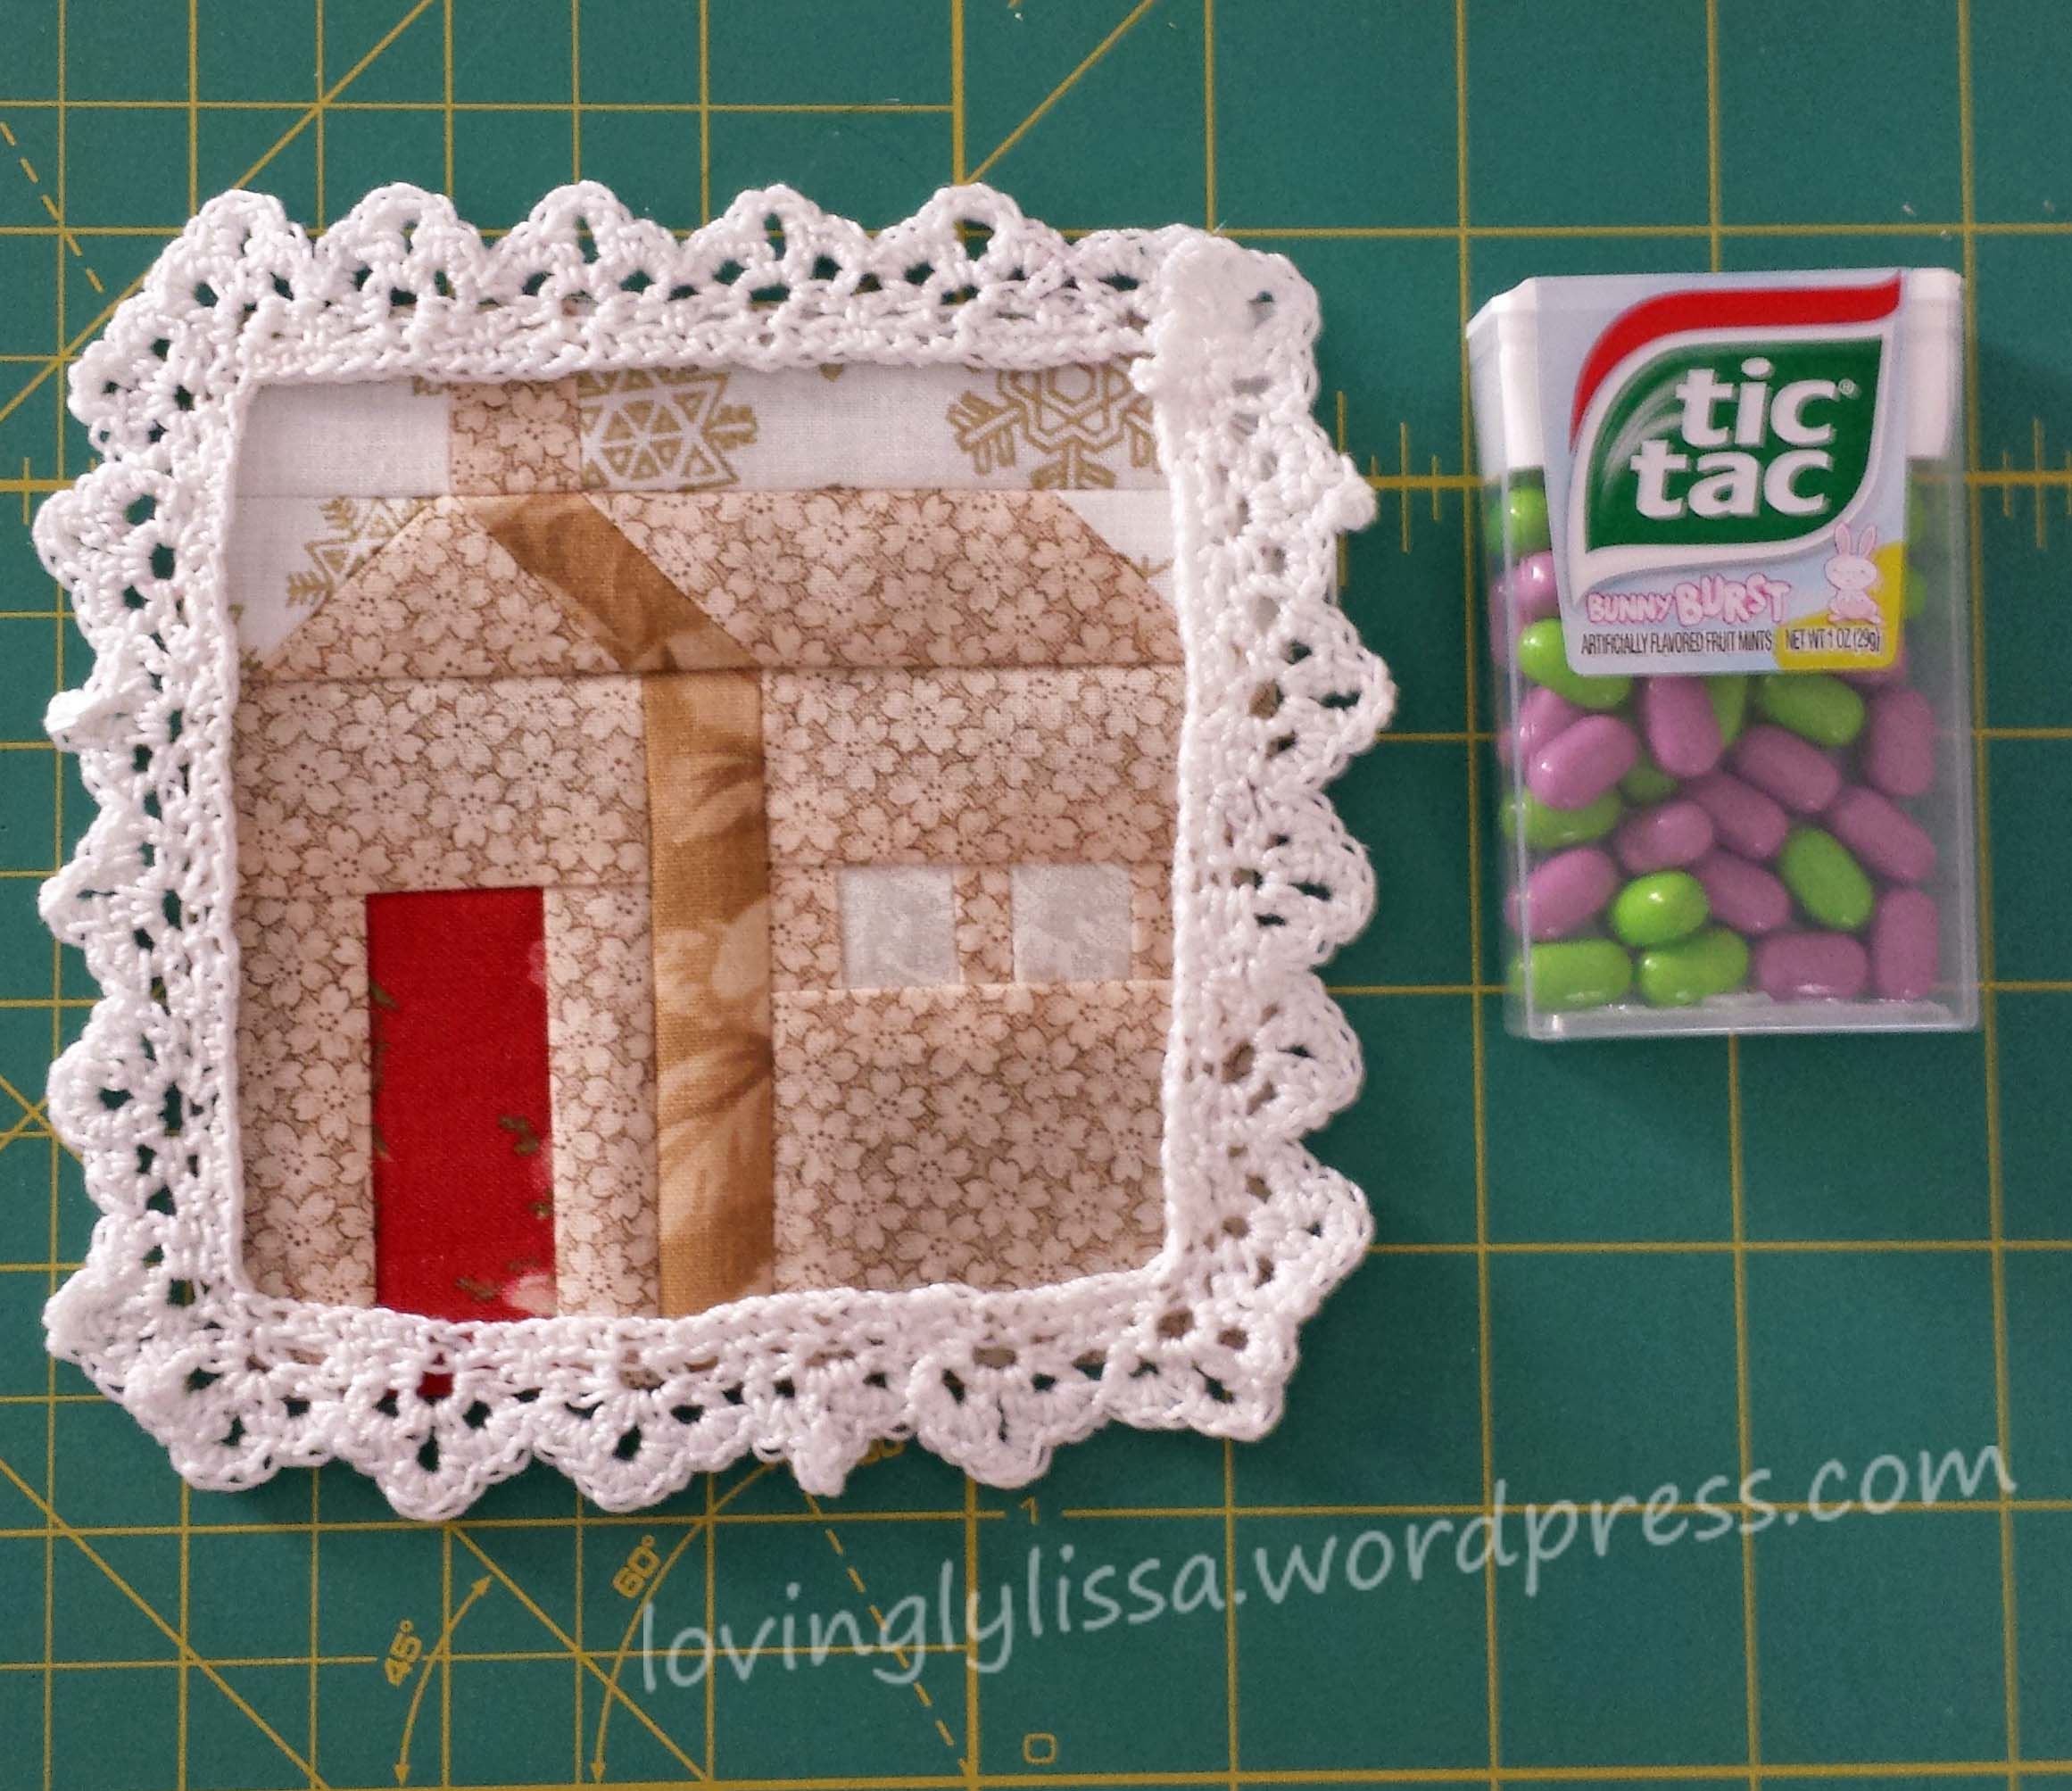
Pretty, aren’t they?  The unfinished block is 8″, so I cut a frame with an inside dimension of 7.5″ to get a good look at the finished block.  It was easily cut out of an old manila folder.

image


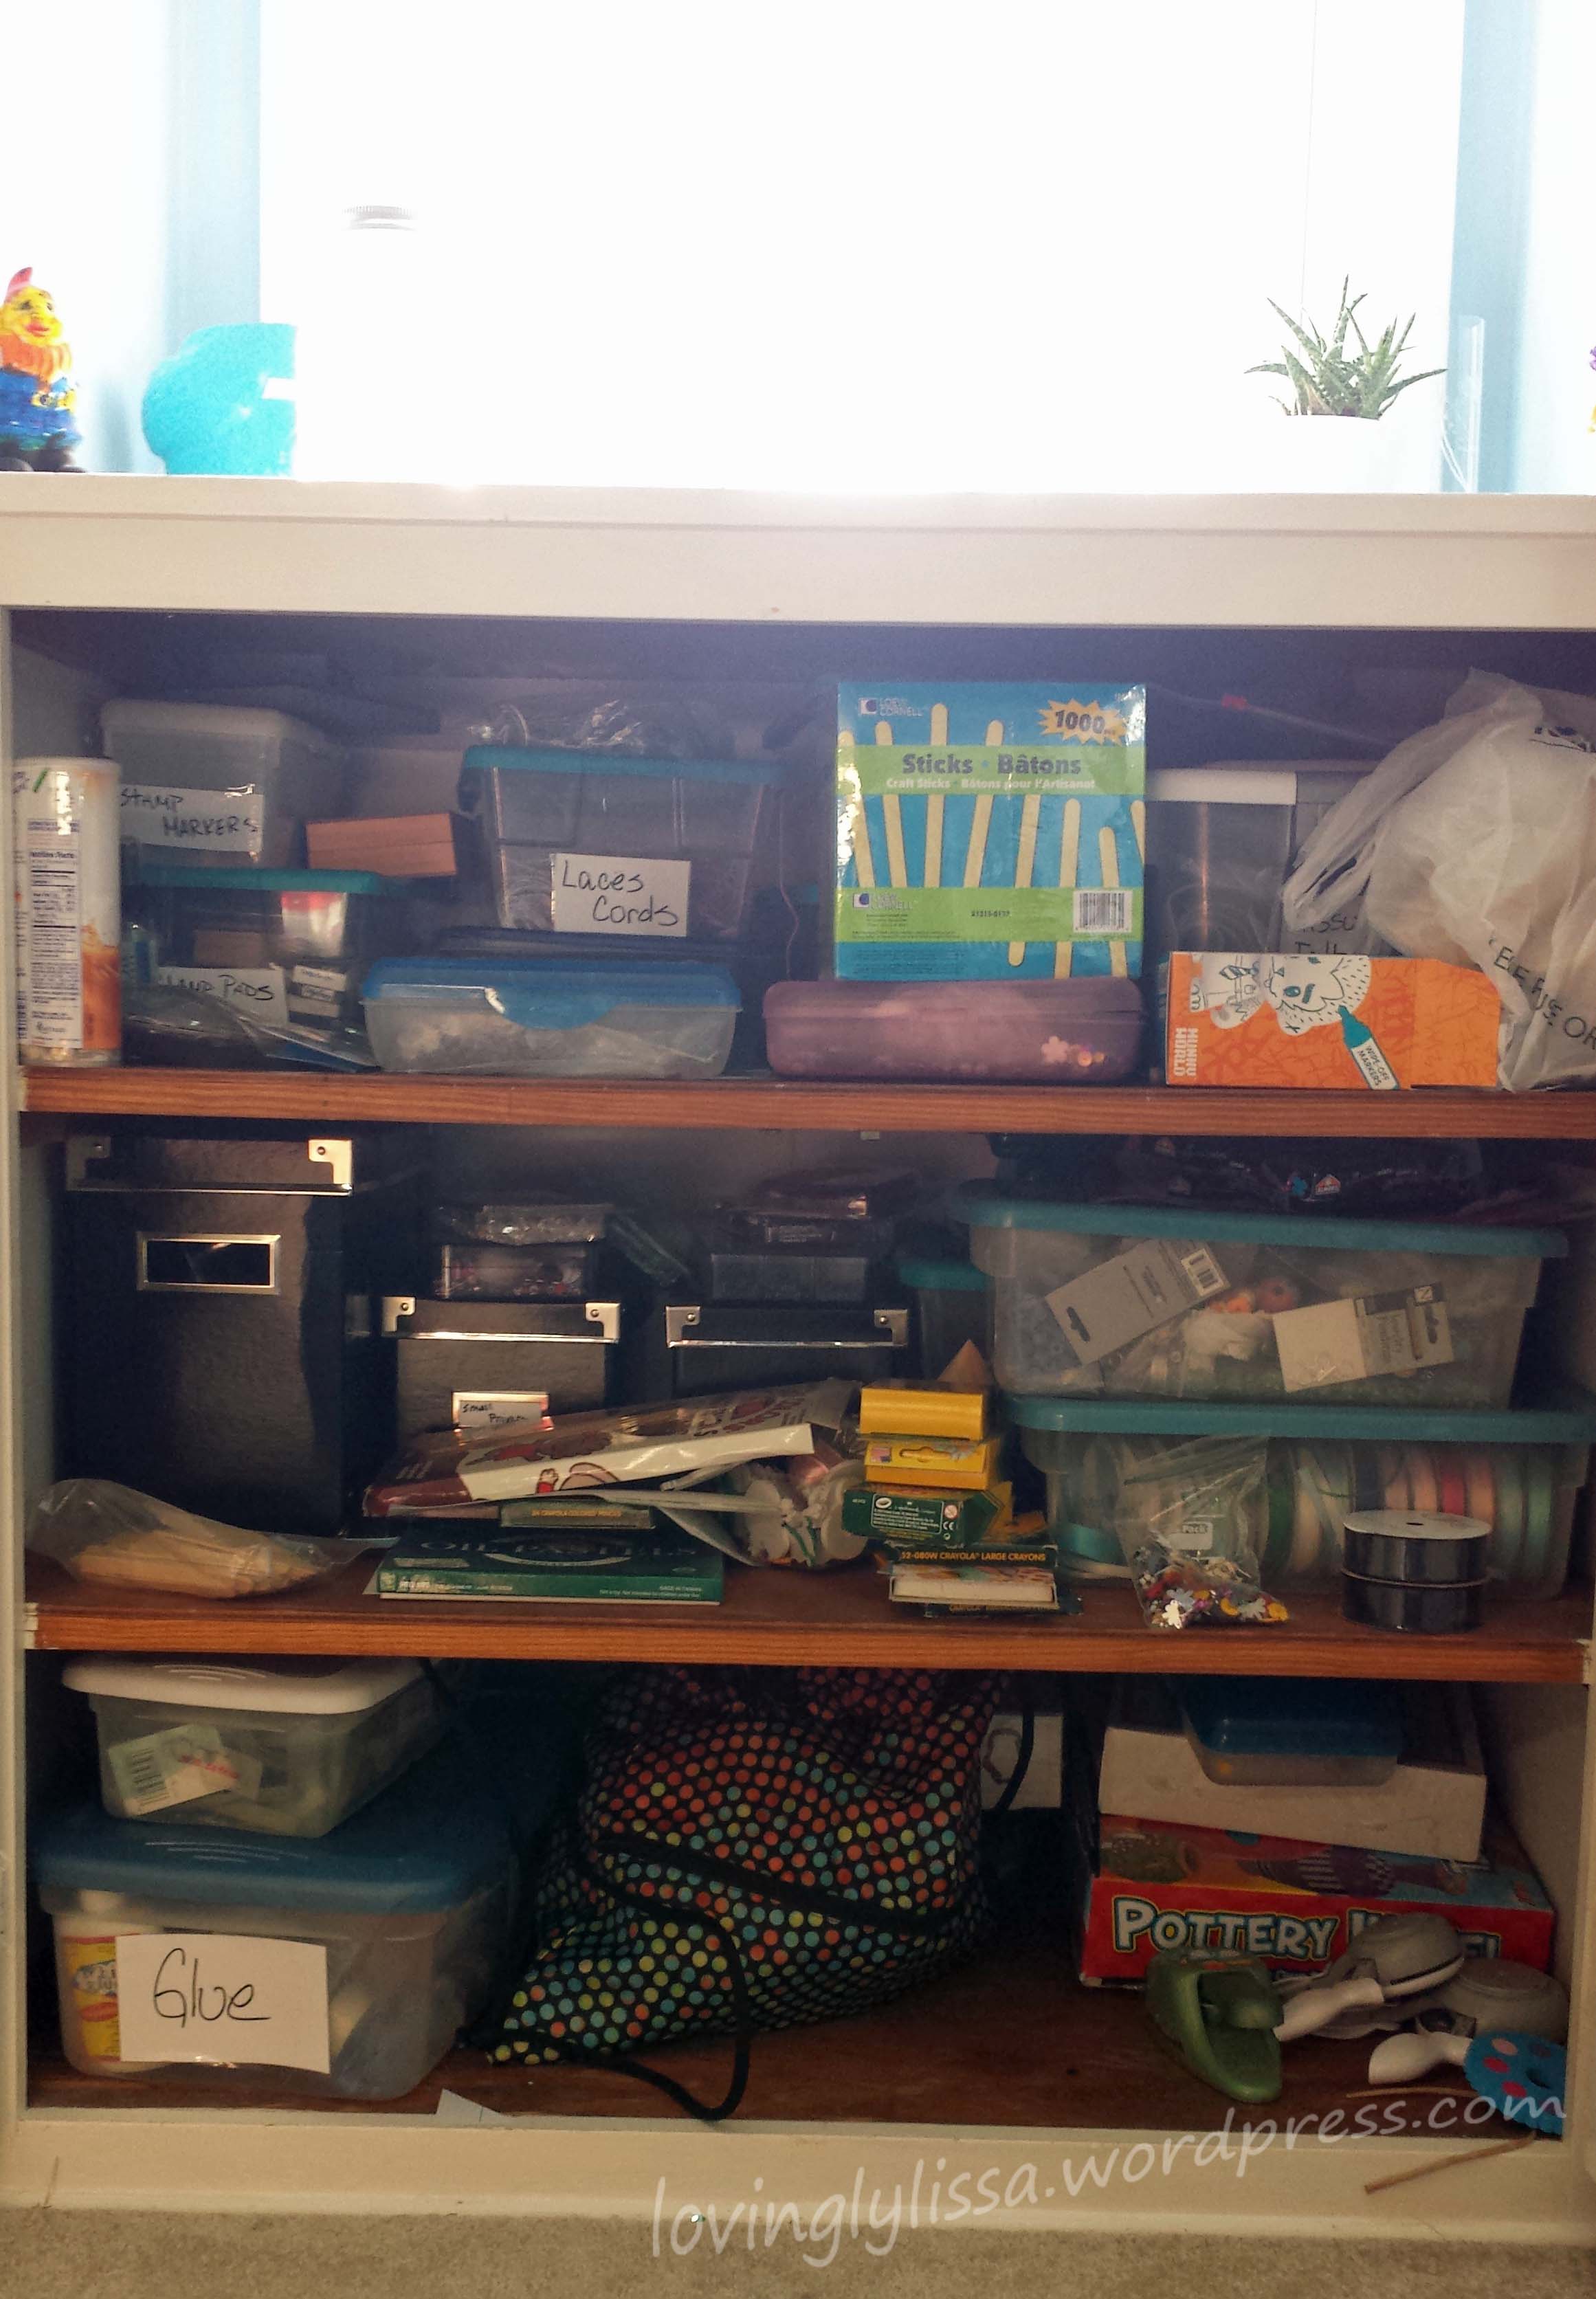
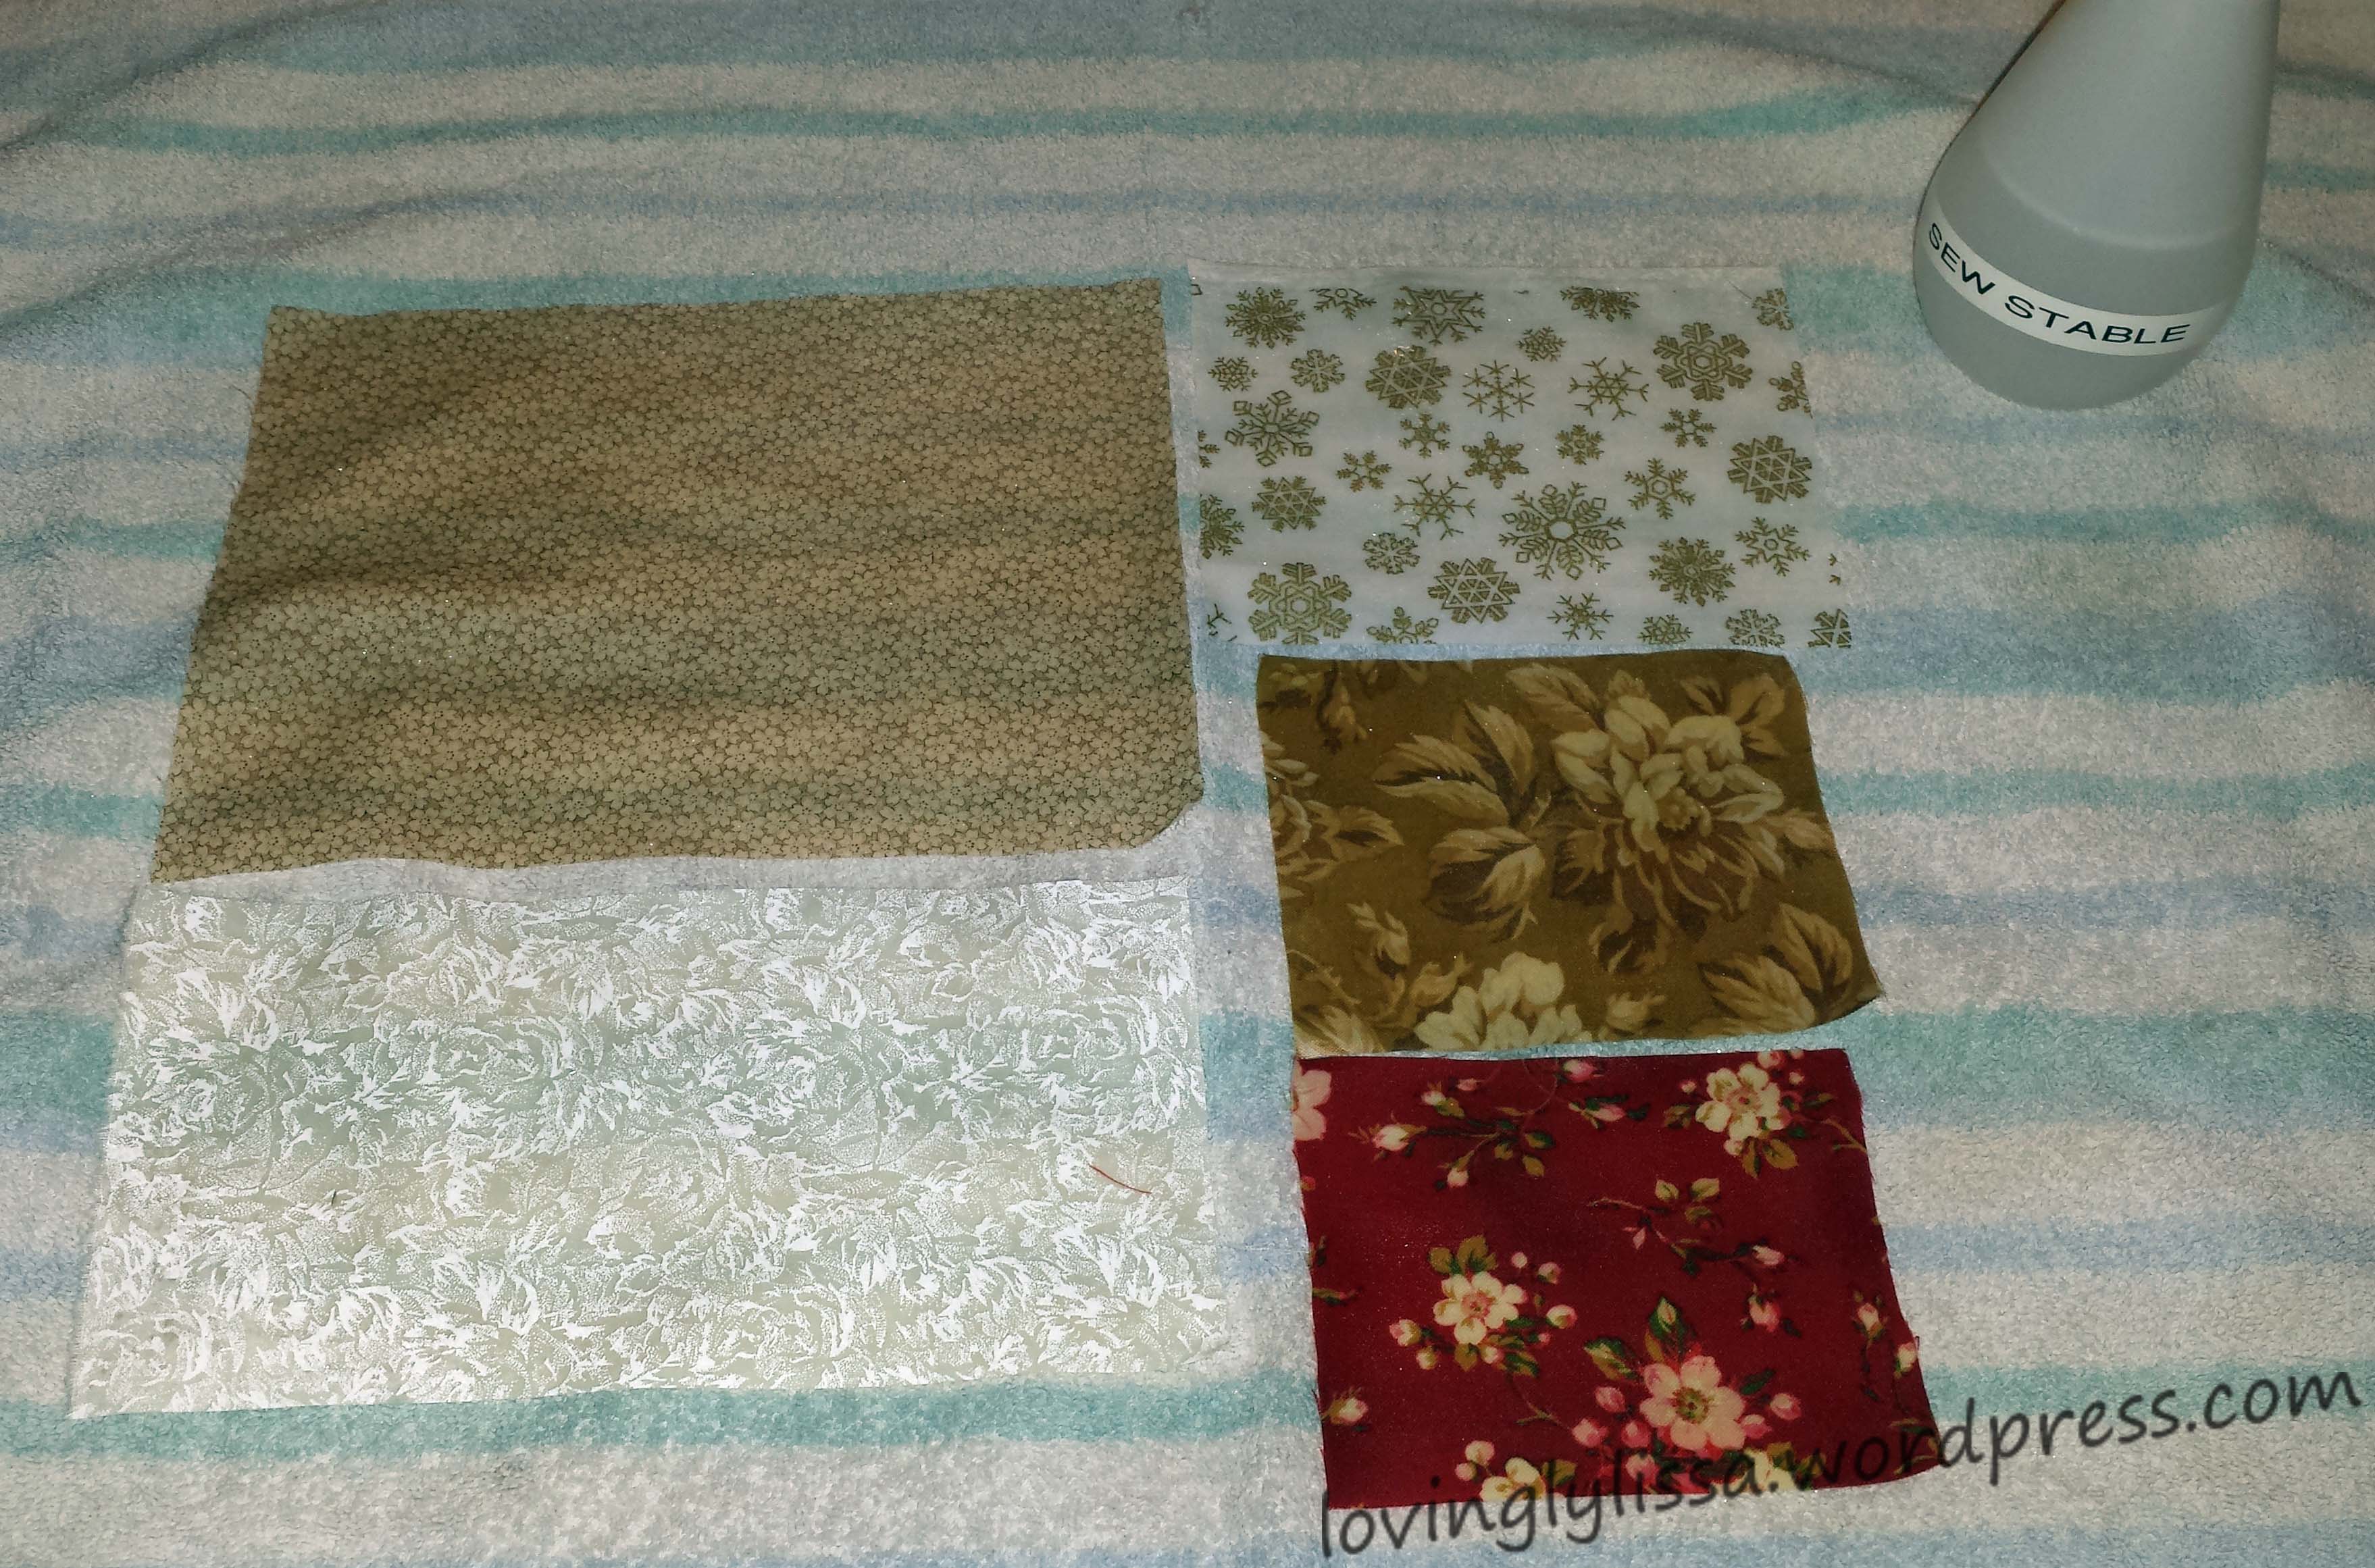
All my pieces have been cut and organized in baggies.

image

And another bag to catch all the ‘crumb’ pieces.  I have plans for these.
image

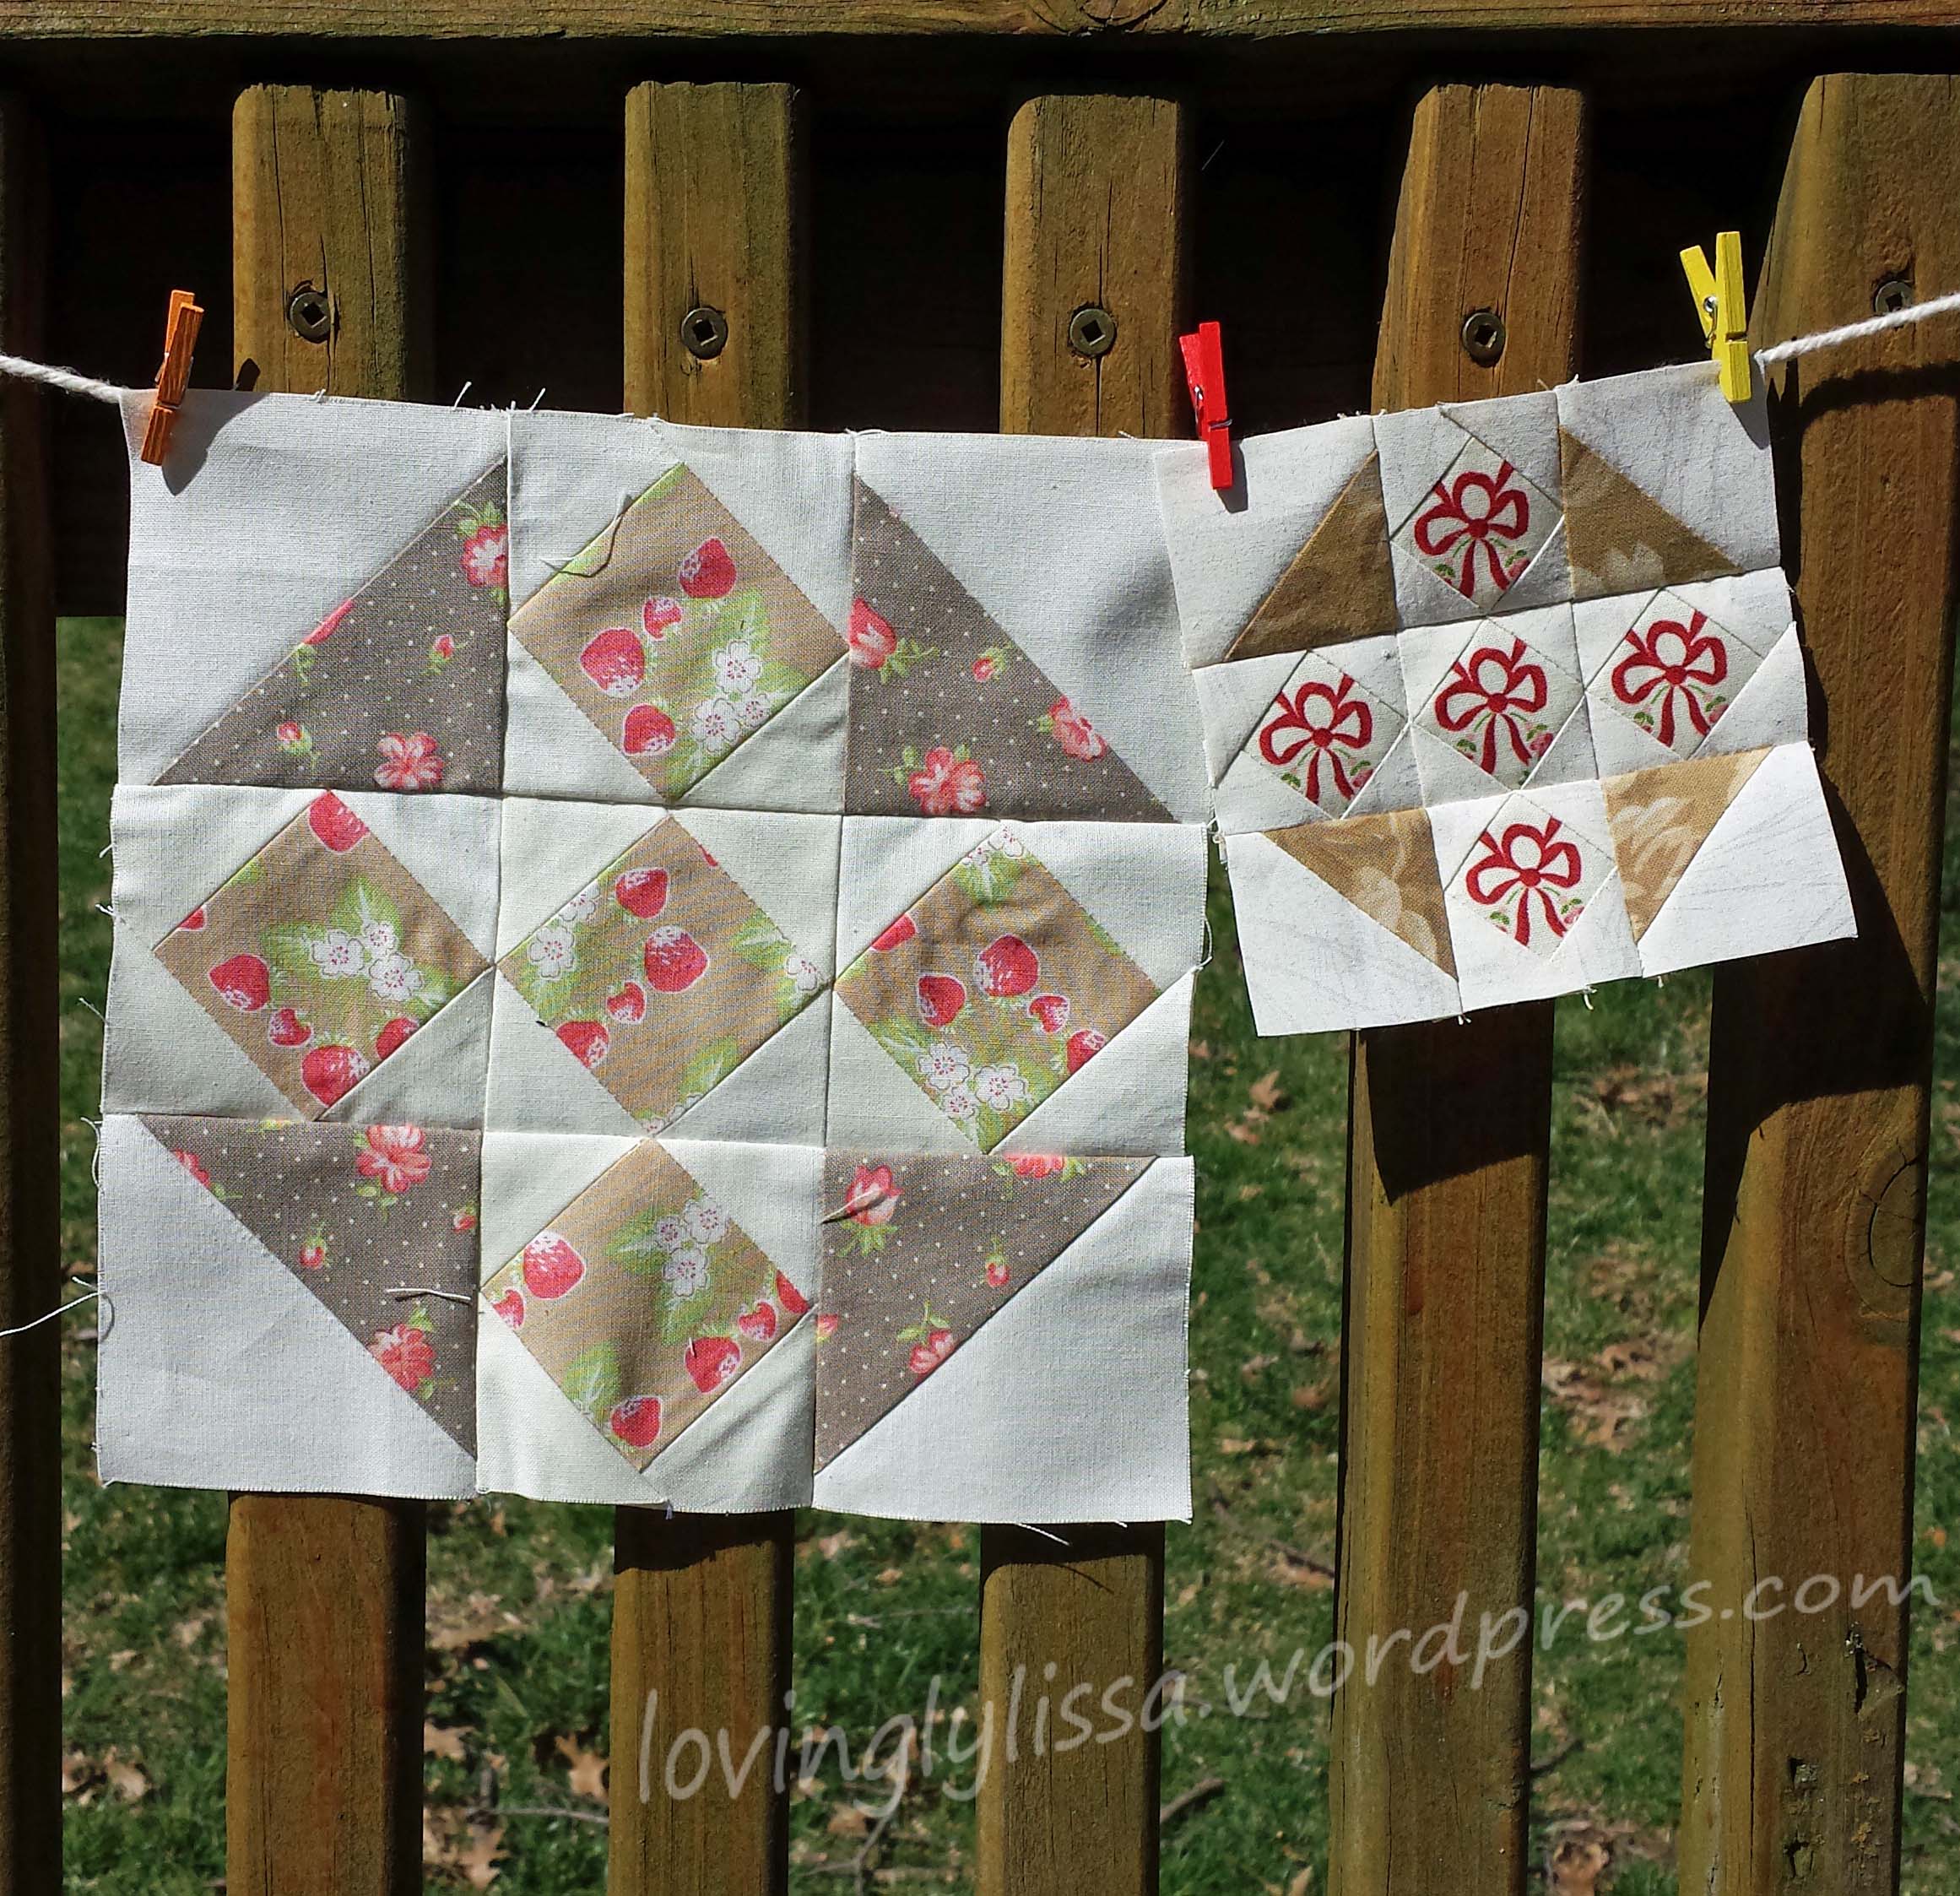
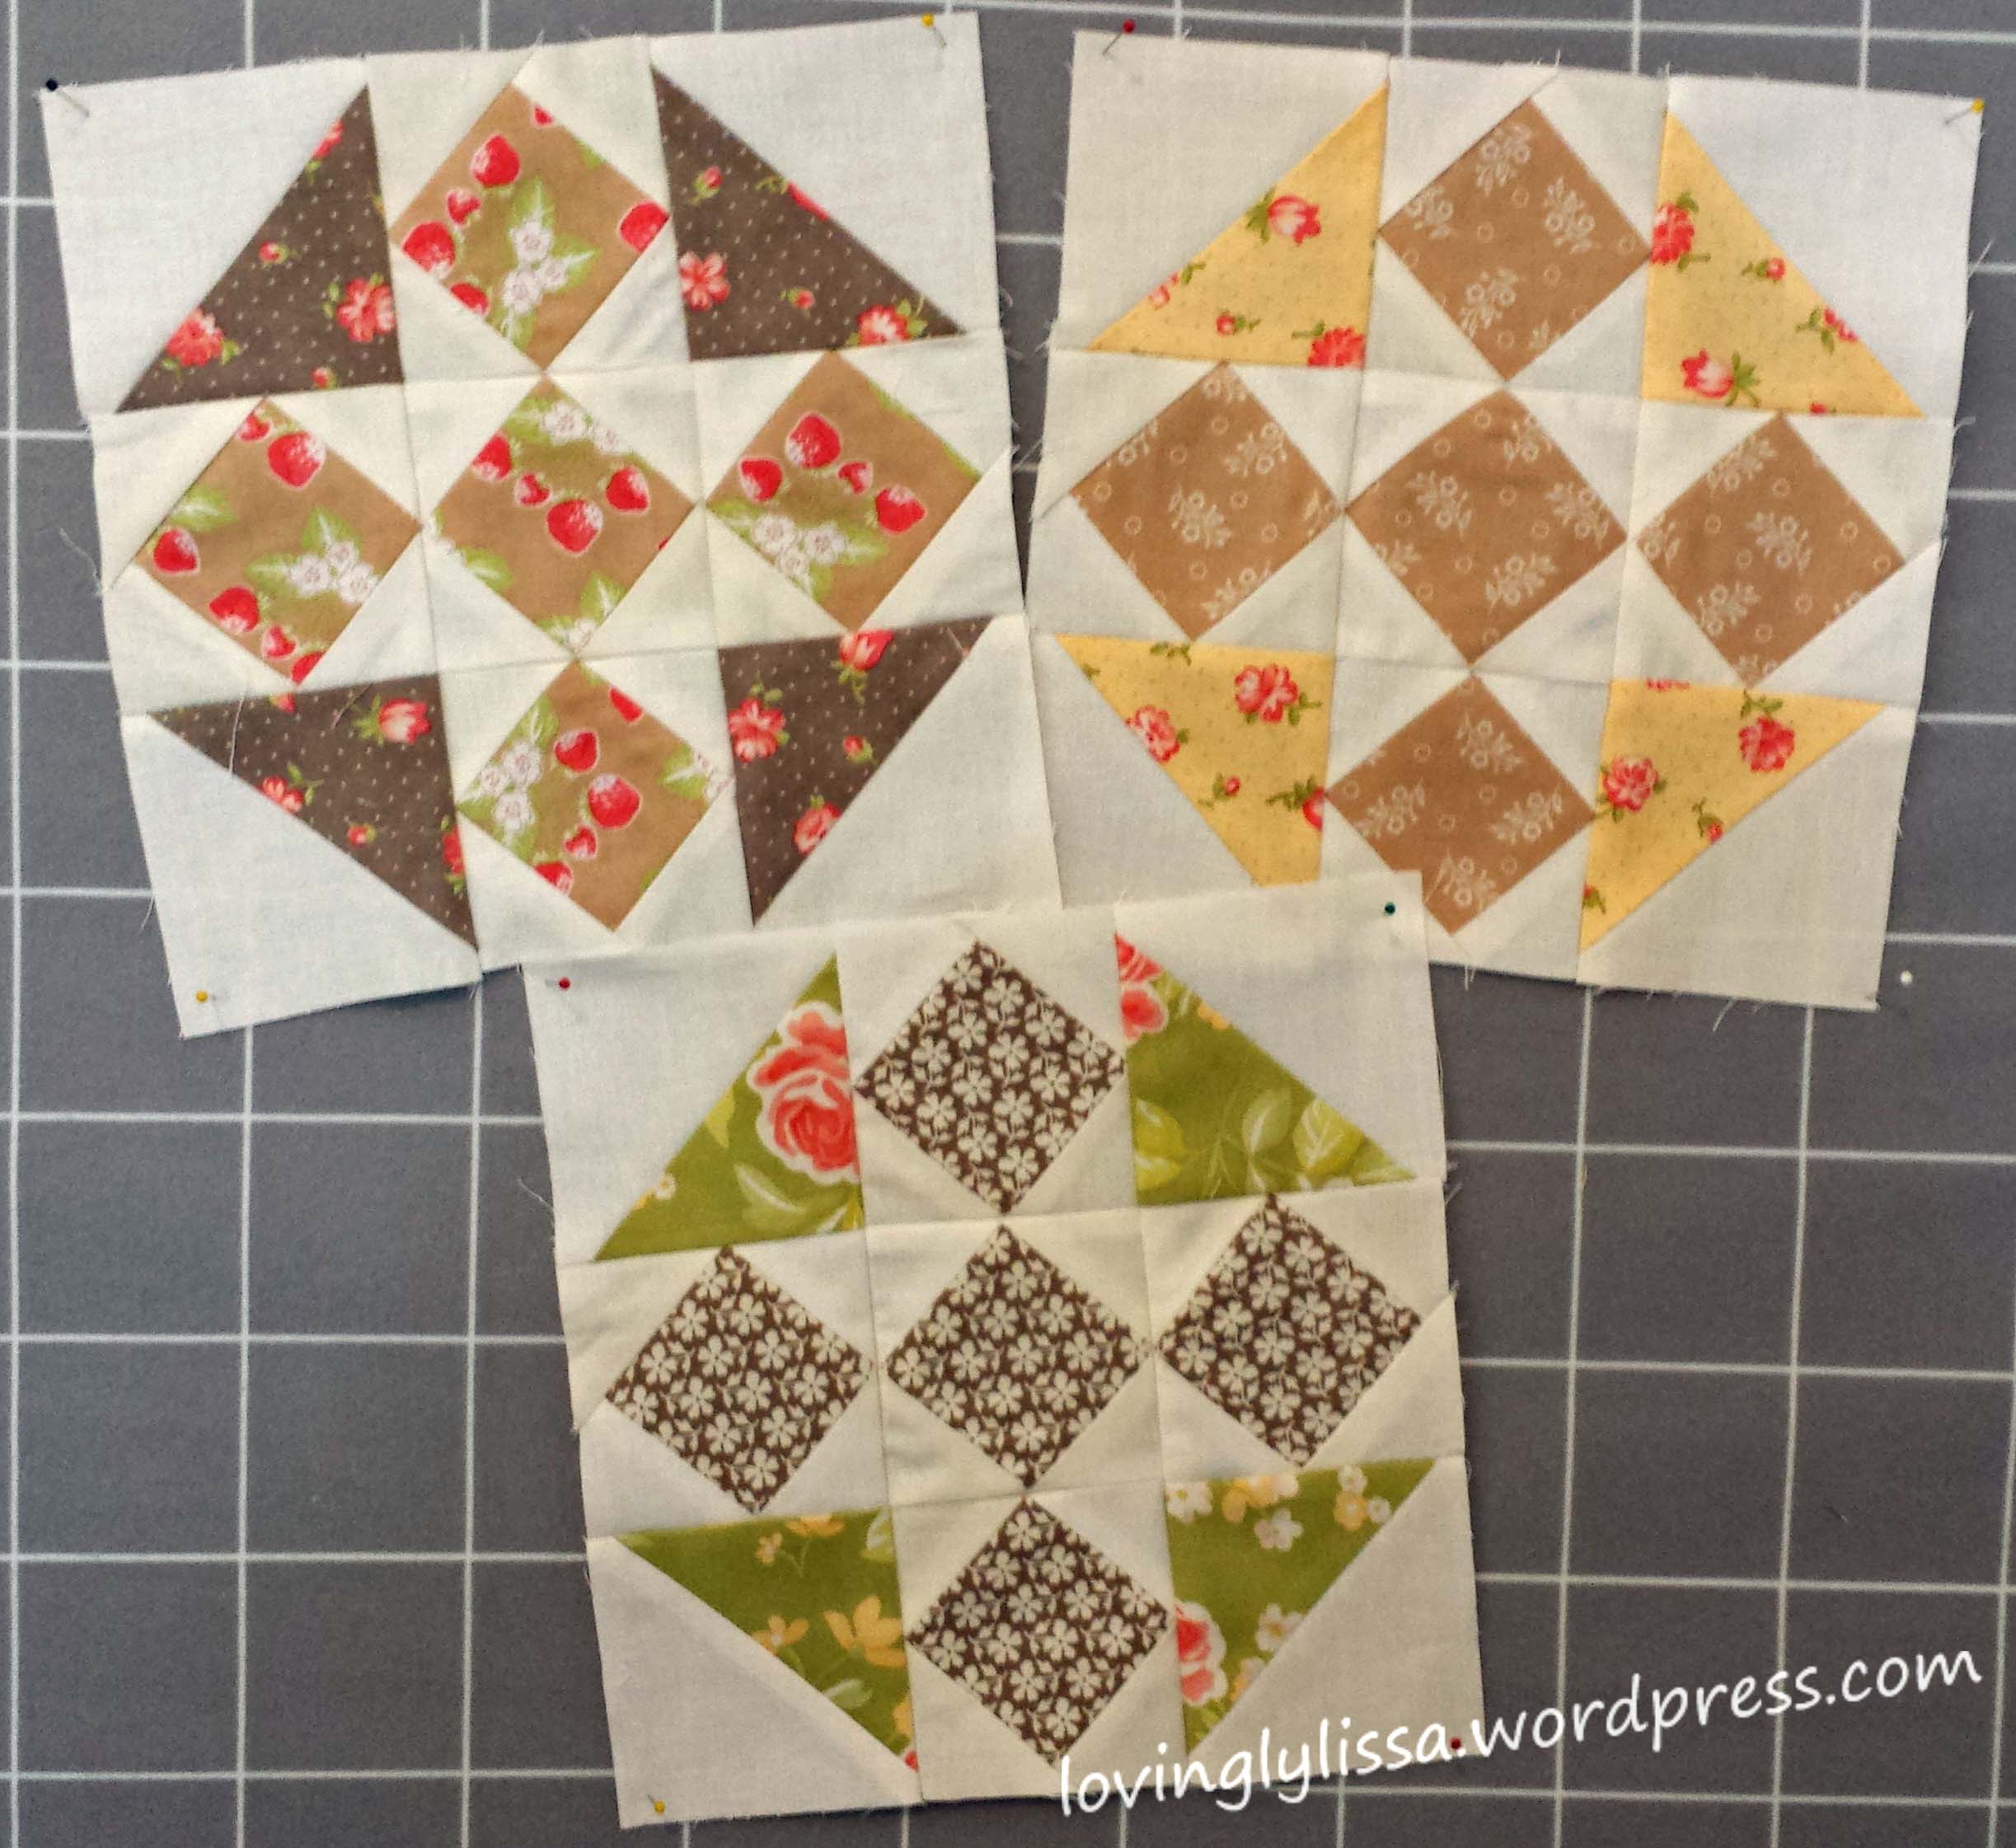
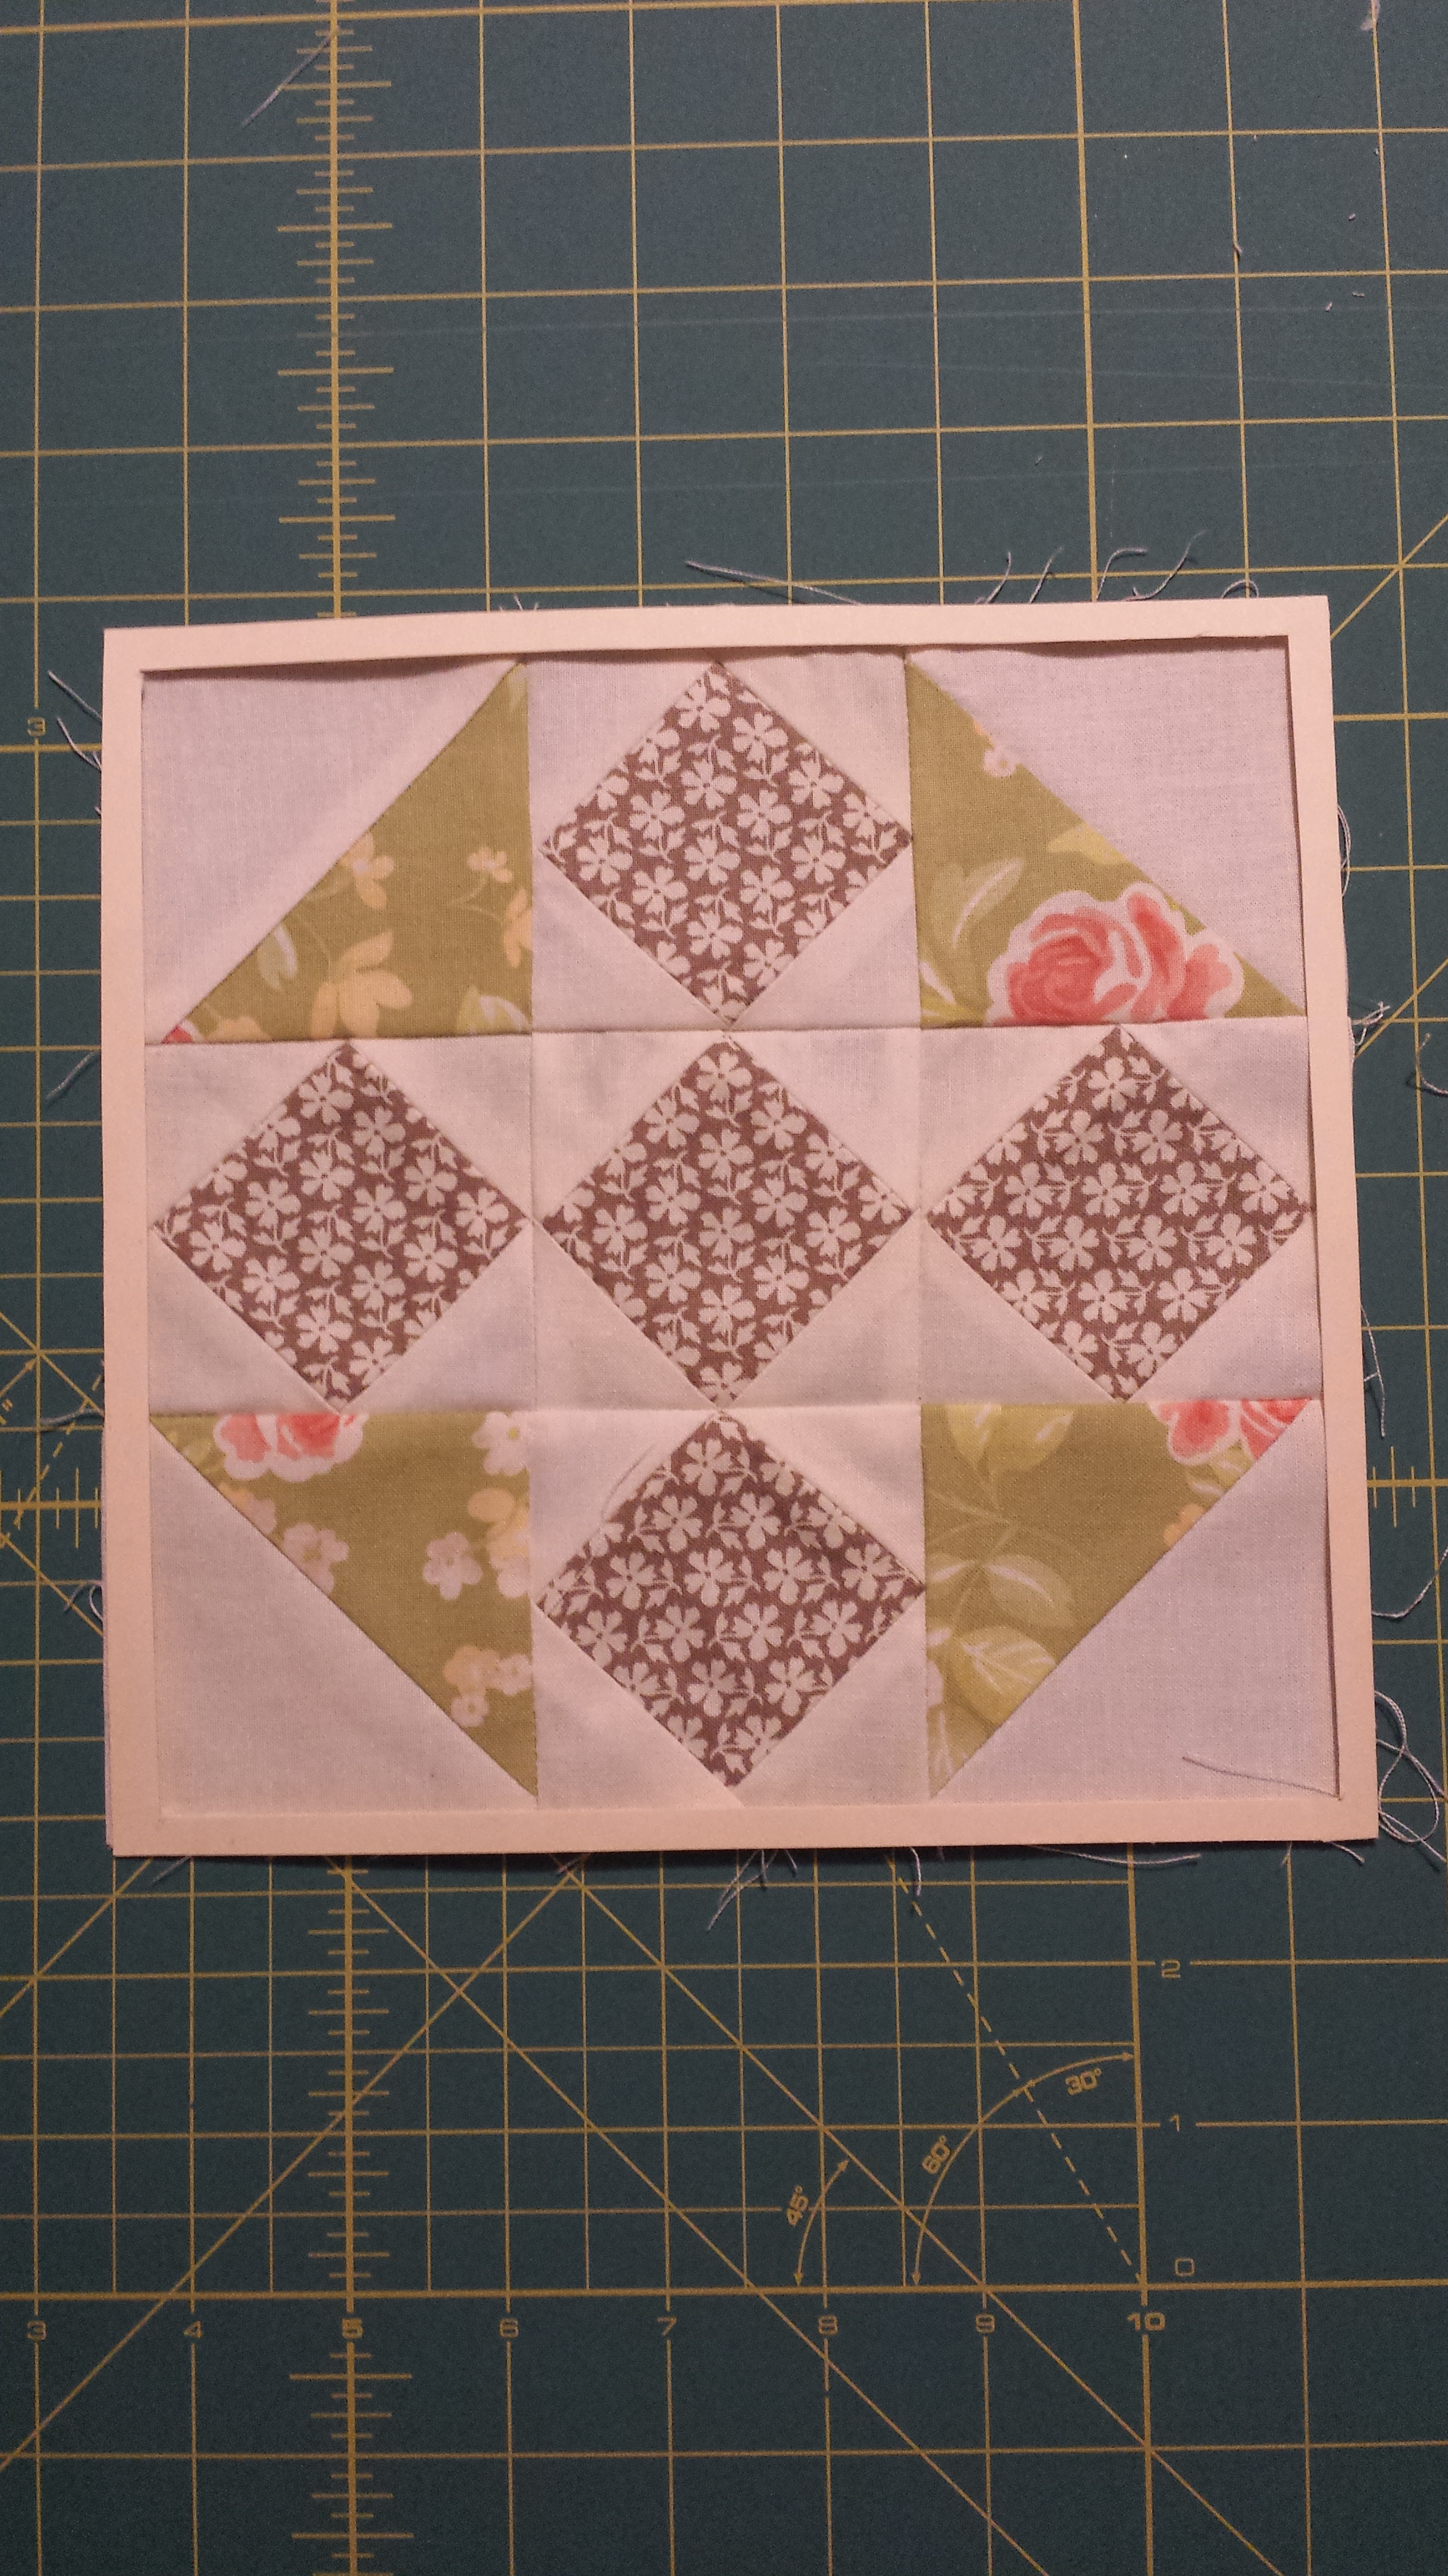
March’s block is the Diamond pattern.  We started with half square triangles that I daisy chained.

image

Here they are all hanging out together.

image

I just flipped them over and sewed on the other side of the line.

image

I then cut on the line and got them together to iron them open.


image

At this point I realized that I sewed them WRONG SIDES TOGETHER!!!  I let out a sigh, turned my machine off, and left the craft room for a bit.

When I returned I spent quite a while ripping seams out and re-stitching.  Only two blocks had to be remade totally, the rest were salvageable.

The best piece of advice I can give for this quilt along is to measure after each step.  The directions are great and give you the expected measurements.

image

There were plenty of crumbs left over for my stash.

image

Okay…I need help here… This drives me insane when it happens.  Anyone have any tips or tricks to prevent this?  Please leave the advice in the comment section.

image

Here are all my diamonds ready to be put together.

image

I hate losing corners, so I was very careful when sewing these rows together.

image

There they are, all nice and pointy.

image

And one finished square.

20160315_194619.jpg


For some reason my other two blocks did not measure up to 8″.  My husband heard me complaining to myself and came into my room to tell me that 1 out of 3 is a great night for a baseball player.  Then he finished reloading his nerf guns and ran off to put the kids to bed.

I’ll post pictures of the other two once I fix them.

Quilting tips and techniques

Trying something new

I have so many projects going on right now and have told myself, “No More.”  I’m sure you’ve all said that to yourself at some point or another.  However I am following Pat Sloan and Jane Davidson’s Splendid Sampler.  They release two new blocks a week and have bonus projects as well.  I simply do not have the time to join in, but every now and then something strikes me and I just HAVE to do it.

First was this wonderful pincushion, a bonus project. http://www.thesplendidsampler.com/2016/02/11/meet-the-splendid-sampler-designers-4/

Now, I have never made a cathedral window block before.  They honestly made me a little nervous.  But I just had to give this a try.  I pulled down a basket of fat quarters that my wonderful Mother in Law gave me that I new would just be perfect.

The fabrics are “Sew…A Needle Pulling Thread” and “Quilting Companions” by Cat Williams and “Stitching in the Woods” by Robin Betterley.

image

Fabulous, aren’t they?

Here is what I learned while making the block;

  • Iron very carefully.  You want your edges to line up as exact as possible to the guidelines you ironed into the fabric.

image


  • Make sure your center points line up and meet as close as you can.

image


  • When you begin folding back the fabric do not force it as far as it can go.  You may want to show off as much as the peeking fabric as you can, but this warps the block a bit.

image


* Instead, just turn them gently and pin them down.  You will still get plenty of your peek-a-boo fabric


image


  • When you fold back the ‘petal’ fabric the raw edges of the triangle fabrics may show.  Use a small scissor or seam ripper to tuck it back under the petal when you put the block on your machine.


image


image


  • Holding the petal down with my finger, I just sew right along the edge of the petal.

image


  • Here they are, all sewn.  So pretty!


image


  • When sewing the back, press the seams open.  I find this helps with the hand stitching later.

image


  • What to fill the pin cushion with?  There were many suggestions on the Splendid Sampler Facebook page and I did some googling.  Crushed walnut shells seemed to be popular and easy to find at a pet store.  Some suggested going to a local hardware store and asking for sawdust.  There were also suggestions of fabric and batting scraps, but I like weight to my pin cushions so I went with the suggestion of play sand.  Also, I had it on hand, so I can keep going with the project!  Remember to use play sand, not beach sand.  Mine is unused and has been stored in bucket, so I knew it was safe to use.

image


  • Give it some shakes to make sure the sand gets into the corners.

image


  • I cut a 4 inch square piece of batting to put on top of the sand.  I couldn’t imagine trying to sew this shut with the sand spilling everywhere.

image


  • Remember when I pressed the seams open?  I used the press marks as a guideline for sewing it shut.

image


  • Voila!!!

image


I am thrilled to tell you that I am no longer scared of cathedral windows!!  In fact I have fallen in love with them!  I had to  make more, it was addictive.  These are for my two high school friends who I am doing a quilt a long with.  We live in three different states and I’m so thankful for the internet and this quilt a long to bring us together.  (I’ll be posting about this quilt a long soon)

image


Of course I made one for myself too!


image

I took mine a step further by adding a thread catcher to it.  I used the pattern found at http://mypolkadotapron.blogspot.com/2011/05/thread-catcher-tutorial.html?spref=bl

I love it!  I carry it with me all over the house when I do hand stitching.  I guess I just need to make more so this one can live on my sewing table, because now….

image


I FINALLY HAVE A BERNINA!!!!!!!!!!!

image


Uncategorized

Sock Monkeys

Quite a few years ago I came across a blog called CraftHope (http://crafthope.typepad.com/)  They were making sock monkeys for children whose homes had been devastated by wildfires.  I loved the idea and taught myself how to make sock monkeys, I think I made 17 of them.

And, thus, my love of sock monkeys started.  Every time I finish one, it makes me smile and laugh.  They have such personalities!!

We had a Sock Monkey 1st birthday party for my youngest where all the cousins got to decorate their own monkeys.

Before:

After:

We’ve had Sock Monkeys become the Mascot for Little League

There have been Halloween Sock Monkeys

Vampire Sock Monkey.  Another new Halloween decoration.: Jack O'Lantern Sock Monkey for Halloween!:


And many, many, others;

Baby sock monkeys: I don't think I will ever tire of making sock monkeys.: More Sock Monkeys!!  Not my best monkeys, but still cute.  These are actually up for sale now on a local FB page.  If they don't sell there, they are heading to my very own ETSY!!!!: It's been a while since I've made a sock monkey.  Love the sock monkey charm I found for the big one.: Sock monkeys:


I’m currently working on Sock Monkeys who are The Ohio State University fans.  I can’t wait to show you all how they turn out!

For directions on how to make your own Sock Monkey, check out

http://craft-with-confidence.blogspot.com/2010/10/sock-monkey-tutorial.html

My tips:

  1.  Use a zig zag stitch!!!
  2. Always watch Target for clearance socks.  Claire’s is also a good place to find fun Holiday socks on clearance.
  3. Stick to crew socks or knee socks.
  4. Relax and enjoy!