A few years ago during a visit to my in-laws, I found several large trash bags in the kitchen. It turns out my Father in law was cleaning out the linen closet and in these bags were quilts made by my husband’s great grandmother that he was going to toss.
Ummm….no.
Both bags were quickly placed in the back of my car to come home with me. Inside there were three hand made Cathedral Window quilts, in fairly good condition and two more quilts in need of love and care.
This one is the youngest quilt, born in 1959.
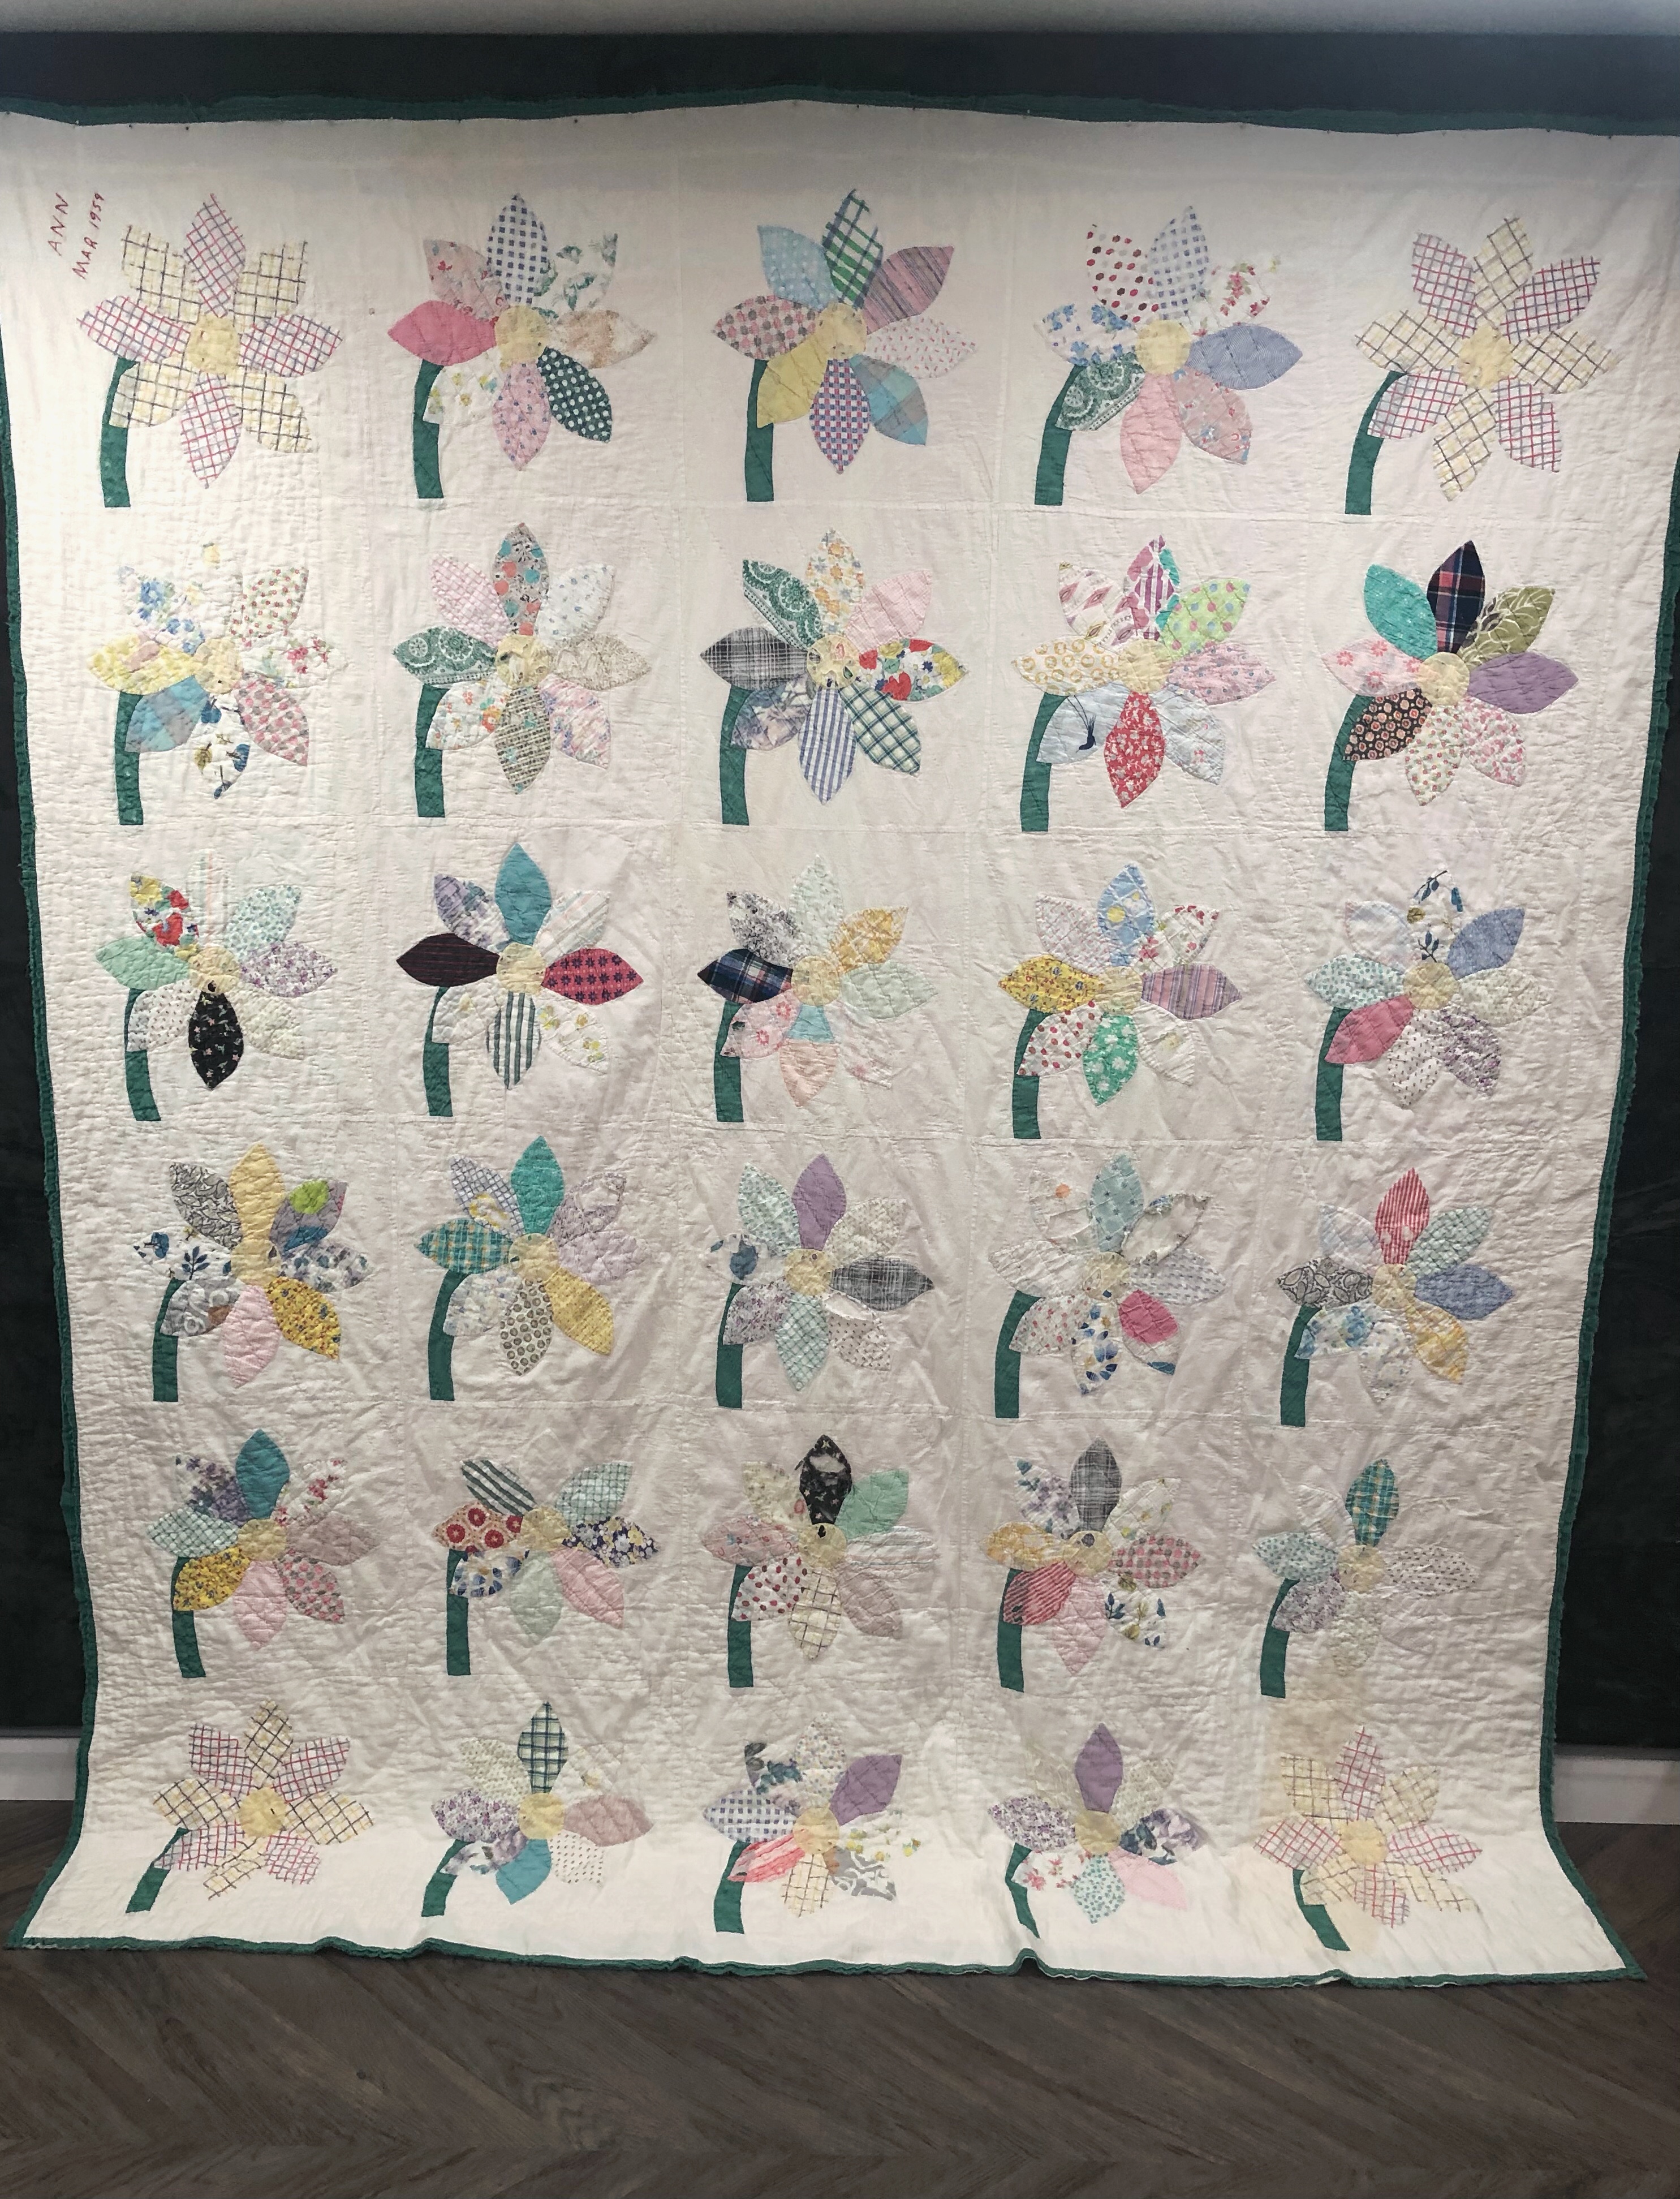
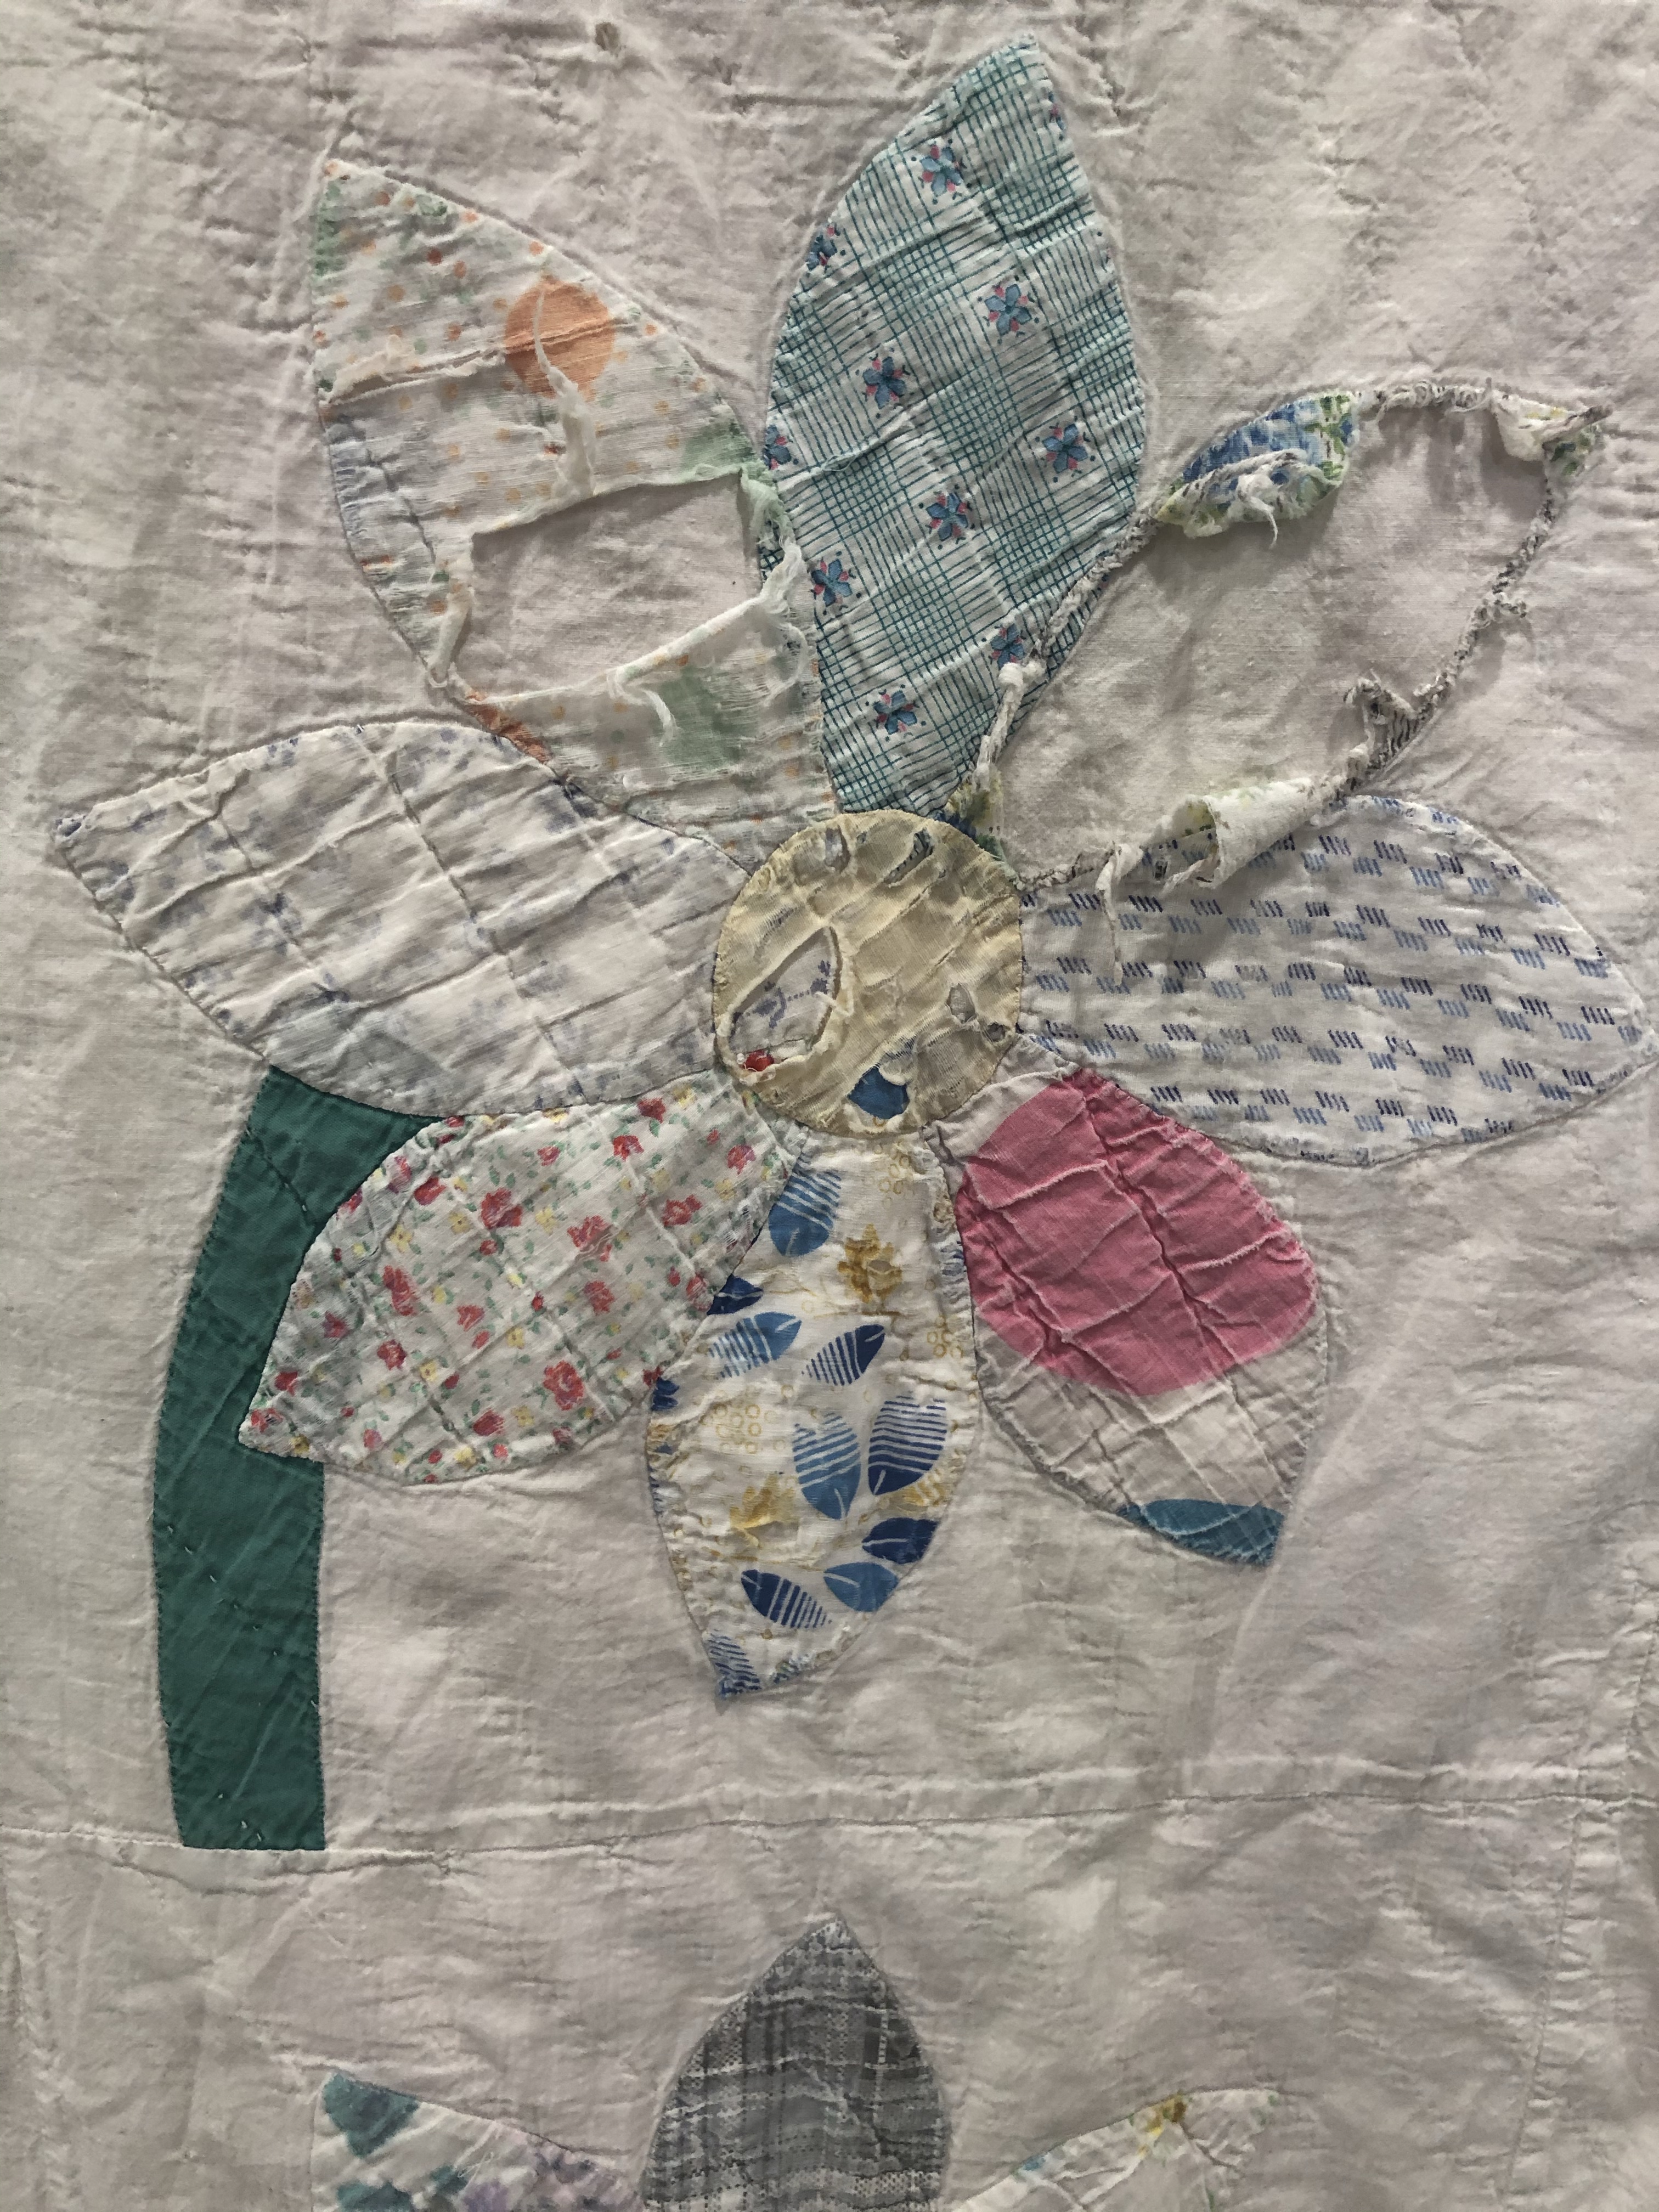
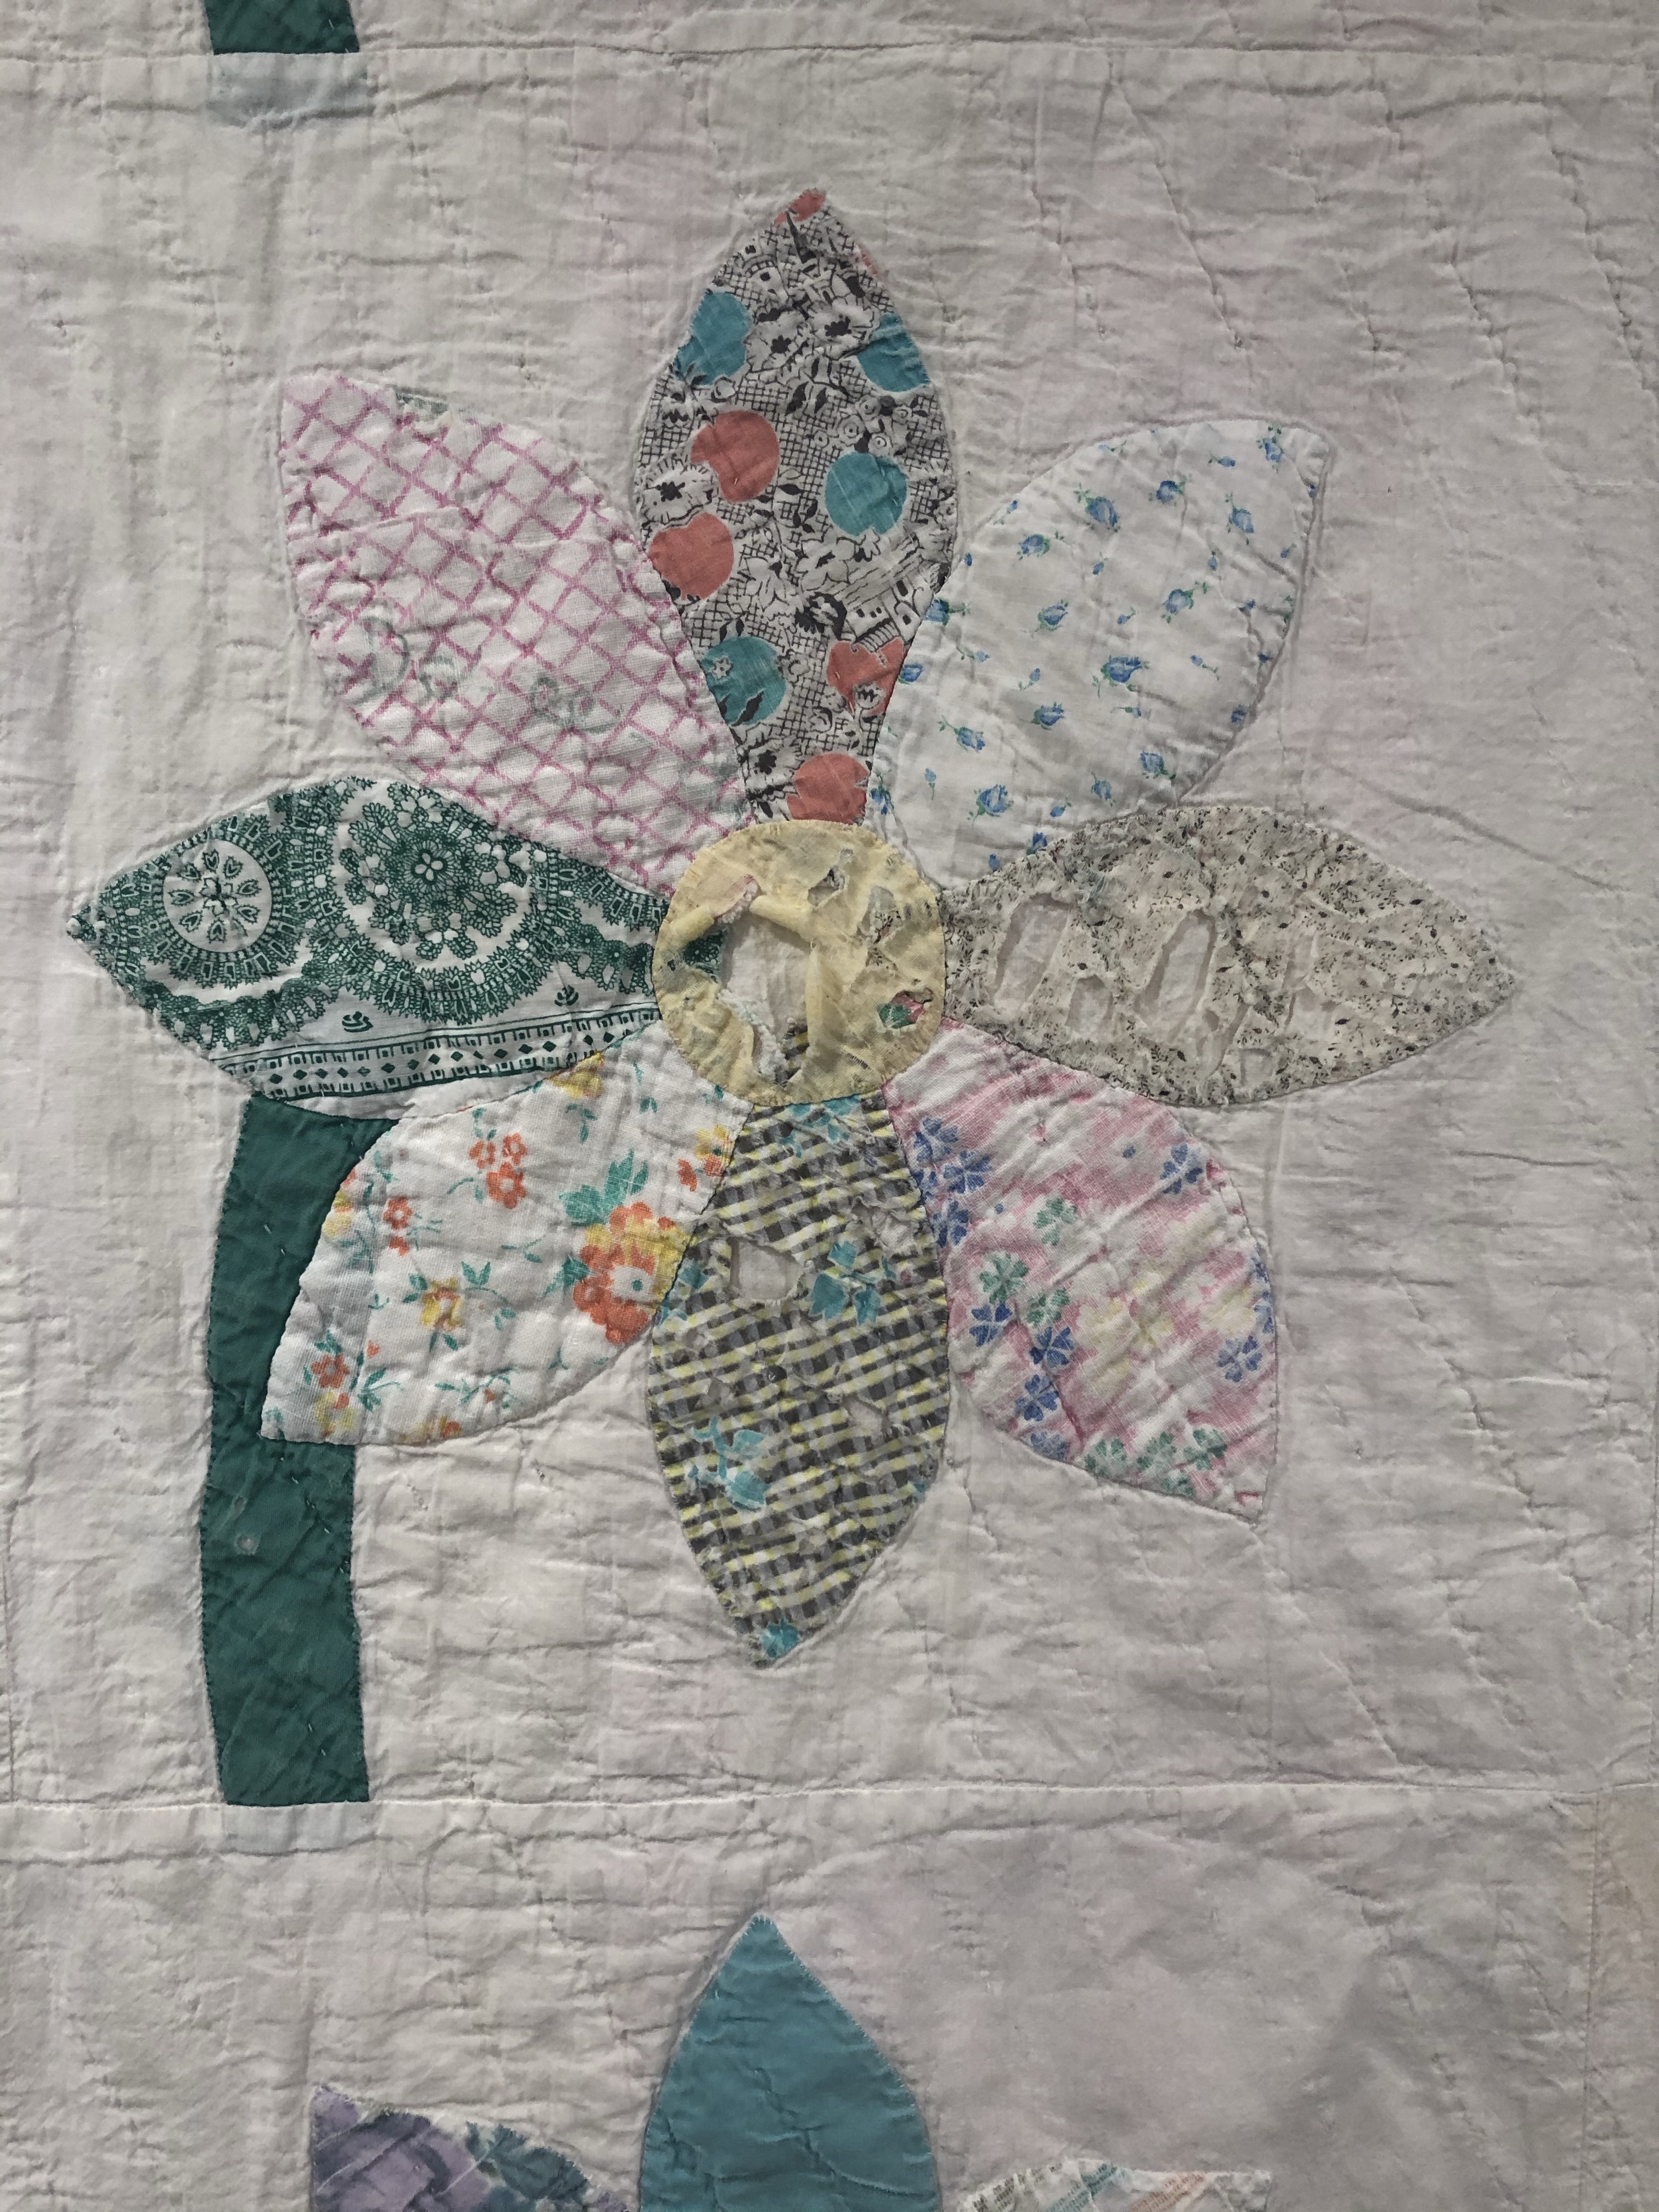
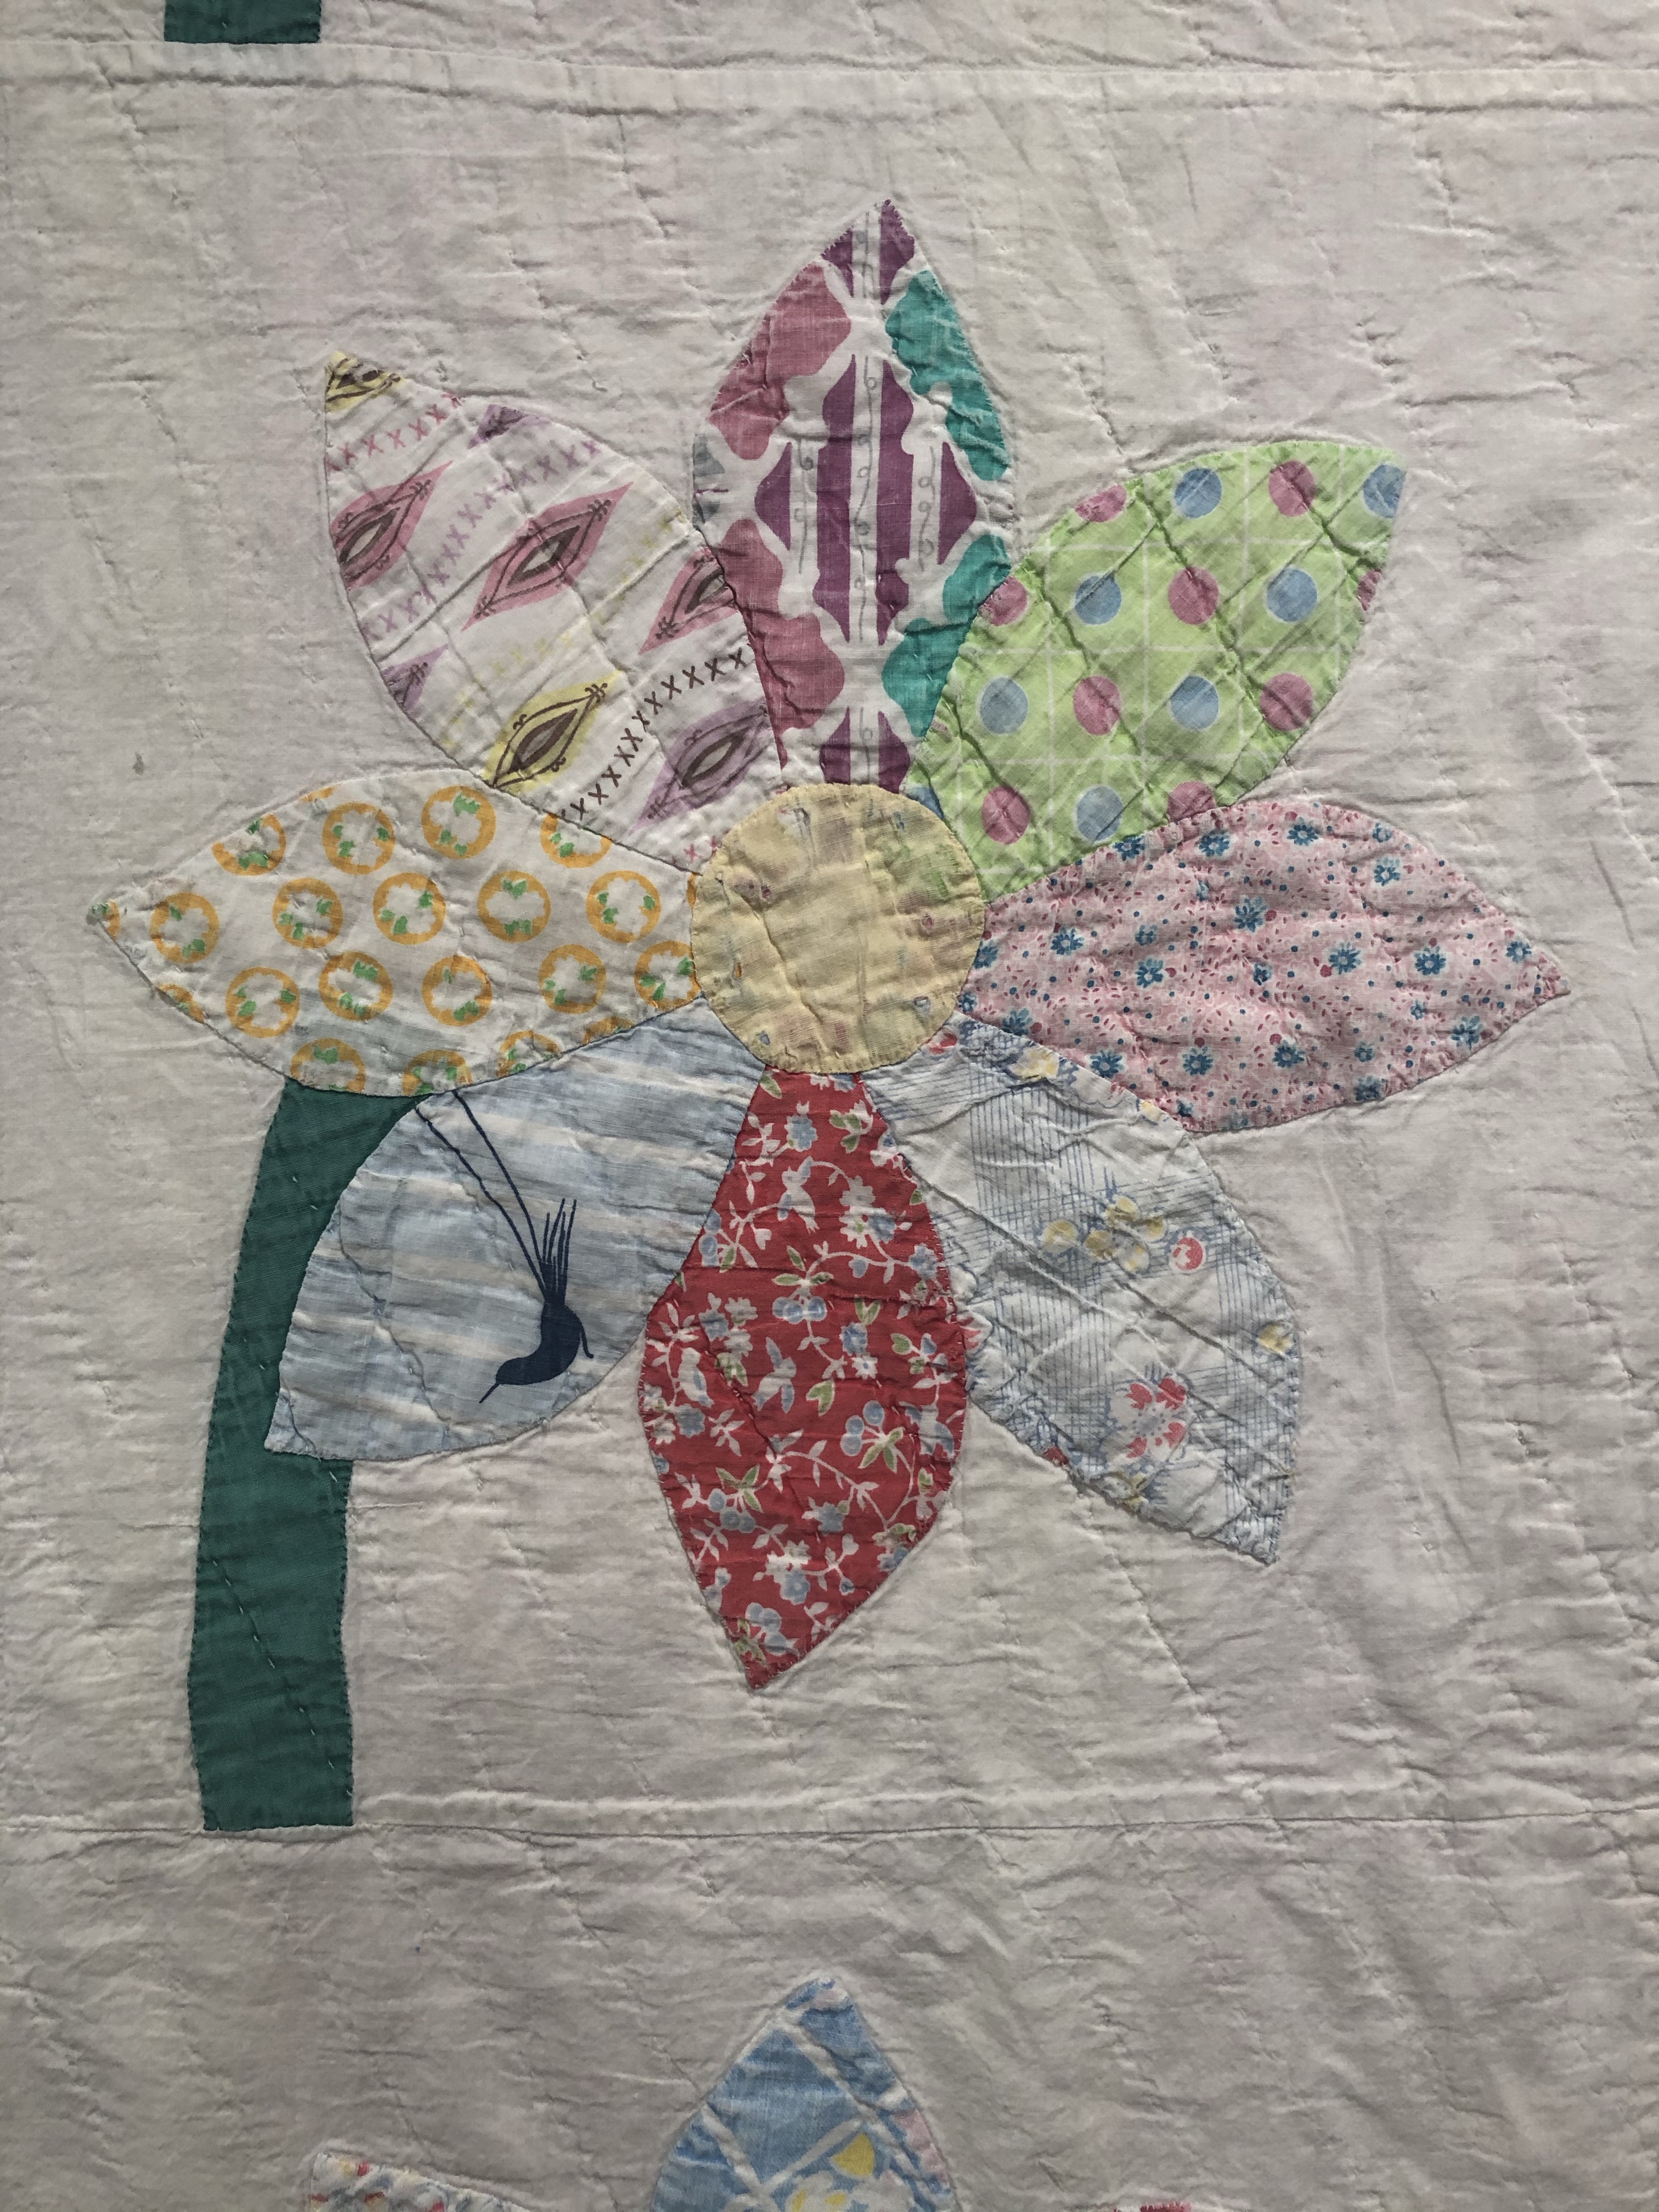
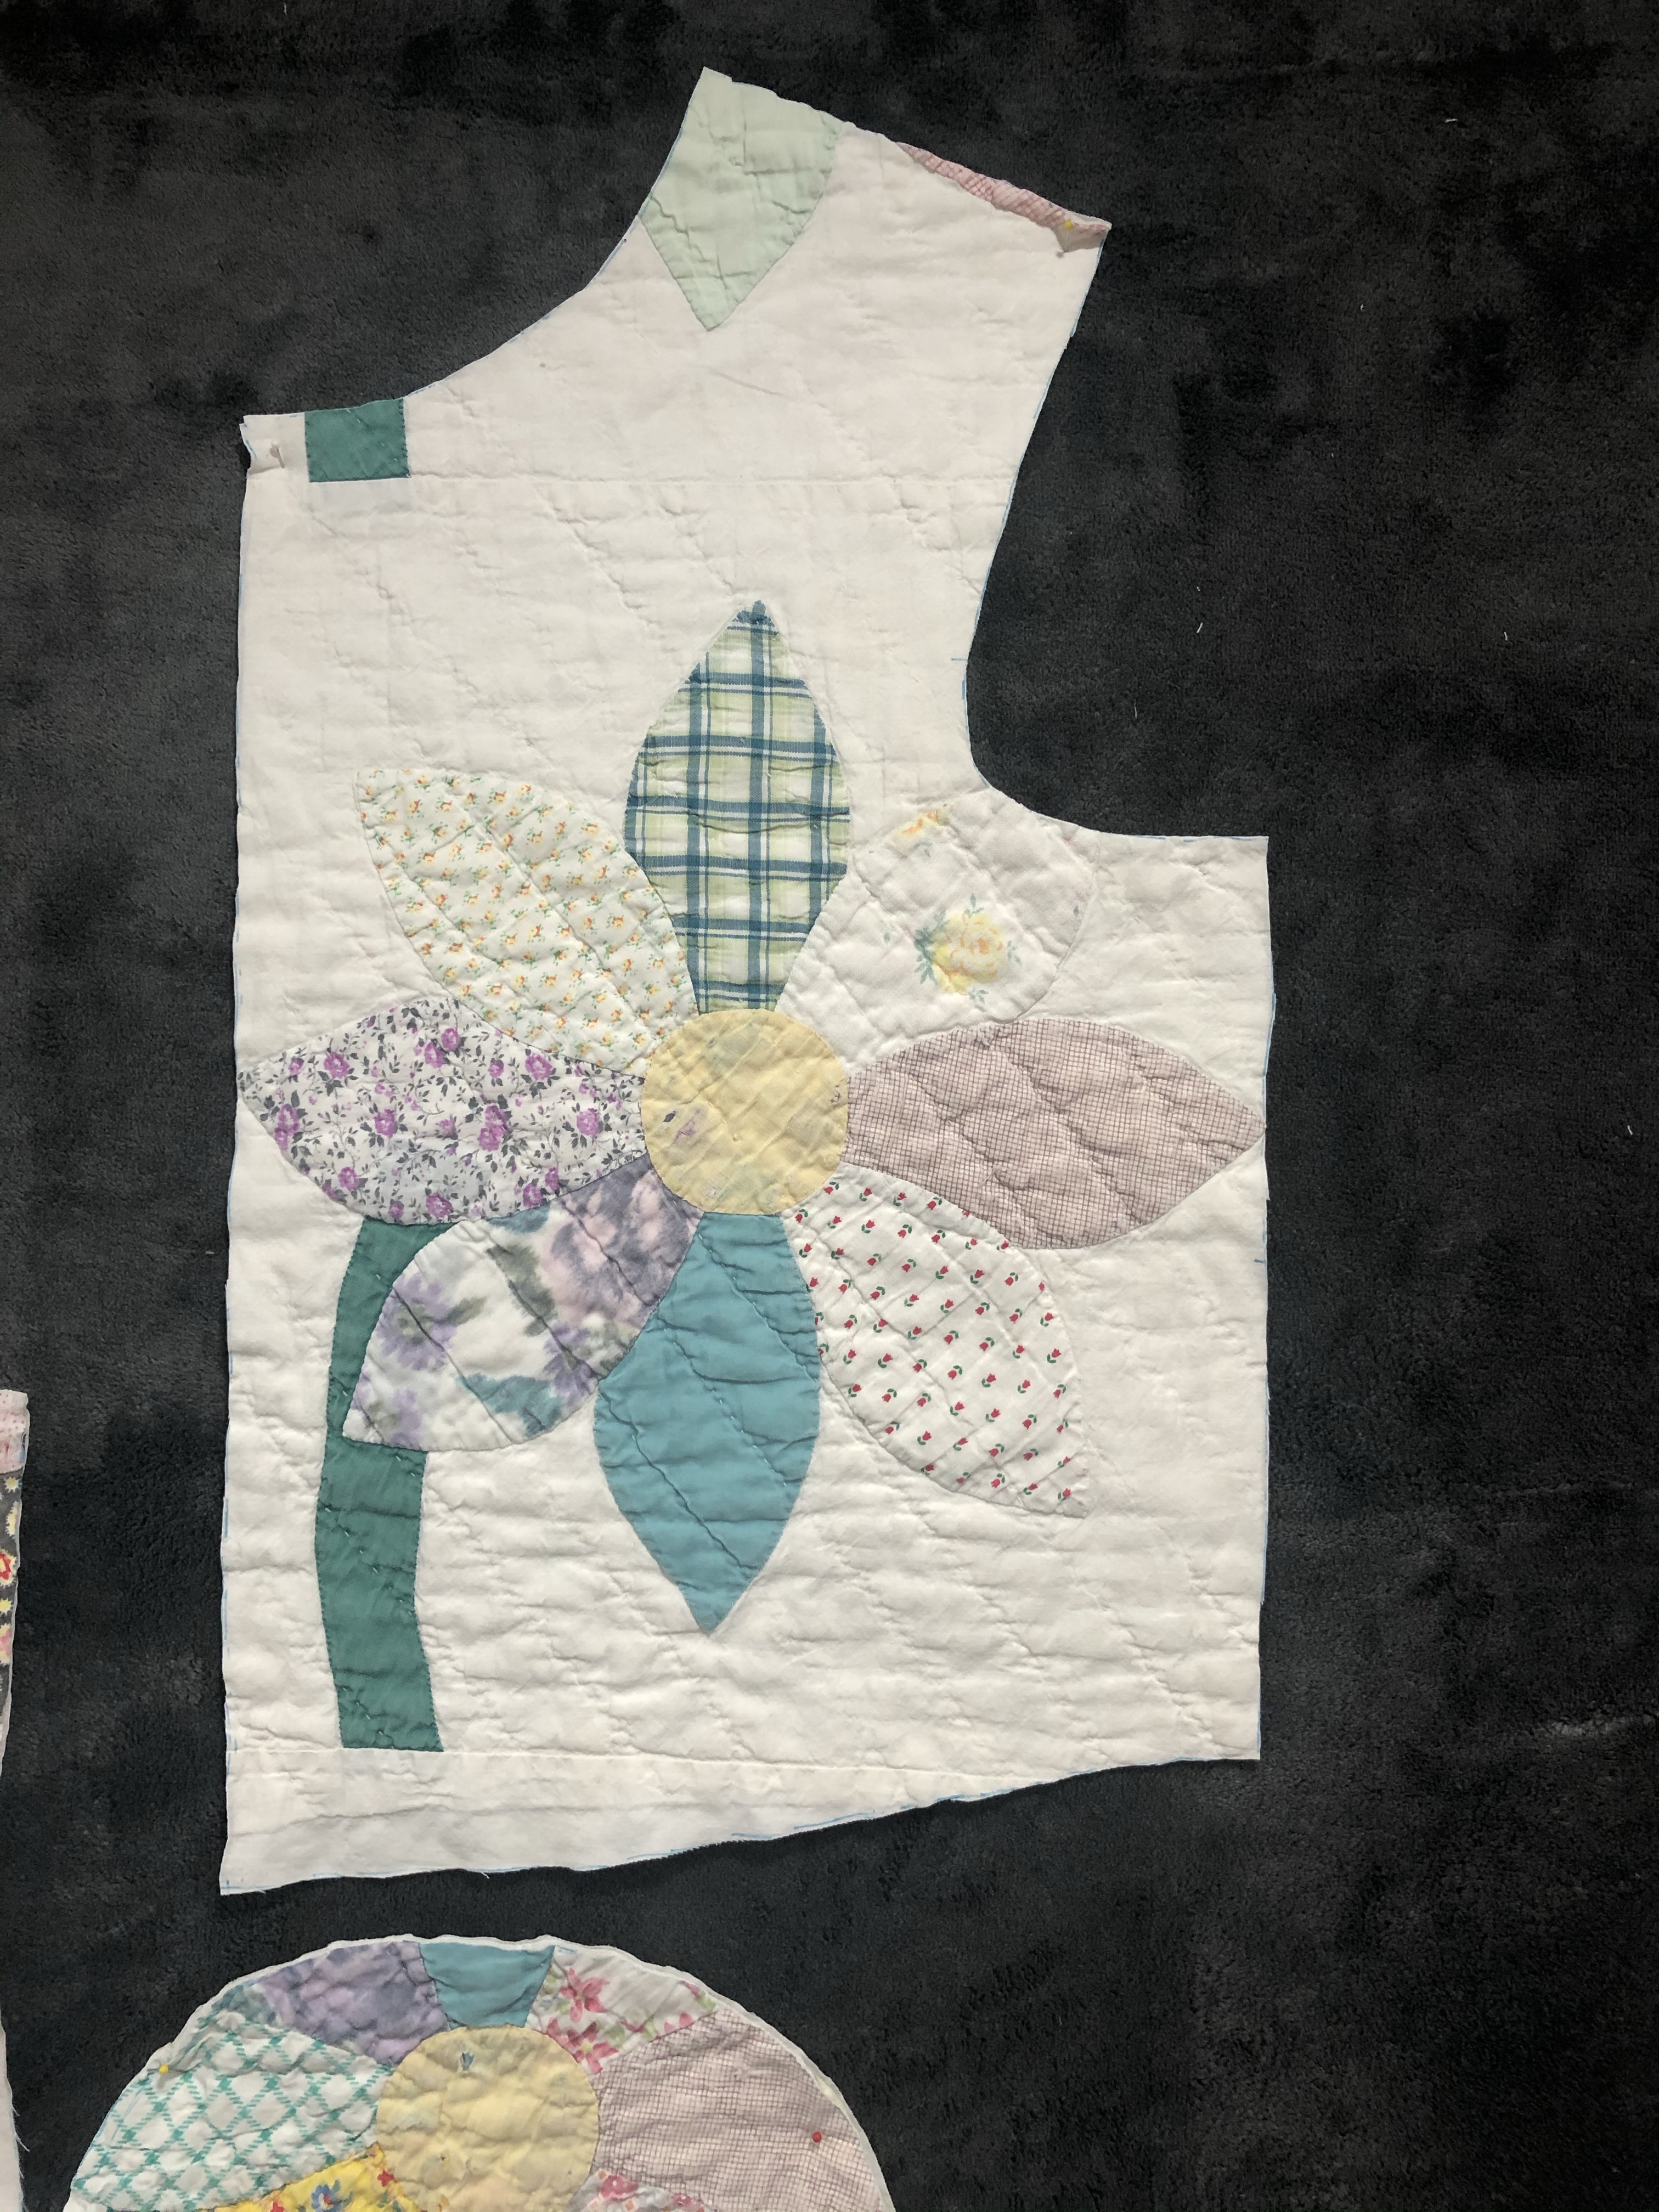
I believe the flower petals are all from old clothes. Many are worn through and every single flower center is worn out.
There was definitely enough of the quilt that could still be usable, but how?
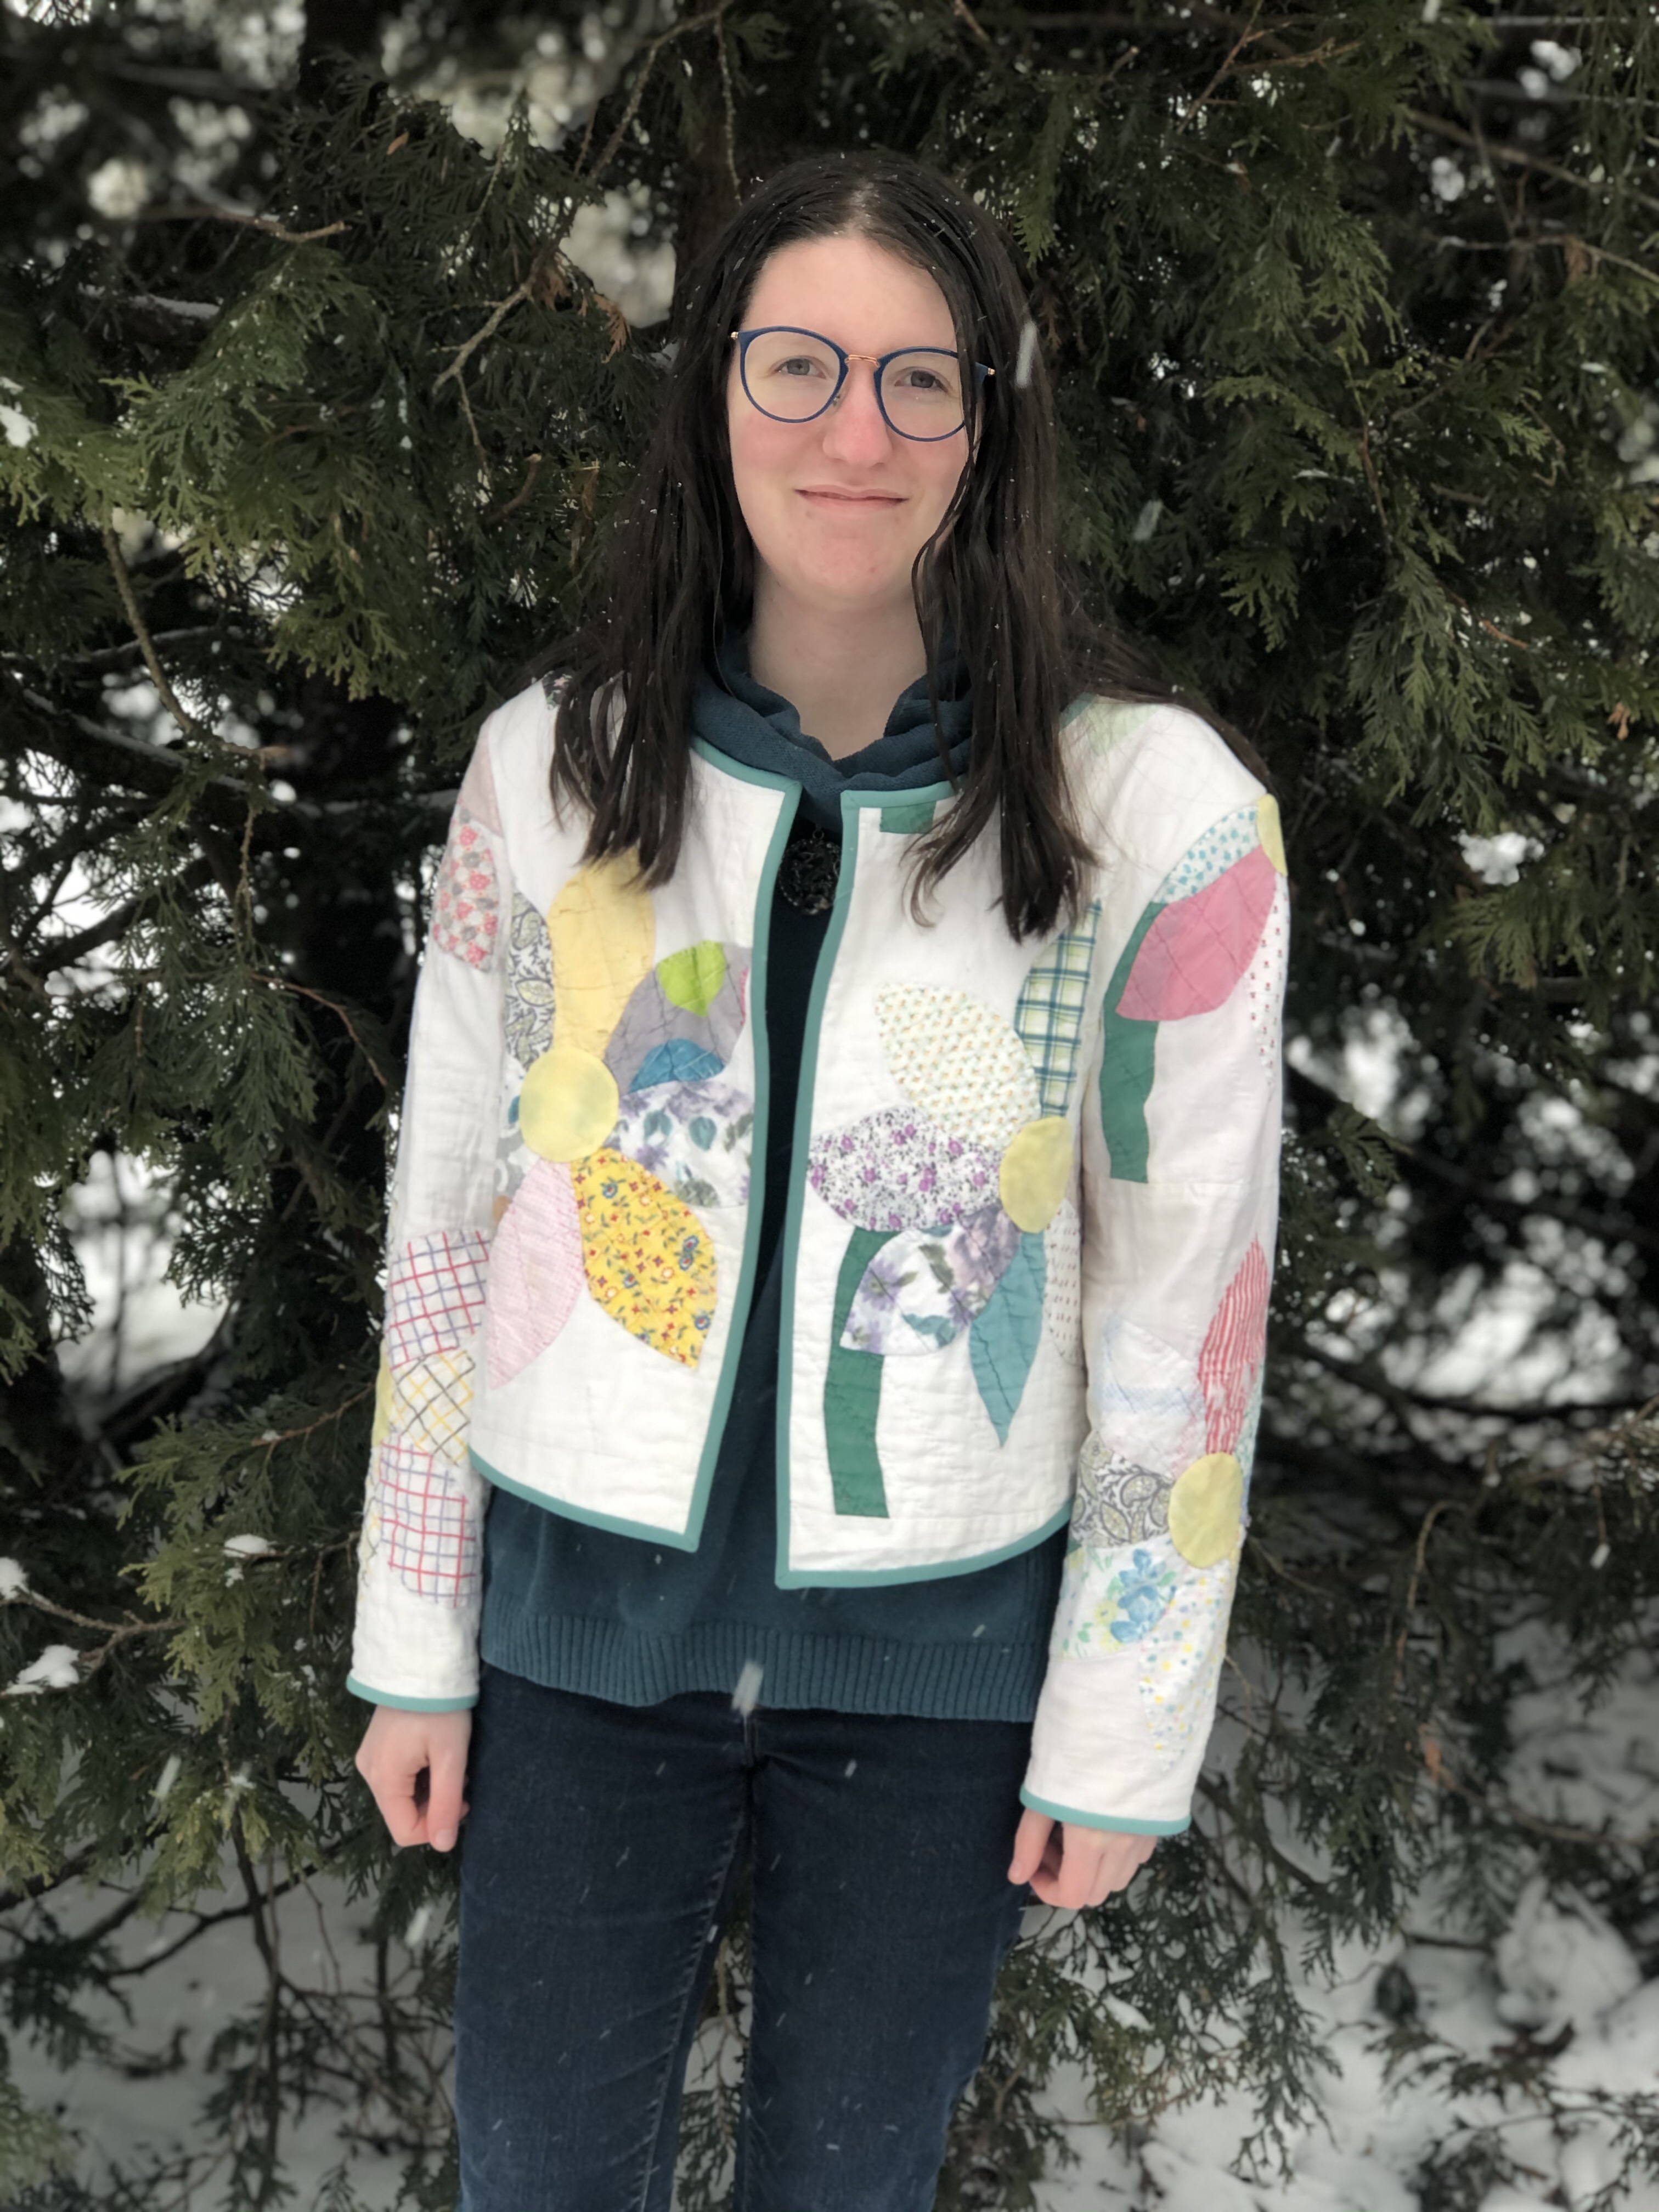
A quilted coat!!! That is the answer. I knew it would have to be for my daughter as she slept under this quilt for many years. She and I sat down to make some decisions.
First, I was going to have to replace all the yellow centers and we needed a binding color. She found a light yellow grunge in my stash and we sat down with my Kona color swatches and she chose the Sage Green as a binding.
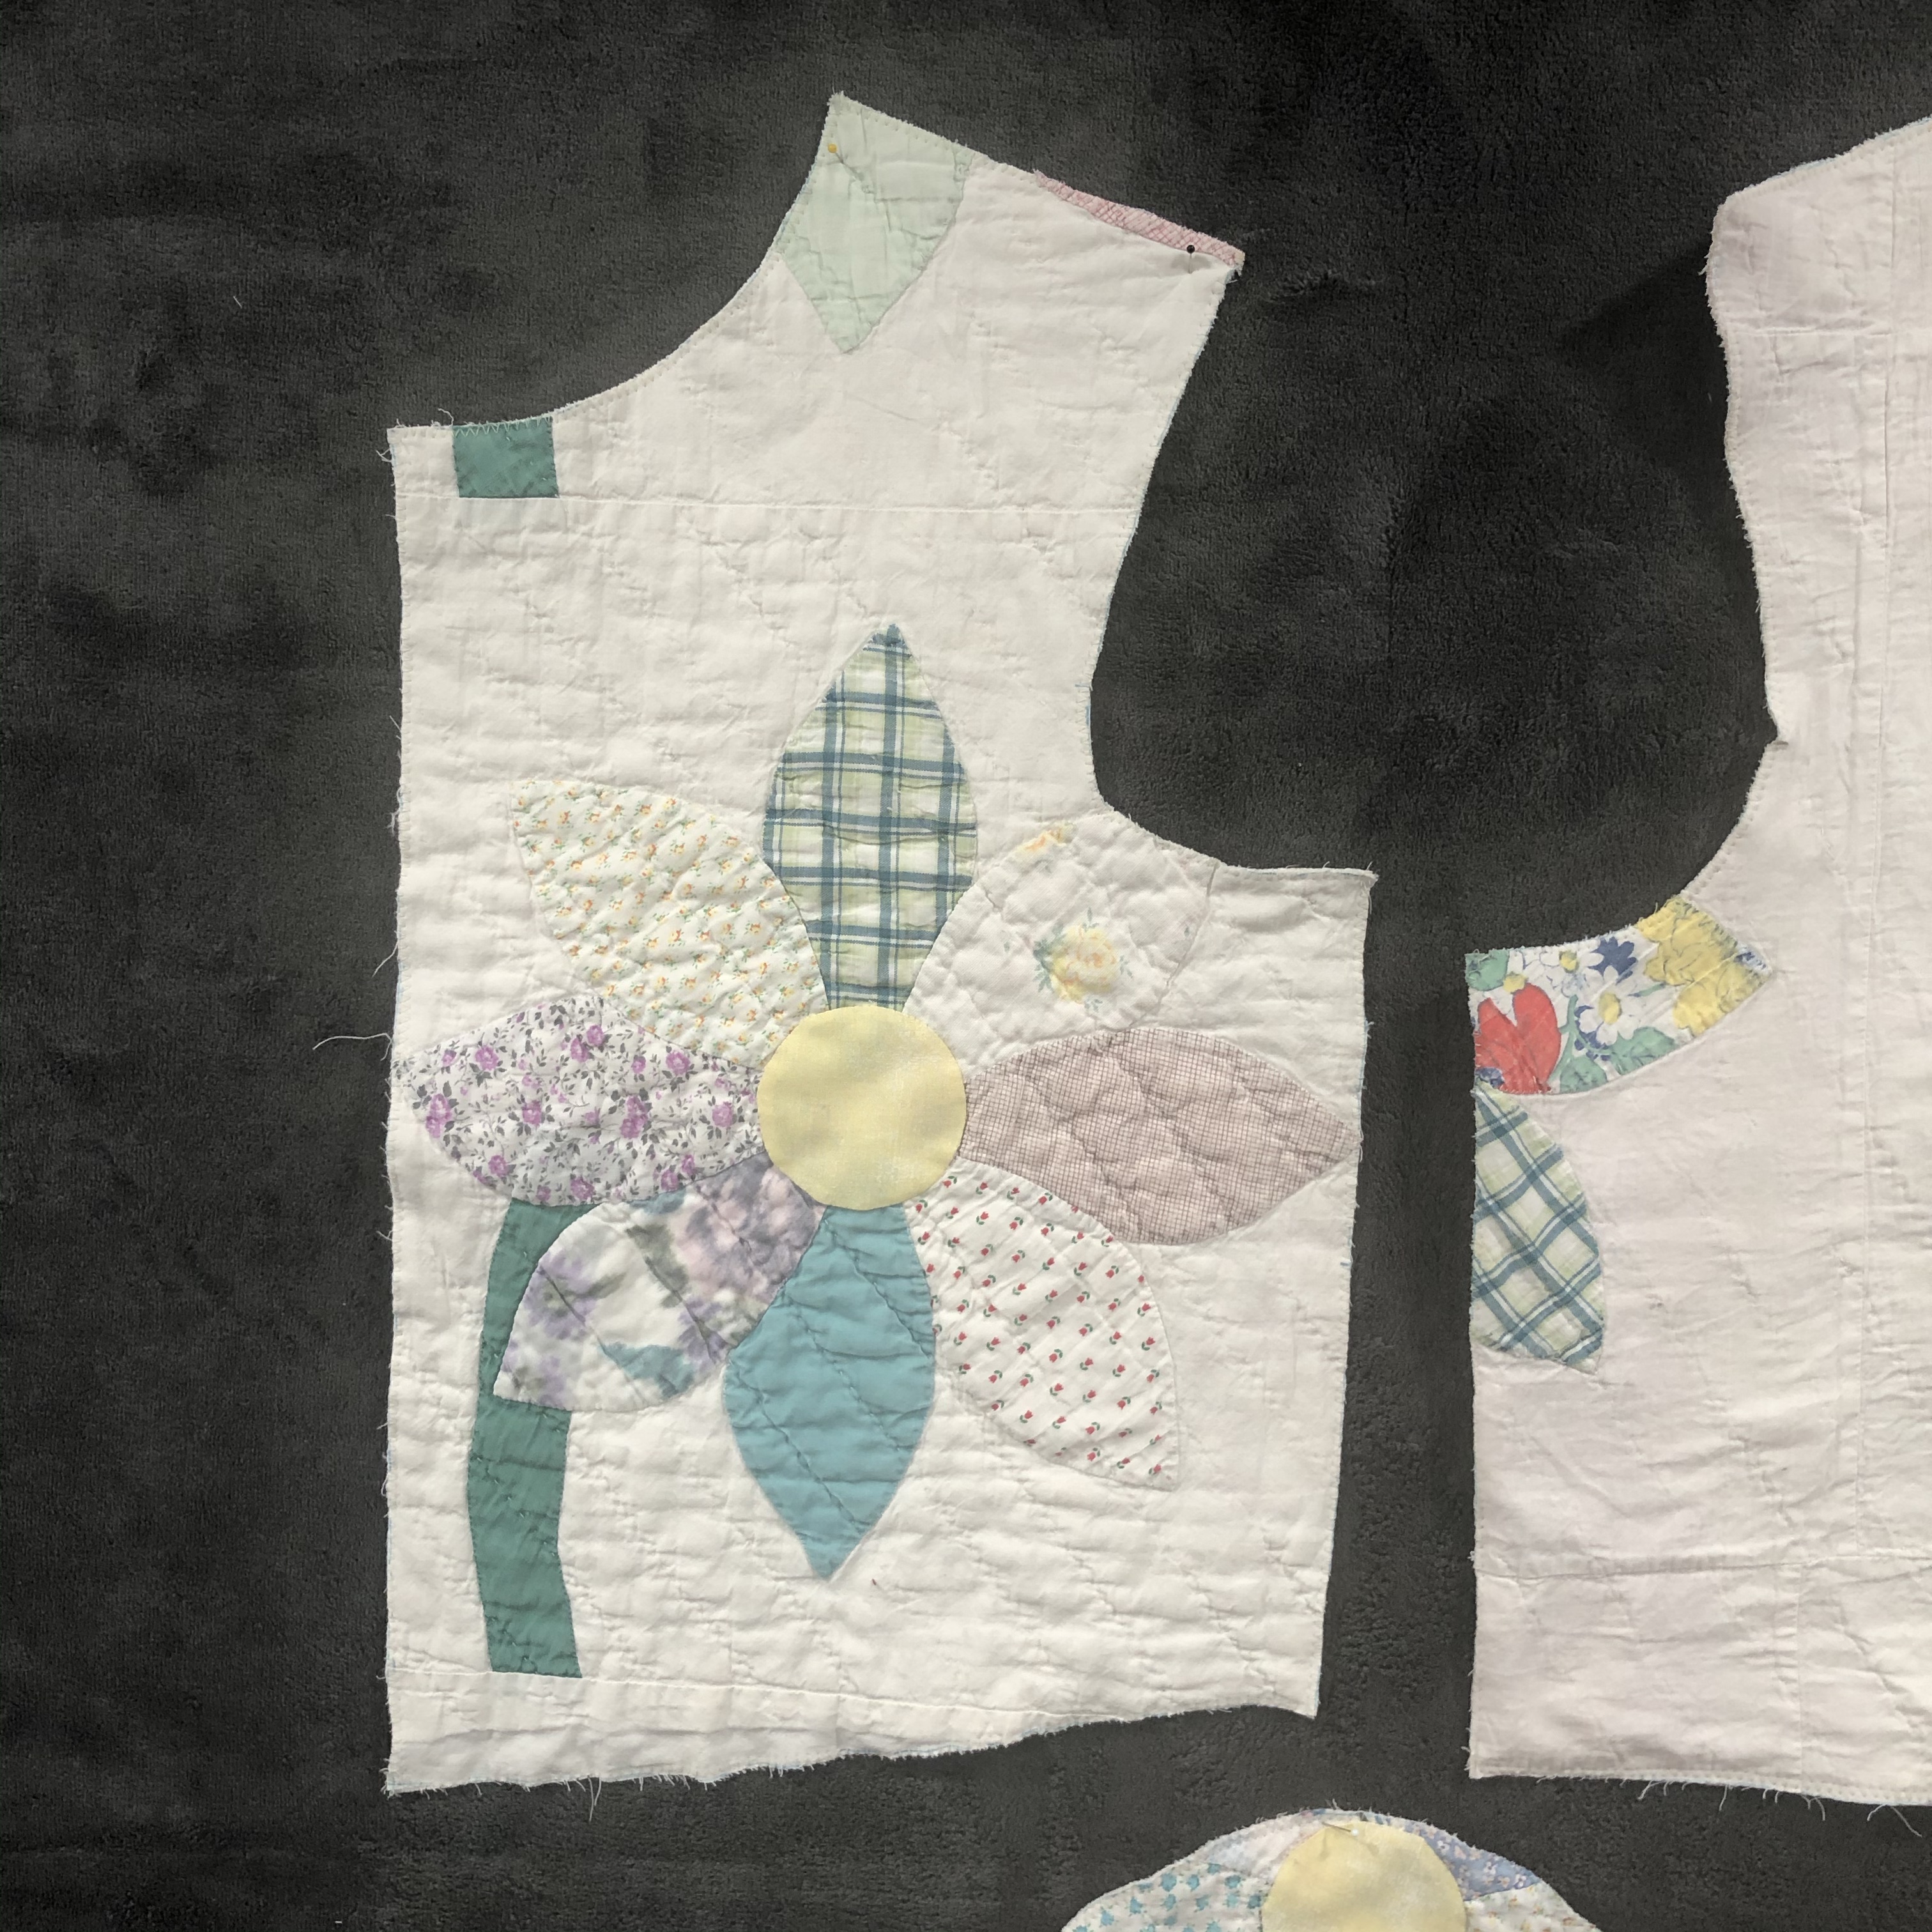
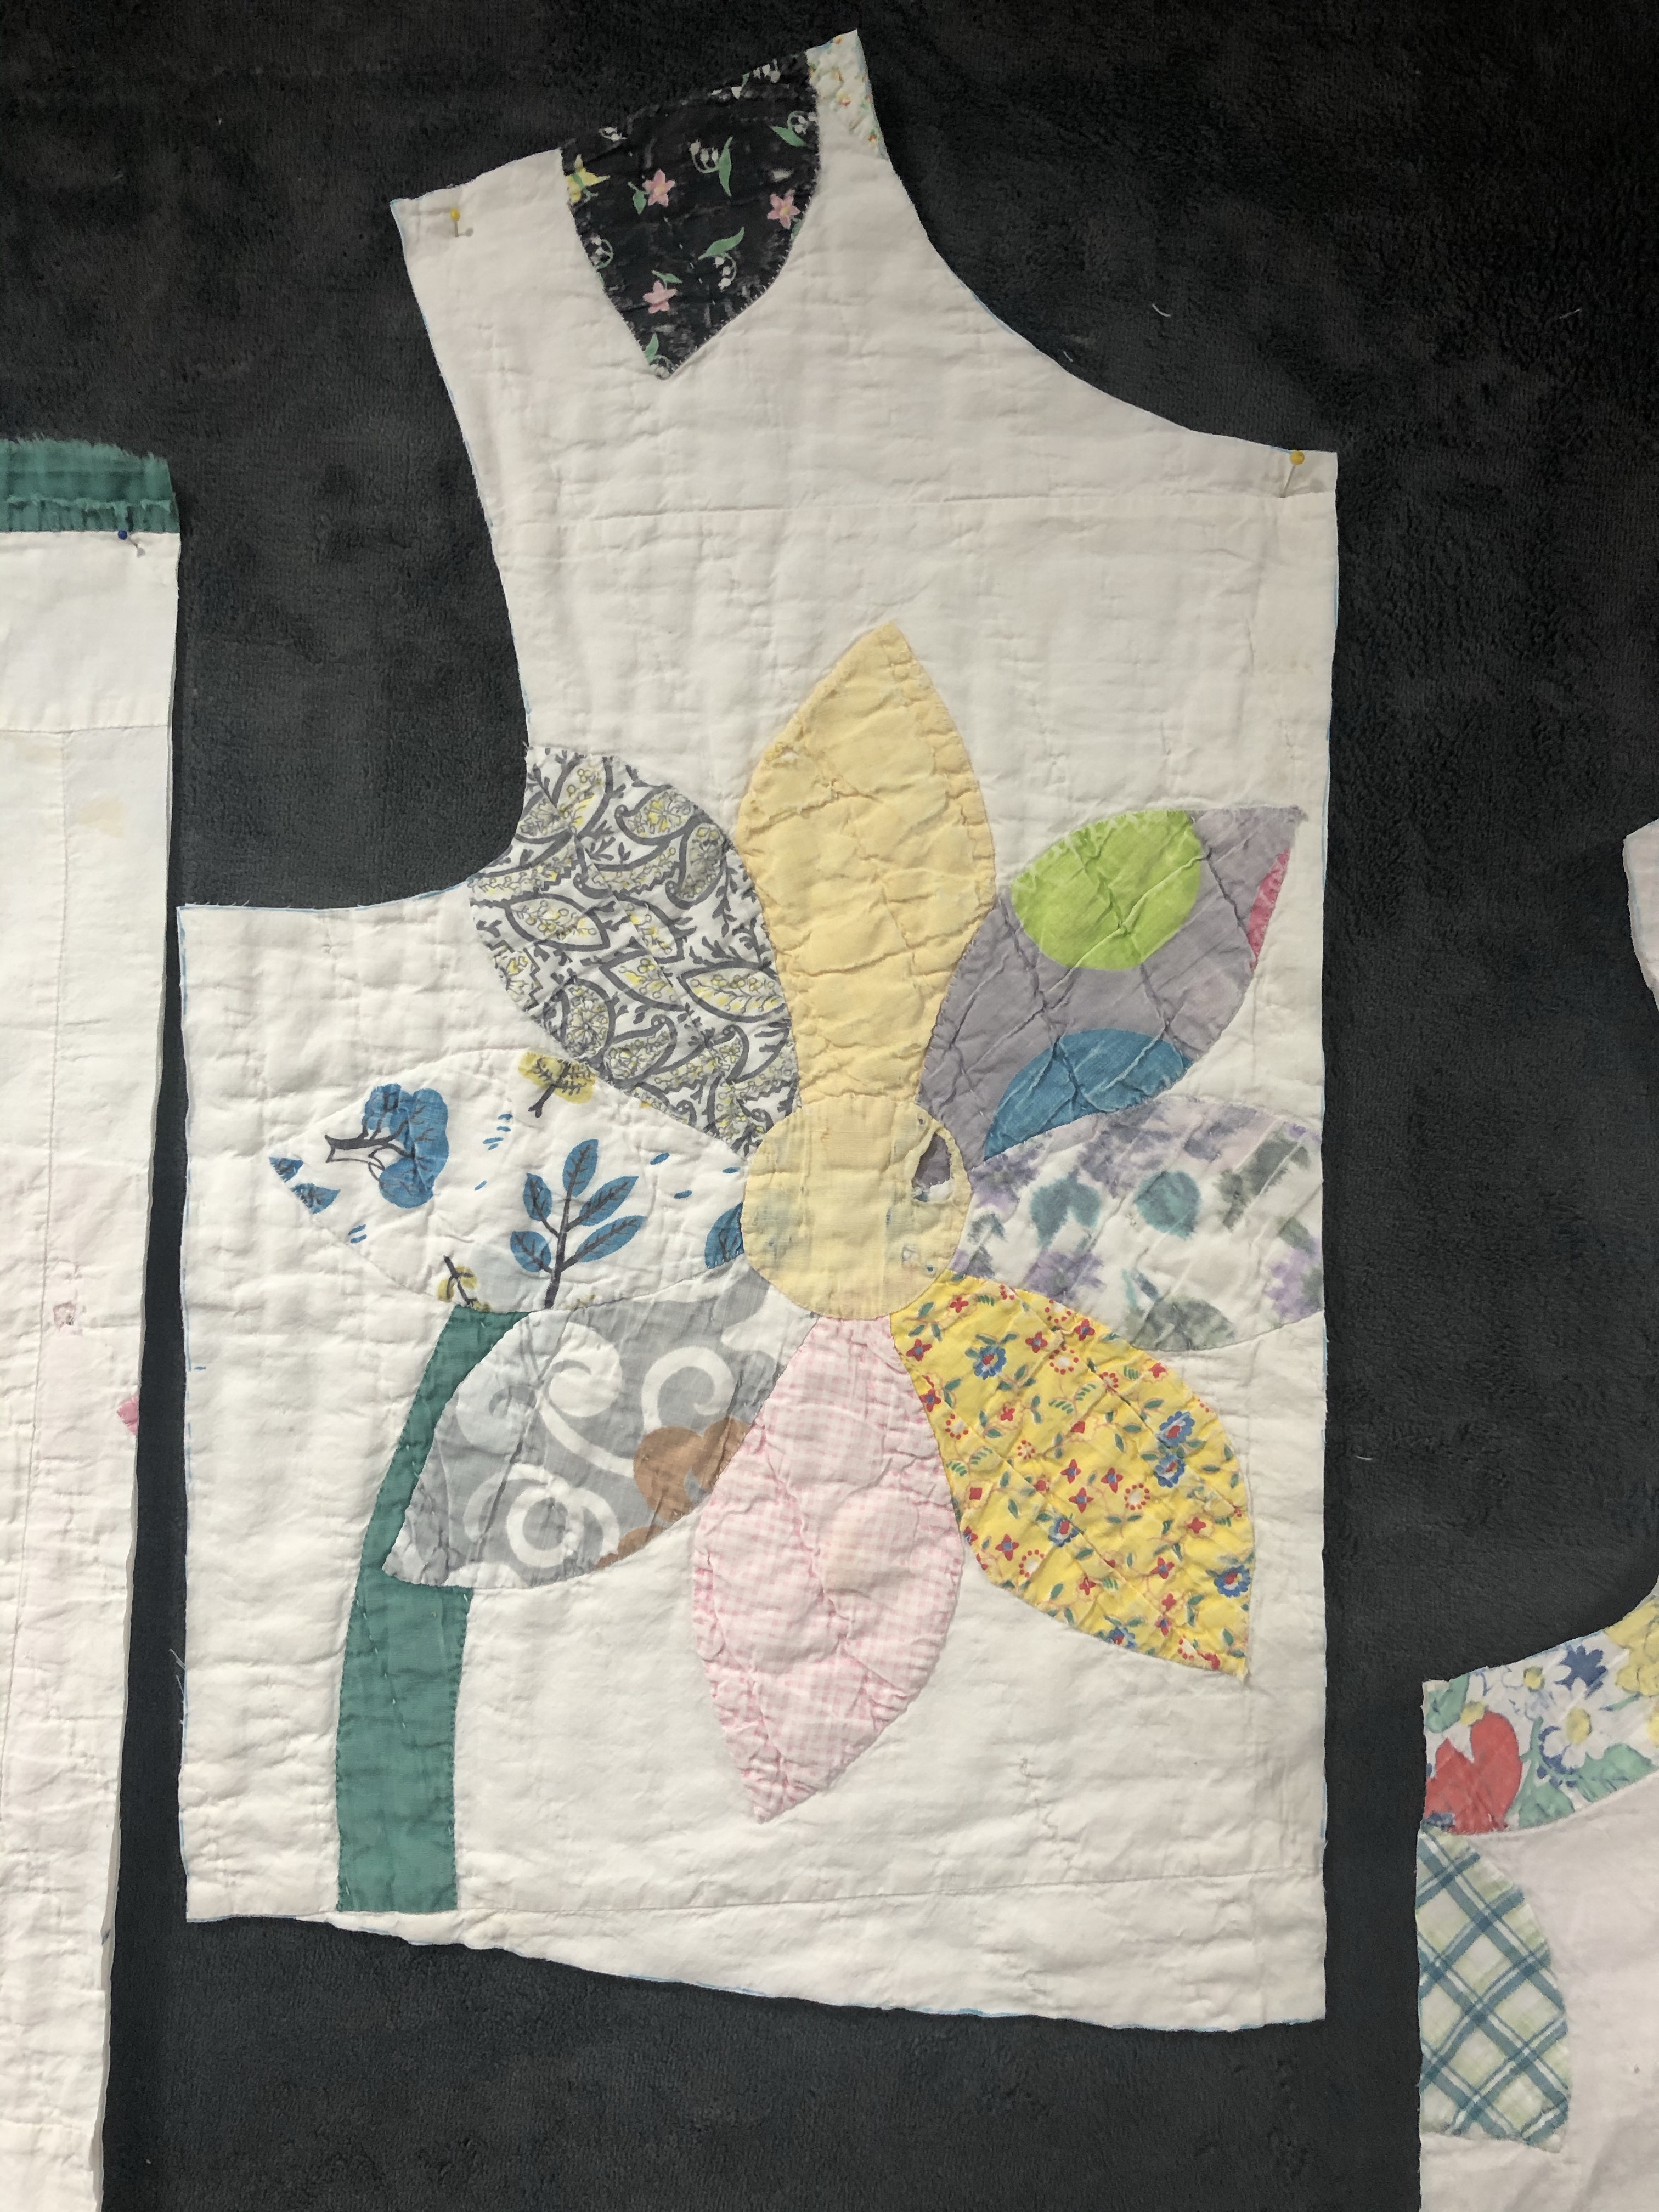
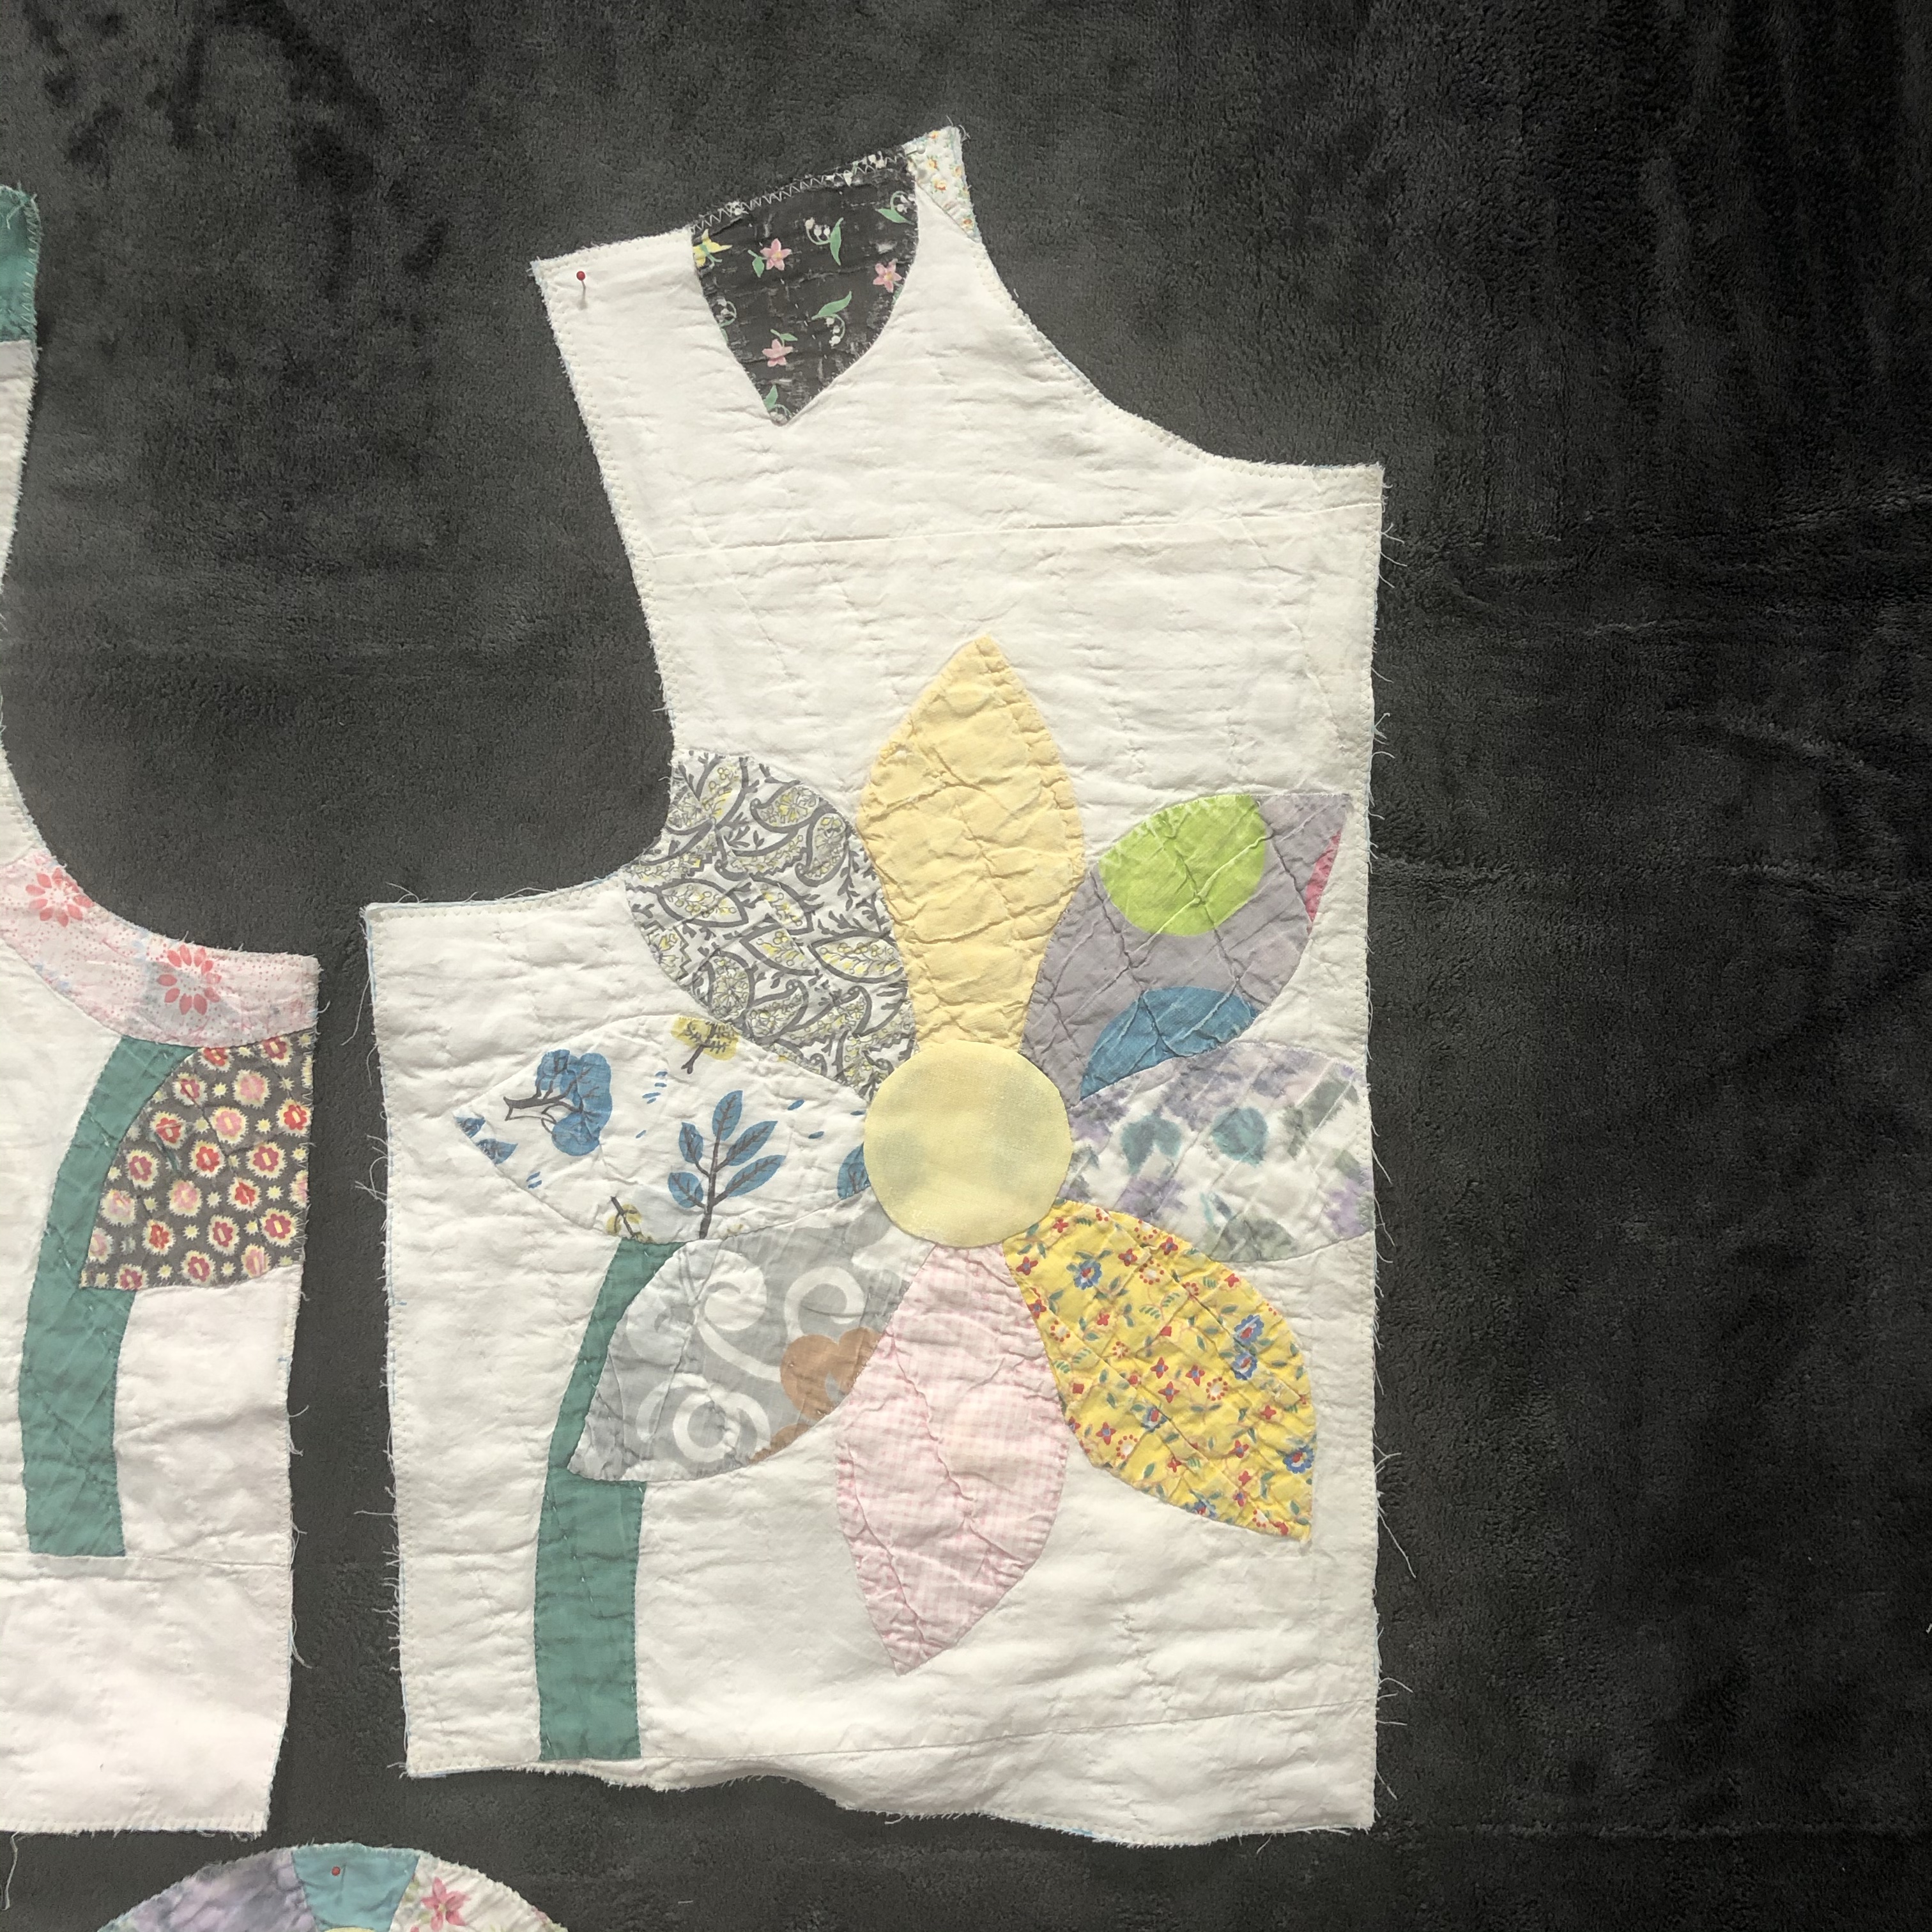
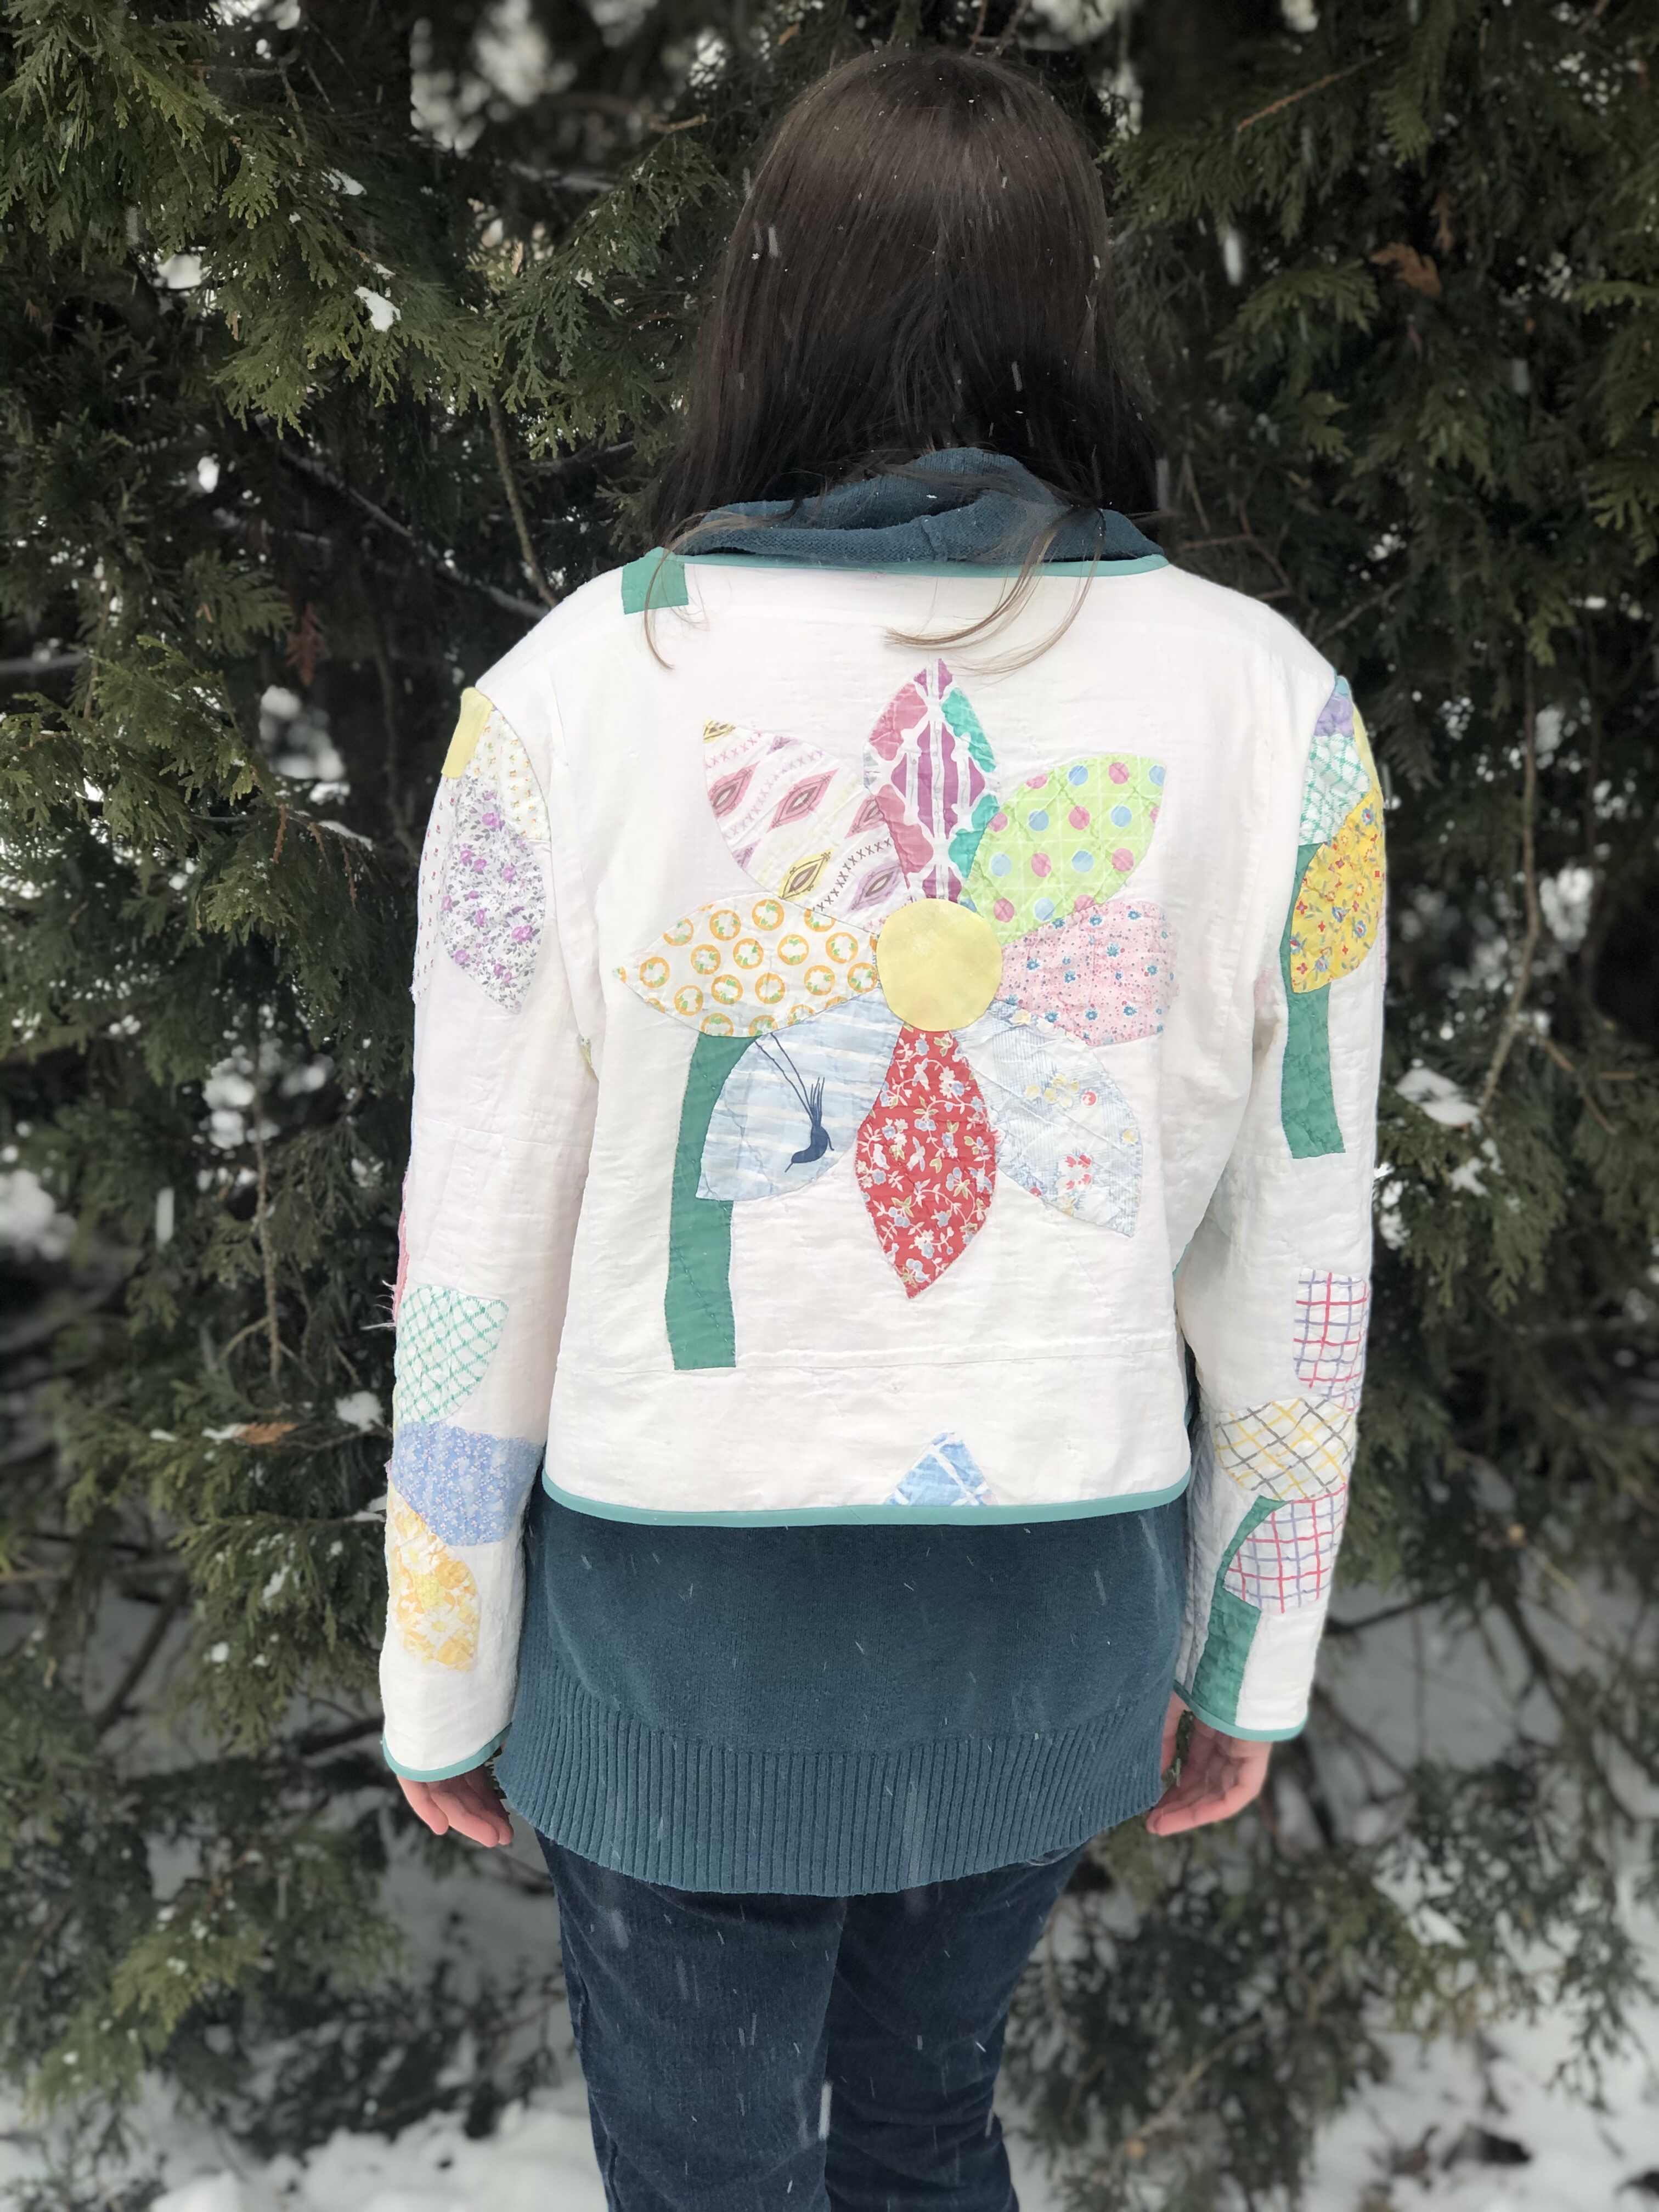
We chose a short jacket as we weren’t sure just how much of the quilt we could use. The Lilliana pattern from Seamwork is a cute jacket and perfect for both the small amount of quilt I could work with and my daughter’s figure. I laid out the pattern first, centering my daughter’s favorite flower on the back piece and making sure there were flowers on all the other pieces. There were just enough flowers!!!
Taking that first cut into the quilt was terrifying!! It soon became so exciting as I hung each piece on my design wall.
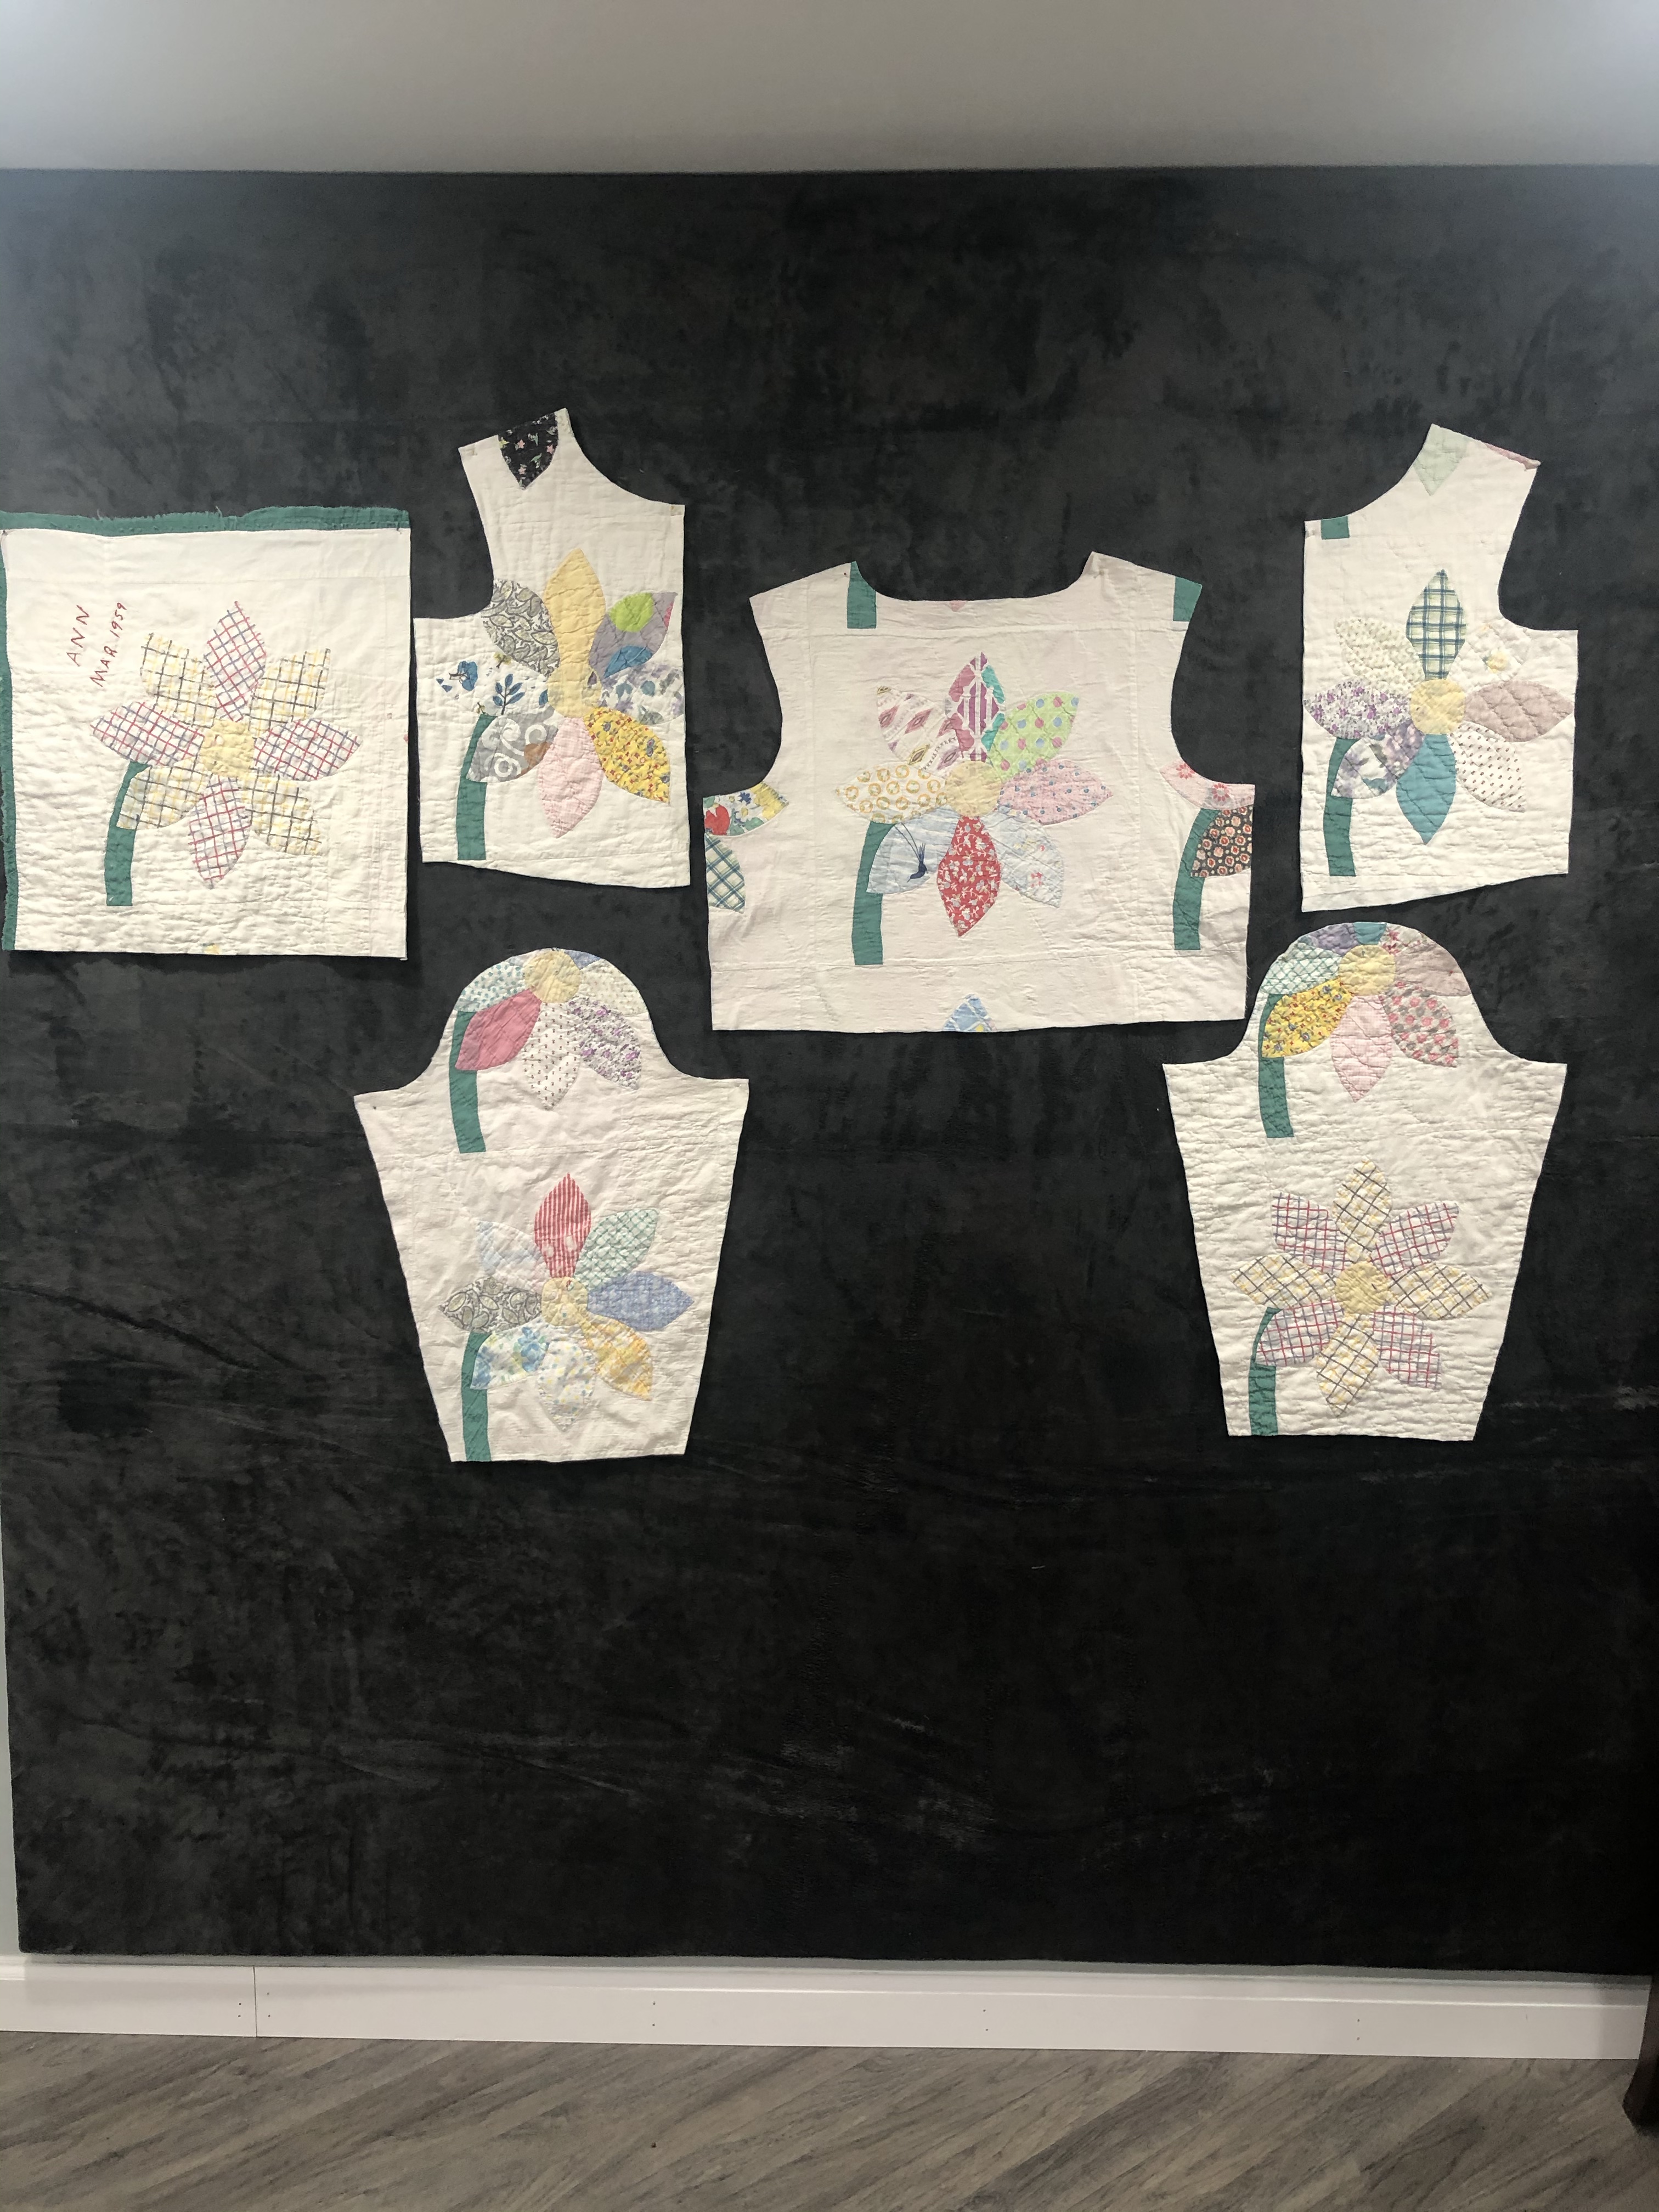
I was even able to cut and save the corner flower were the quilter had embroidered my Mother-in-law’s name and the year it was made.
I began replacing all the yellow centers. Wow, what a difference such a small change made!
Sewing the jacket together was extremely easy. After all there are only 5 pieces to it. I made a ton of bias binding using the Sage green Kona and used it to finish all the raw edge seams inside the jacket. I pressed all the seams open and finished them separately before hand stitching them to the inside lining (formerly known as the quilt back). The shoulder seams were trimmed and finished together. I did not hand stitch those down to the lining.
After that it was just a bit of binding on the outer edges of the jacket.. I machine stitched it 1/4″ from the raw edge and then flipped it to the back and hand stitched it down. Just like a real quilt edge.
It was ready for her on her 18th birthday!!!
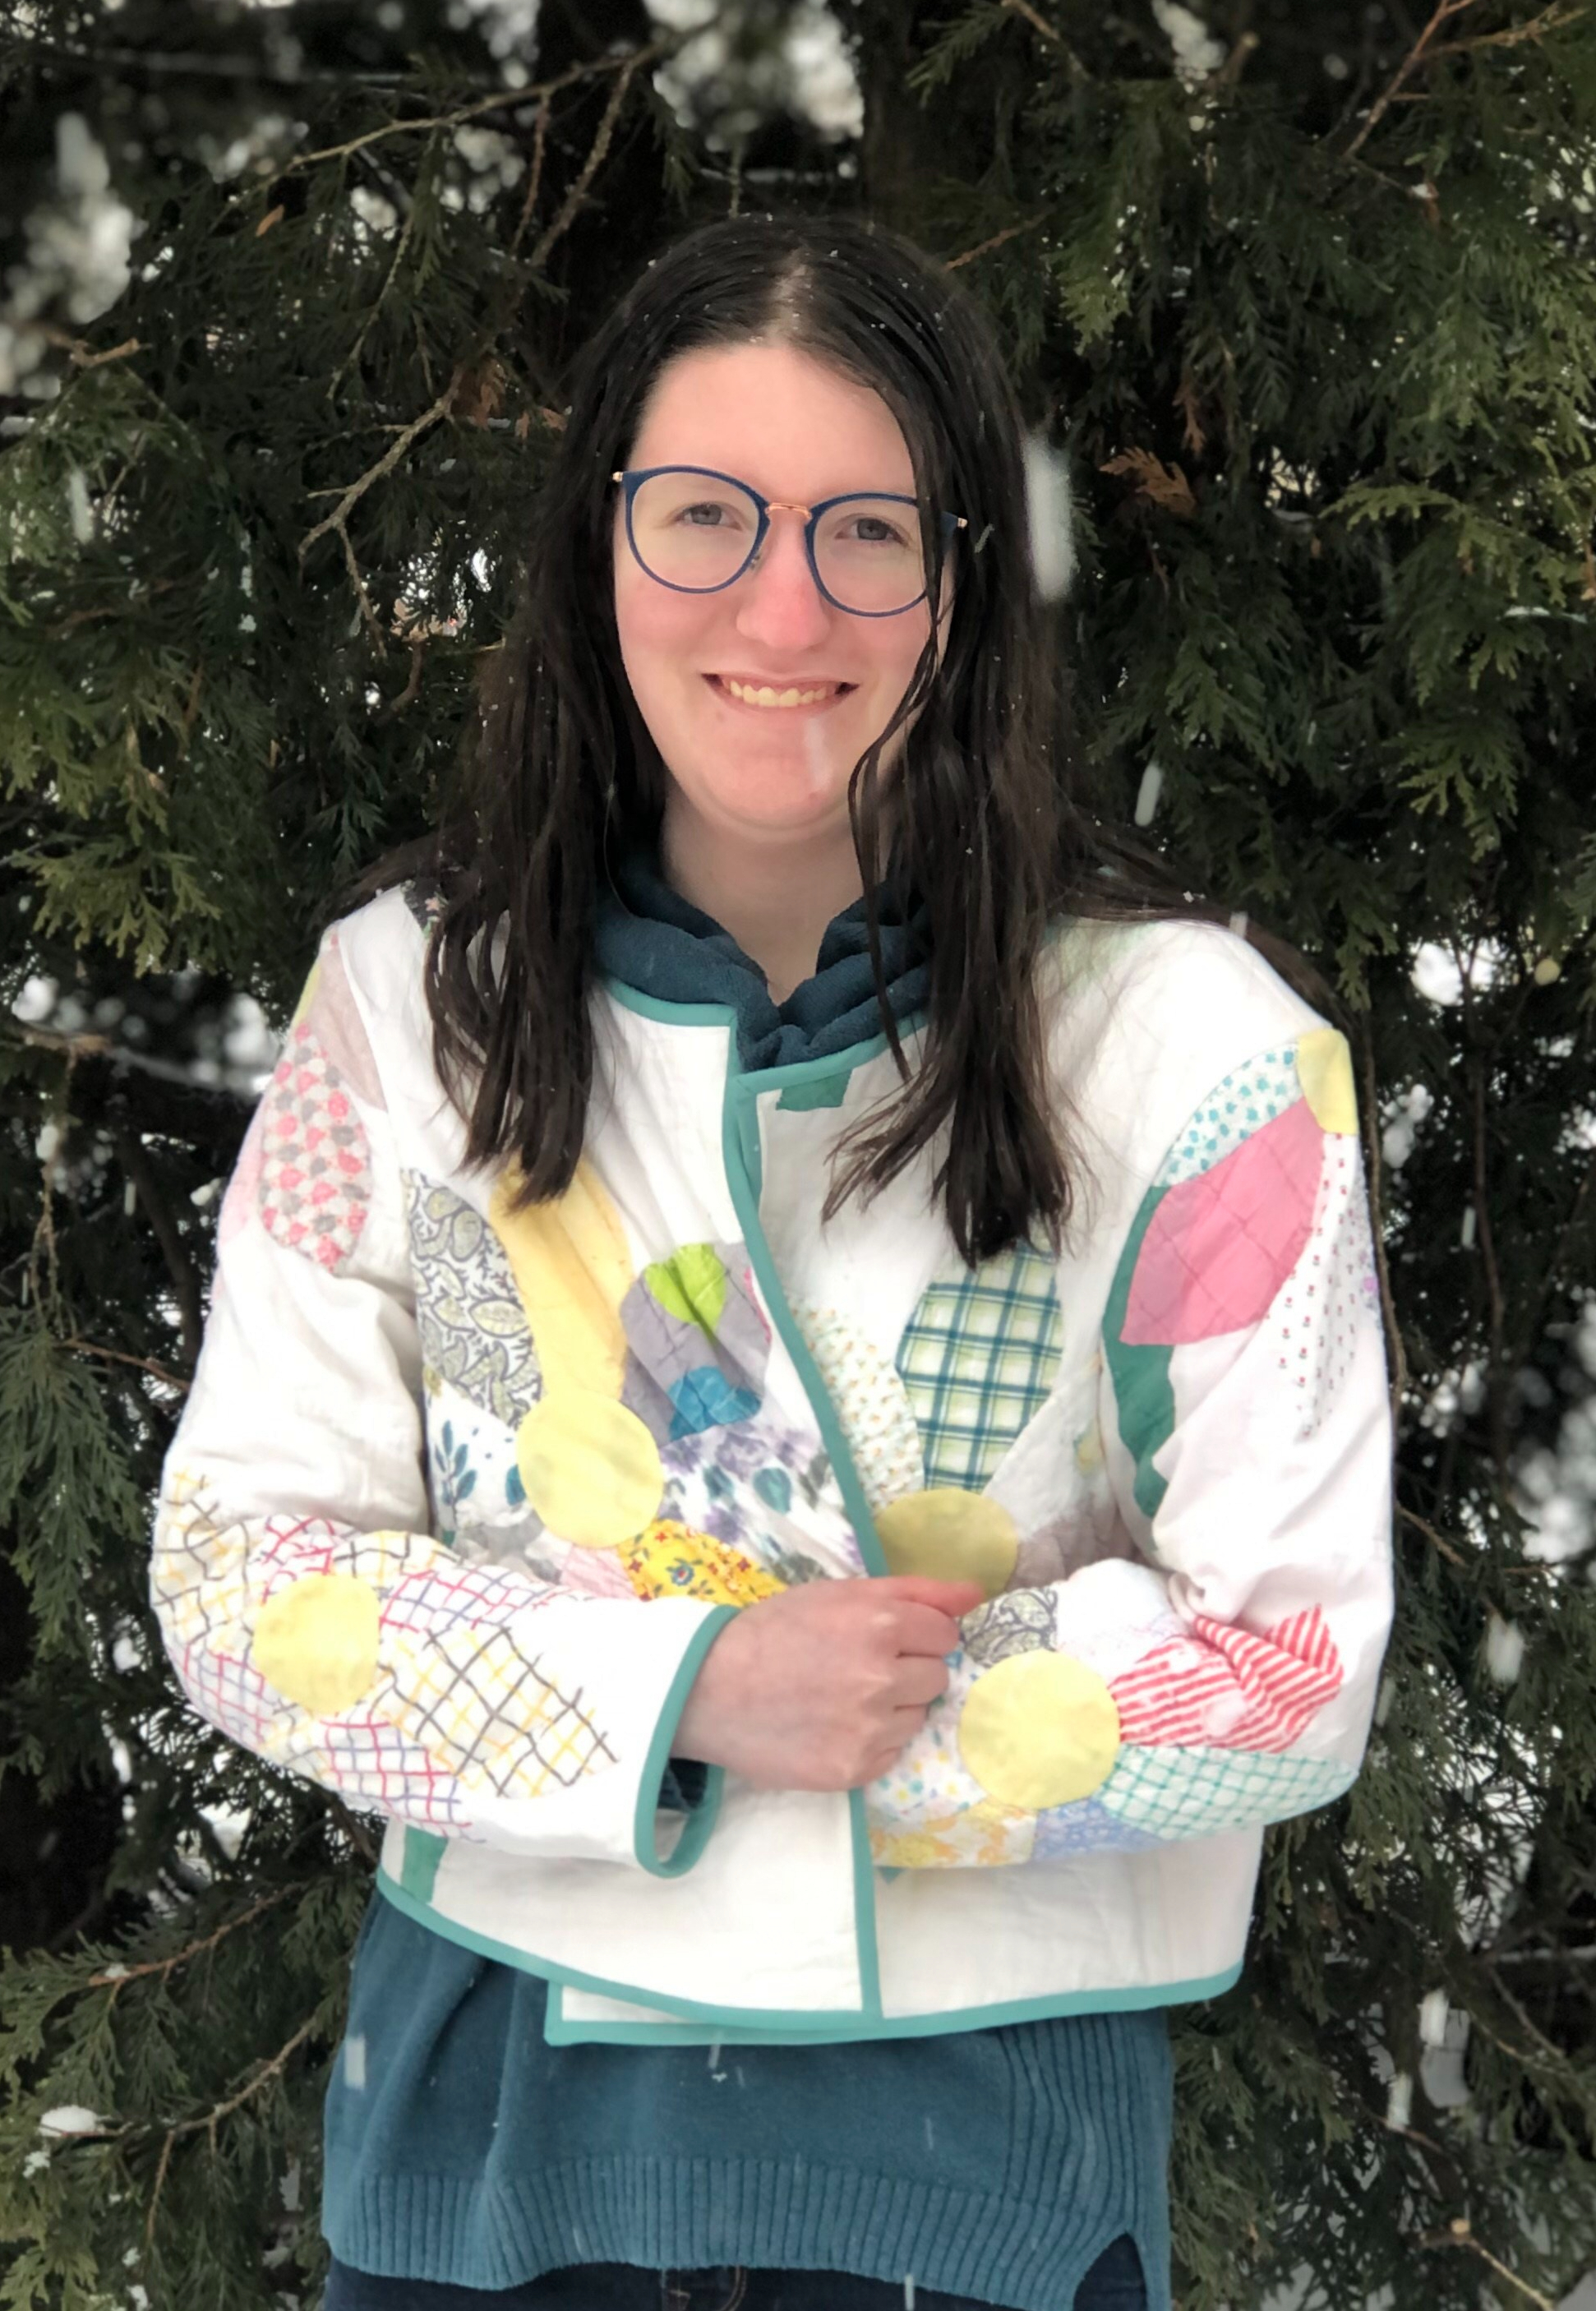
The very first thing I did after our photo shoot was text all the images and tell my Mother-in-Law what I had done. I am happy to say that she is quite pleased that the quilt lives on and is still keeping someone warm.
Honestly, so am I.
Lovingly, Lissa