Uncategorized

52 Quilters, so much EMOJI

Last week I was the guest on the 52 Quilters Blog and Instagram.  I spent the week telling almost TEN THOUSAND followers about myself and hosting an emoji tutorial.

I’m glad I didn’t think about the number of followers before the week started, I might not have had made it through!

I created a 14″ square pillow with an emoji face on it using machine applique as I did for my emoji quilt this past winter.  img_20171202_121527.jpg

Isn’t it the cutest ever??!!

I experimented with some batting, using wool and another layer of scrap batting I had to get a real poof in the quilting.  The kids and I were very tickled about the poof and spent a little bit of time poking at the quilted circles and yelling “POOF!”

I’m putting the tutorial on the pillow up on the patterns page RIGHT NOW.  It also has instructions on how to make the EMOJI QUILT!

If you create a pillow or quilt, be sure to post on instagram with the hashtag #emojiquilt and tag me @lovinglylissa I can’t wait to see what you make.

Lovingly,

Lissa


Uncategorized

Quilting along with the Fat Quarter Shop

I was recently invited to participate in a quilt along with the Fat Quarter Shop  I couldn’t be more excited!  Let me share it all with you!!!

The pattern is the Jolly Bar Jazz Quilt.  It is 12 large quilt blocks, sashing, and borders.  Easy and beautiful.  The best part is the use of the jolly bar precuts.  I’m starting to really love using precuts, they truly simplify cutting.  When you are me and just want to sew, this is a huge pro!

I decided I wanted to make a seasonal quilt.  Believe it or not, I have no seasonal quilts in my home.  I’ve never made one!!  So I chose the Juniper Berry by Basic Grey for Moda fabrics.  I love the traditional and not so traditional colors all mixed in.  For the sashing I used Vanilla Grunge and the binding is Cherry Grunge.  I’ve been admiring the Grunge line for a while now and was thrilled to get to use it.  And let me tell you the Cherry Grunge can only be described as luscious.

IMG_20170828_111321.jpg

The pattern is very straight forward.  You can quickly chain piece all the smaller parts of the blocks together and then move on to each large star block.

IMG_20170829_105658.jpg

For me the next part is the best.  I was told my quilts need “more quilting”  So here you go!!  I free motioned what I call my “Snowmen in a Blizzard” pattern.  There are snowballs everywhere and every now and then a snowman on the quilt.

19  20

What I love best (other than the cute snowmen) is that the quilt already looks all crinkly and I haven’t even washed it yet!

22.jpg

Now for some glamour shots of the finished quilt.  Lucas was thrilled to be a model for me.


If you head to the Fat Quarter shop Blog you can see the quilt finished in an array of fabric choices.  I always love to see how one pattern can be interpreted.  What will your interpretation be?

Lovingly,

Lissa

Uncategorized

Piece and Quilt with Precuts

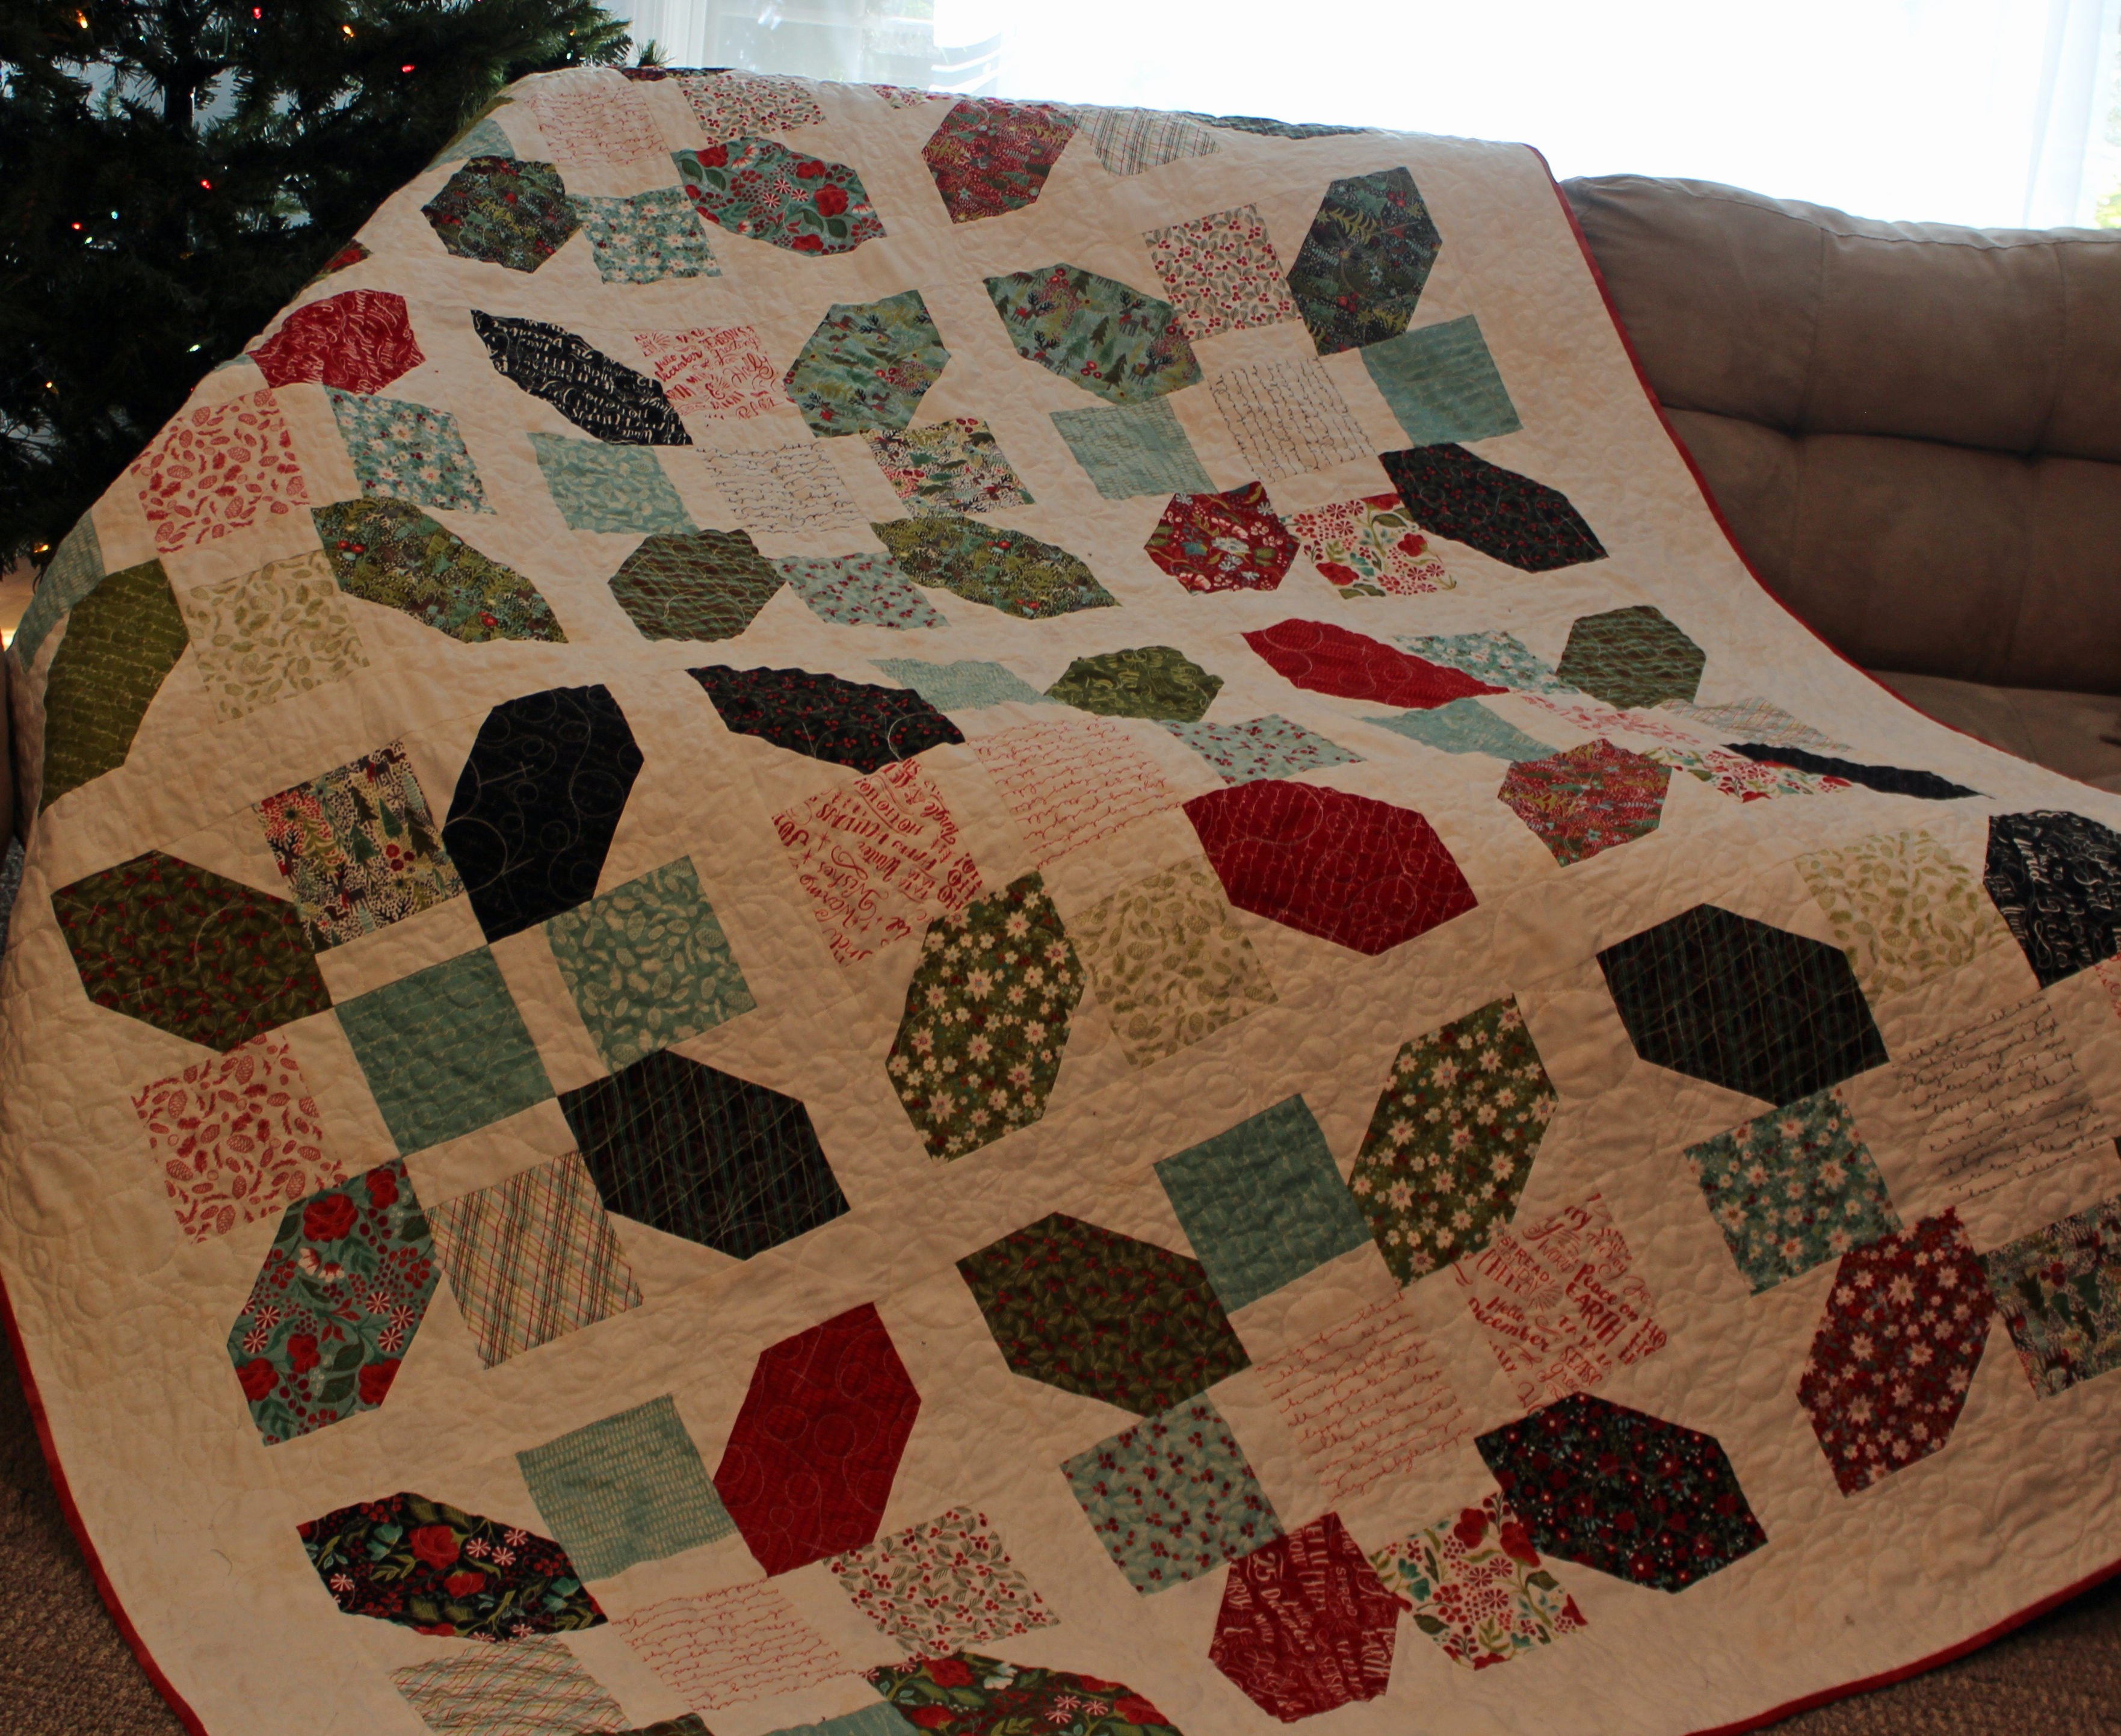
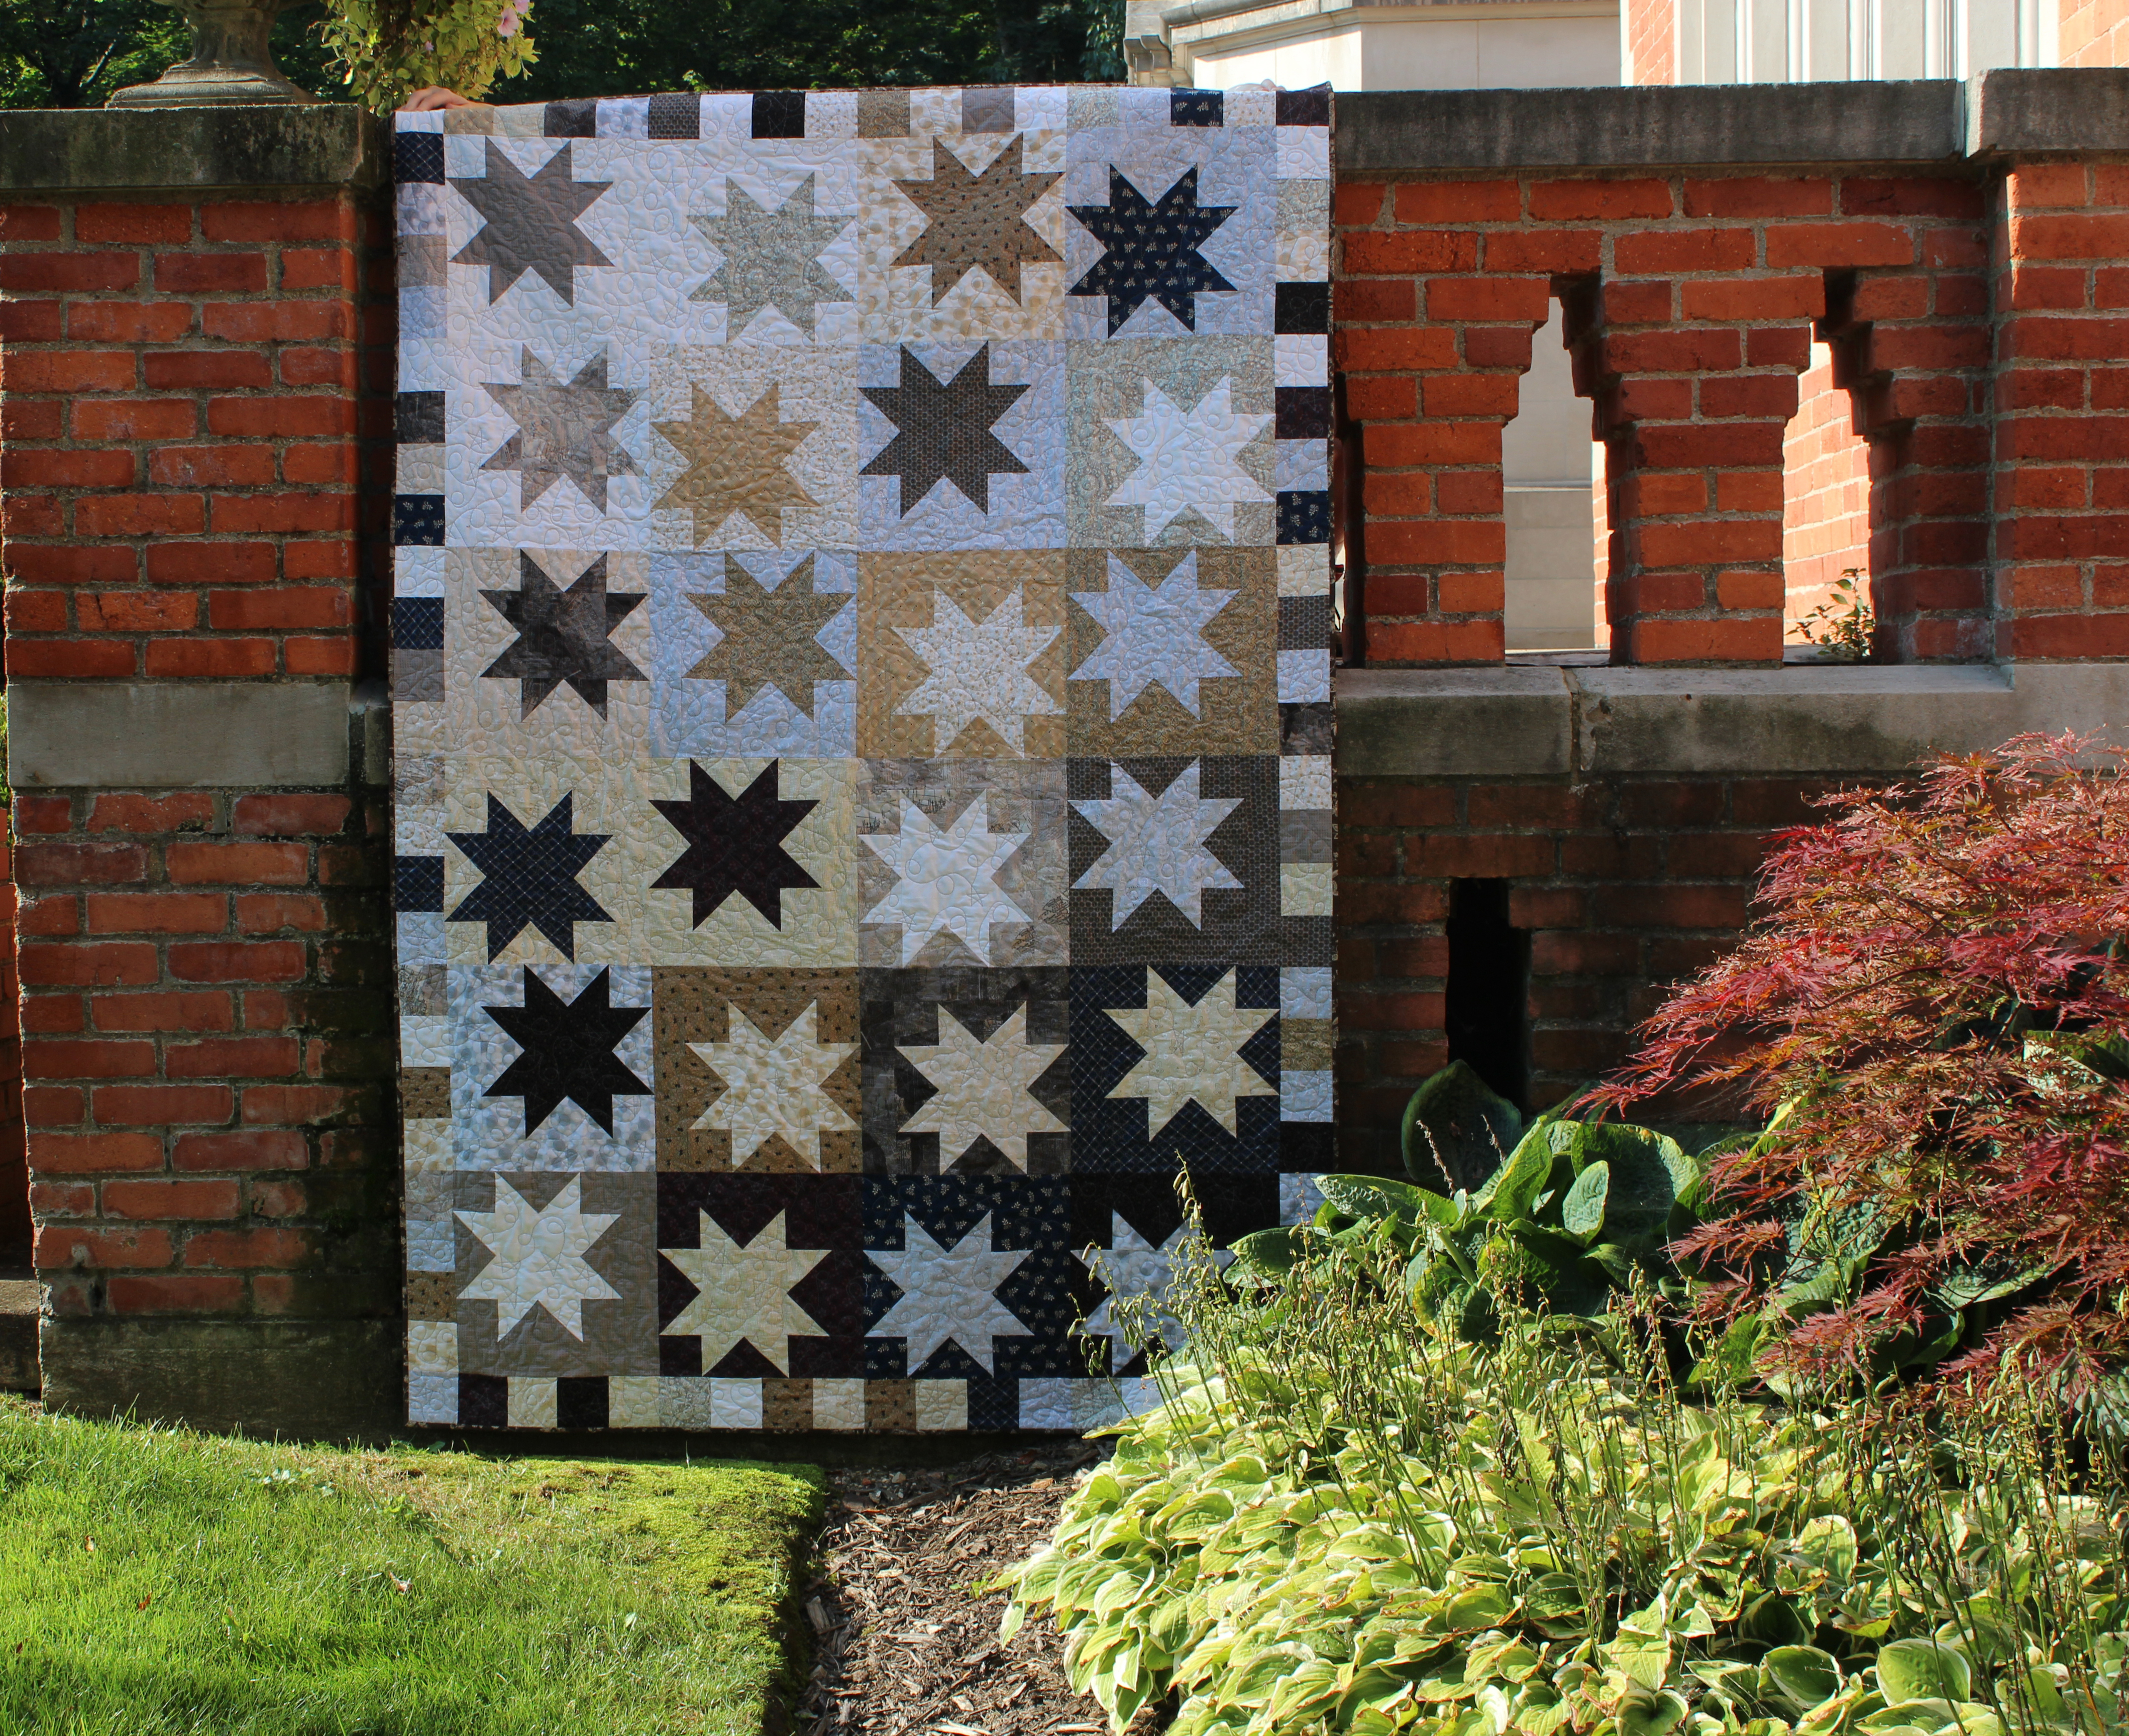
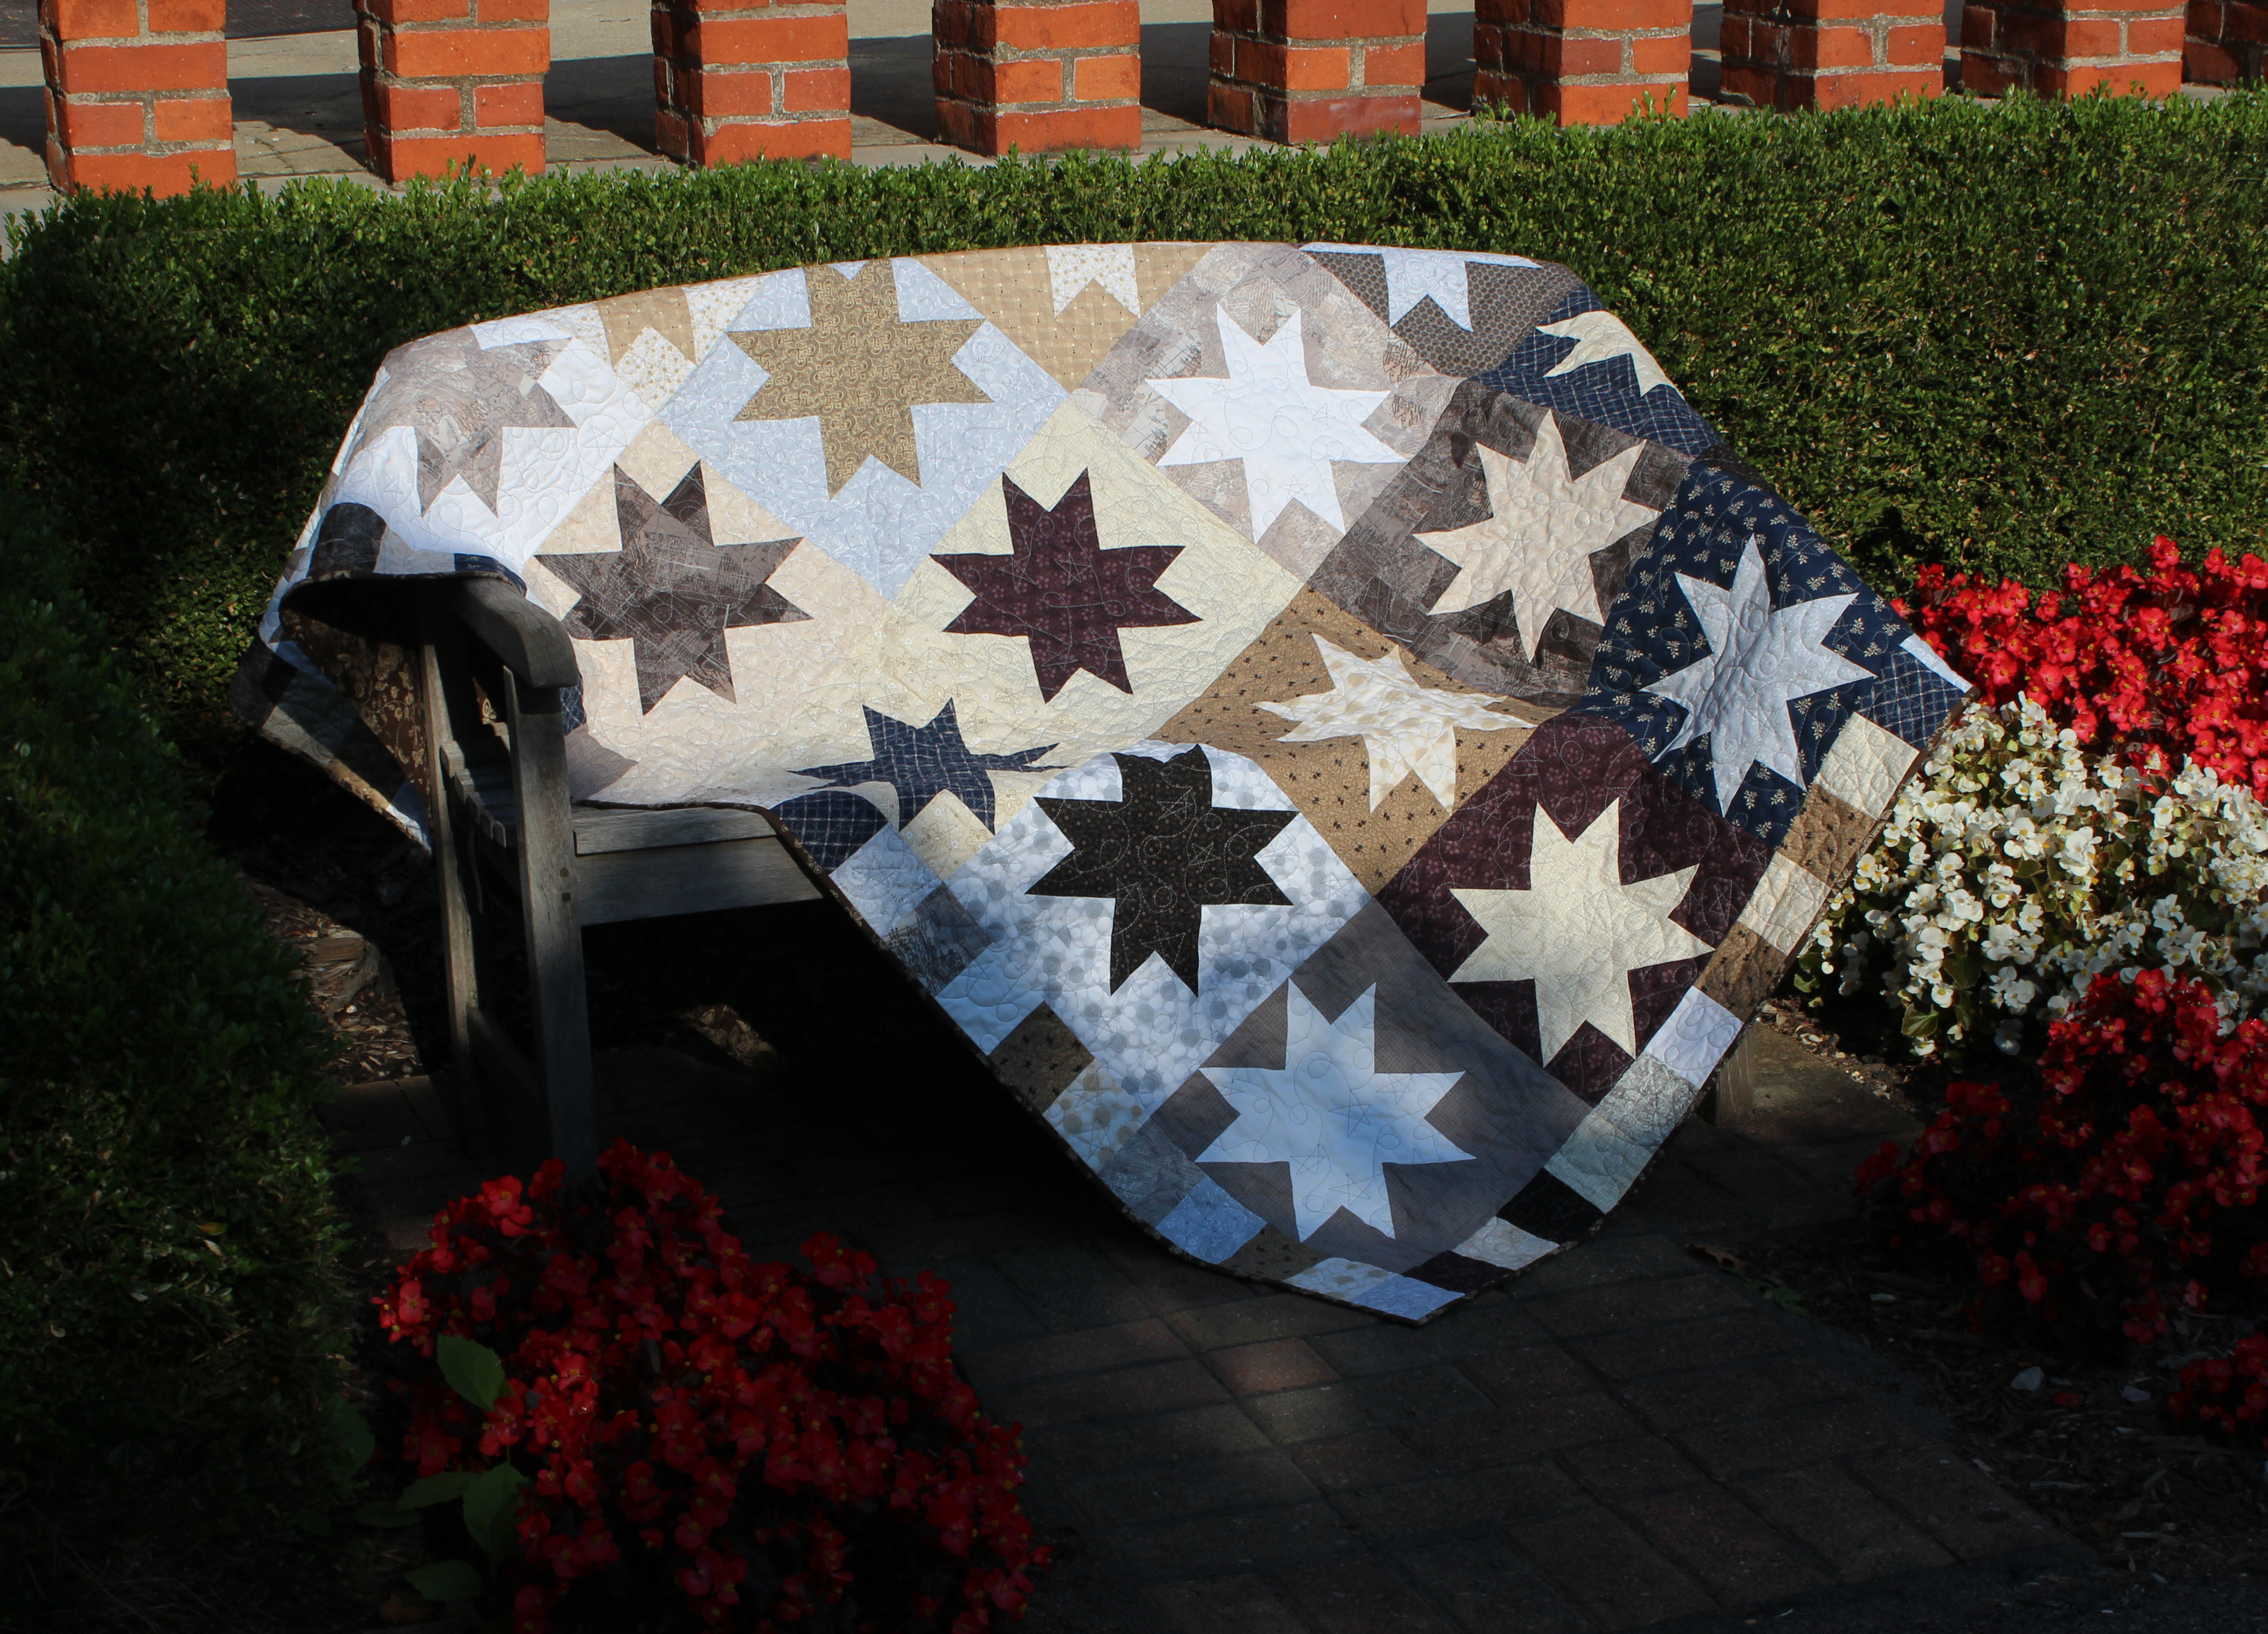
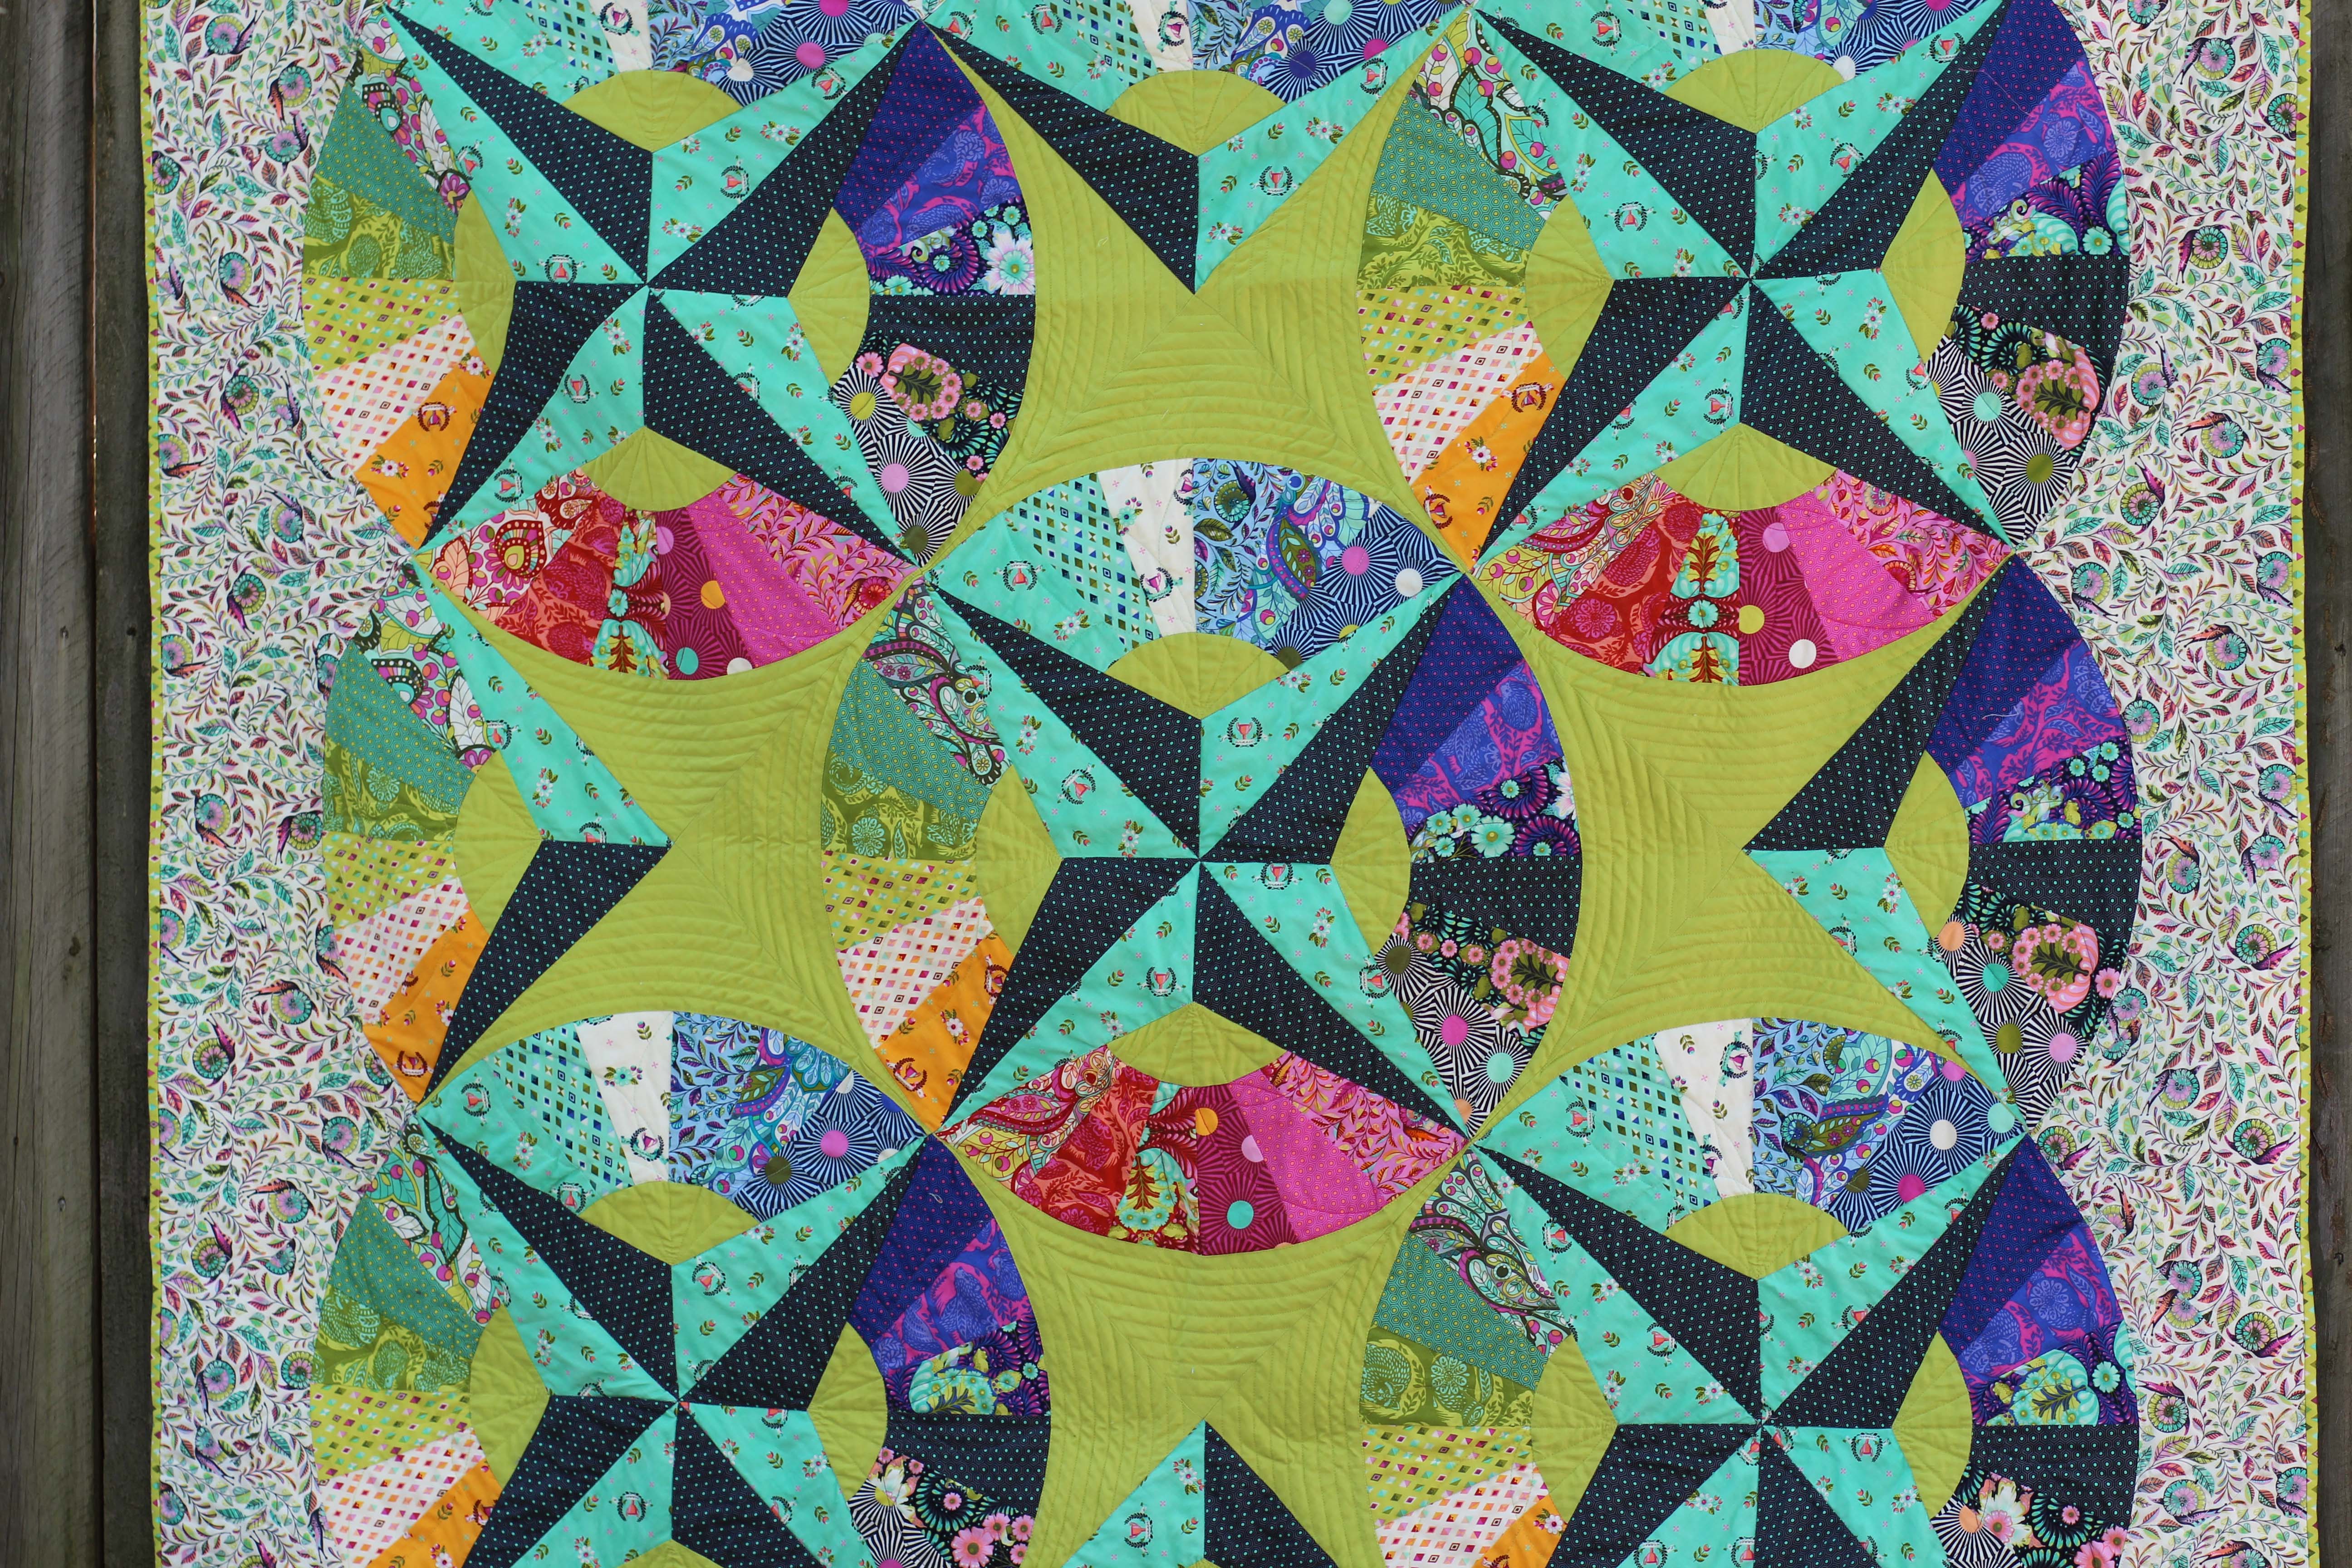
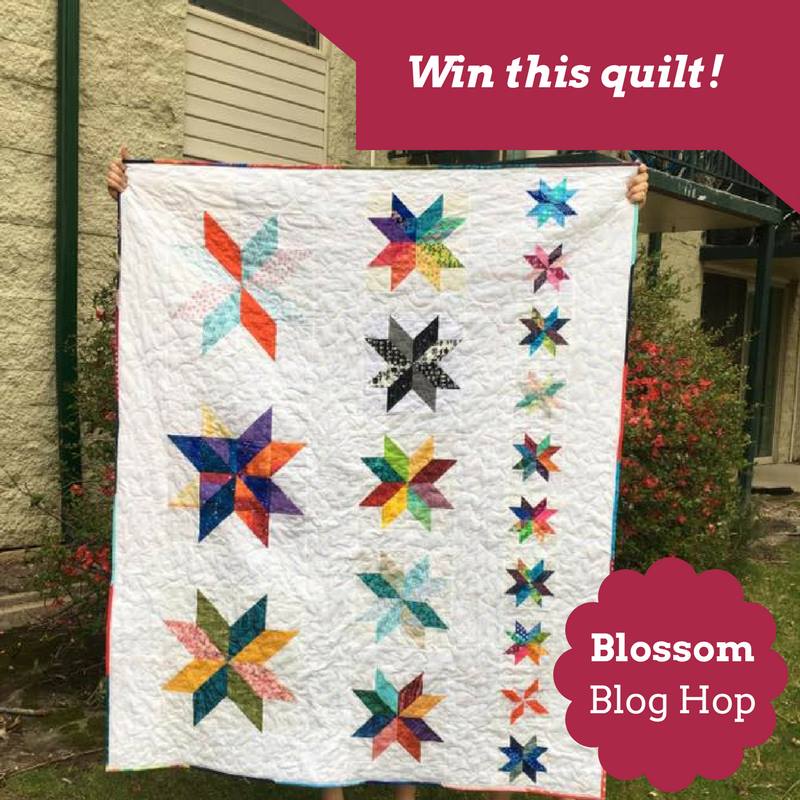
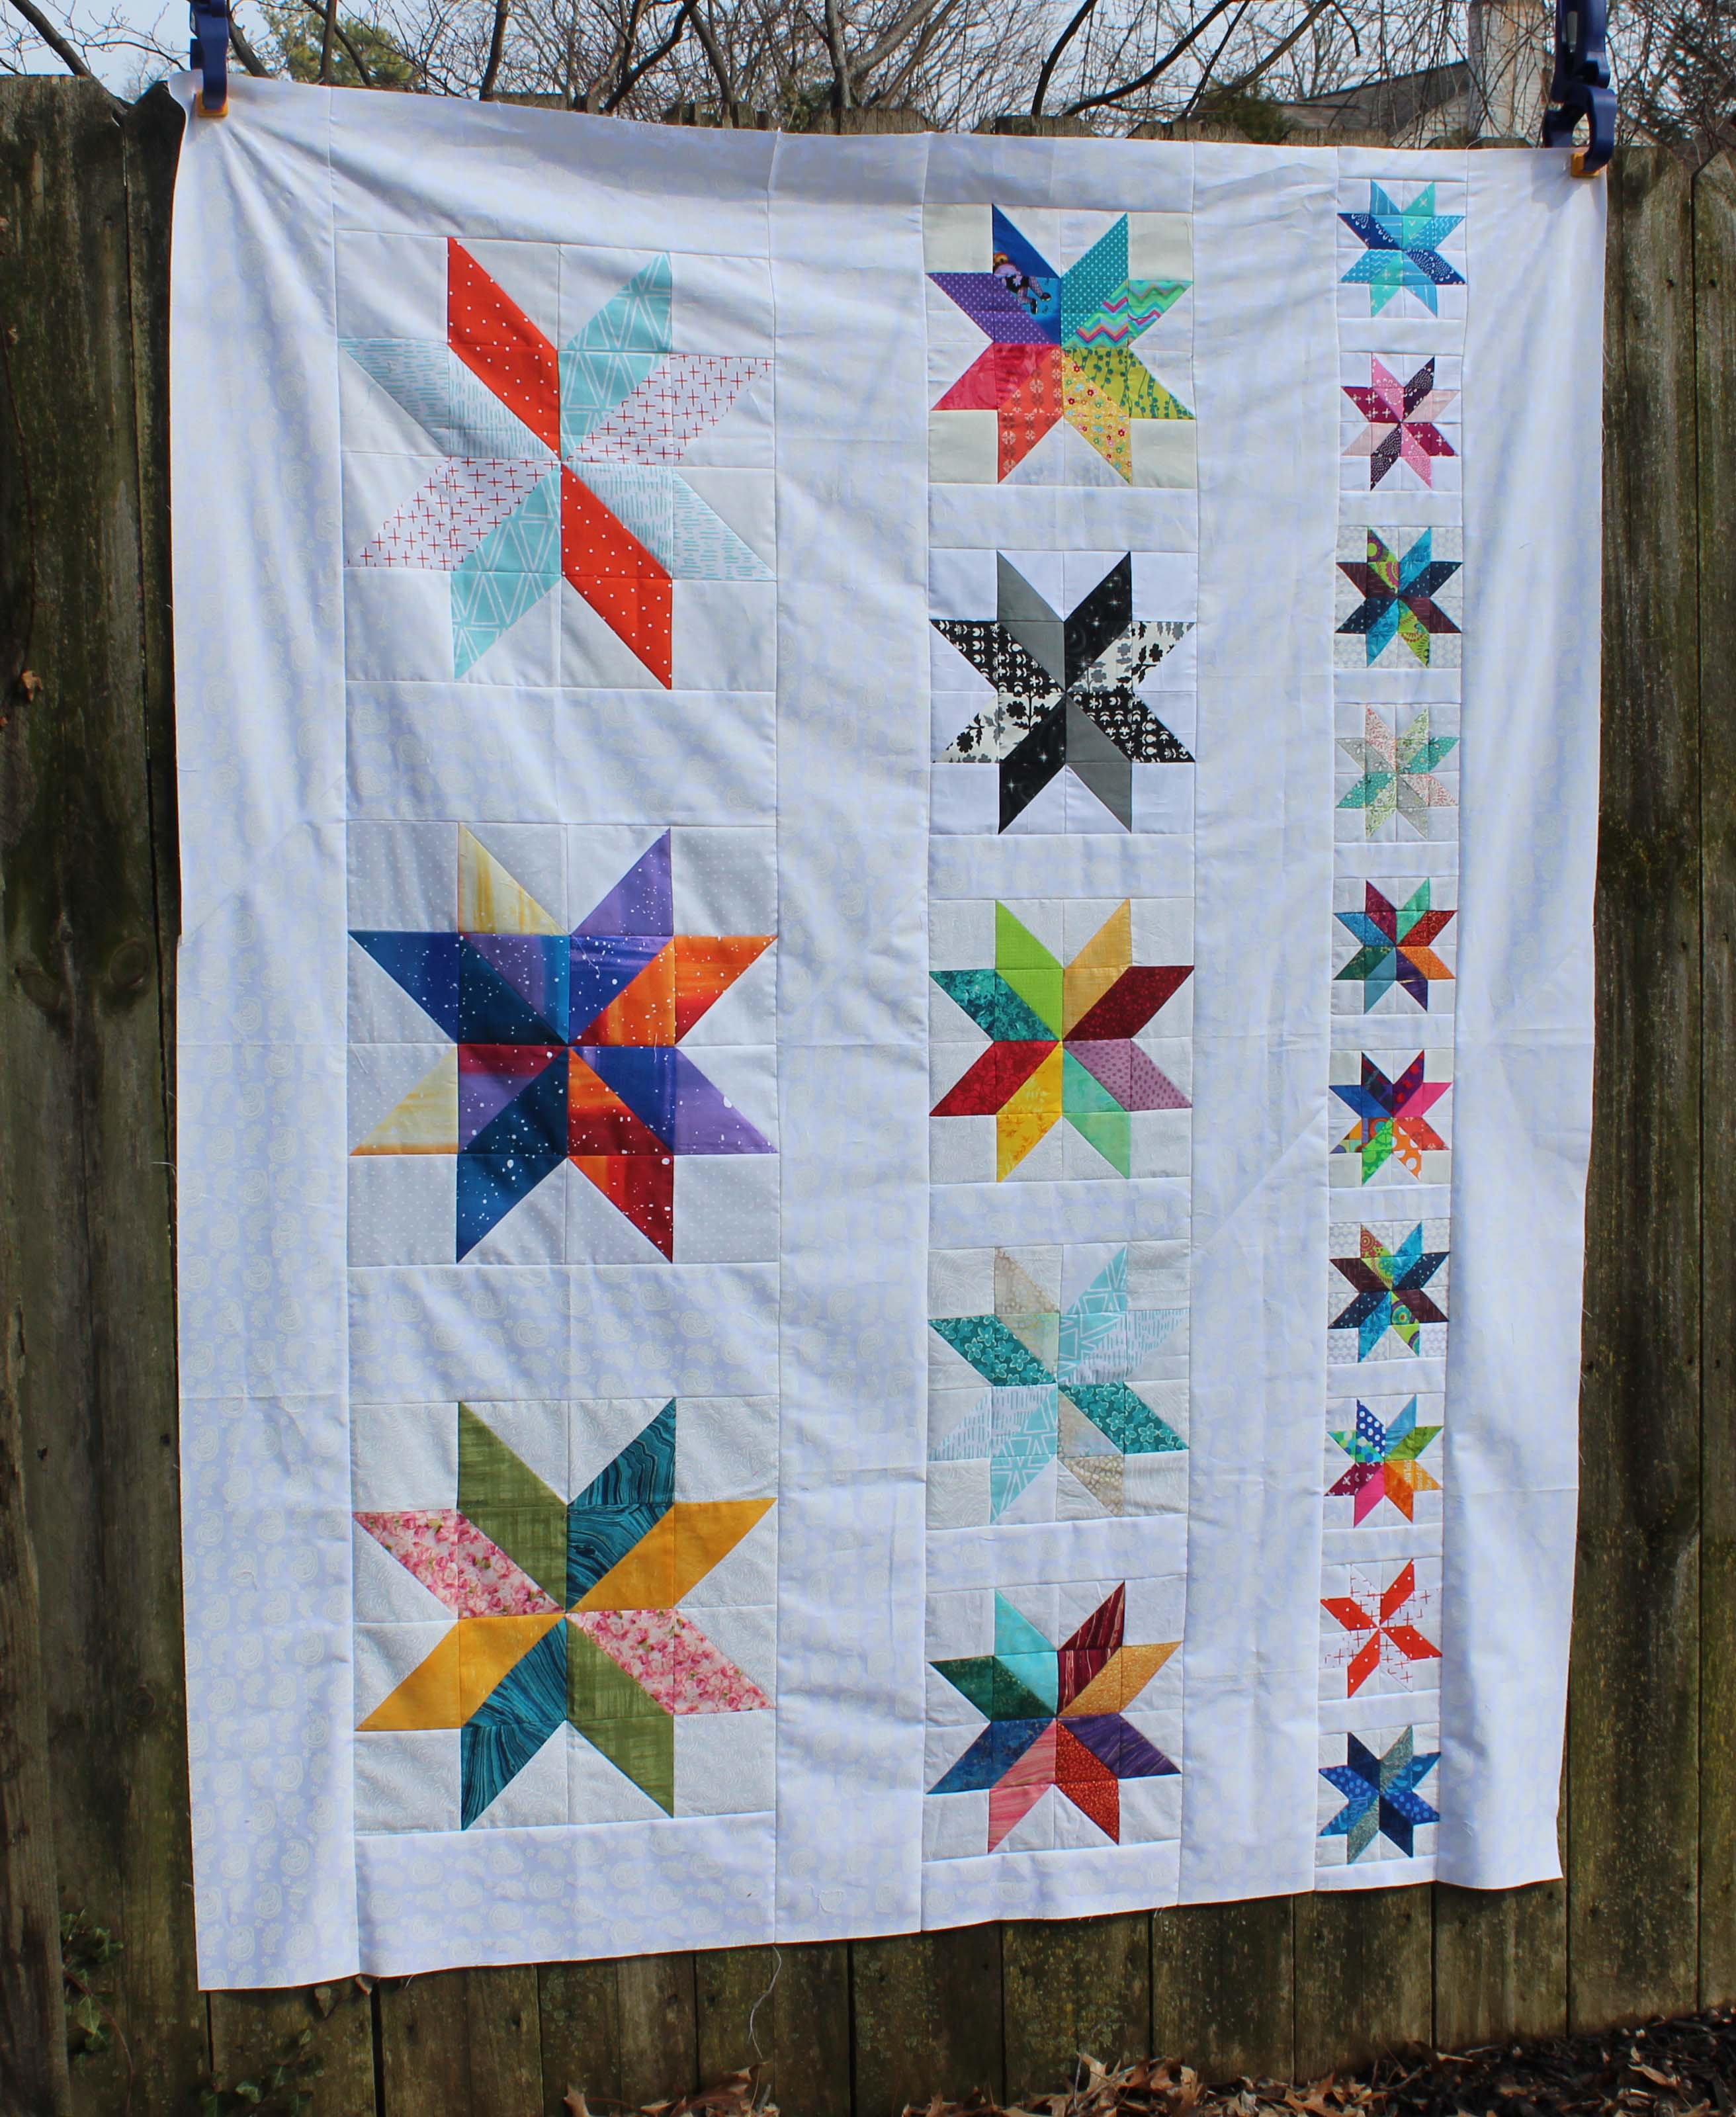
If you follow me on Instagram then you have seen some sneak peaks of the quilt I’m about to show here.  It is called Starstruck and is a pattern in Christa Watson’s new book “Piece and Quilt with Precuts

Let me tell you how I started with all this.  As soon as I found out I was to be part of the book tour Blog Hop I went through all the quilts in the book looking for one that would just call to me.  ALL OF THEM CALLED TO ME!!!    So I called my mom.  I hadn’t made a quilt for her in a while.  I’m not one to surprise people with quilts because I want to make exactly what they want.  So what did my mom want?  Starstruck.  AND she wanted it exactly as Christa had done in the book.

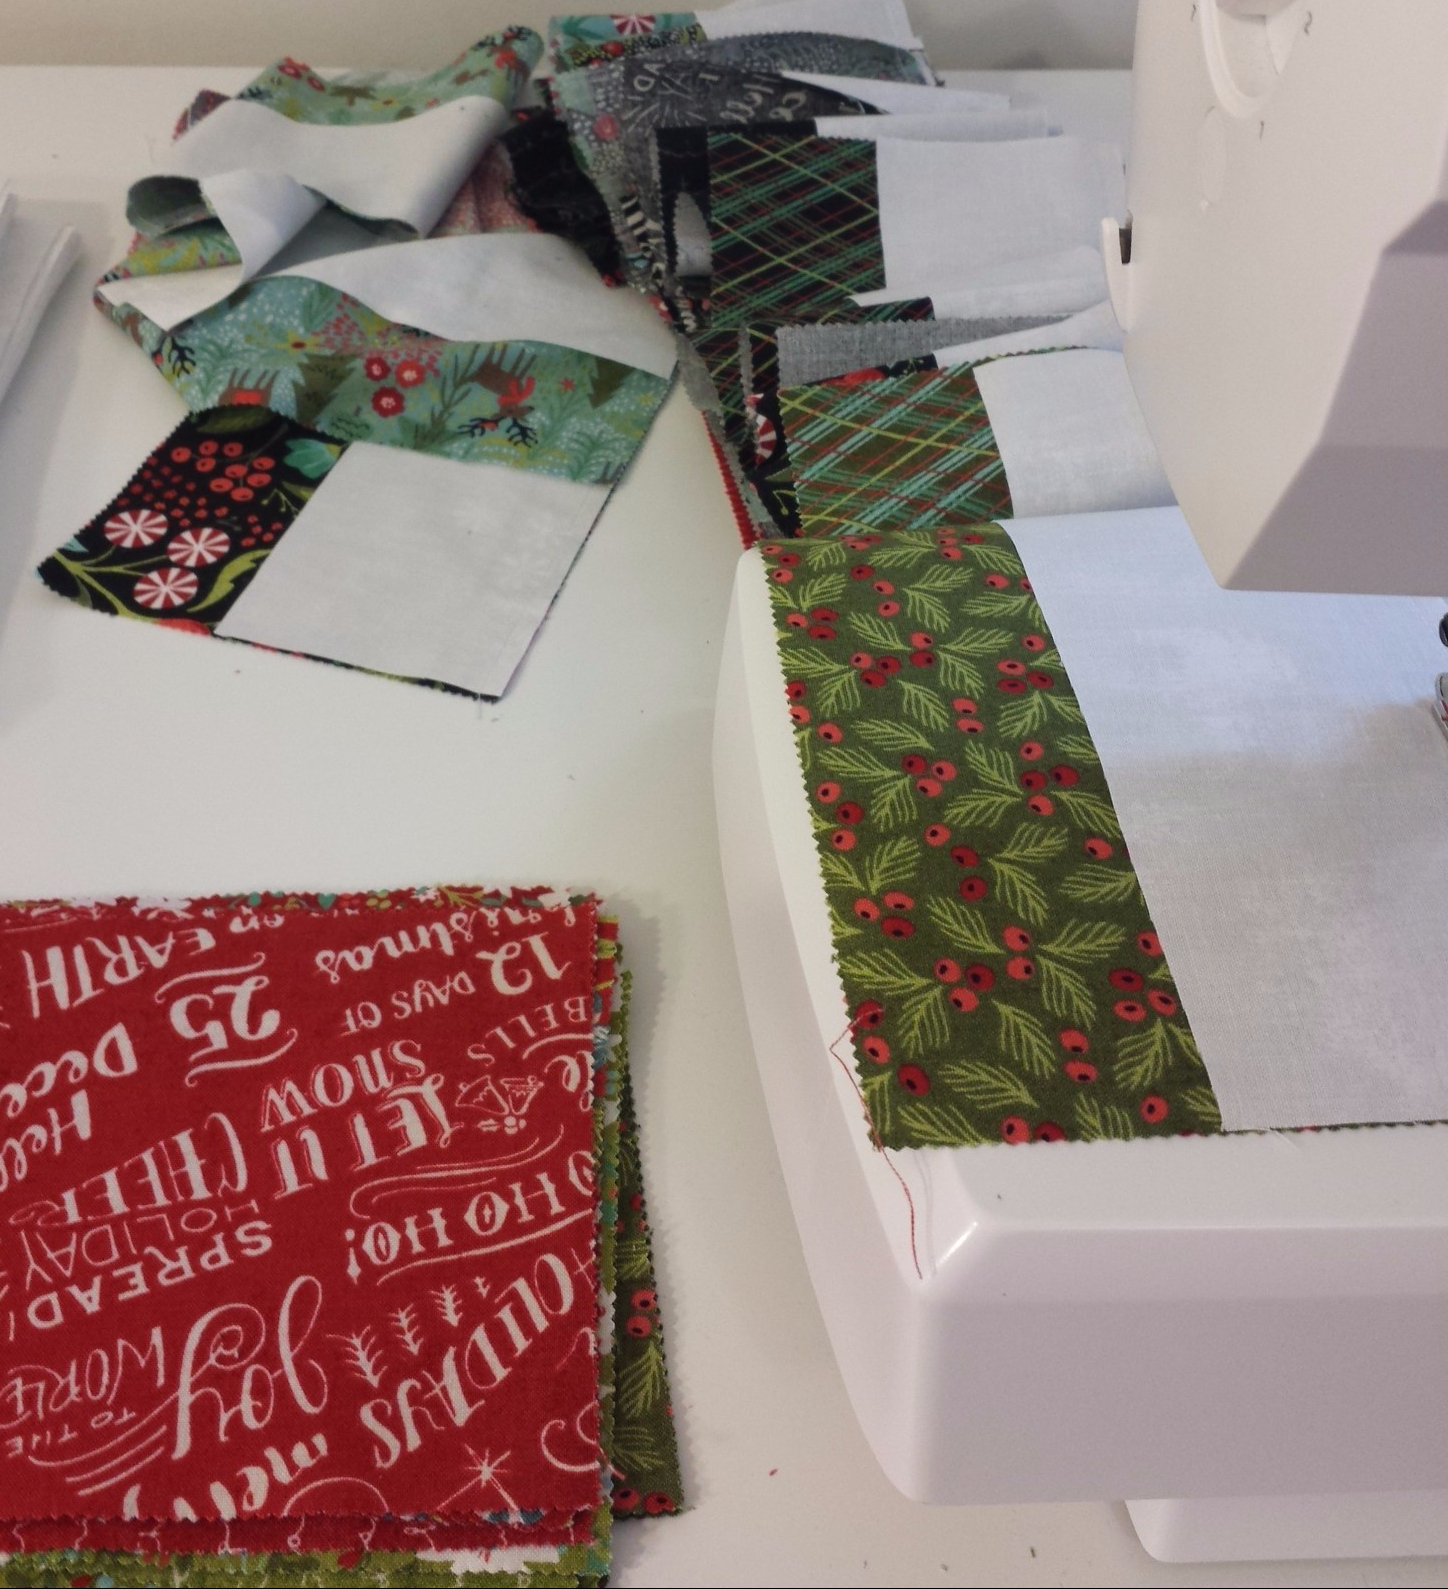
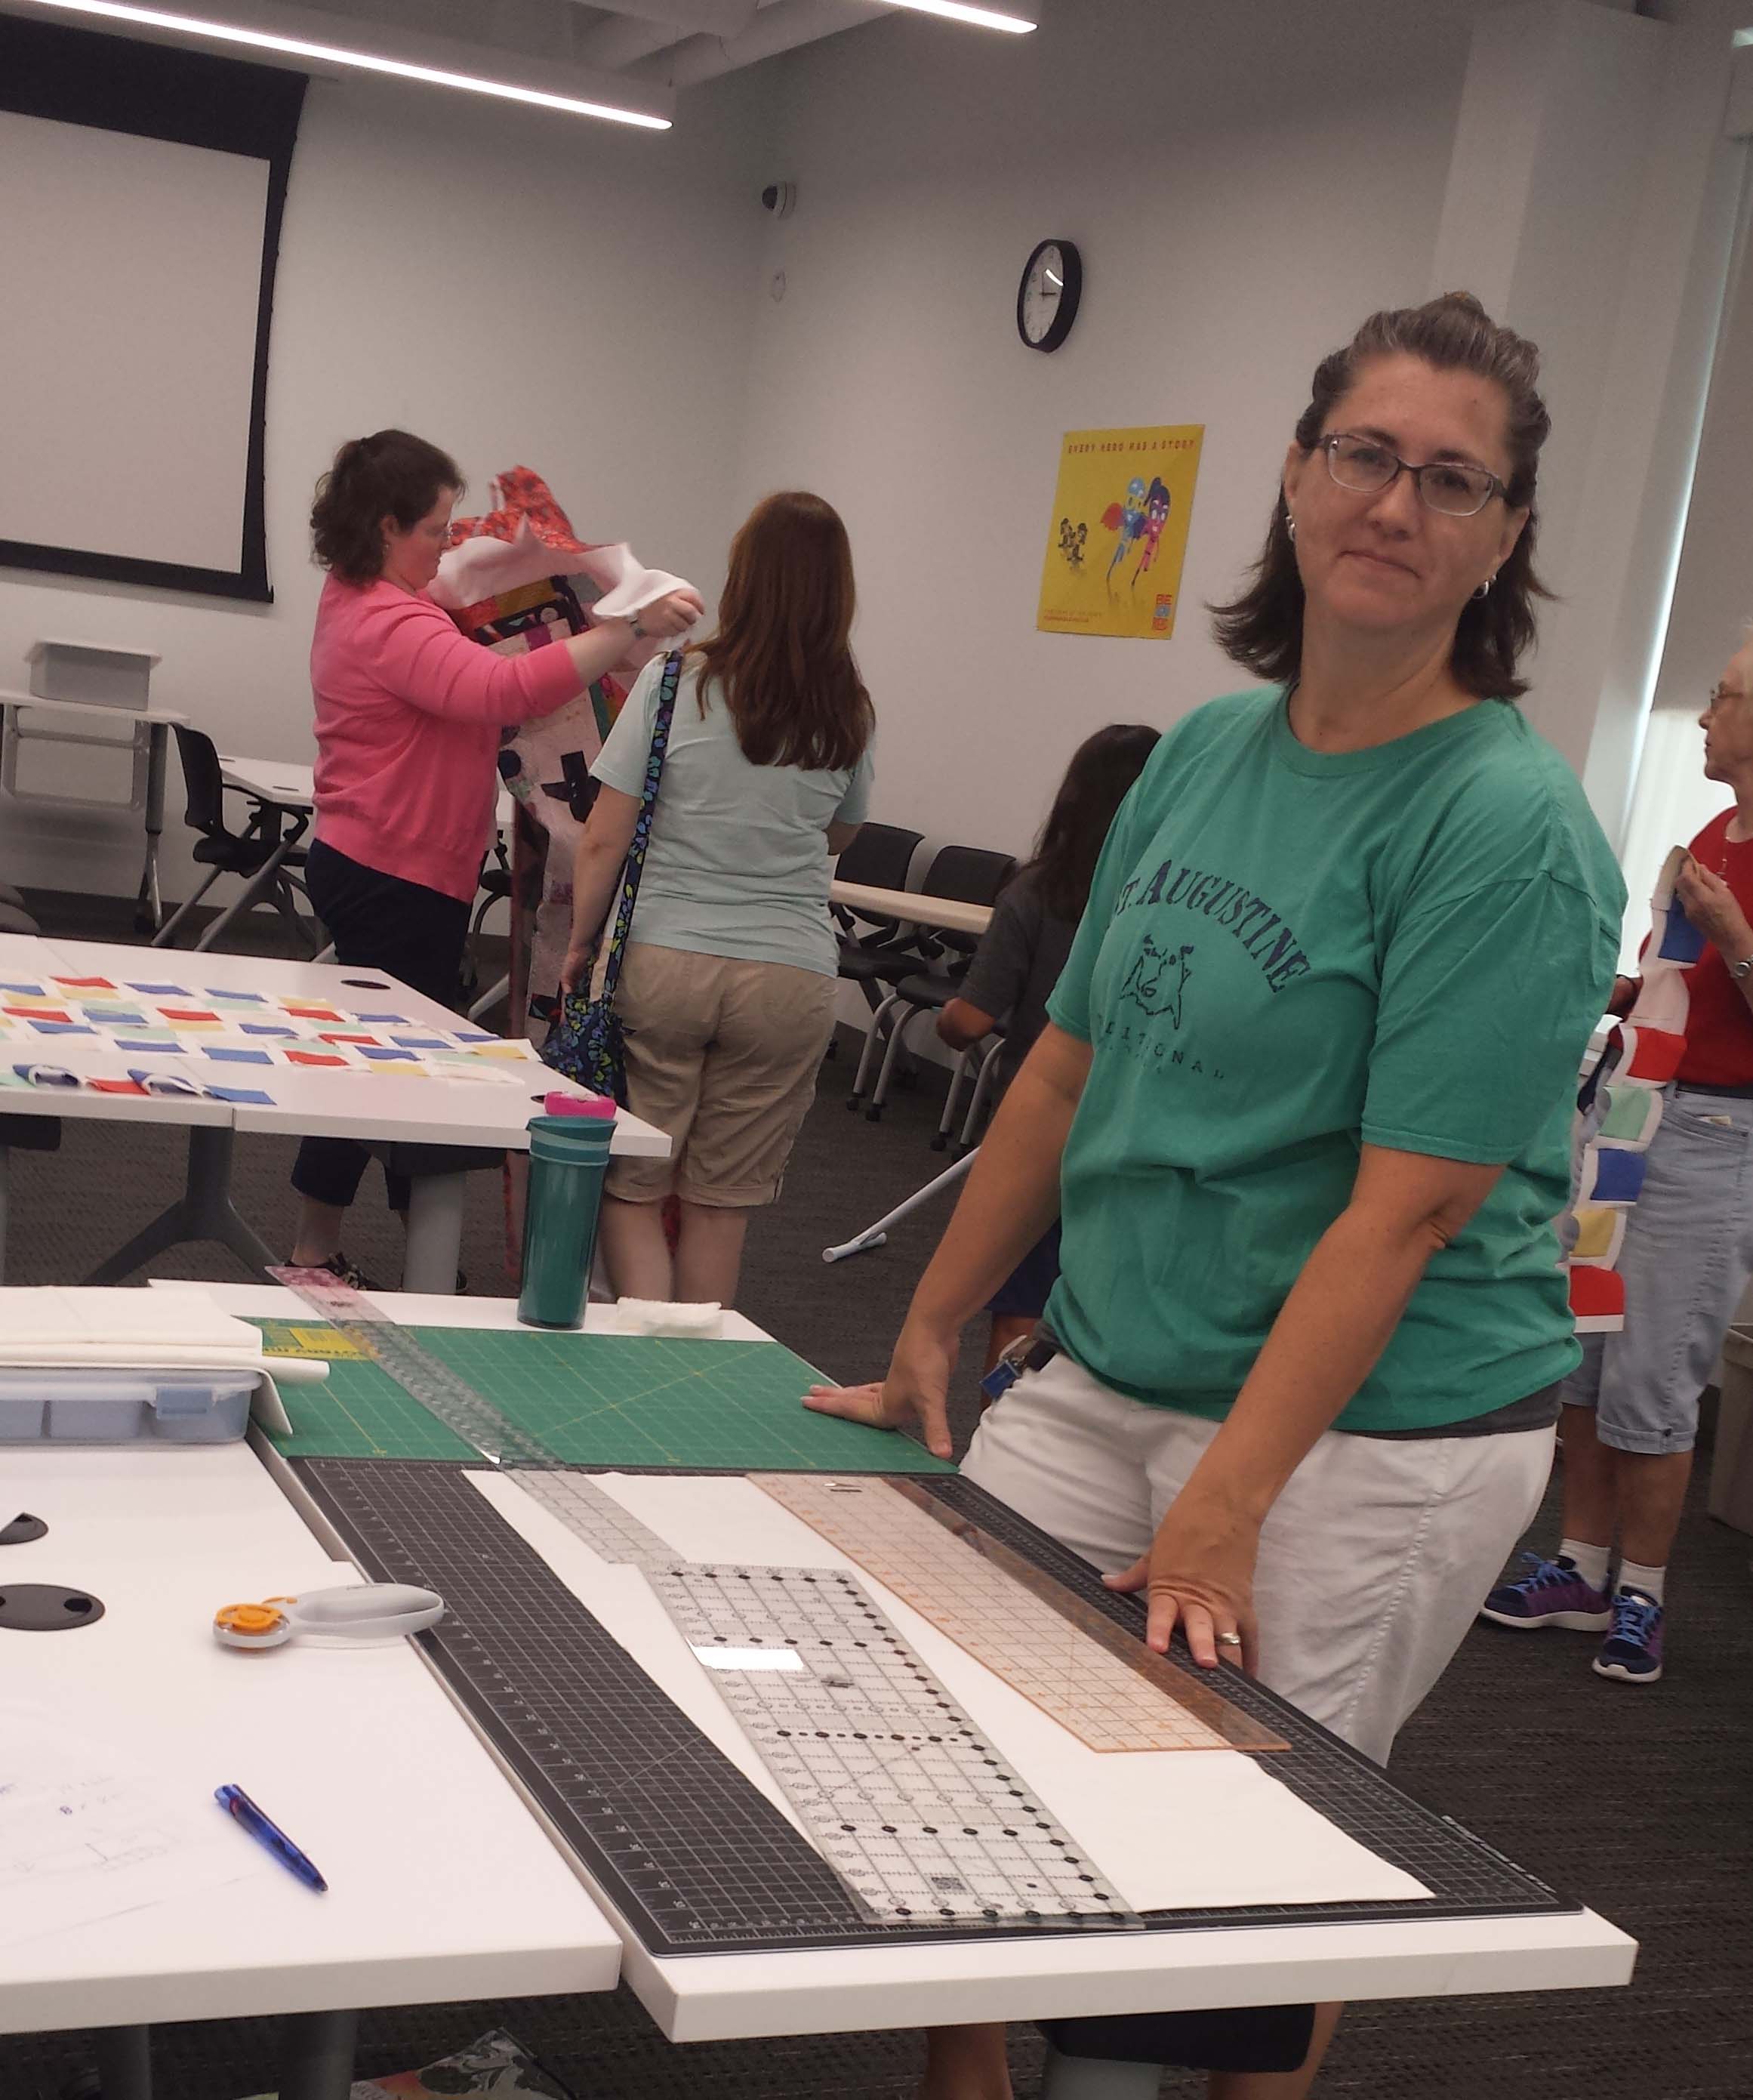
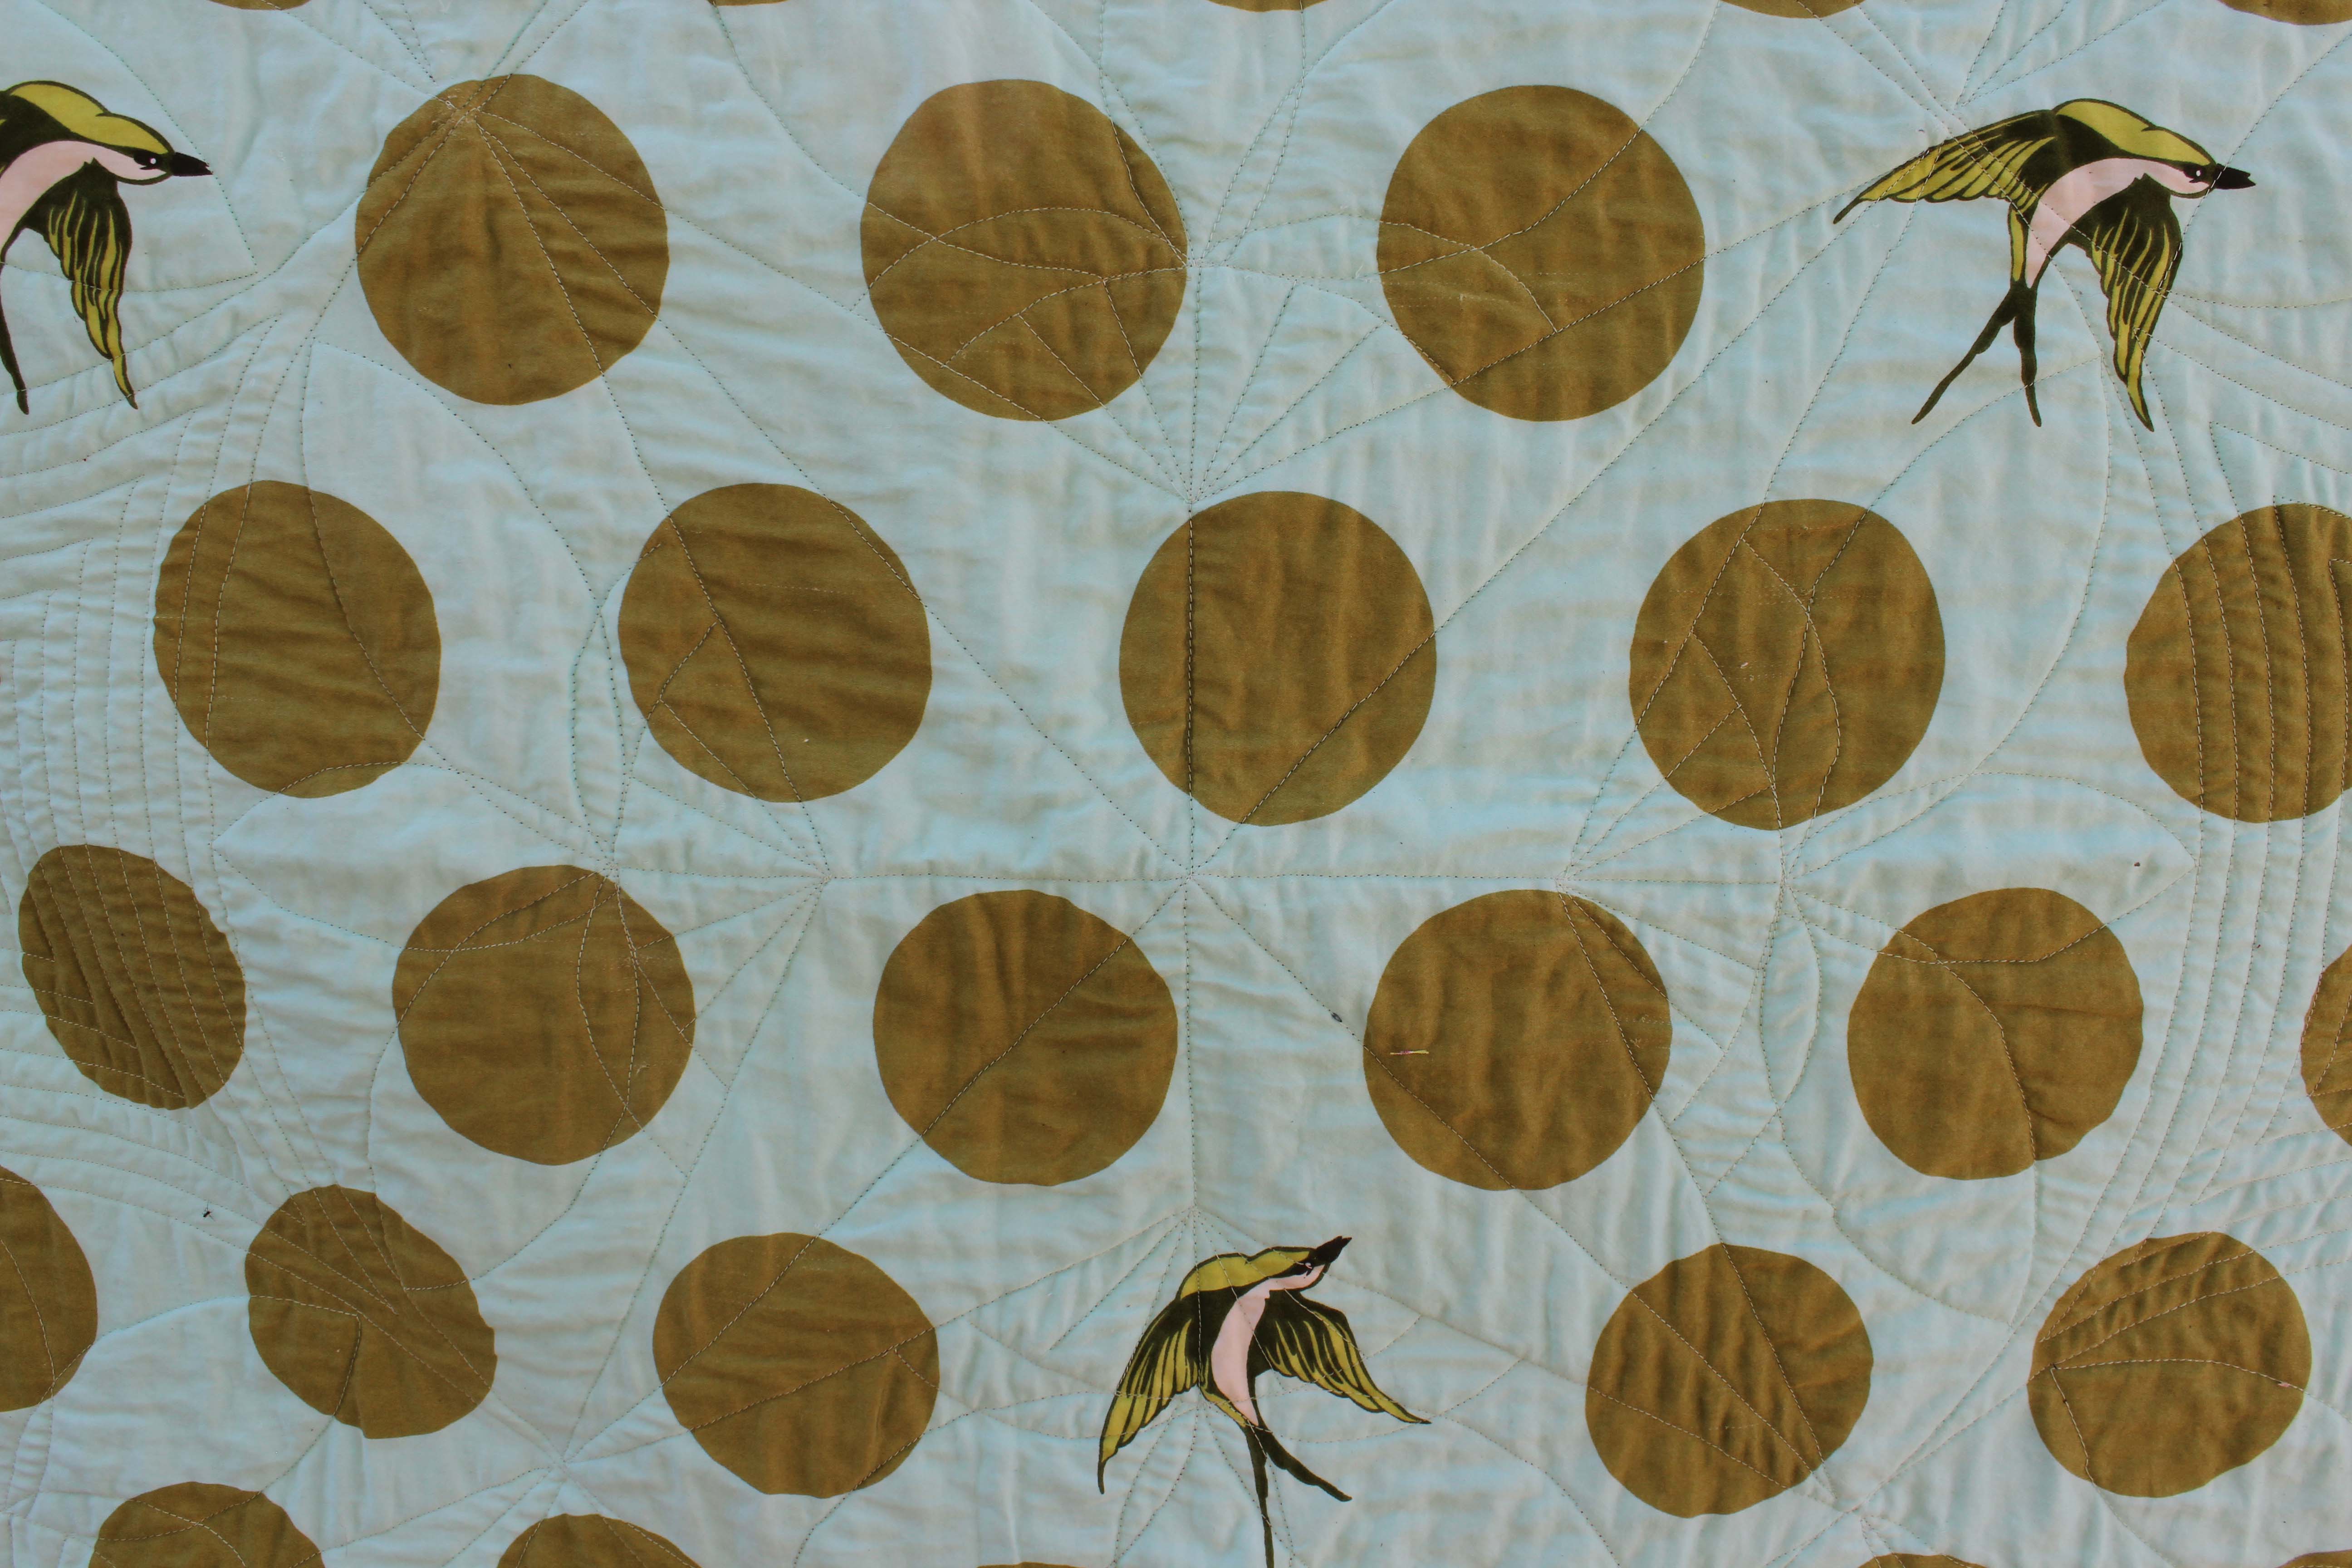
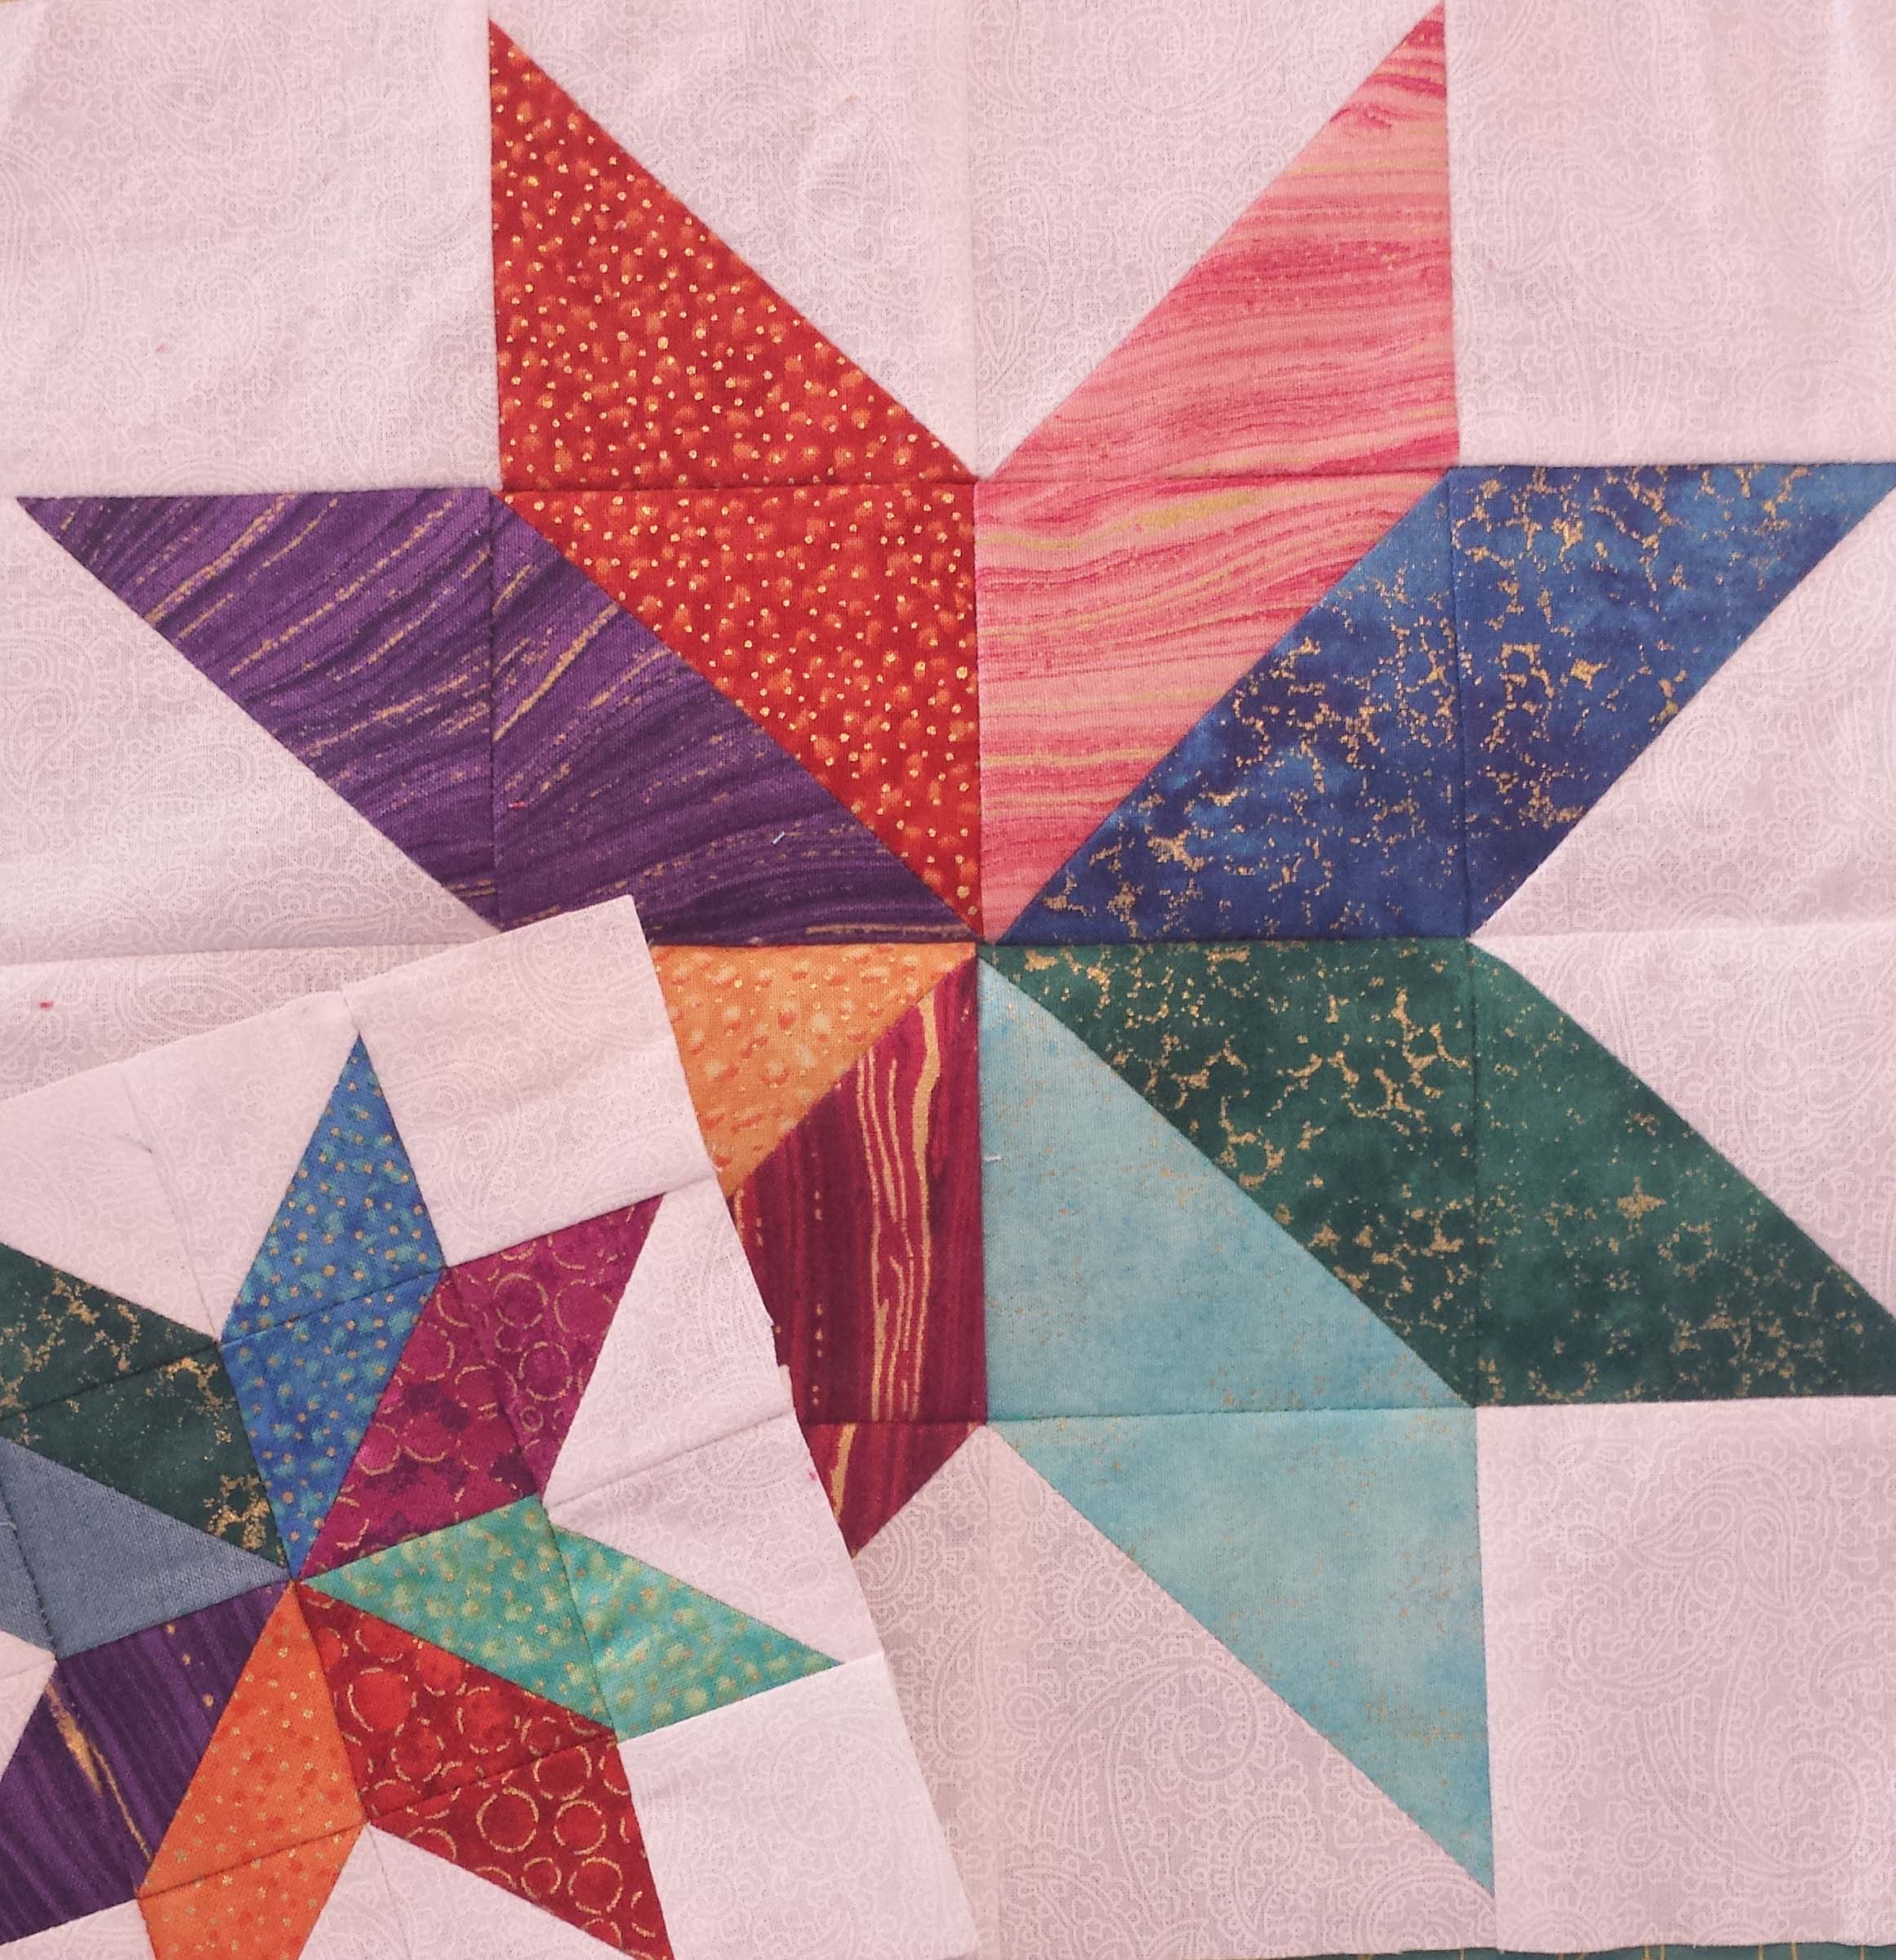
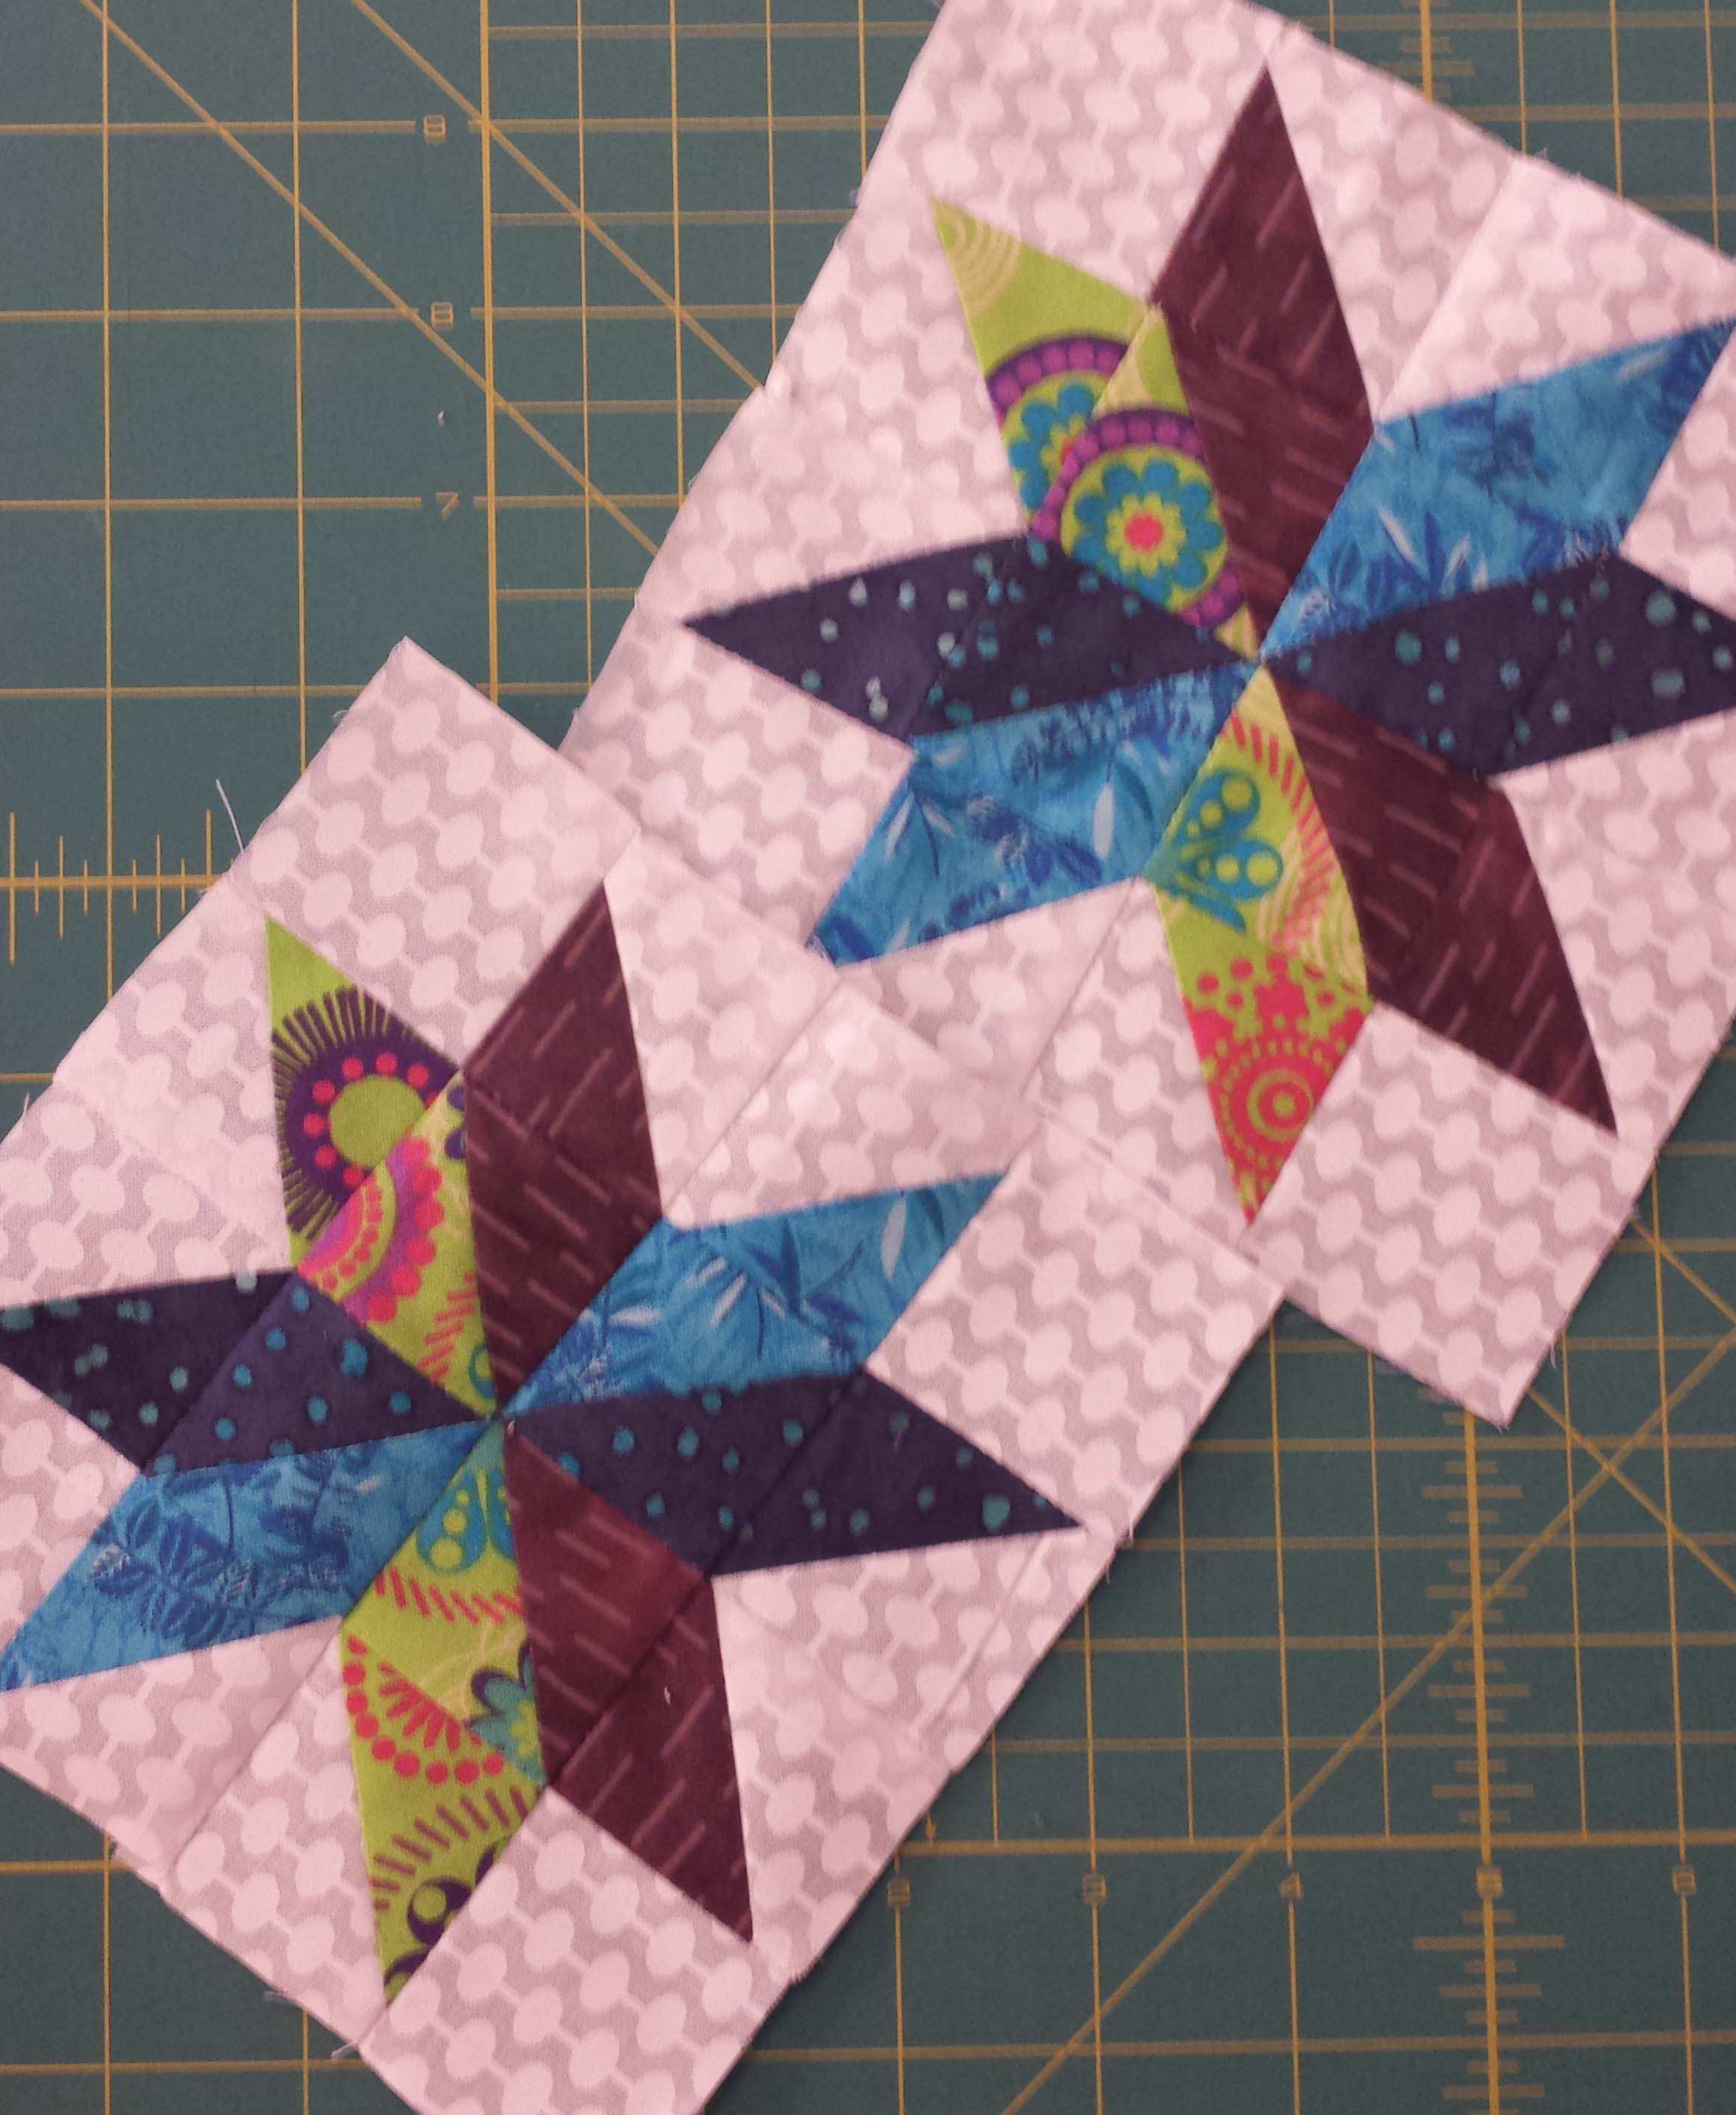
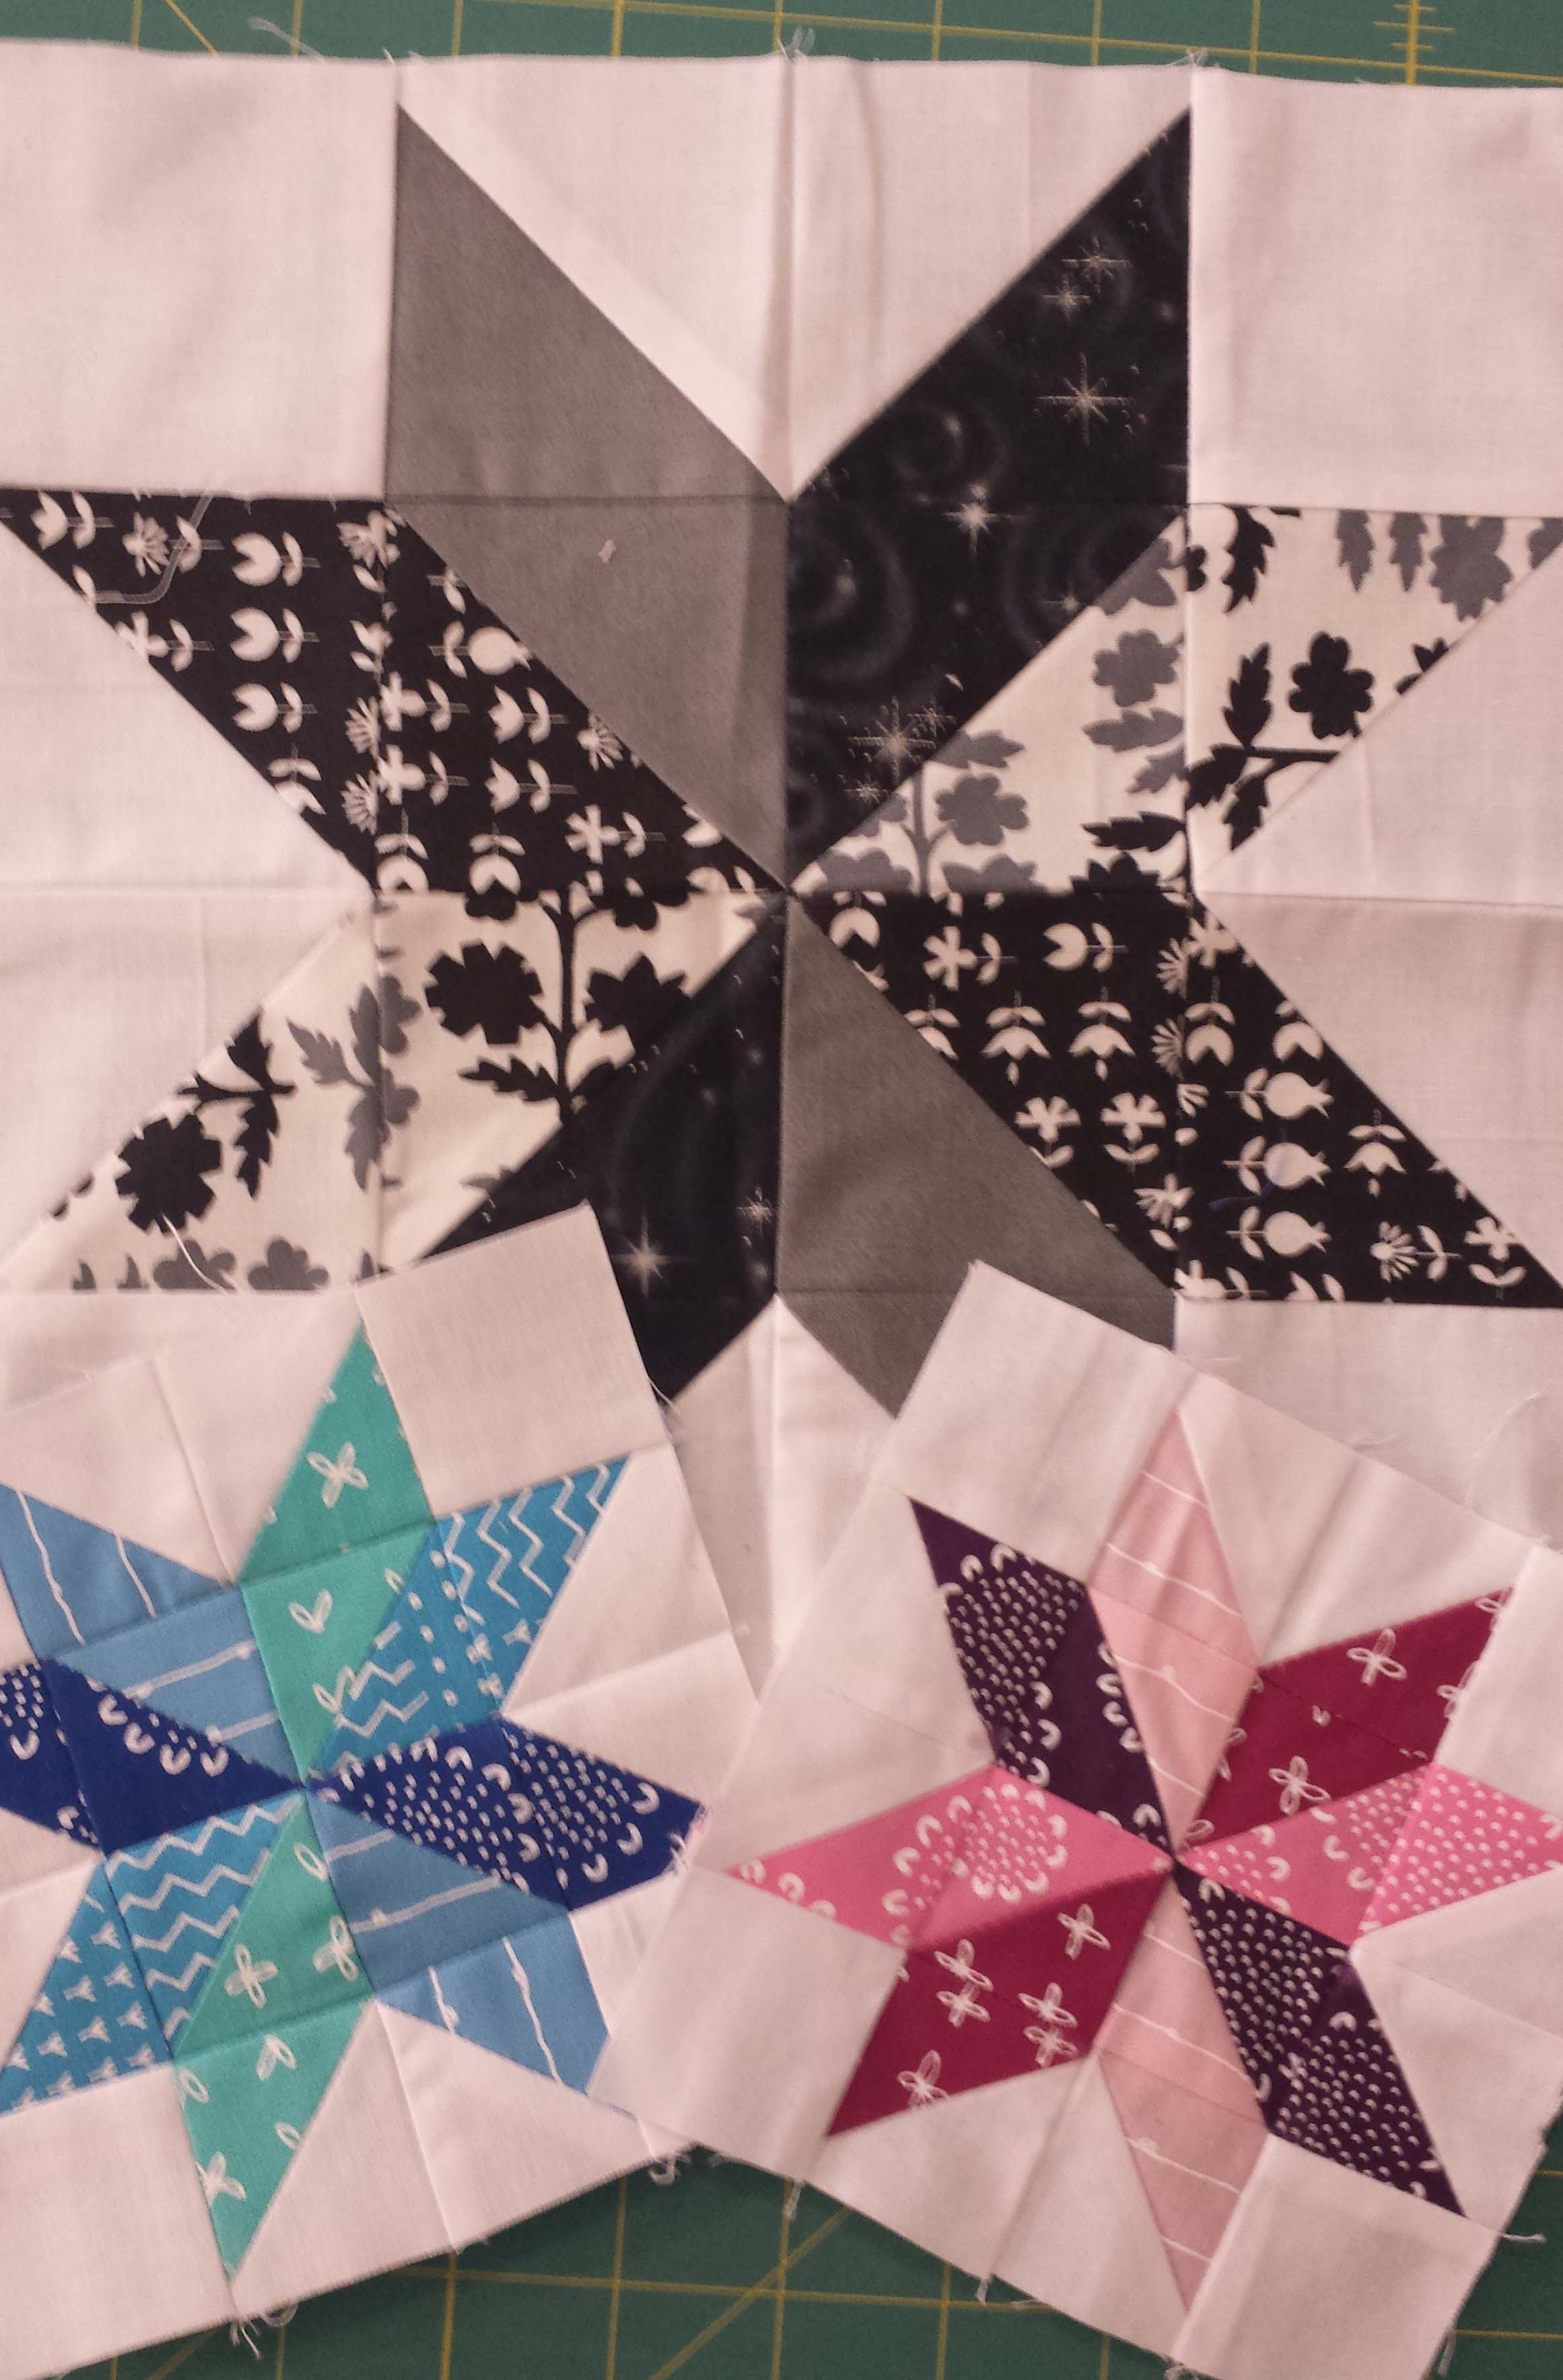
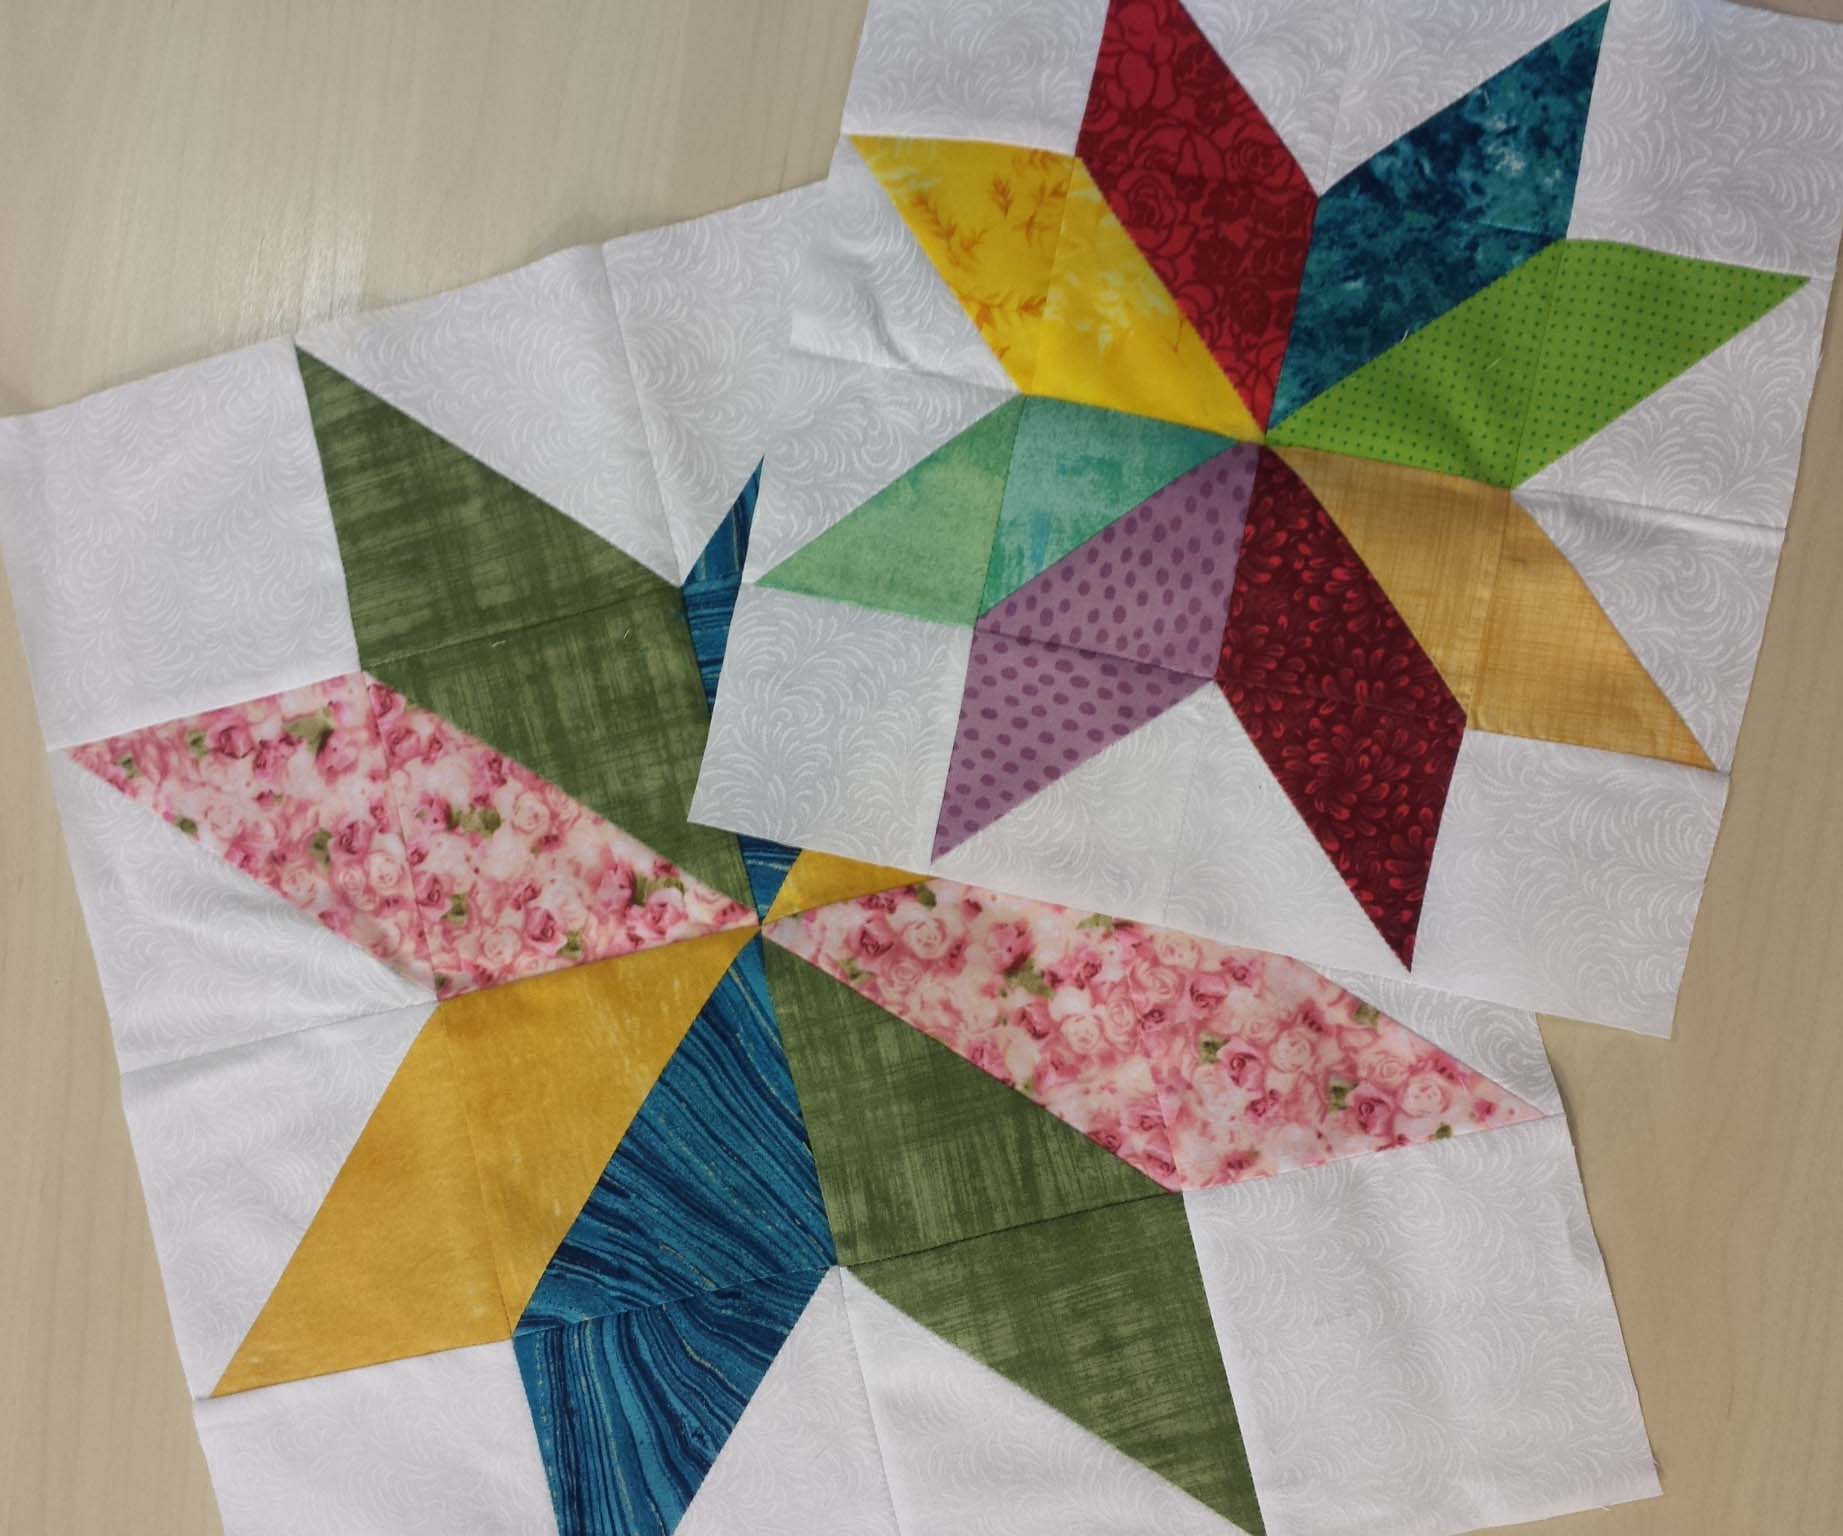
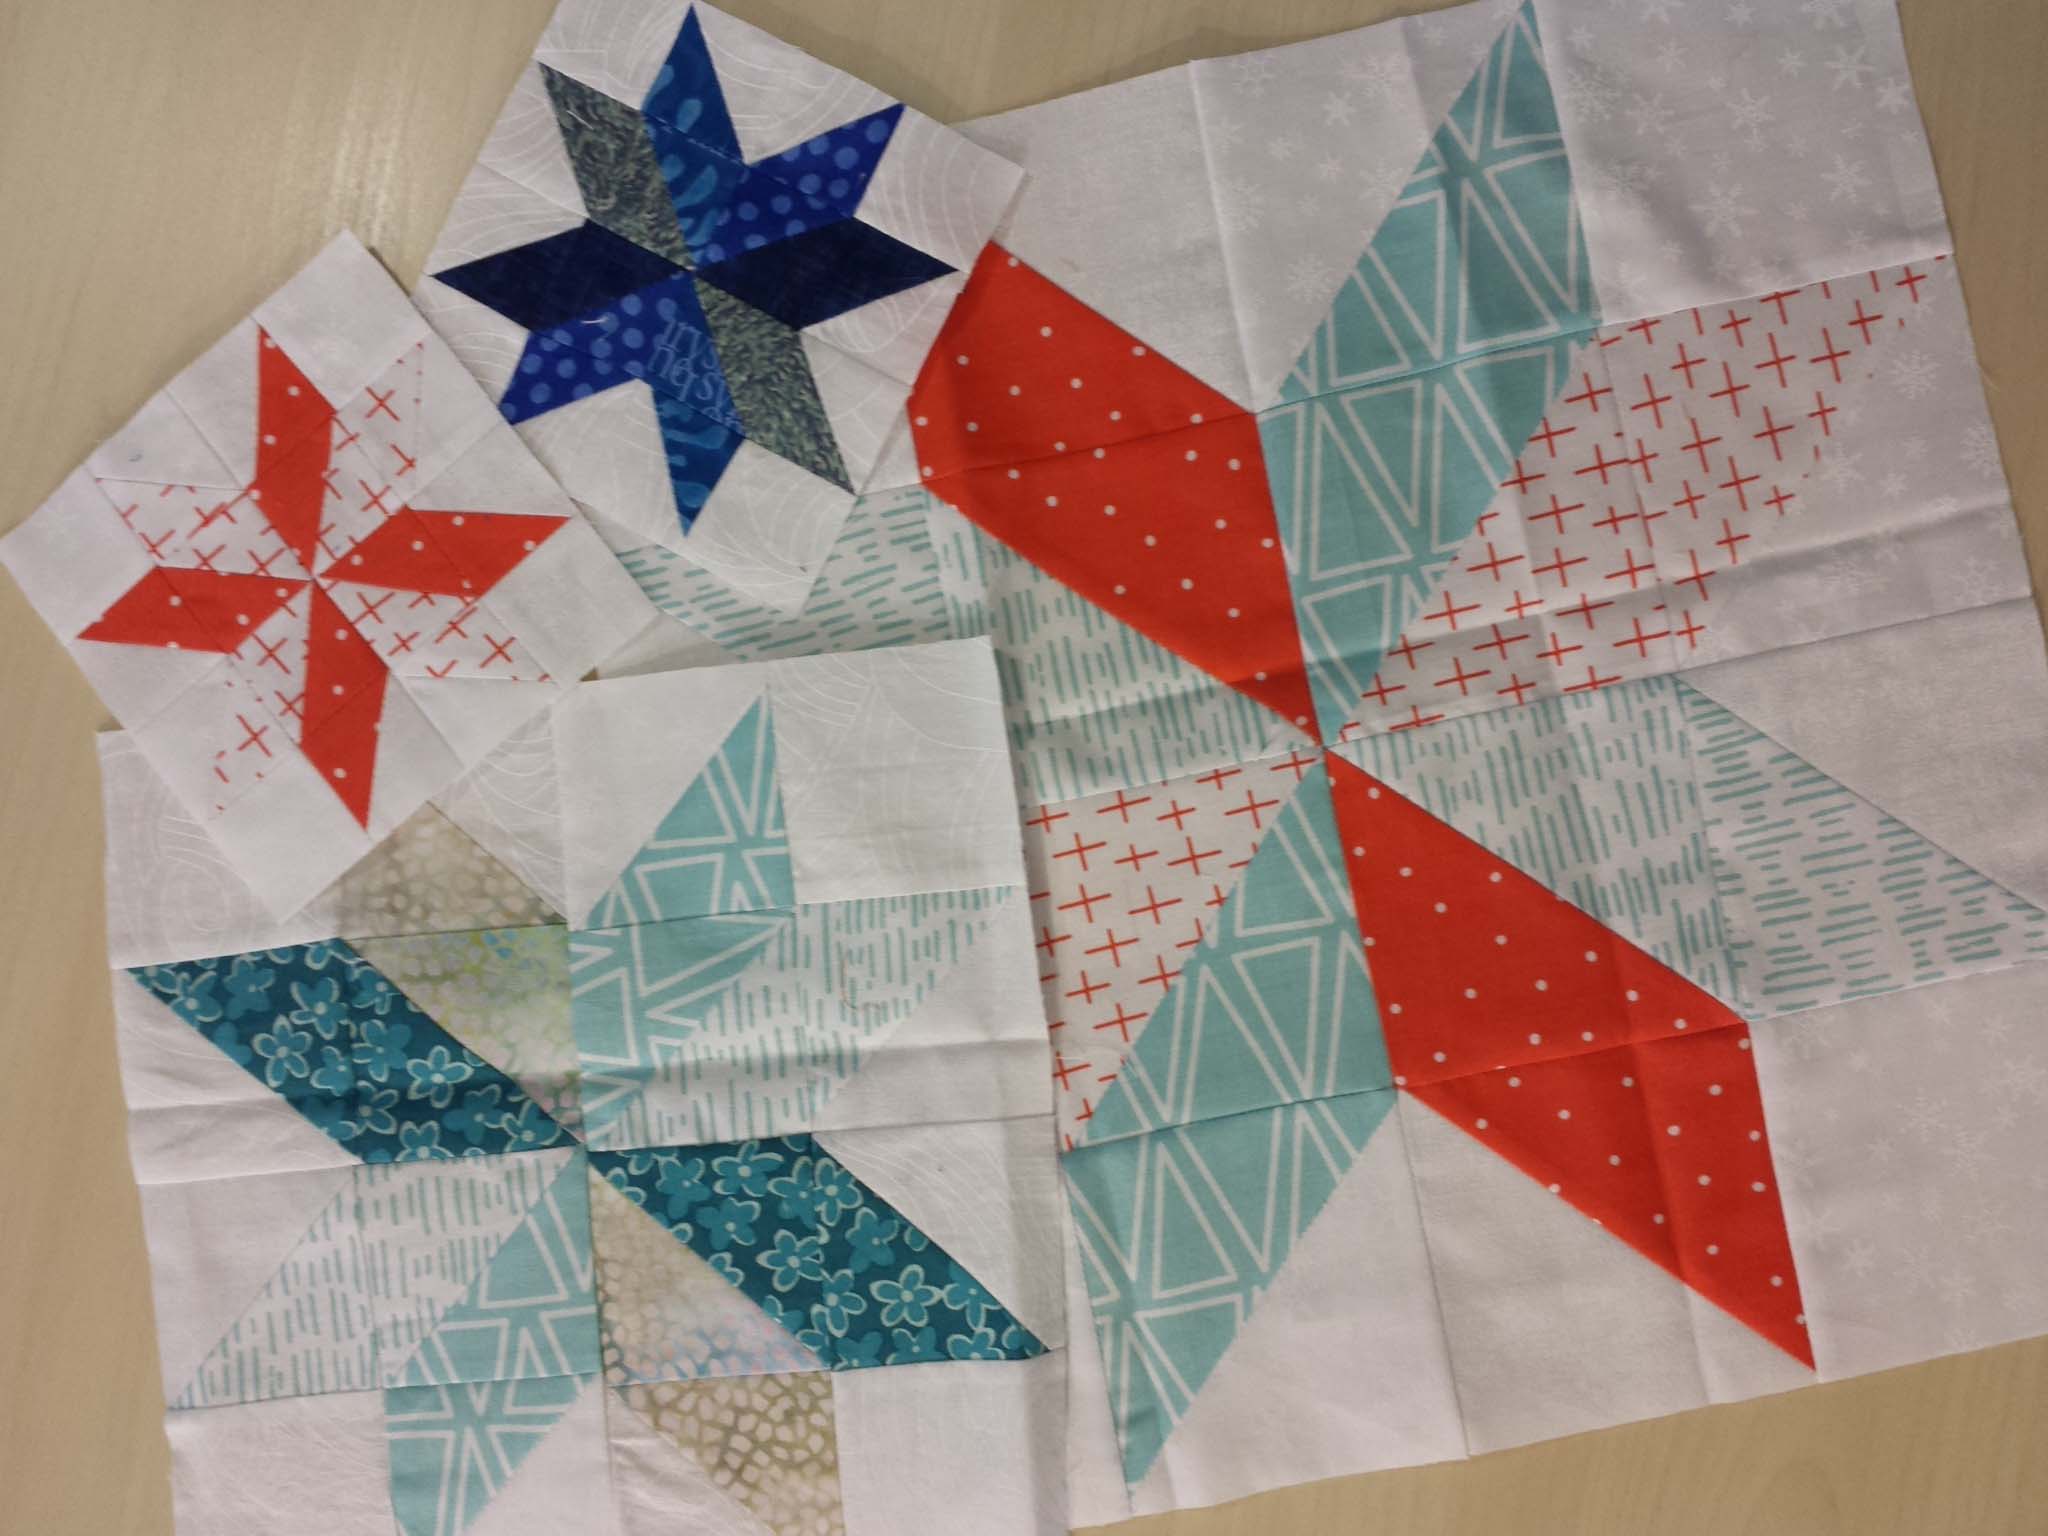
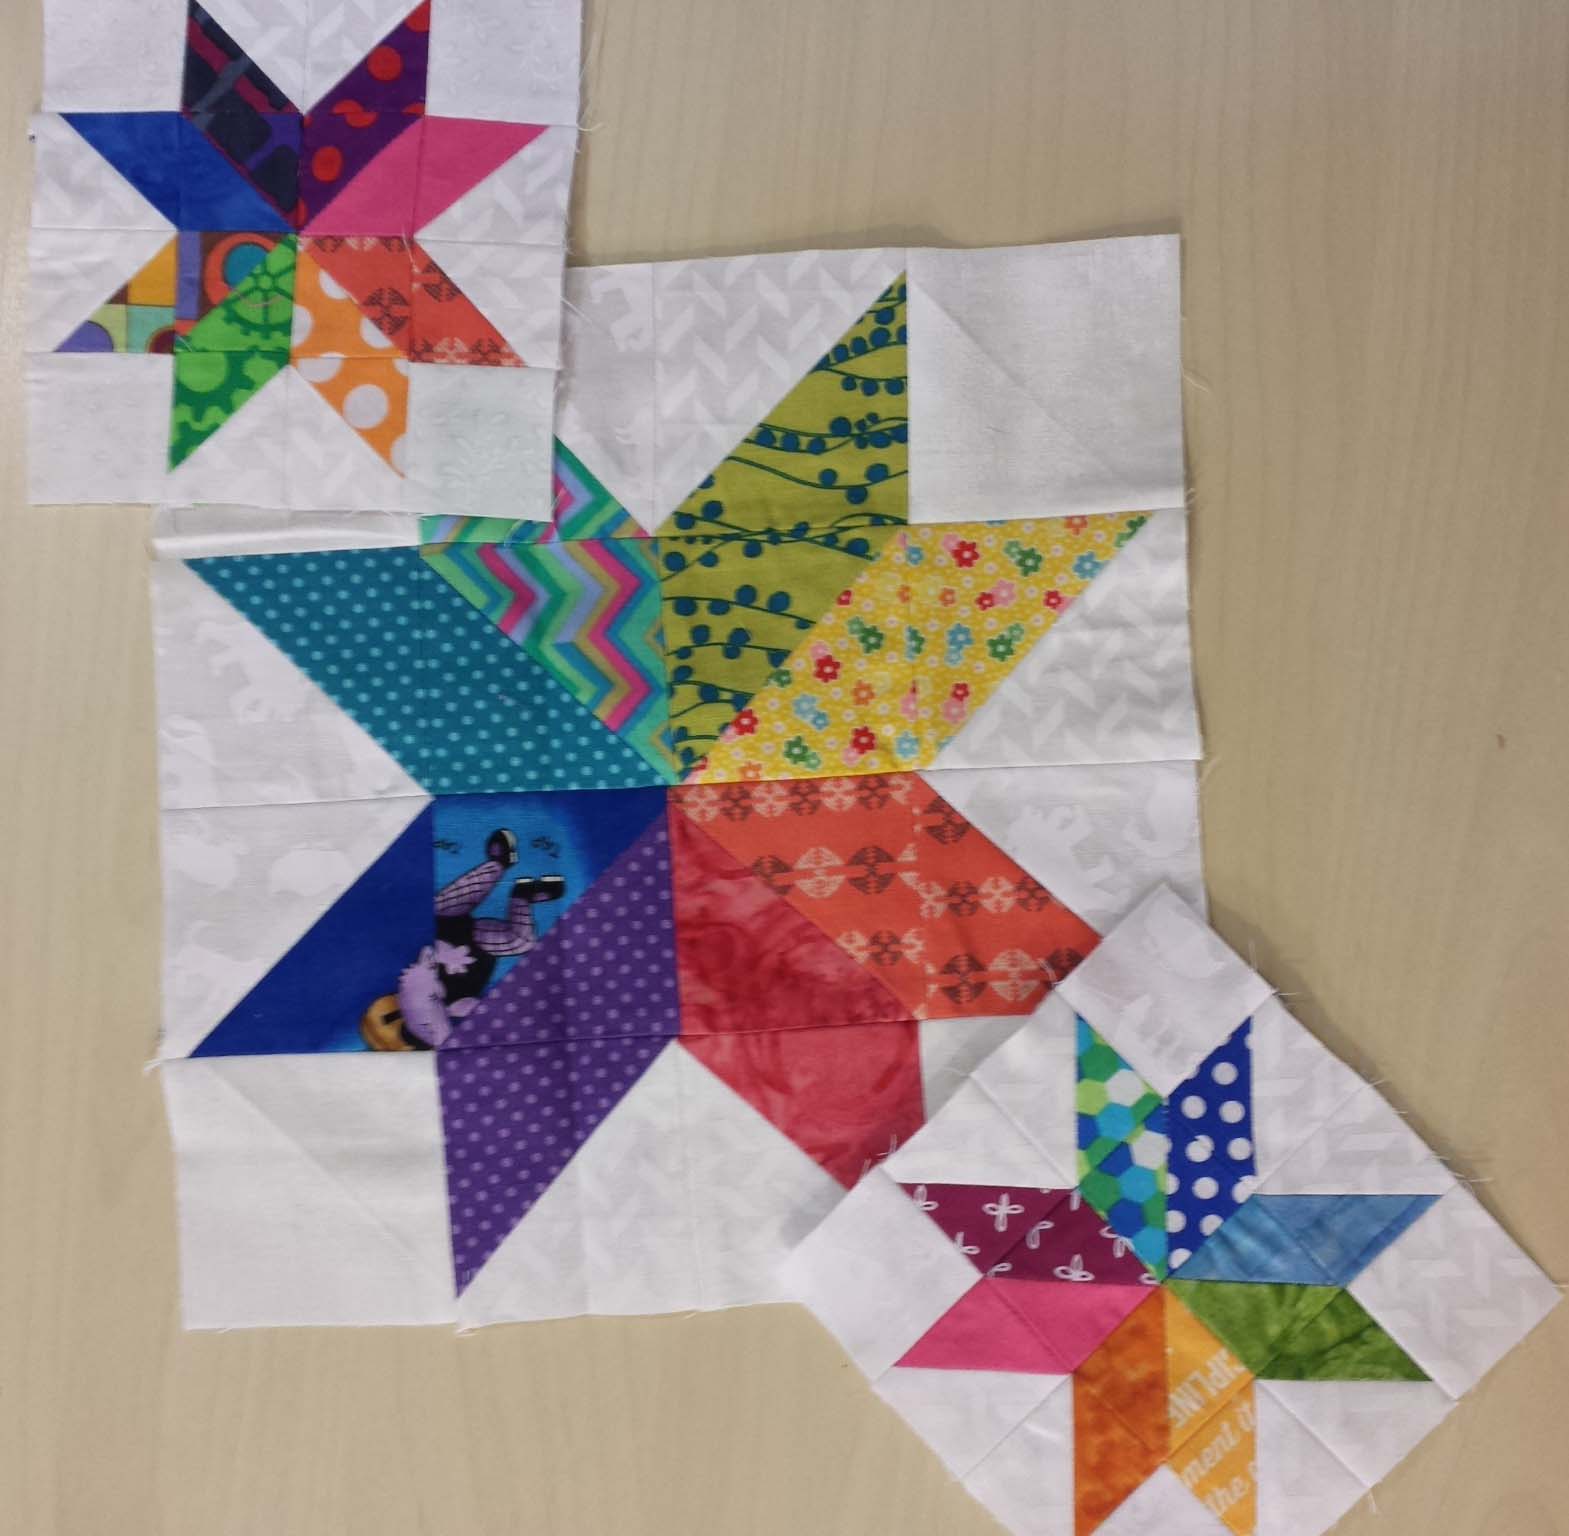
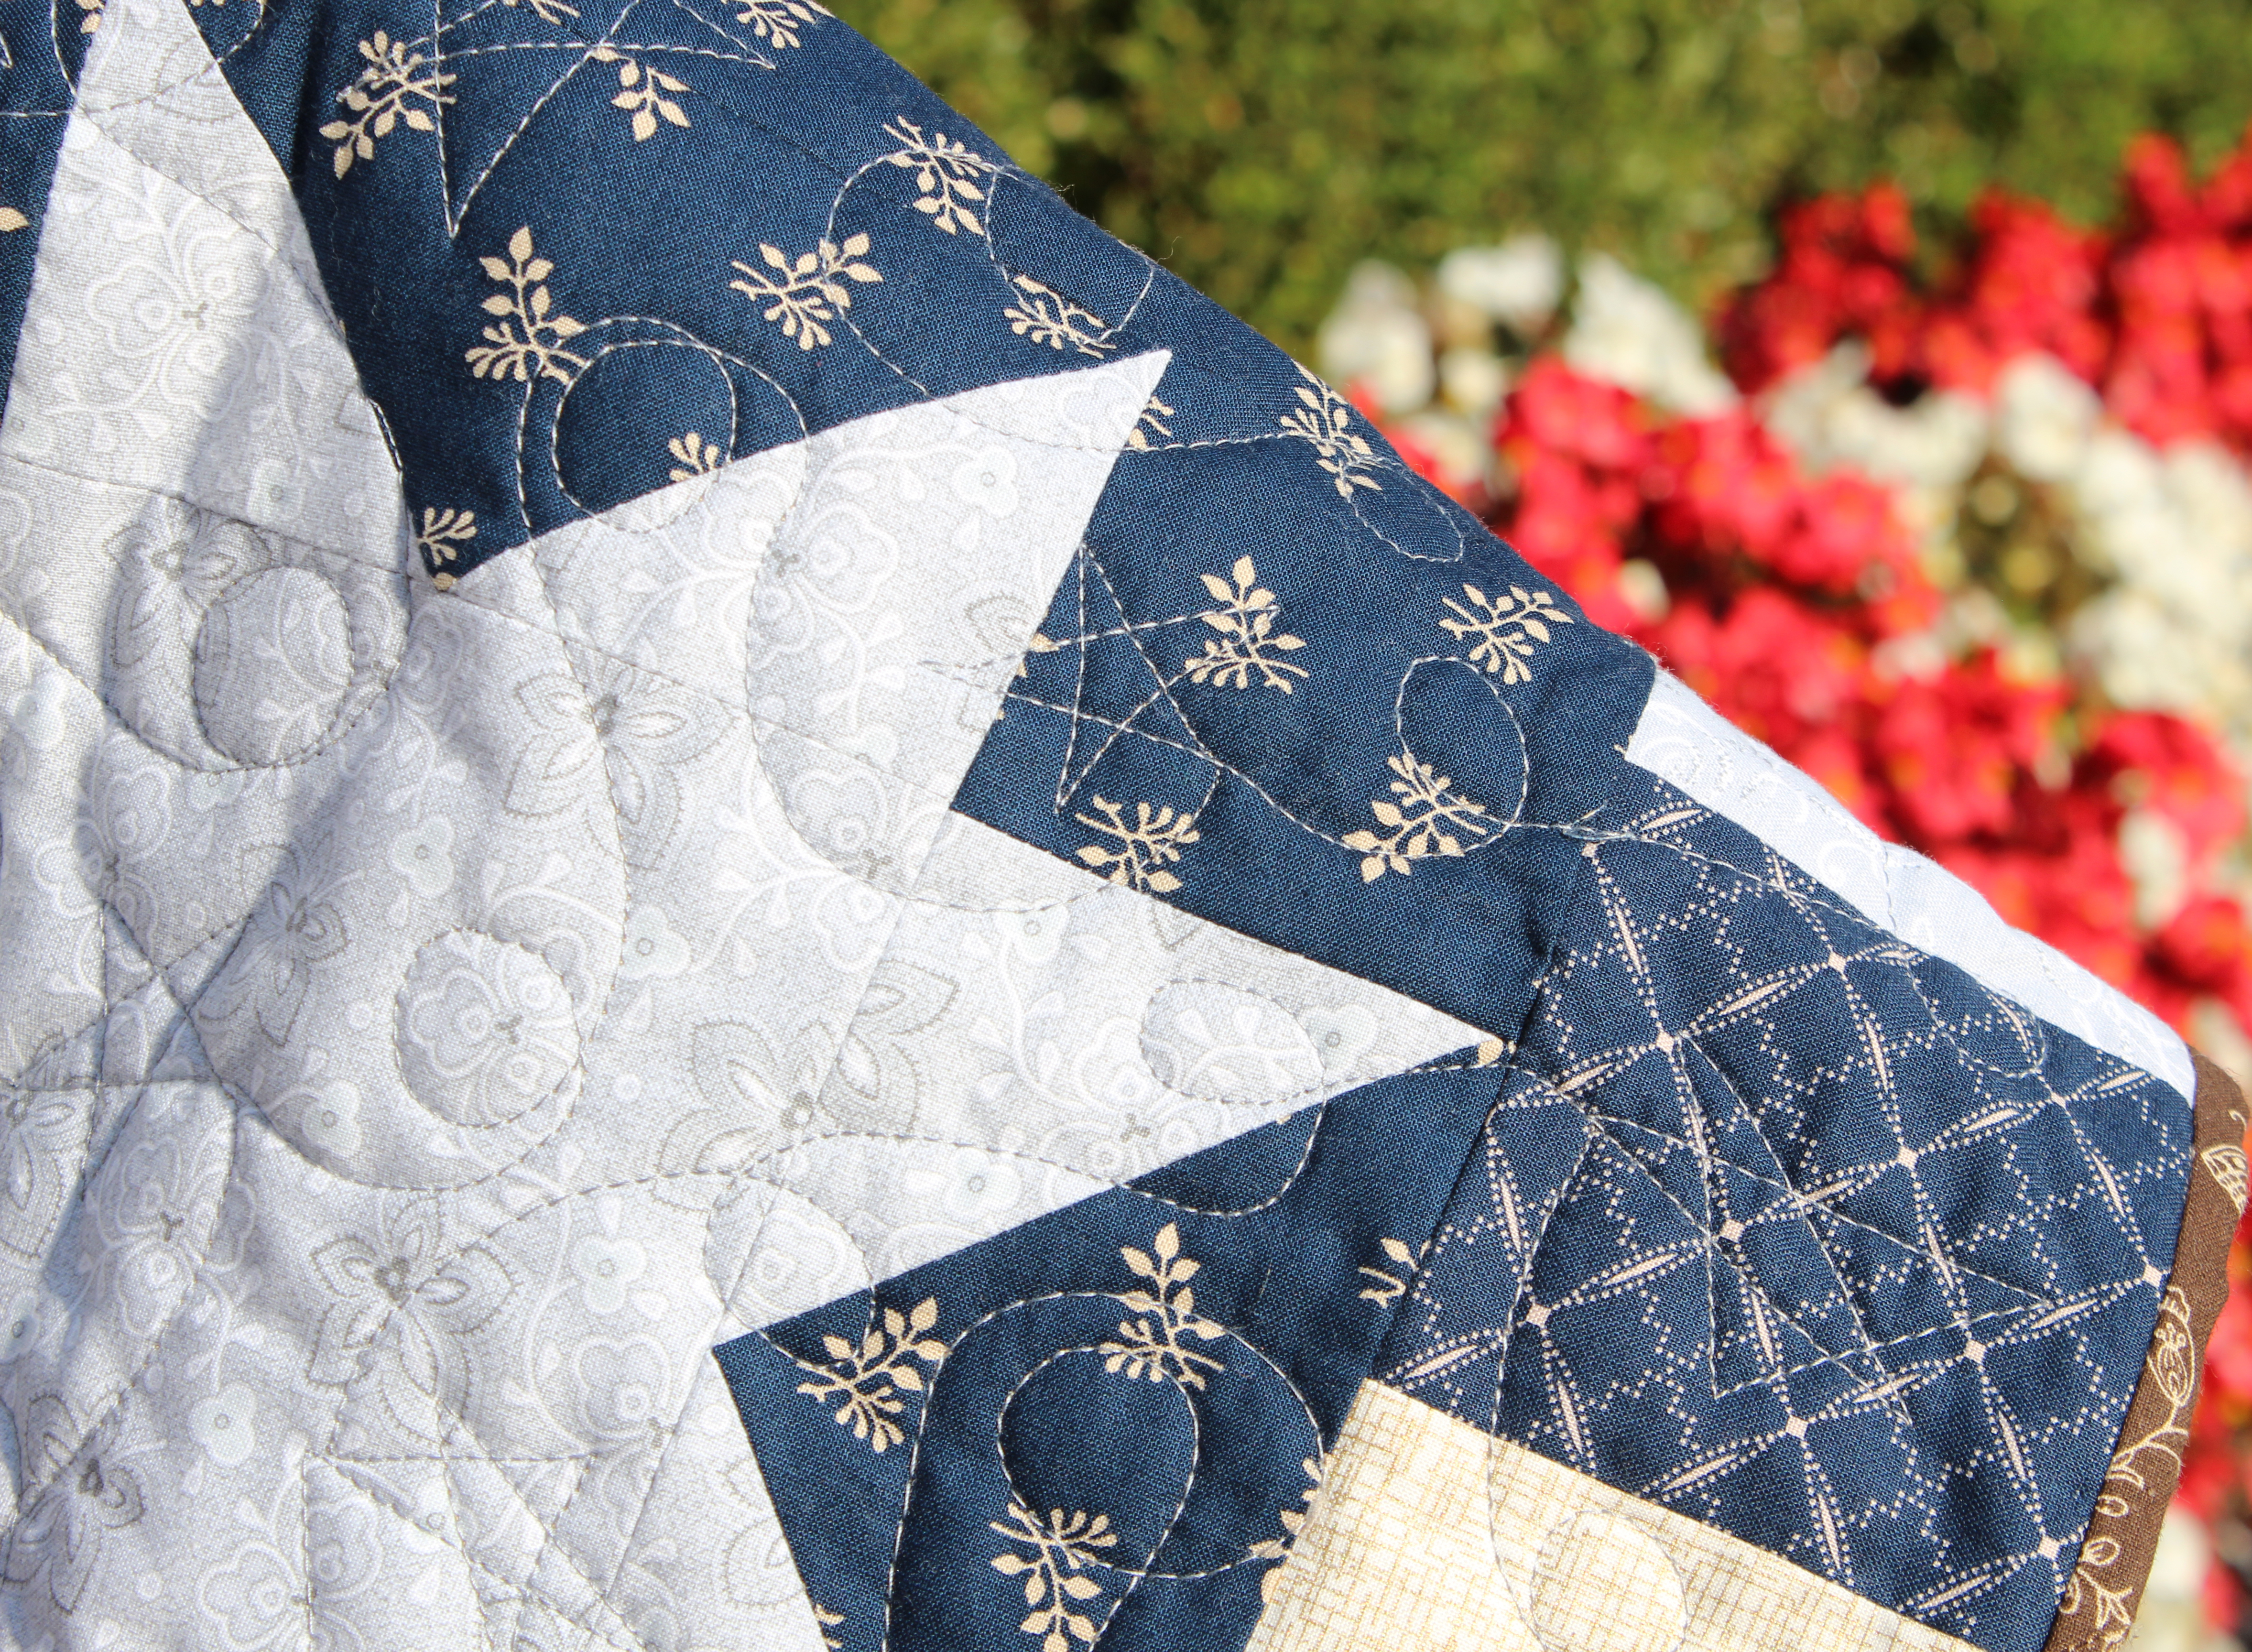
Luckily I had a stack of 12 fat quarters that fit the bill for the light fabrics needed for the quilt.  I took one each of the colors with me to my local quilt store with two friends and we searched for the 12 dark fabrics.  Christa’s quilt is very neutral with white, light grey, and tan for the lights and dark grey, brown, and black for the dark.  Do you want to know something though?  Colors can be a neutral.  I just had to add some color to this!  So some of my black fabrics became navy and a really deep plum.

stst6

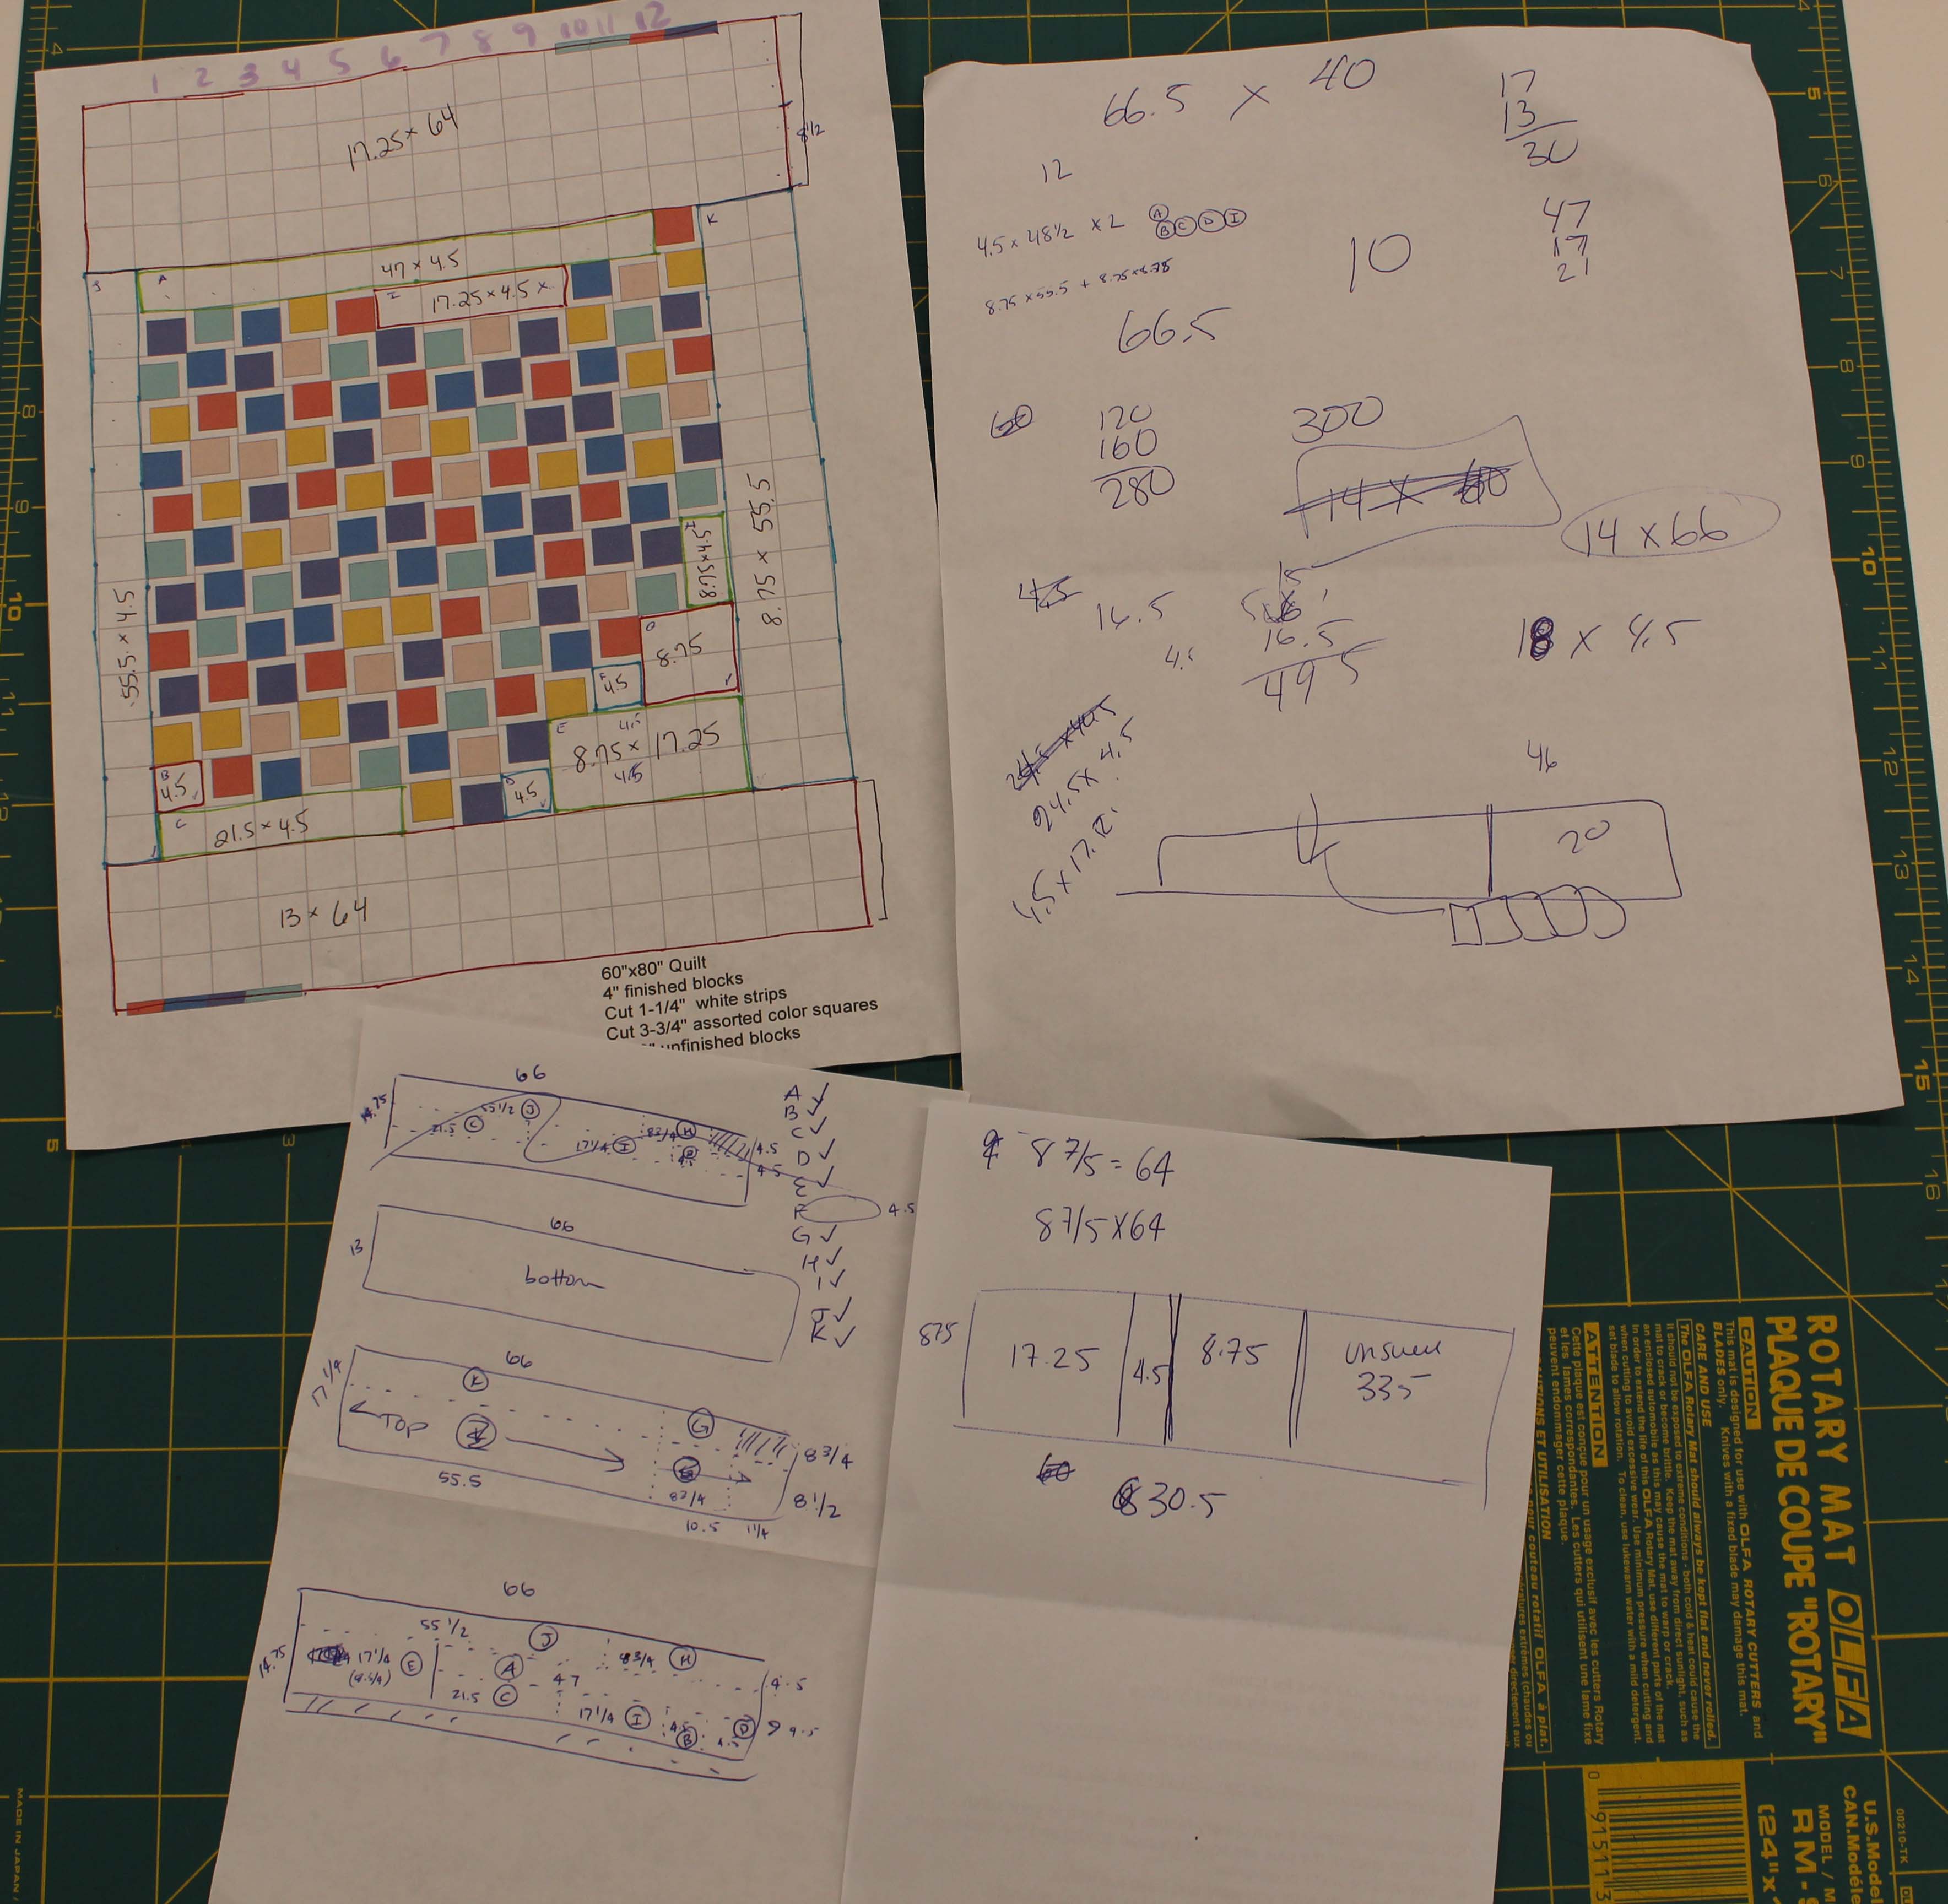
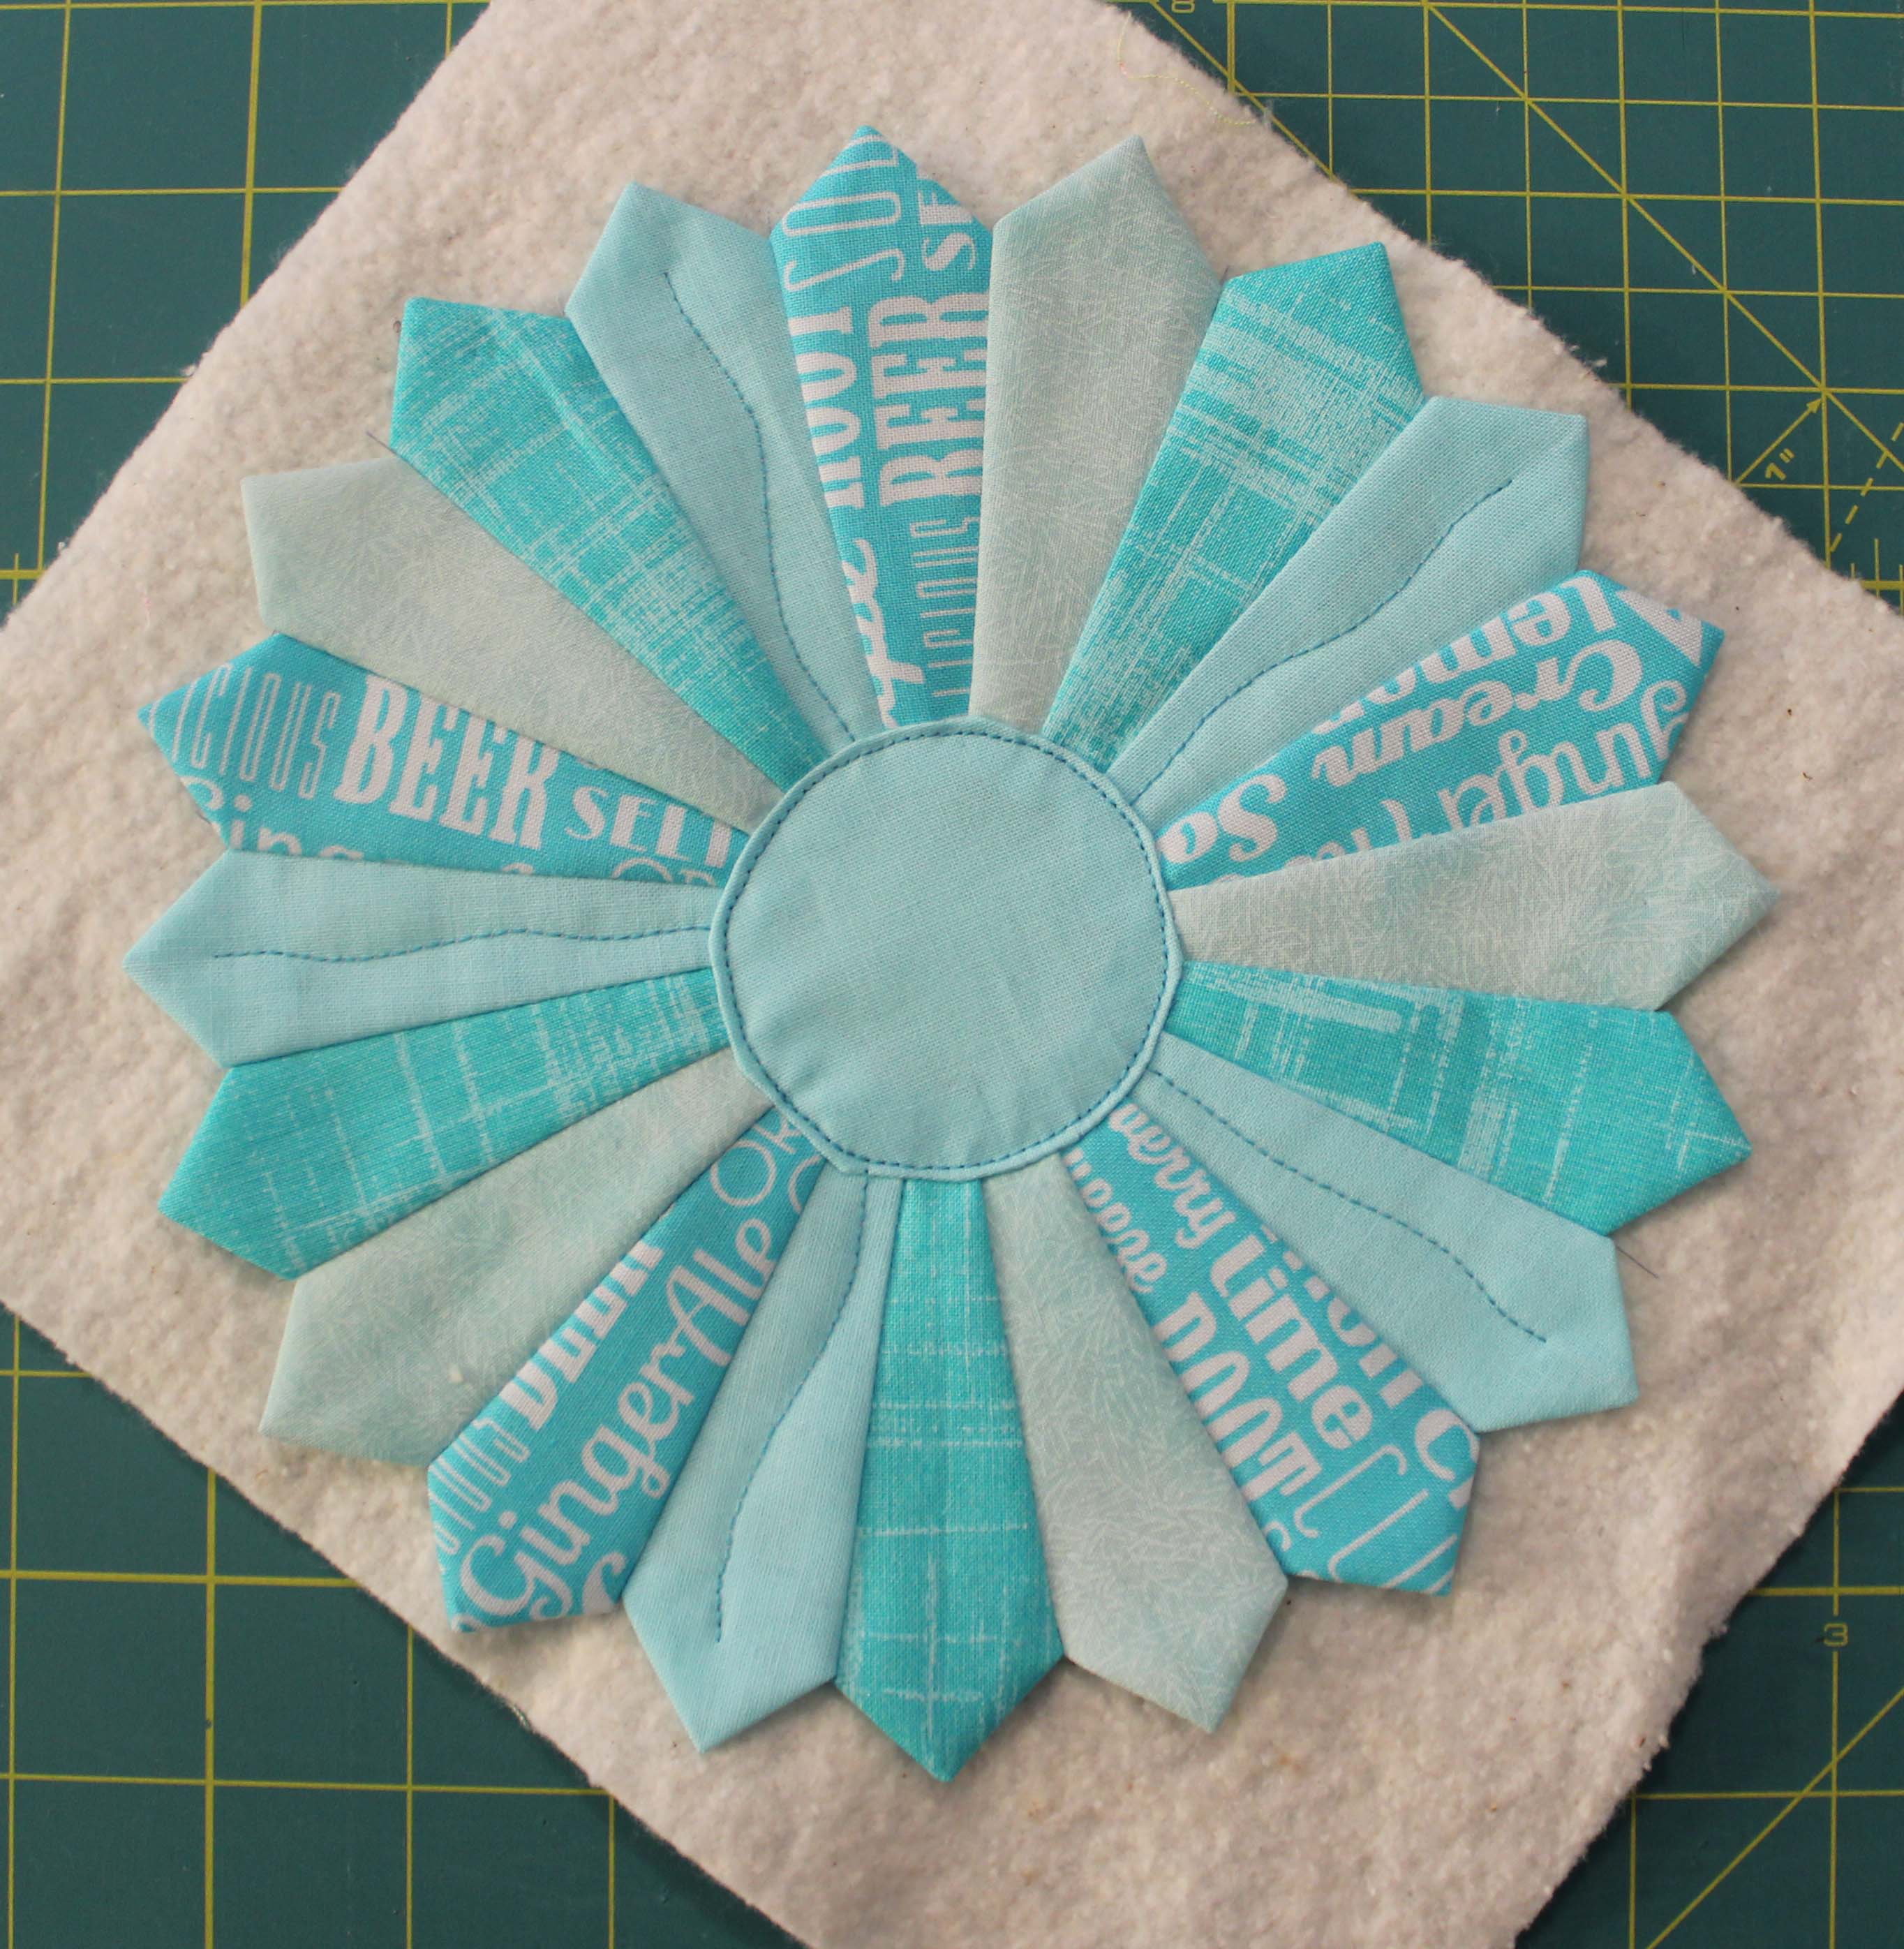
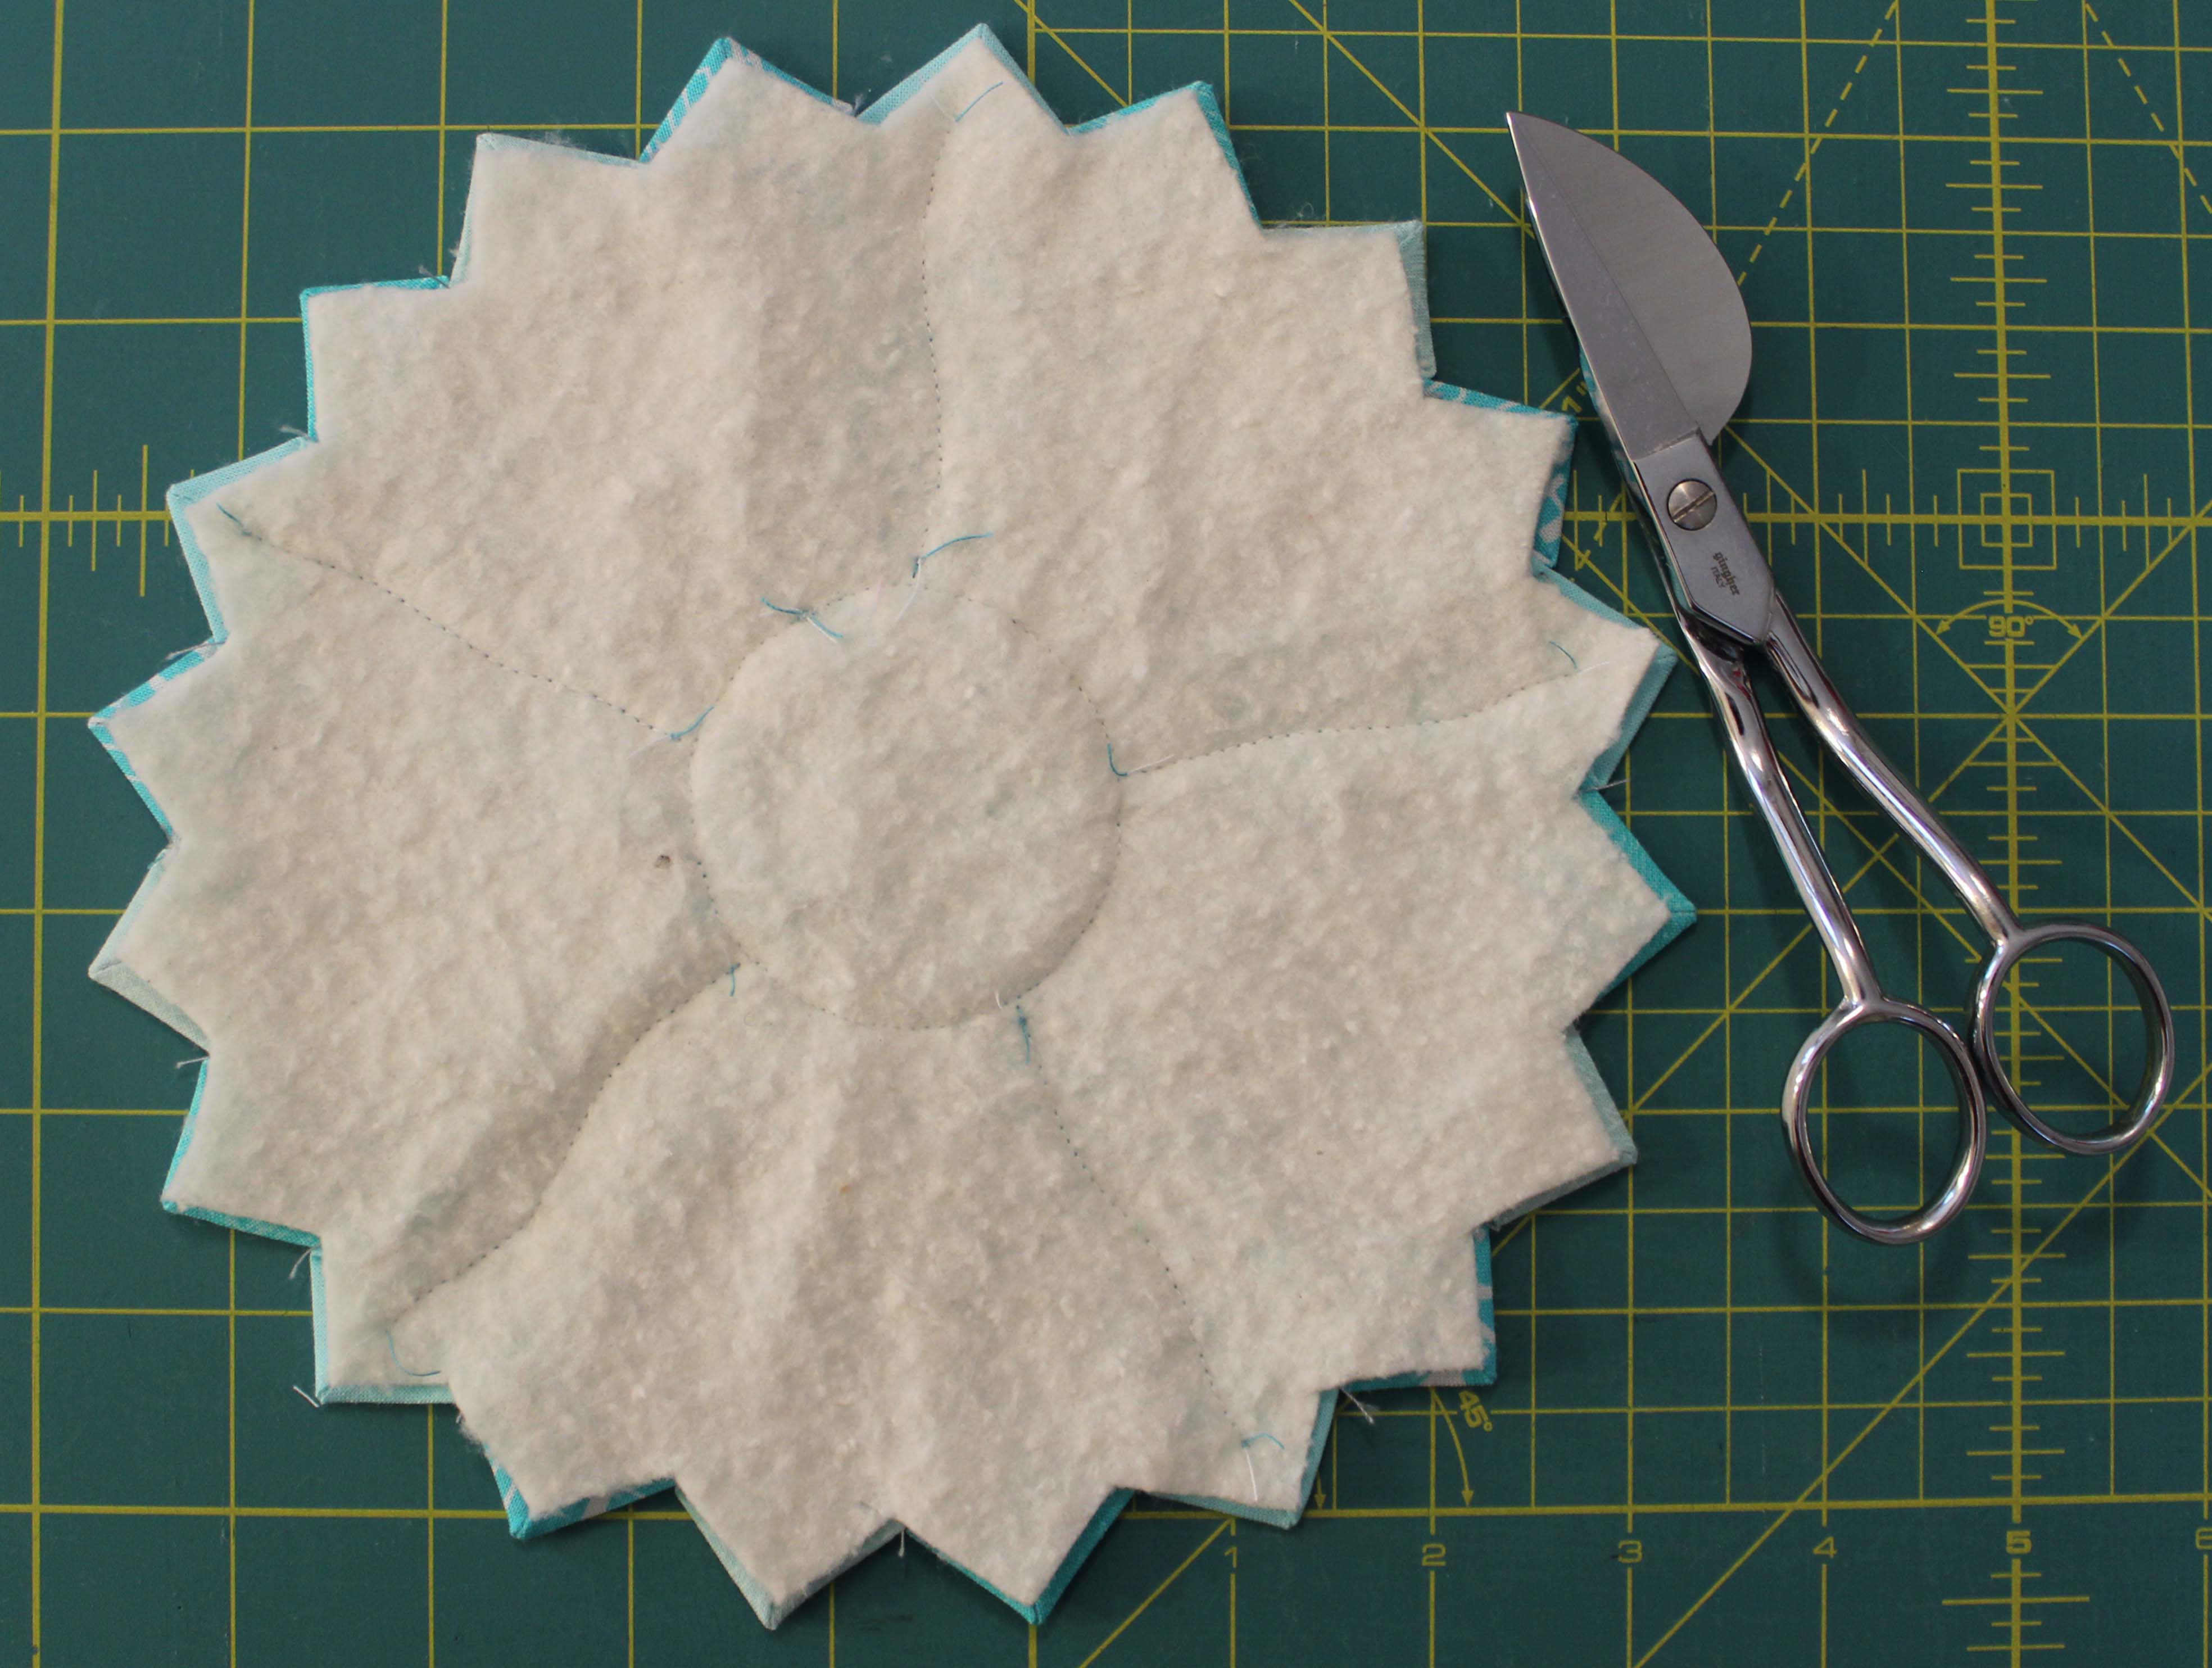
The piecing of the quilt went quickly.  Christa’s book uses precuts for all the quilts, and this one was fat quarters.  I made a what I thought was going to be a huge mistake by purchasing 1/4 yards instead of fat quarters for the dark fabrics, but I was able to cut all the pieces I needed.

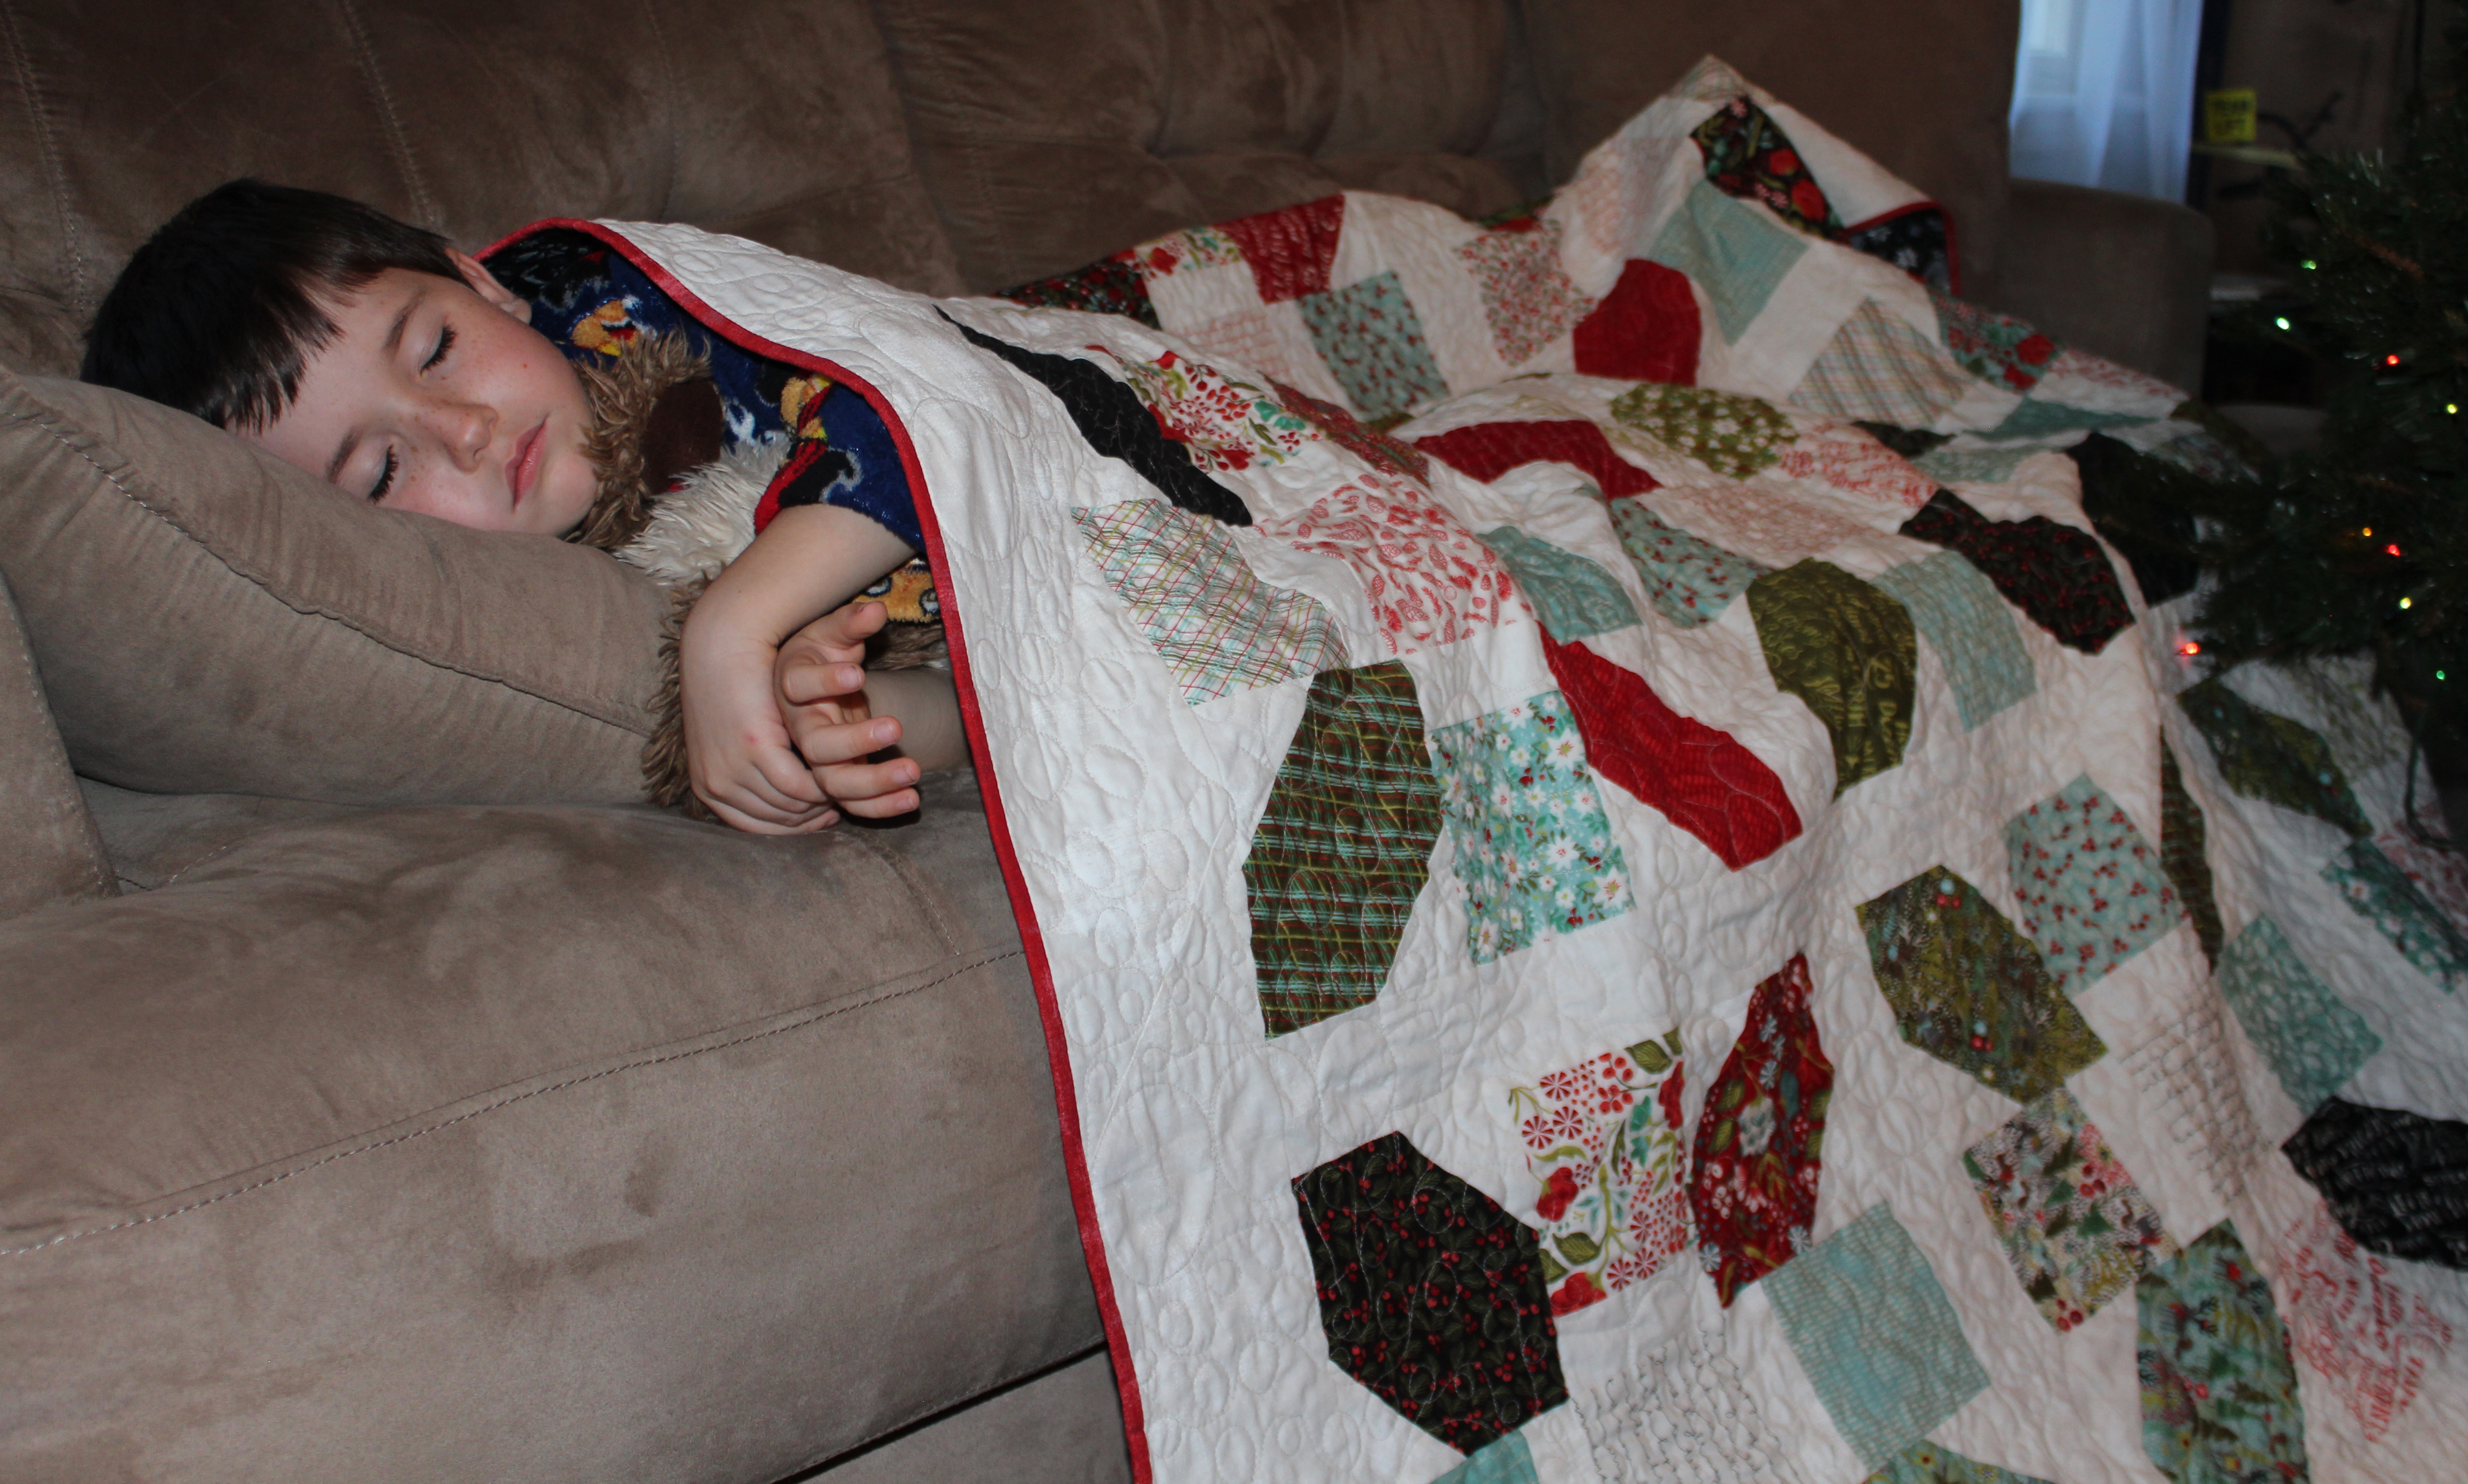
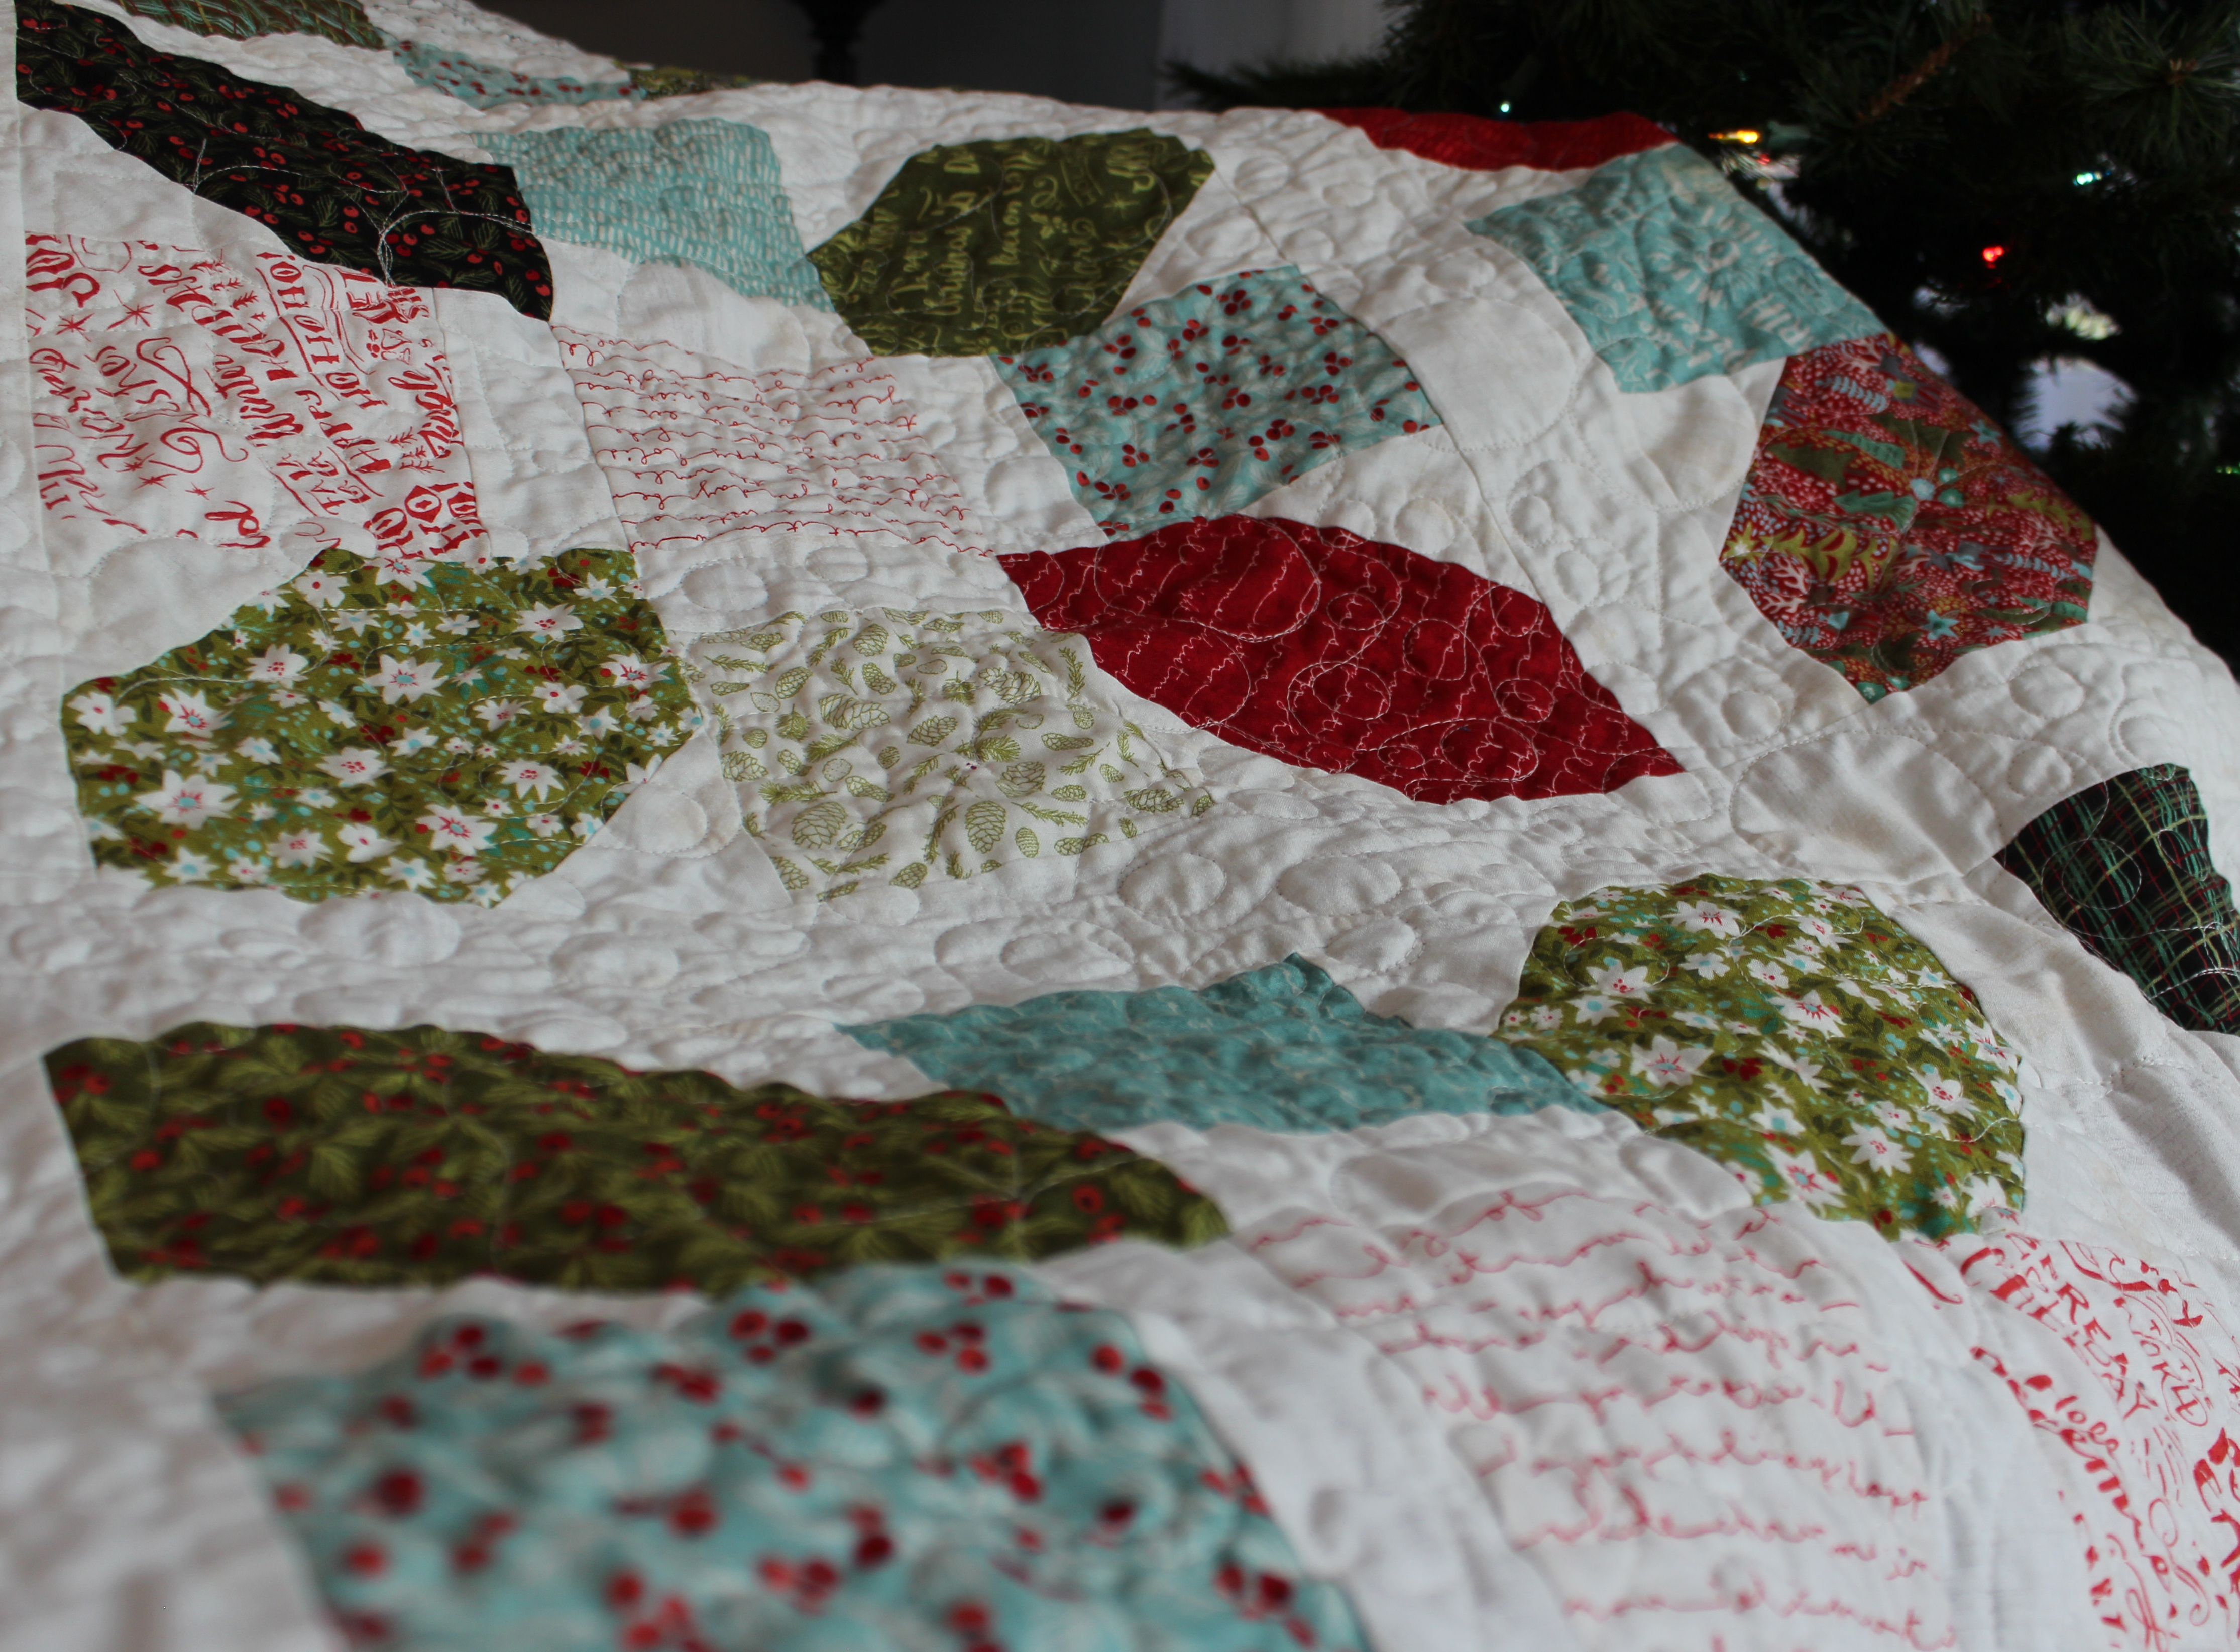
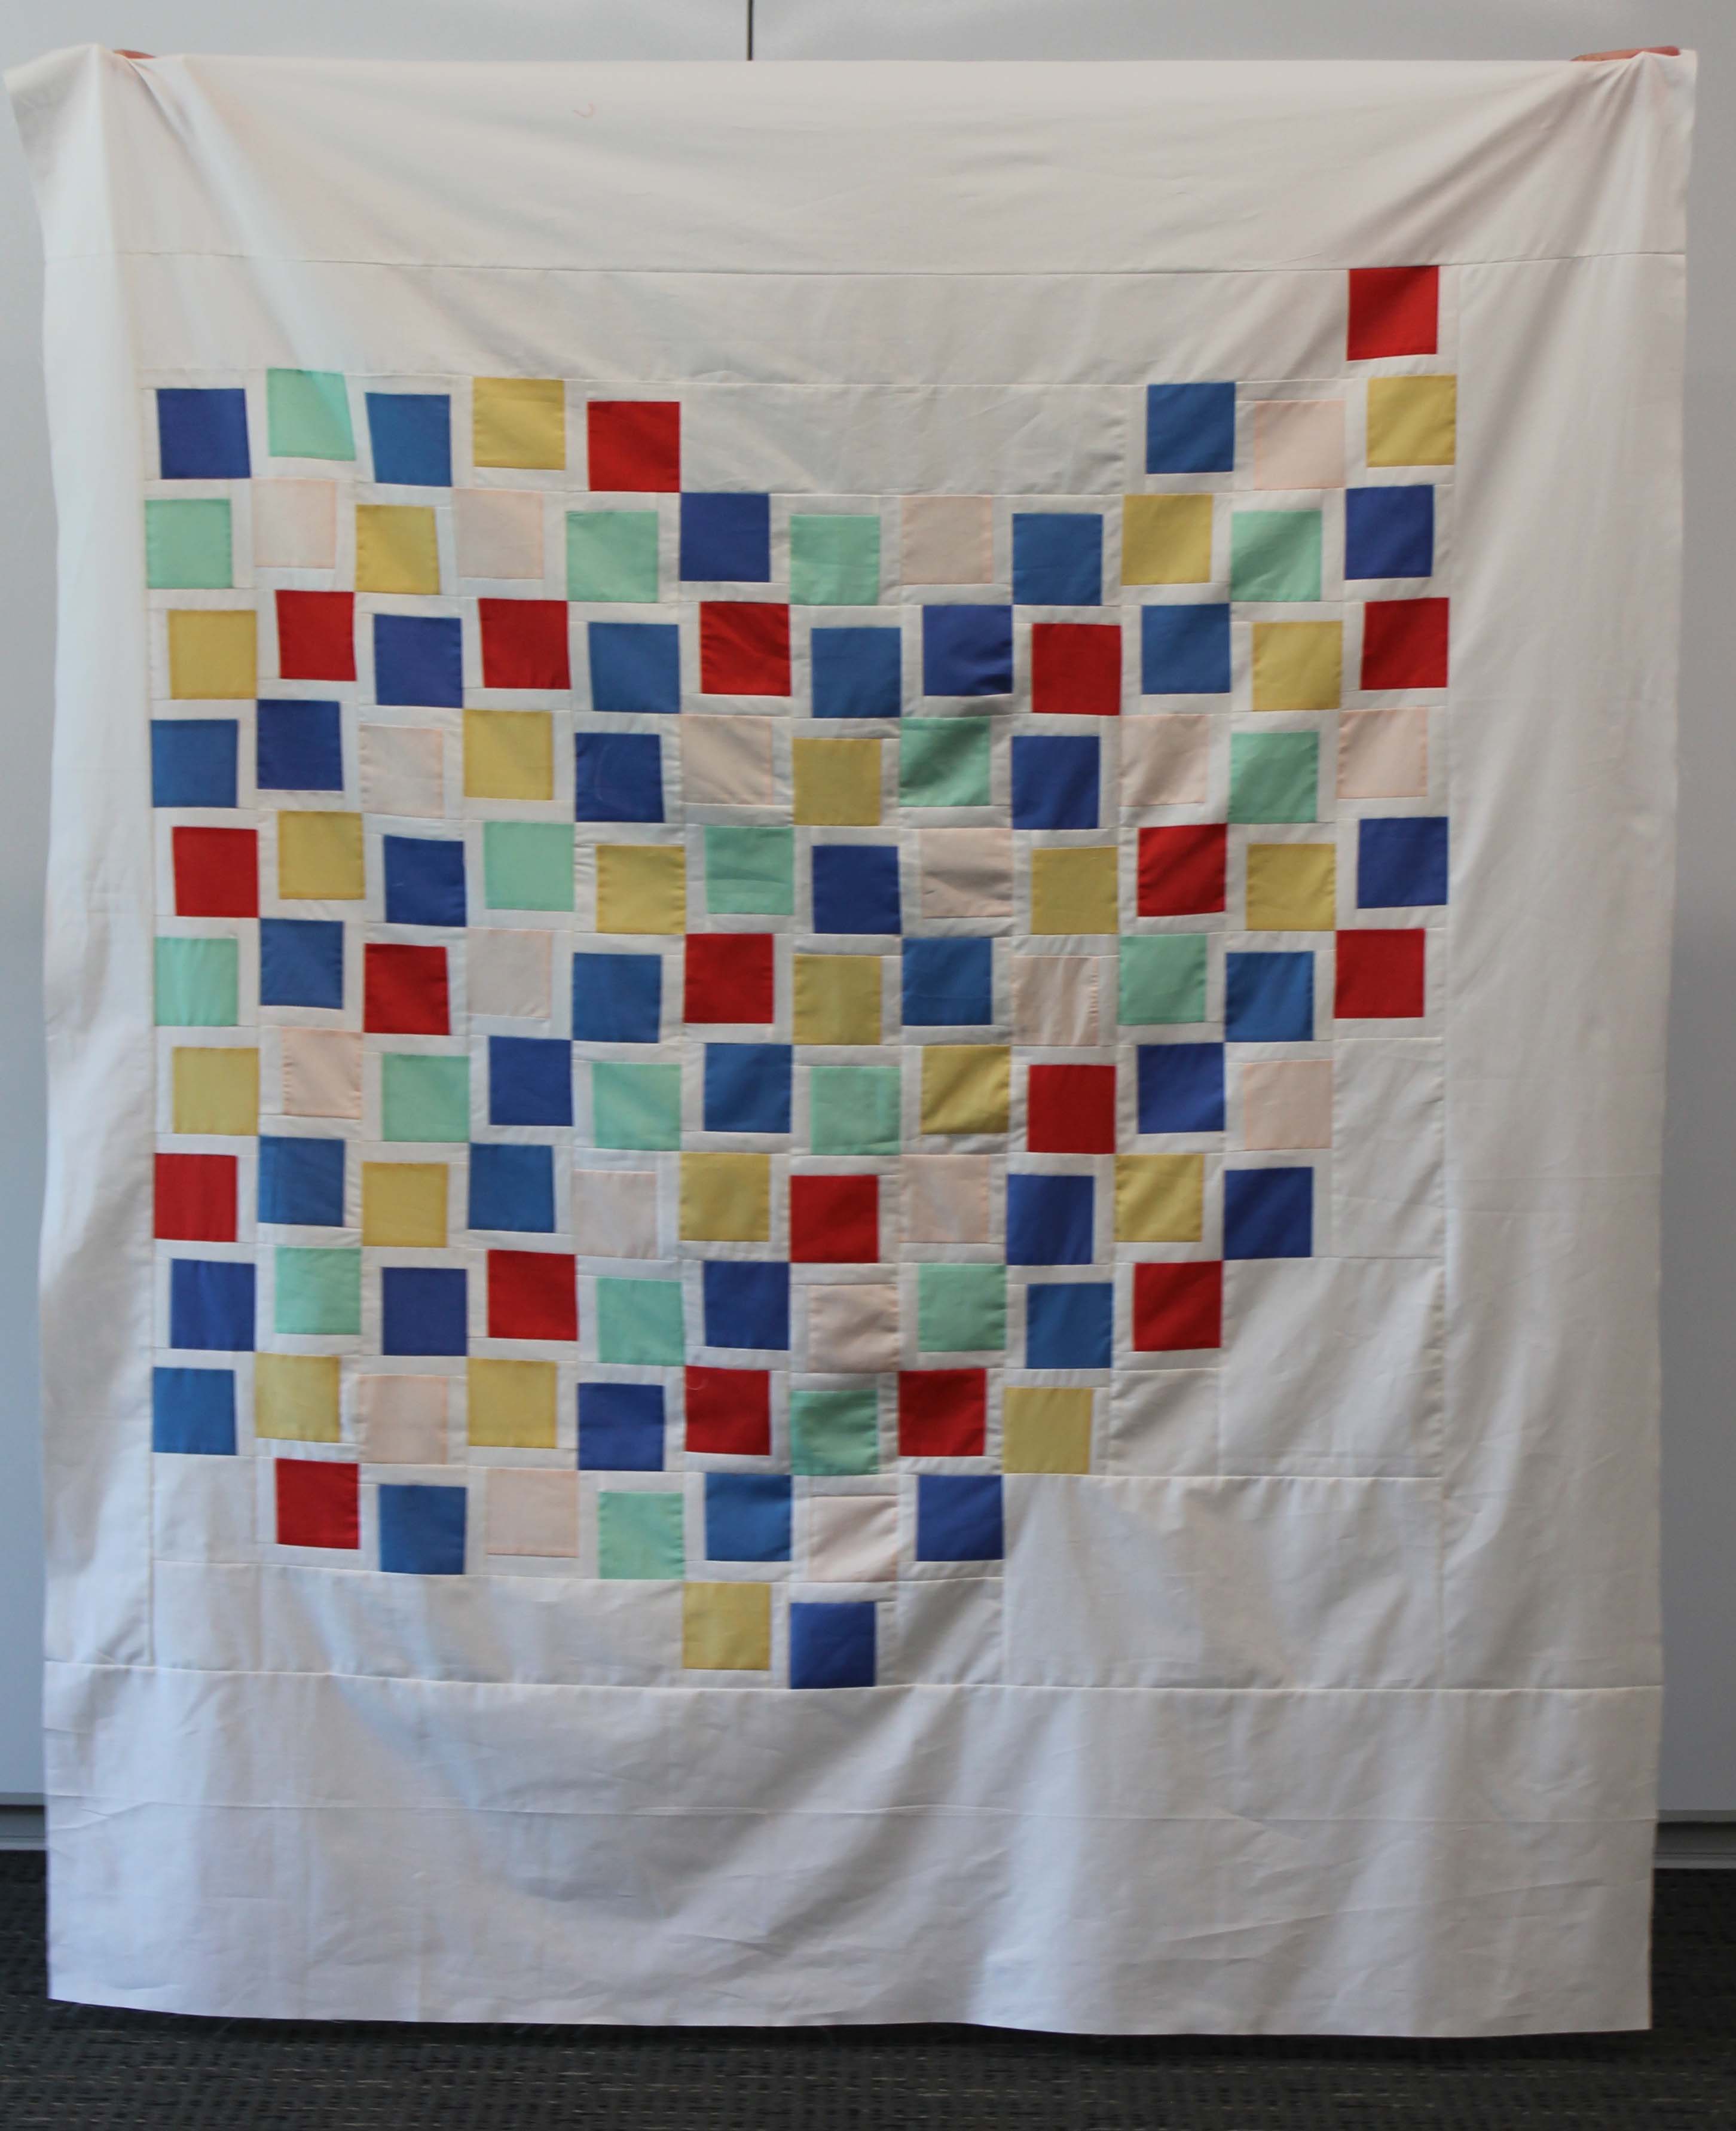
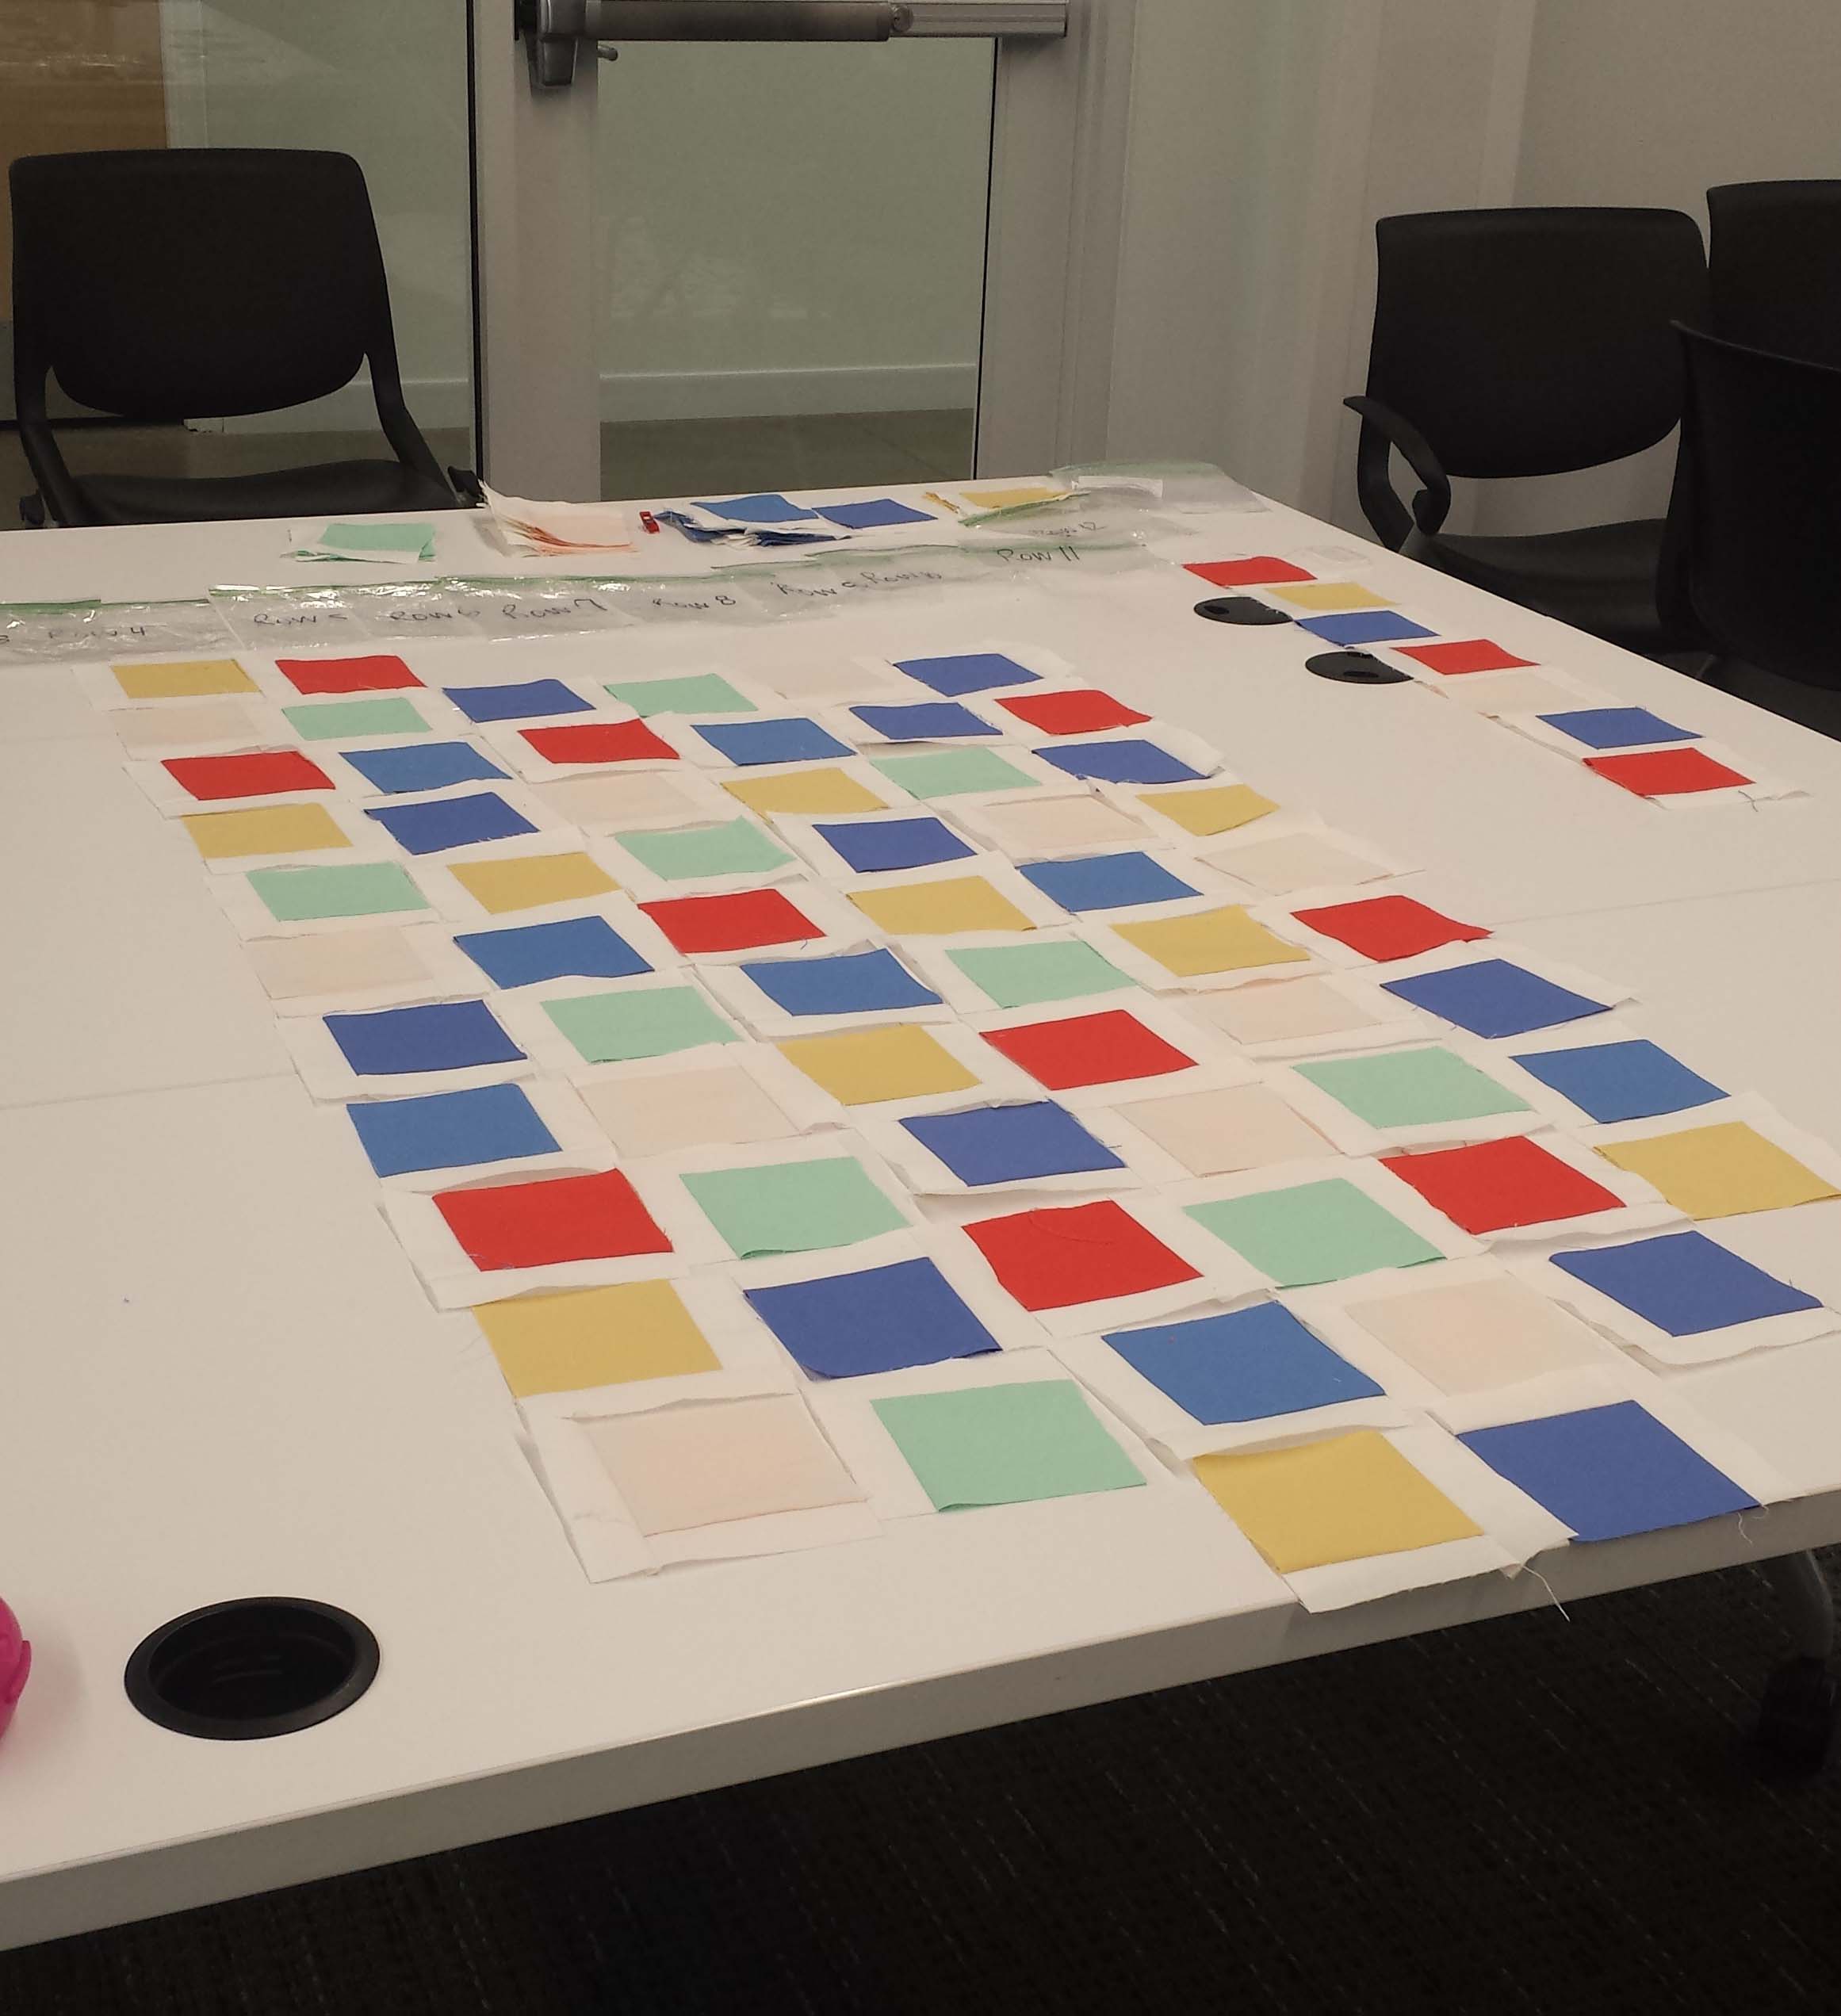
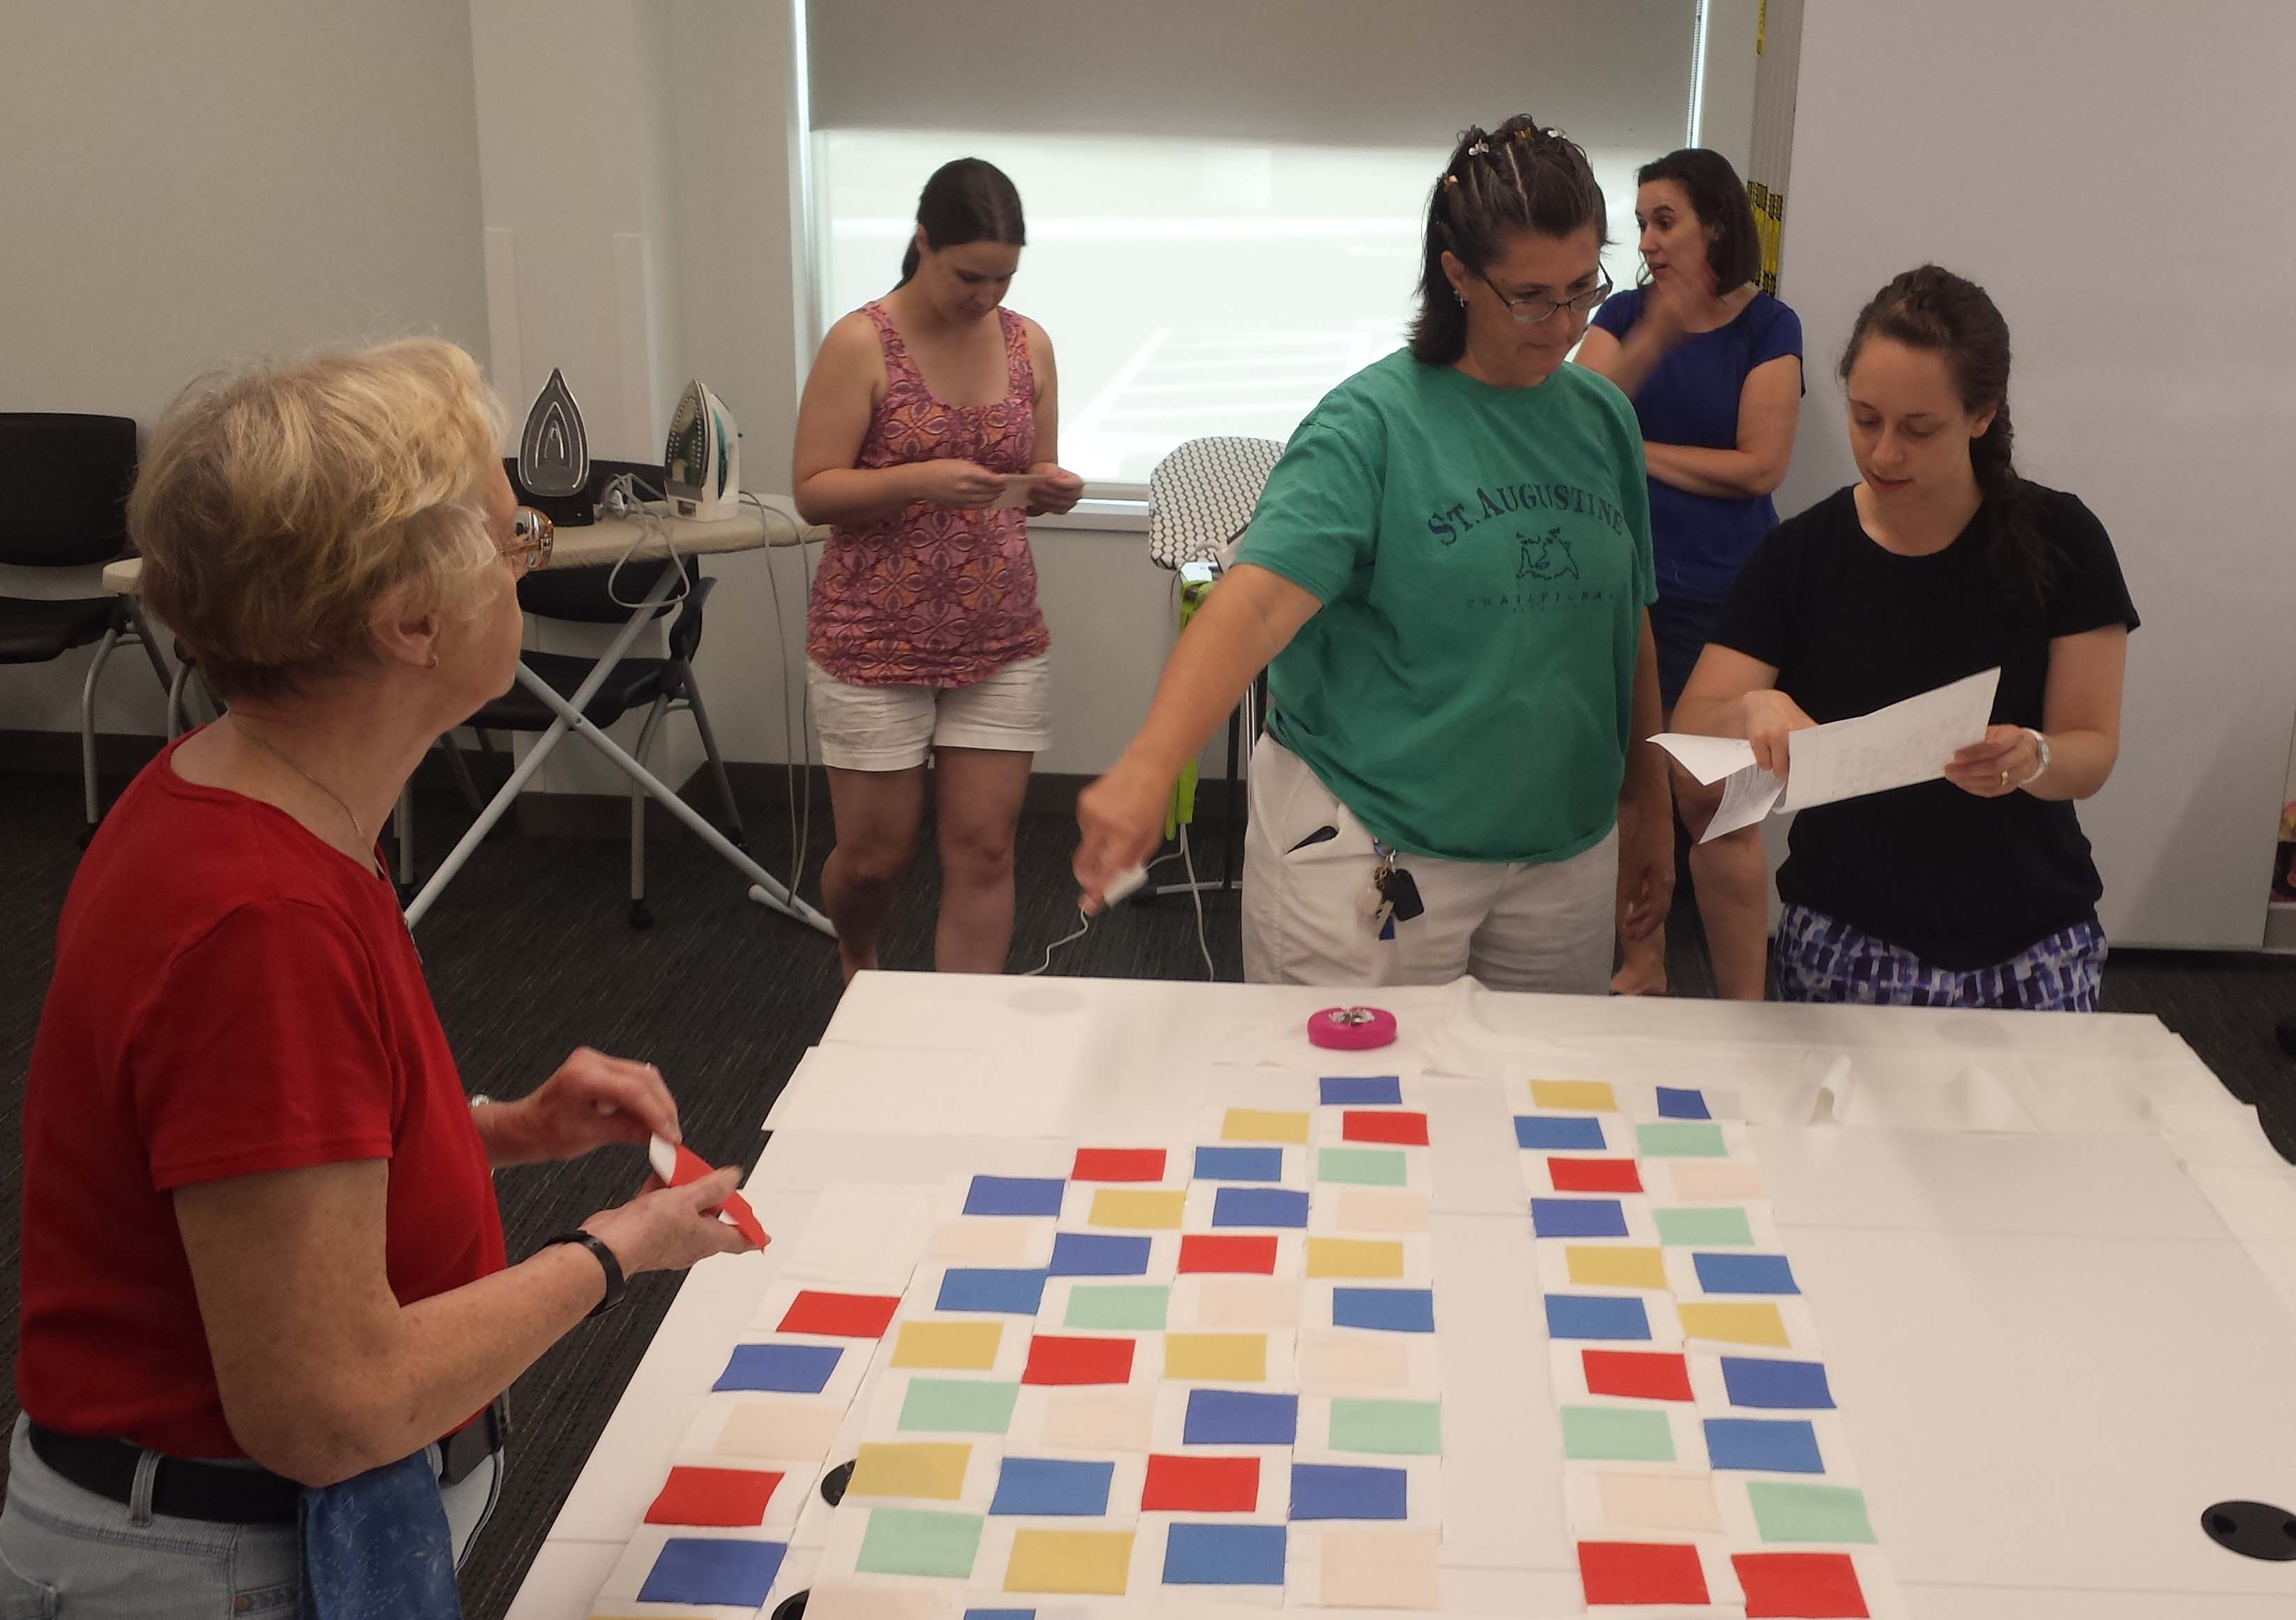
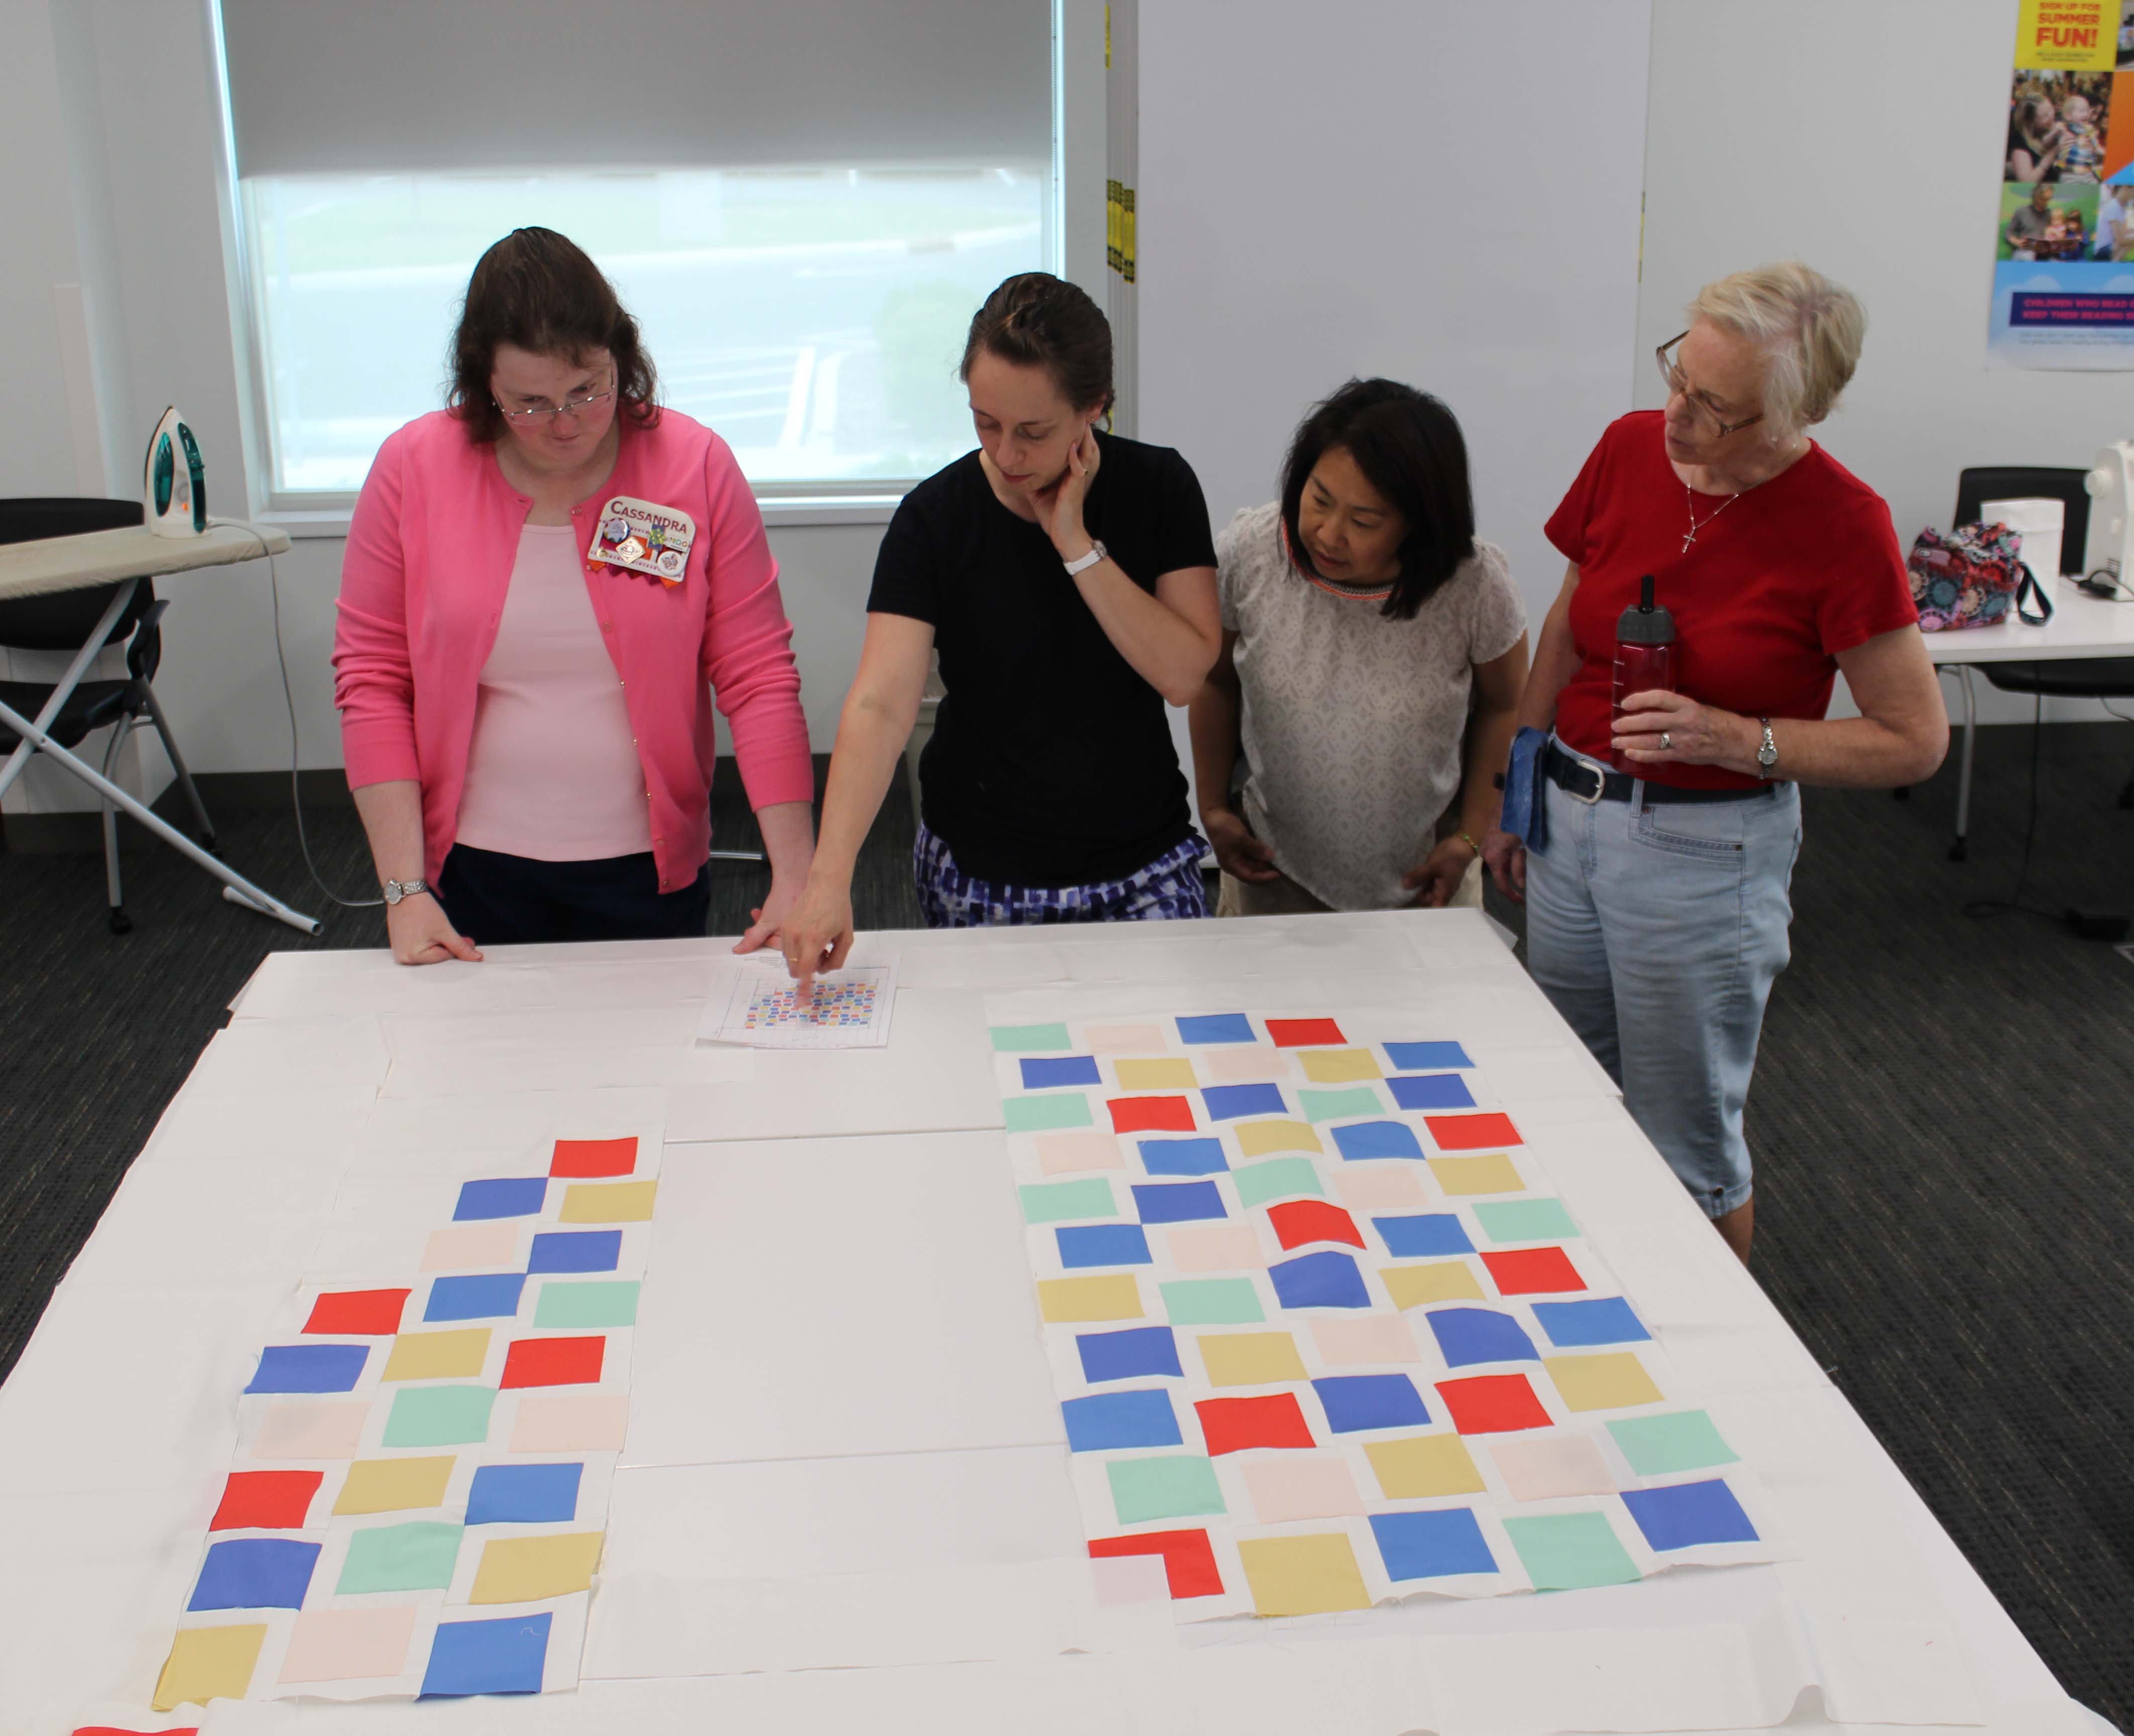
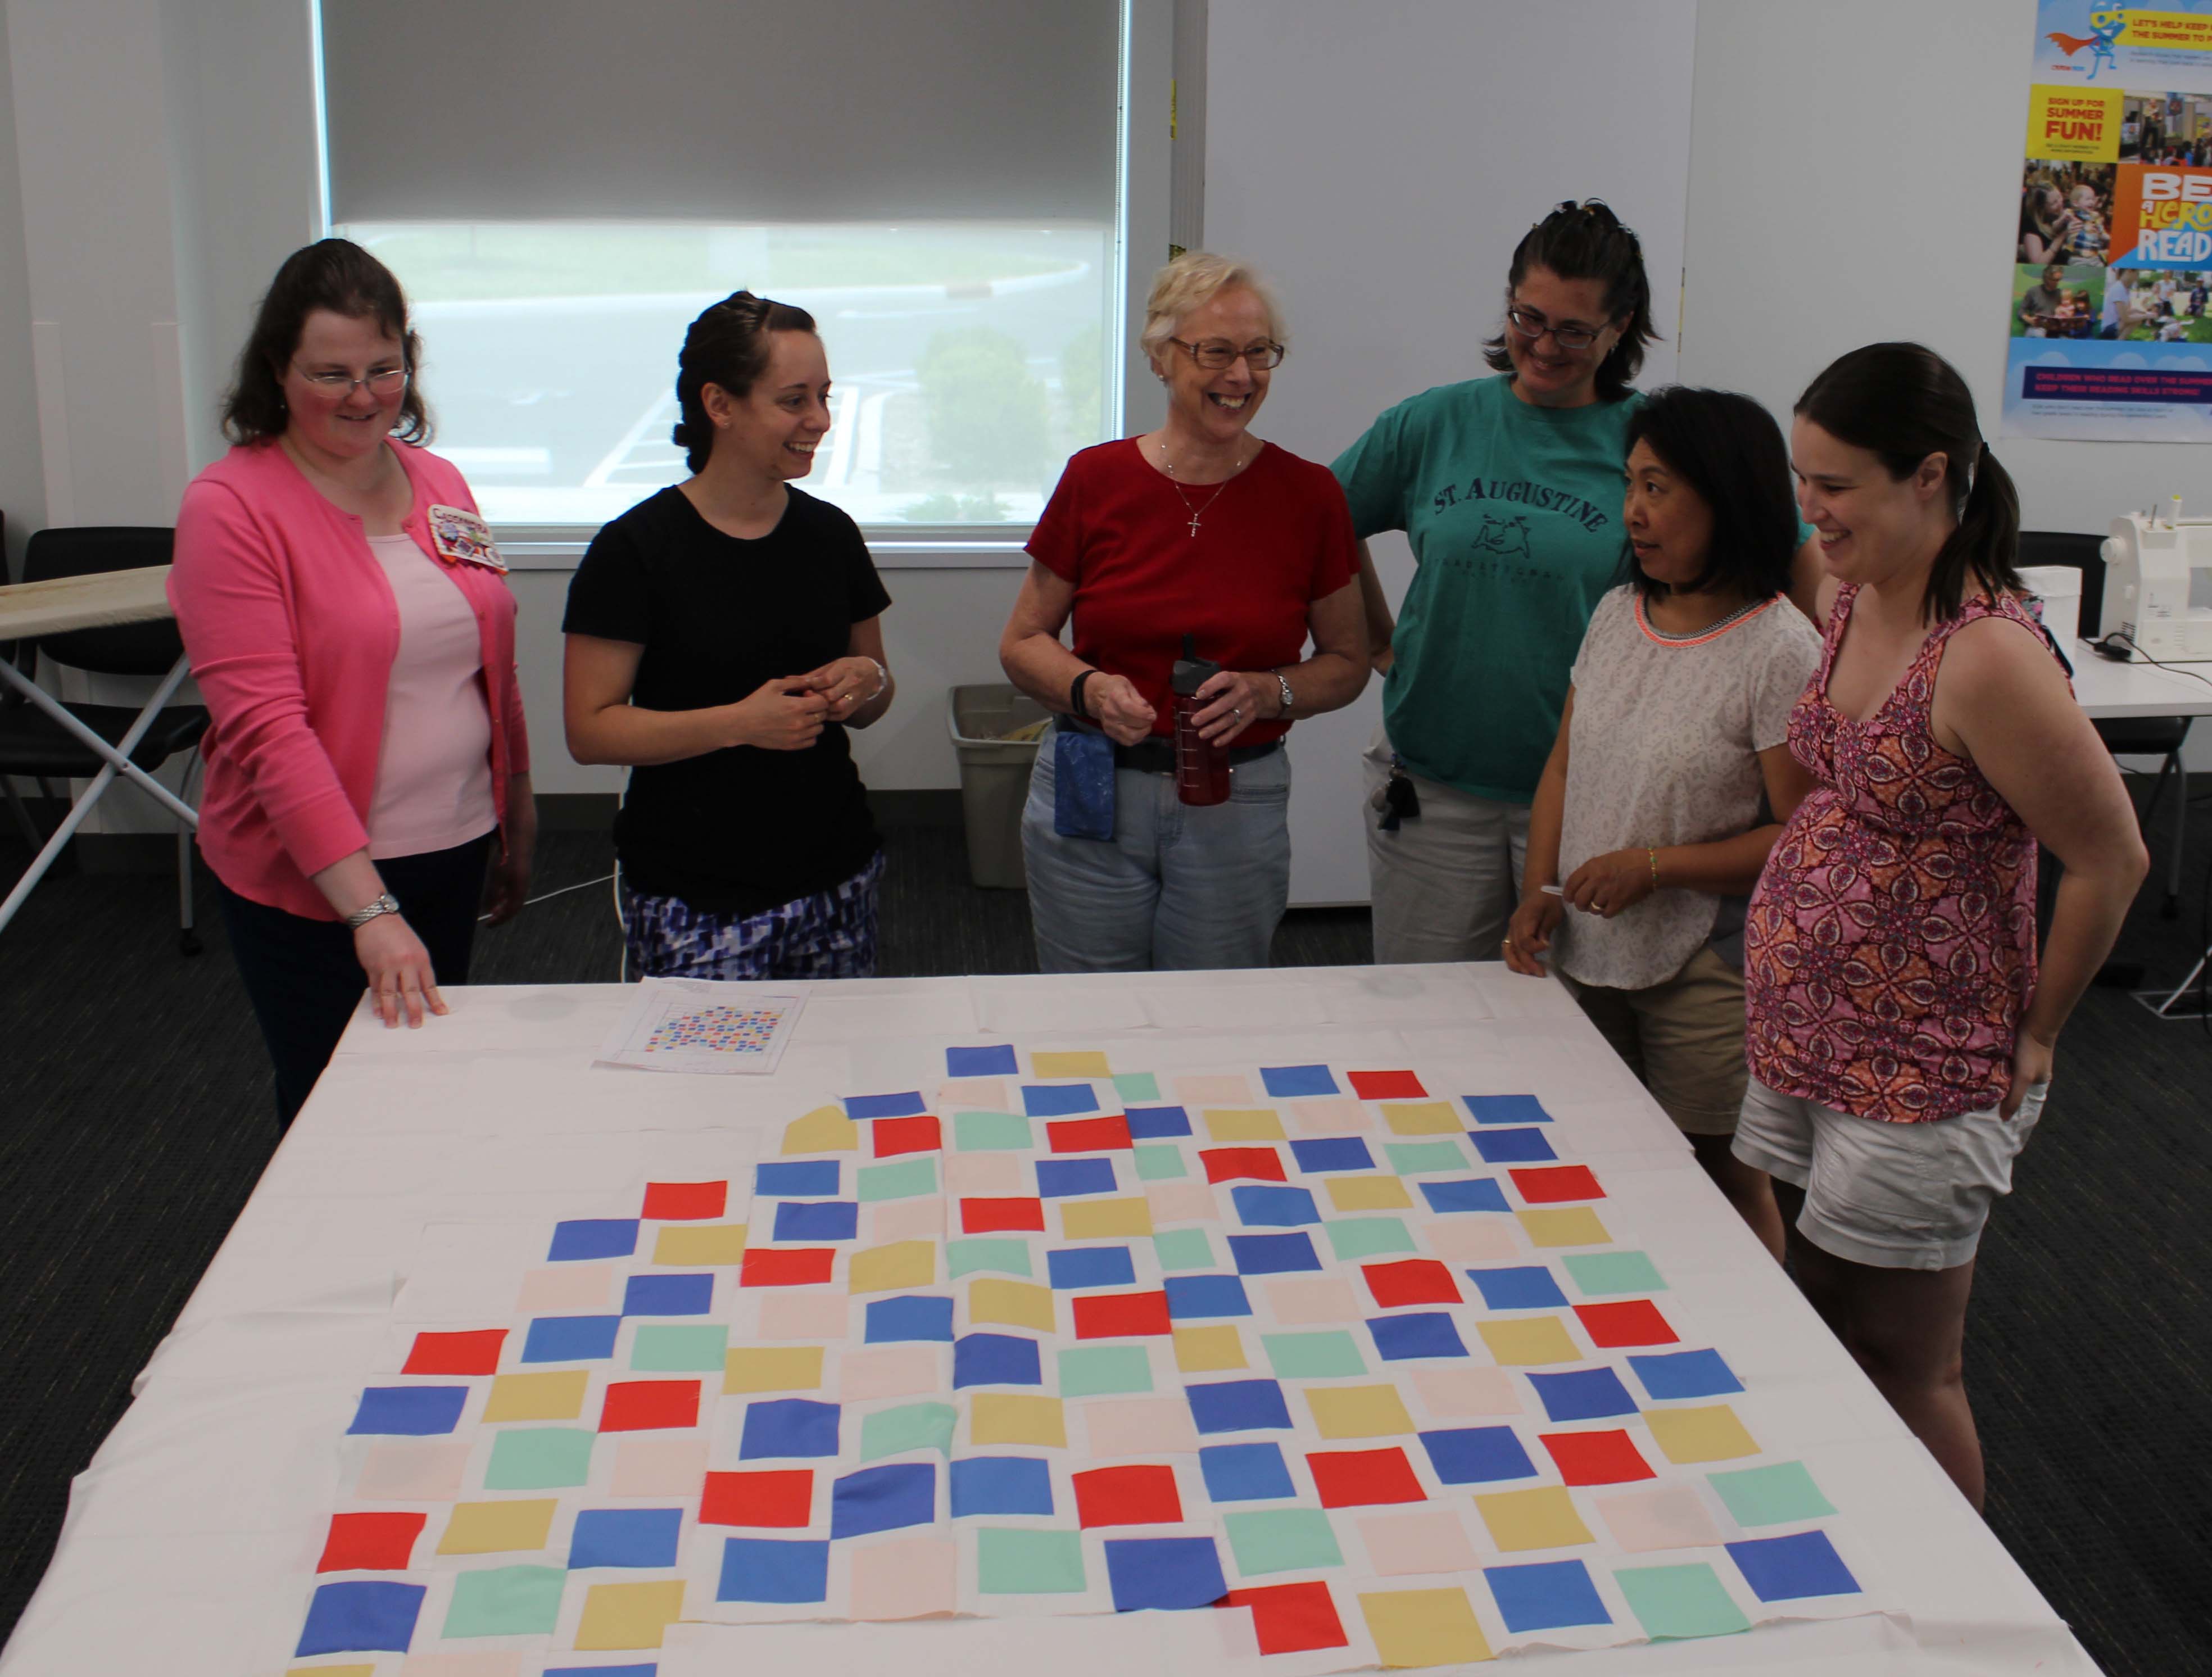
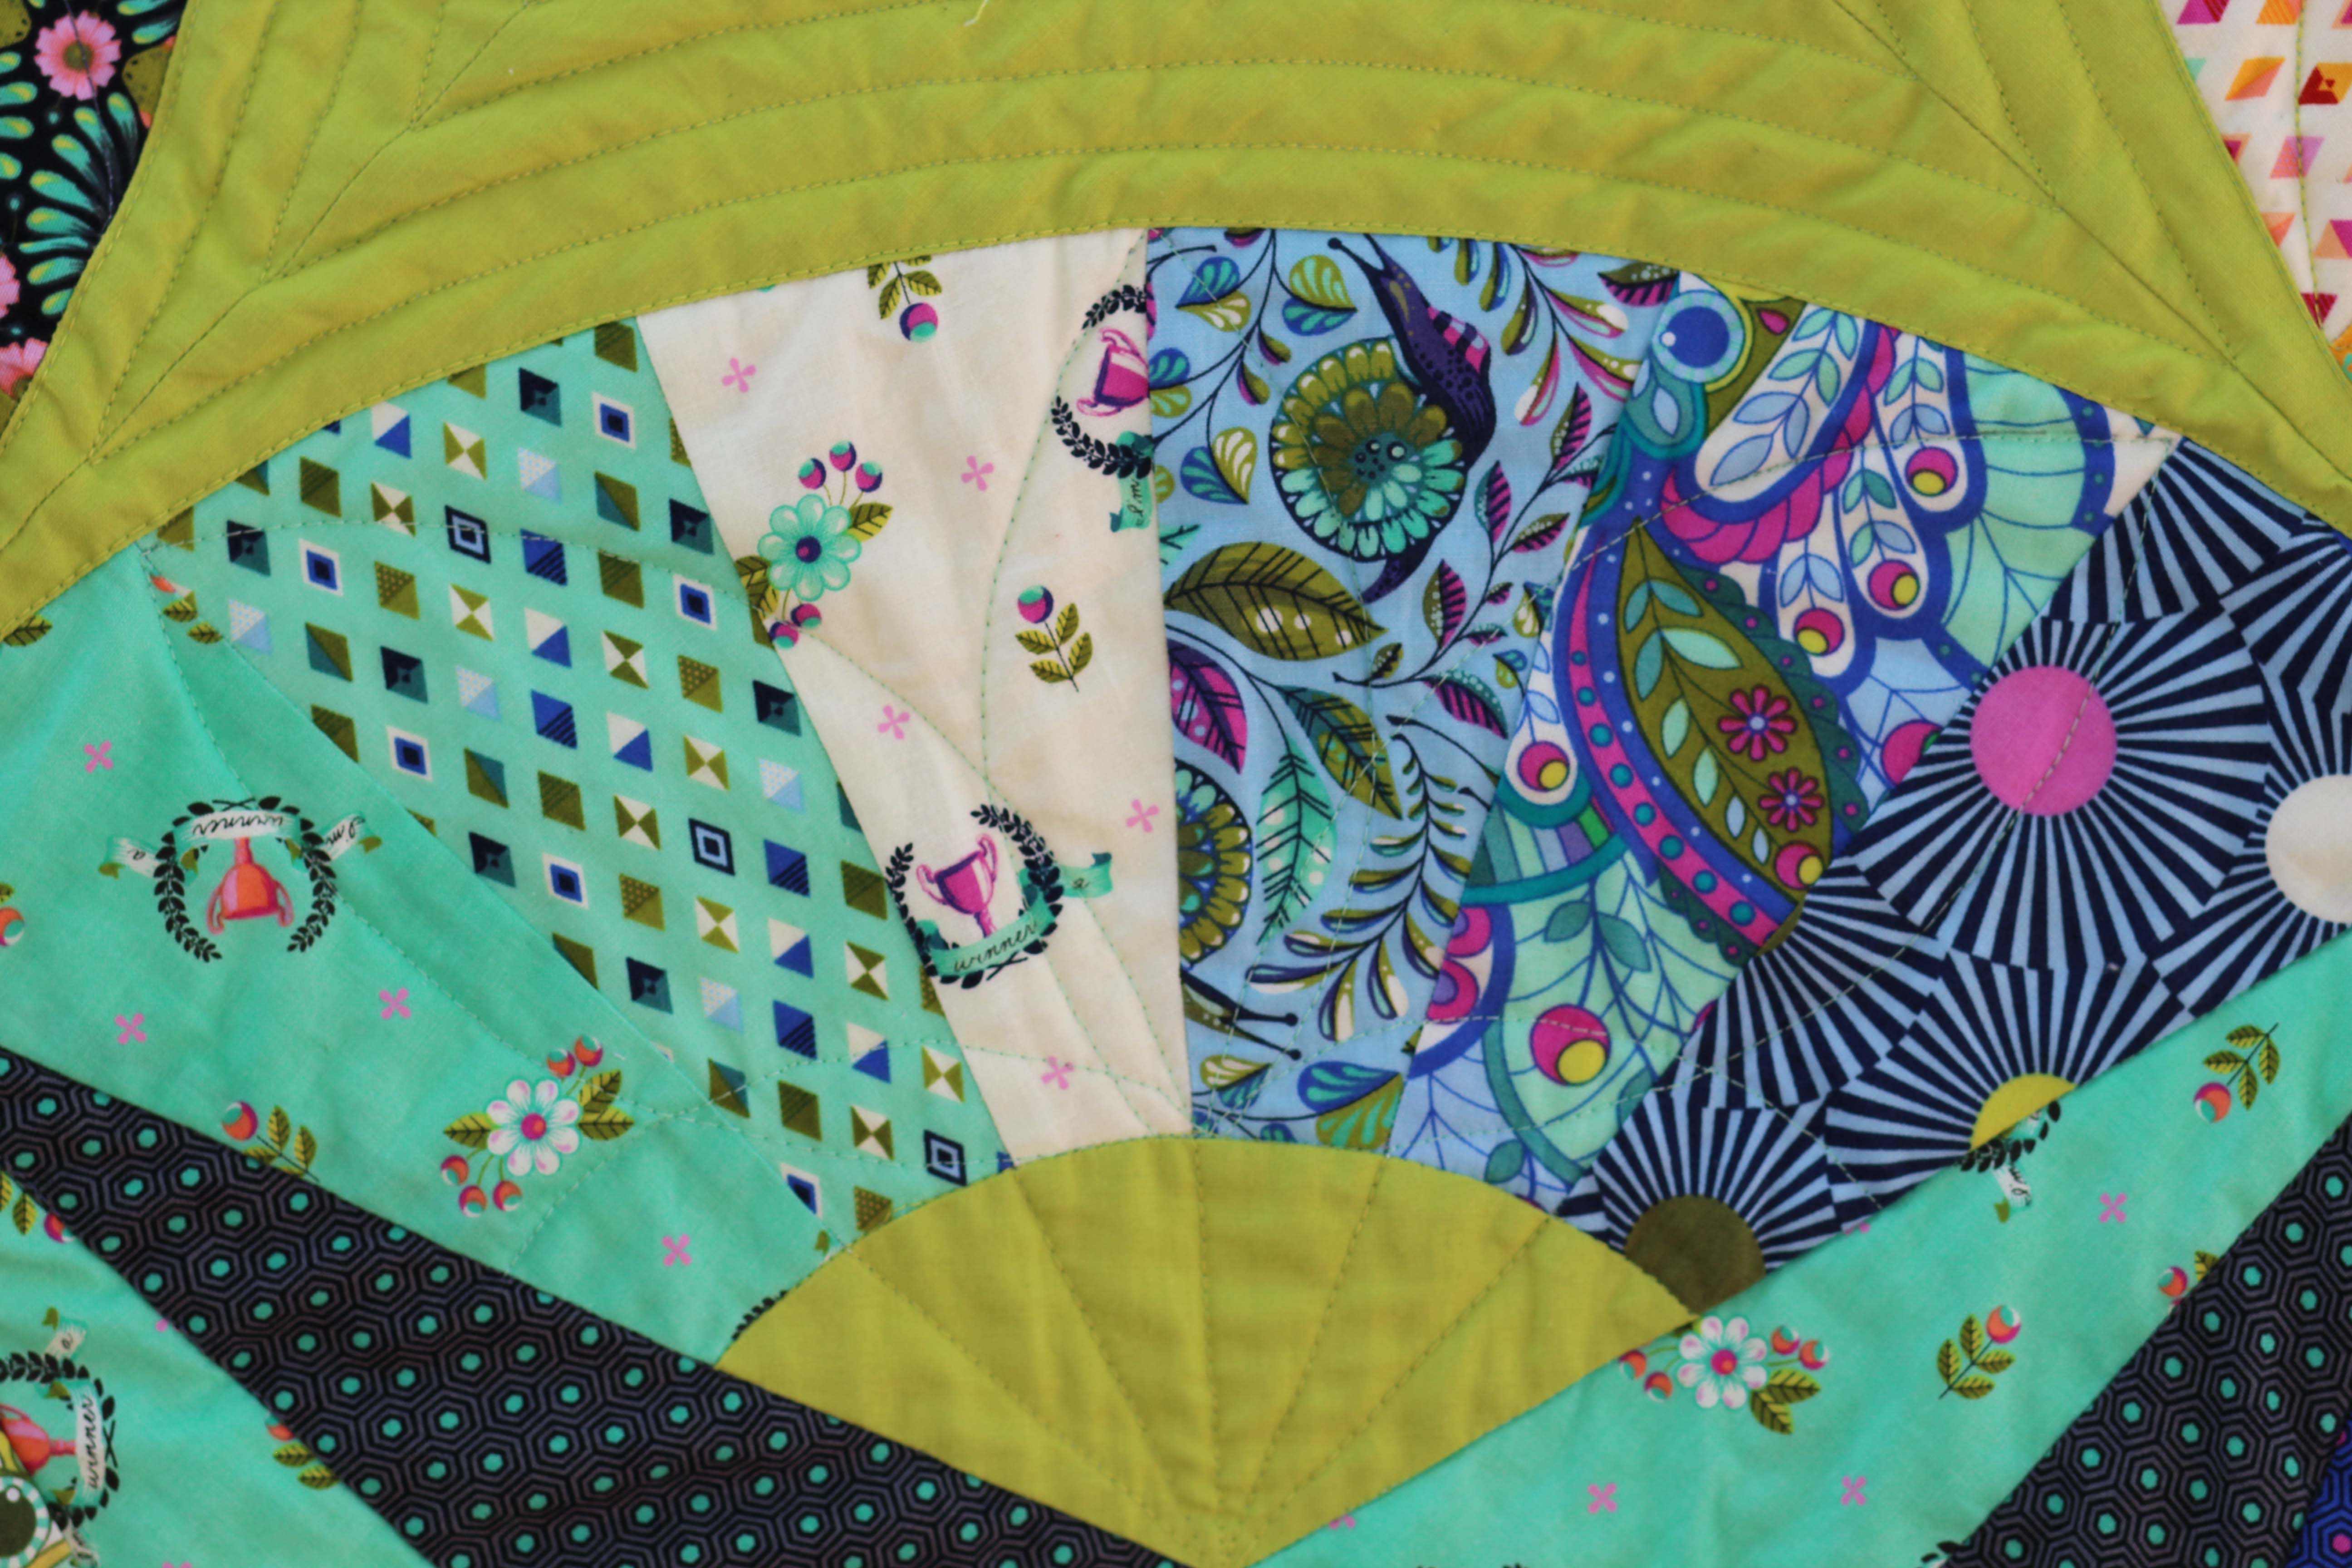
I spent an evening and the following morning laying out all my stars, looking for the best arrangements of lights to dark and am so happy with the way it came out.

stst8

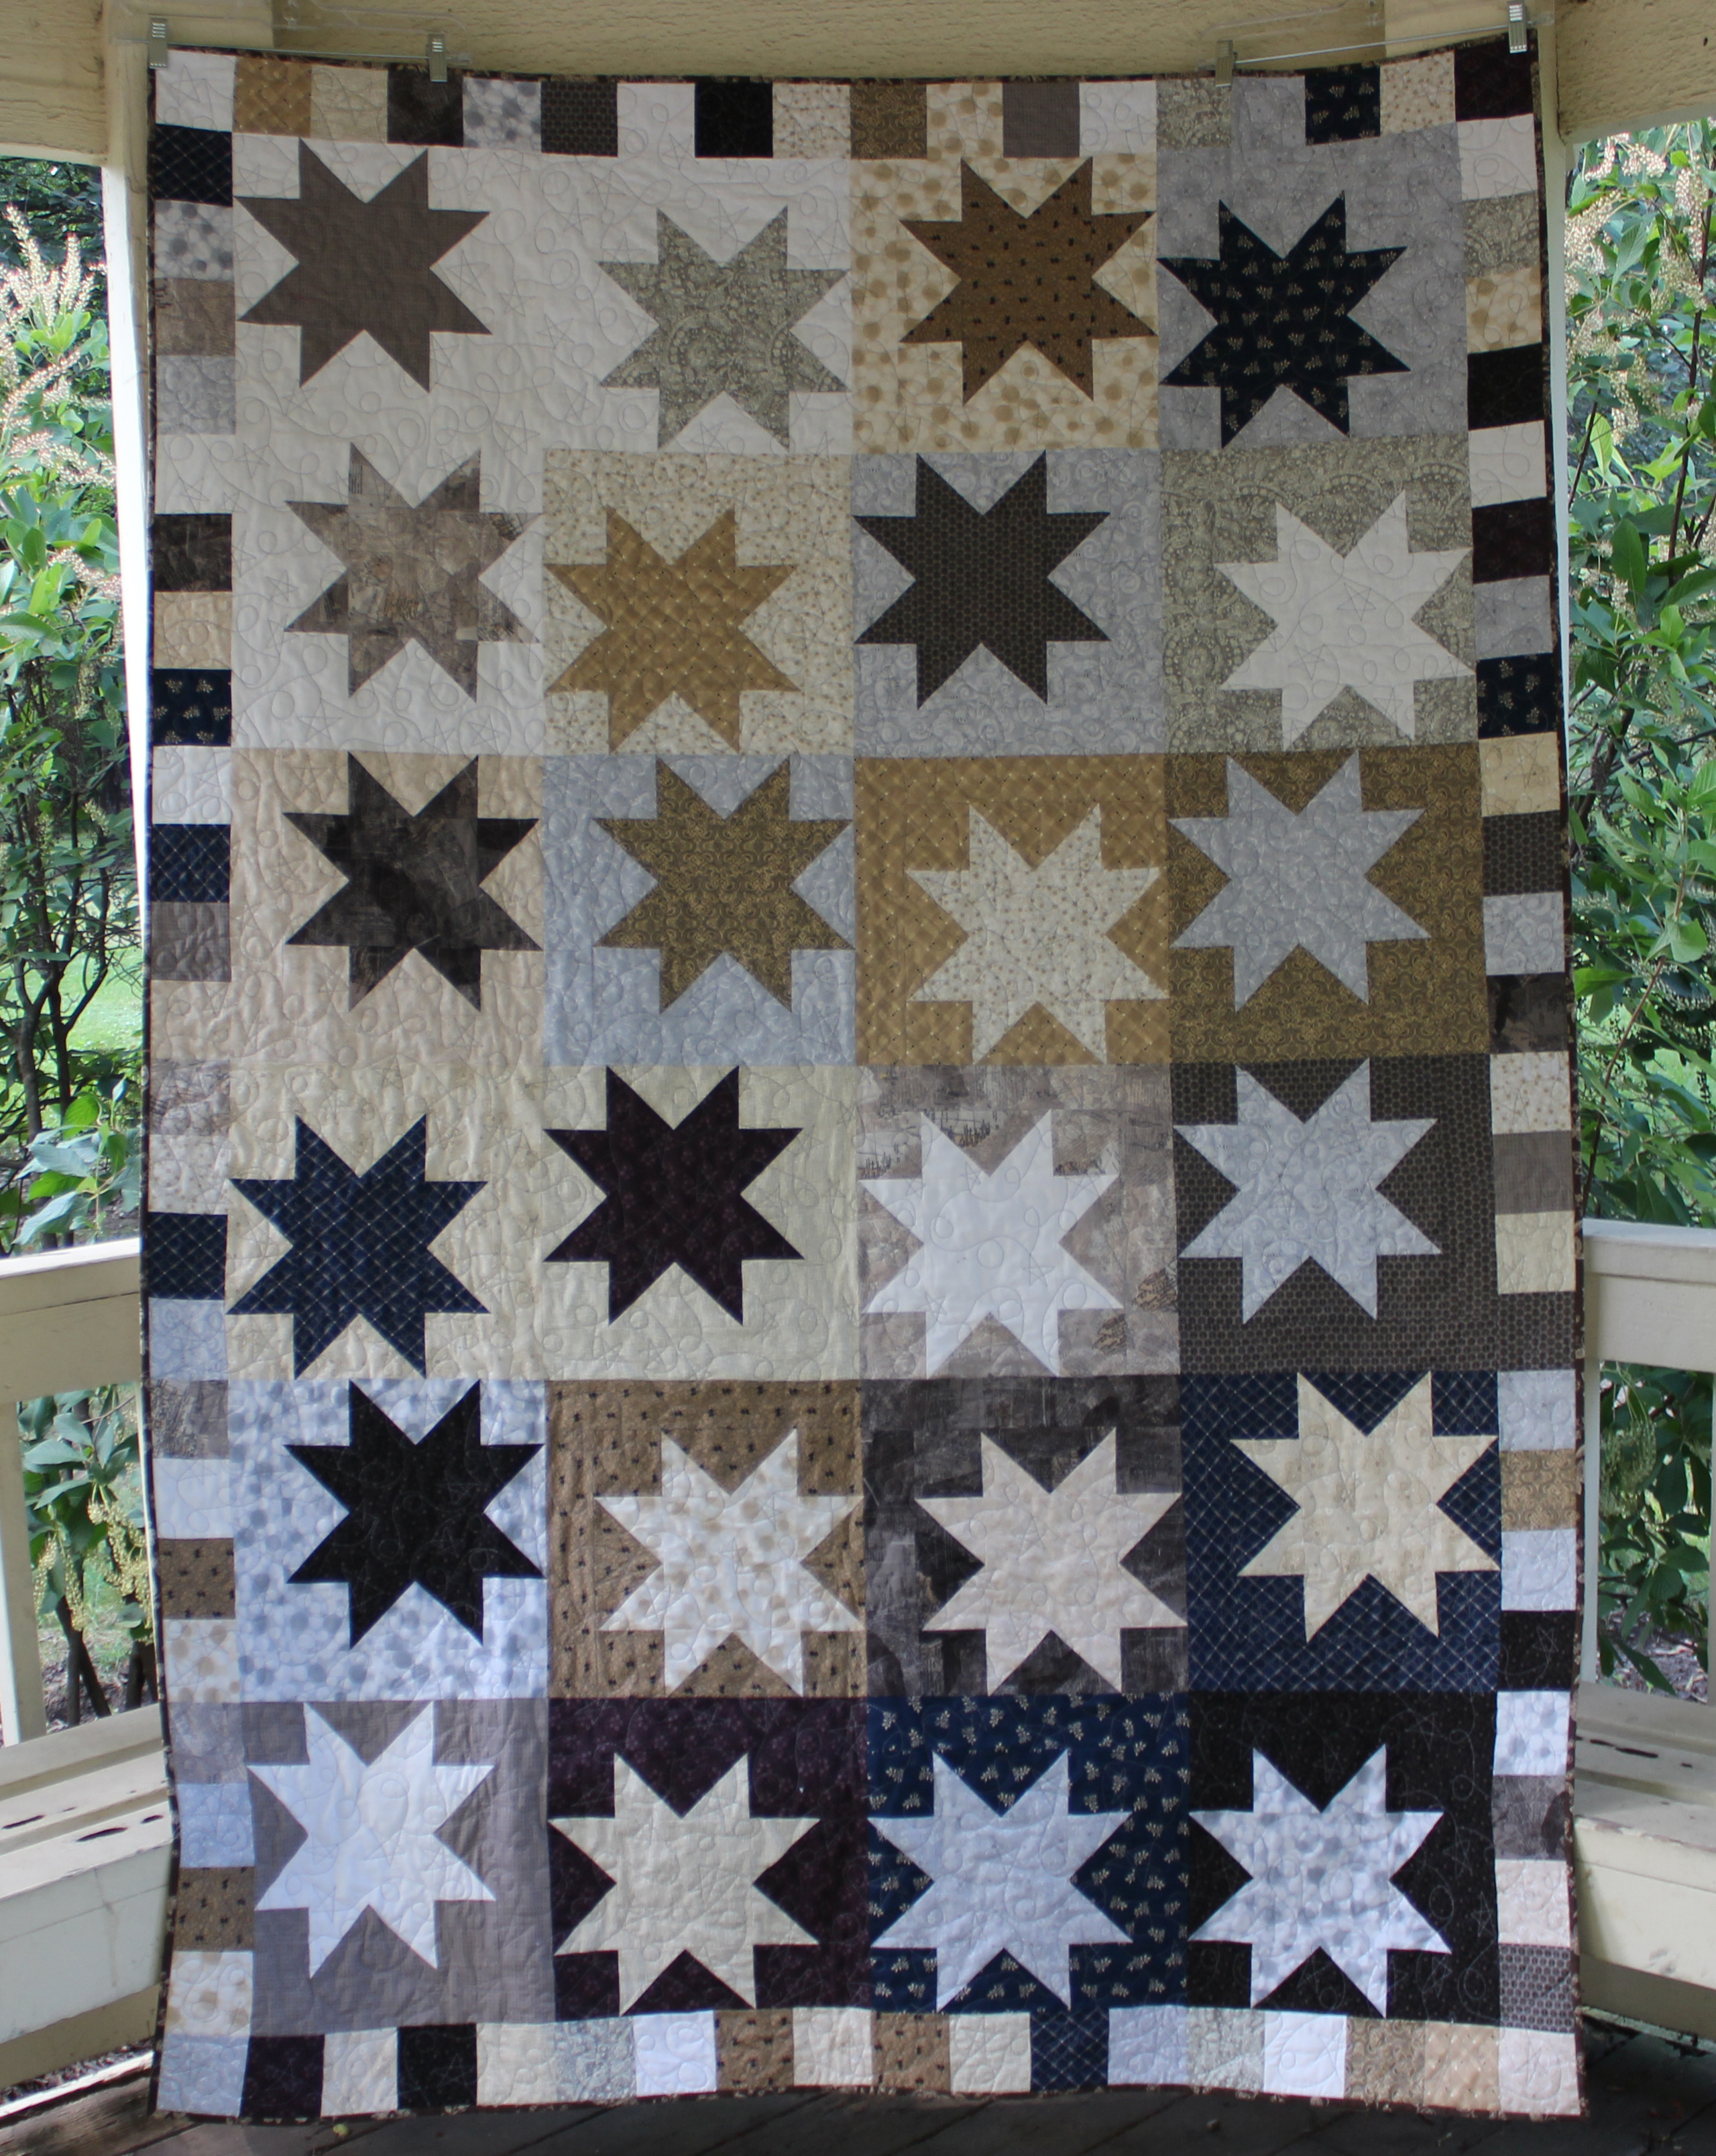
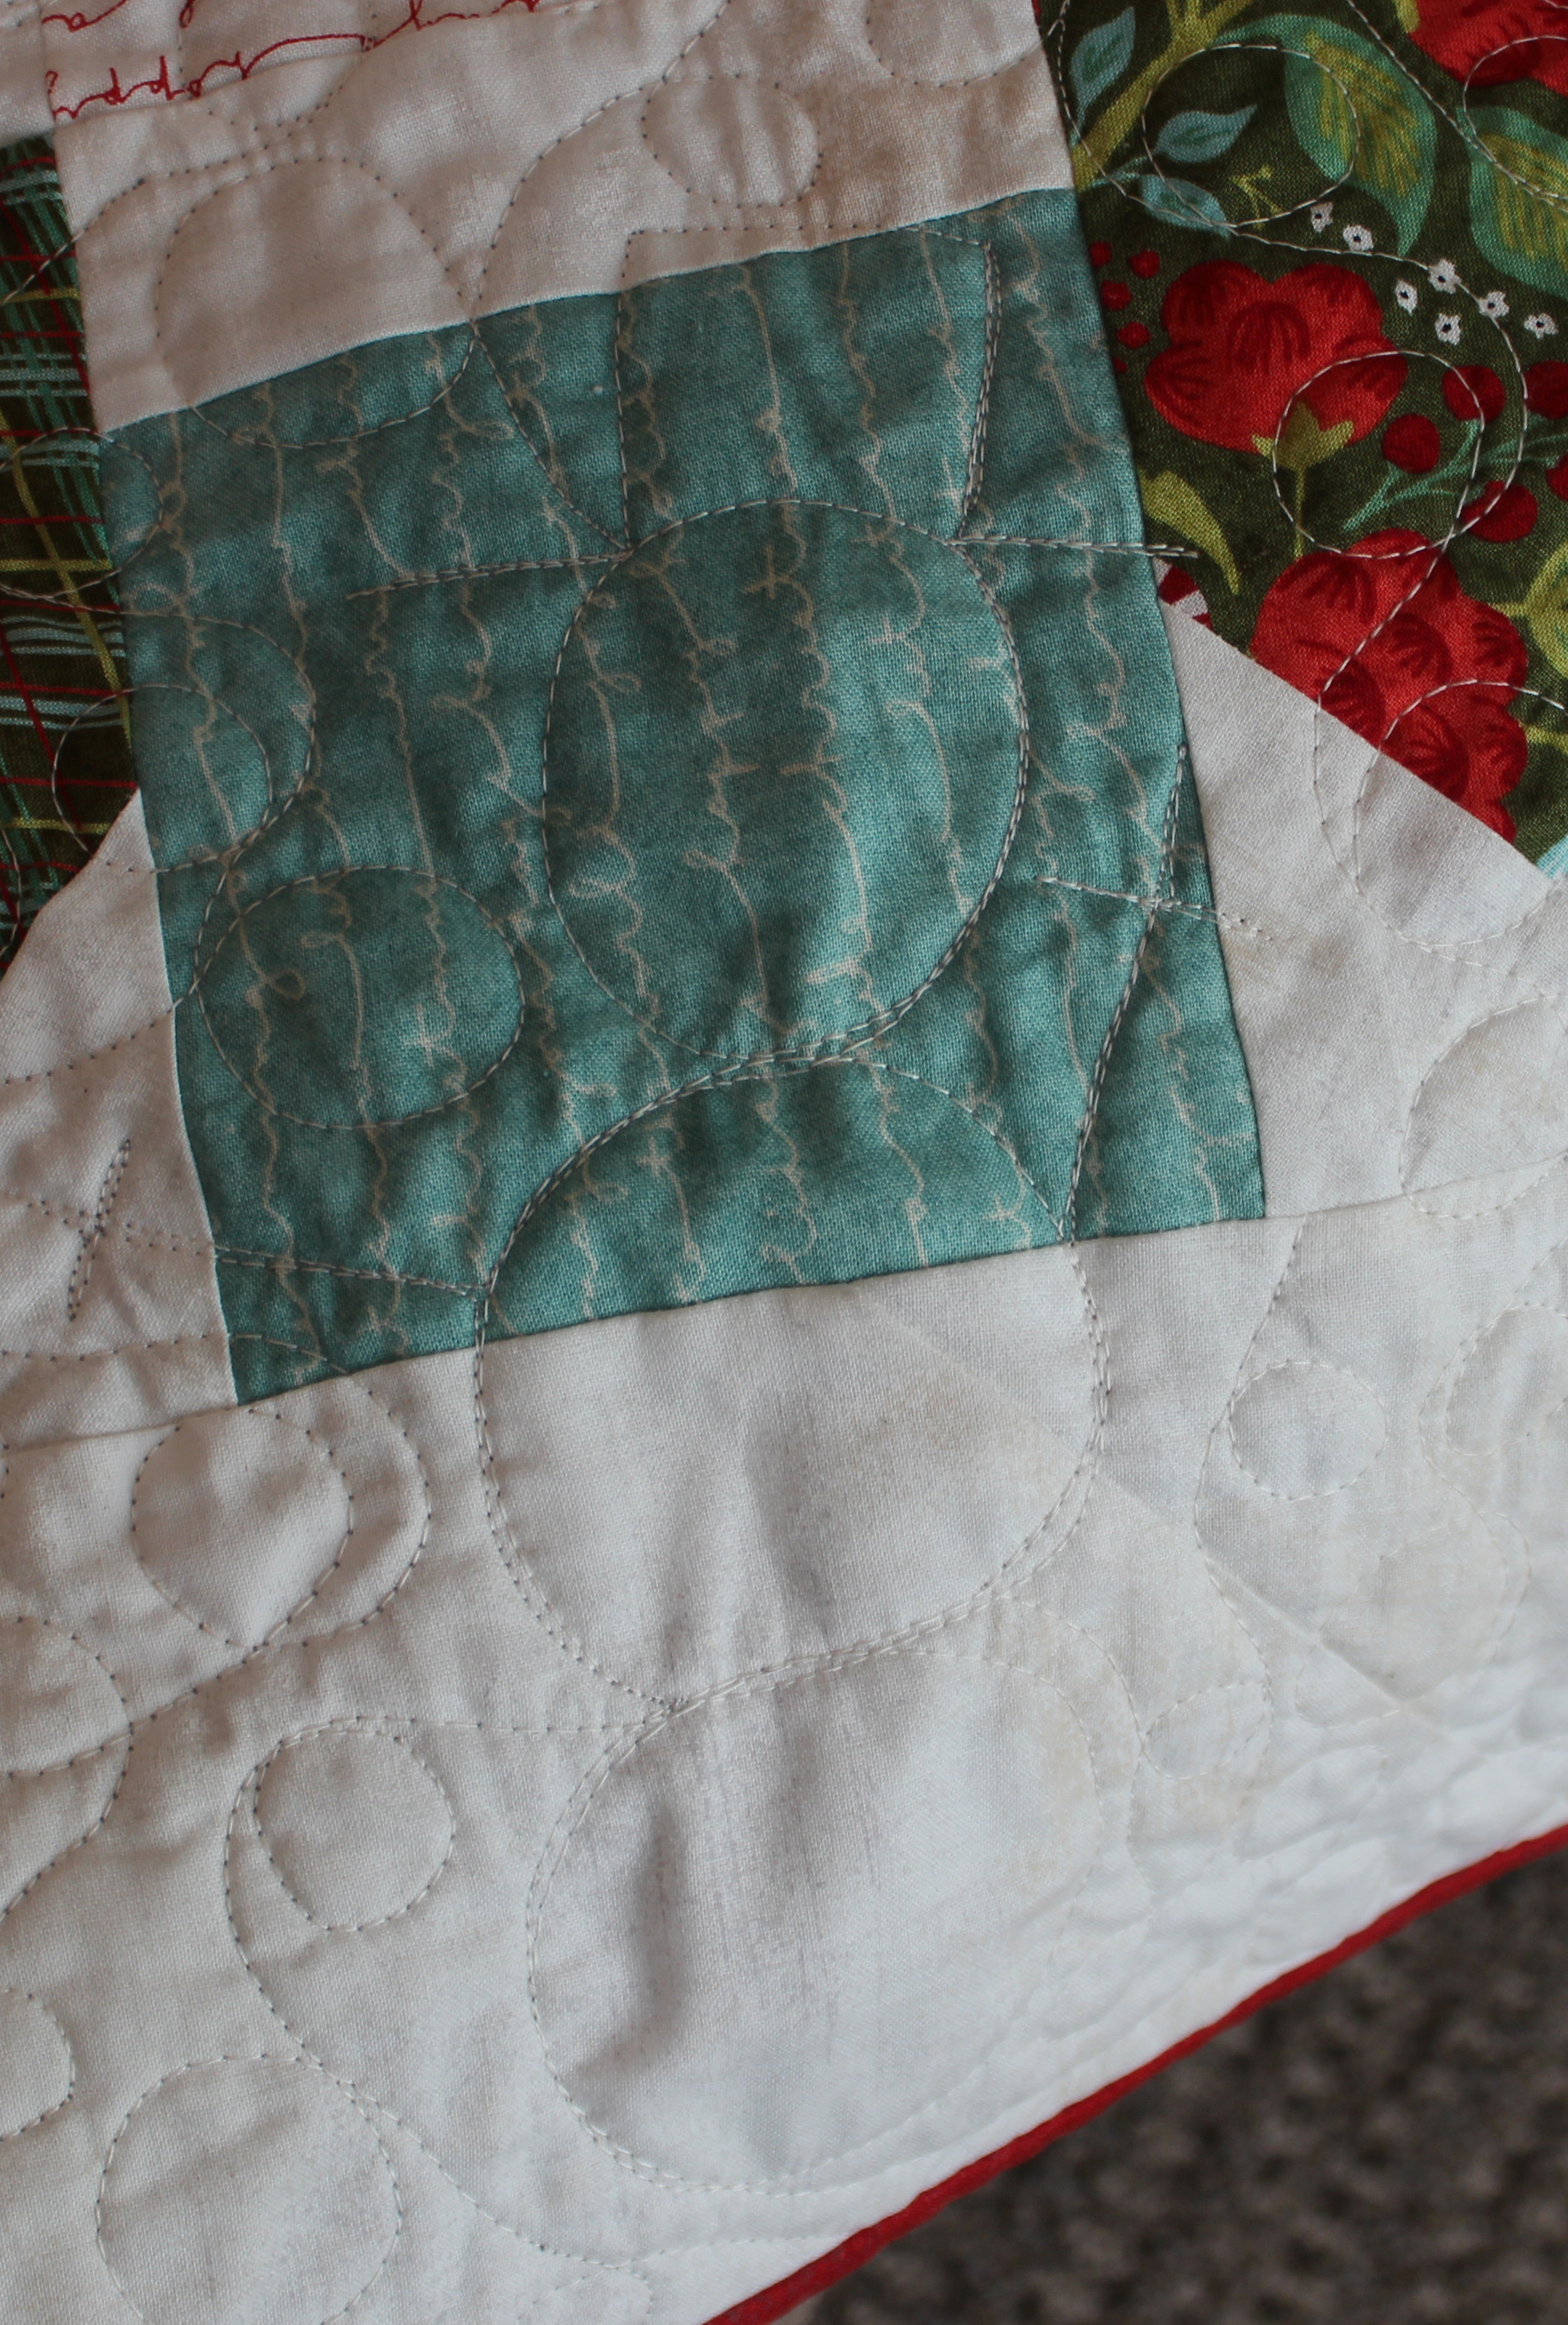
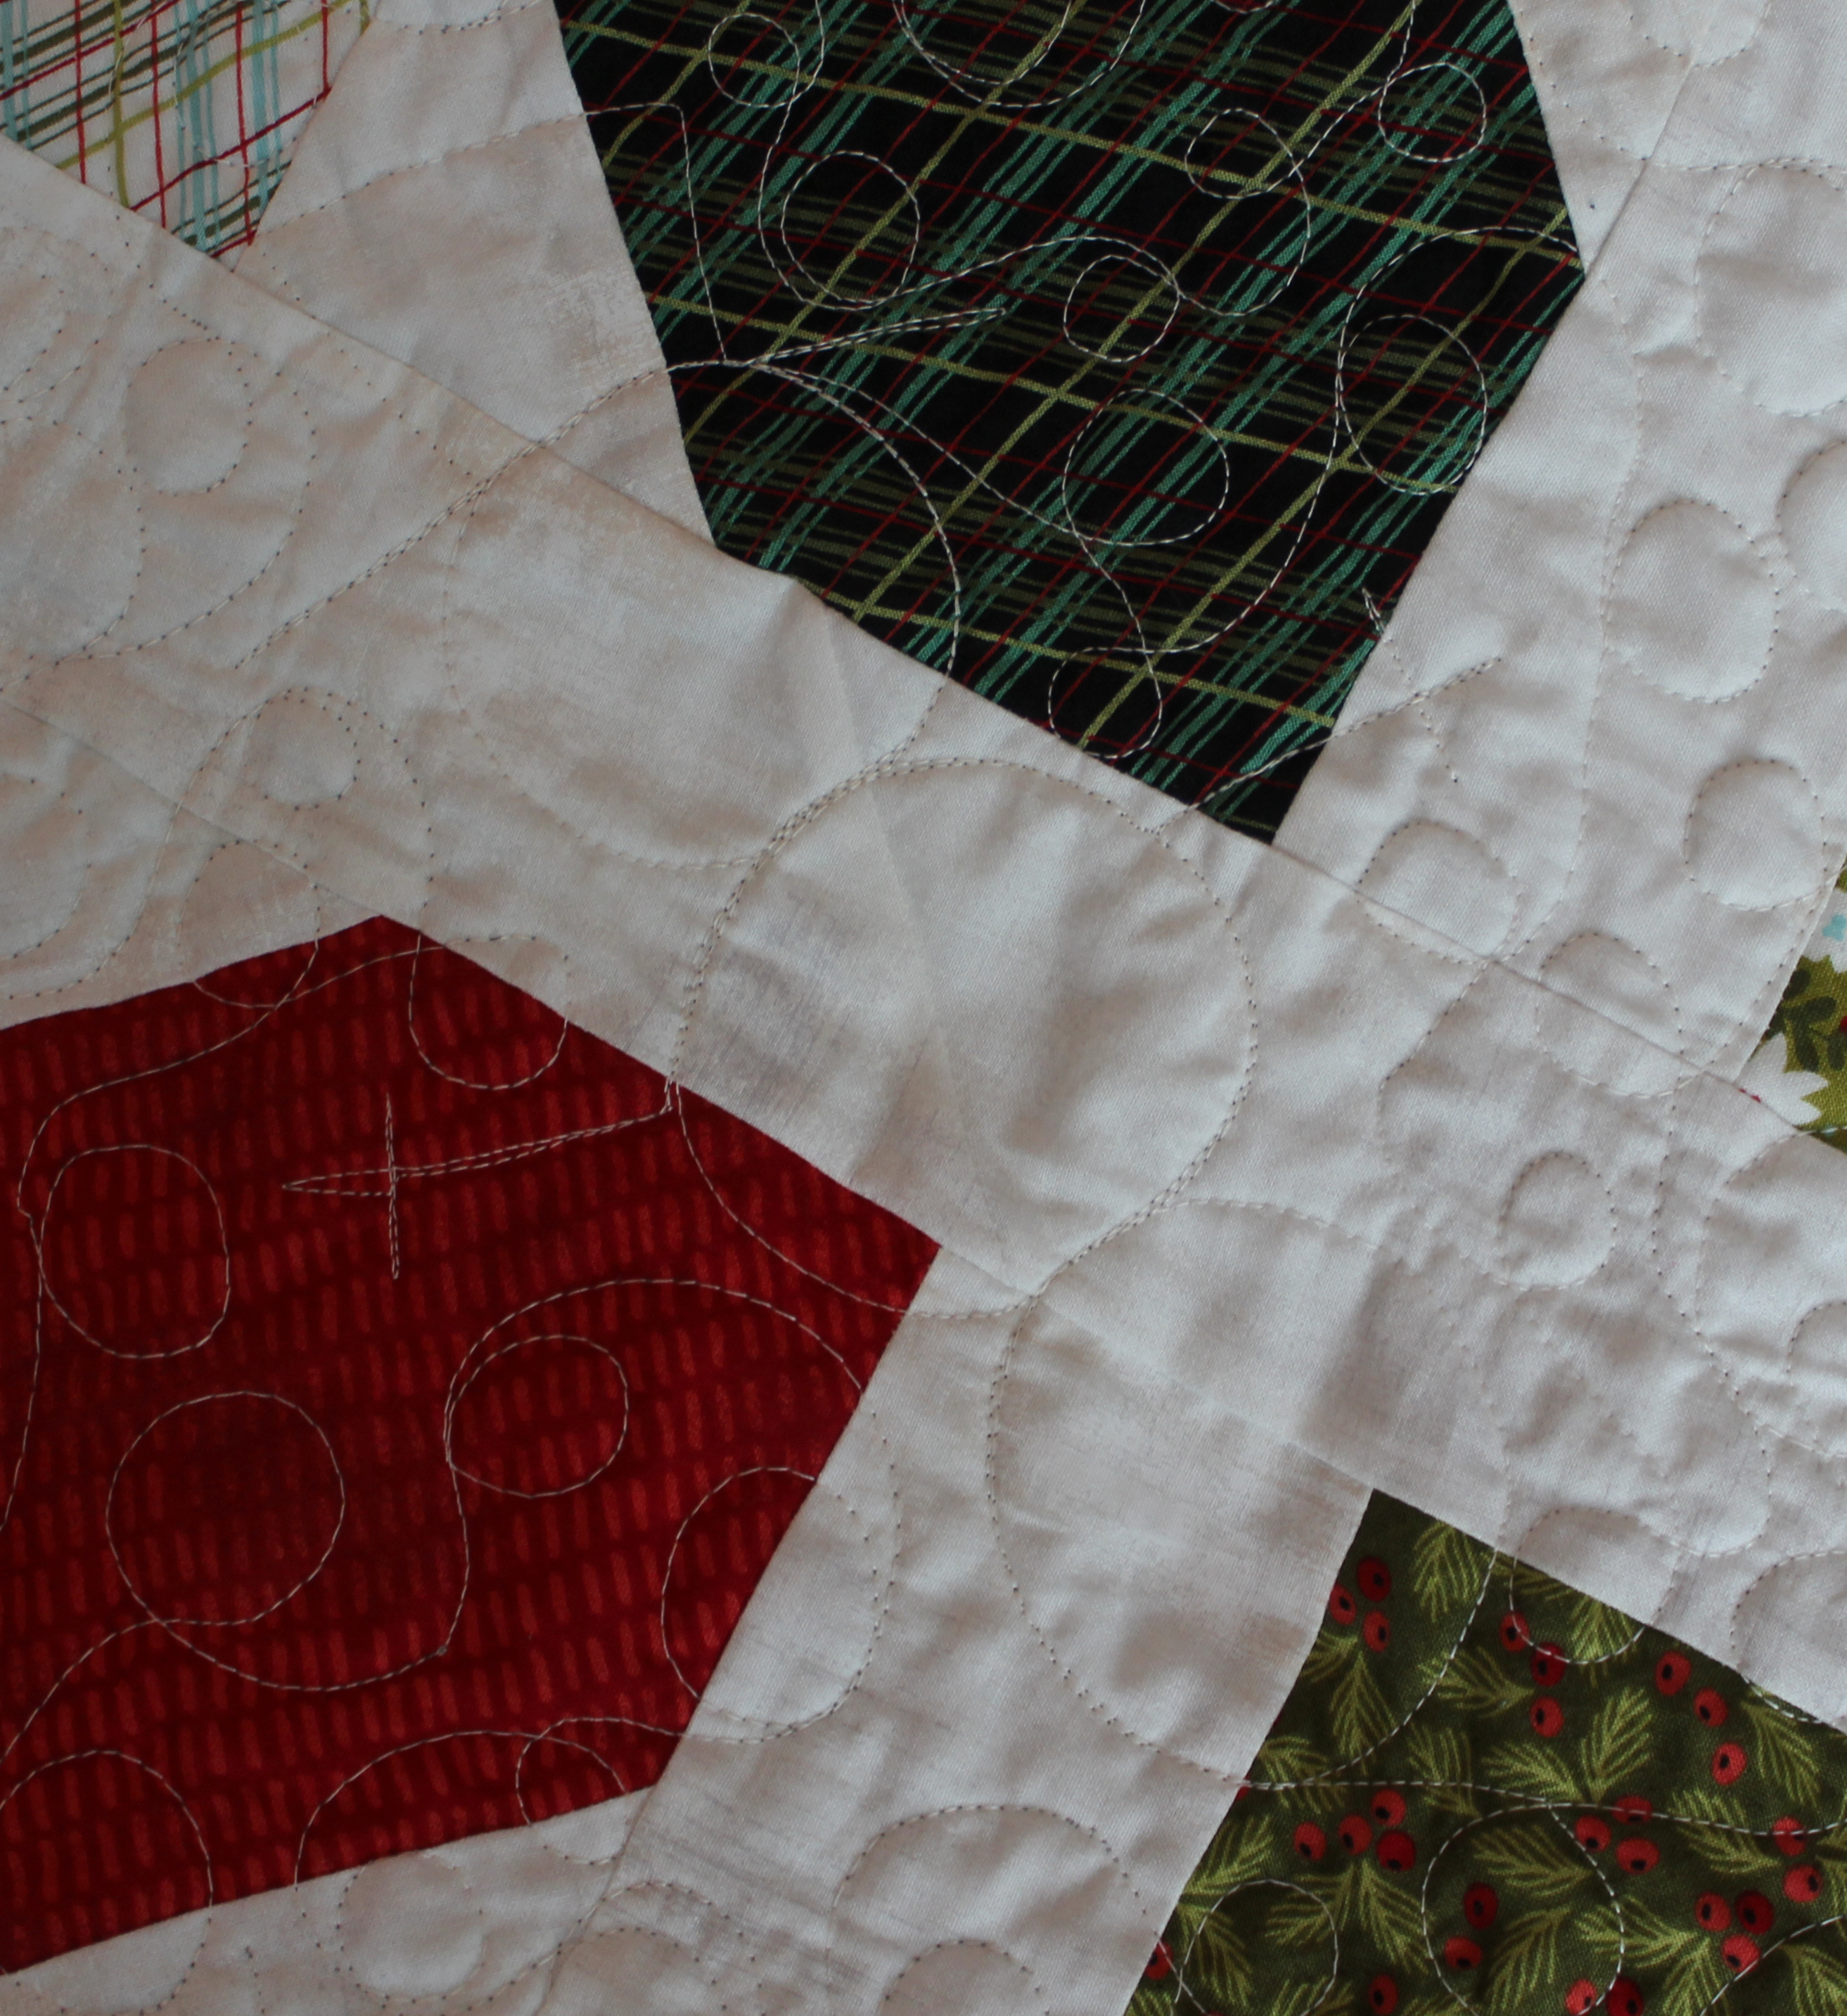
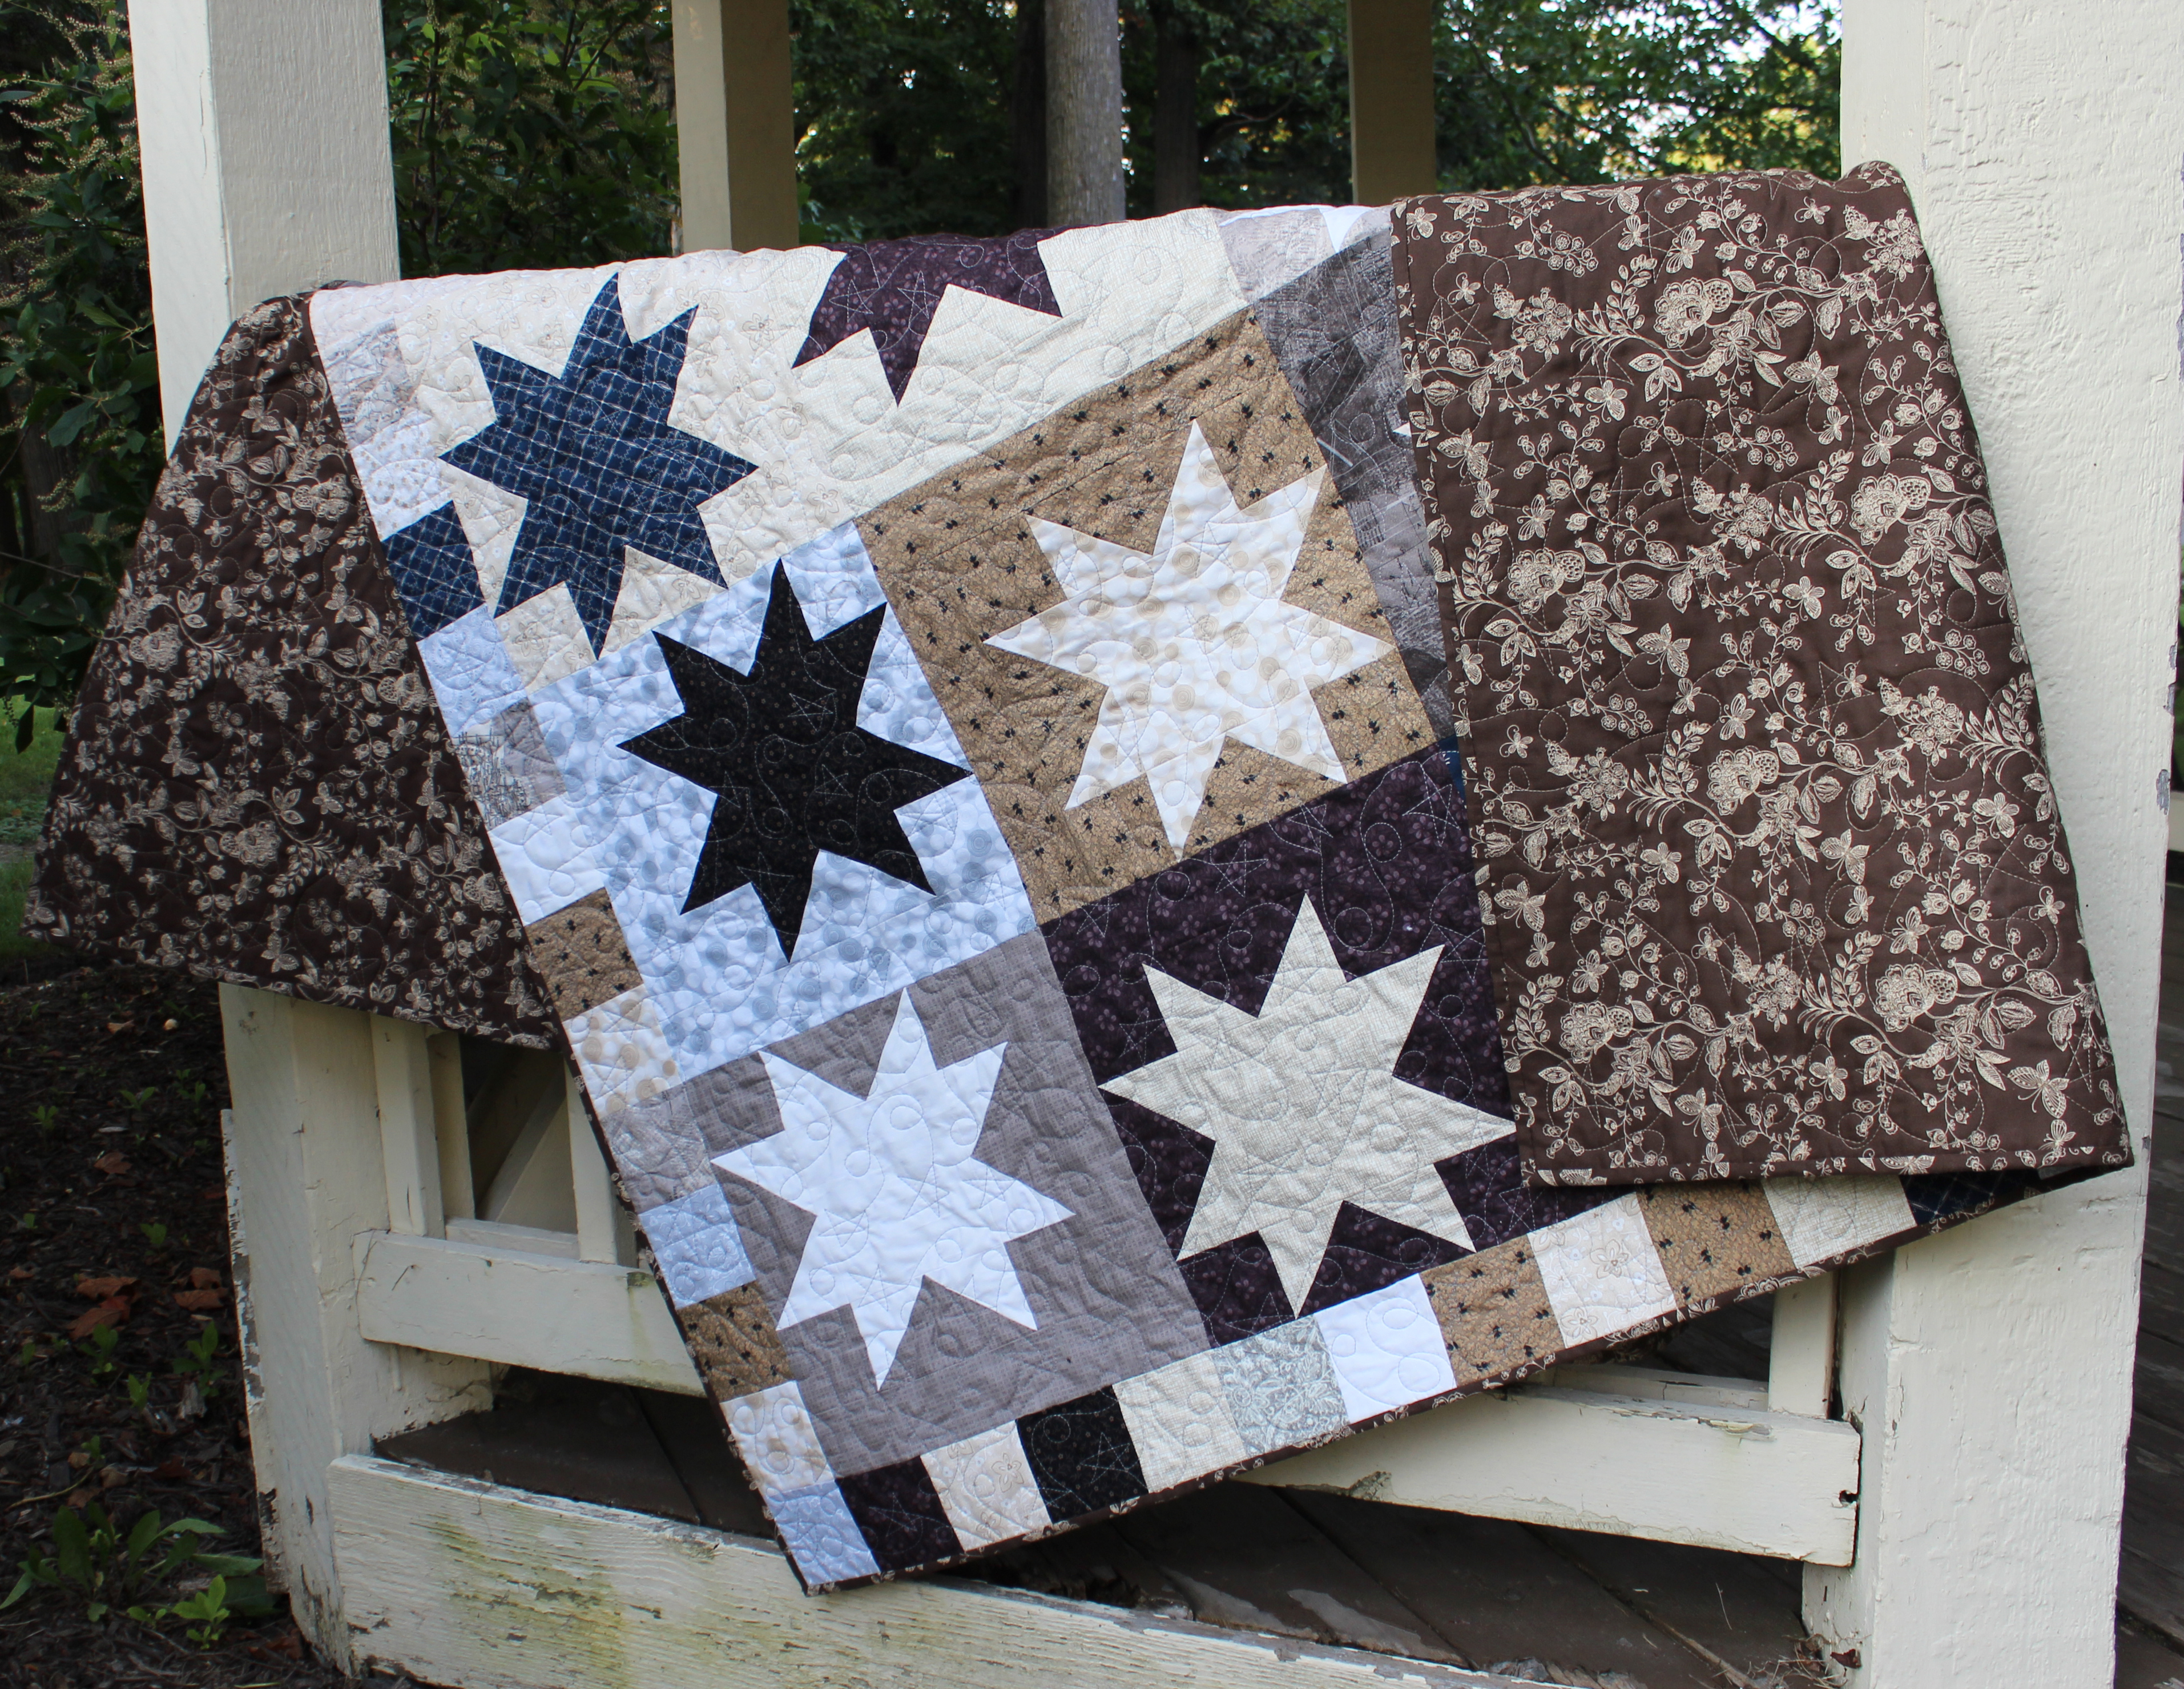
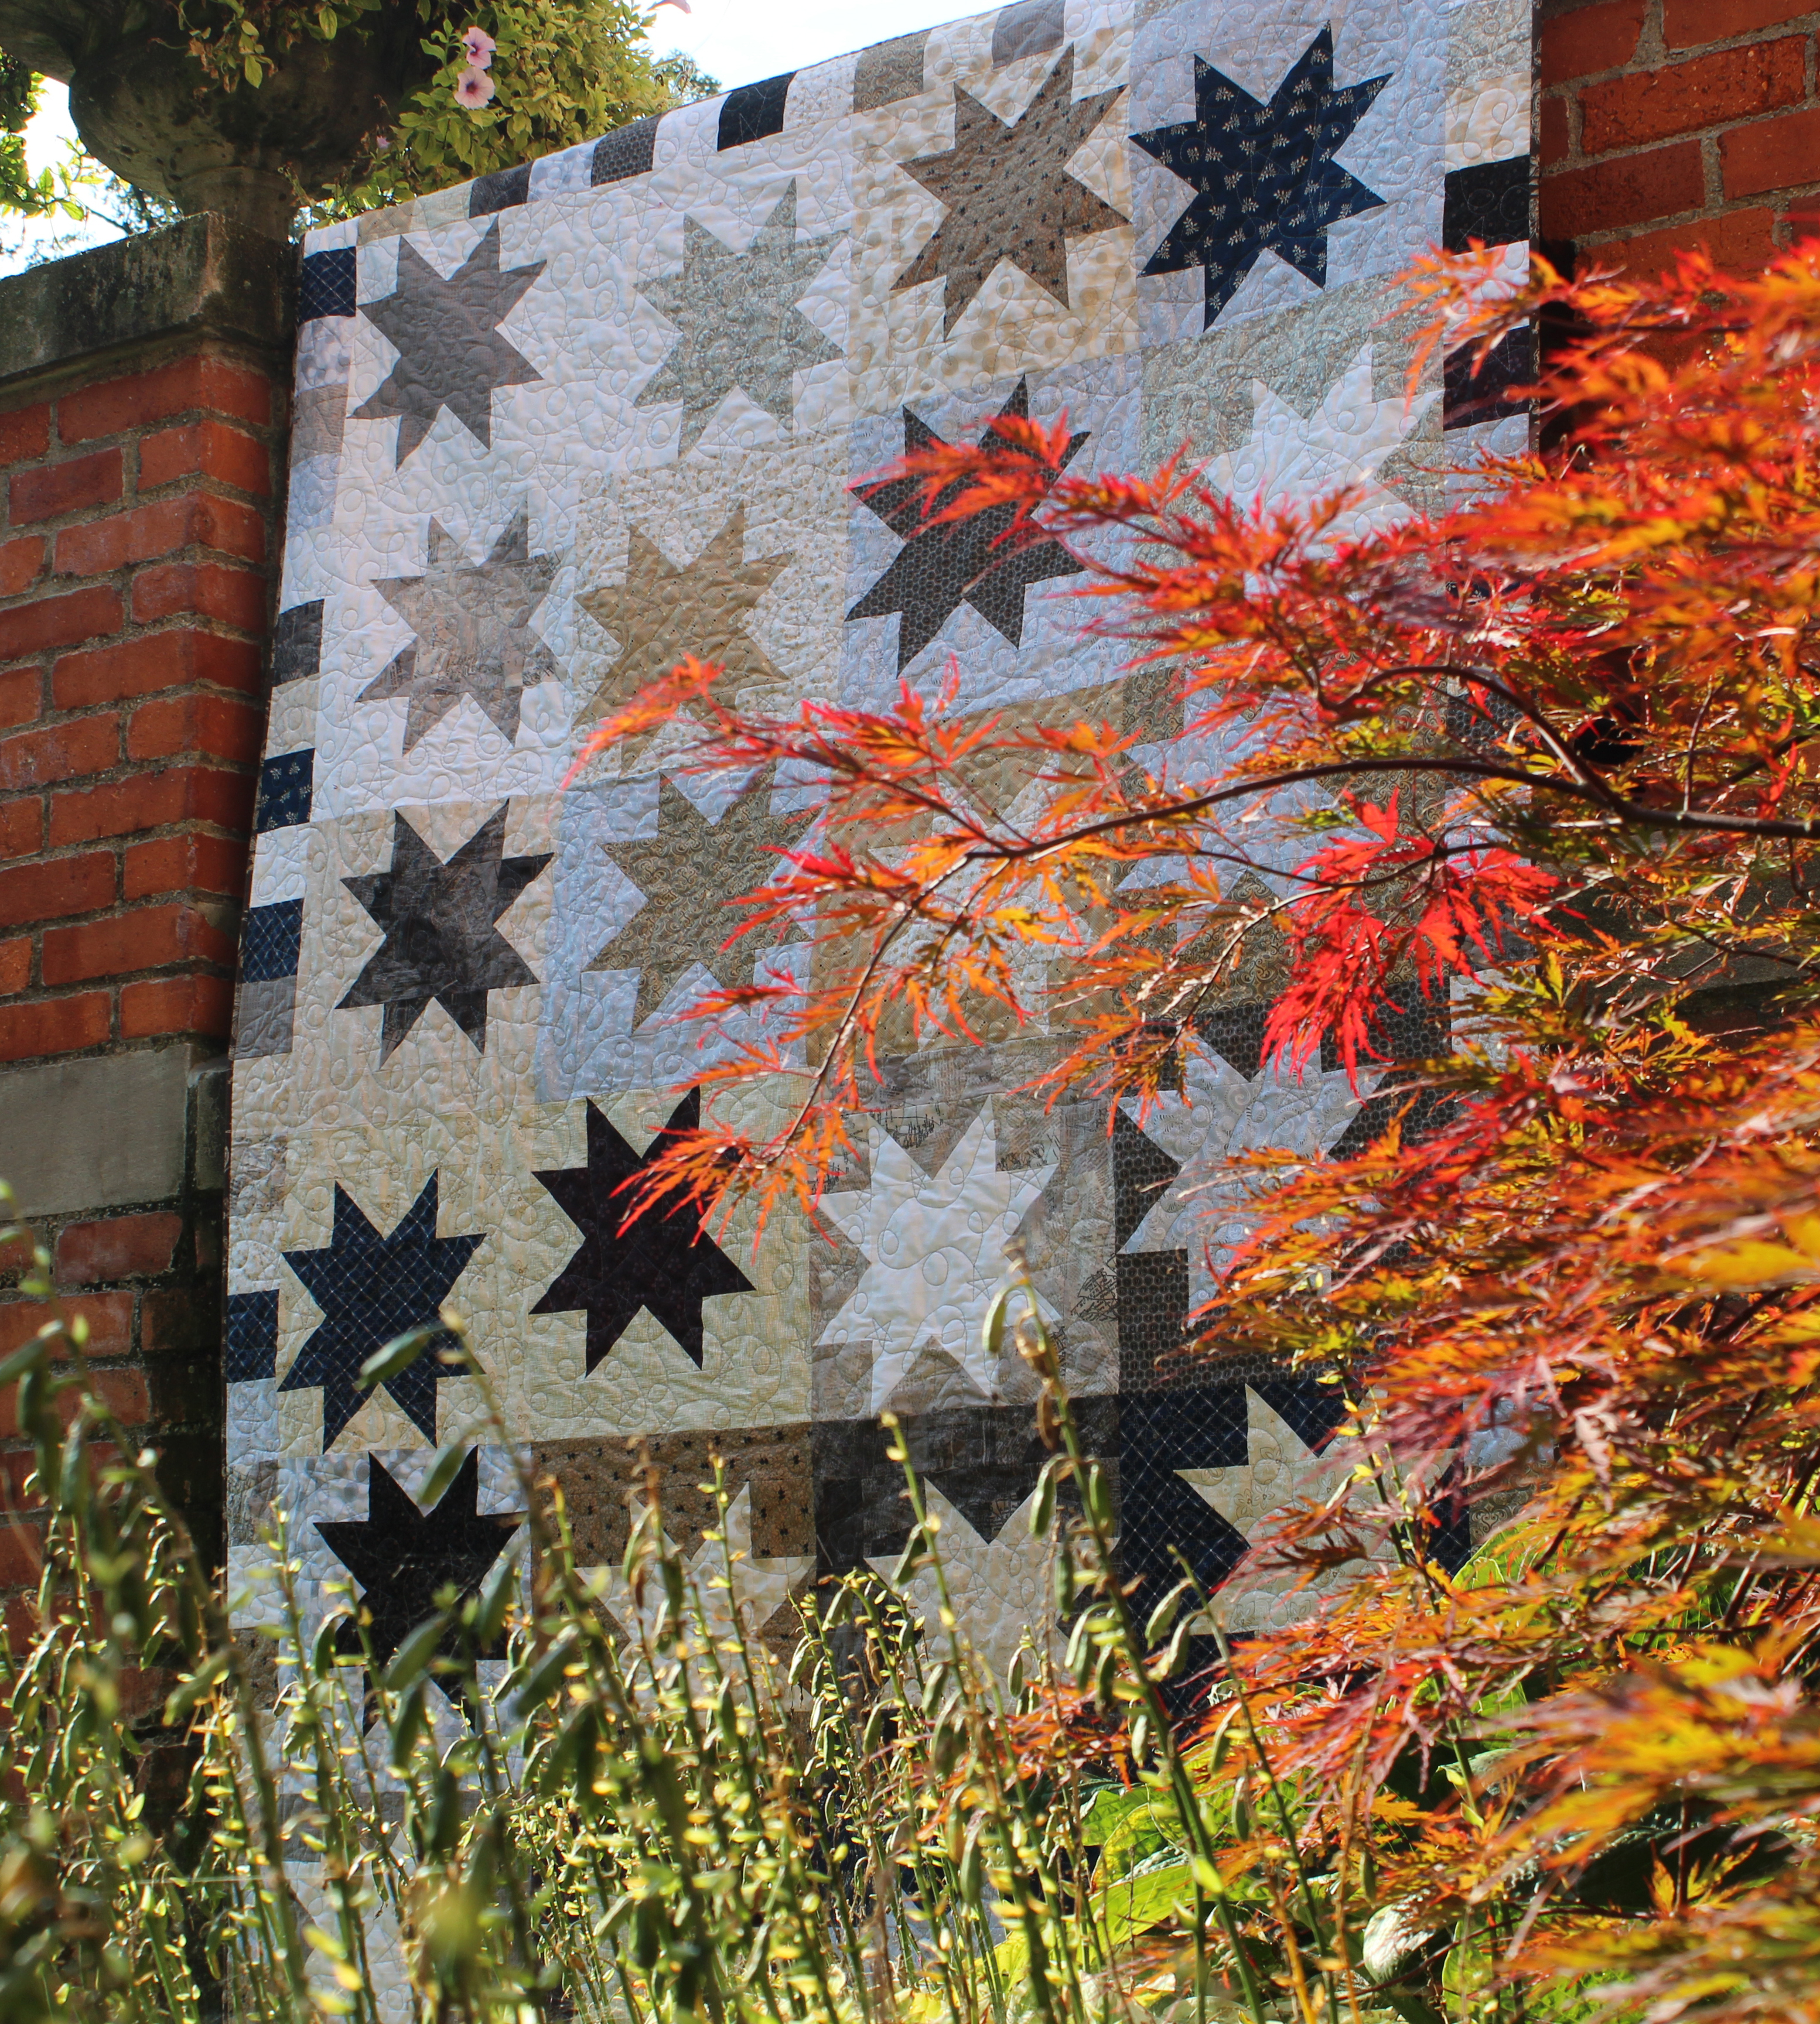
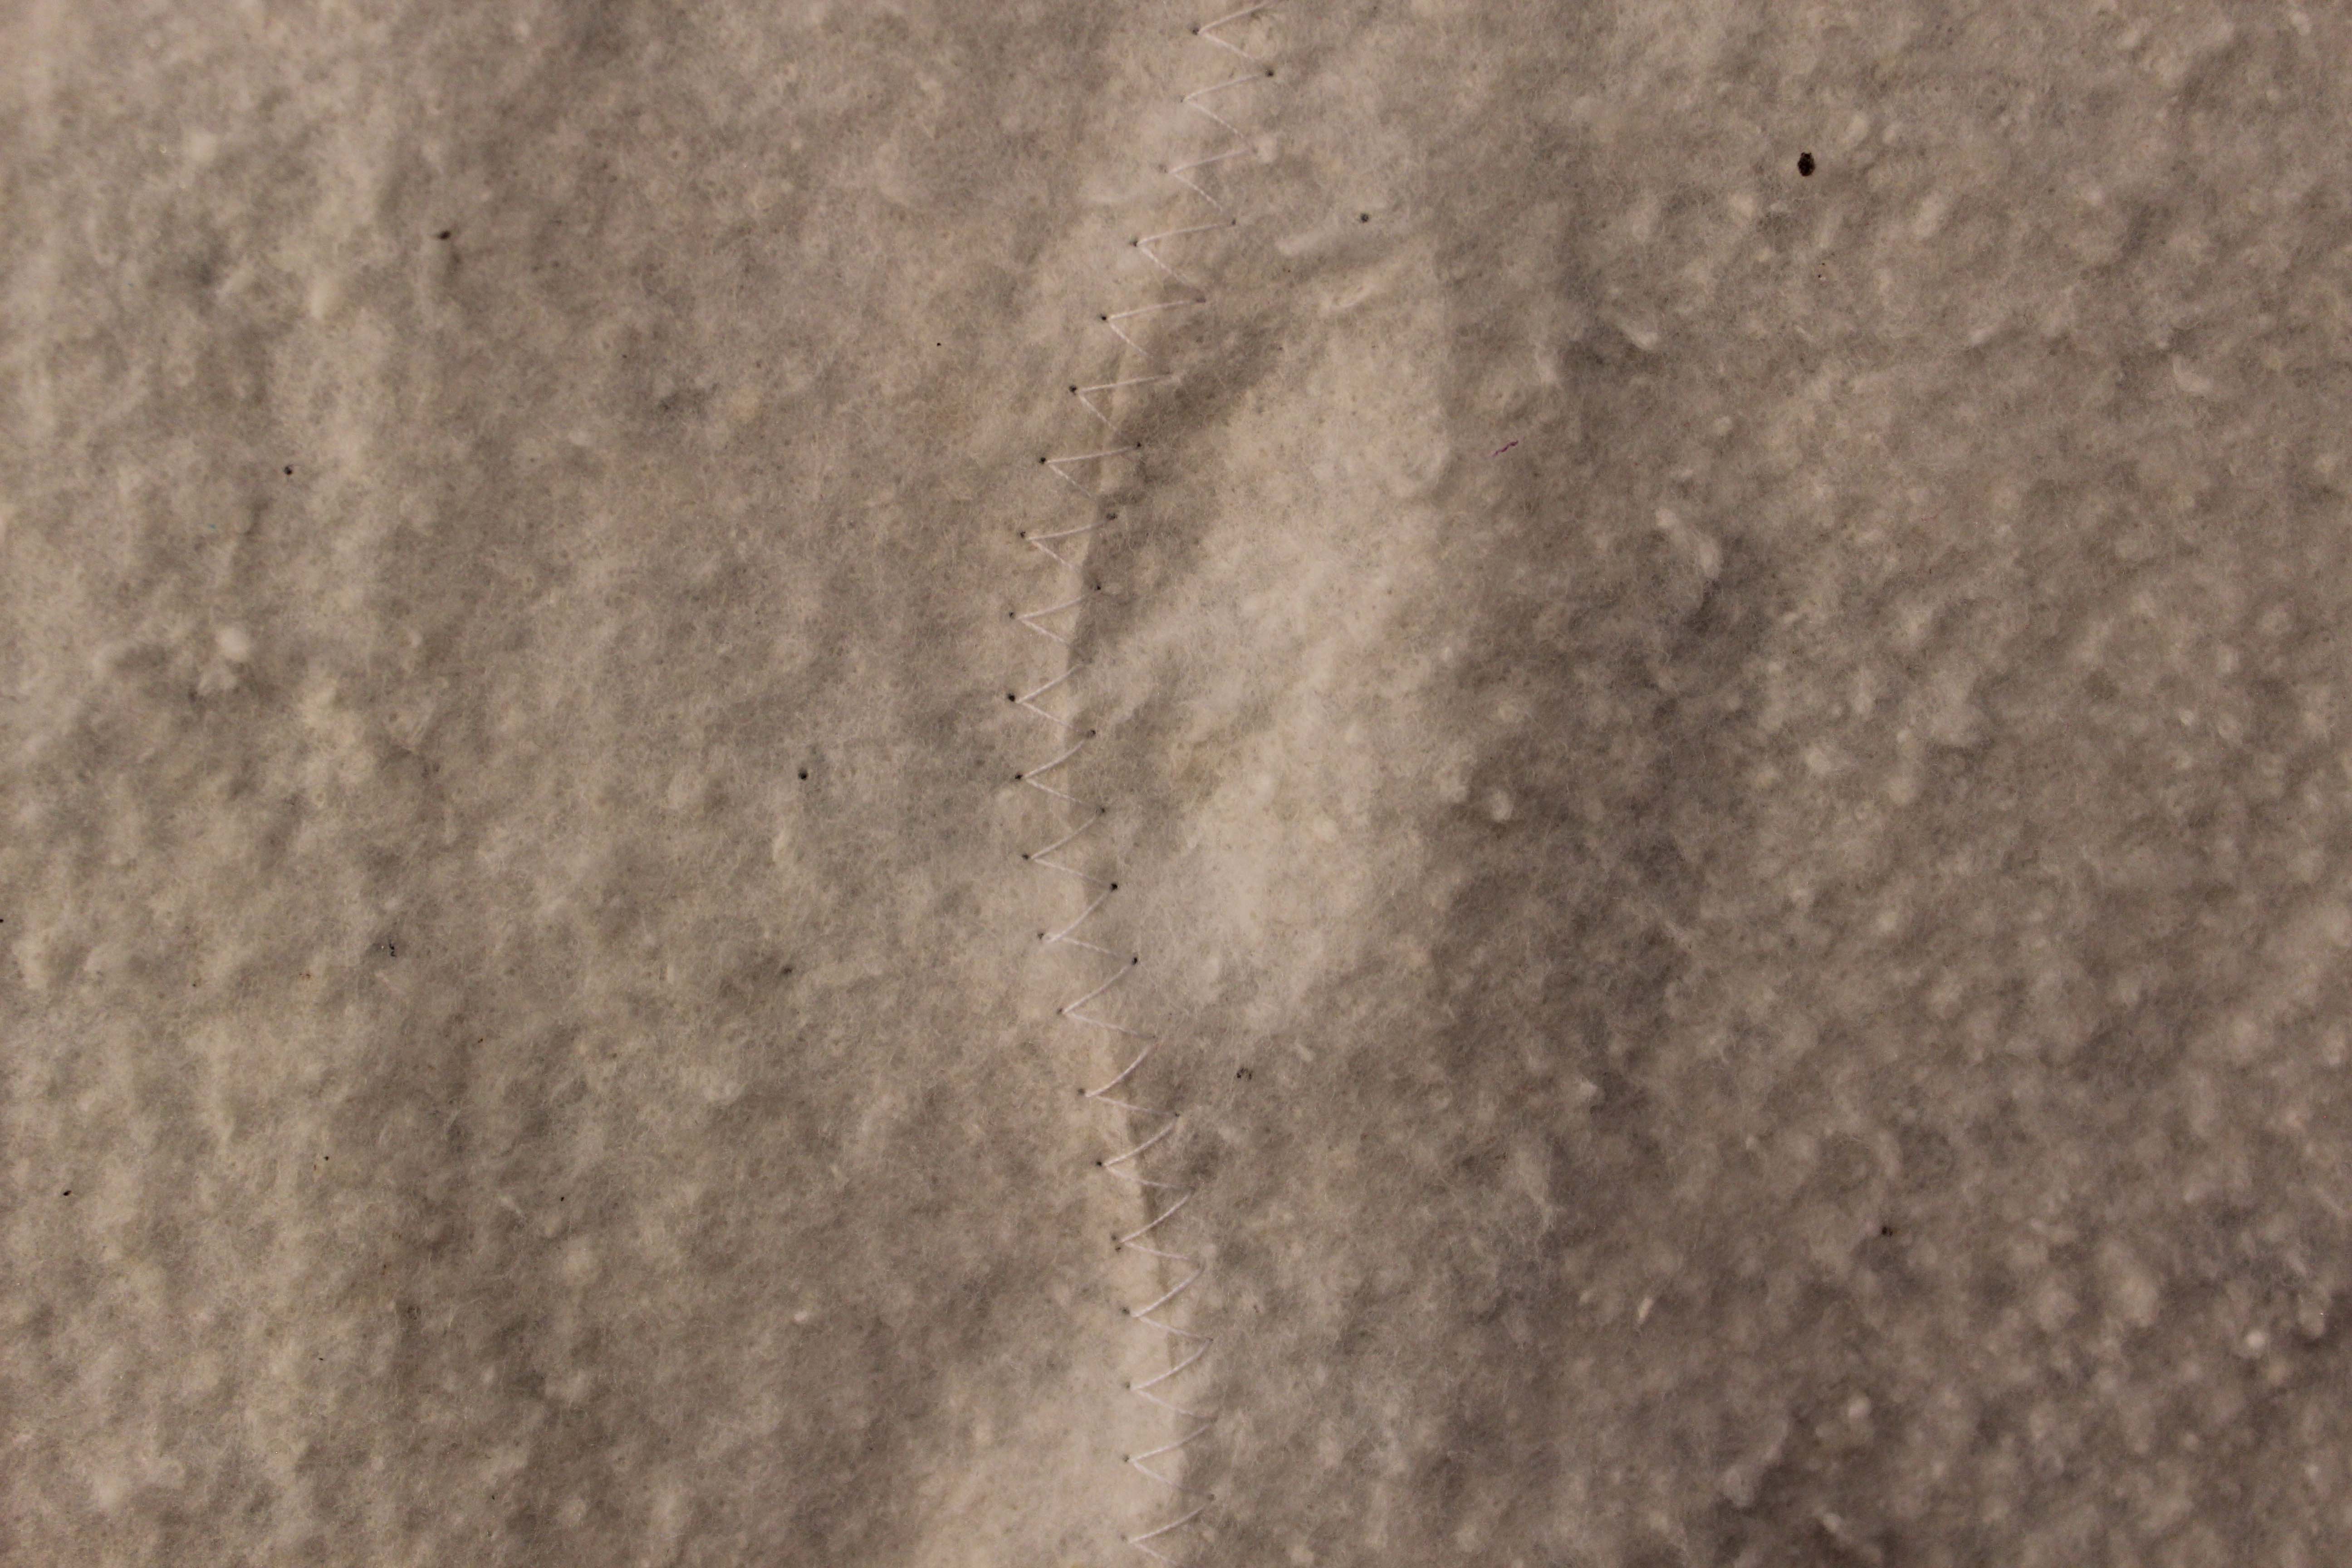
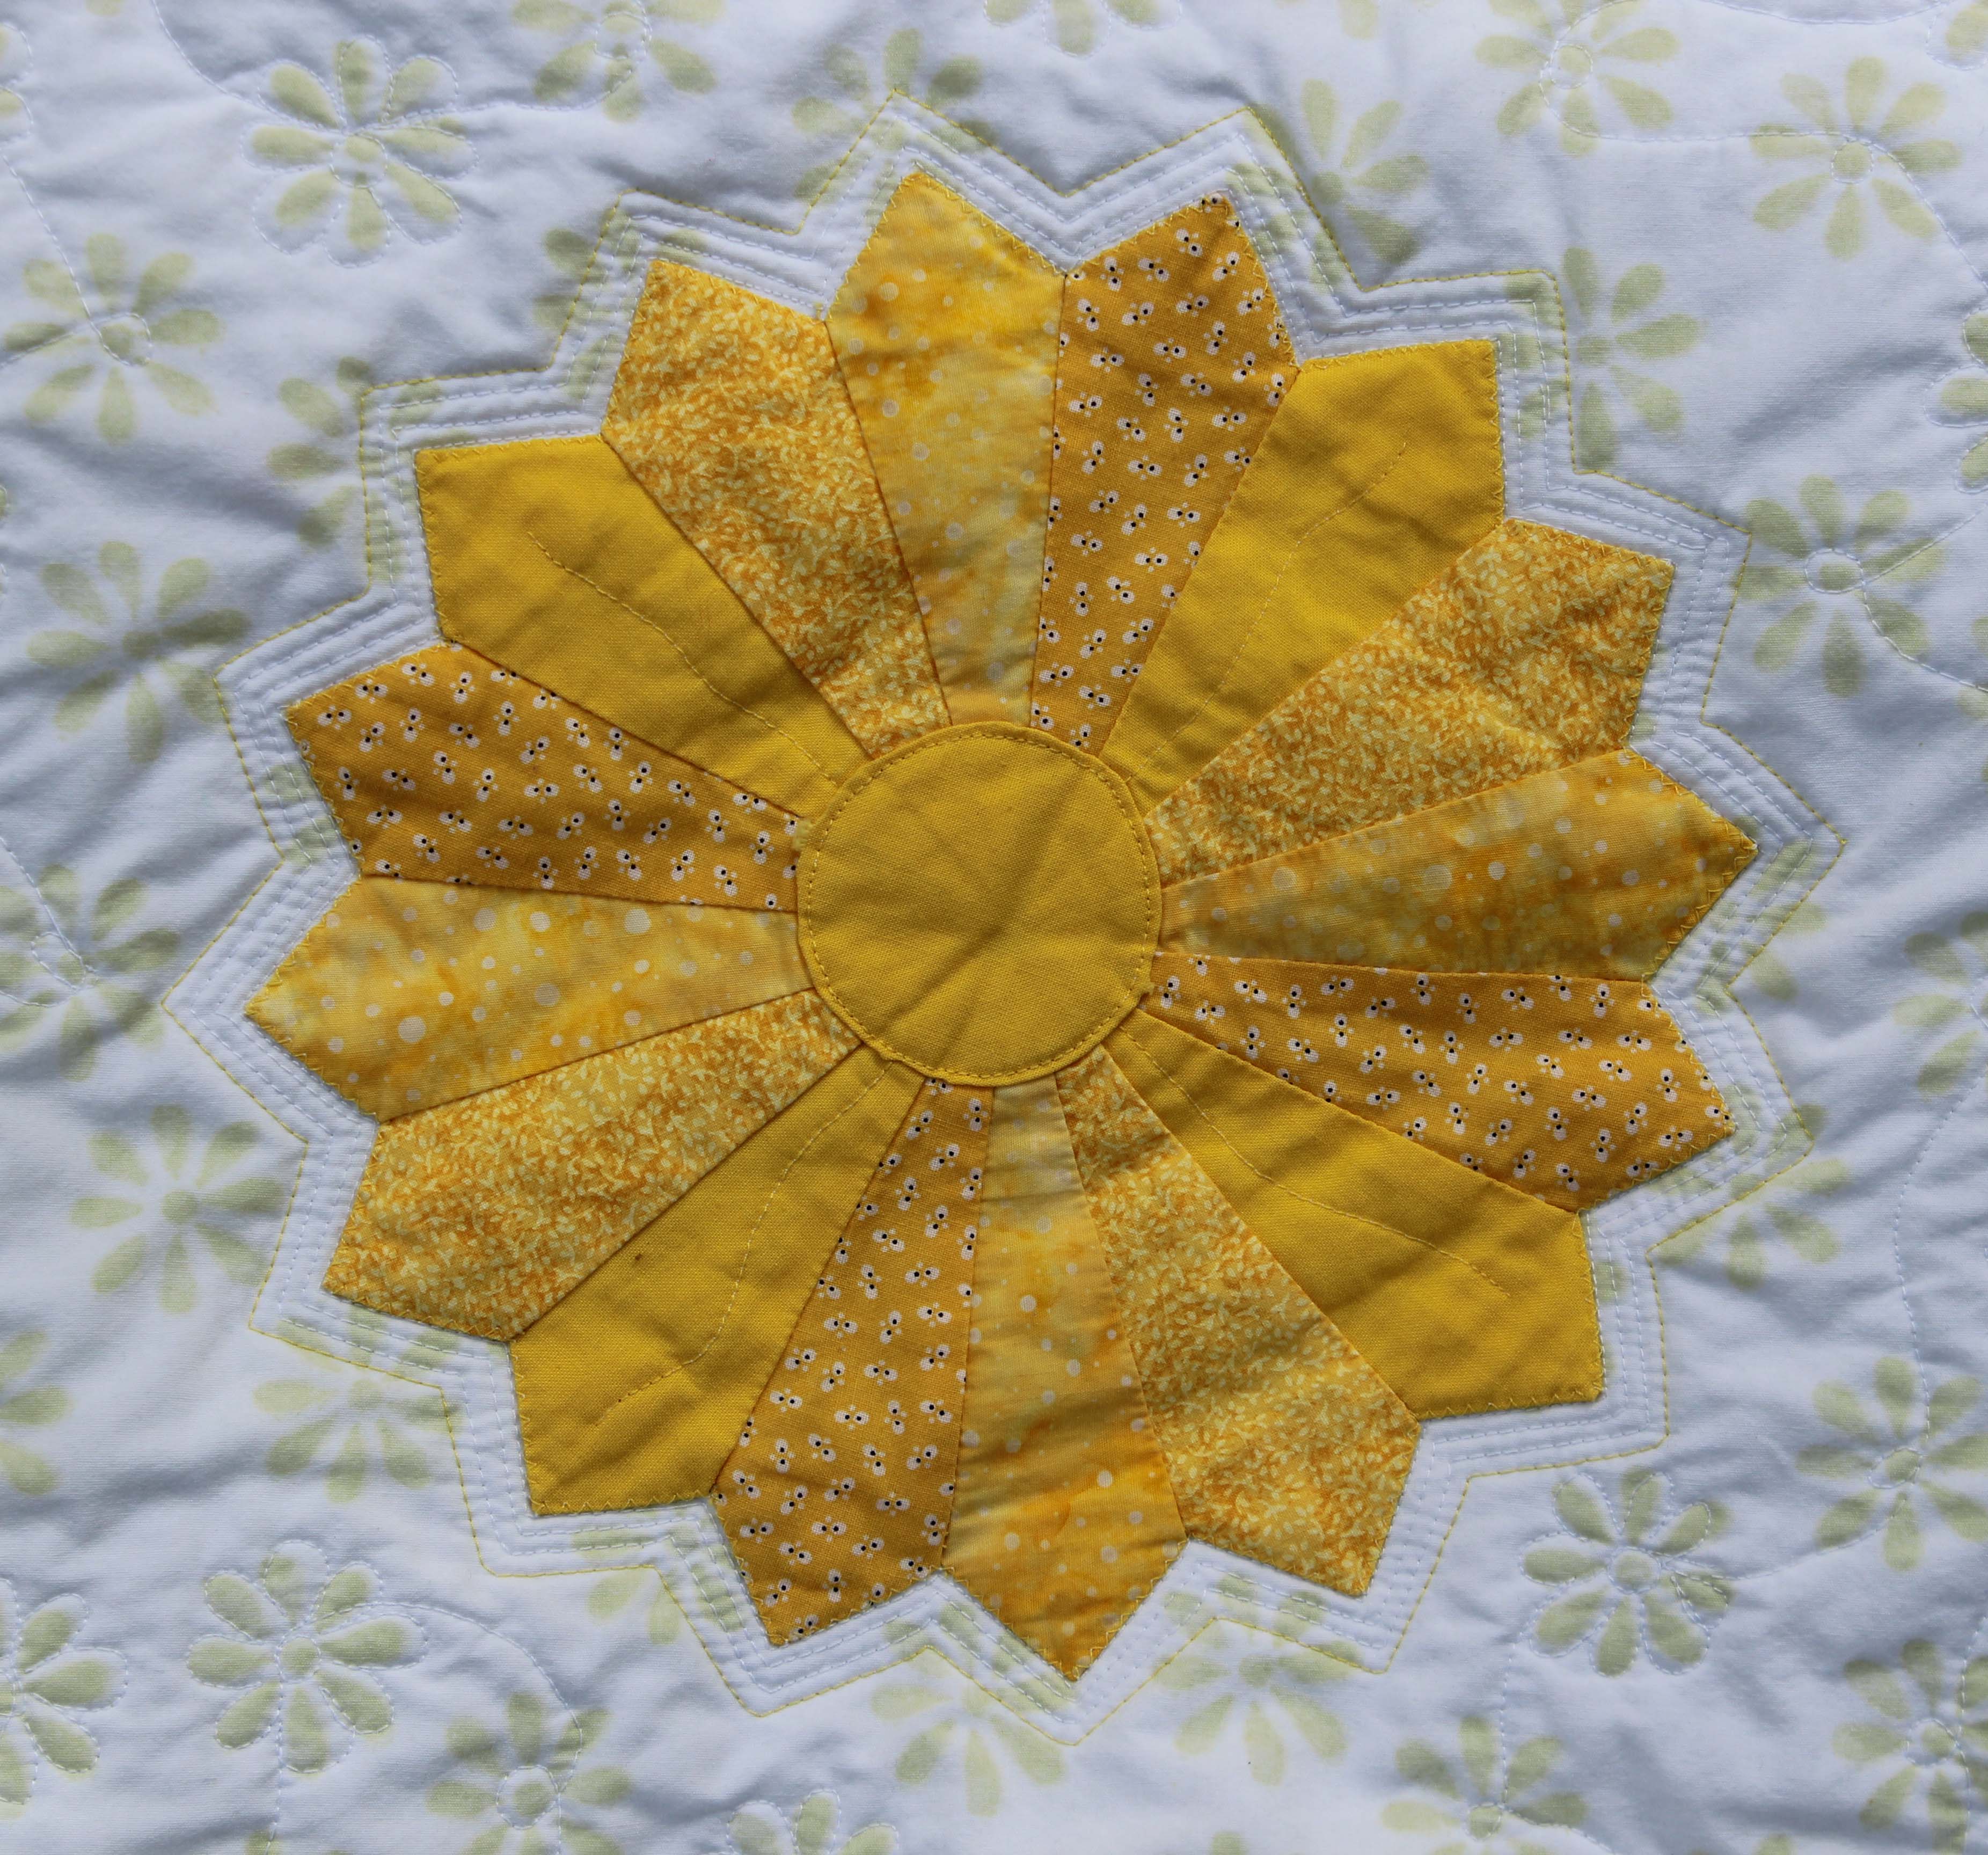
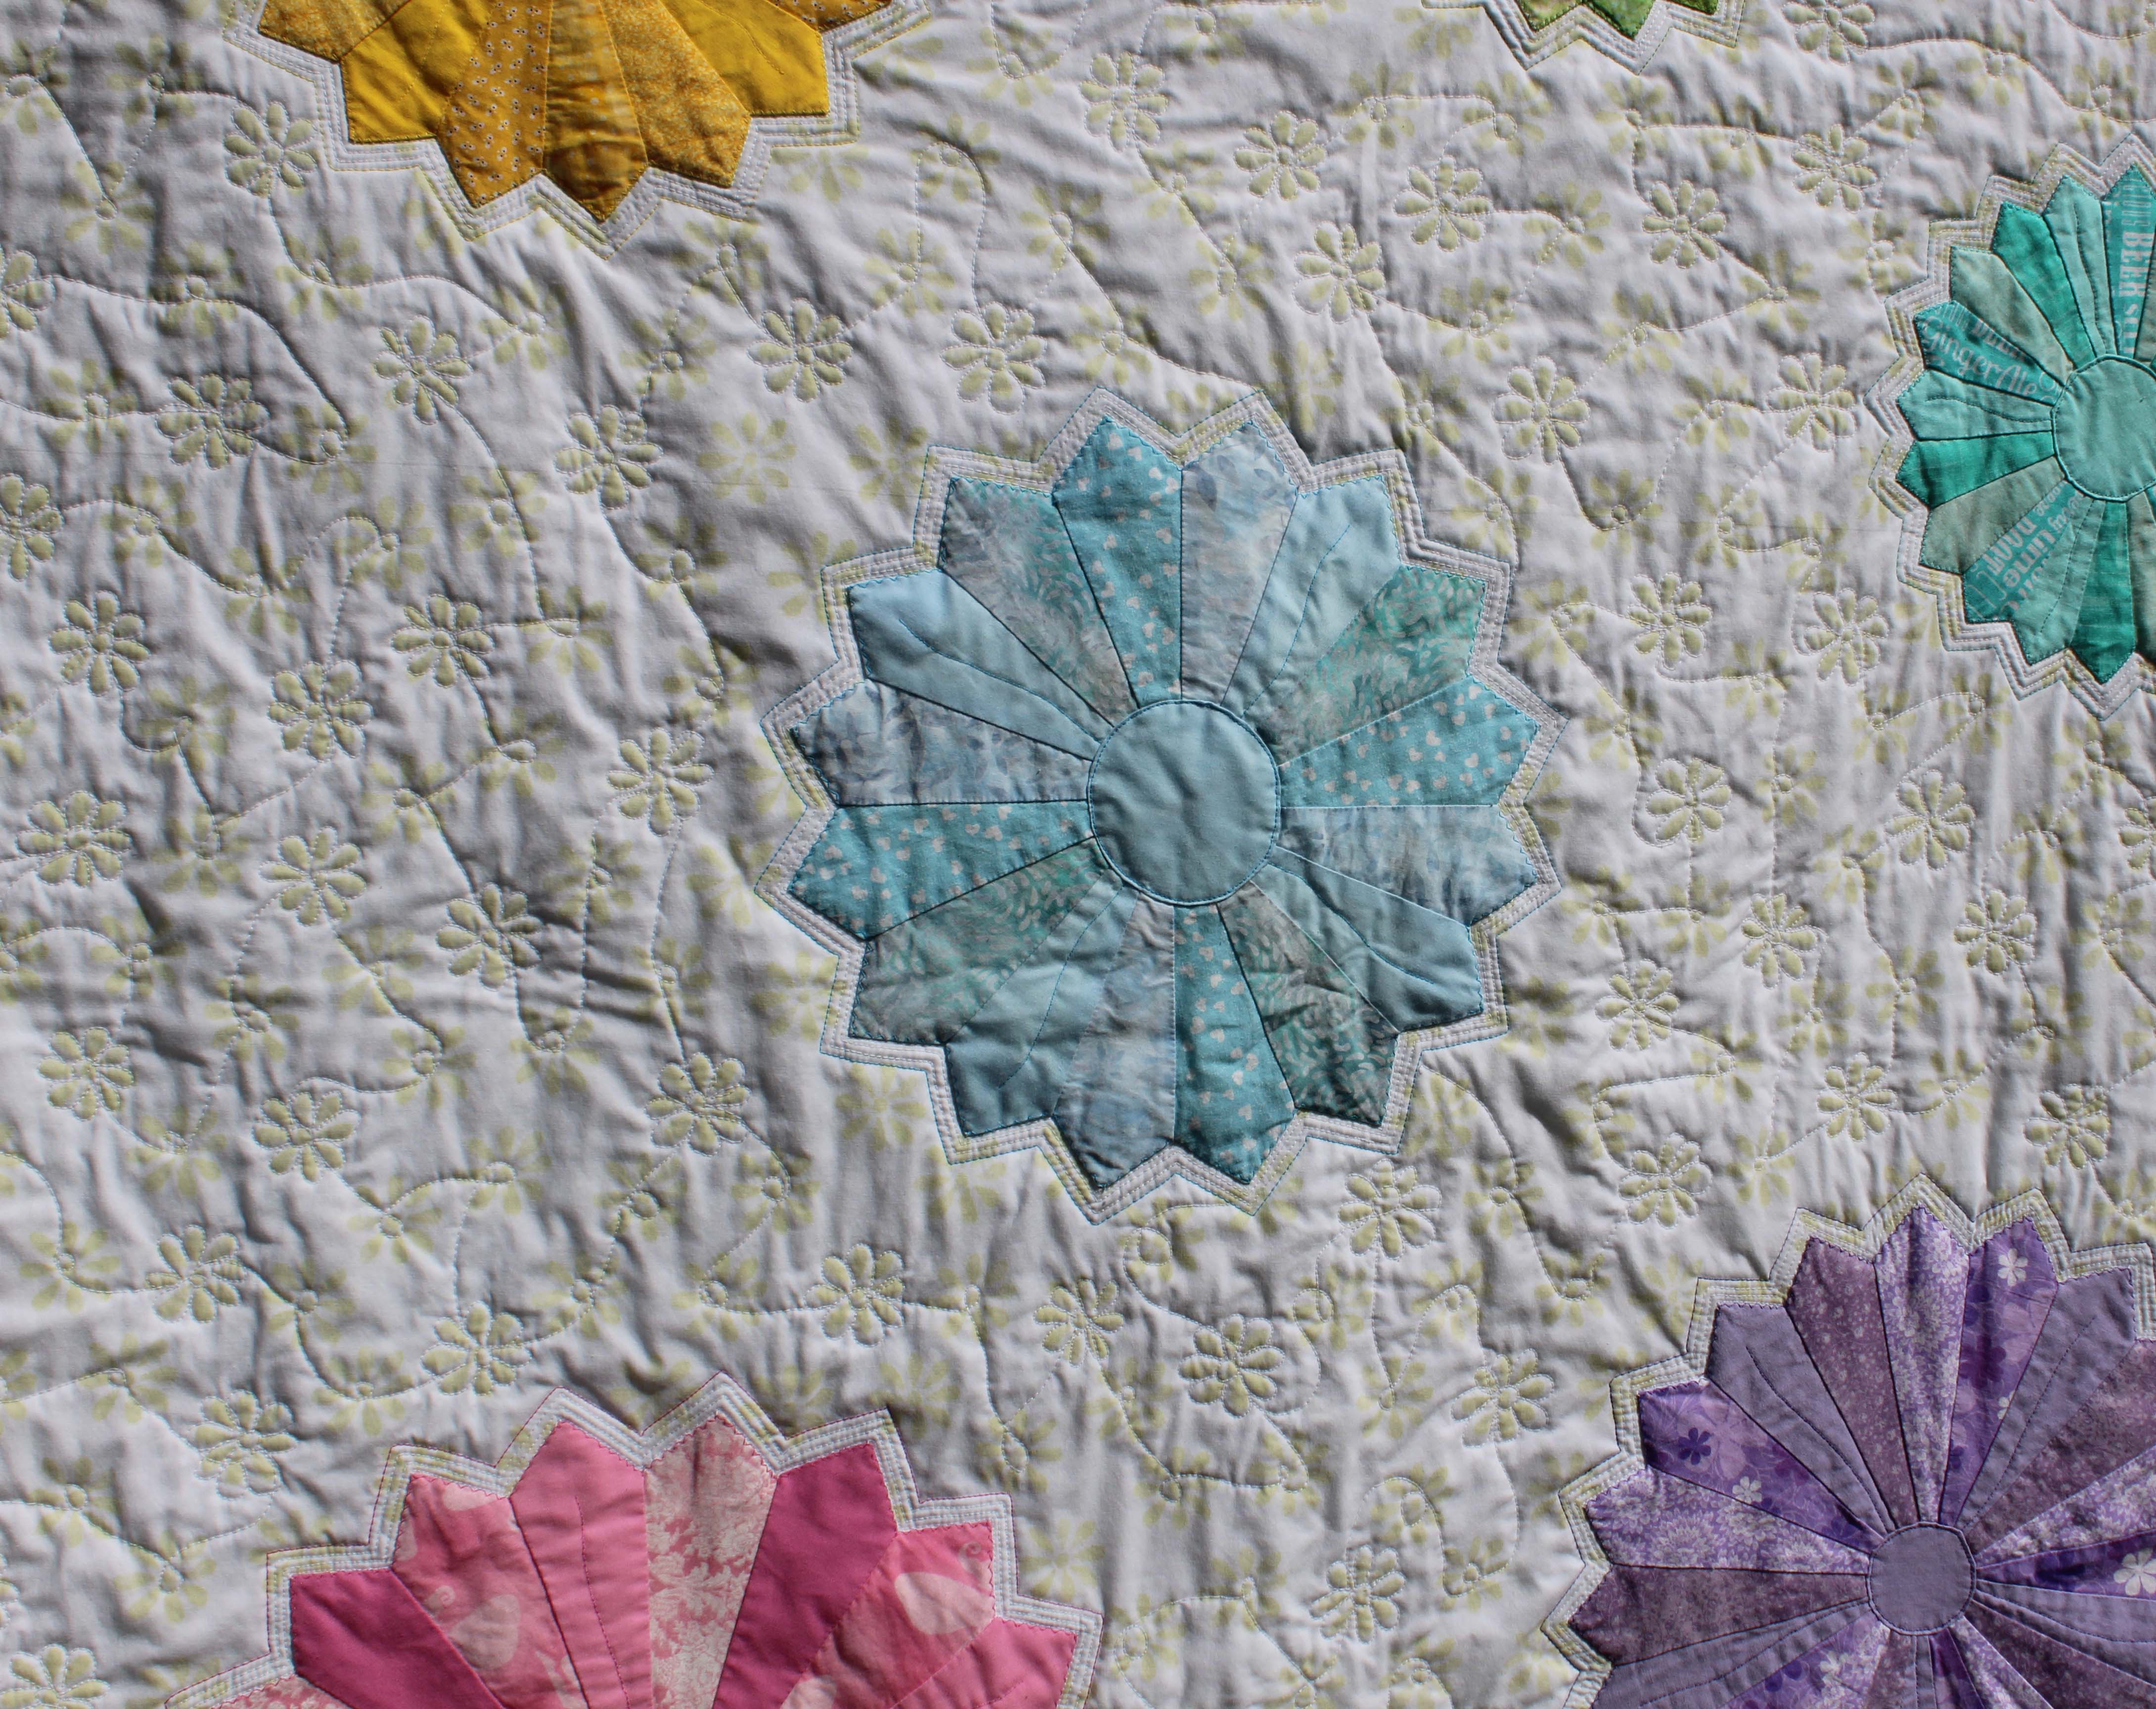
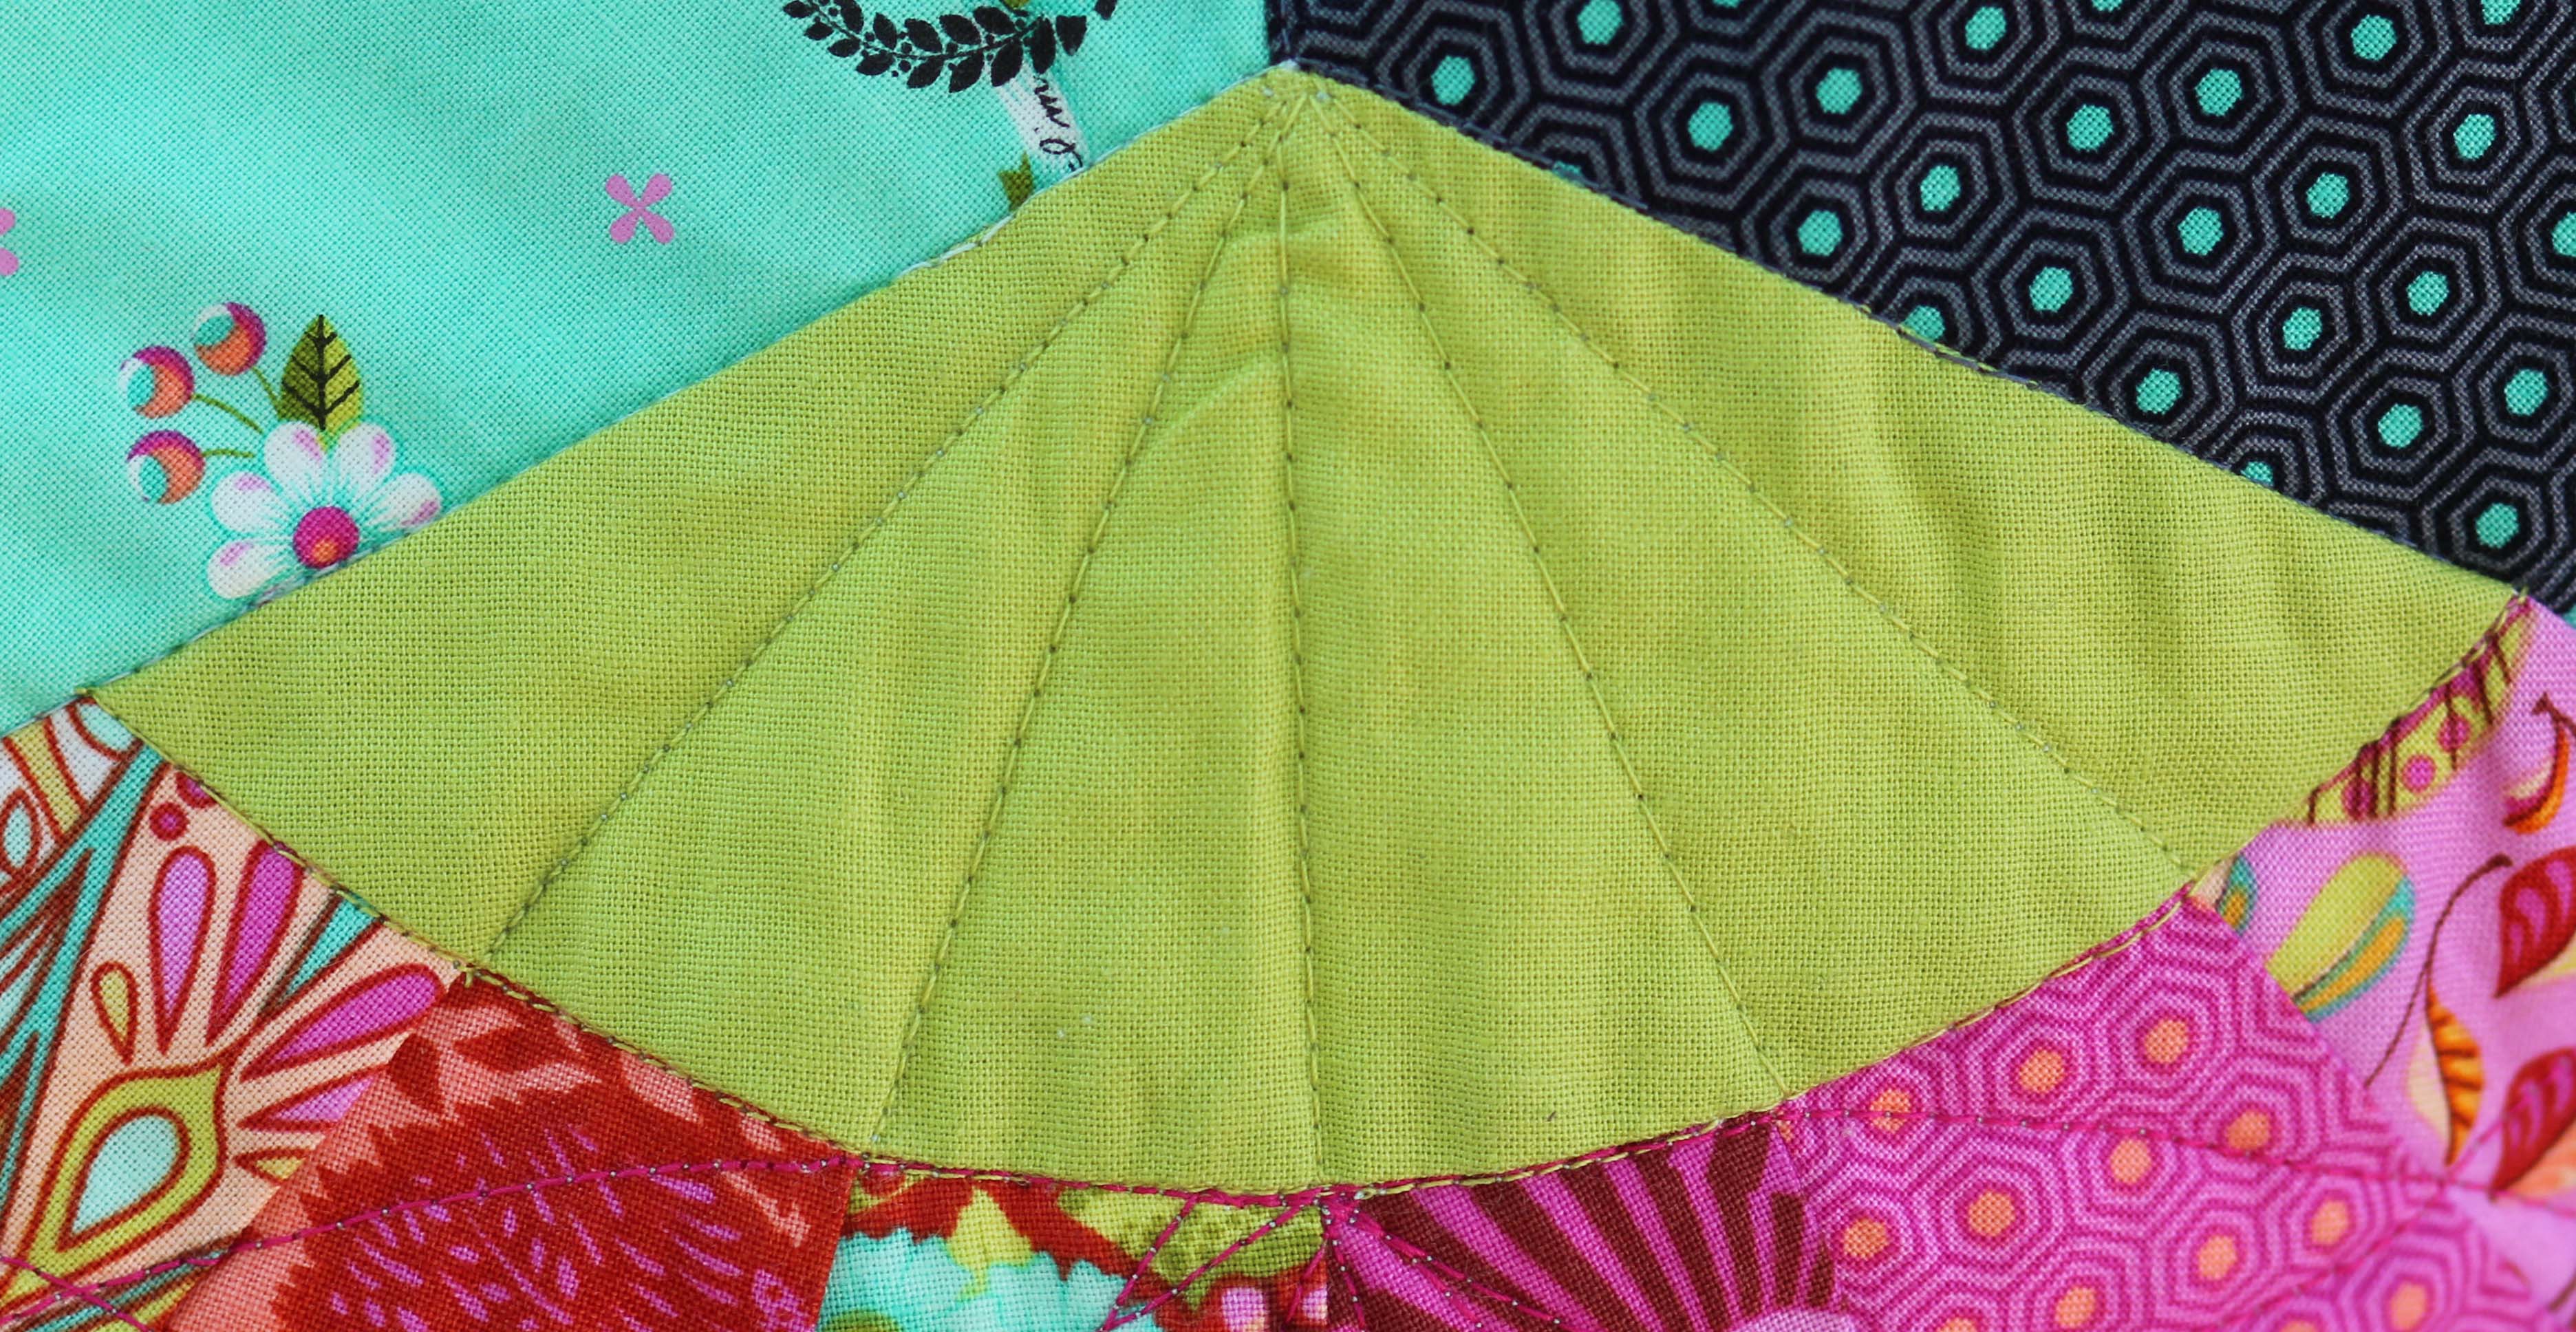
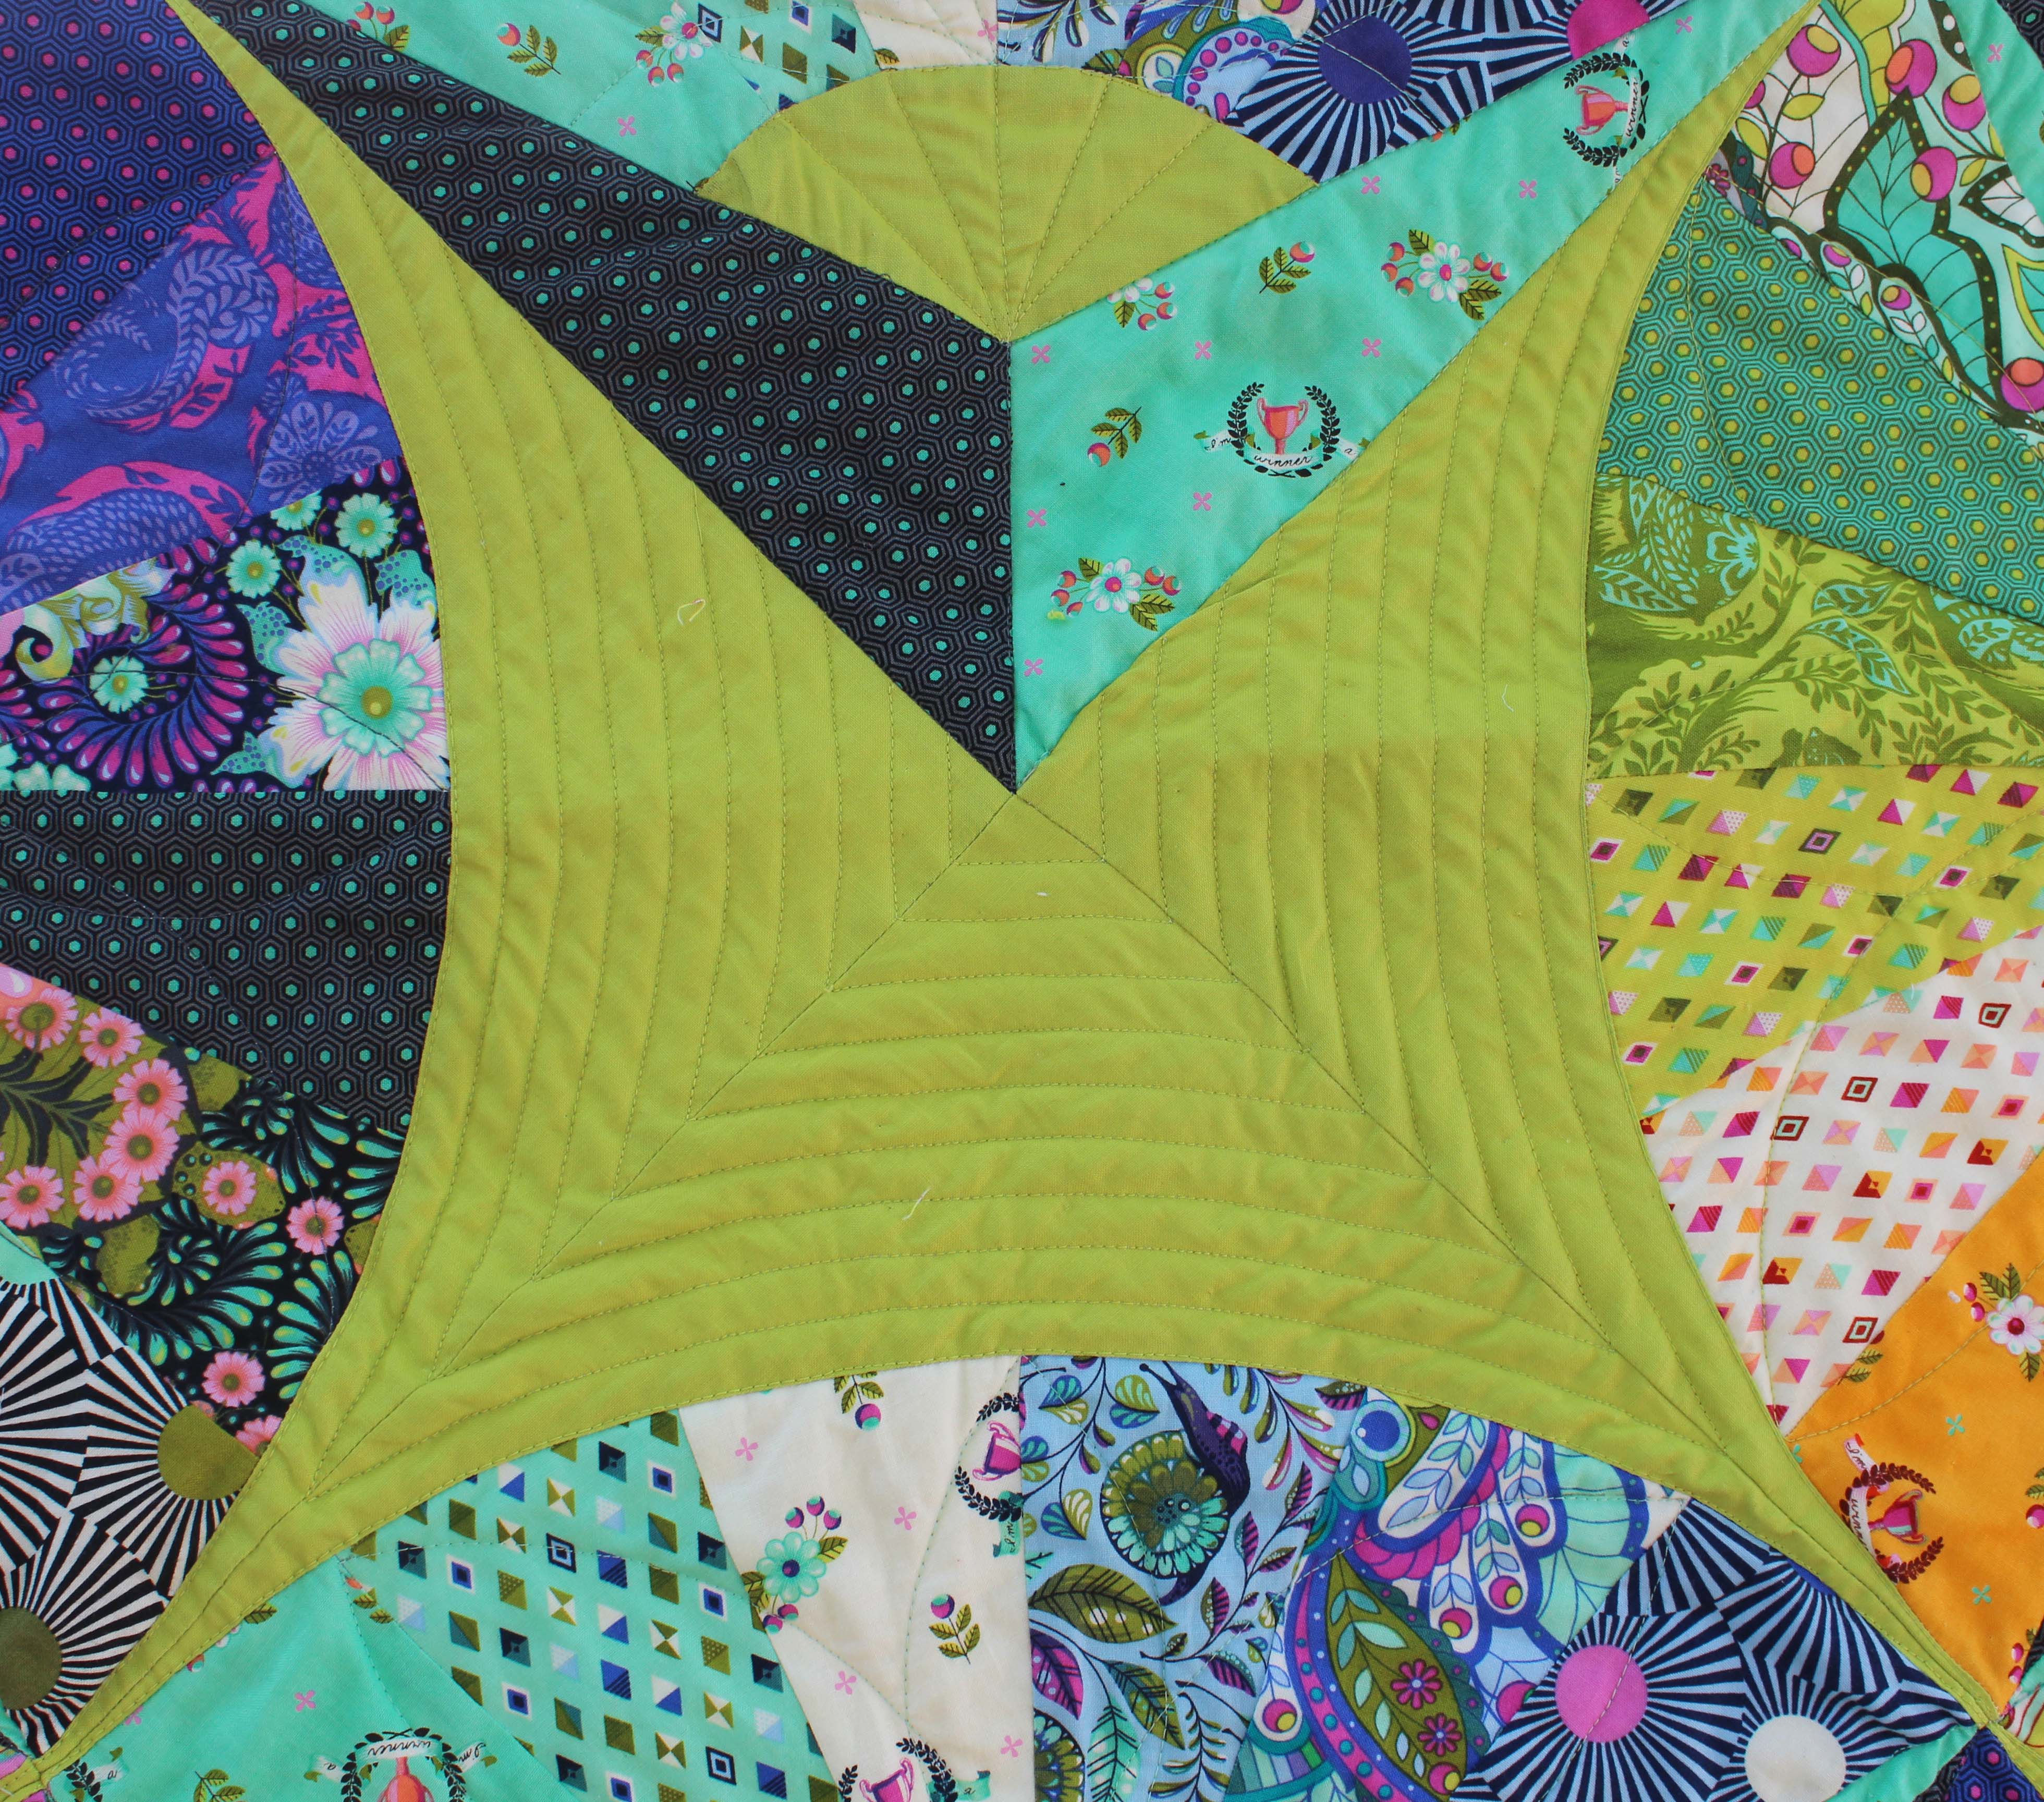
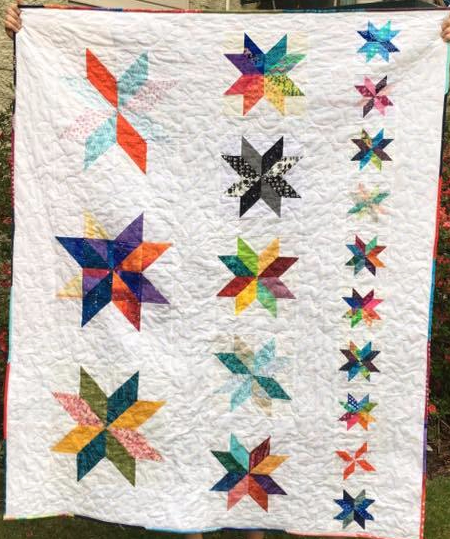
Now to the true test of my quilting capabilities.  The book has 11 quilt patterns and 18 quilting motifs.  Christa walks you through a quilting motif for each quilt in wonderful detail and encourages you to mix and match the motifs to make the quilt your own.  Quilting is where I feel less confident in my abilities, but take a look at how this turned out.

stst1stst4stst3

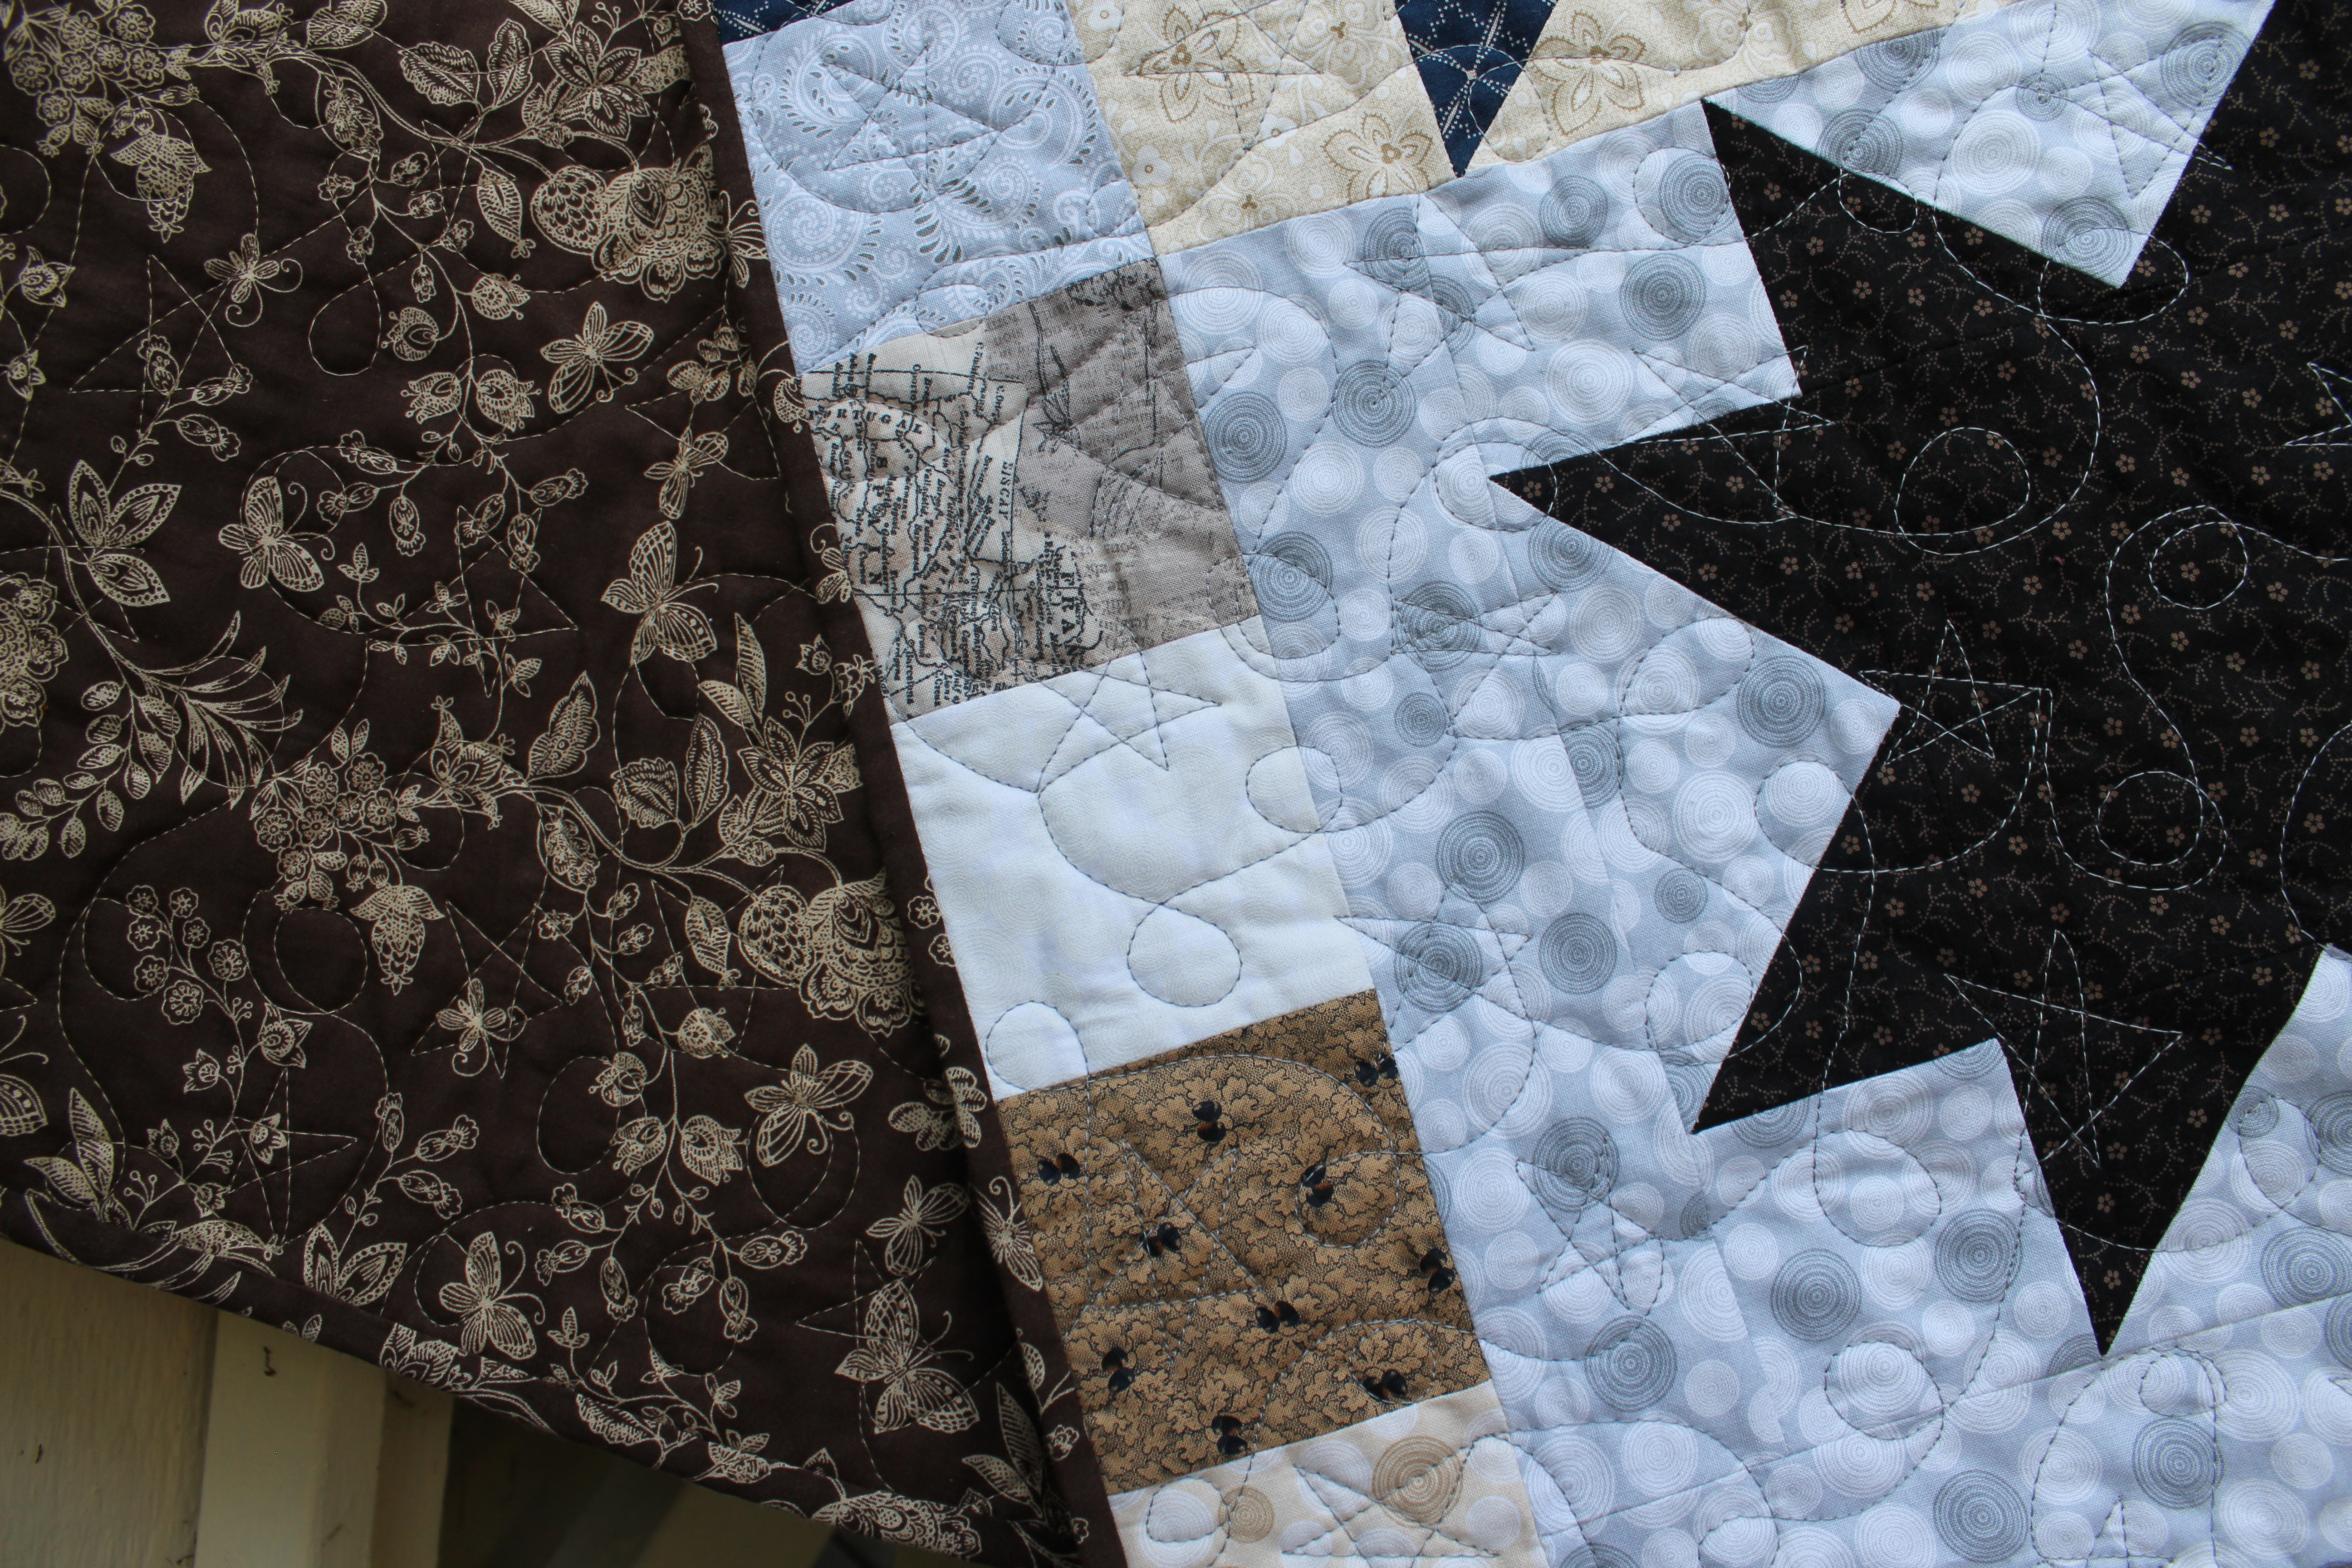
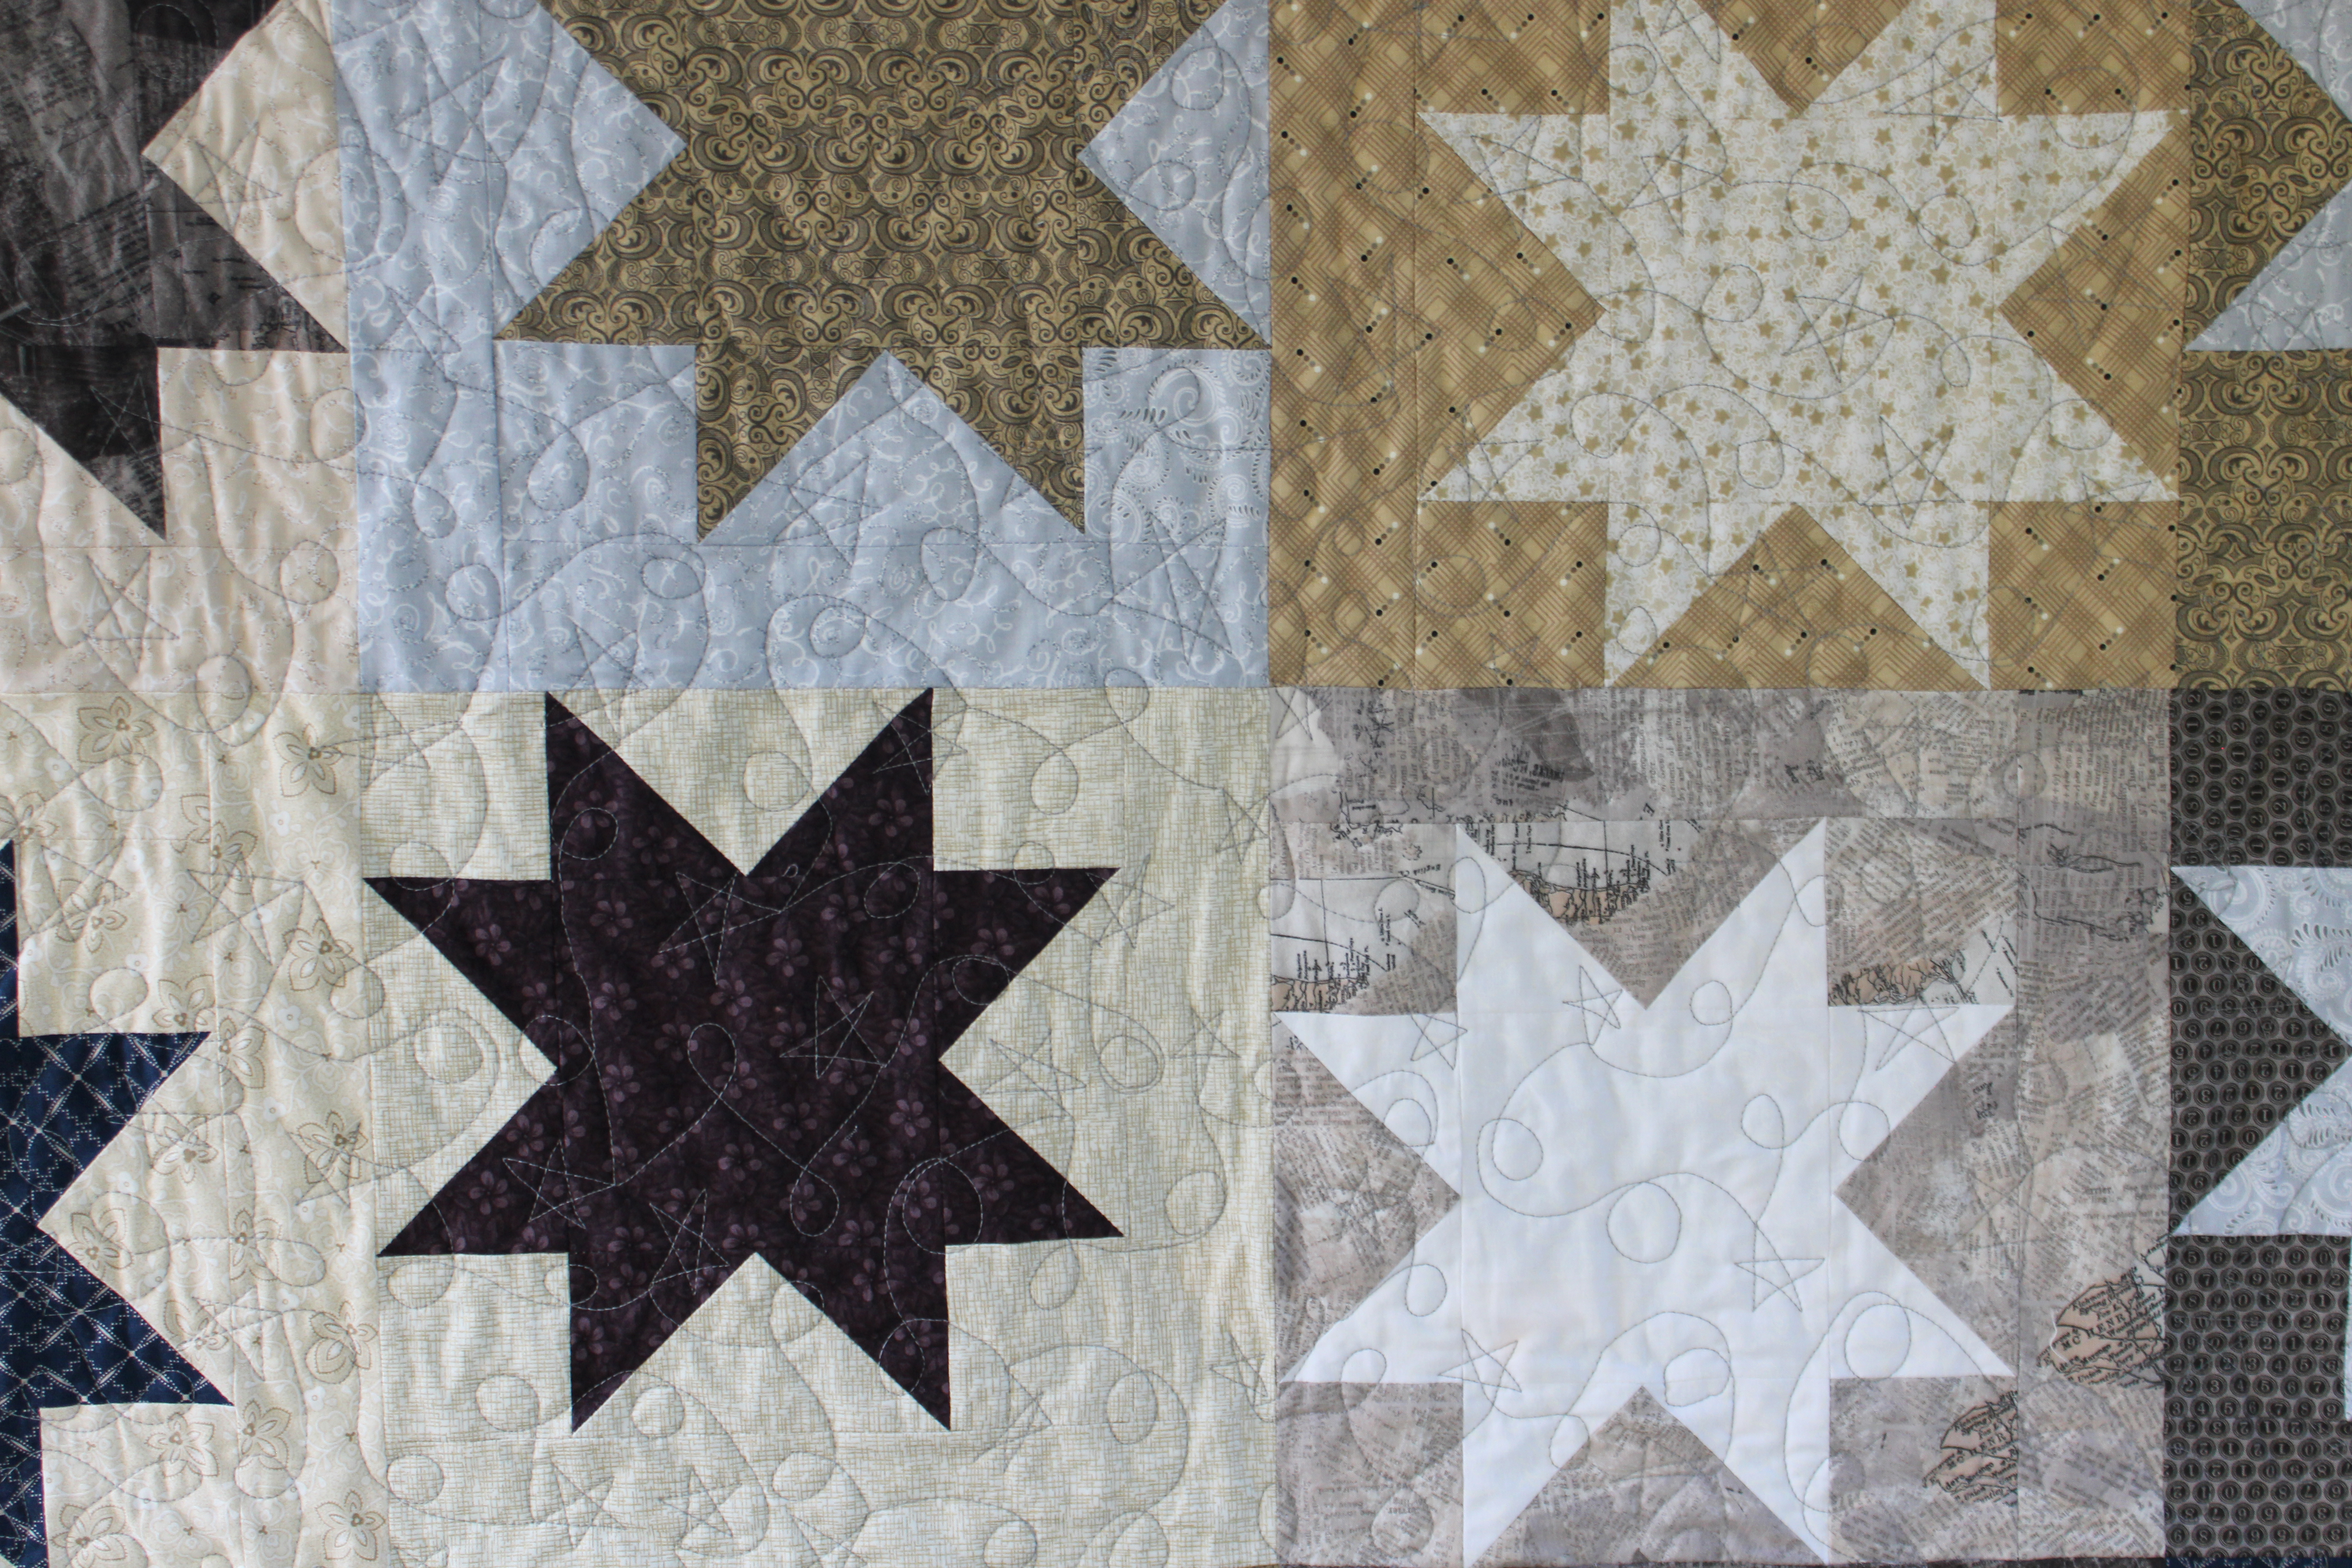
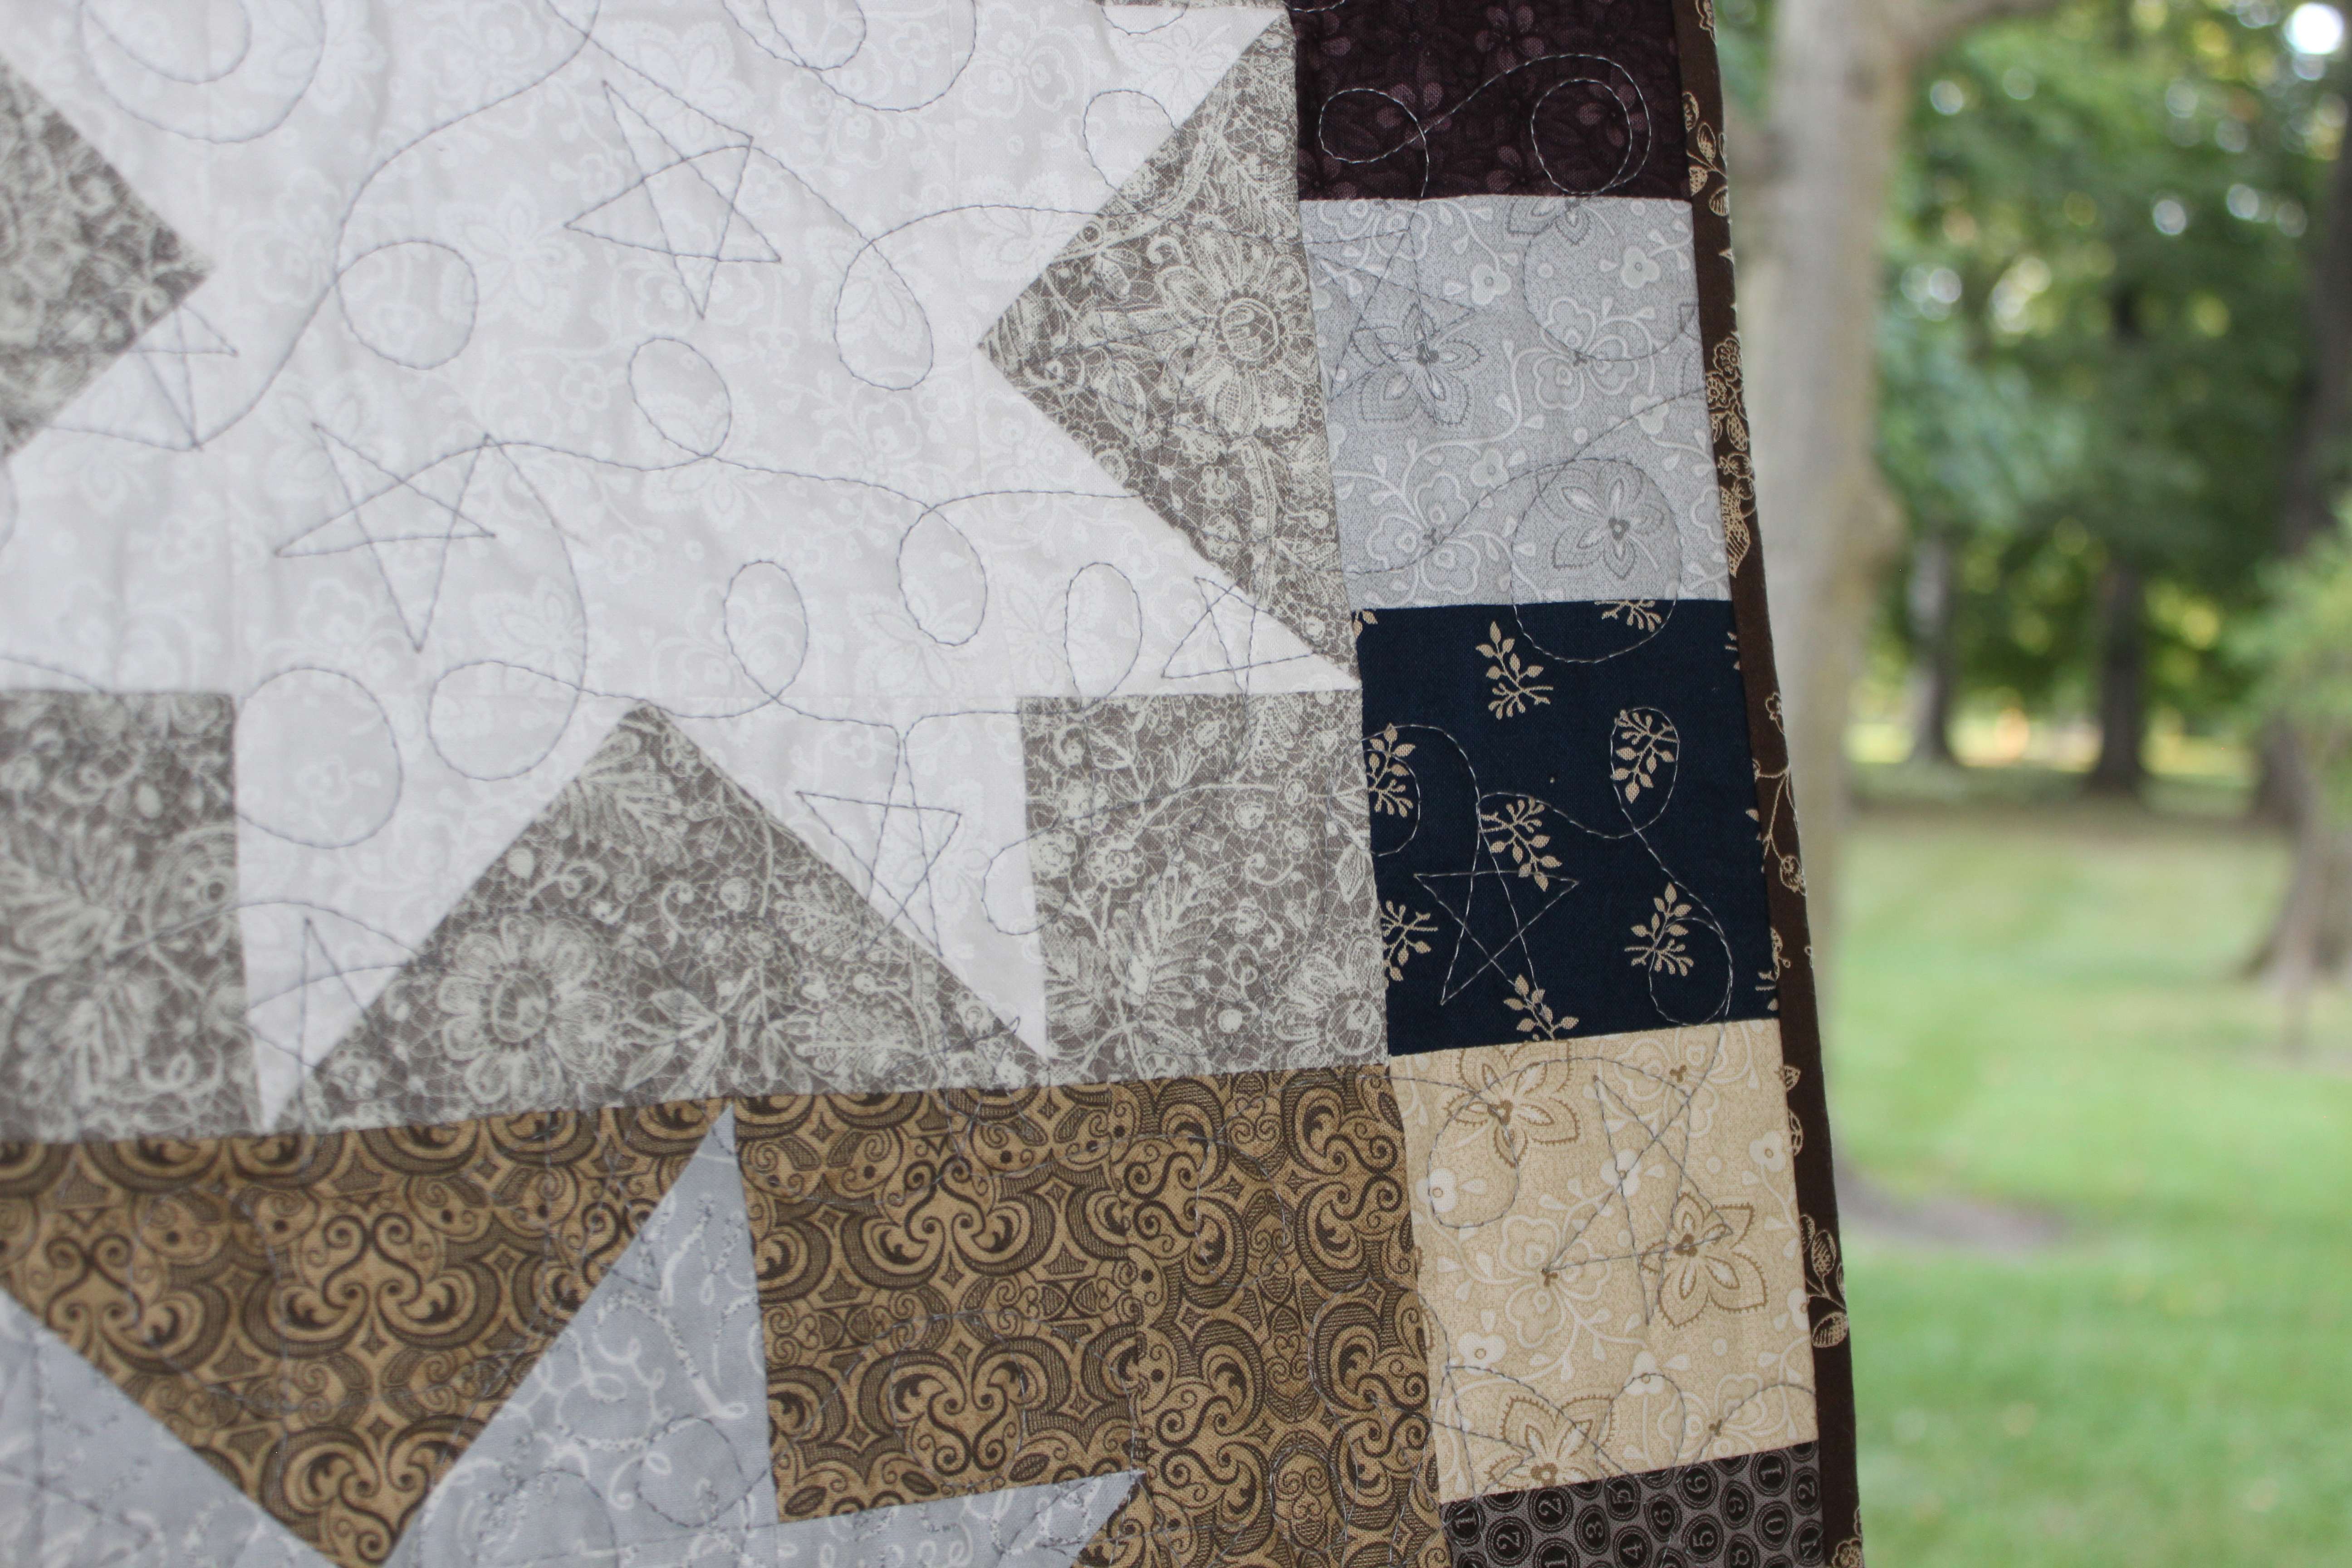
This is a free motion design called loops and stars, with instructions on how to quilt other motifs.  Soon you will see a quilt on Instagram where I will use hearts in the place of the stars.  It is so easy to follow Christa’s directions and come out with some amazing quilting.  She has two other books that focus on quilting that are now on my wish list!  I also plan on taking Christa’s Craftsy classes.  I think my confidence as a quilter is going to grow a hundred fold by the time I am through.

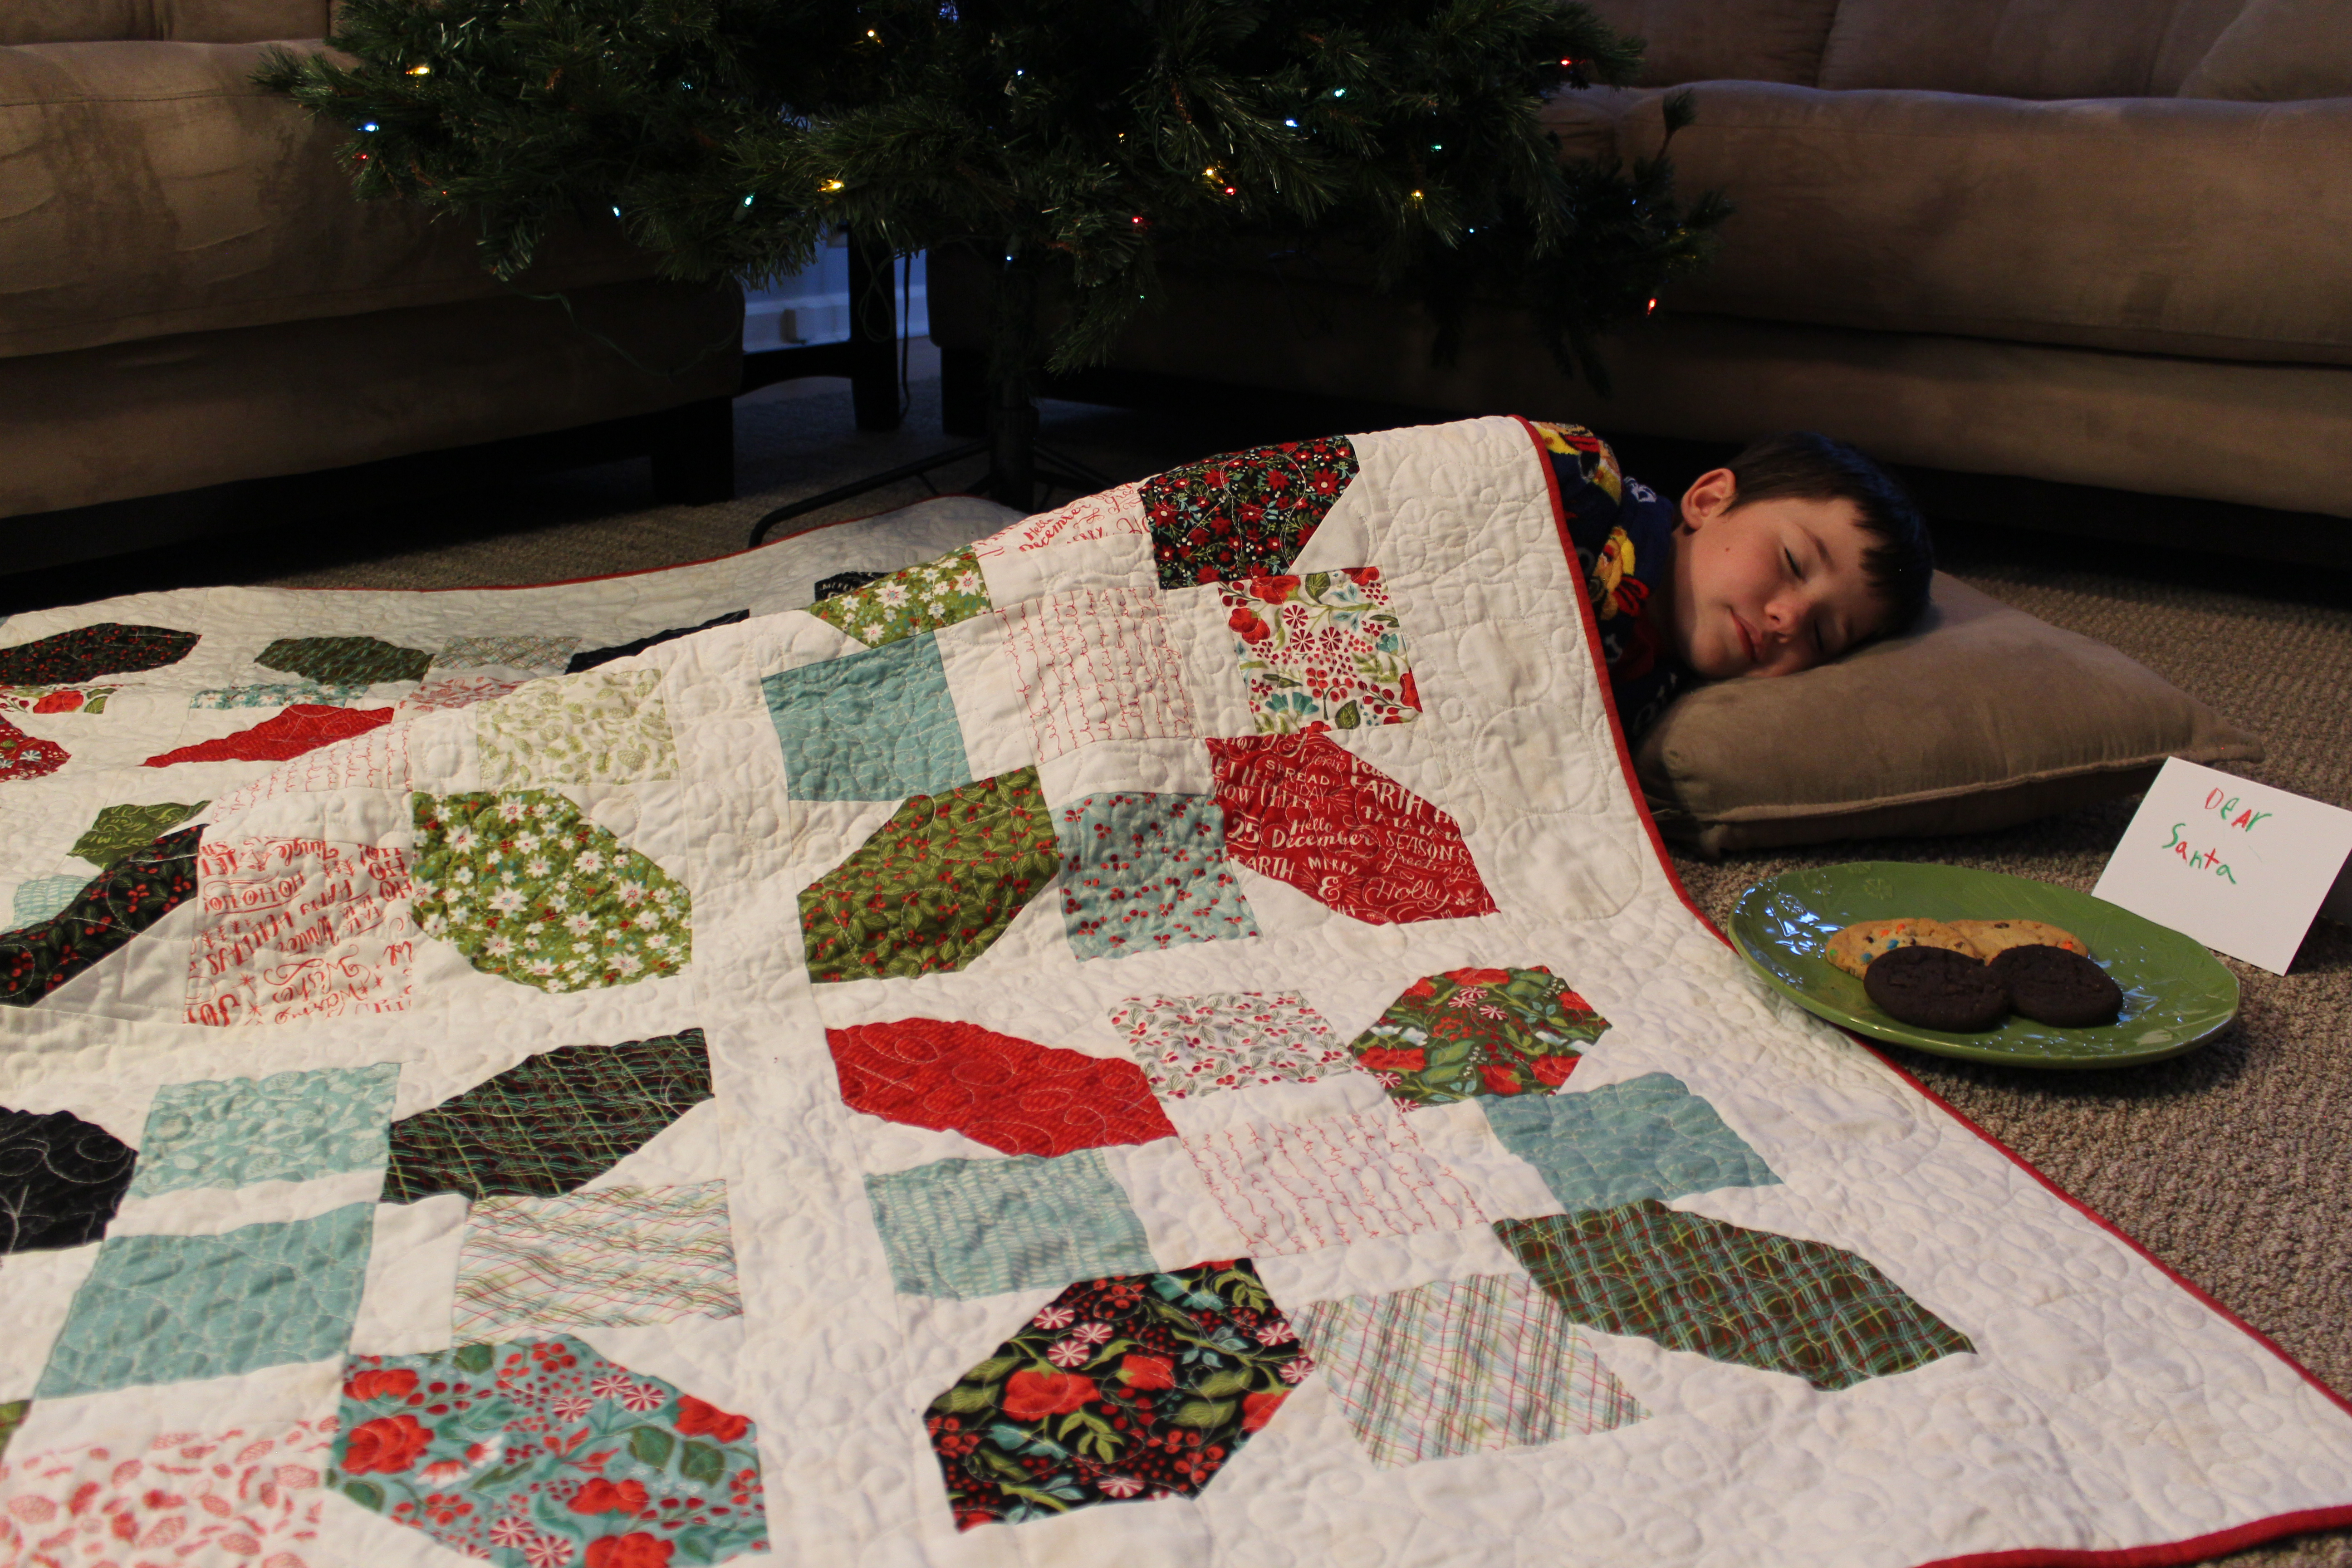
I want to thank the budding photographer in my house who took all but the final picture in today’s blog.  Didn’t she do a fantastic job?  I spent most of the day trying to decide what to use, and well…I’m just going to add all these here.


However, here is the money shot that I took!  Taken on Aug 21st during the solar eclipse.  Can’t go wrong with an eclipse on a star!

eclipse


My goodness, I’ve had so much fun with this blog hop.  Please check out the line up for the entire hop here and check out all the fantastic interpretations of Christa’s patterns.

And don’t forget the giveaways!!!  There are a few, including 2 right here, right now from me!!!!

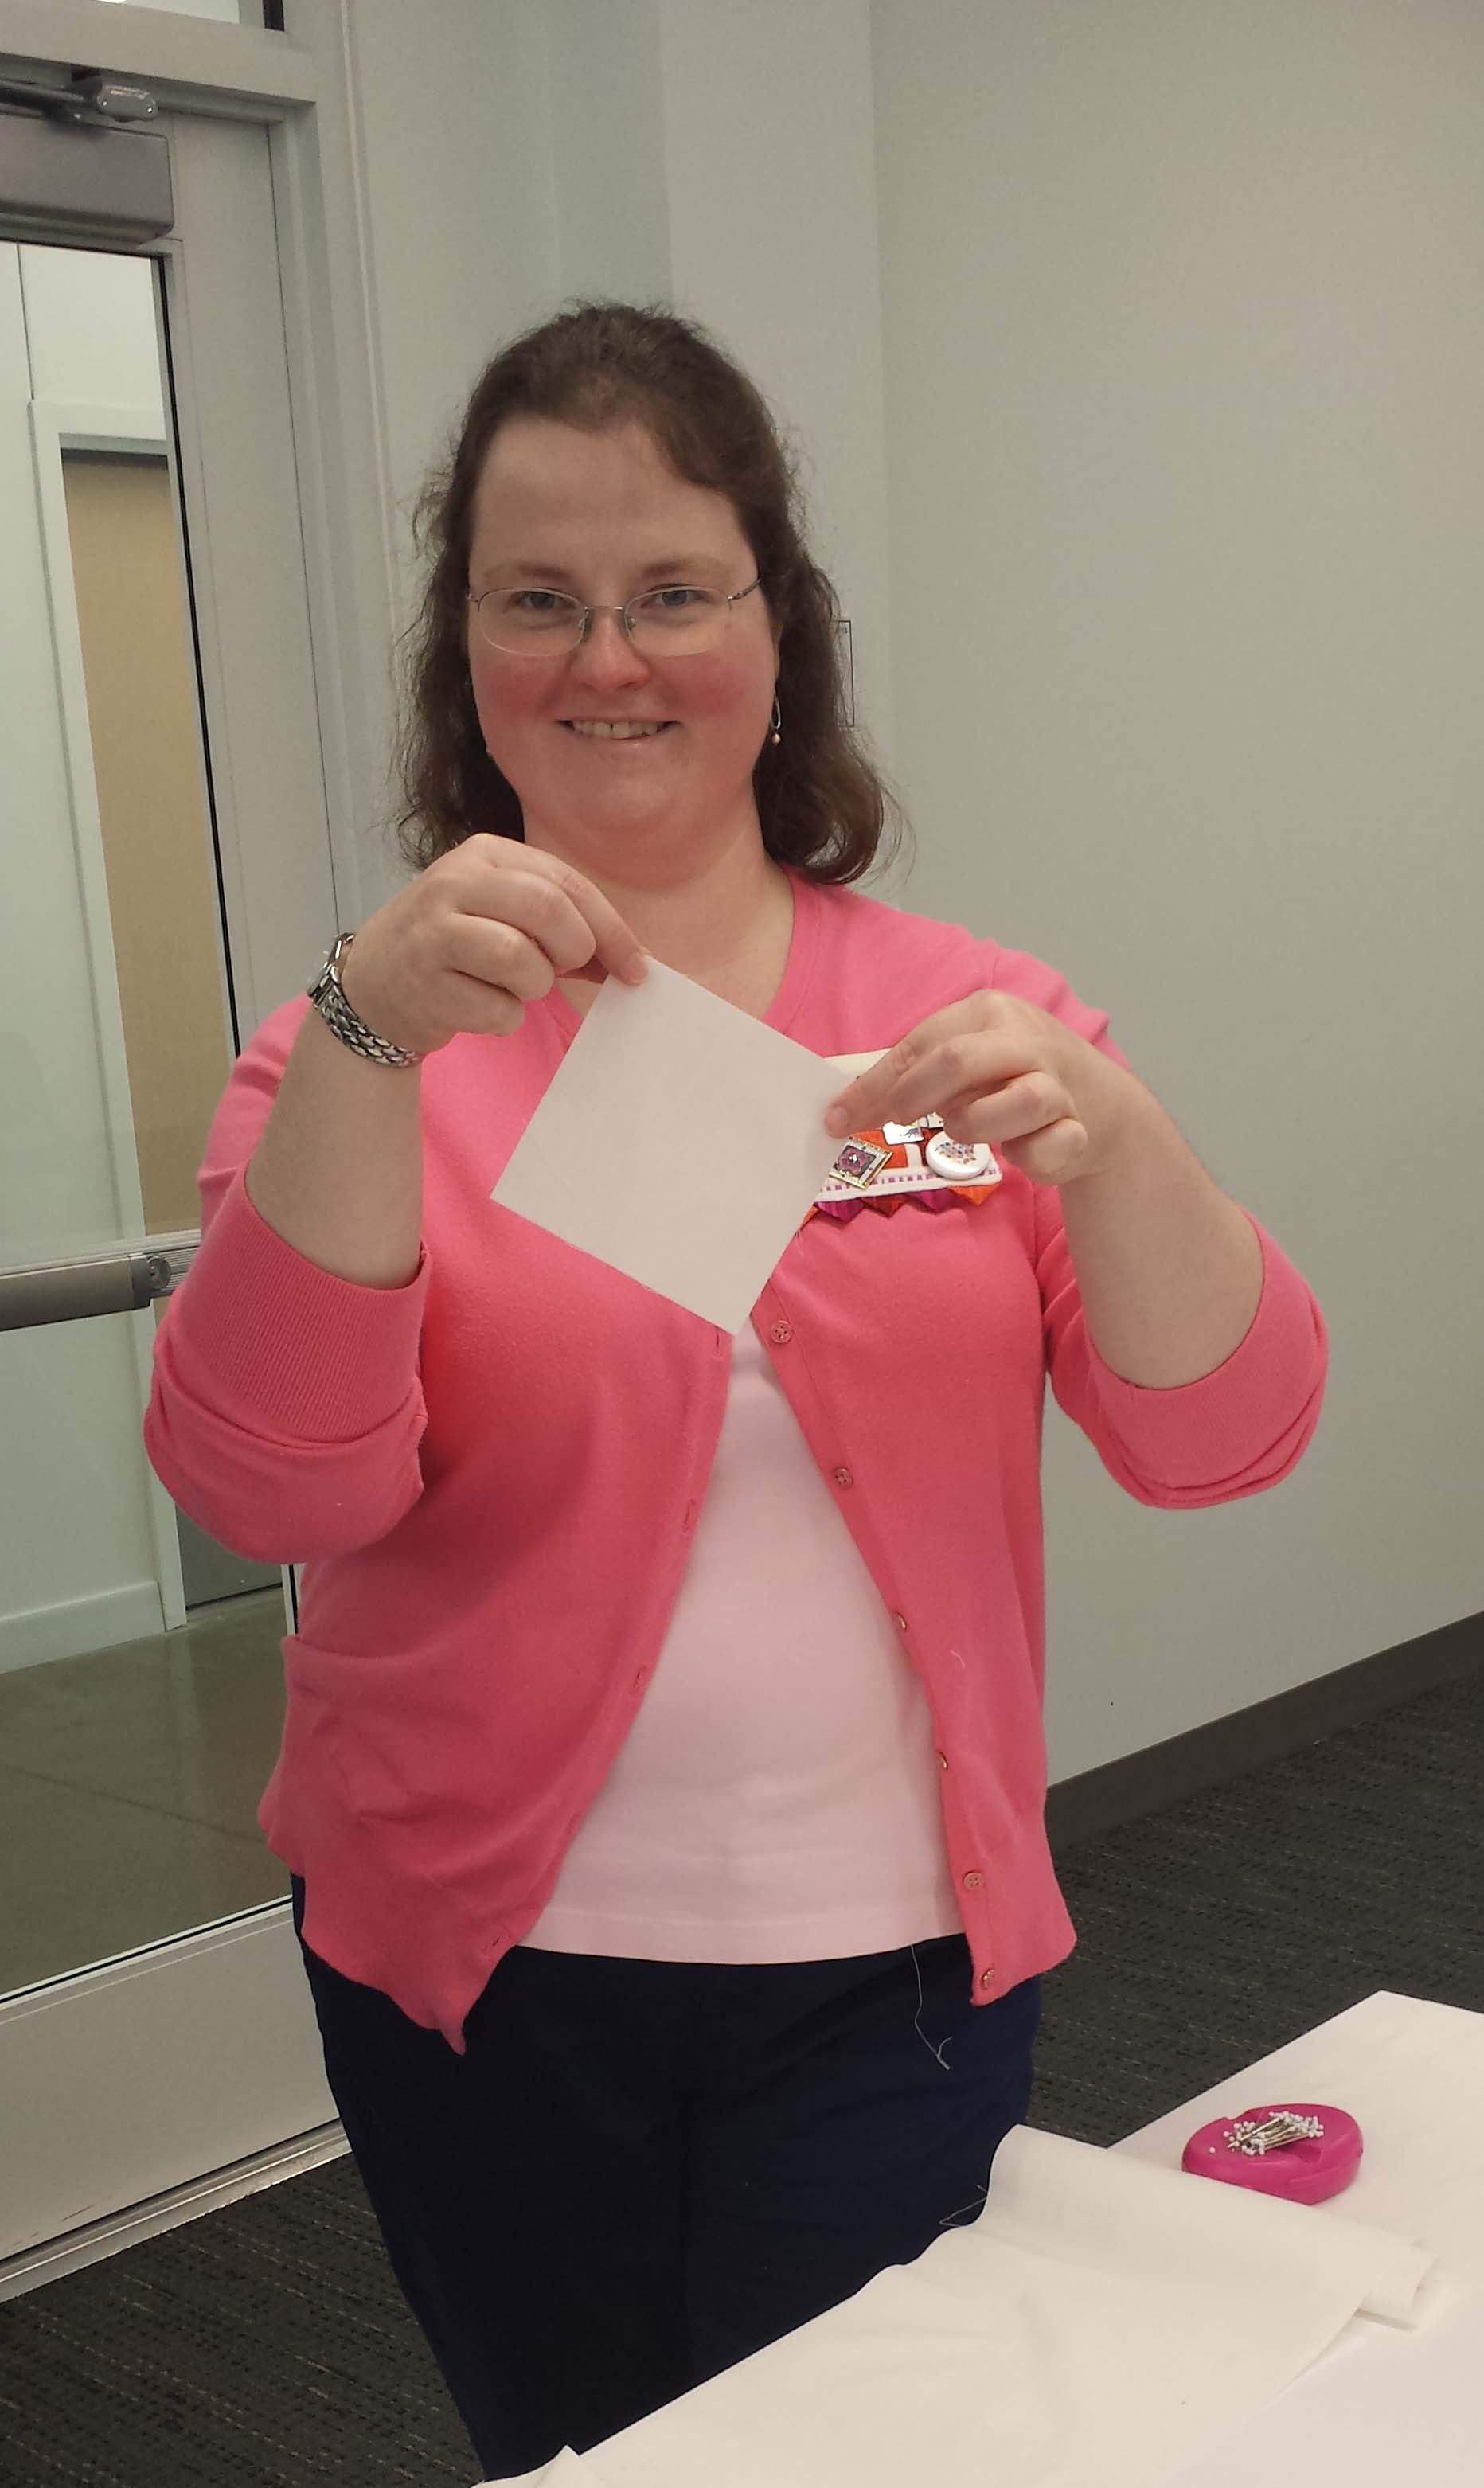
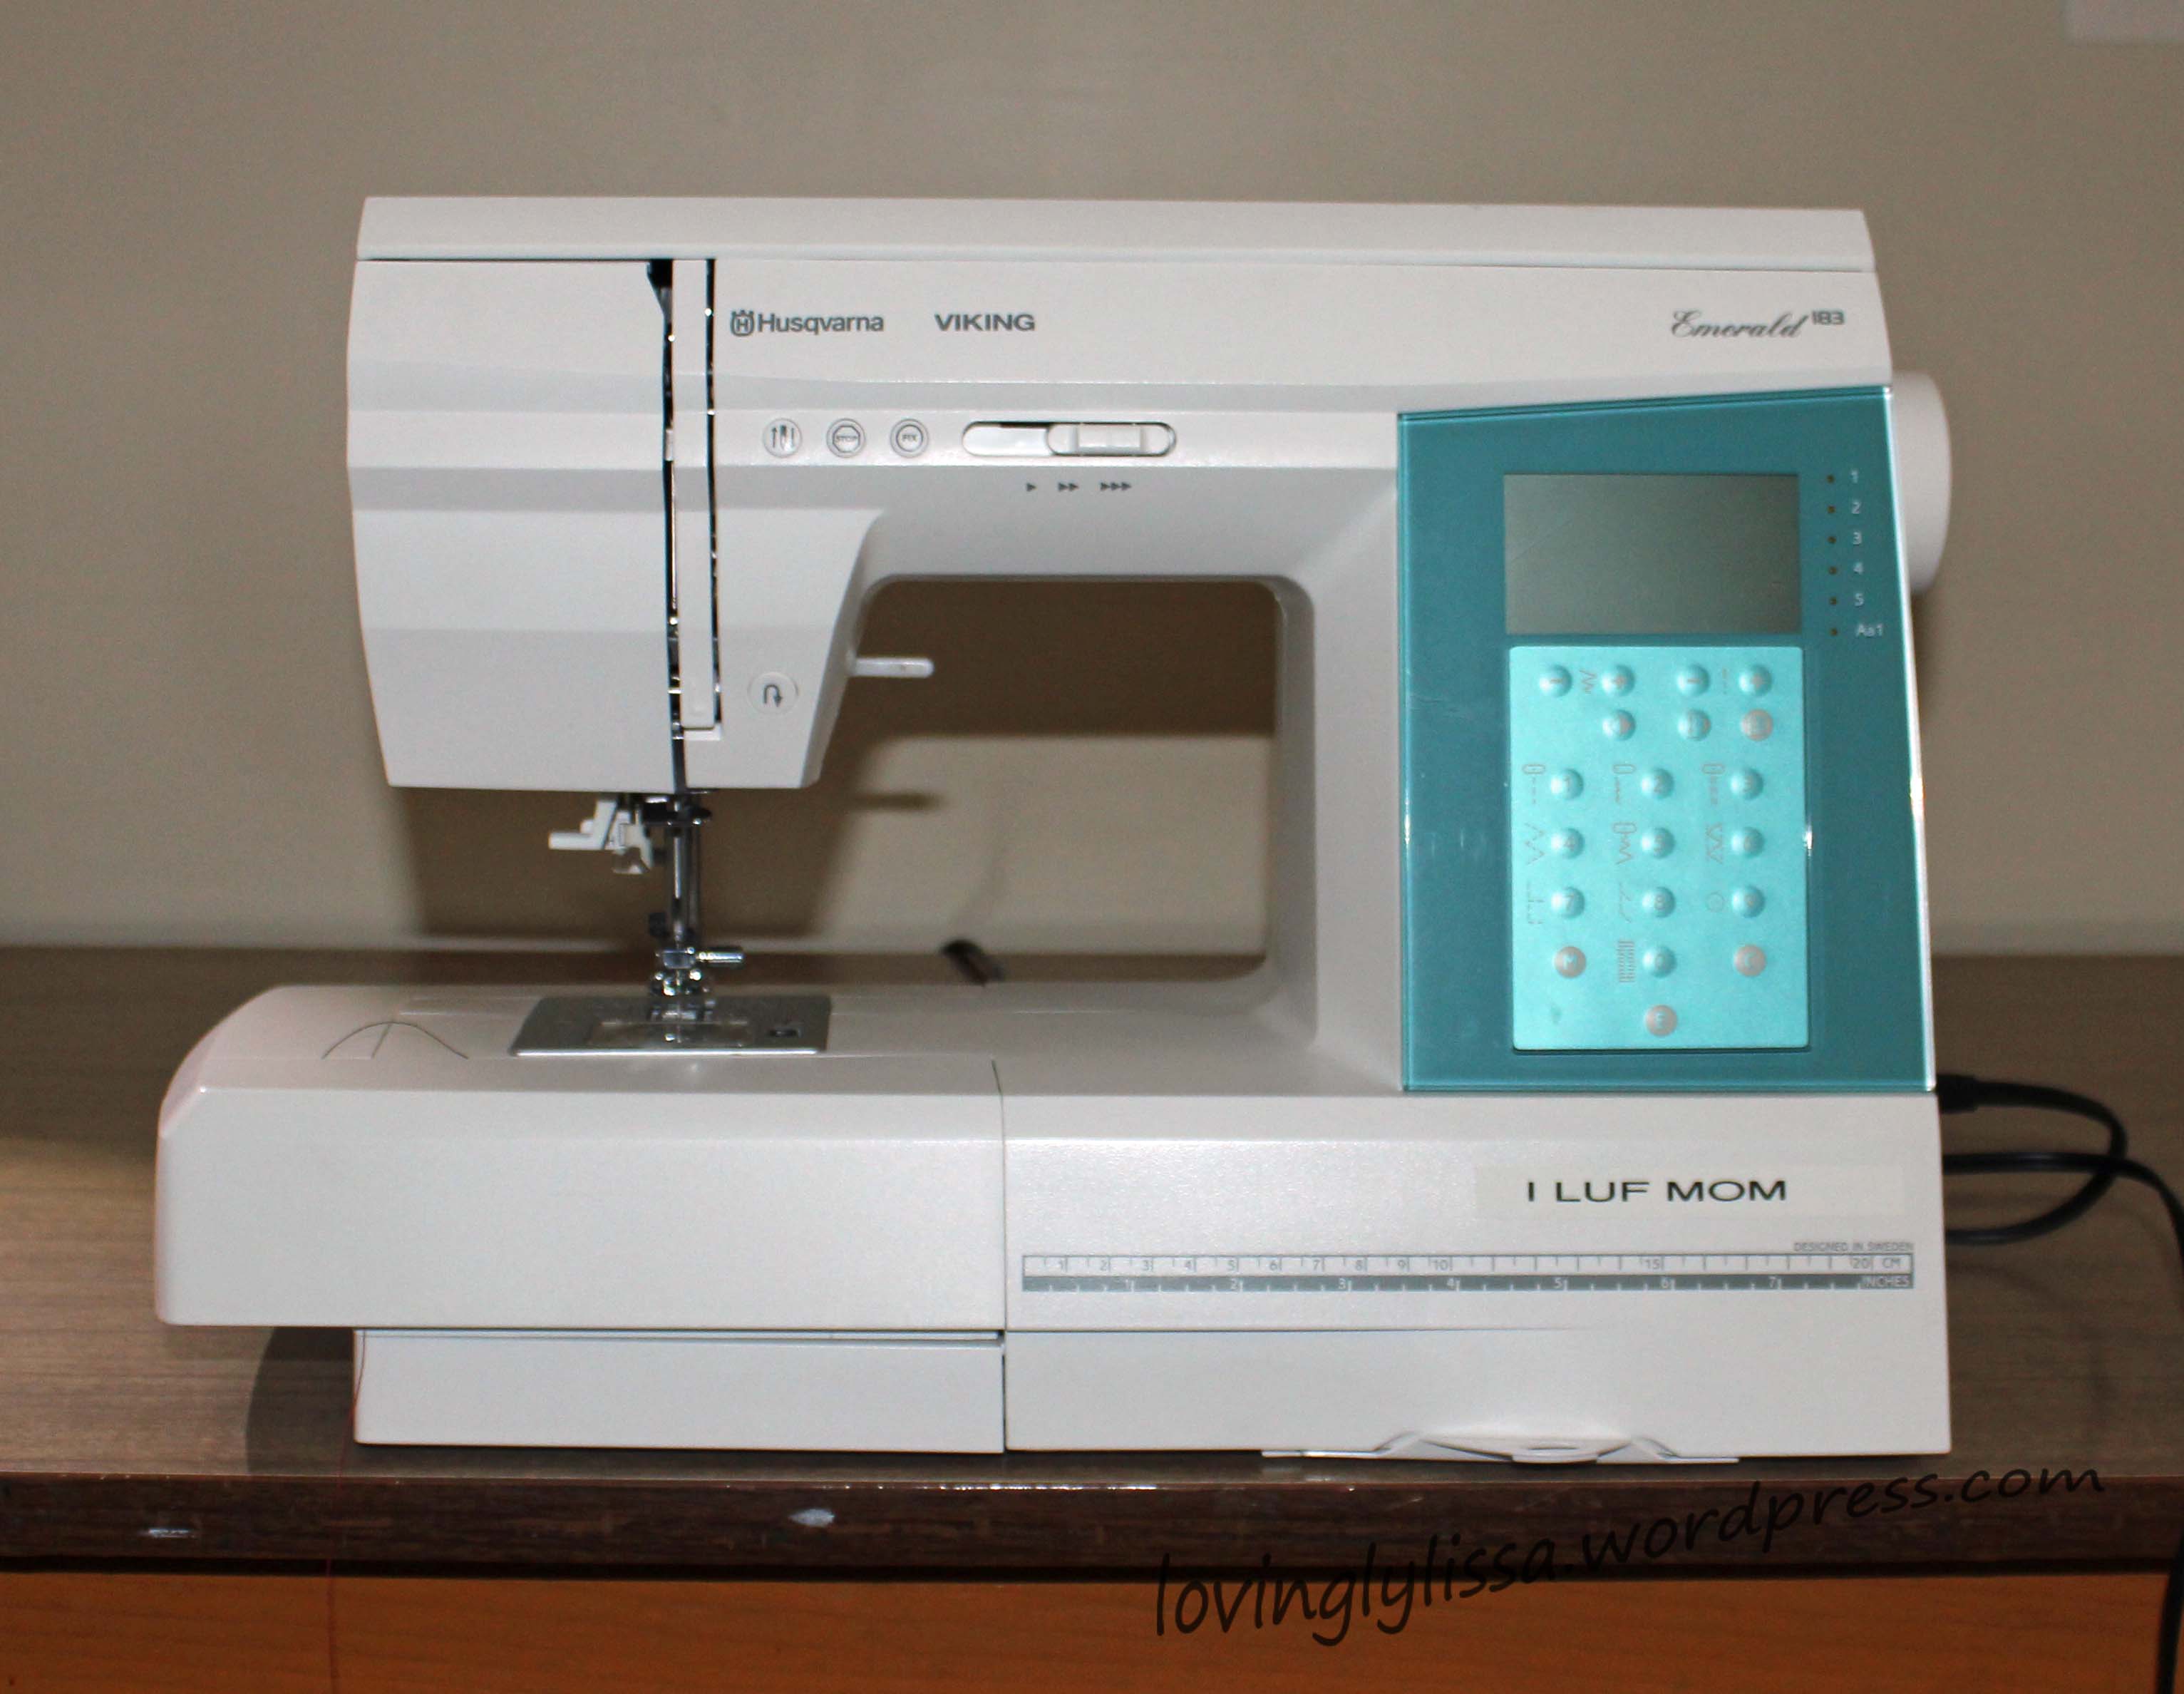
For a free eBook of “Piece and Quilt with Precuts” leave a comment below.  Do you like to stick to one motif when quilting or do you prefer to mix and match?  Do you use a walking foot or free motion quilt or both?  Any tips and hints for those of us who struggle a bit?  I take a piece of my back fabric, a piece of the batting, and a fabric left over from piecing the top to make a practice sandwich.  This way I can fix any thread color issues or tension issues and get a feel for the quilting motif before the needle hits the quilt itself.

You can’t Piece and Quilt with Precuts without some precuts, now can you?  So, head over to my Instagram, @lovinglylissa to find my IG give away.  Two charm packs (each with 20 fabrics) of Amy Butler’s Timeless to get you started on your own quilt!  You can’t miss the post on my feed, it’s a picture of the charm packs with “GIVEAWAY” written across it.  Instructions on how to enter will be posted under it.

Winners will be chosen when the blog hop ends on August 31st.

Also, Christa has her own shop called The Precut Store where I am positive you can find the perfect precuts to use.

Lovingly,

Lissa

Uncategorized

Me time

Isn’t all sewing “me time?”

Well, yes and no.  I do absolutely love to be in my room and at my machine.   Lately a lot of what I am creating are must do’s.  Things I am working on in order to obtain a goal I have set for myself in the quilting industry.   Sewing for fun and nothing else doesn’t happen too often. 

I don’t feel like I am missing out.  Until a night like last Friday happens. 

I took a class a local quilt shop to make a book clutch.  It was so much fun and I loved what I came home with.

I am not a clutch person, so I added straps to mine and made a cross body.  

On Saturday I just couldn’t stop myself.  I had to make more of this.  So I made a wallet to match the mini Tudor bag I made a few months back.

This fits some cards and cash perfectly and also can slide right into my back pocket.  Great for grab and go times and times I don’t want to carry a bag!

Saturday evening my daughter comes to me and tells me there is a huge warehouse book clearance going on Sunday.  Would I take her and a friend?  YES!

The book sale was $2 or less per book.  And some of these book covers are so gorgeous they don’t need fabric covers.  I plan on doing some more modifications,  adding card pockets, inside zippers, different closures, etc.  These will make great gifts and now is a great time to make them.  It requires E6000 glue and if you have ever used it you know how bad it smells.  Perfect outdoor activity right now.

Lovingly, 

Lissa

Uncategorized

Guild Quilting

Have you ever wondered how a guild quilt comes together?  I have and I belong to two guilds!  One guild handed out background fabric and instructions on types of fabric to use and block directions.  We all returned the blocks and one member completed the quilt top, quilting, and binding all by herself.

Now the other guild likes to get together and have some quilting fun!  I’m referring to the Central Ohio Modern Quilt Guild.  We handed out fabric and block directions to any member who asked, but once collected we planned a sew-in day to put them all together.

Of course there were some hiccups, but nothing these multi talented, extremely intelligent ladies couldn’t figure out!

First, let’s get all the squares laid out.

comqg3


That doesn’t look complete, let’s rearrange and take another look.

comqg2


We have a bit of math to figure out (thank goodness there were more abled thinkers, ’cause my maths skills were sorely lacking)

comqg7


Angie is thinking I should put the camera down, get over there and cut the fabric.  And DO NOT mis-cut, because we may not have enough as it is!

comqg5


Cam and Betsy are so hard at work they don’t see the picture perfect day out that window.

comqg4


What’s missing?

comqg9


Cassandra knows what it is.  The last 4.5 inch square that we just managed to cut out of the remaining background fabric!!

comqg1


Everyone is smiling because it is coming together so nicely, or because they all know there is a camera on them!

comqg8


Can you tell what it is yet?  It’s upside down in the above picture.  Here is the picture of the completed quilt top.

comqg6


The State of Ohio!

Oh, it was such a fun day.  I so enjoy spending time with members of this guild.  I truly love this quilt top too.  Do you?  Well, then stay tuned.  It went home with the awesome Cassandra Beaver to be quilted and after it is bound it will be heading to the Ohio State Fair so you can see it in person.  After it’s attendance there, we will be selling raffle tickets to WIN THIS QUILT!!  I will keep you posted on when the tickets go on sale.

Lovingly,

Lissa

Uncategorized

Every Day is Earth Day

Back in April I challenged myself to create a quilt without purchasing anything NEW.  Everything had to be scraps or upcycled materials.

I started with a Queen size flat sheet that I cut into fourths.  I used two pieces as the front and back of my quilt (the other two pieces are being saved for another project)

I dove into my pile of scraps and stash fabrics to create dresden flowers of varying sizes.

My favorite re-use was taking small pieces of batting and stitching them together for use in the quilt.  It was easier than I thought and came out much better than I expected.

Start by overlaying two pieces of batting, carefully using a rotary cutter cut a wavy line through both layers.  But the new edges against each other and sew with a zig zag stitch.


Easy Peasy!  And you can not tell once it is in the quilt at all.

I also tried to create a Trapunto effect on this quilt.  I quilted each Dresden block onto it’s own piece of batting before stitching it to the quilt. I then used my applique scissors to cut the batting about 1/4 inch smaller than the Dresden block.

The Dresdens were then zig zag stitched onto the top of the quilt. (I forgot to take pictures…eek!)

In order to make the Dresdens pop I quilted right up against them and then echo quilted 1/4 inch away a few times in white thread and then once more with a thread that matched the Dresden.  They didn’t pop as I had hoped, but the quilting still looks really nice.

The rest of the quilt received a meander type quilting.  I did some loops inside the flower print of the top and also stitched around the outline of some of the flowers.  It came out really cute.

dresden5

The pictures were taken after I had washed and dried the quilt, that is why it all wrinkly looking already.  (My favorite part of quilting is when it comes out of the dryer and is all wrinkly, to me that is the moment the quilt really becomes a QUILT)

Here is the finished blanket.  It is baby sized and labelled for donation through a guild I belong to.

dresden6

I challenge YOU to use up what you already have and make something beautiful.

Let me know what you come up with.

Lovingly,

Lissa

Uncategorized

Tula Tuesday – The Finale!

It’s taken a while for me to get to this point, but my Fandango quilt is complete!  It is quilted, bound, and in the dryer as I type.

The finish size is 68″ square and I quilted it mainly with a walking foot through the 6 inch opening of my machine.

emerald

It was not an easy task at all.

I started with the center medallion and chose a design.  The compass points were stitched in the ditch, the small green fans had straight lines radiating out, and thelarger pieced fans had a lotus leaf type of motif inside.

After I finished the center medallion I repeated the same quilting motifs on all the medallions on the quilt and on the quarter medallions.  Then I went to focus on the larger green areas.  For these I echo quilted the arcs of the fans.

fandangofinish3


Quilting this part was MUCH easier than the medallions.  You can see the quilting better on the back of the quilt.

fandangofinish6

For the borders I just meandered my way through.

Here it is, all finished!!!!

fandangofinish1

When it came to threads, I used 50 weights of varying colors.  I used one color for the bobbin and tried my best to match the section on top I was working on.

I am so thrilled and in love with this quilt.  It was a huge adventure for me in terms of quilting, I really took some risks that I normally don’t.  My next big move is to get a machine with a larger throat space.  Each medallion took me an hour at the minimum and a large part of the time was folding and cramming the quilt through.

Here ends my Tula Tuesdays!  Thank you all who joined me on this journey, it has been fun!!!!

Lovingly,

Lissa

Uncategorized

BLOSSOM BLOG HOP

Welcome, Friends, to the Stitching Stars Blossom Blog Hop.

Blossom. This word can mean so many things to everyone. With spring starting, we think buds and blooms. I think about the way the word describes how my venture into the quilting industry is going. With a lot of care and tending it is starting to bud and bloom.

Since the Sew Pro convention in the fall, I have slowly but surely made progress towards my dream of becoming a pattern designer.   There is so much more than just writing a pattern.  There is social media and self promotion, there is technical knowledge to learn, and there is a business to create!  So on top of the patterns I am working on, I have gained over 300 instagram followers, worked on this blog, and have incorporated and become Lovingly Lissa, ltd.

I spent time prepping for this blog hop reaching out to the other wonderful women who are participating and asked them to send me some quilt blocks. Andi Stanfield of True Blue Quilts had posted a LeMoyne star block on the Stitching Stars Facebook page and I used that as inspiration for a group quilt.

Very soon, packages started to arrive for me. I love receiving mail!!!  The blocks were made (in no particular order) by Andi Stanfield of True Blue Quilts, Becca Fenstermaker of Pretty Piney, Sherry Shish of Powered by Quilting, Pam Cobb of The Stitch TV Show, Paula Mamuscia of Creations by Paula, and Nancy Scott of Masterpiece Quilting.

Together  (with two blocks I made and forgot to photograph) they came to form this beautiful quilt.

blossom1

When the top was complete I sent it off to Lisa Peterson of Lisa and Lorelai for quilting and finishing.

finishquilt

This quilt is now the Grand Prize for the Blog Hop.  You can enter via the Raffle Copter link below.

Stitching Stars Quilt Giveaway


Please visit all the partipants in our Blog Hop and help us all Blossom.

Monday, April 3, 2017
Lissa LaGreca: Lovingly Lissa – YOU ARE HERE!
Carmen Ross: See Carmen Sew

Tuesday, April 4, 2017
Sherry Shish: Powered by Quilting
Becca Fenstermaker: Pretty Piney

Wednesday, April 5, 2017
Lisa Peterson: Lisa and Lorelai
Pam Cobb: The Stitch TV Show
Deanna Wall: Stitches Quilting

Thursday, April 6, 2017
Vanessa Behymer: Vintage Barngirl
Paula Mamuscia: Creations by Paula

Friday, April 7, 2017
Andi Stanfield: True Blue Quilts
Nancy Scott: Masterpiece Quilting
Anne Beier: Hudson Valley Quilt

Lovingly,

Lissa