Welcome back to our Tula Tuesday Fandango Quilt Along. We are finally SEWING. This week is about getting all the bugs out since we are following the same directions for the next 5 weeks.
Slow and Steady is not only the name of the fabric line, but it is really really good advice on creating this piece. Keep it in your mind as you work along.
Honestly, it didn’t go too bad. I did rip out some seams and discover I cut one piece of fabric wrong (so far), but nothing that wasn’t fixable.
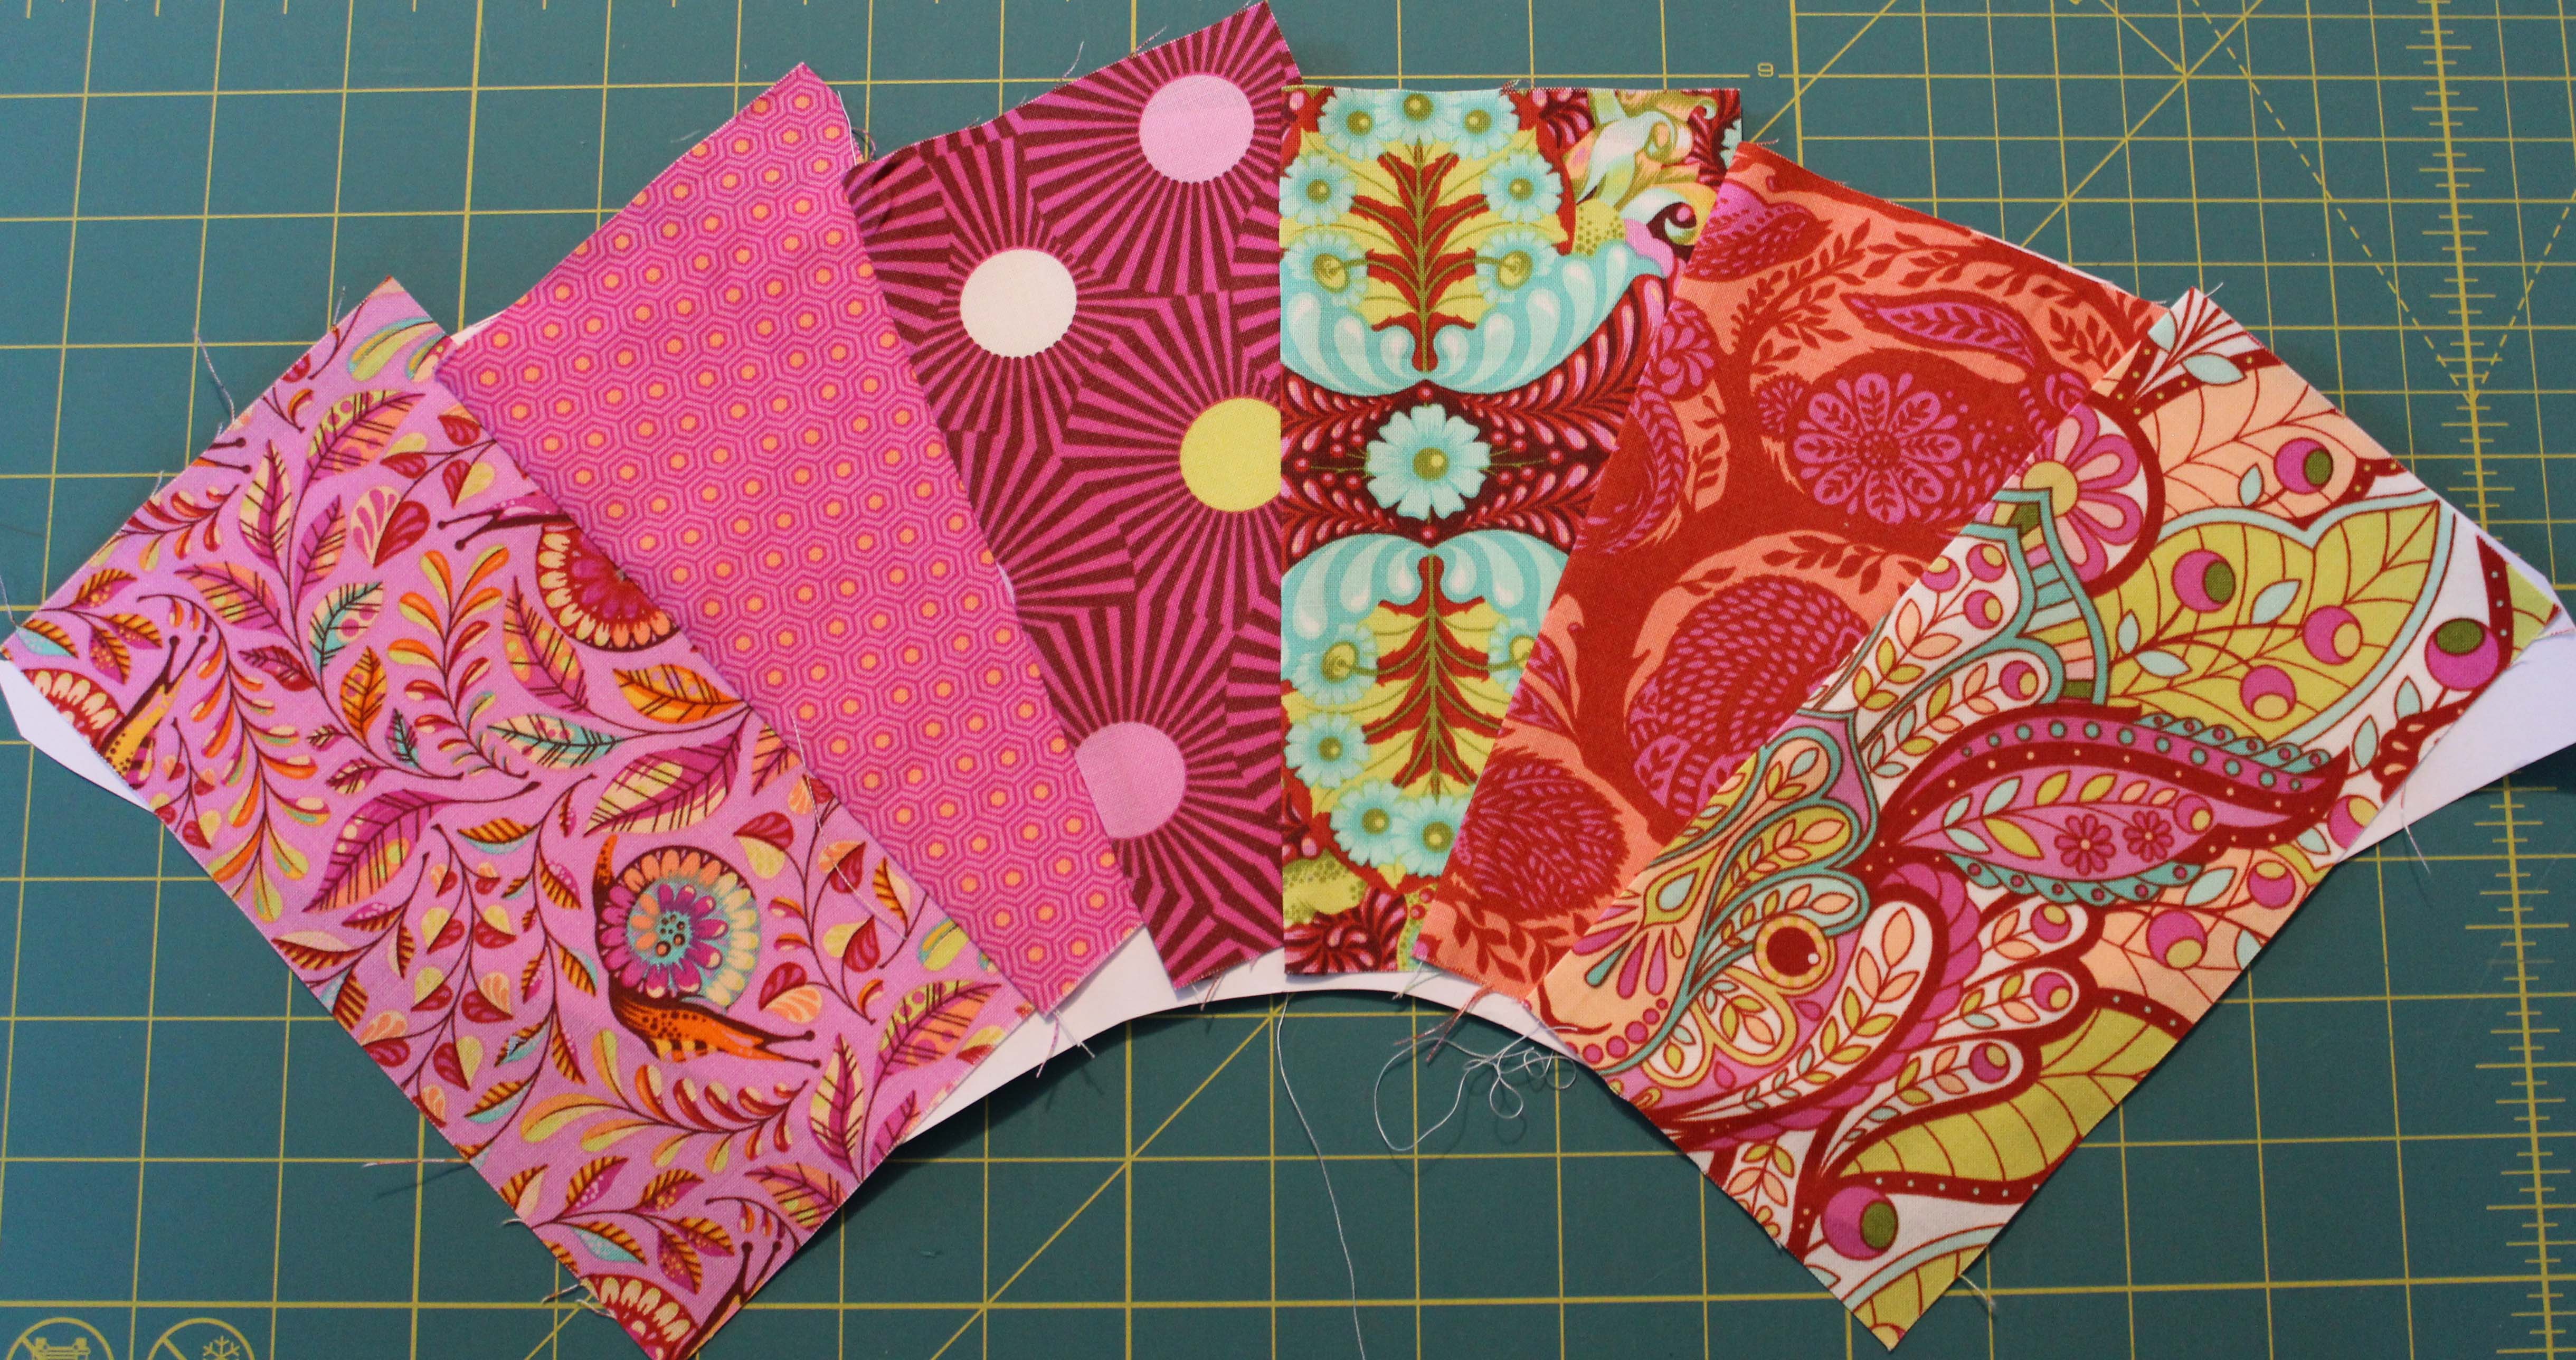
Here are the supplies I gathered.
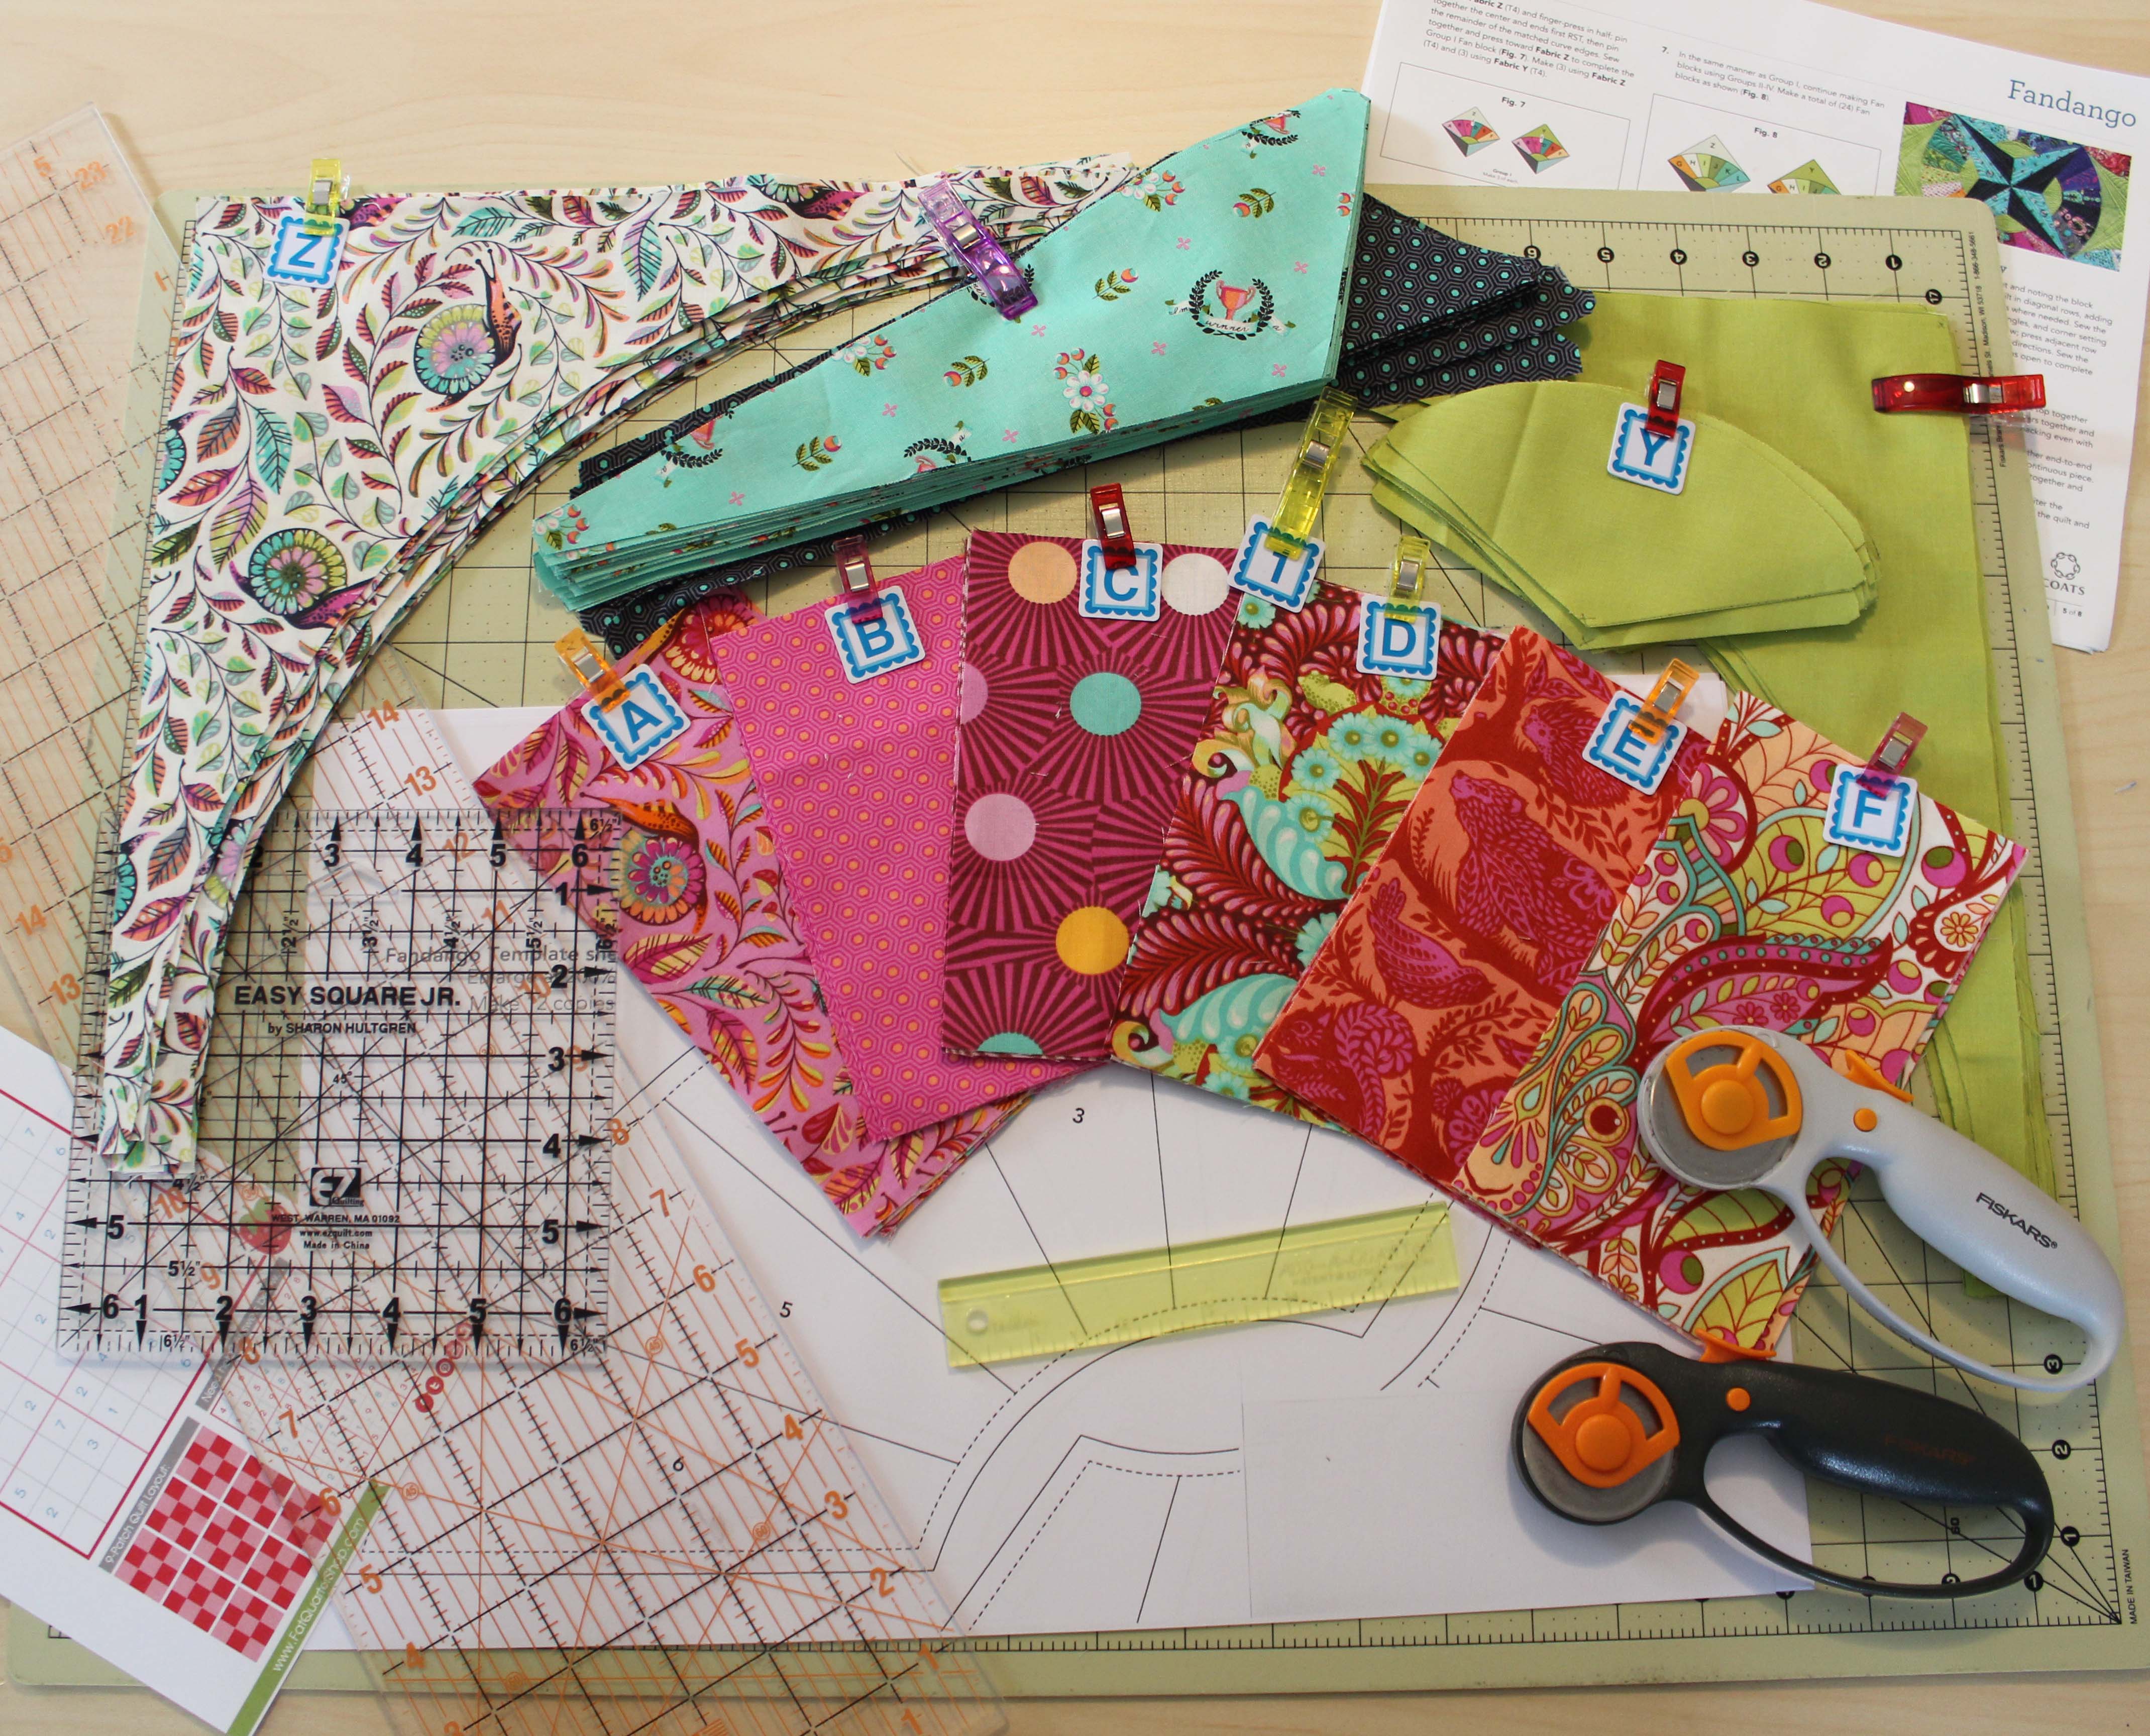
Directions, fabrics, paper templates, rulers, add a quarter ruler, fabric rotary cutter, paper rotary cutter, and a mailer that is like a heavy index card to help with the cutting. Not pictured and used are clear tape, a washable glue stick, and PINS!
Let’s get started. The numbers on the paper template run right to left and I was a bit curfuddled since it didn’t seem the right way the fabrics should go. But never fear, it was totally correct. Fabric A goes to section 1 and so on. Trust the pattern.
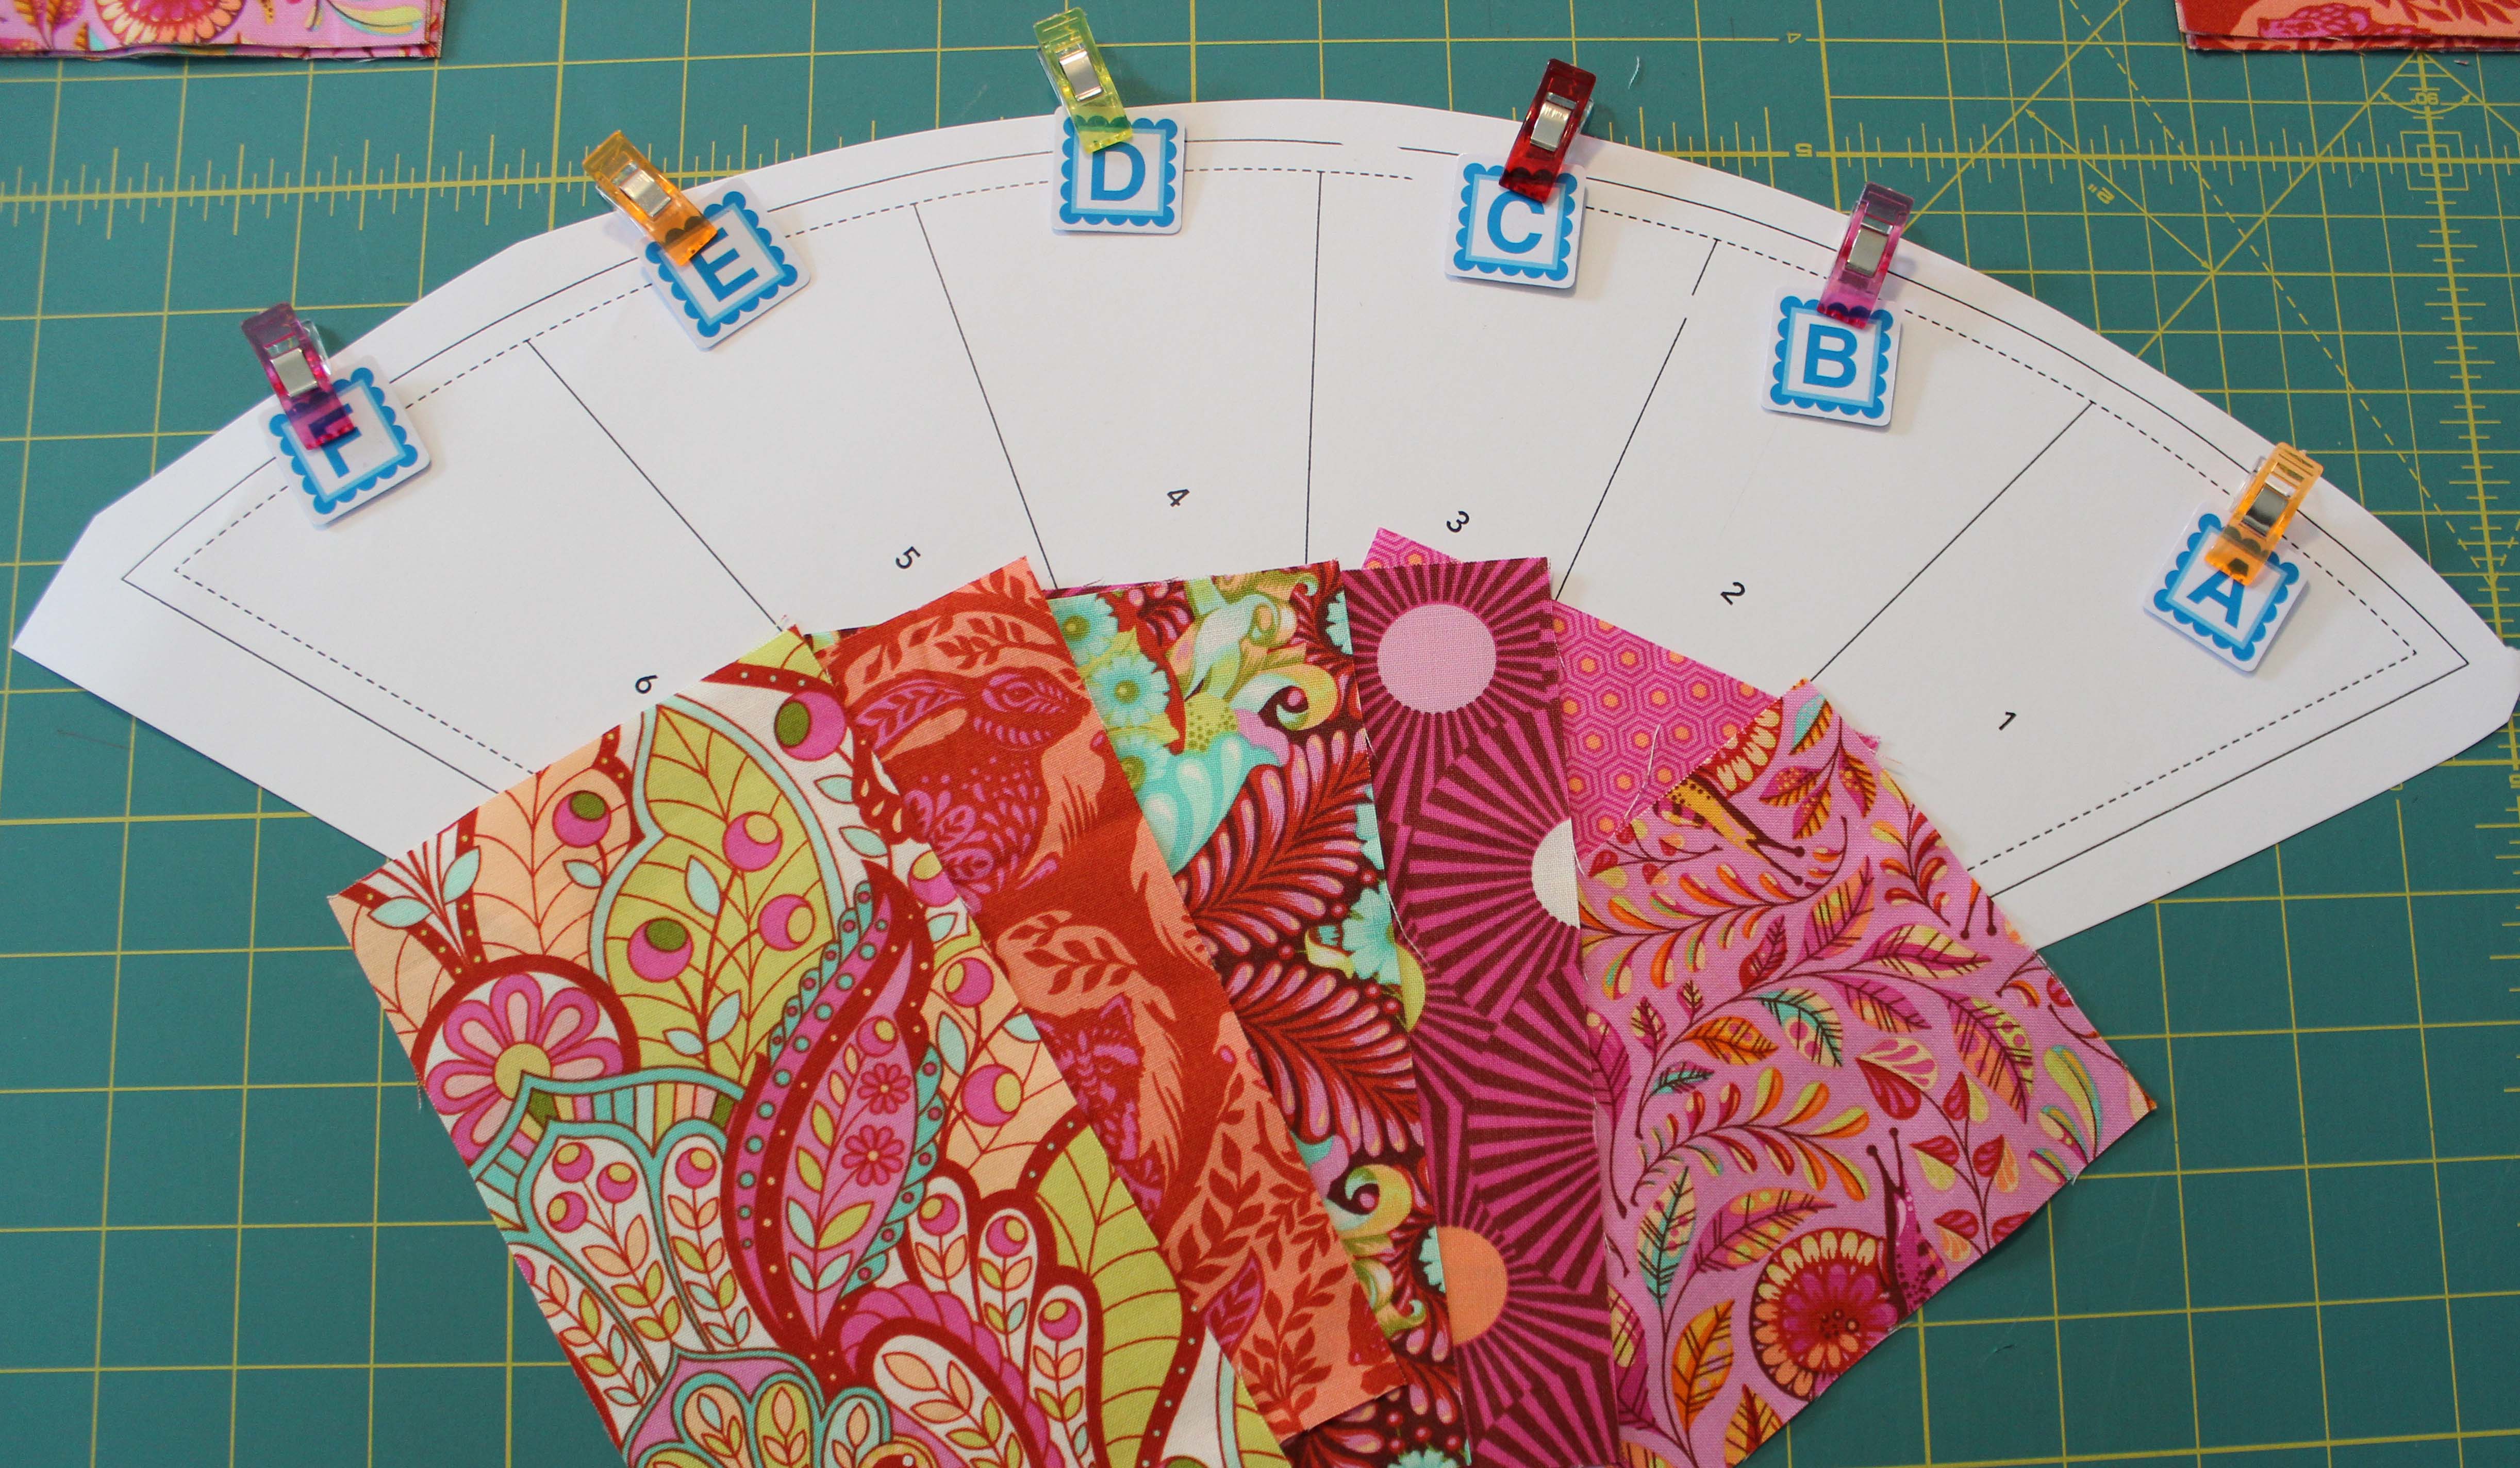
I love paper piecing, but this pattern is much larger than the ones I usually do. I had trouble holding the fabrics to the paper to line them up. This is where the clear washable glue stick came in handy. Once a piece was cut and ironed I would give it a quick small dab with the glue stick and adhere it to the paper. Then while I lined up the next piece it wouldn’t flop all over the place when I held it up.
Section 2 gave me a hard time and that’s where all my seam ripping happened. When this occurred I would use a piece of clear tape over the line in the paper to hold it back together when I sewed it again. Don’t use this method more than once tho, get a new paper template after that. (I hope it doesn’t come to that)
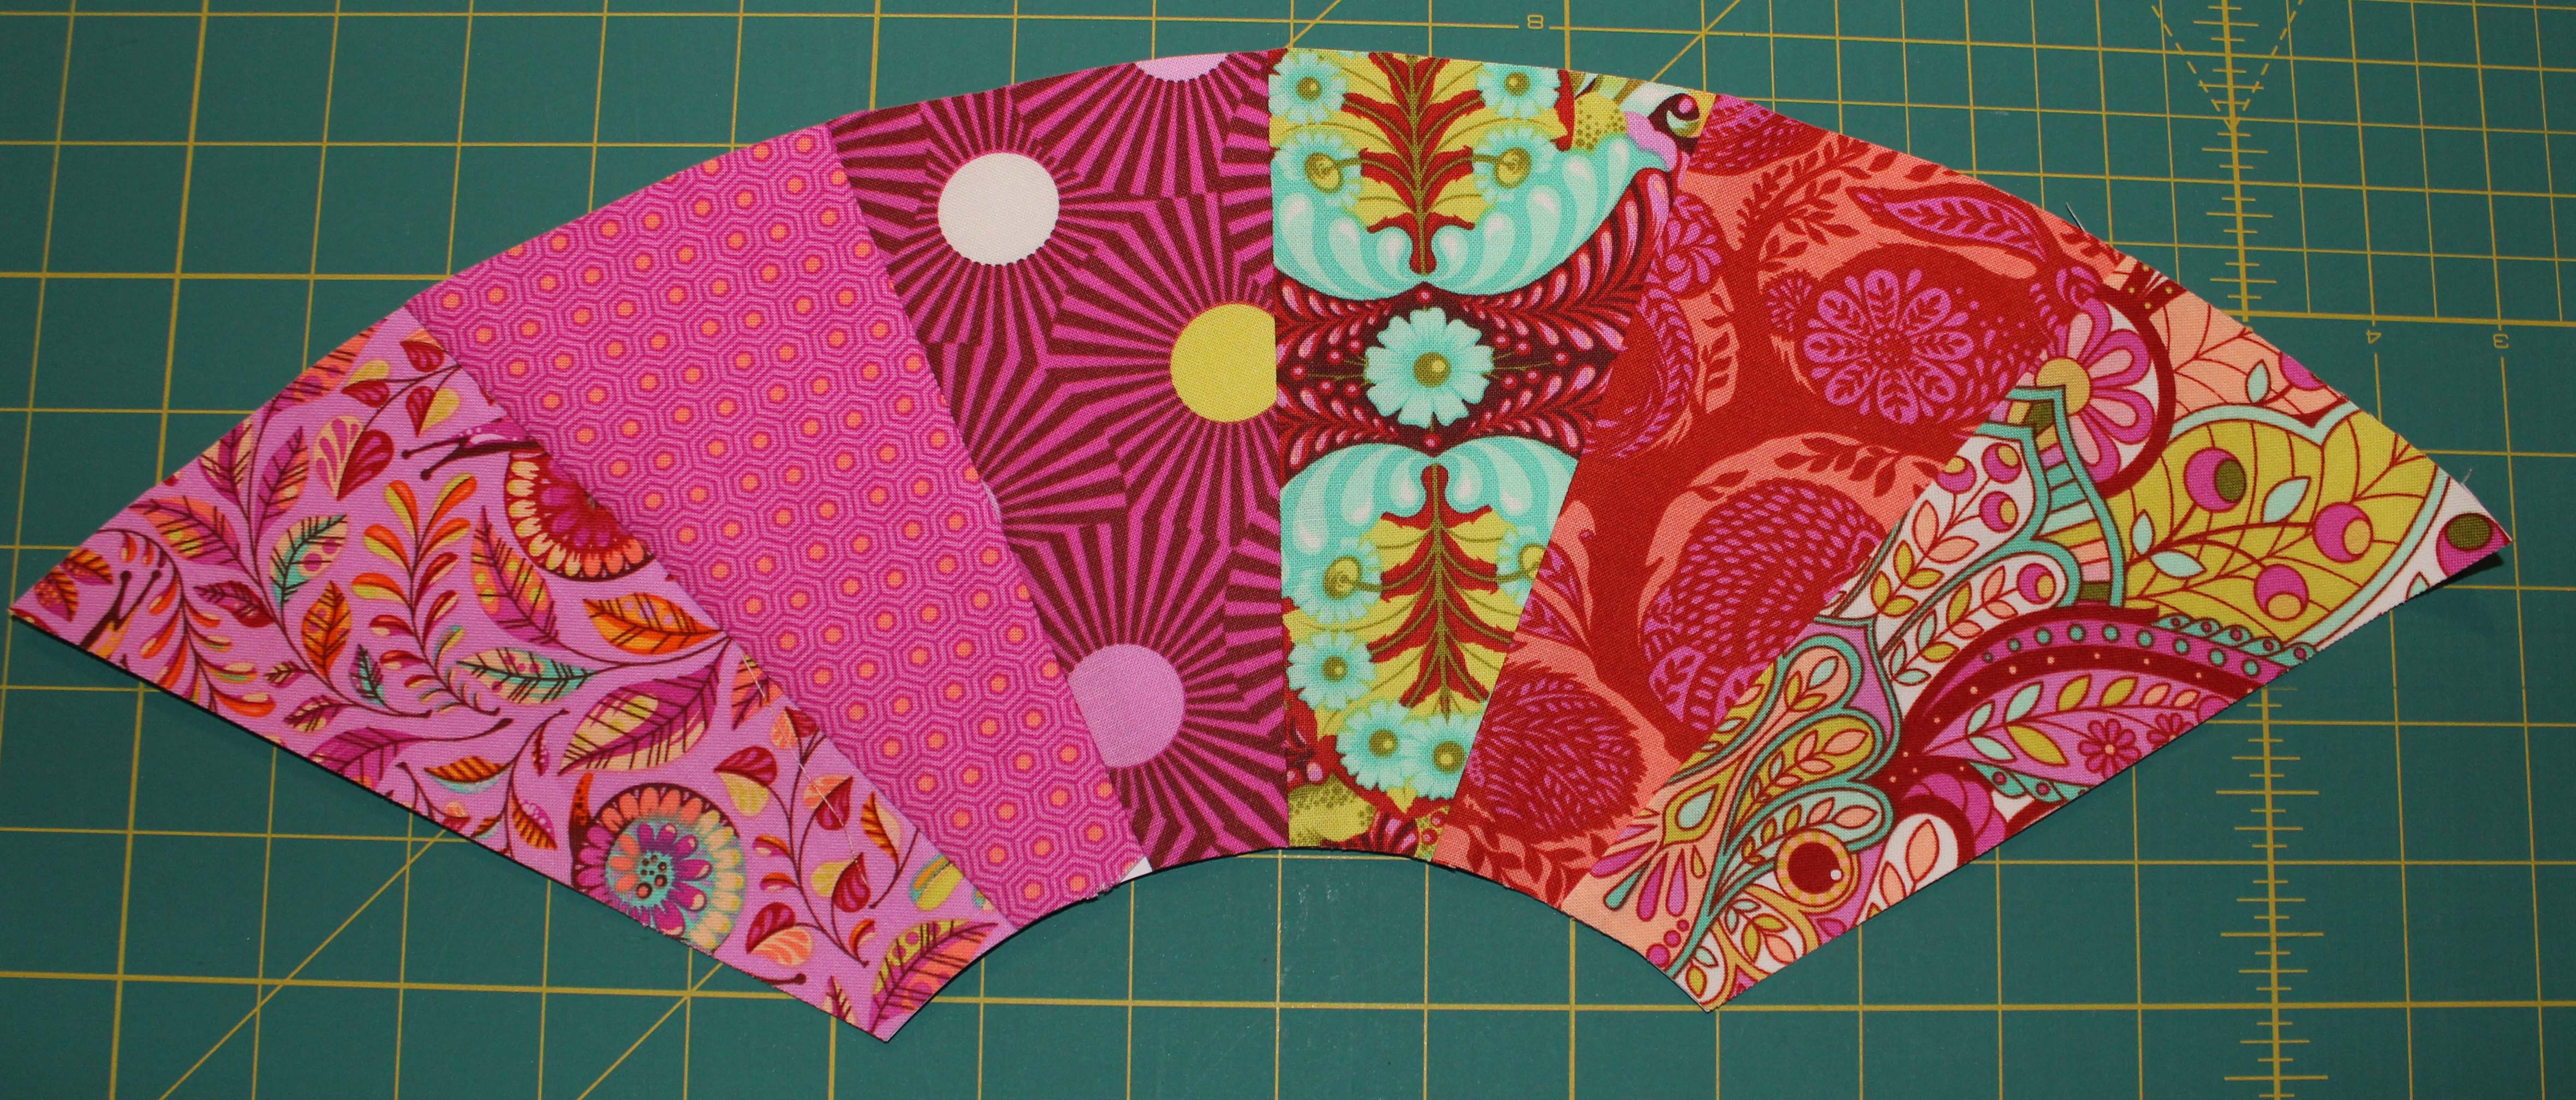
Isn’t it so pretty once it is cut out? Remember to leave a seam allowance when you cut!
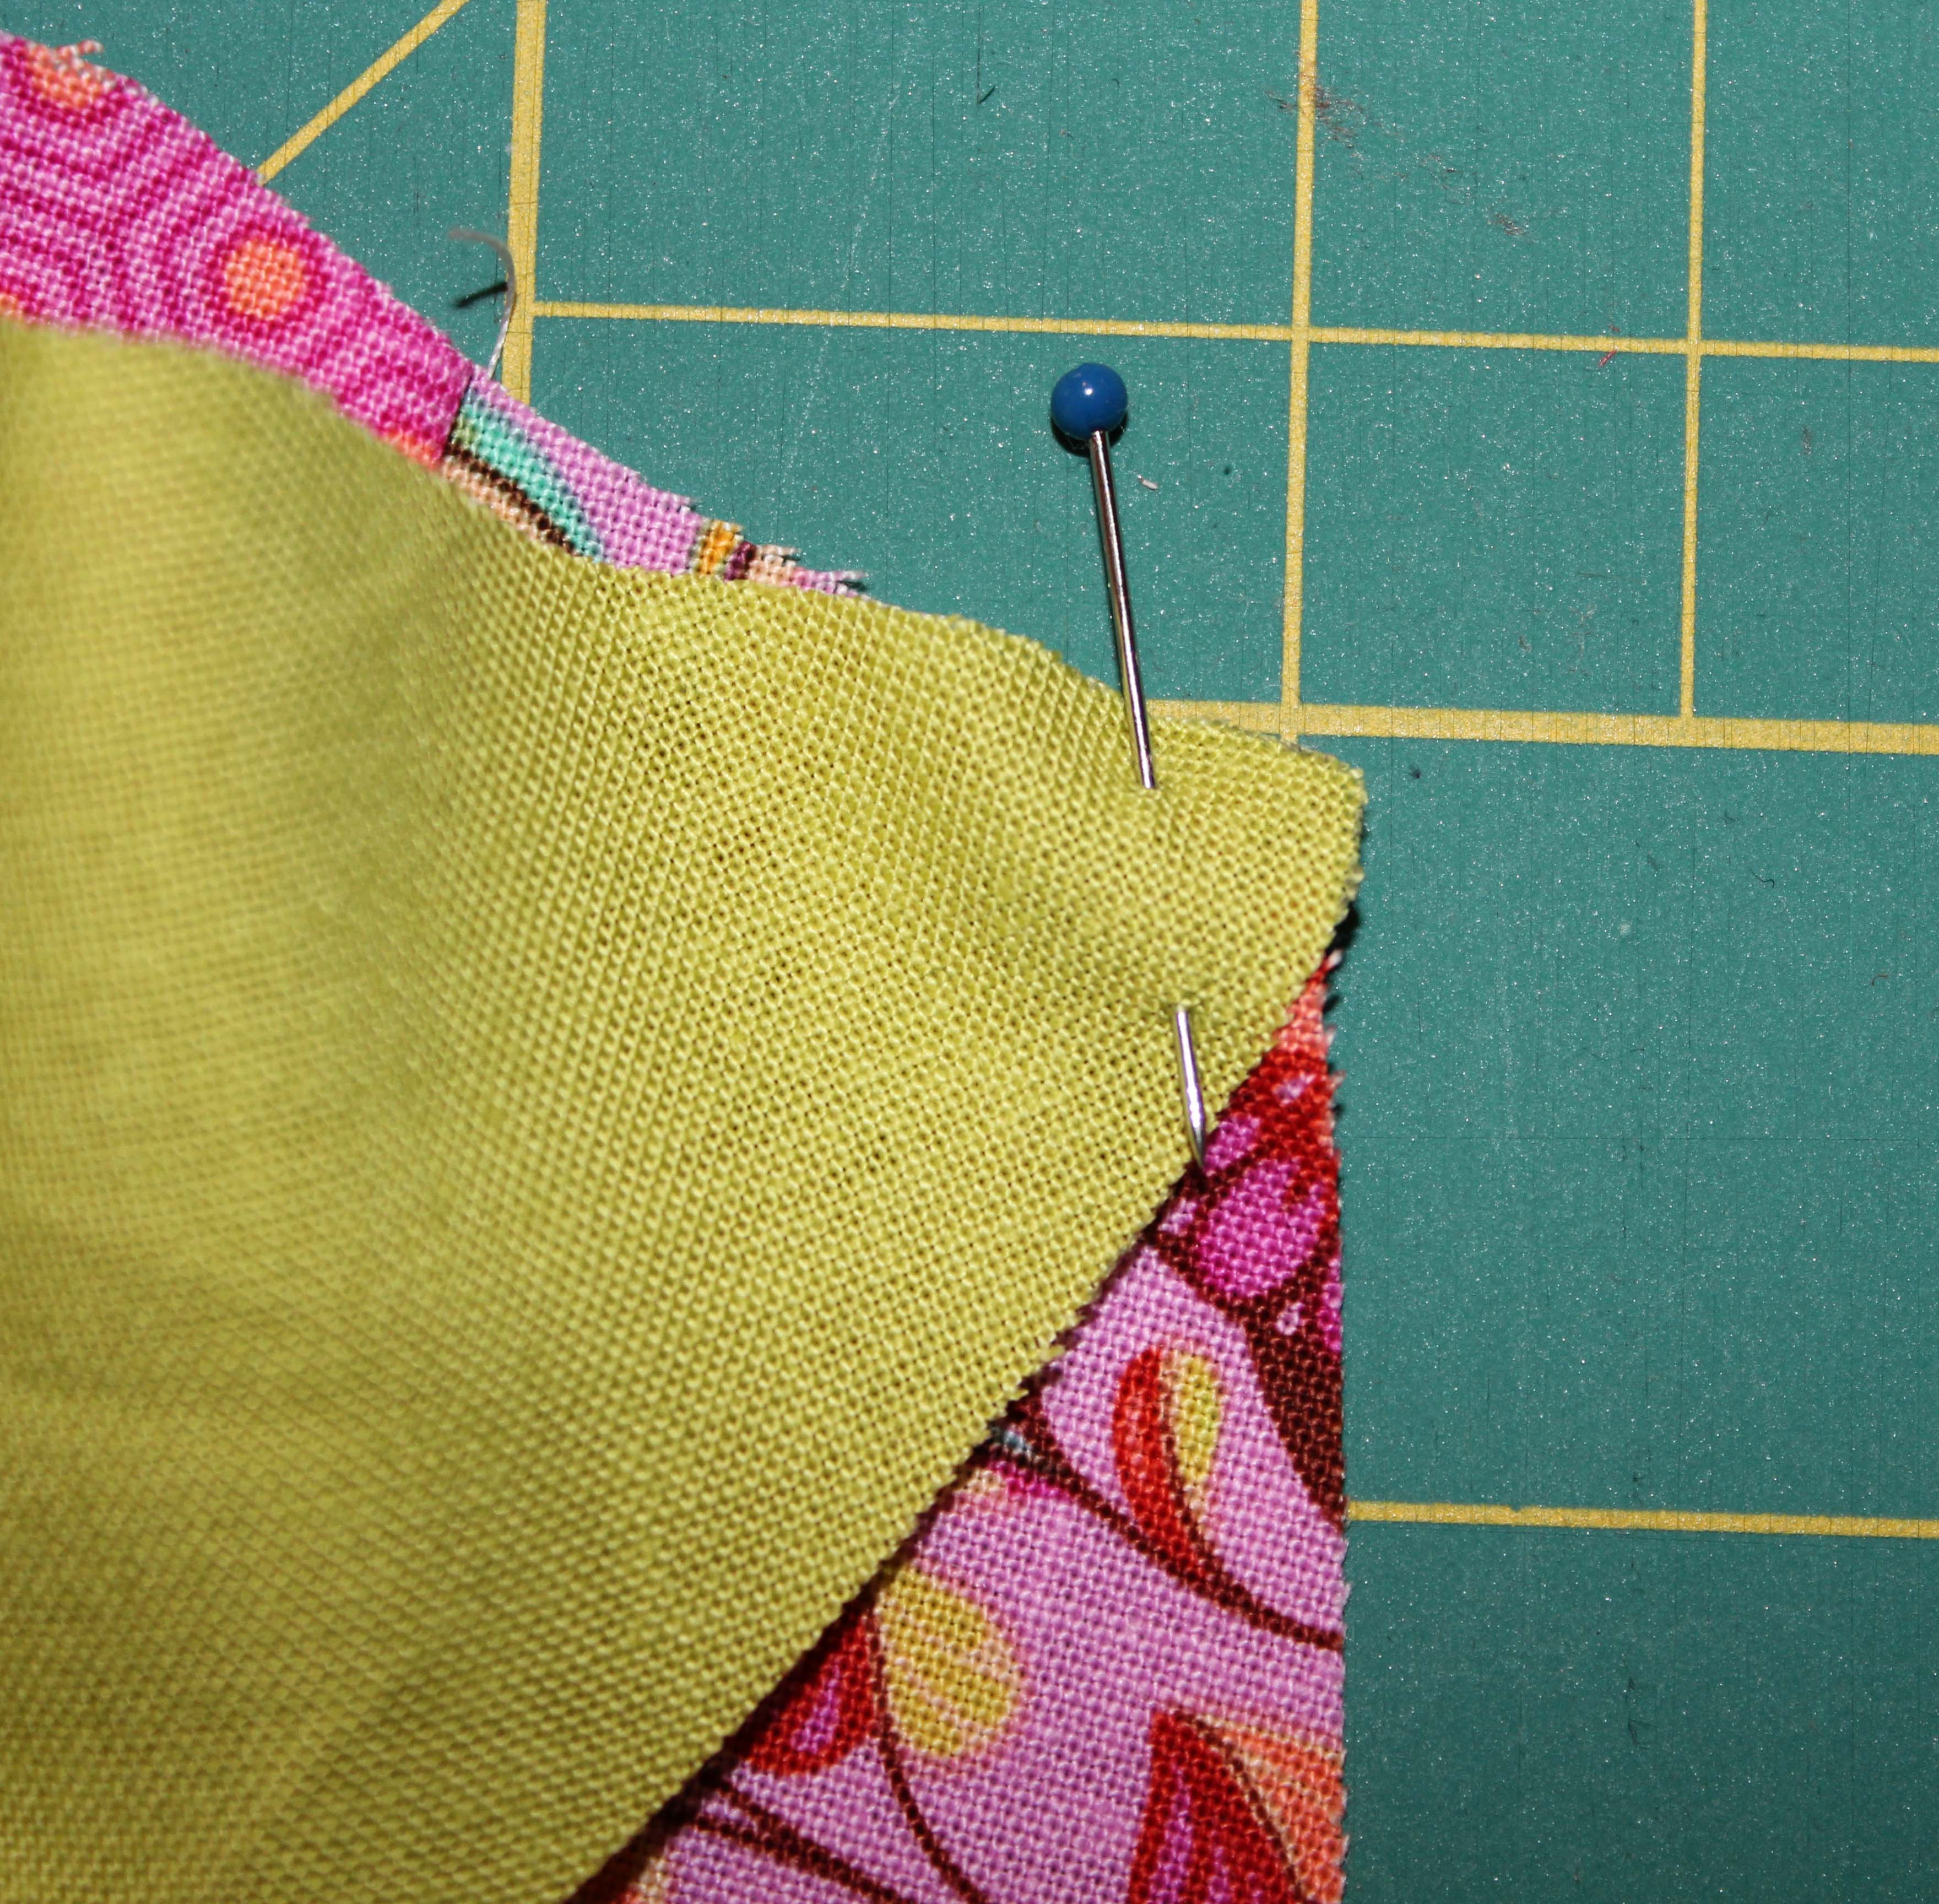
Next step was adding a template 1 piece. At the edge of the cut template it comes to a point. Make sure to line this point up with the corner of the fan on either end. It will match up the edges beautifully when you flip the piece over and iron.
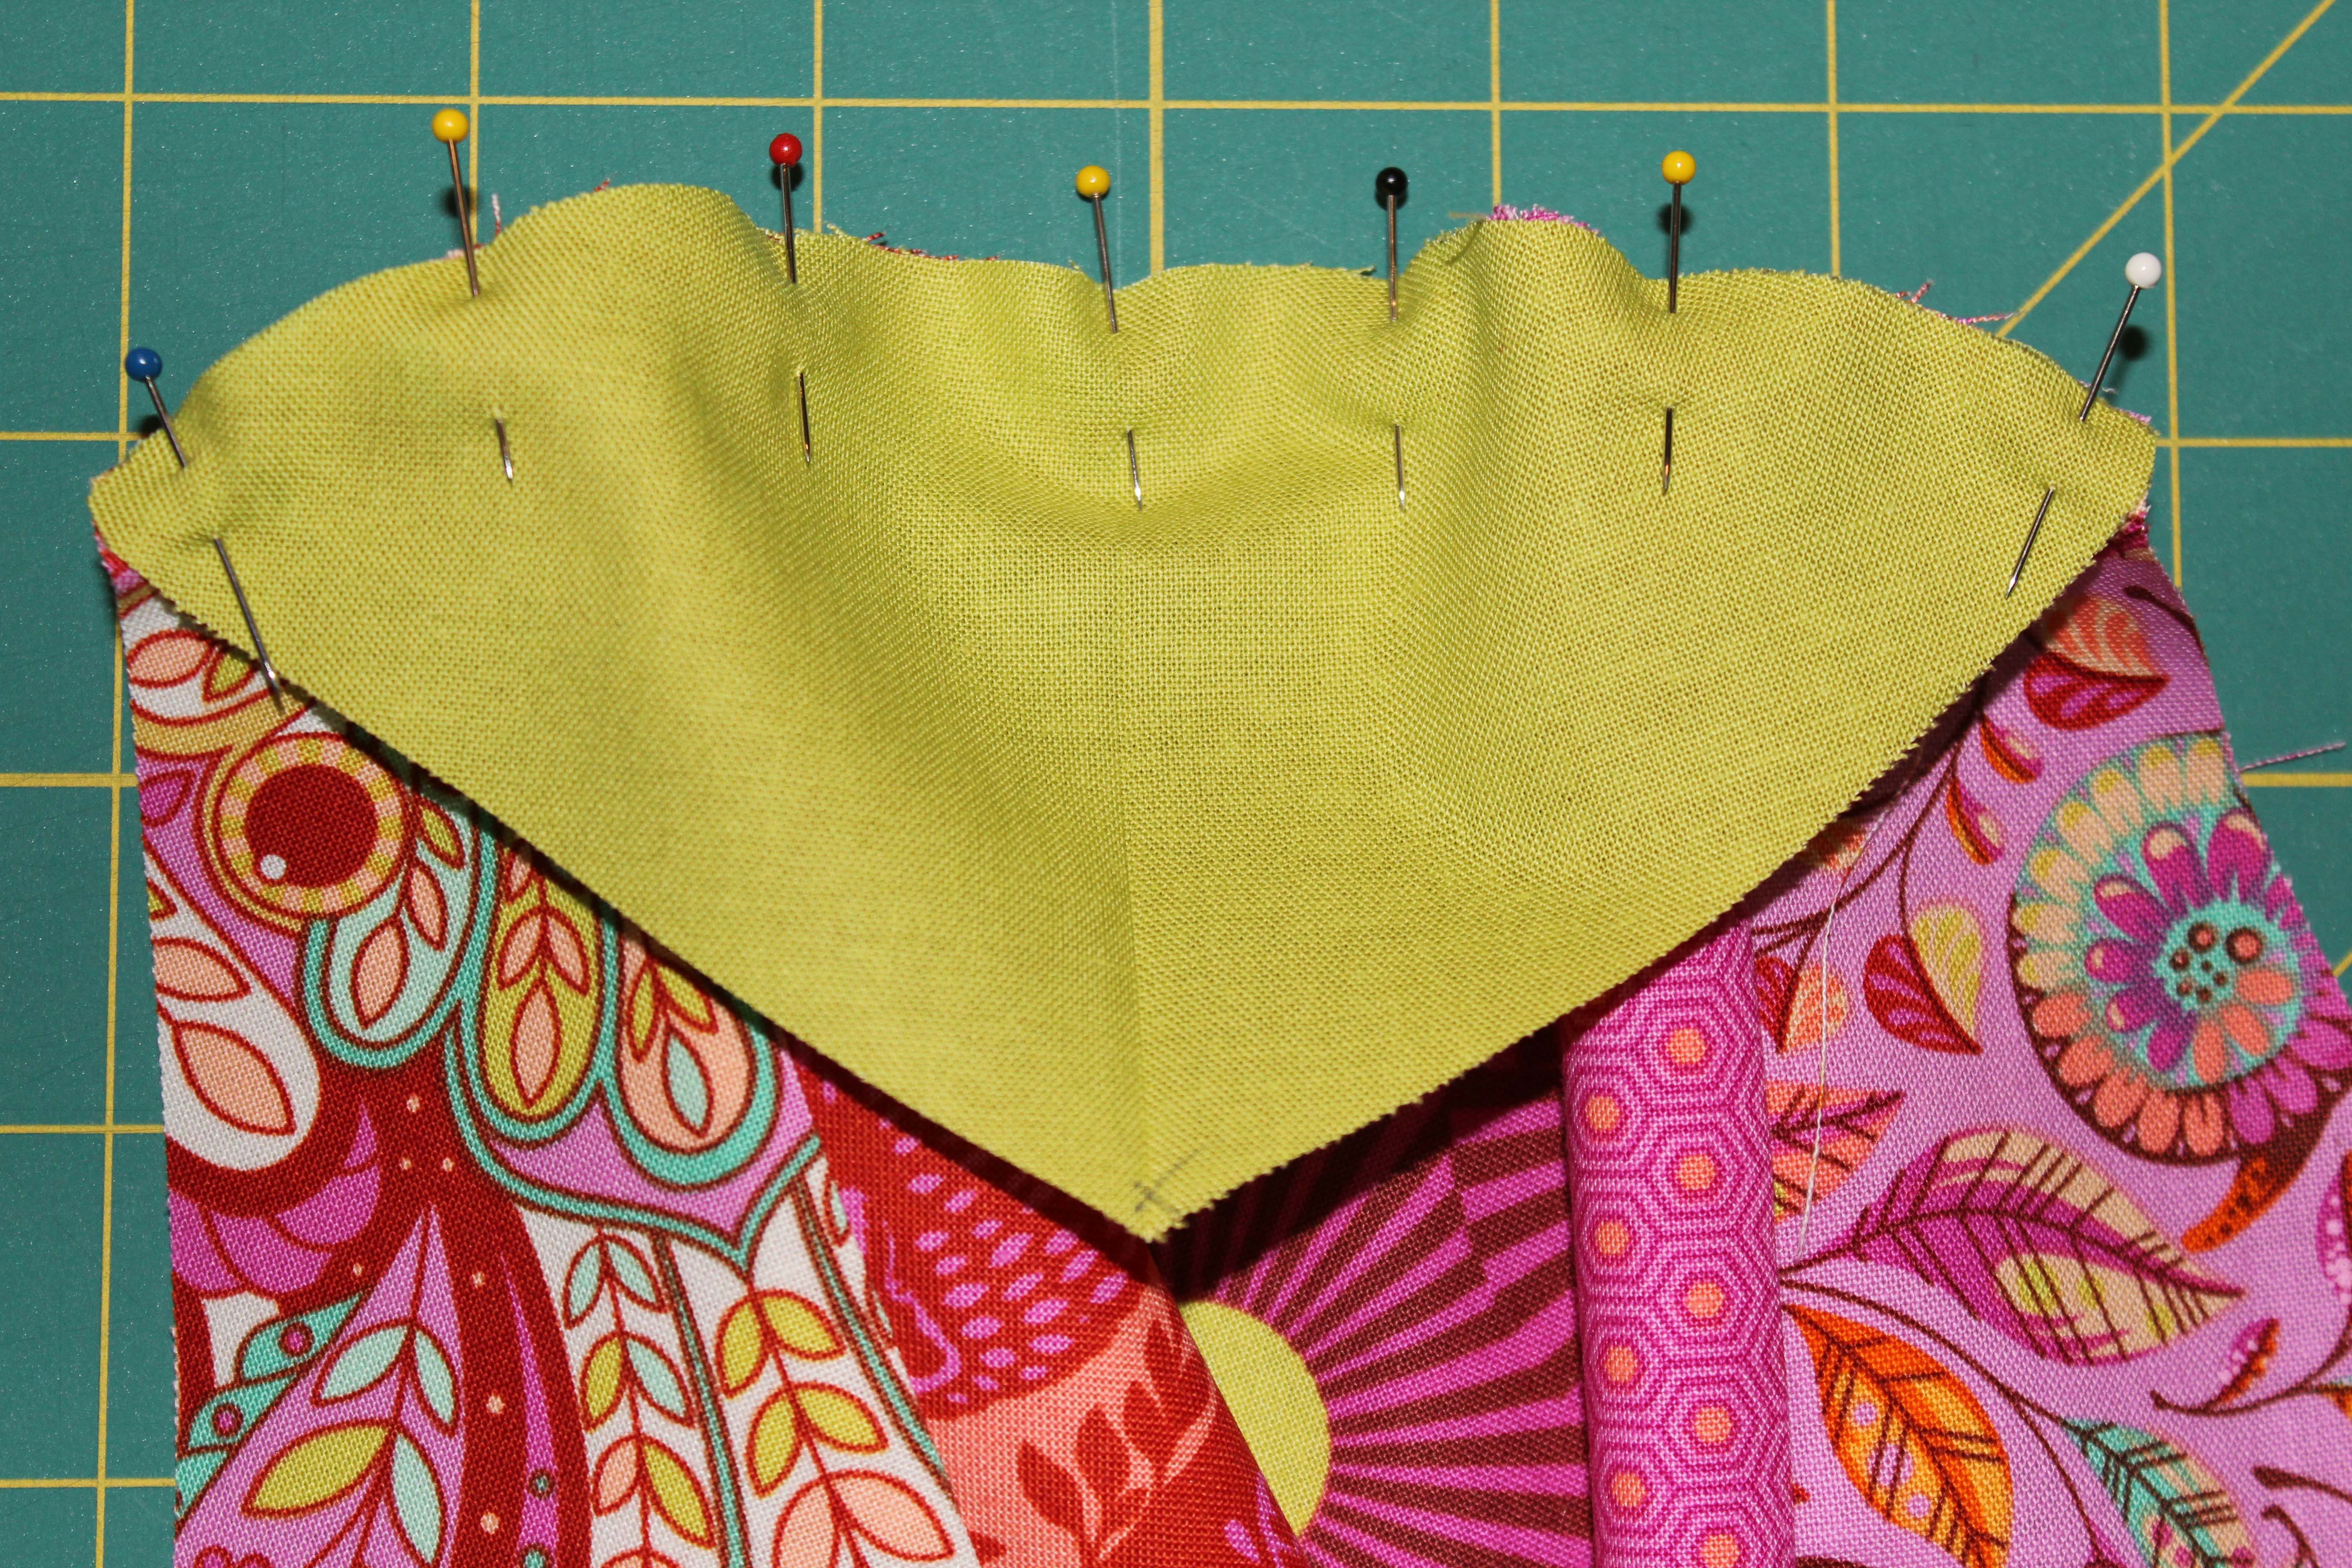
When attaching this curve and the template 4 curve use PINS!! I like to live dangerously and sew barefoot, so pins are usually not out in my sewing room. That isn’t the case for this piece. I pinned and pinned some more. Start in center, then do each end, and then just start pinning in between.
When I sewed this, I flipped it over so the side with all the seams was up. This way I could guide the seams under my needle and not get any scrunched up. Just trust the pins and go slow while you sew.
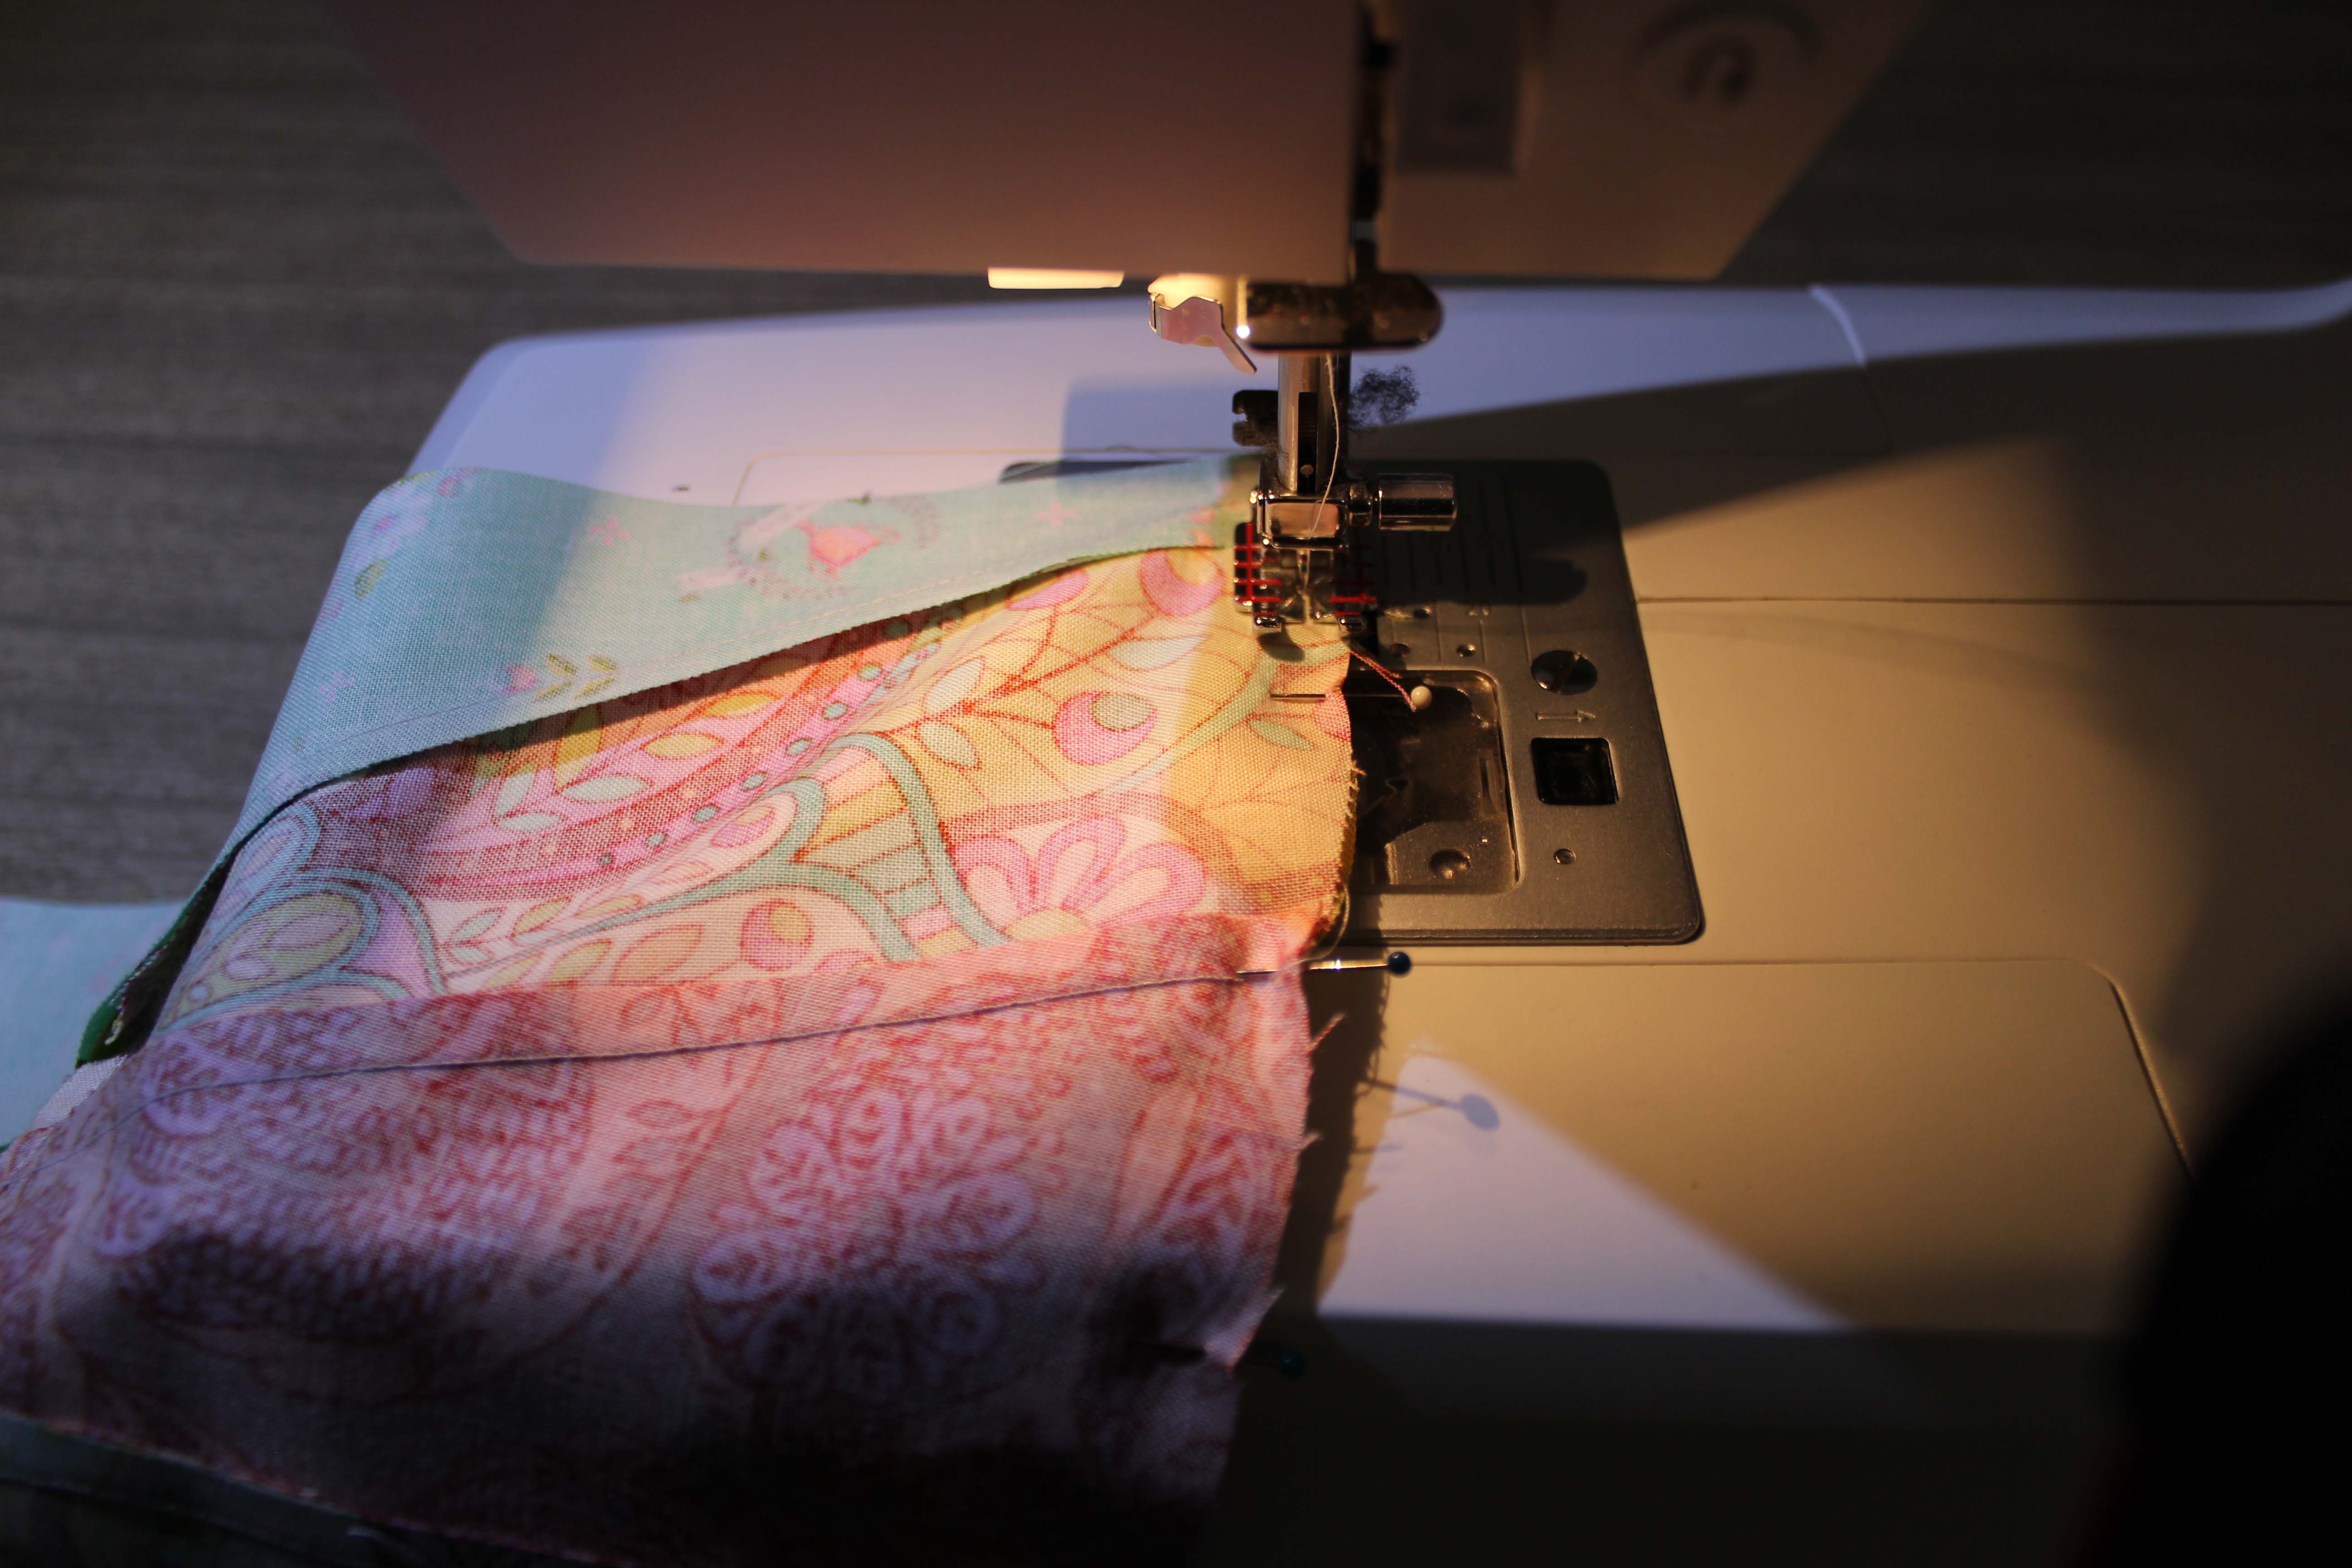
(it’s really hard to get a decent picture of something on the machine. I’ll have to practice this)
The directions for adding the side pieces with the Y seams are self explanatory so I don’t have any extra tips for that.
Here is group 1 all done!
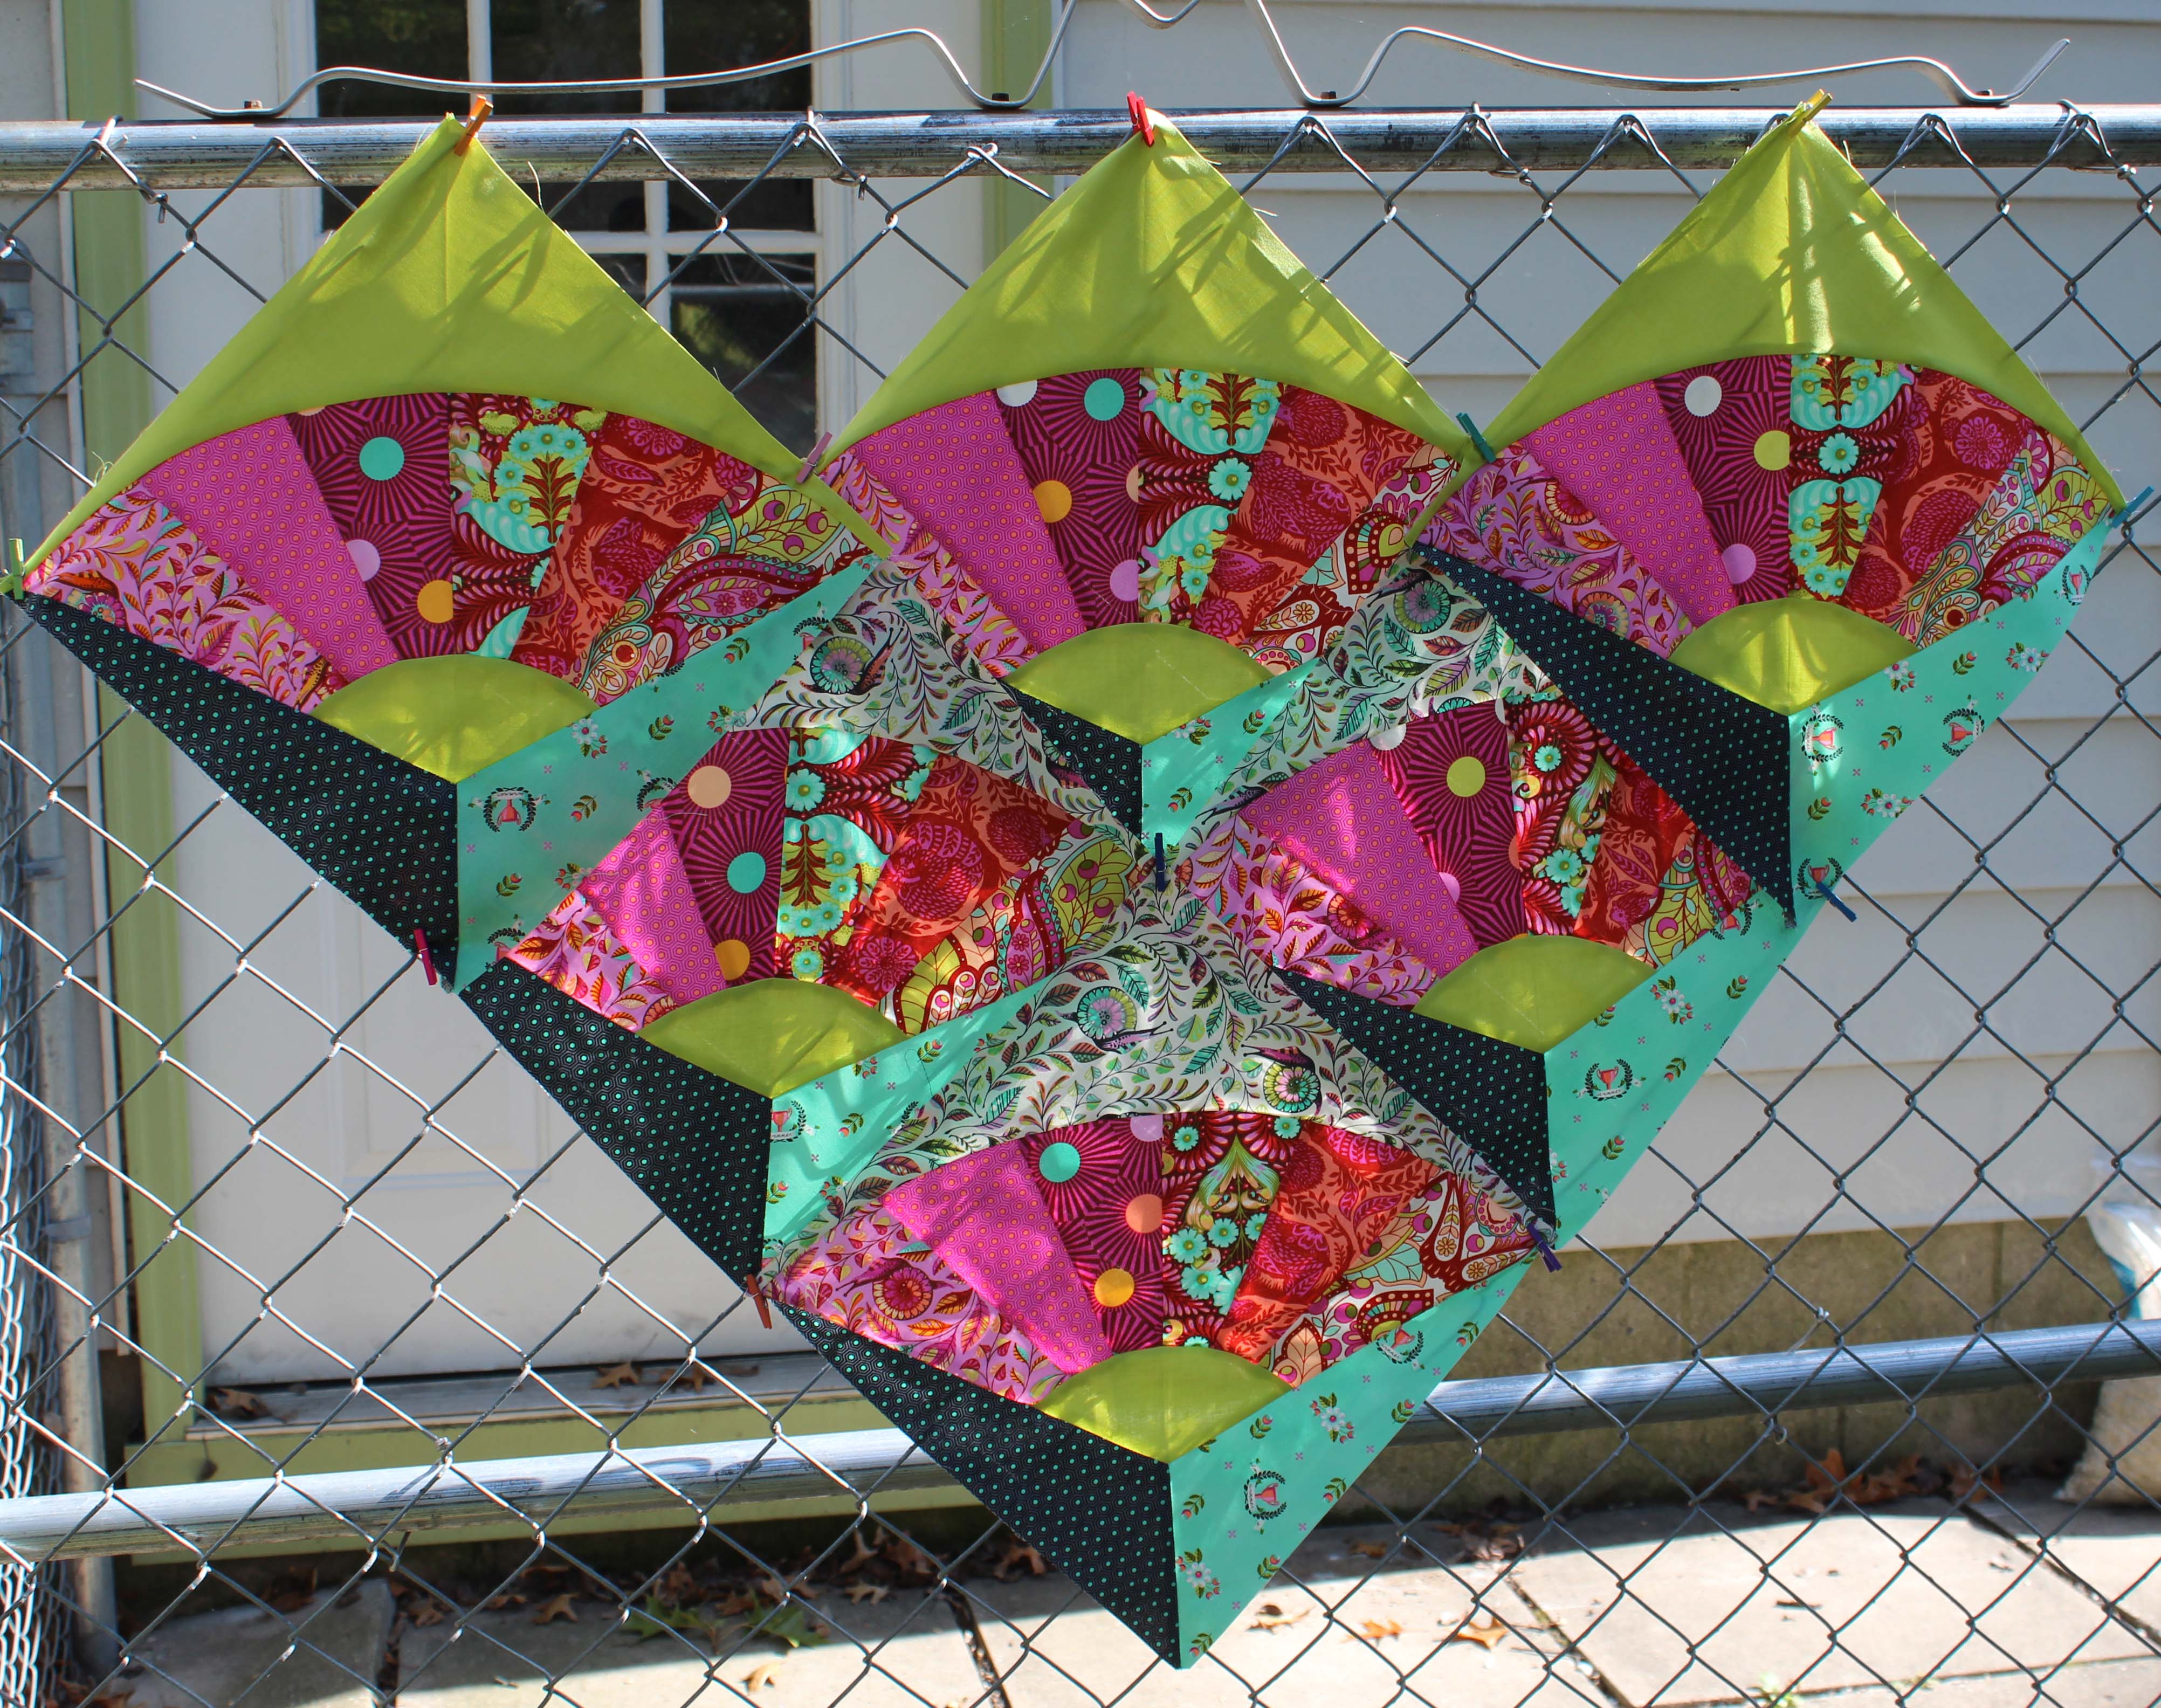
The next few weeks we are repeating the same steps with different groups of fabrics. Next week is group 2.
Do you have any tricks or tips you have used?
Do you have any questions on these steps?
Share them in the comments and I will do my best to answer them!
Lovingly,
Lissa
Any reason you wouldn’t sew by machine all the pieces of the fan and then ‘epp’ the end near top and bottom (template piece 1) or have I over thought this?! Cheers
I don’t see any reason not too. I’m not well versed in EPP (yet) and really had no problems at all doing it by machine. If you try it that way let me know how it turns out.
Hi! I started cutting and sewing over the weekend and I found section 2 (B) to be difficult! I think they should have had you cut that piece a little bigger. I was really hard to get it lined up to make sure it covered both the top and the bottom, but I managed after moving it around a bunch. I only have one done, but at least I got my feet wet!
I’m going to work on a trick for next week. That is the only one I had to resew and I had to do it on 4 of the blocks! I’ll be doing some research during the week.