Uncategorized

Tula Tuesday – Quilt Top

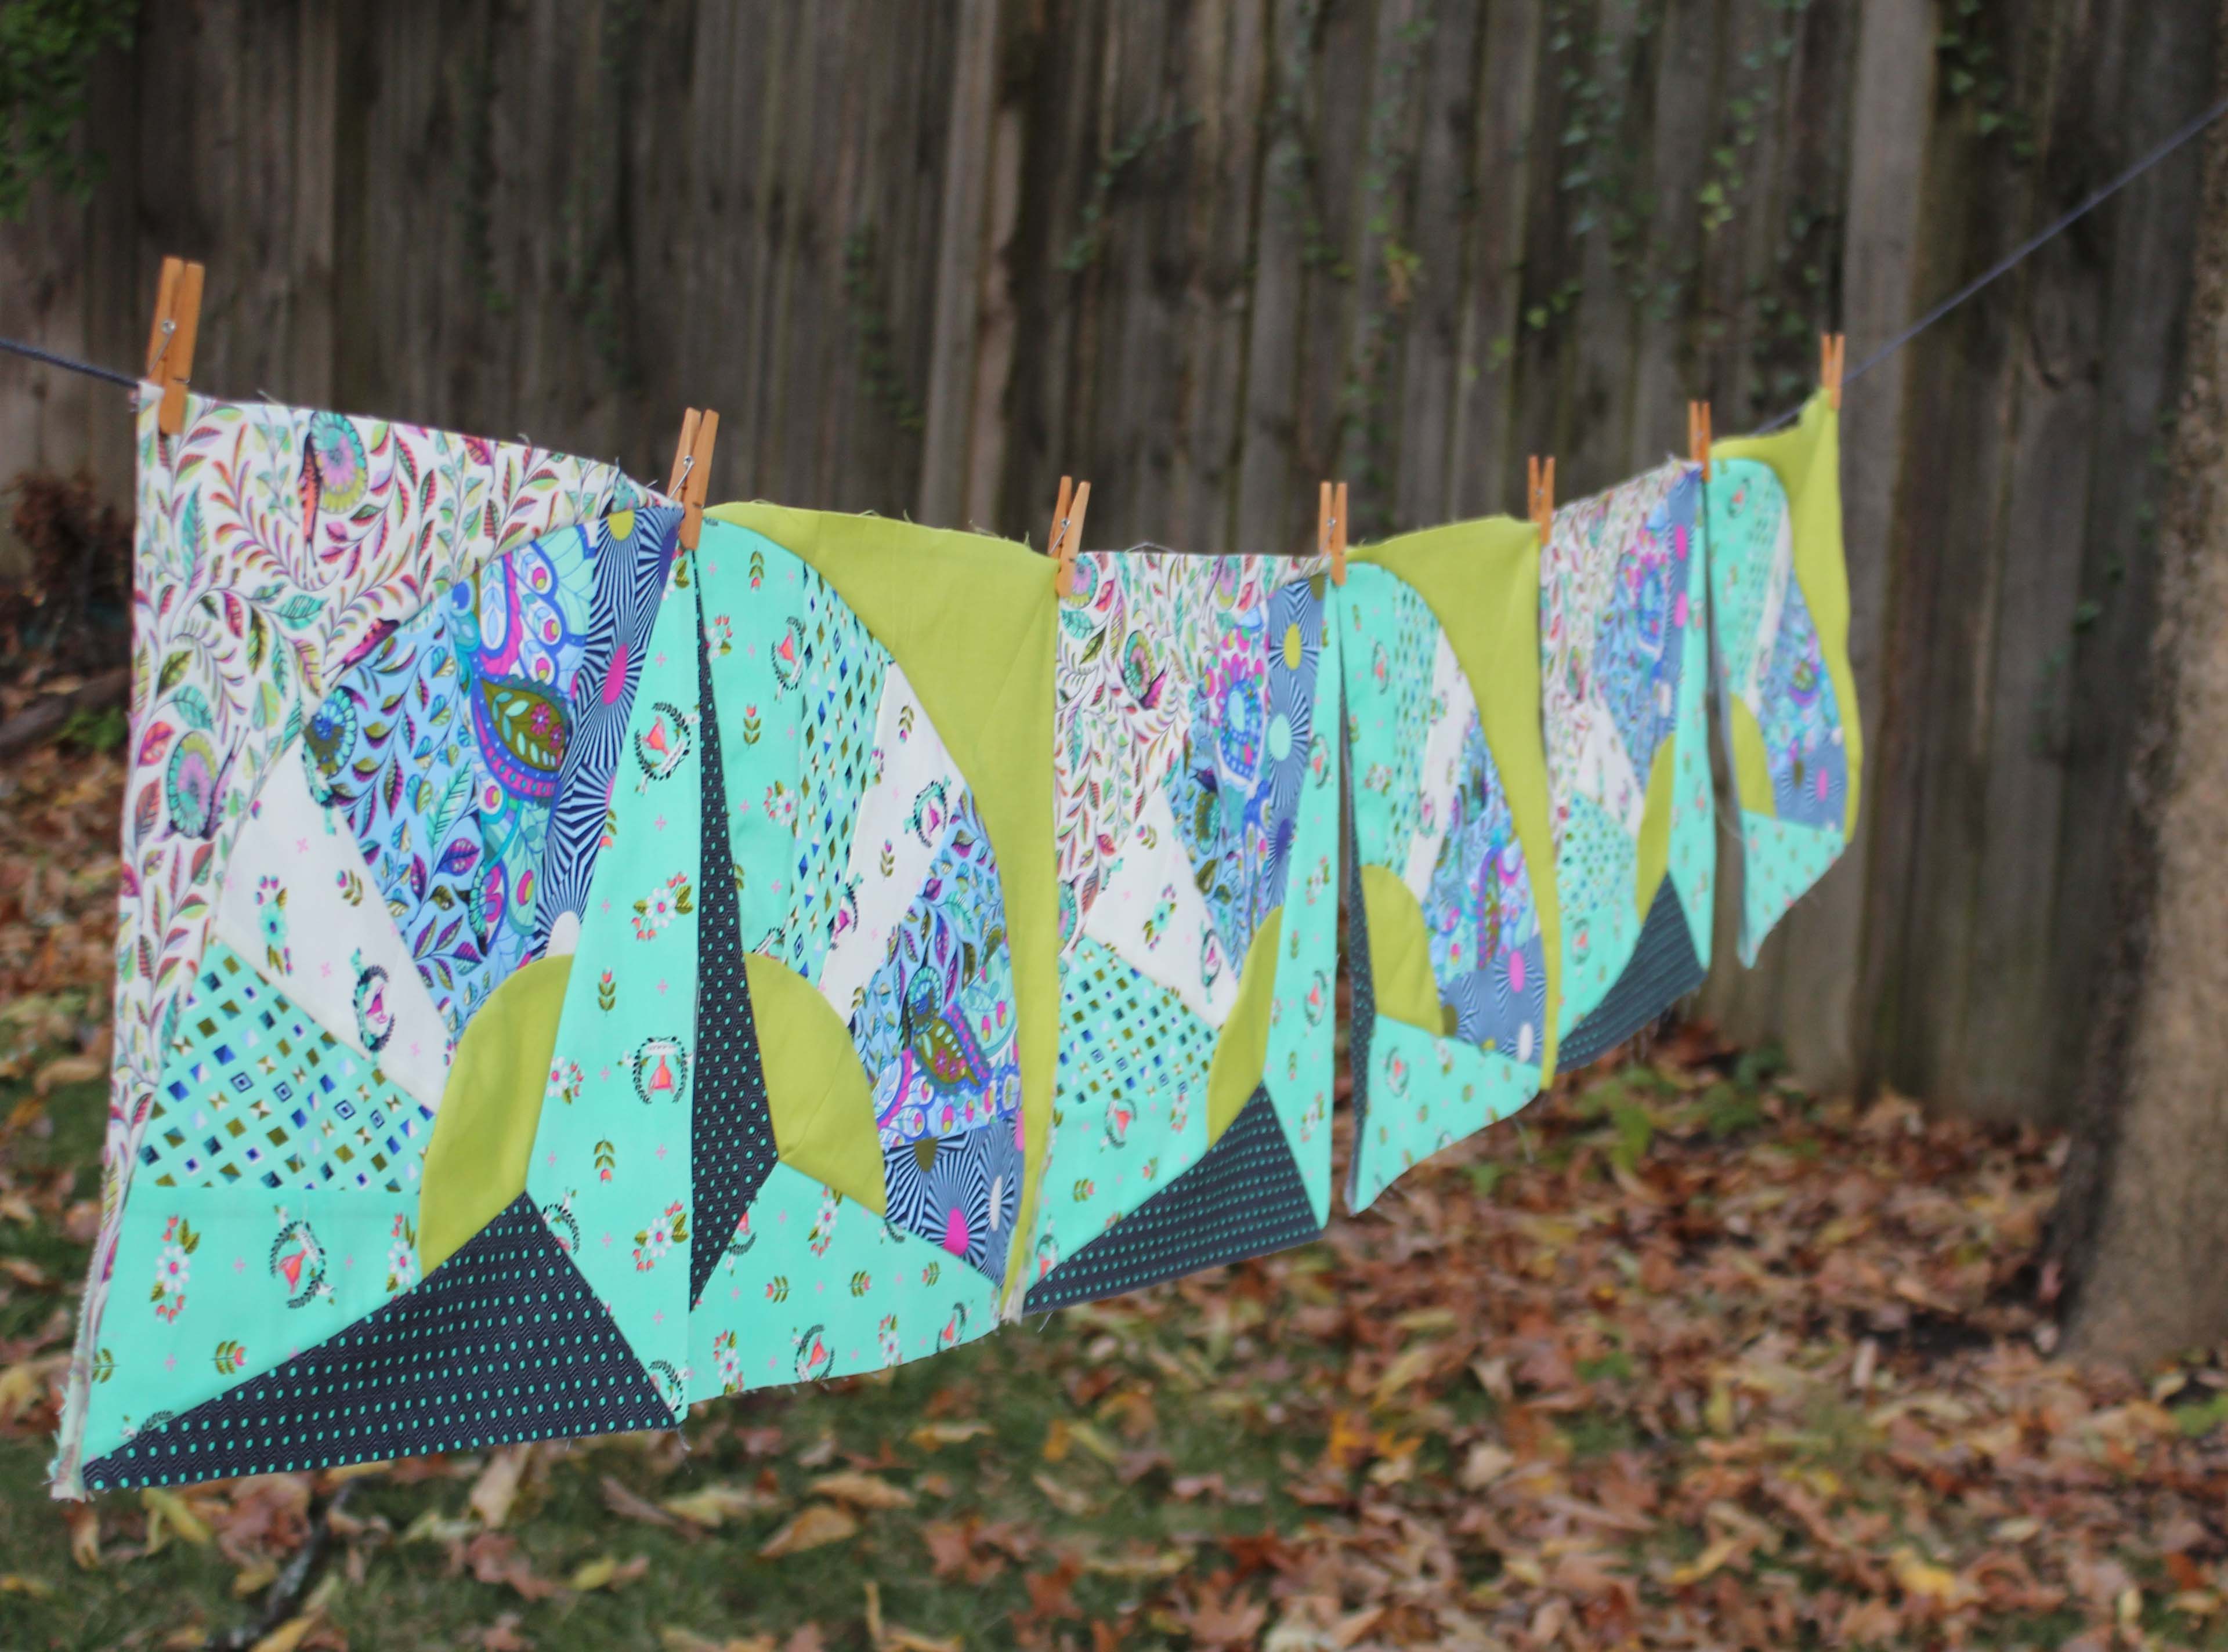
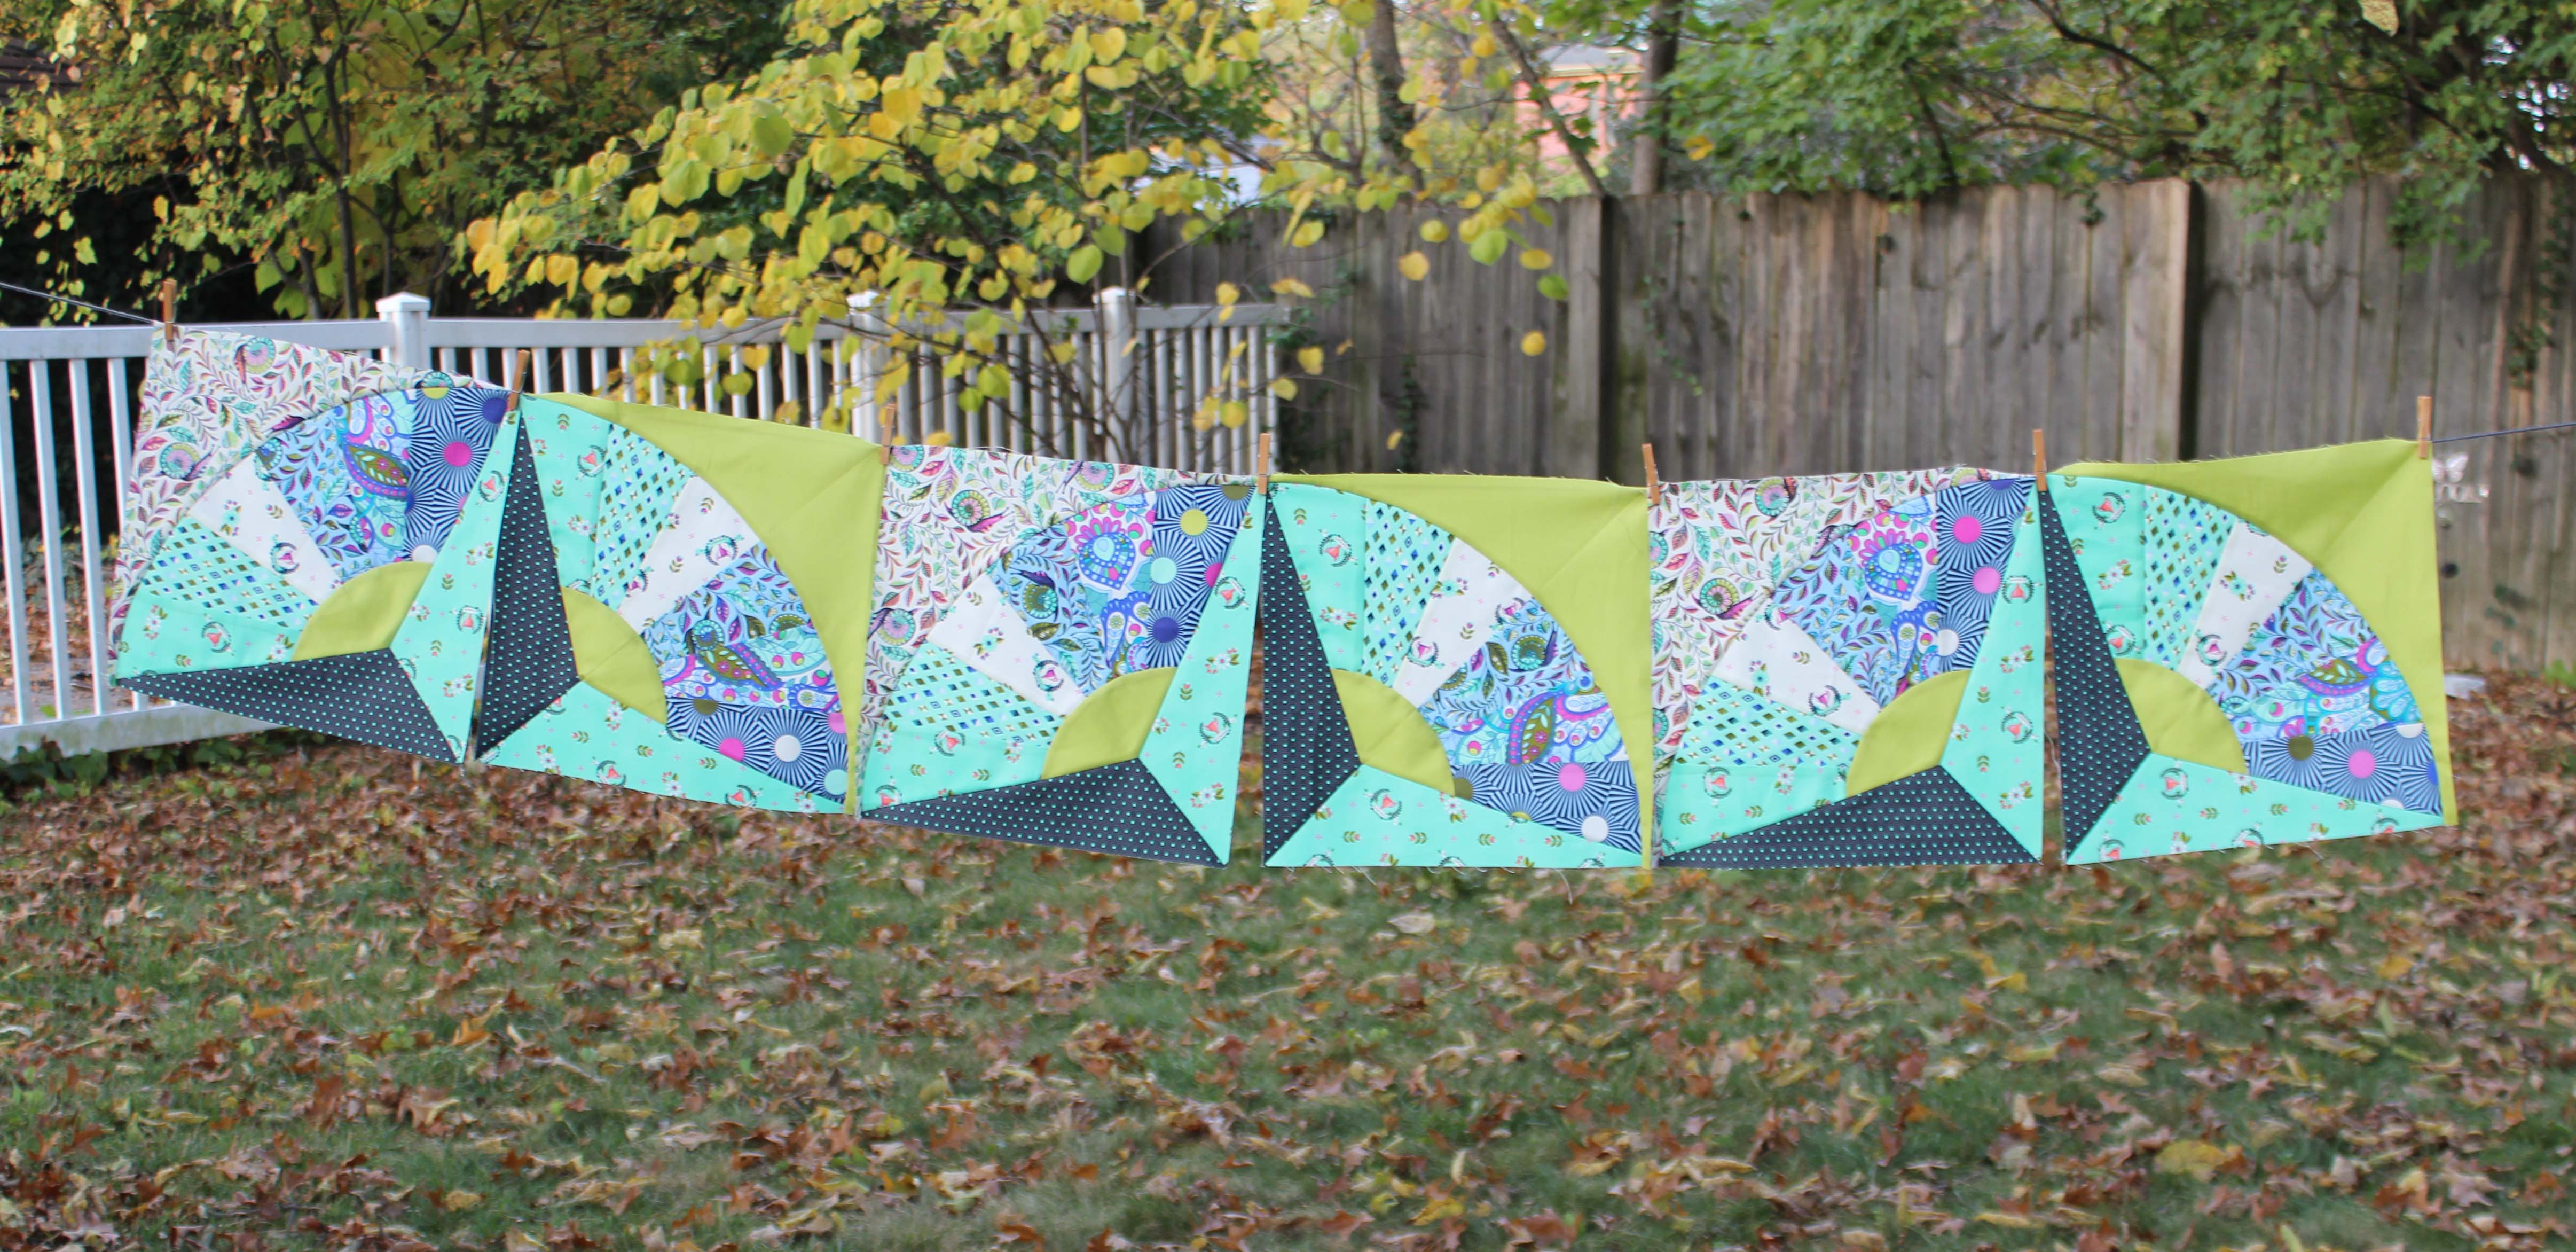
It all comes together!!

First, a little note.  When you are adding the setting triangles and find you have some overhang, don’t worry.  Leave the little dog ears and keep going.  It will all work out in the end.
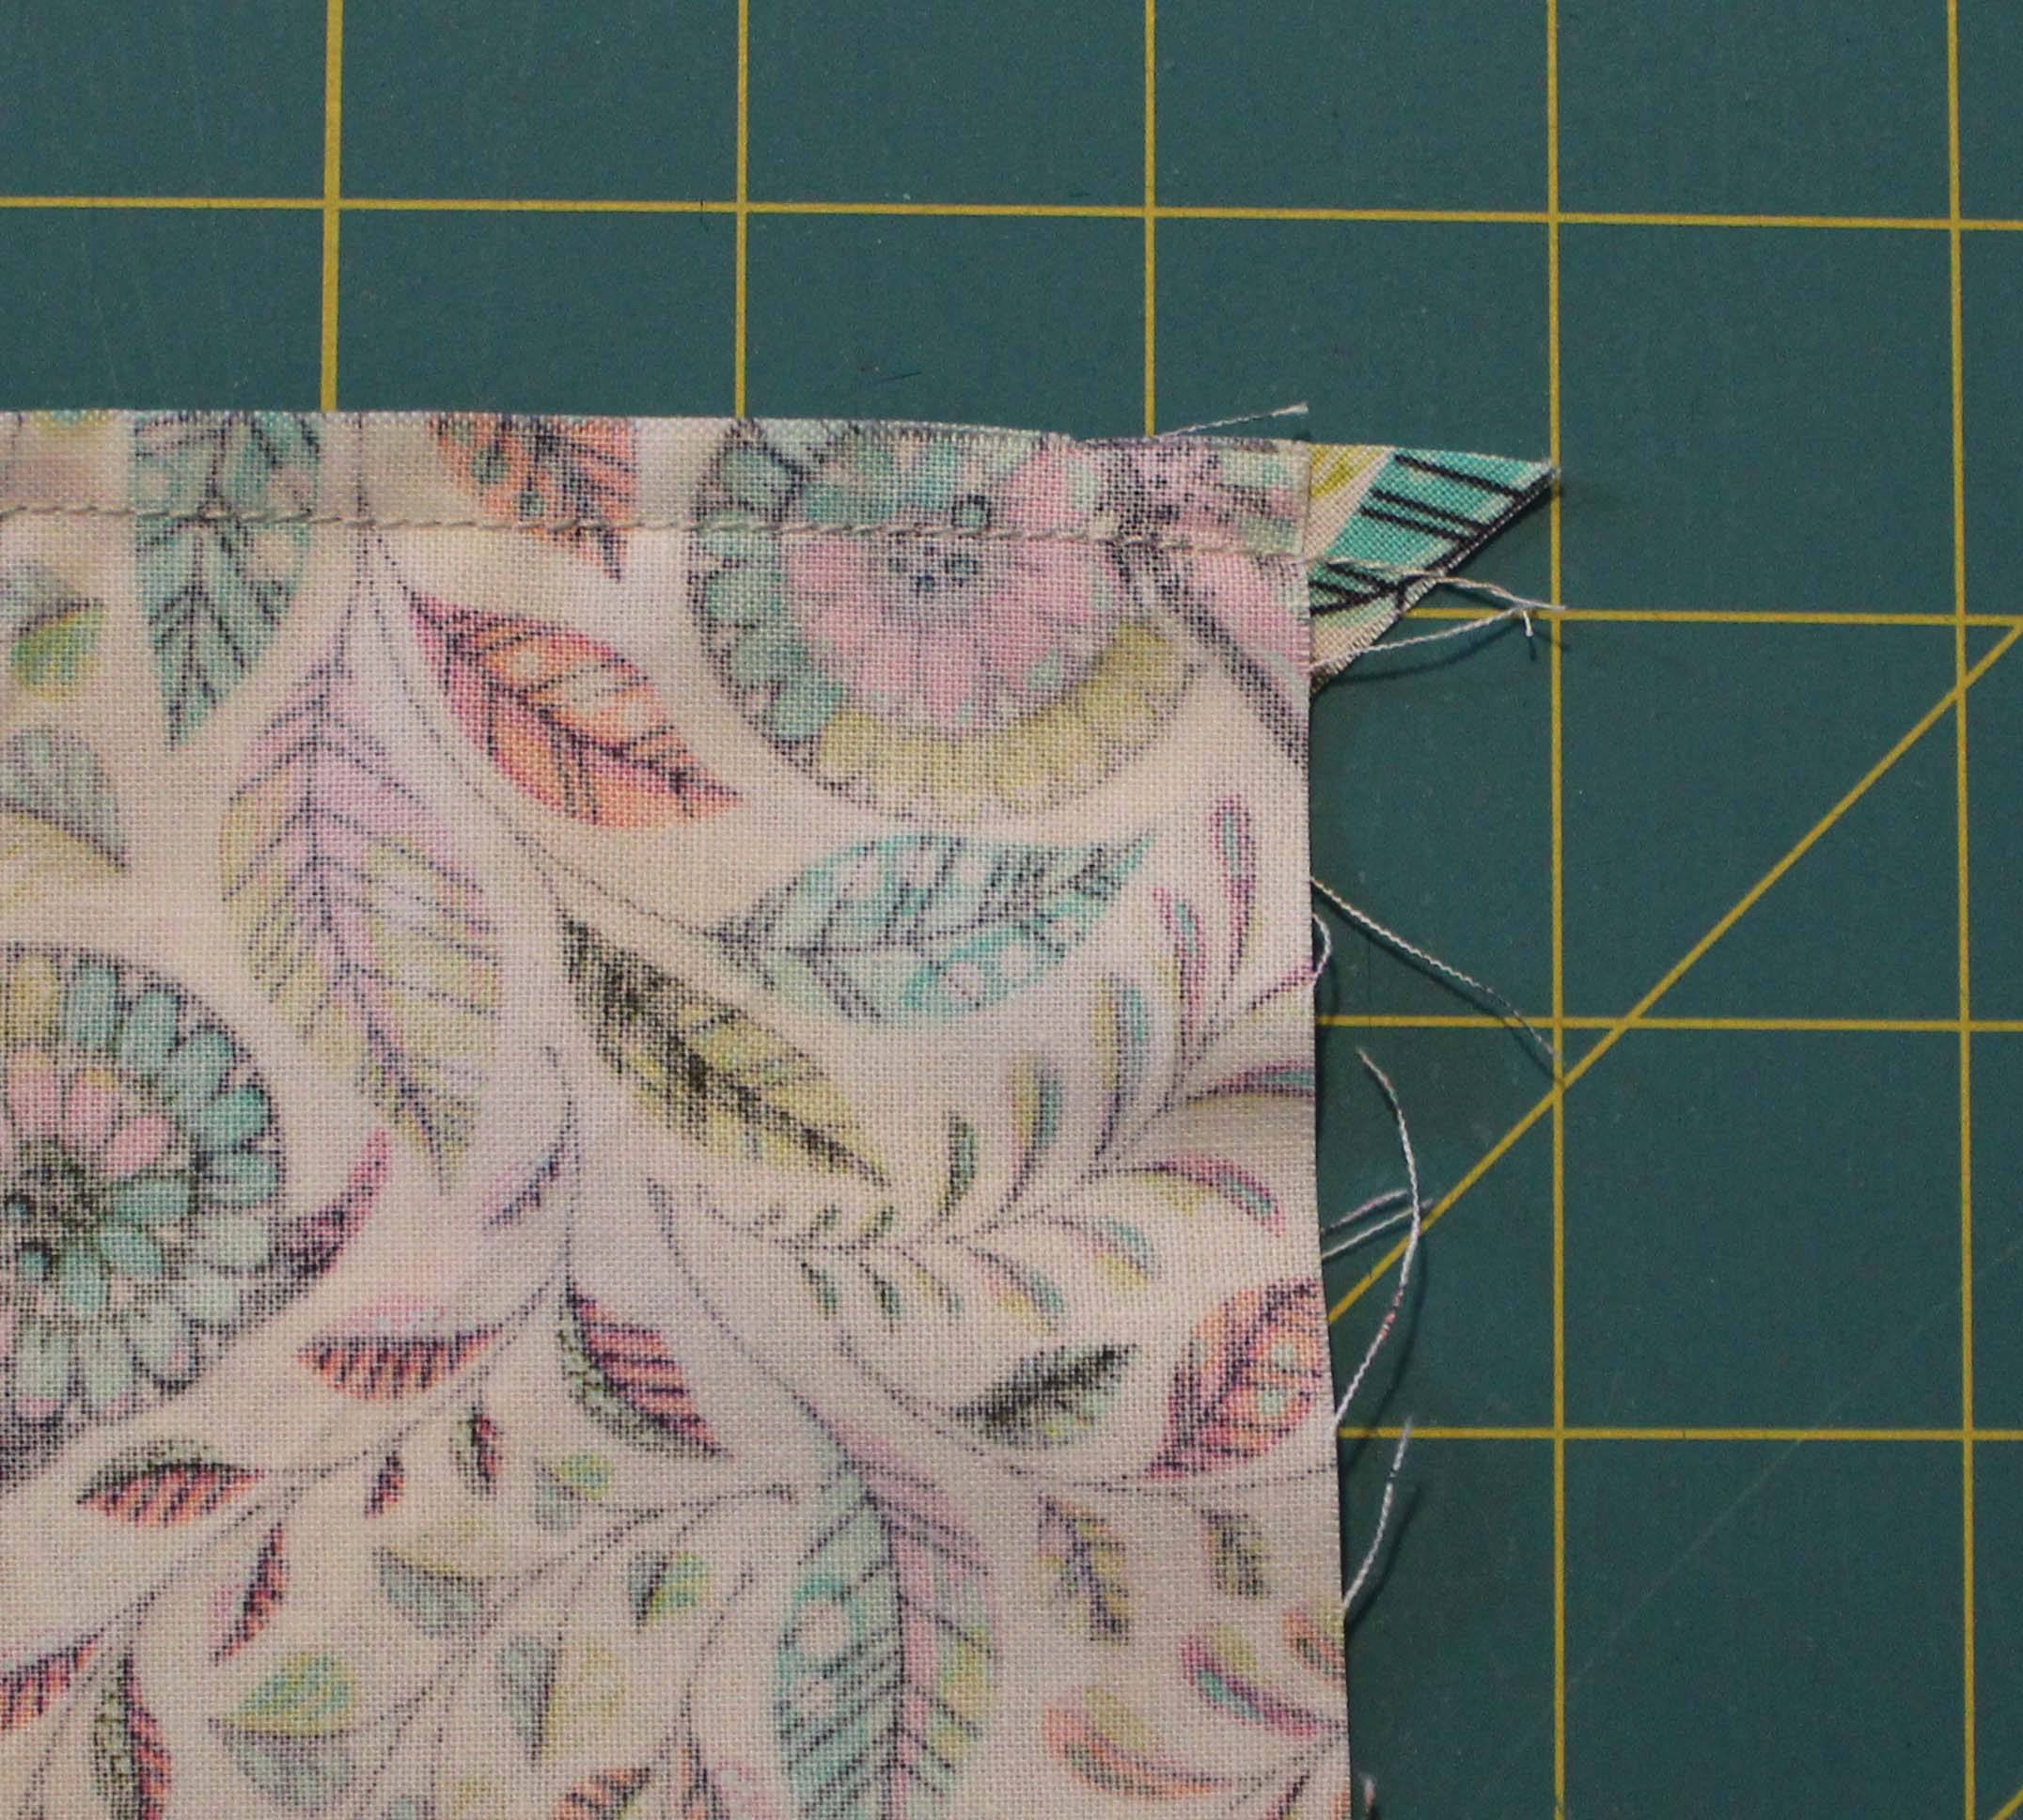
tt7a

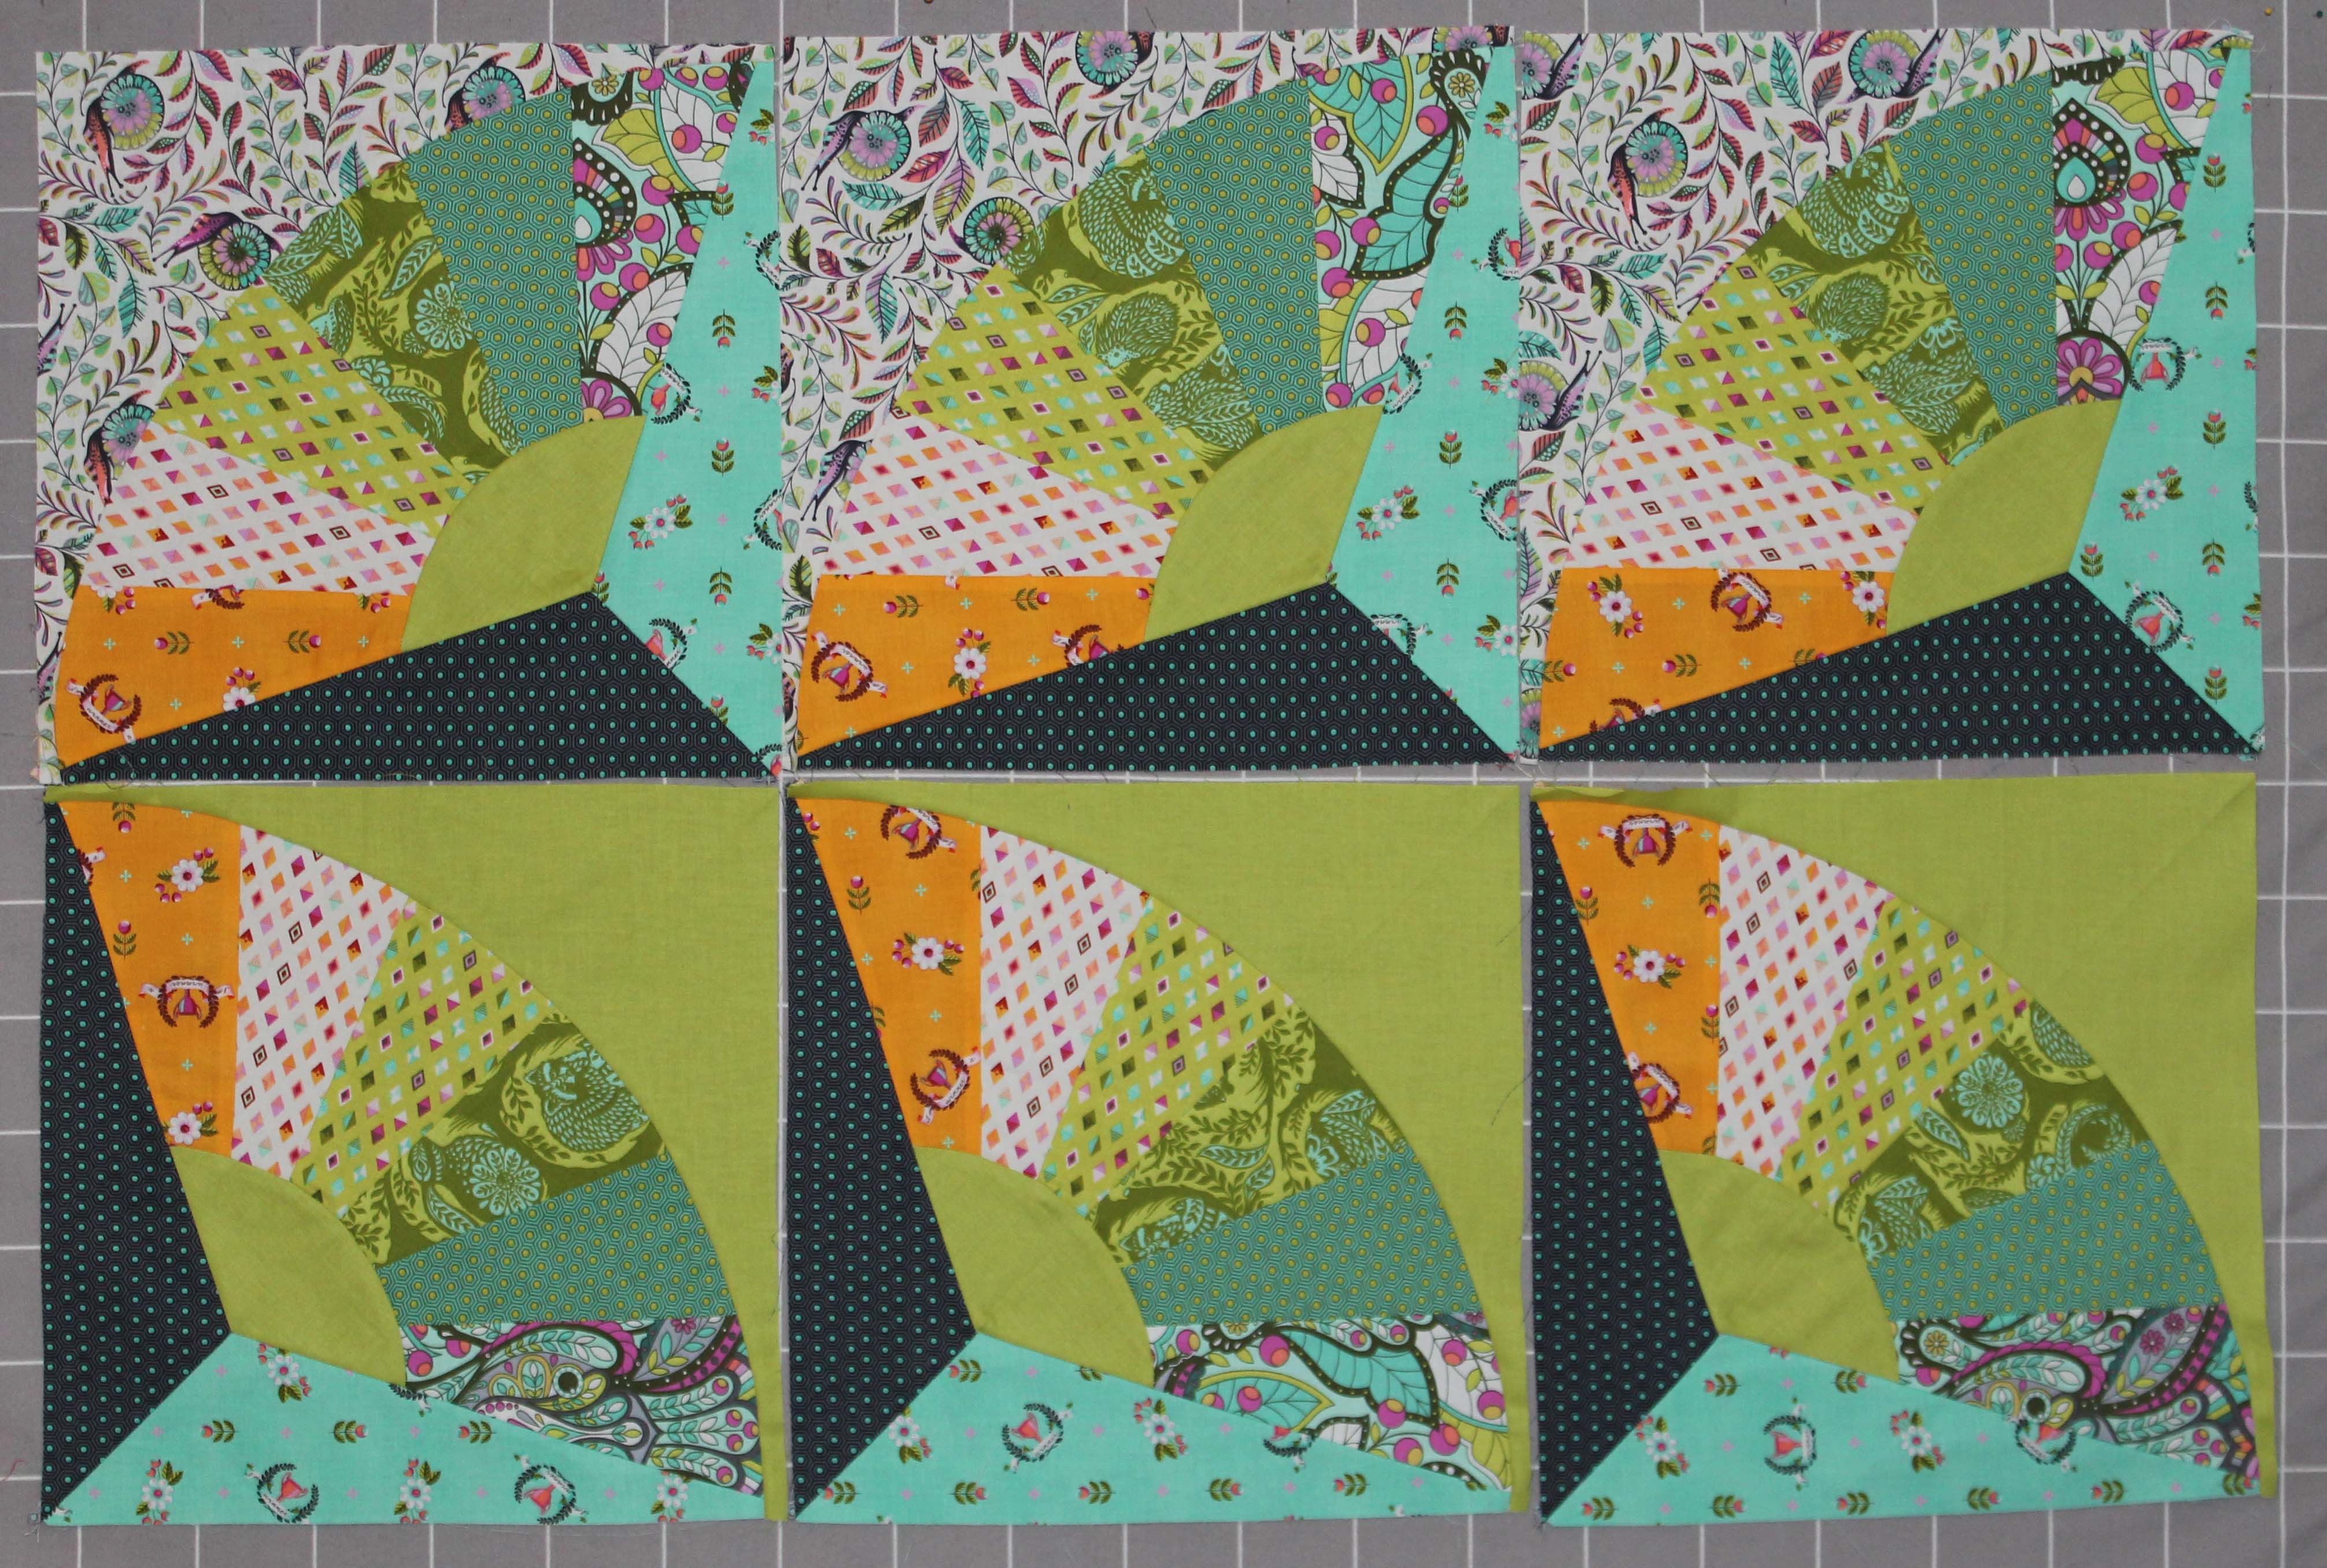
Do you get nervous putting the quilt top together?  I do.  After all that work making each block, I take a deep breath with each seam and hope that it matches up.

I’m happy to say that my Fandango Quilt Top matches up wonderfully!!
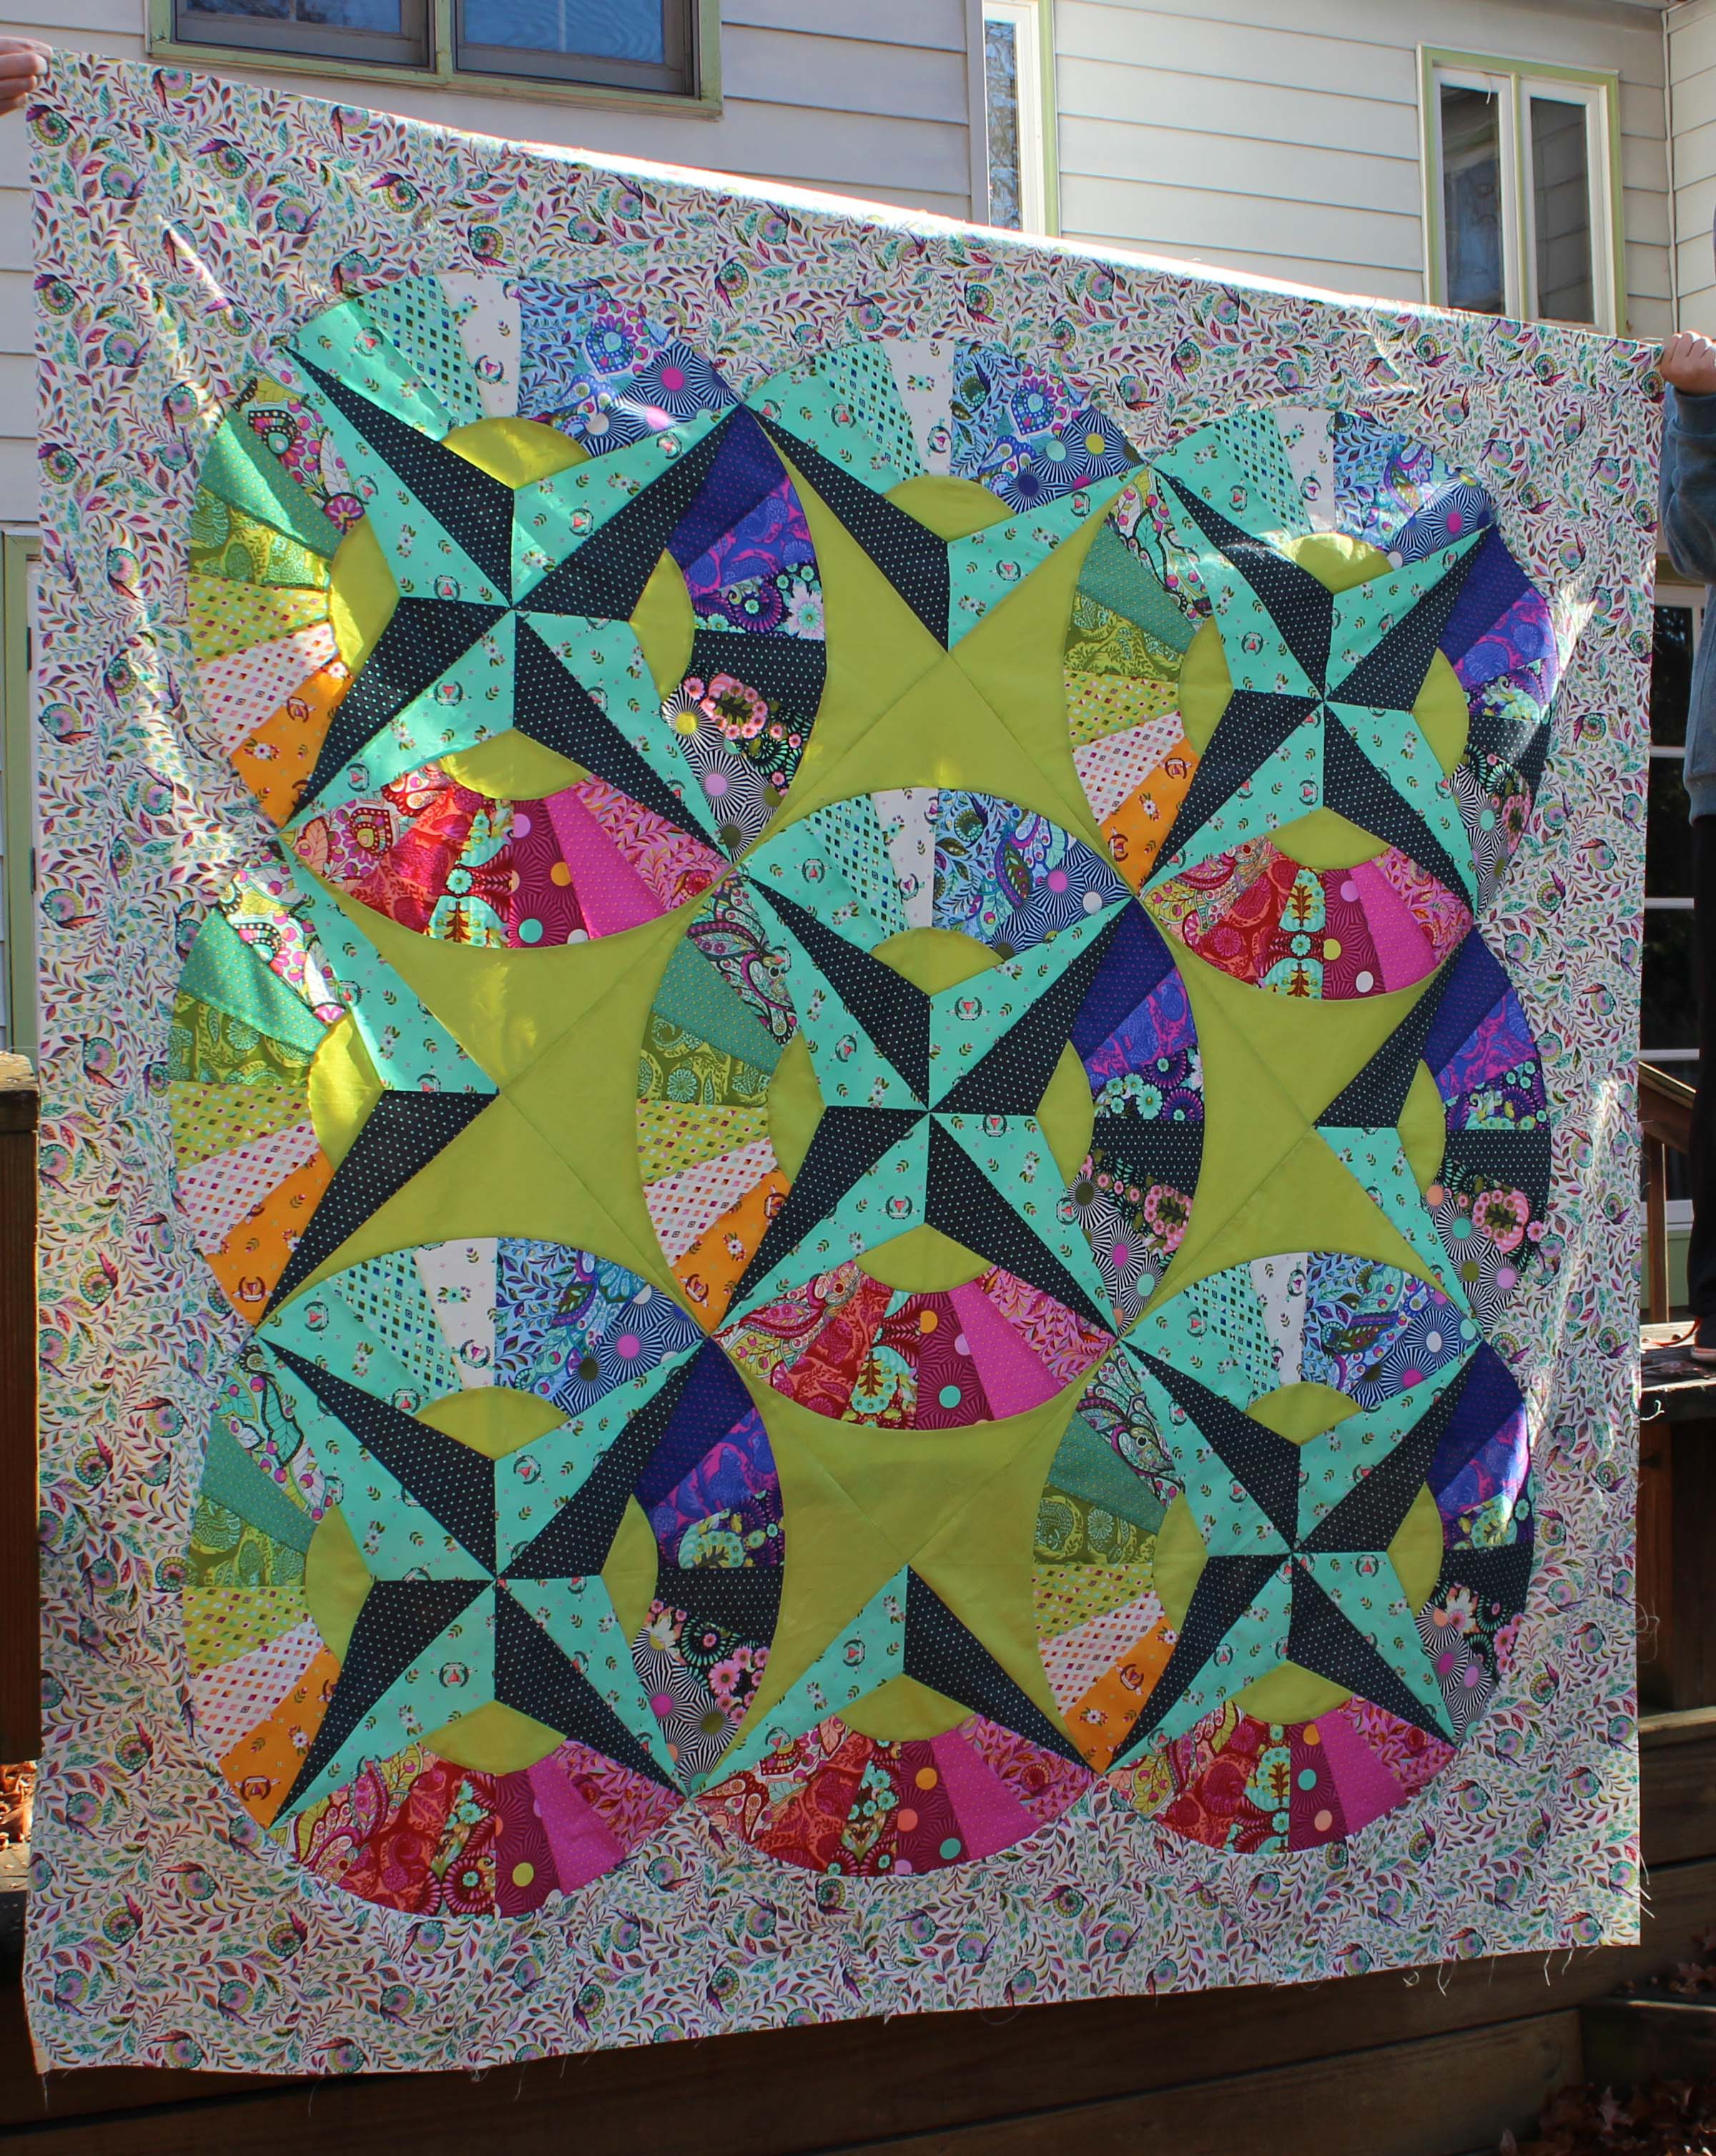
tt7b

I am so thrilled!  I hope you are just as happy with your tops as you finish them.

Thank you so much for following along with me on this quilt along, but we are not done yet!  There is still quilting to do.  I will not have this quilted by next Tuesday.  It just isn’t going to happen.  I will have an update and there are so many other posts planned.

For instance;

The SewPro Star Blog hop is this week.  My post will be up on Thursday with my first ever pattern!

I am pattern testing the most adorable baby quilt and will be showcasing it here very soon

and, ofcourse,

Holiday Crafting!!!!

I hope you will continue to join me here and on instagram!!  You can find me there as @lovinglylissa

I want to send a special thank you out to my quilt top holders.  Don’t they just look thrilled to be helping their Mom?  LOL!
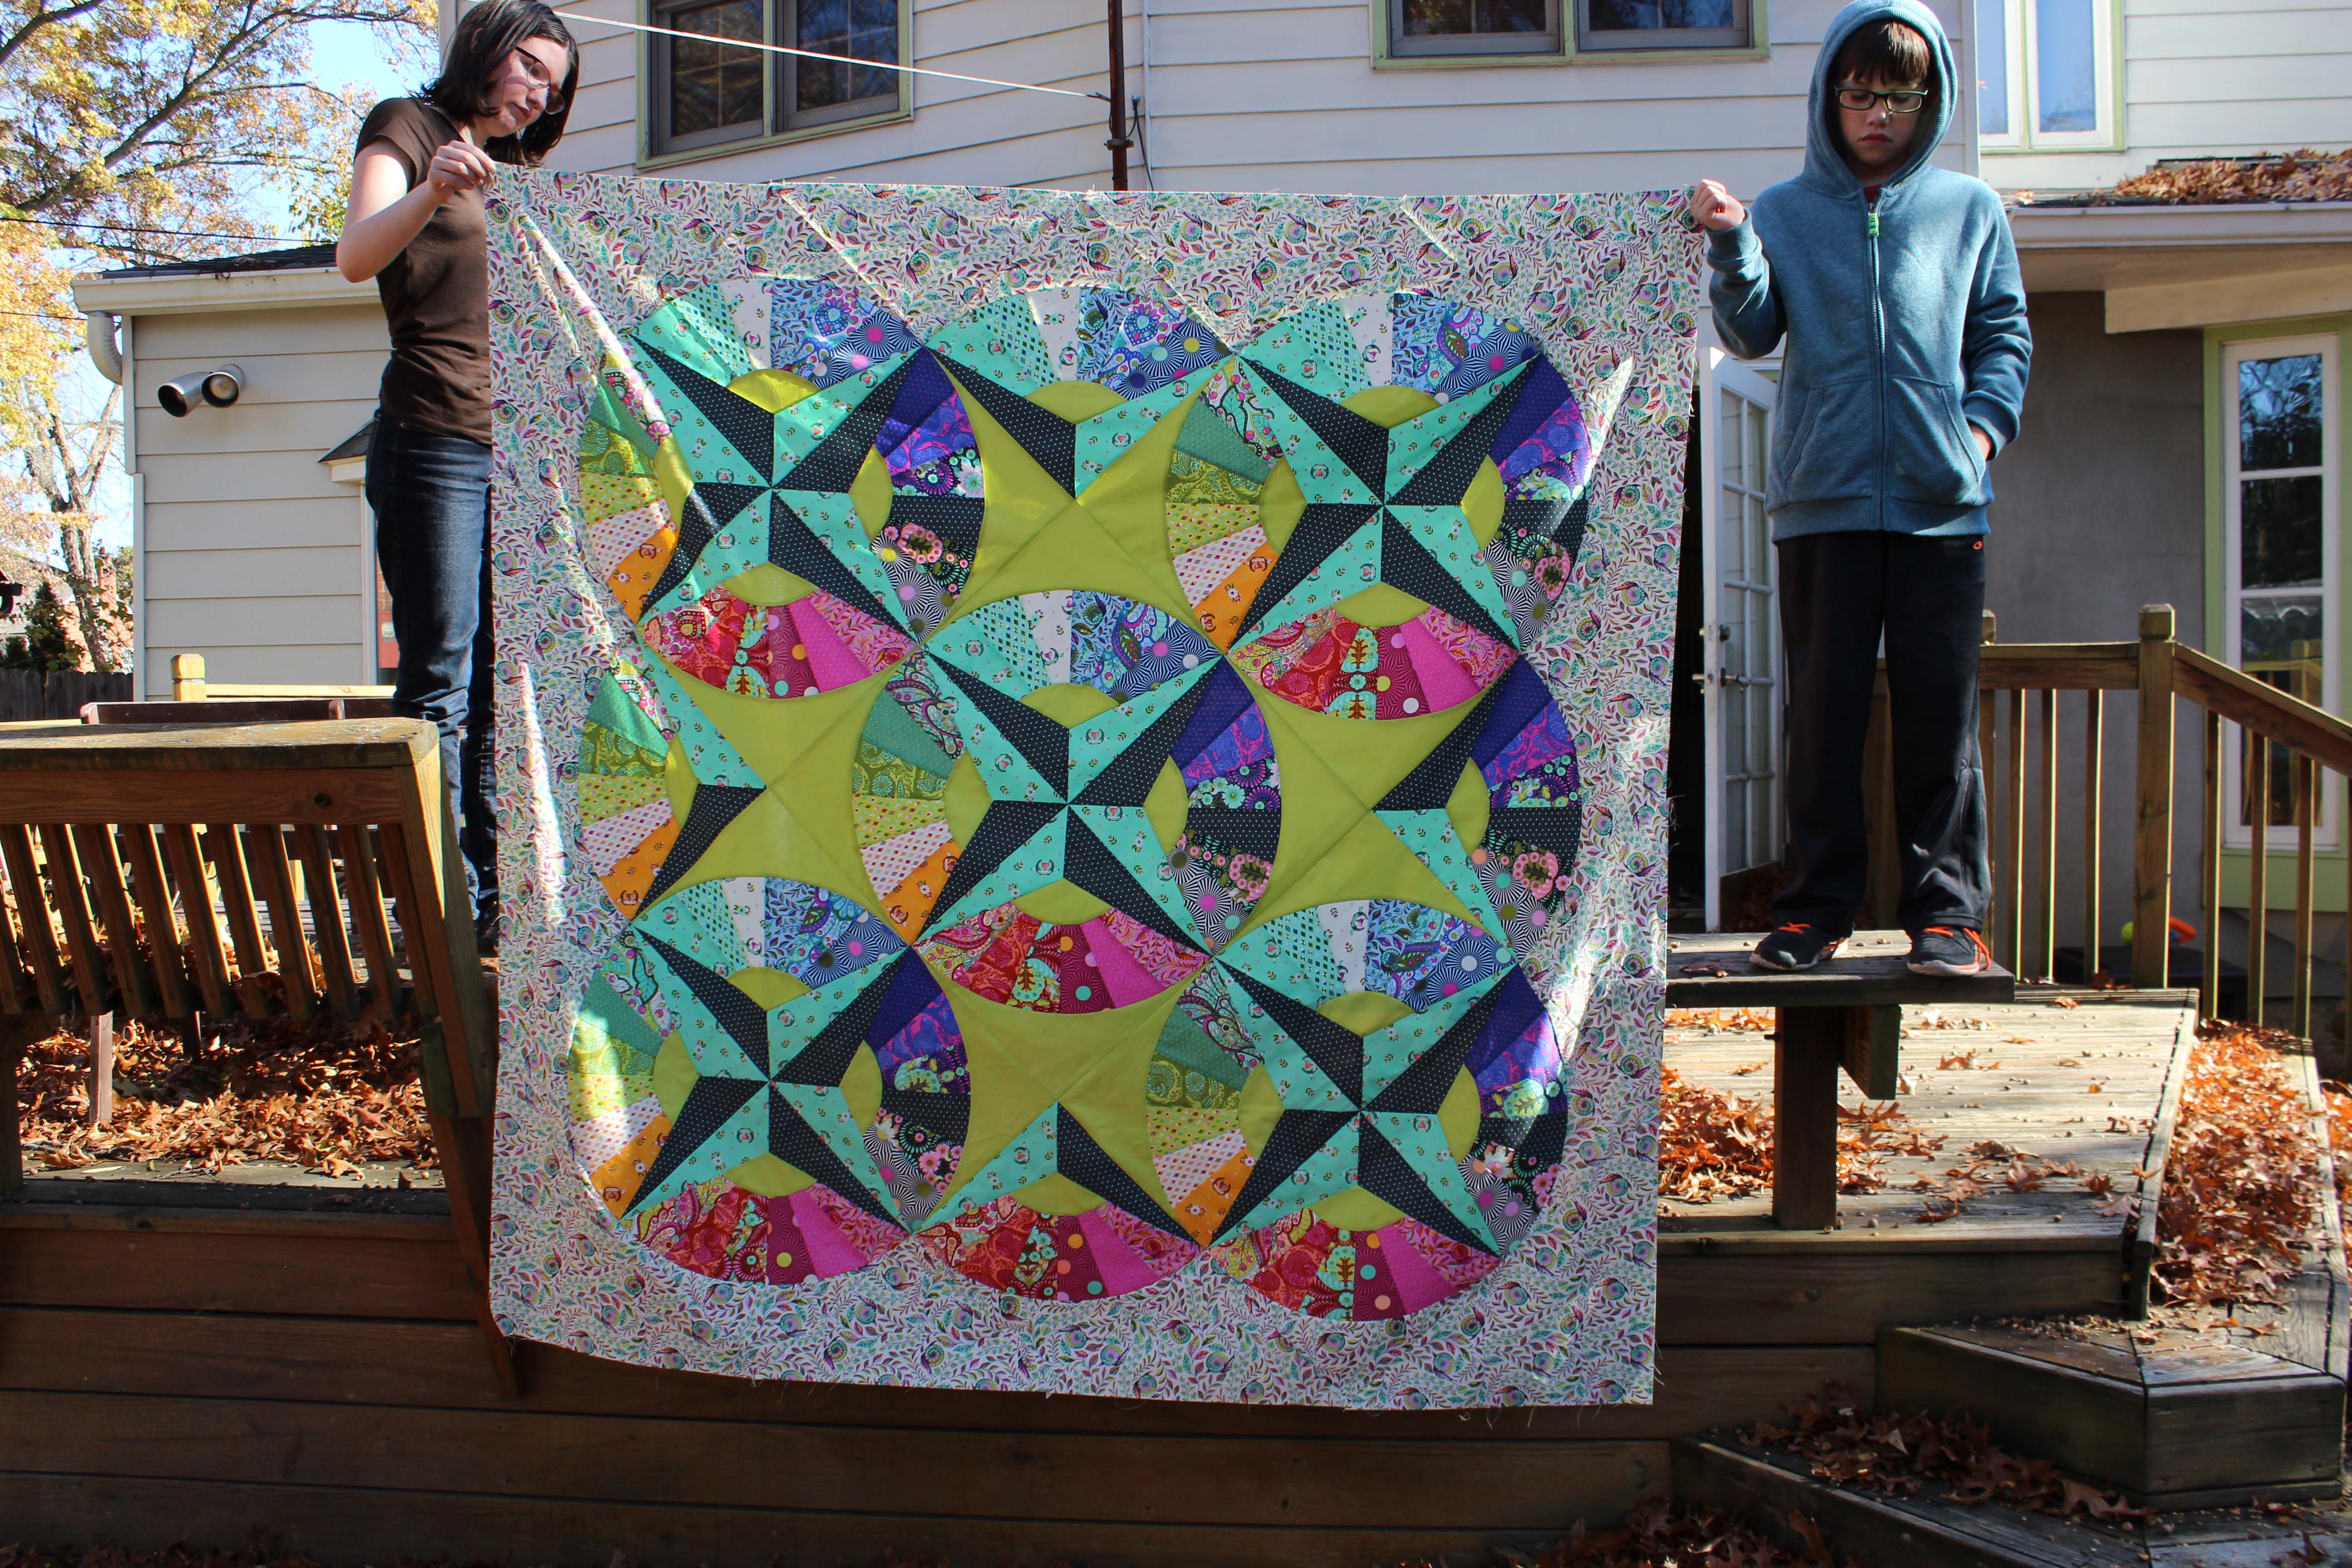
tt7c

Lovingly,

Lissa

Uncategorized

Tula Tuesday – Group 4

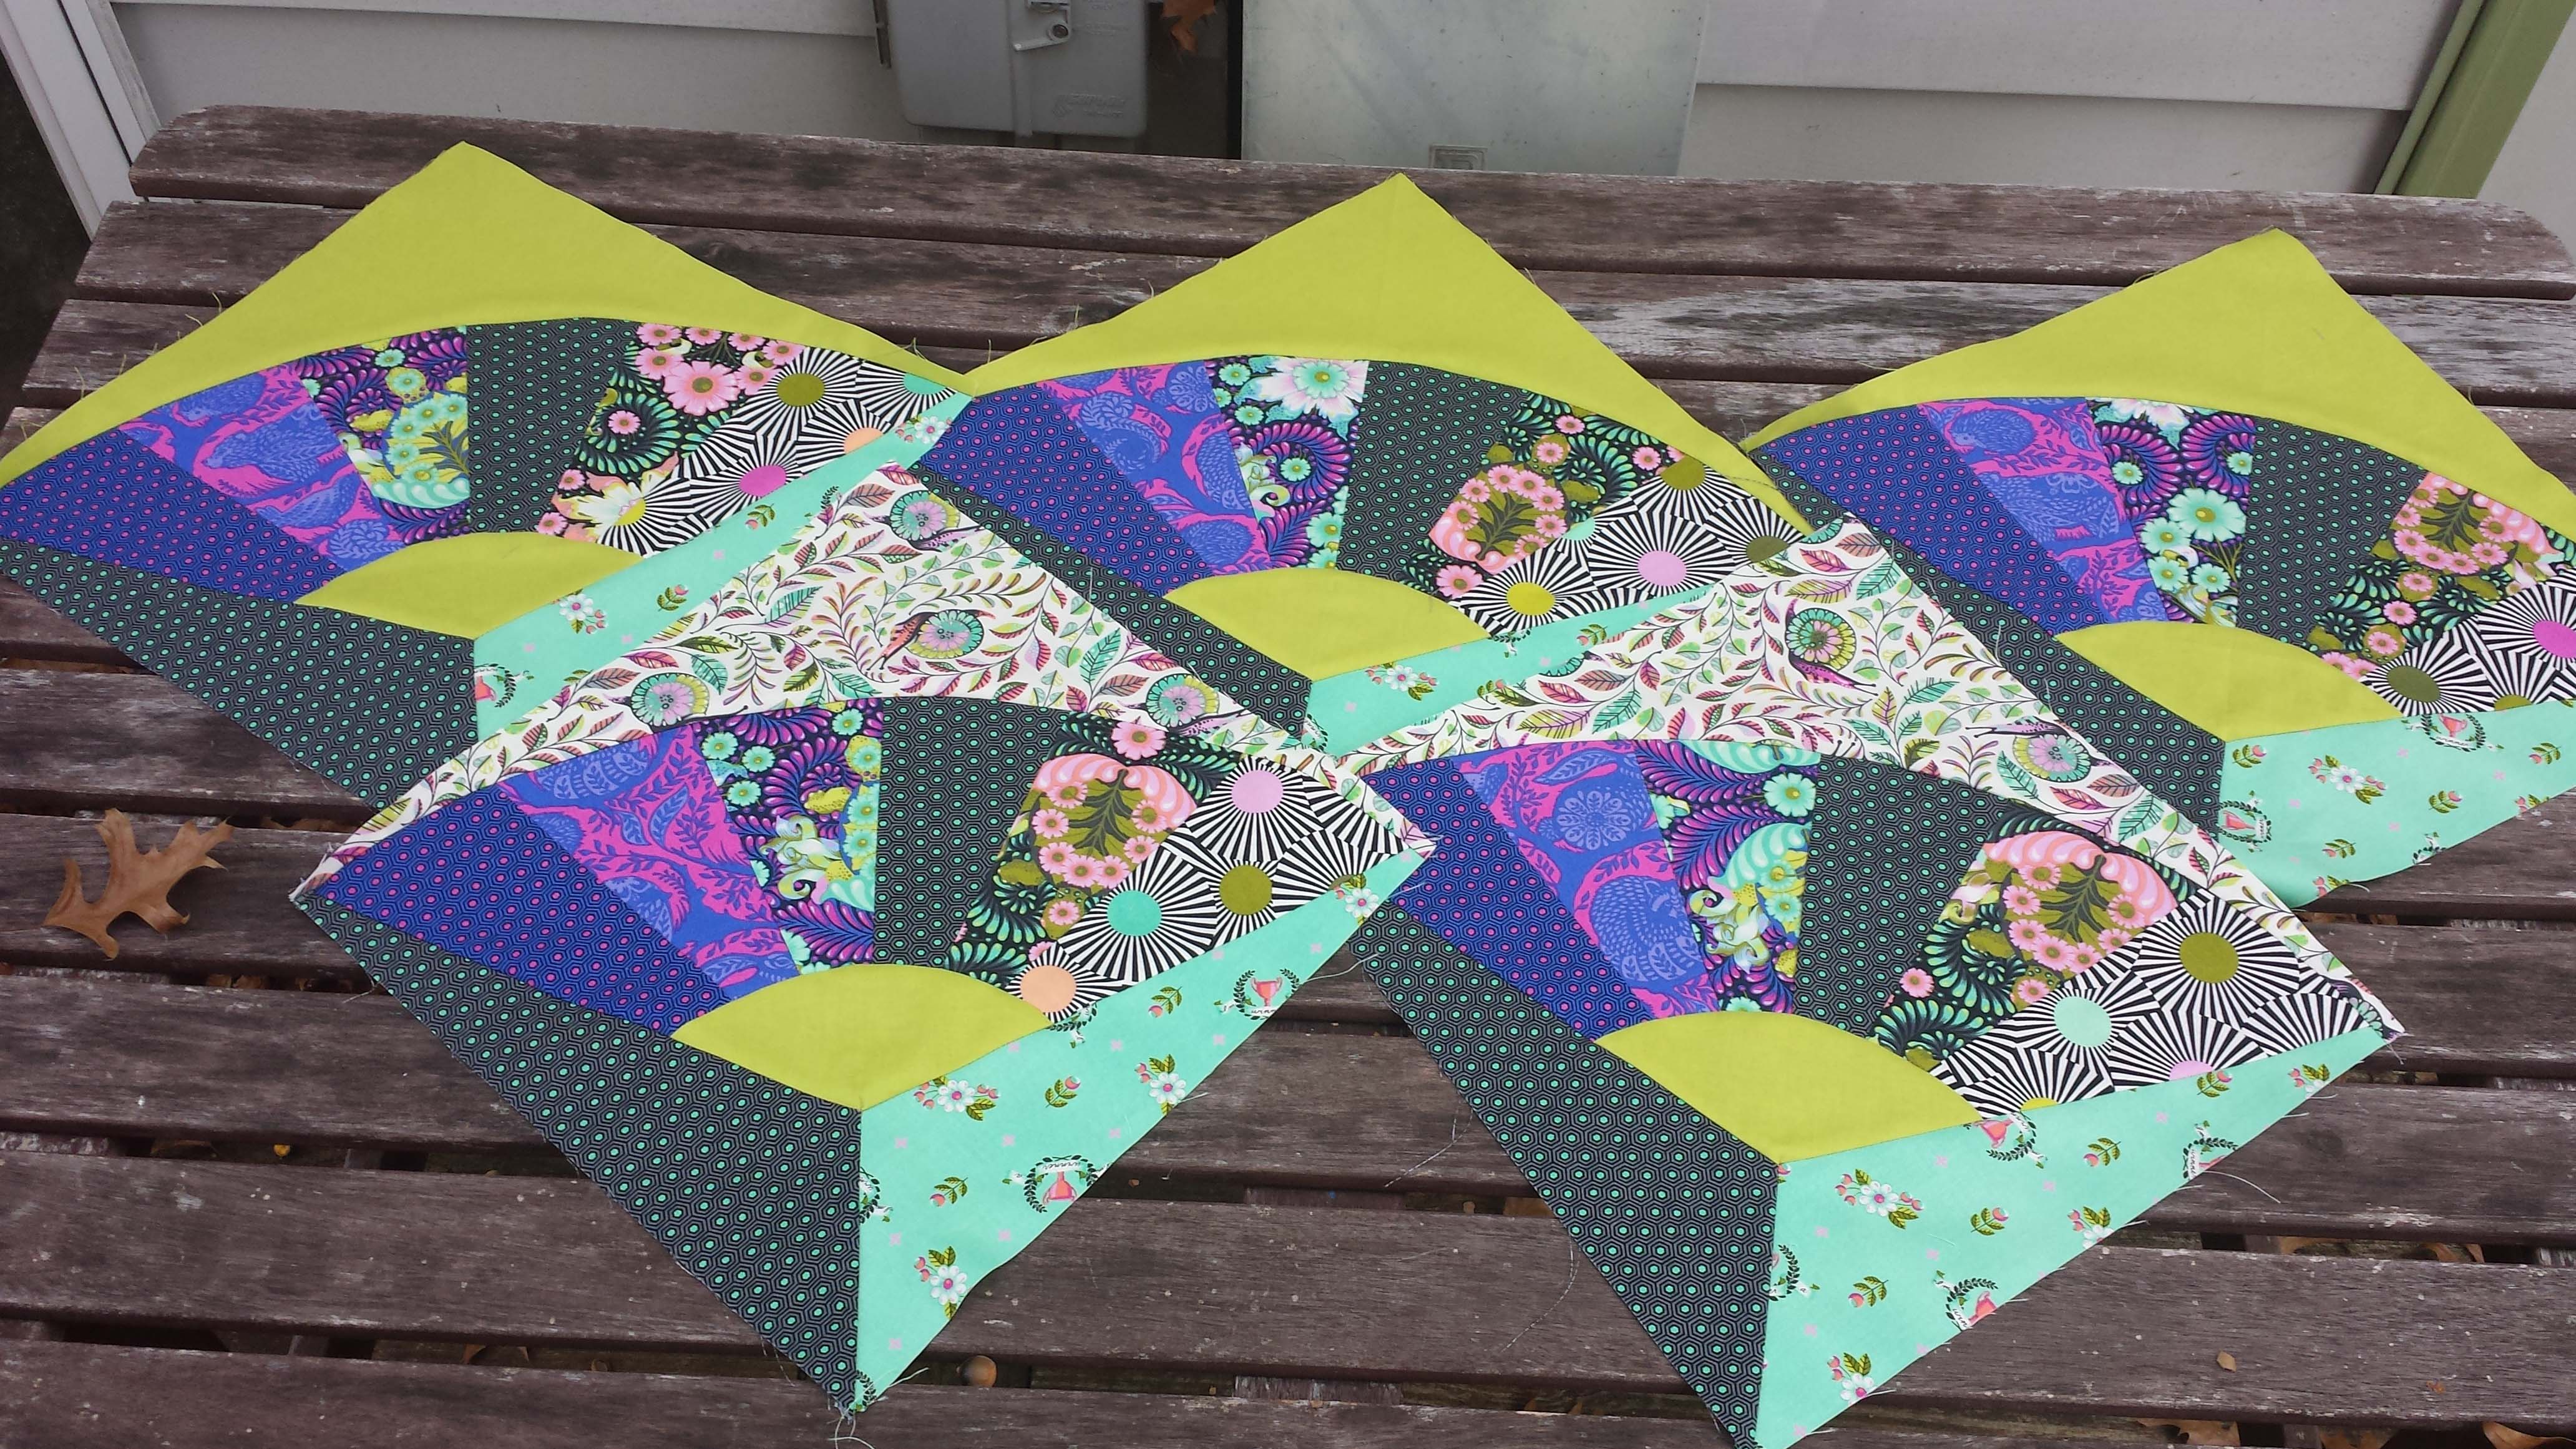
We did it!  All the blocks are ready to go!!

tt6a

Well, I am actually very close.  I have 5 of 6 blocks done this week.  I mis-cut one of the templates and didn’t have enough left over fabric to make a new one.  I called my local quilt shops and noone had this fabric so I ordered it online.

I ordered the wrong color!

So, I am waiting for another package to arrive.  I ordered backing for the quilt as well while I was at it.

This up coming week is going to be a busy one.  I will be putting this quilt top together and preparing a special blog.

Next week is the Sew Pro Star blog hop and I am participating  along with many wonderful people.  I will have my first pattern to share with you for free!

Lovingly,

Lissa
Uncategorized

Tula Tuesday – Group 3

tt5e

Look how sweet this week’s blocks look!

tt5b

They are just lovely.

Not much new for me to report this week.  The blocks went together very smoothly and I even was able to work on other things this week.

Linda asked me if there is enough fabric to cut the pieces for the fan bigger.  The quick answer is yes.

Your fabric is 9 inches wide and you are cutting one strip, some are 7 1/4 inch and some are 6 1/2 inch.  You can cut these widths up to the 9 inches.

You then cut 6 rectangles from each strip at 4 inches each.  That is 24 inches all together.  Let’s underestimate and say the width of fabric is only 40 inches, that leaves you 16 inches extra fabric, so you can add up to 2 inches on each rectangle and still have a little left over.

If in doubt, grab some graph paper and draw it out before you cut.  That’s what I did to figure out this answer.

Next week is our last set of blocks.  Wow!  This is going by so fast.  I did try to order a backing but the store didn’t have enough yardage.  What are you thinking of for a backing?  Will you be purchasing the suggested fabric or going with something different?  I would love to hear about your choice!

Lovingly,

Lissa
Tula Tuesday · Uncategorized

Tula Tuesday – Group 2

Did you have an easier time this week?  Now that we know what we’re doing the next few weeks should just breeze on by.

I used this week to work on ways on making that first seam between pieces one and two easier.  I found this great tutorial by QuietPlay.  @rachaelknitsandquilts reminded me of another tutorial from We All Sew.  This is the tutorial I relied on for this week, with a few changes.

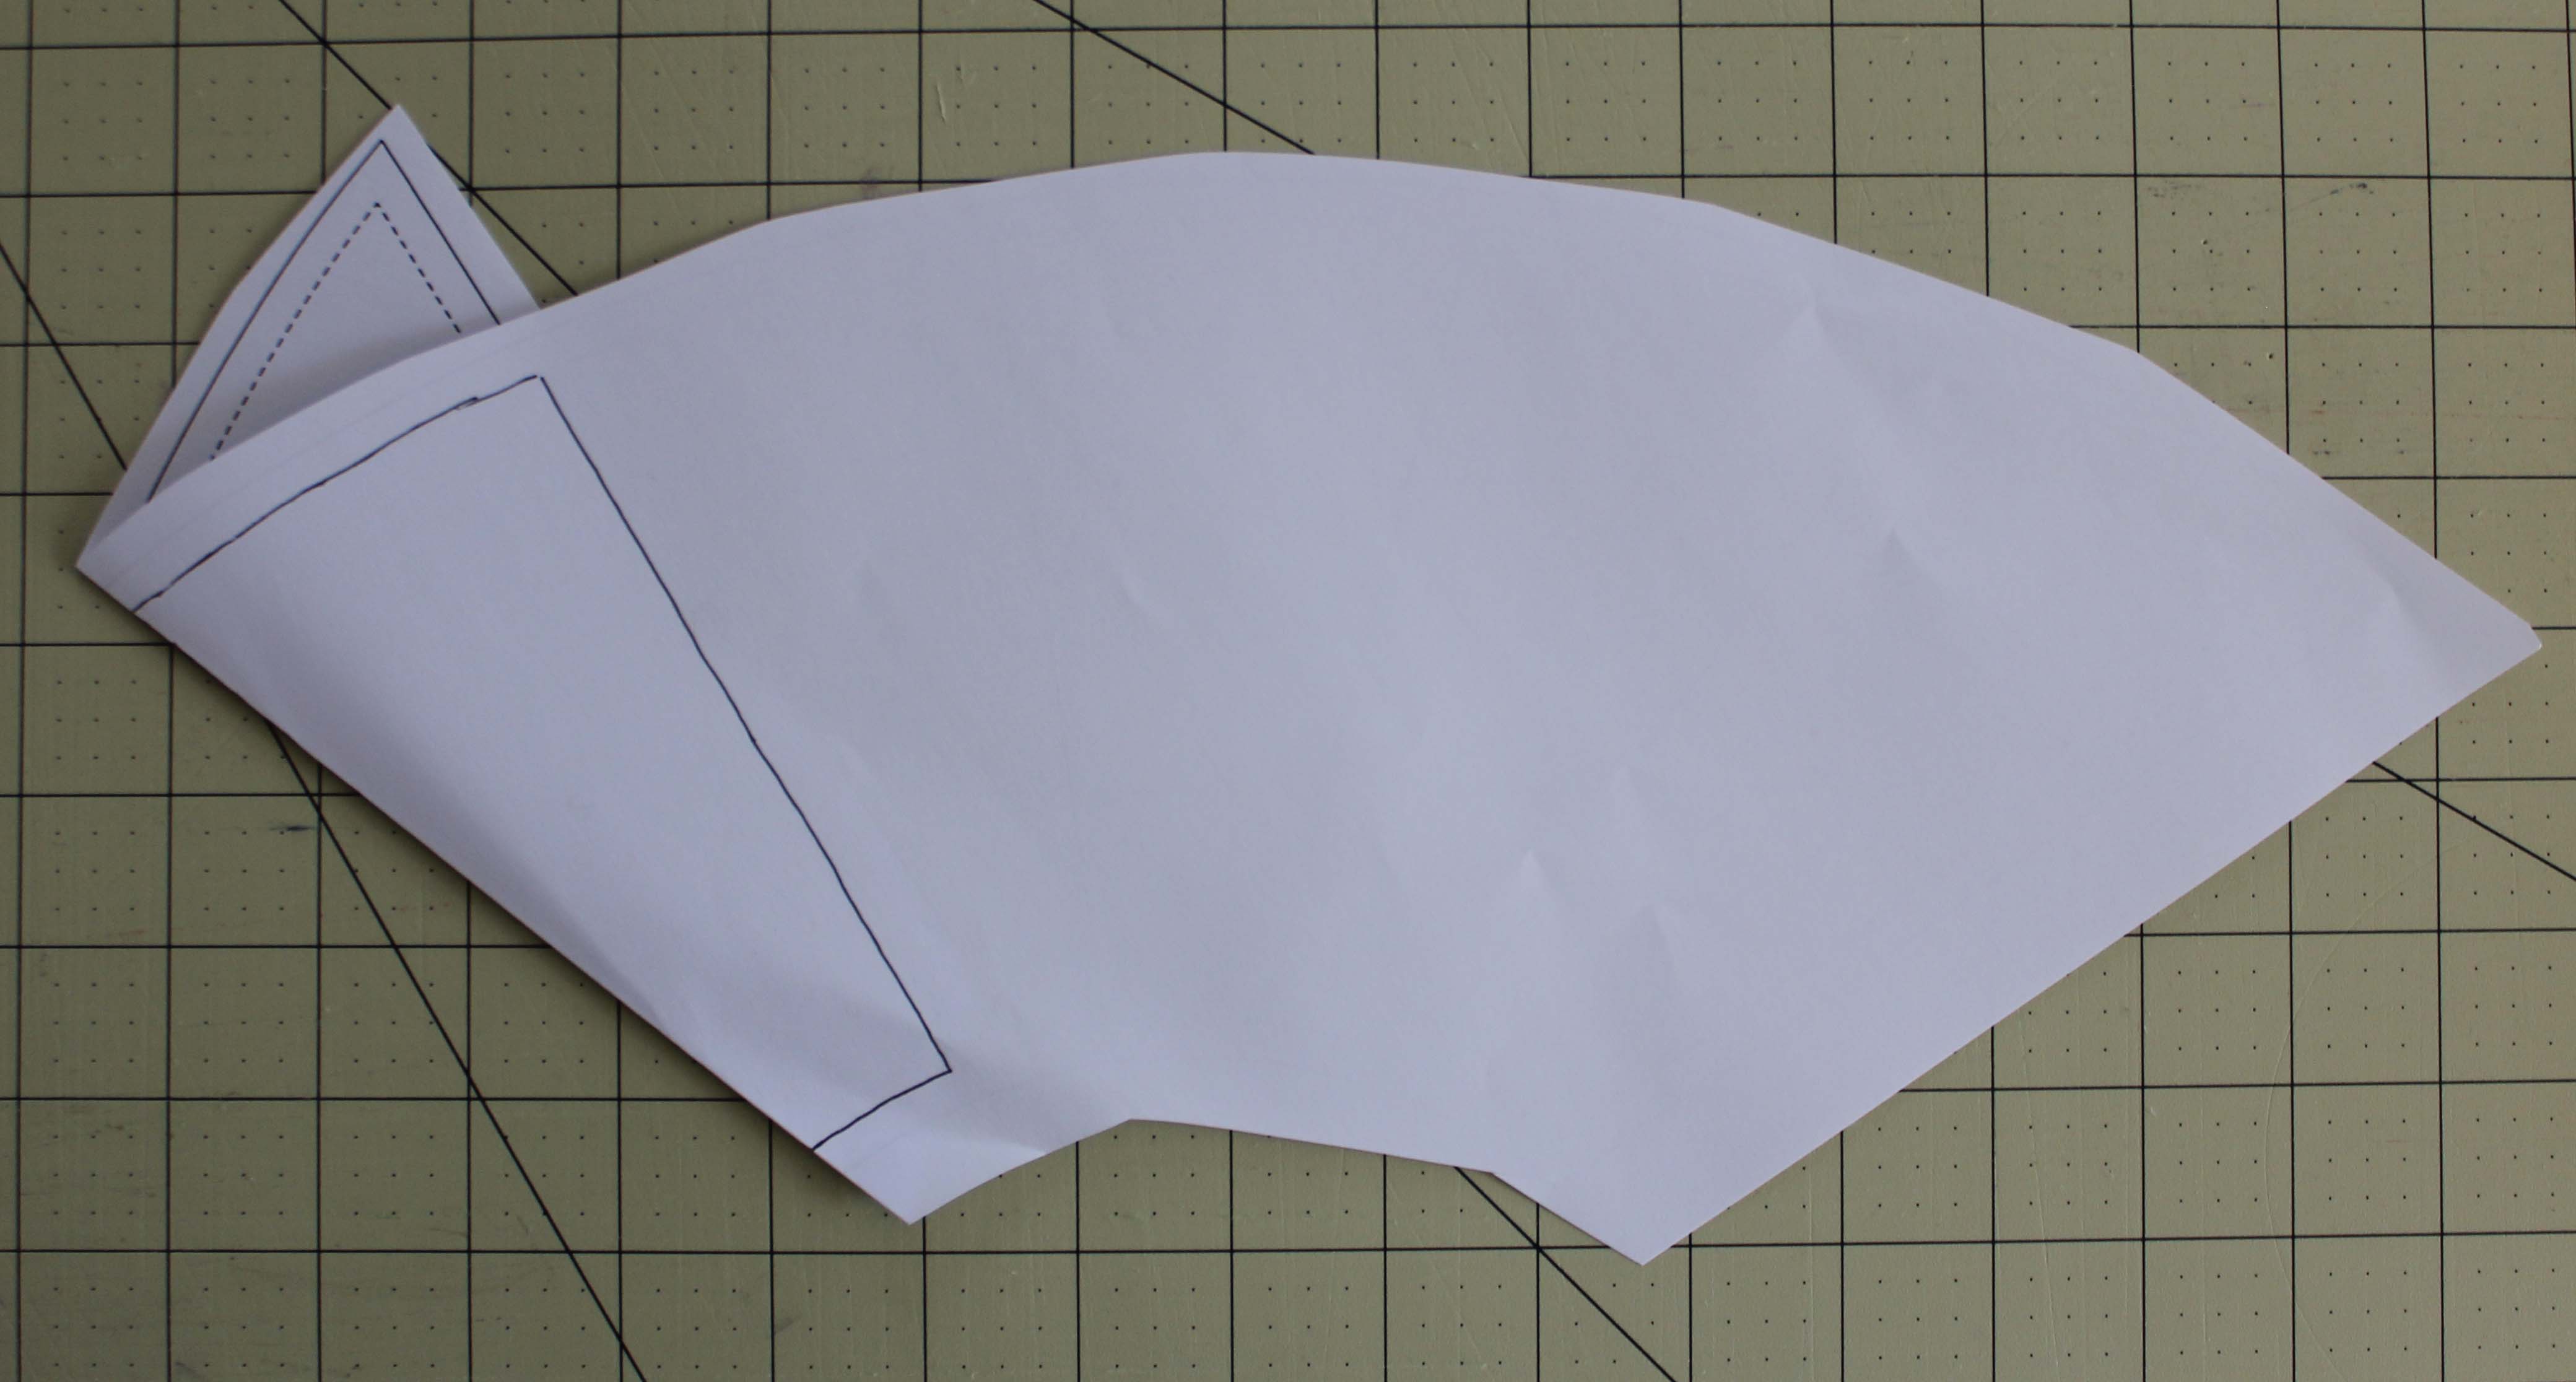
First, I traced section two to the back side of the paper.

tt4b

Second, fold back the paper along the sewing line between sections one and two.

tt4g

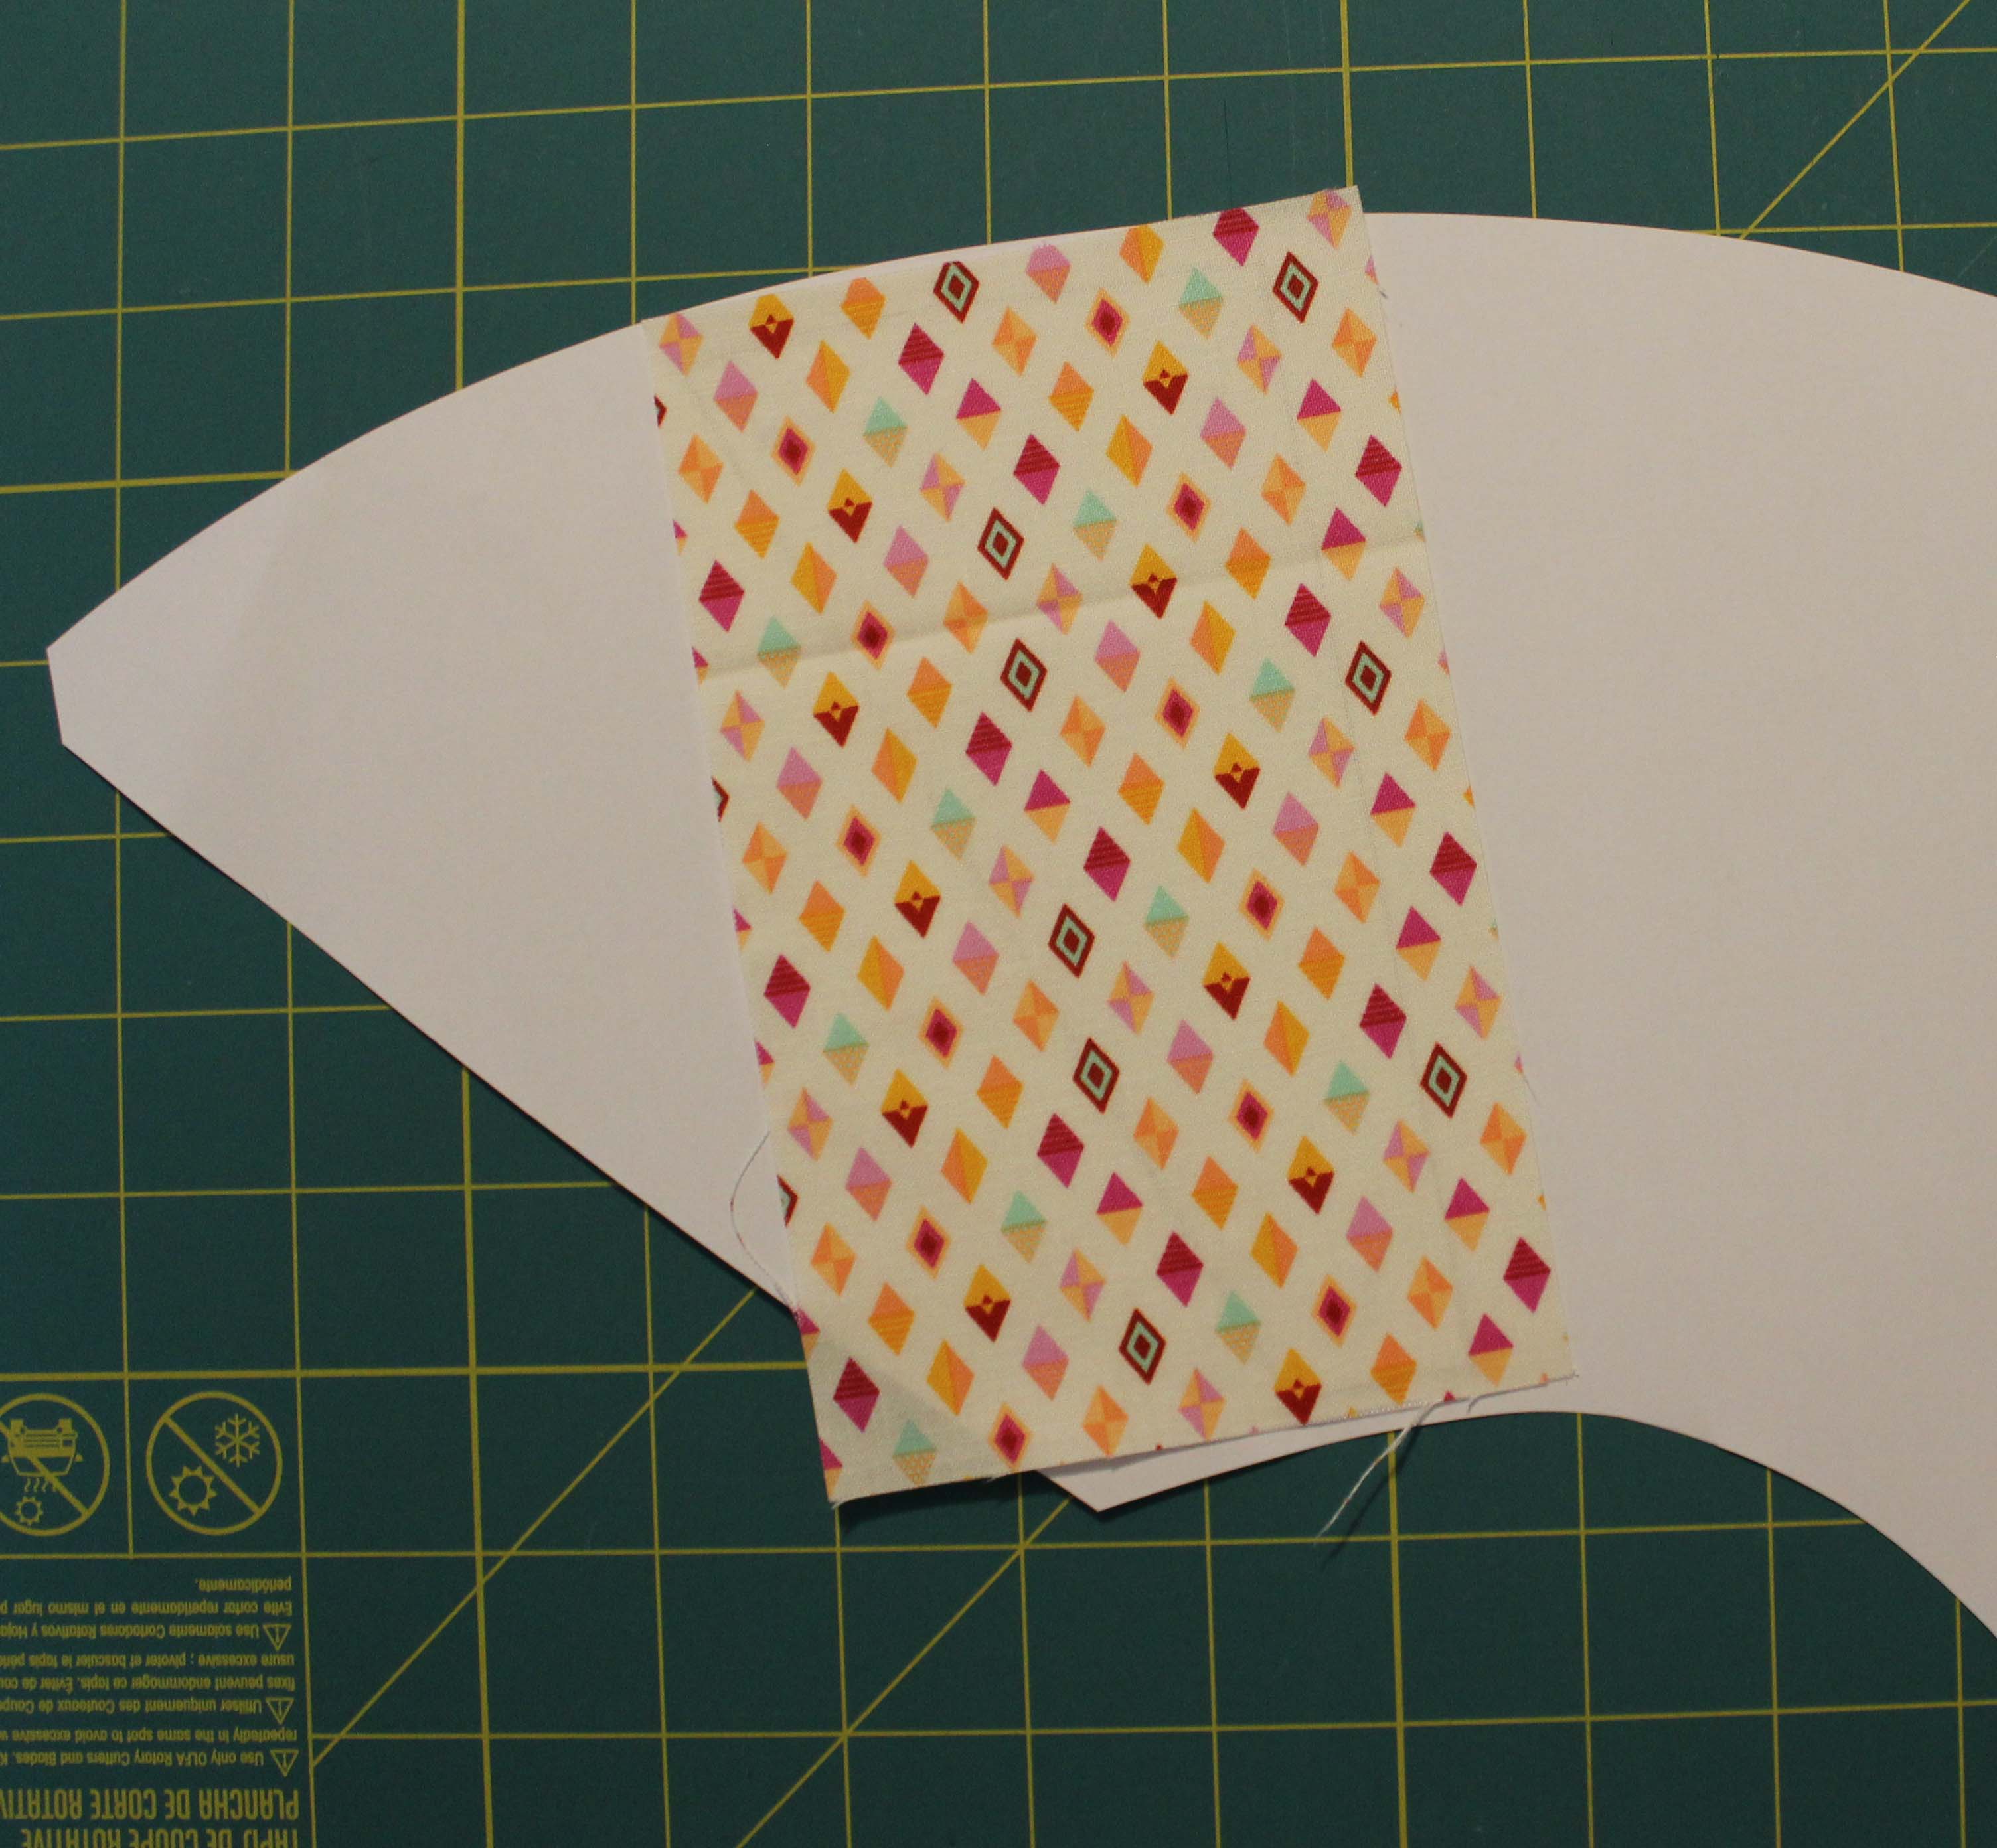
Now here is where I go a little off book.  I place the fabric for section two right side up on the paper covering the section I drew.  I get out that trusty washable glue stick and stick it in place.

tt4d

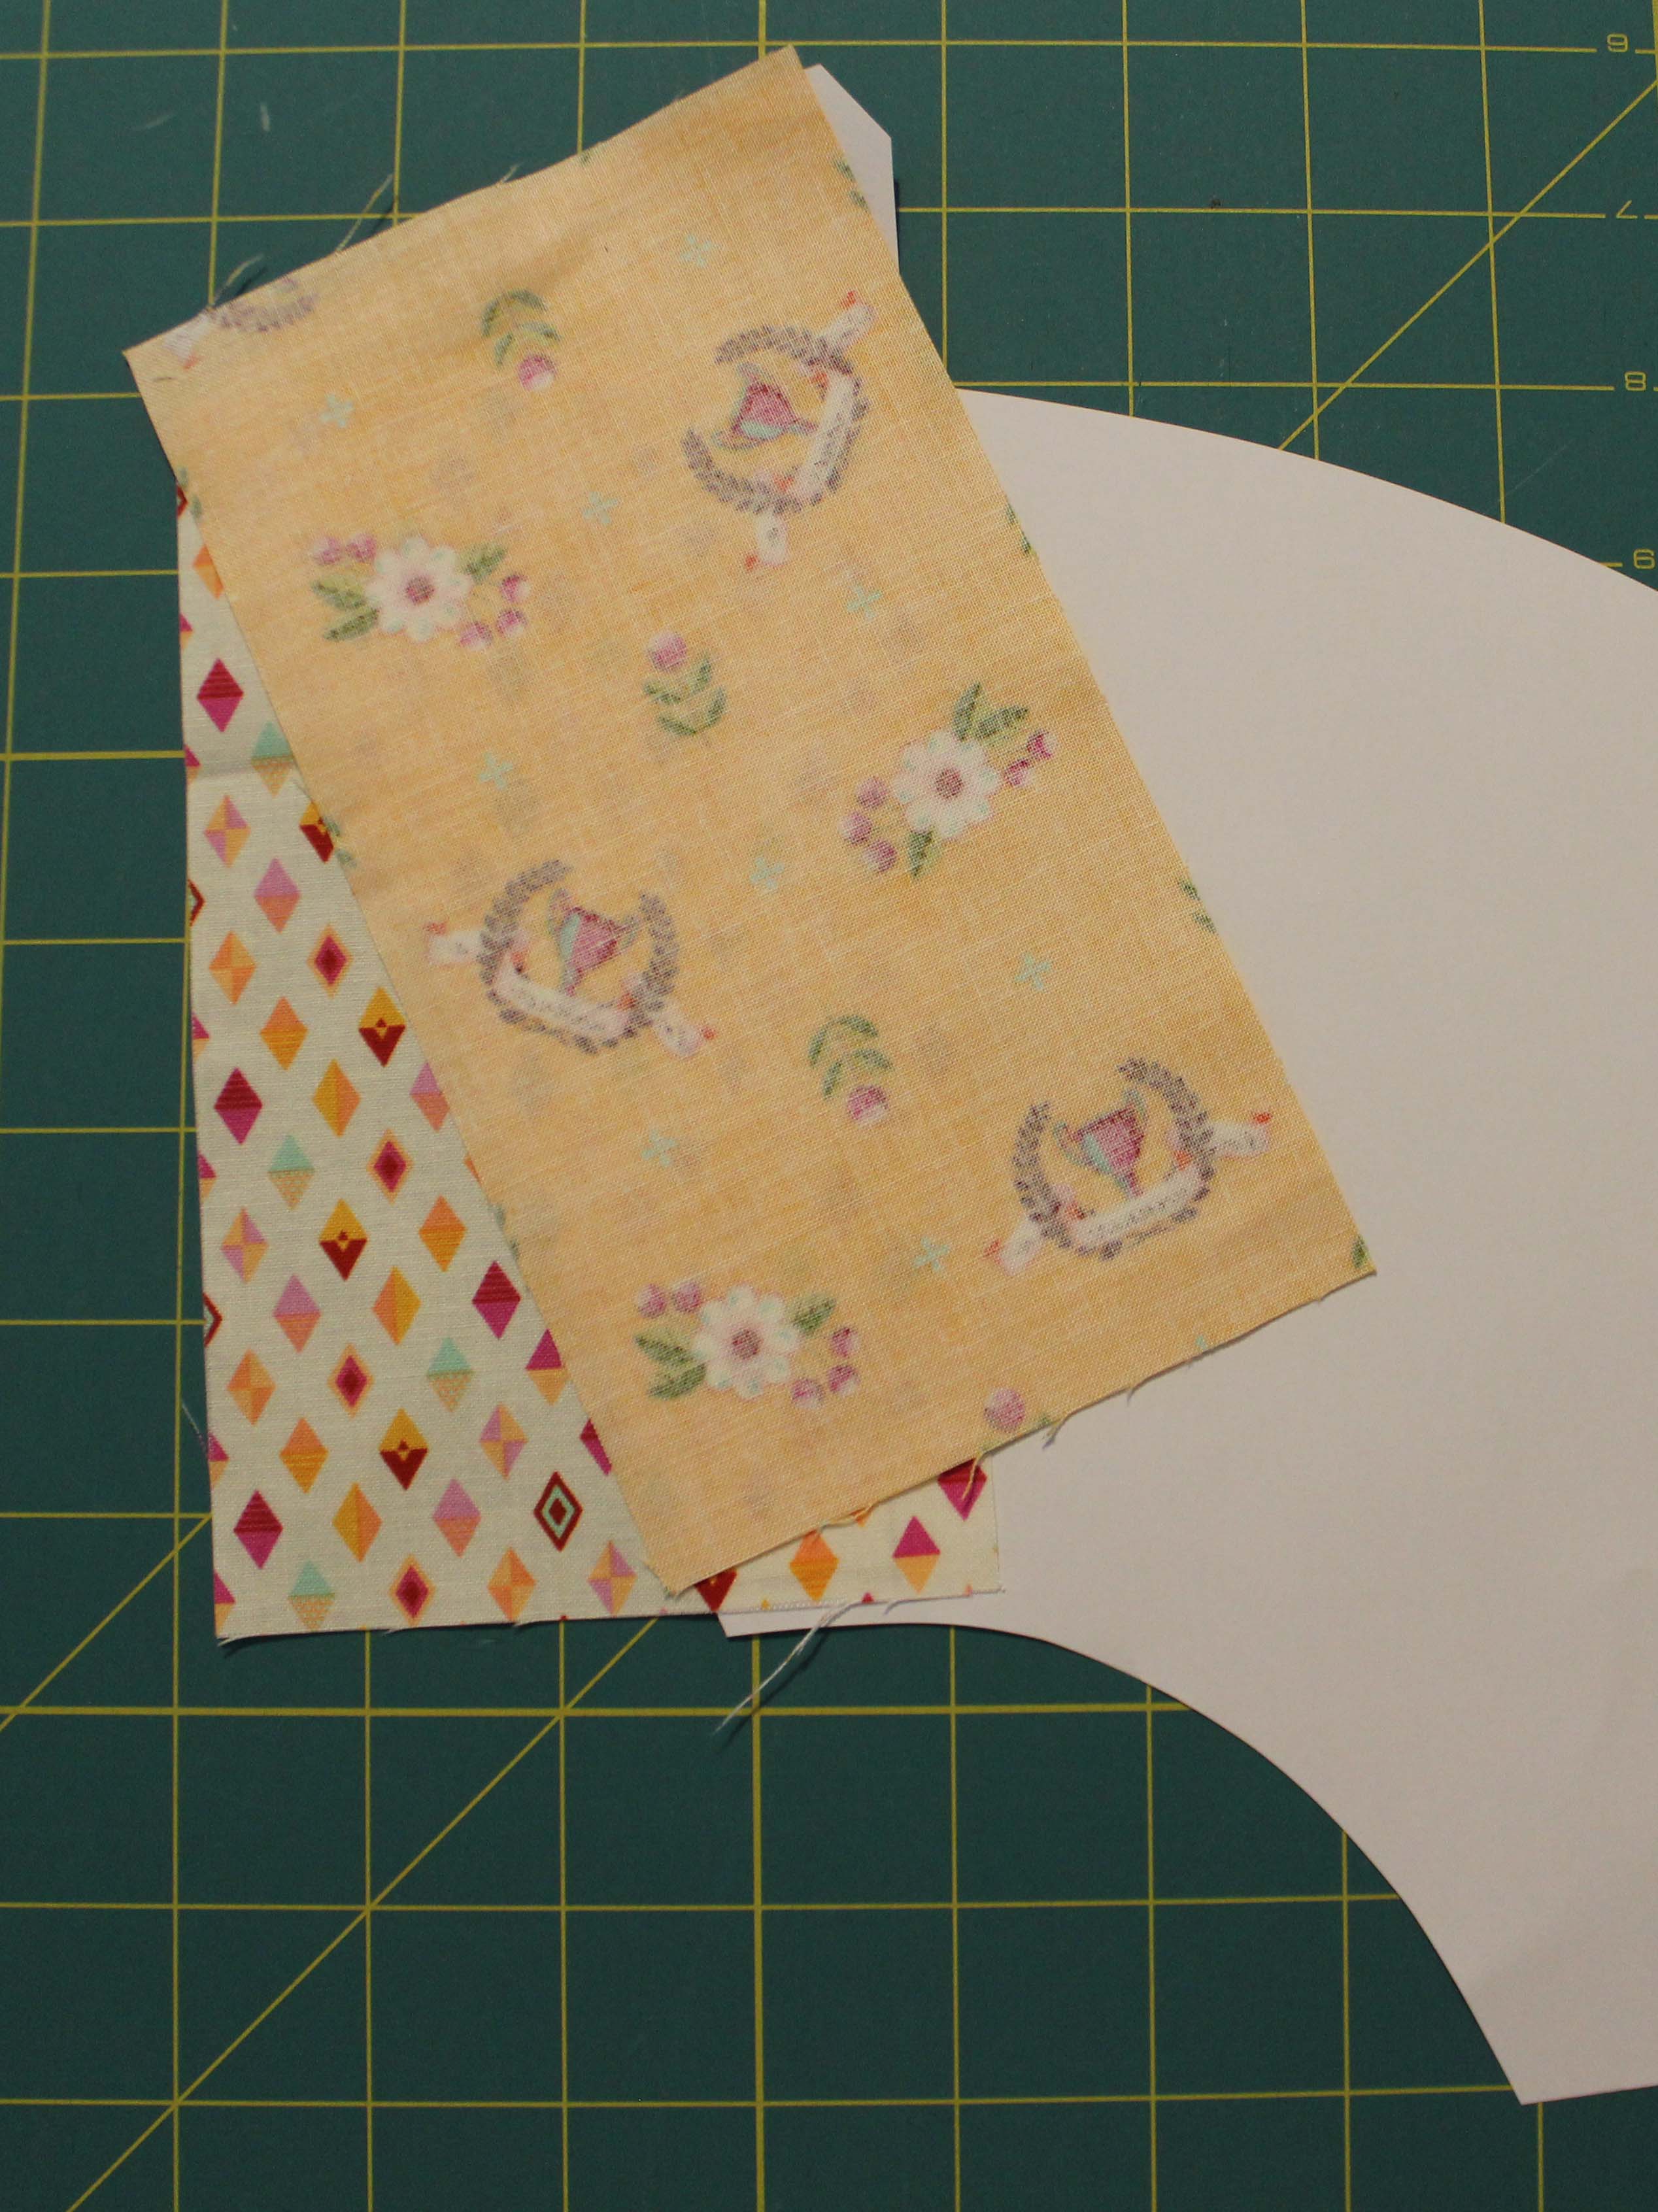
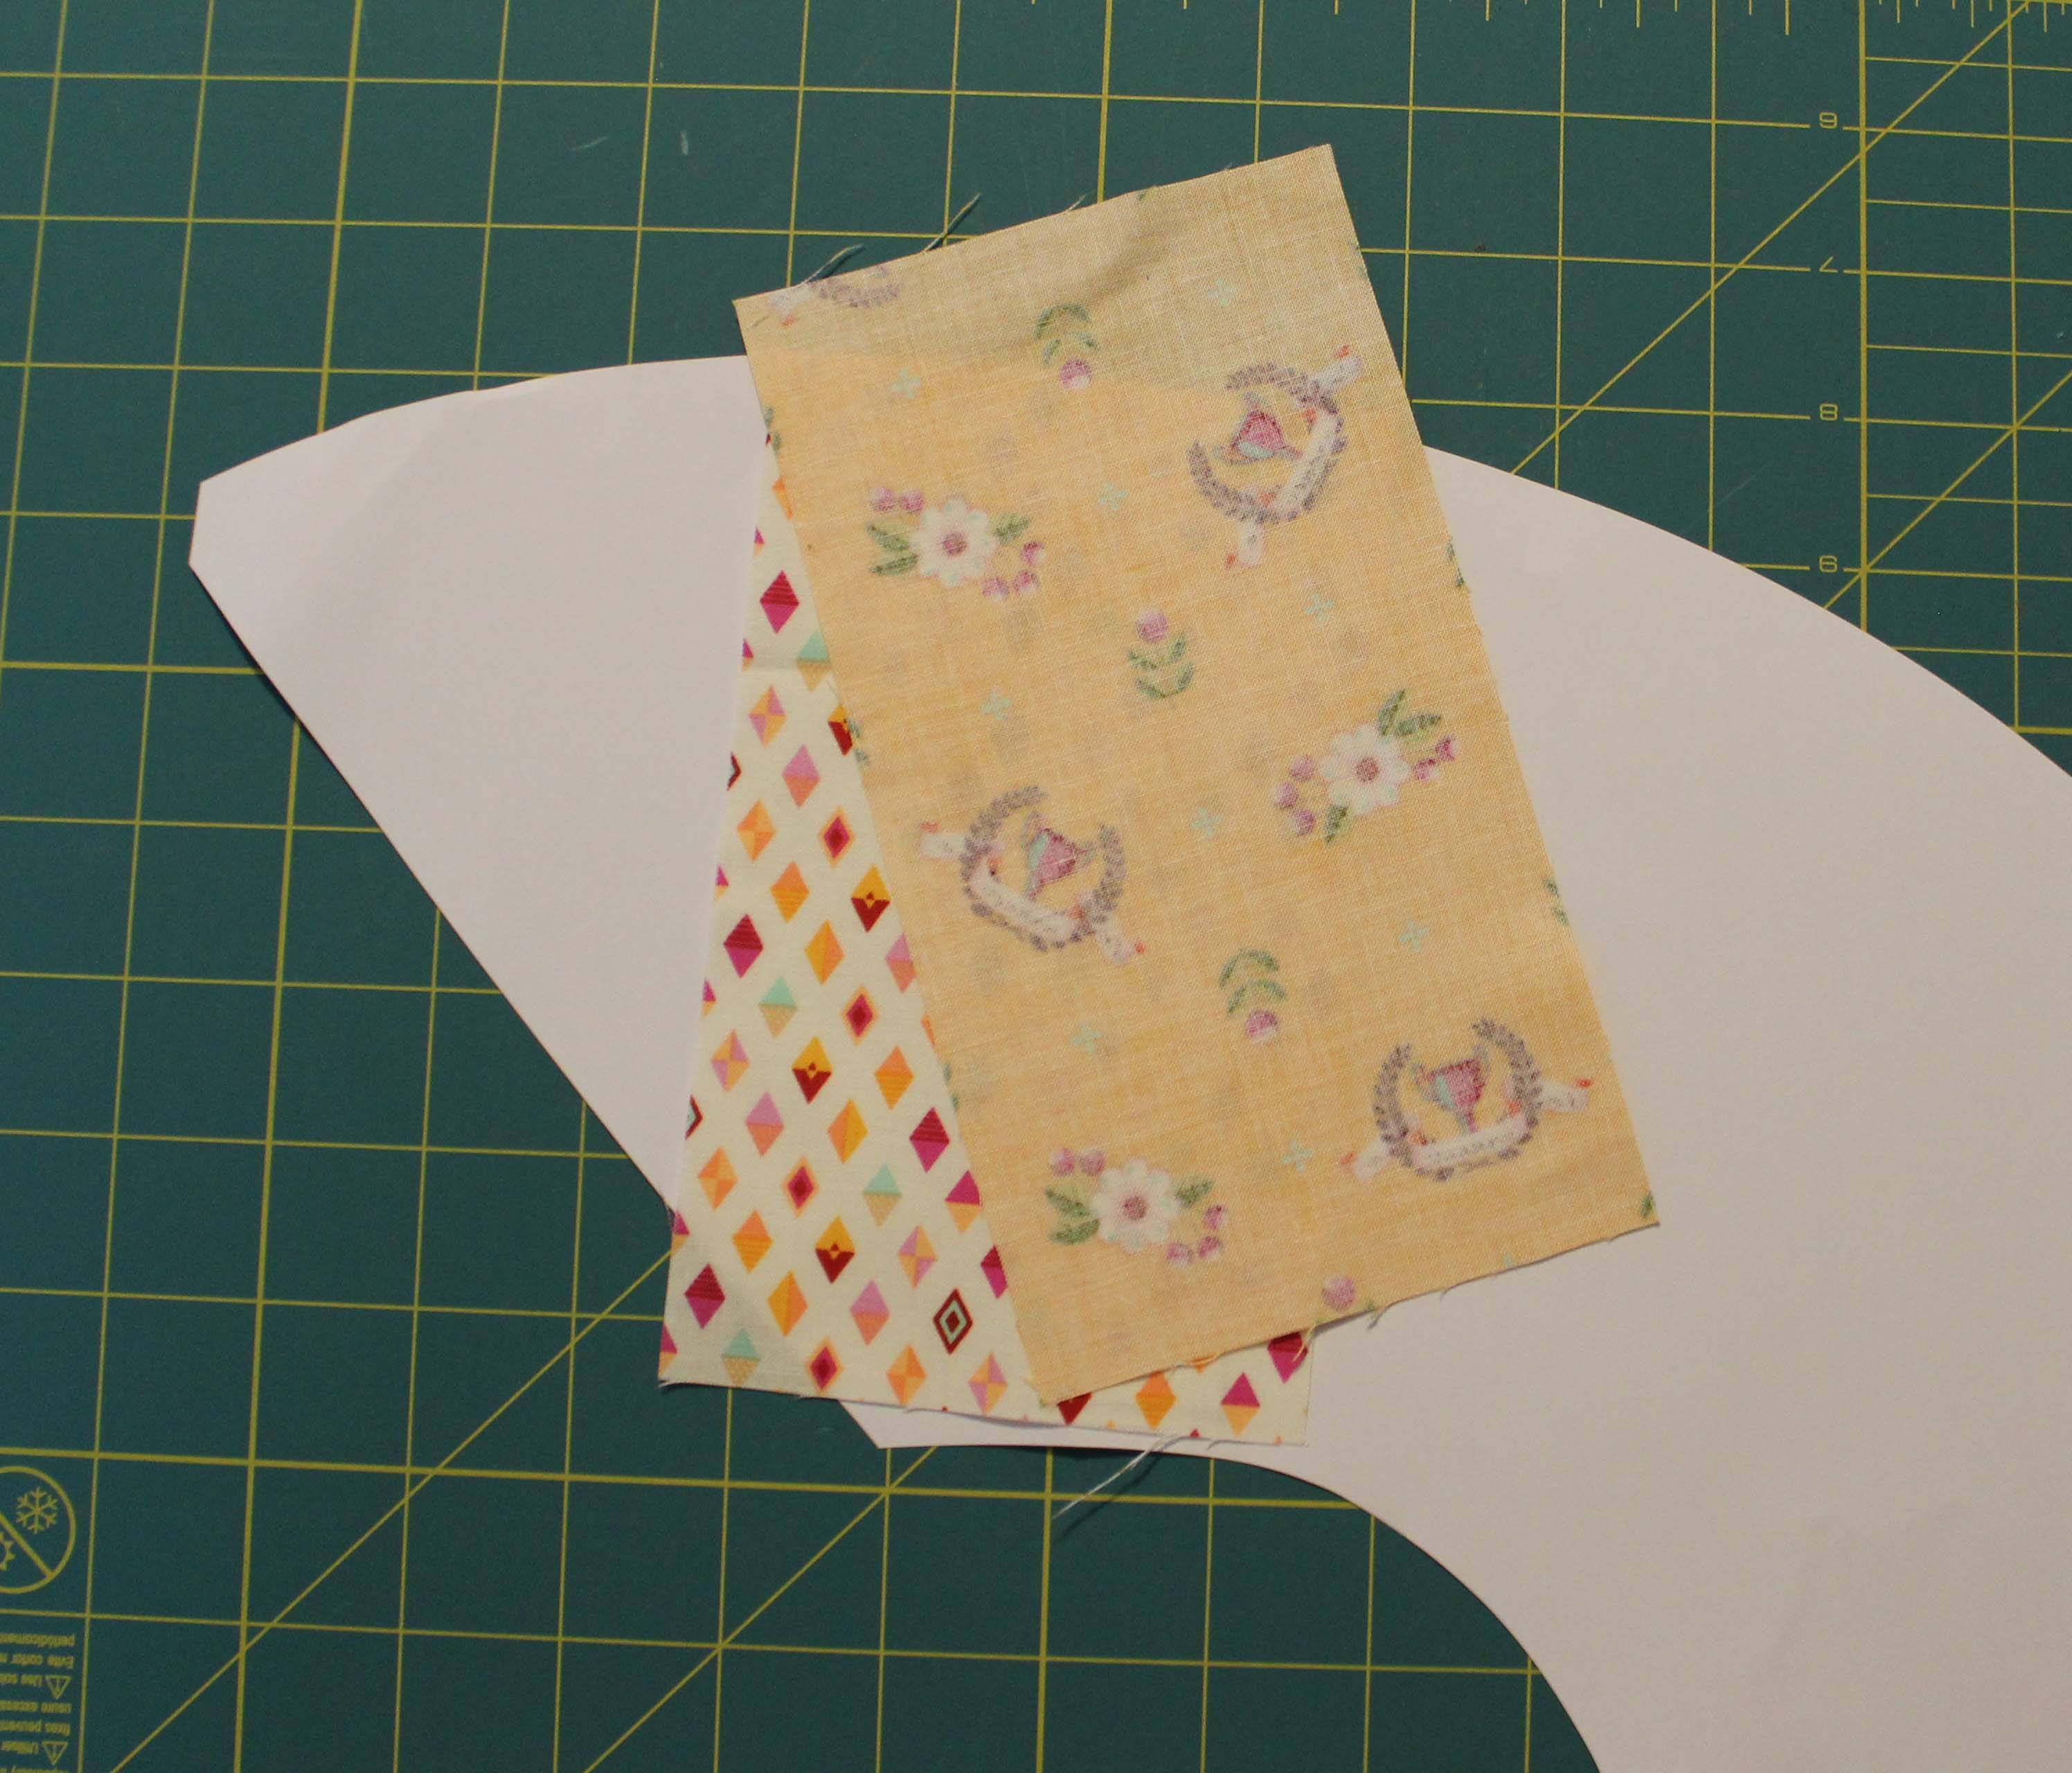
I folded the paper back again and laid the fabric for section one right side down on top making sure to cover folded back piece of paper.  I raised the whole thing to the light to make sure the fabric covered section one fully.  Make sure there is fabric over the edge of the folded paper for seam allowance.

tt4c

Unfold the paper without moving the fabrics and sew along the sewing line.

tt4e

Then just finish sewing as you did last week.  Not one seam was ripped by me.  I was quite pleased with the outcome.

tt4h.jpg

Here we are half way done with all the blocks. How exciting!

See you next week.

Lovingly,

Lissa
Uncategorized

Tula Tuesdays – Cutting the fabric

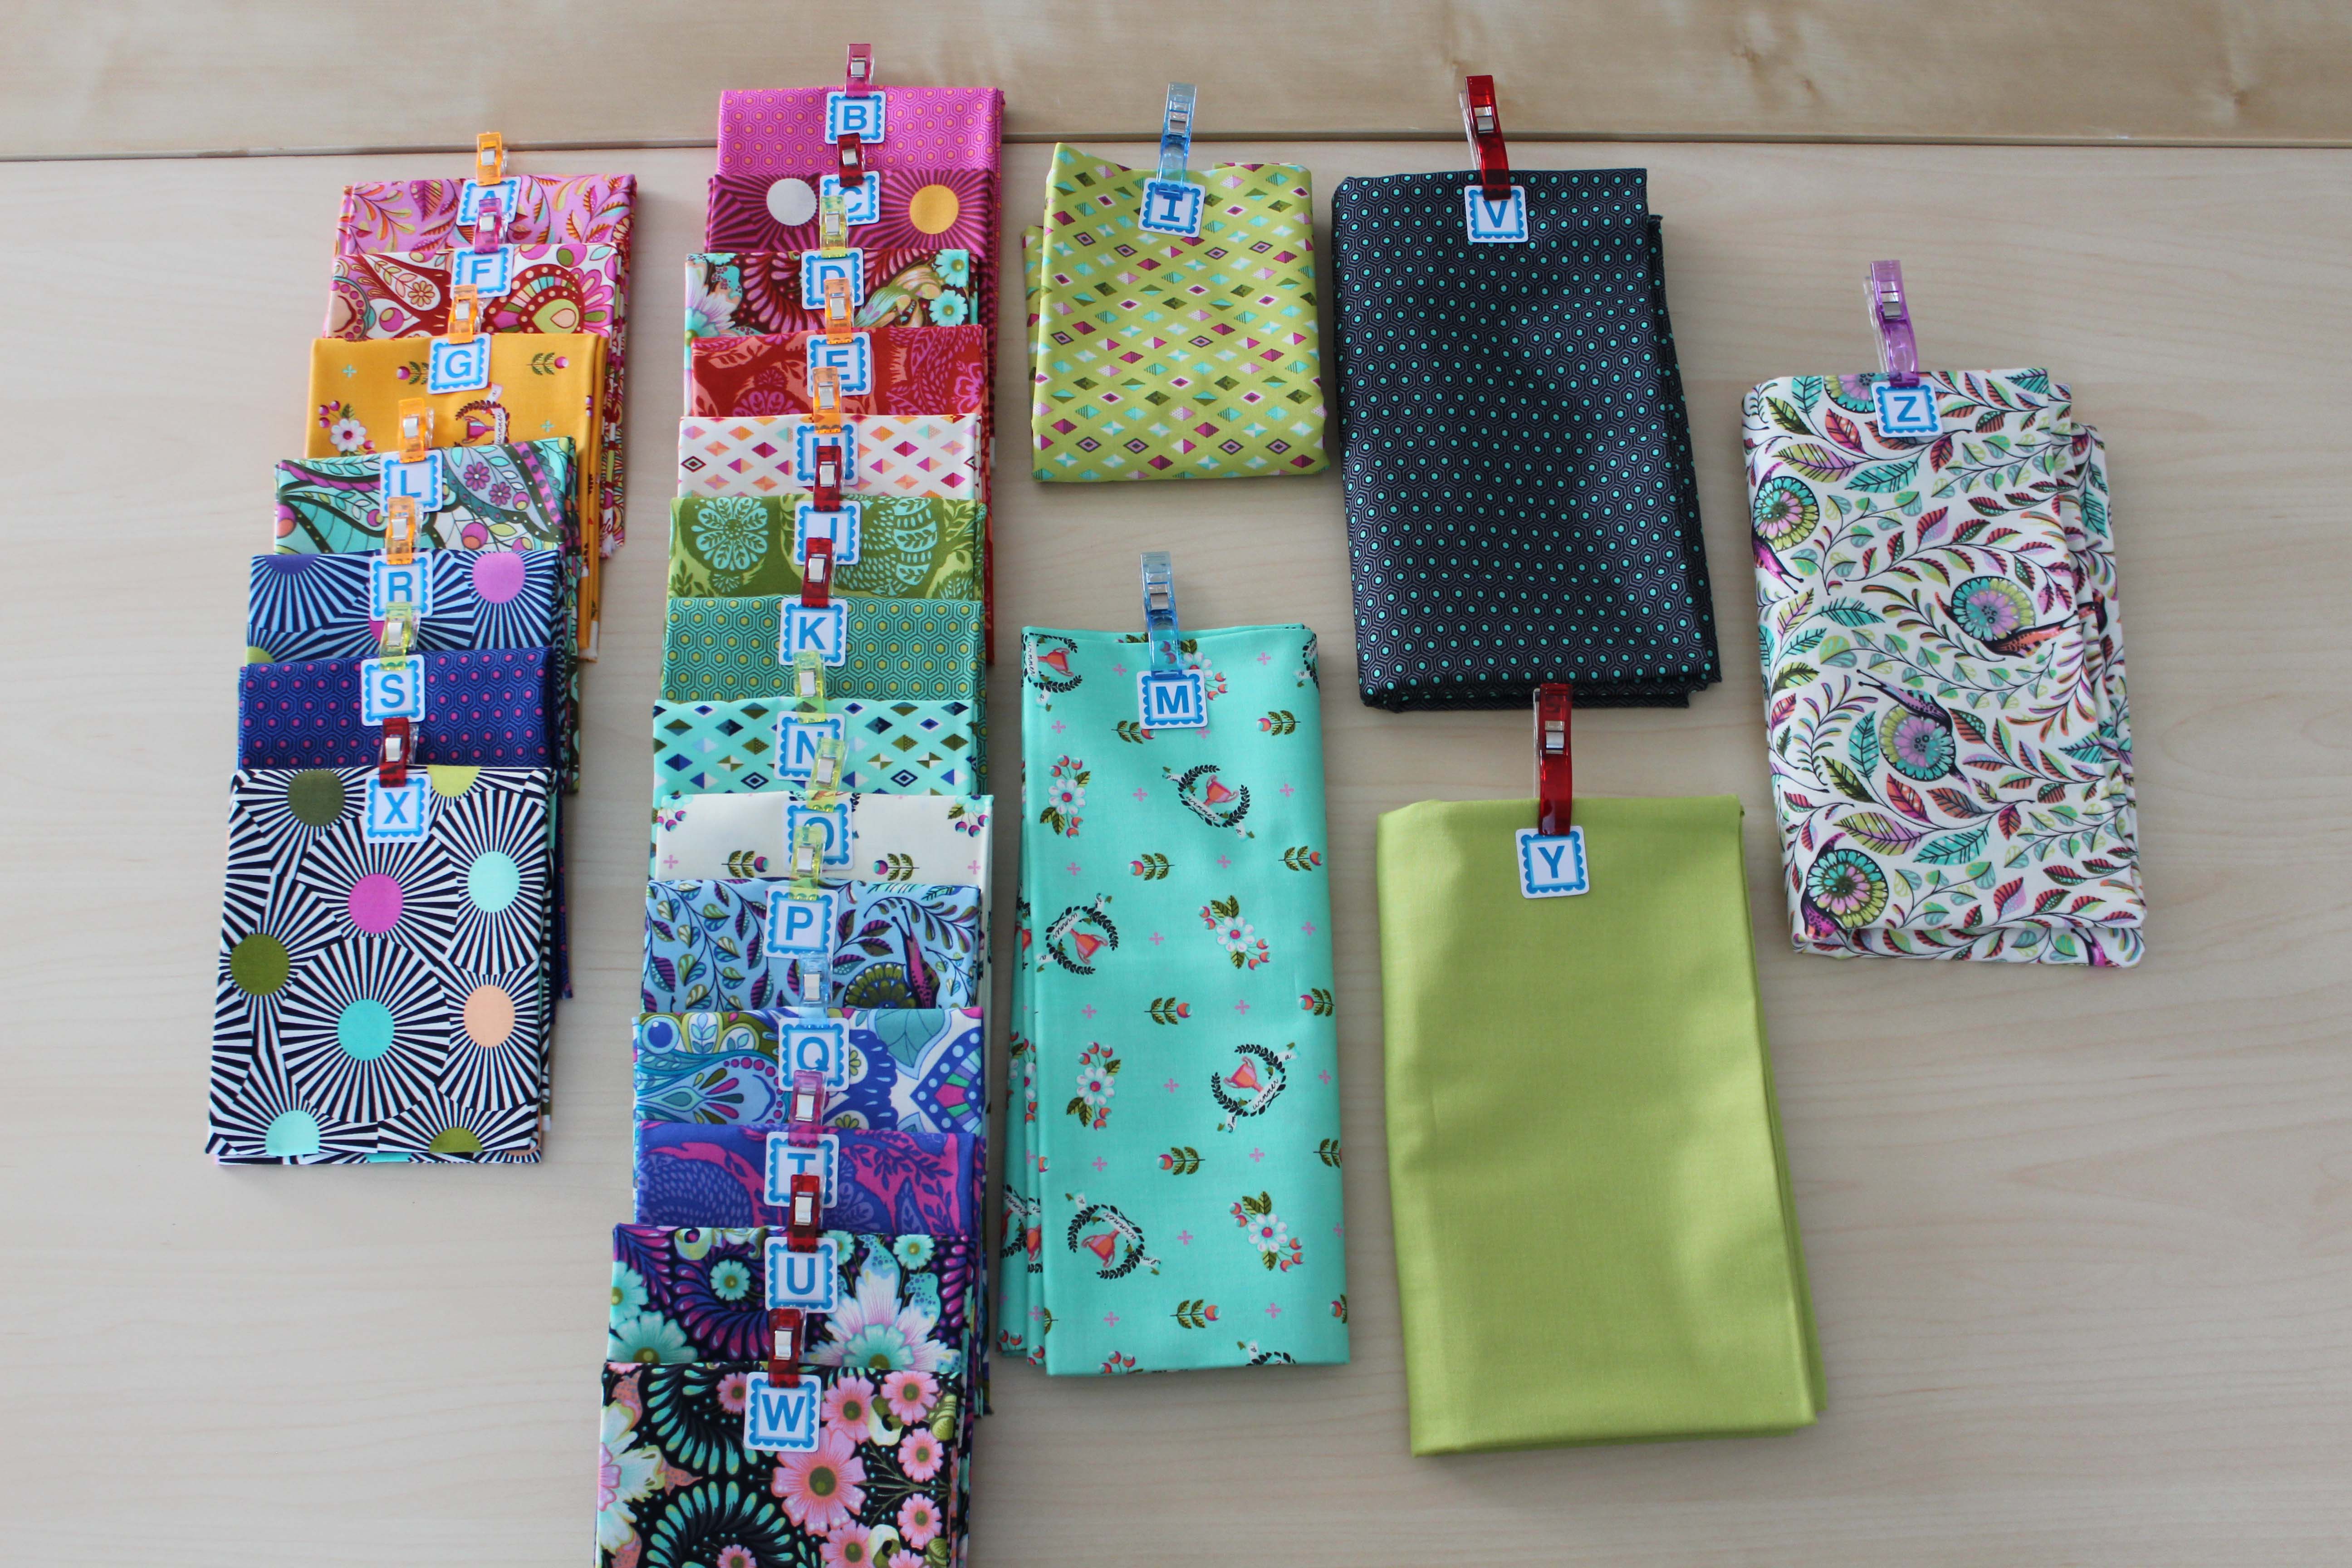
Here we go!!!  It’s time to cut into all that delicious fabric!  But first, let’s organize it because there are 26 different prints to work with.

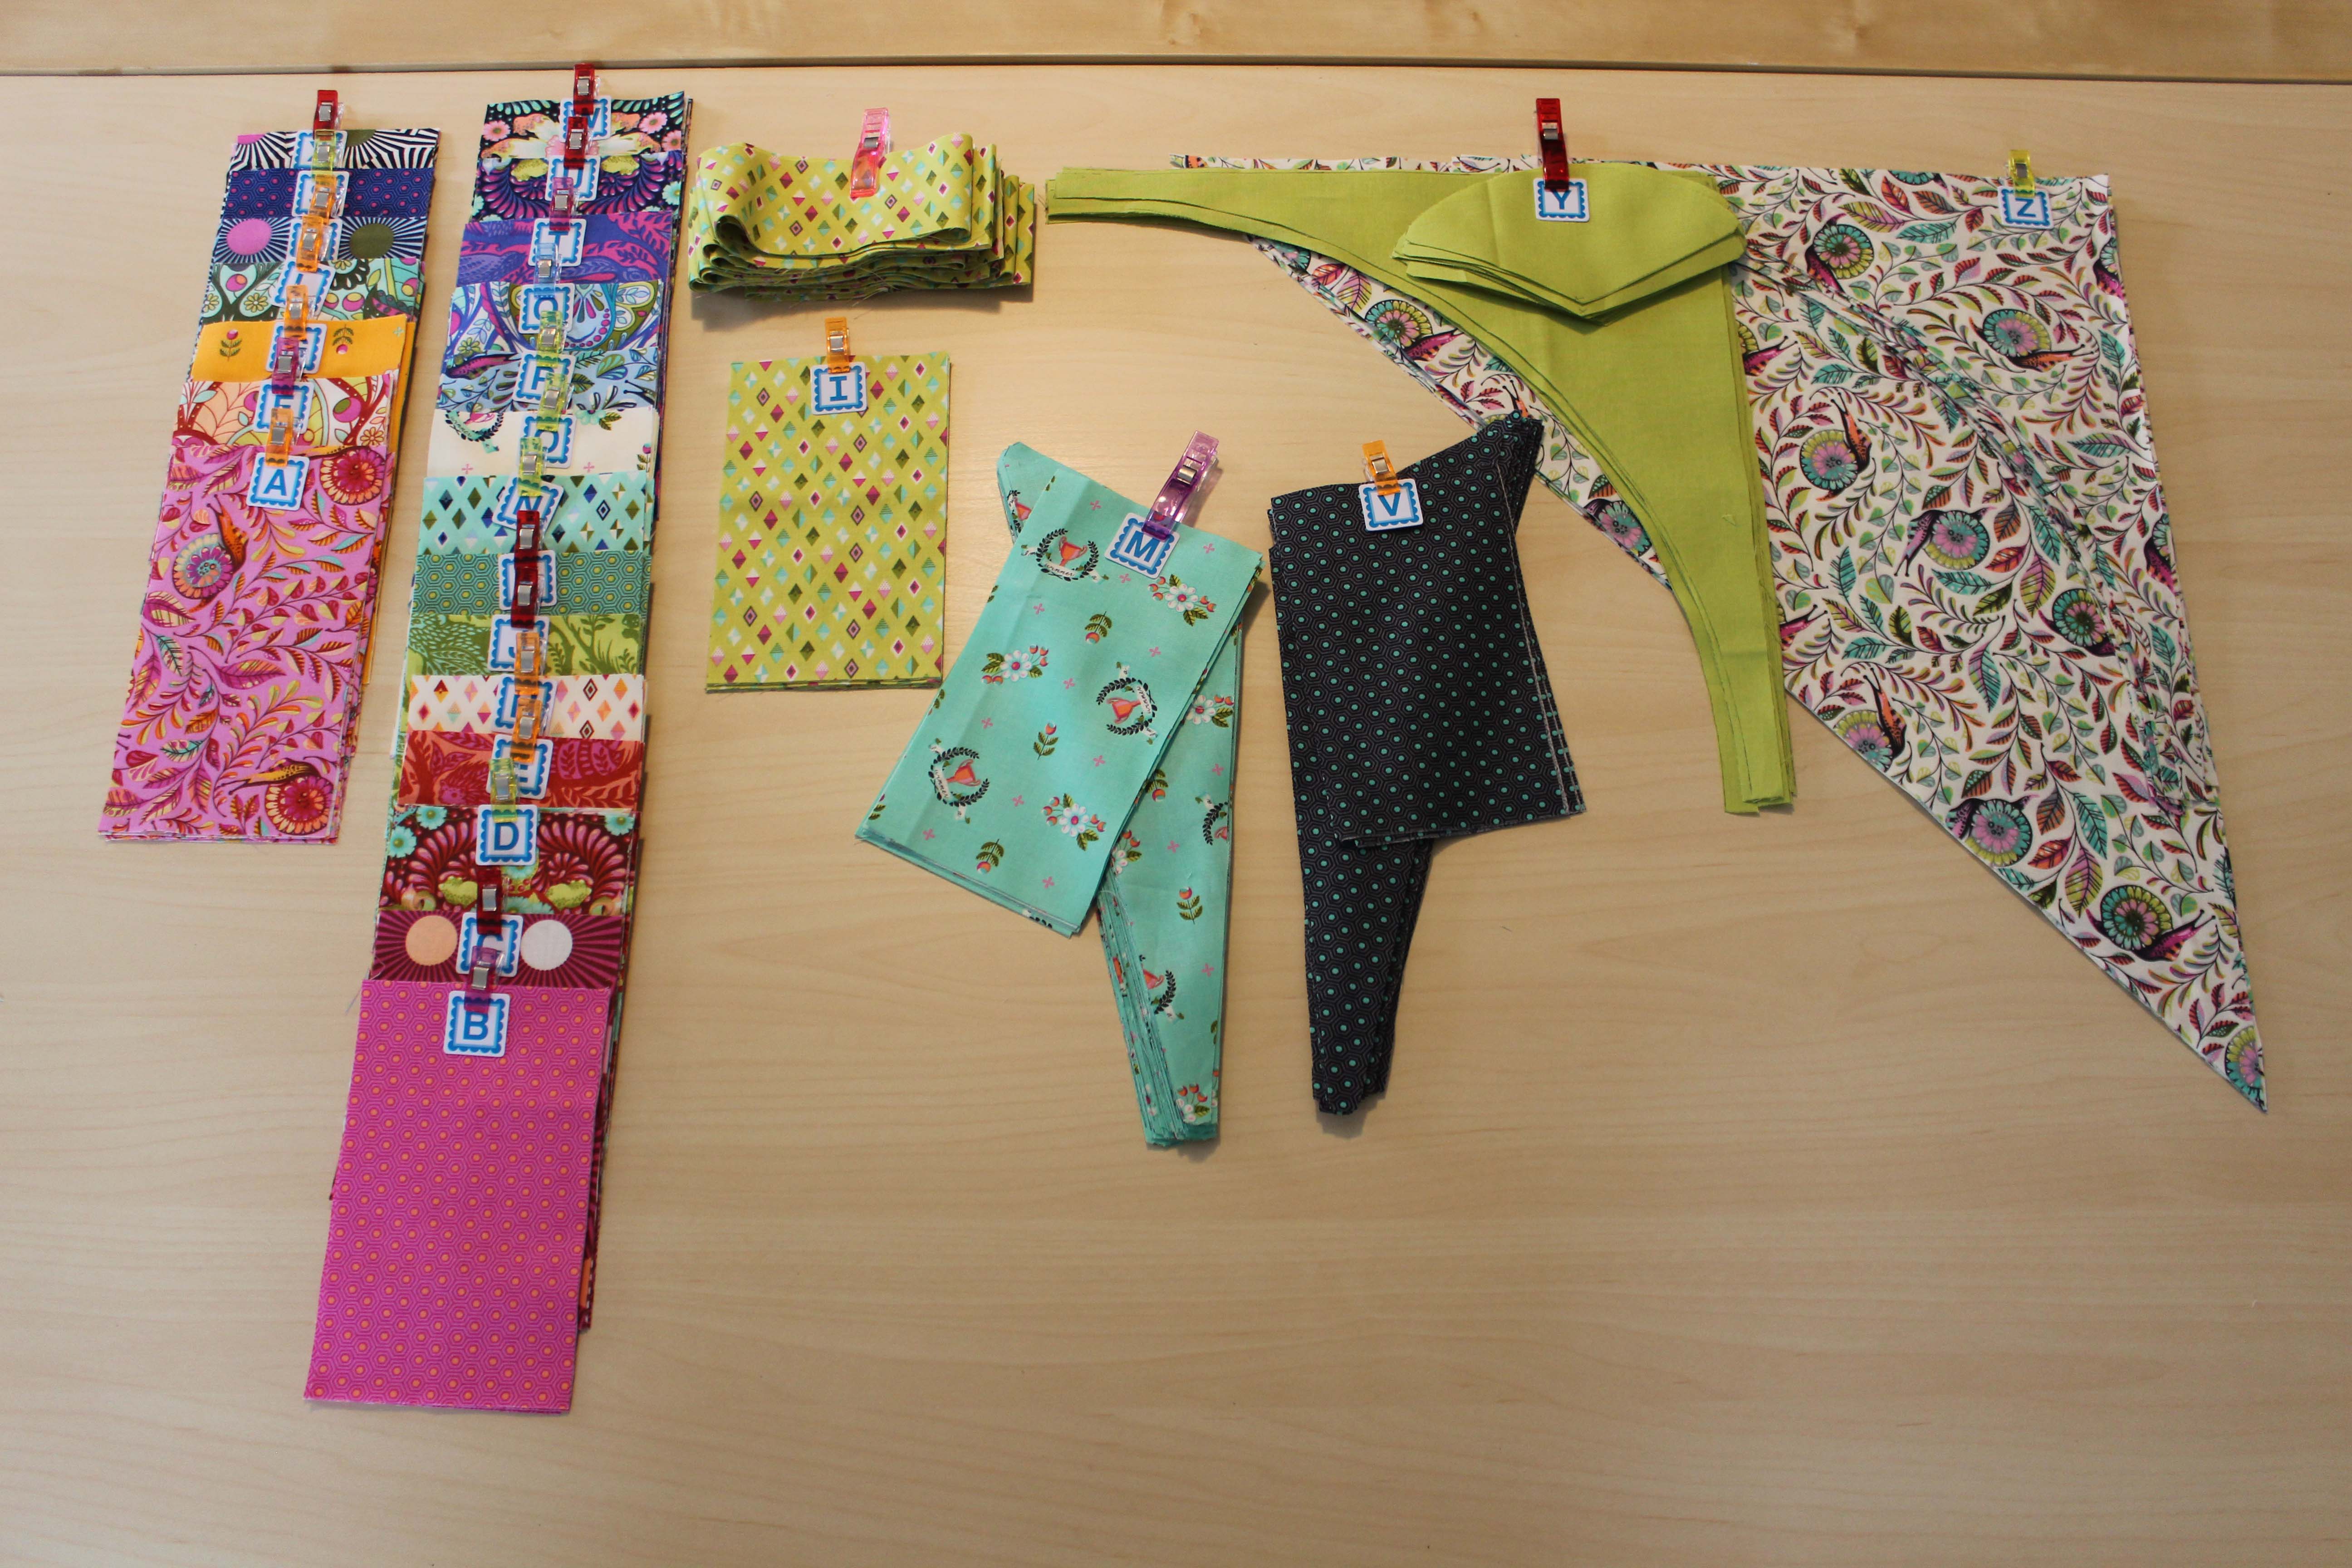
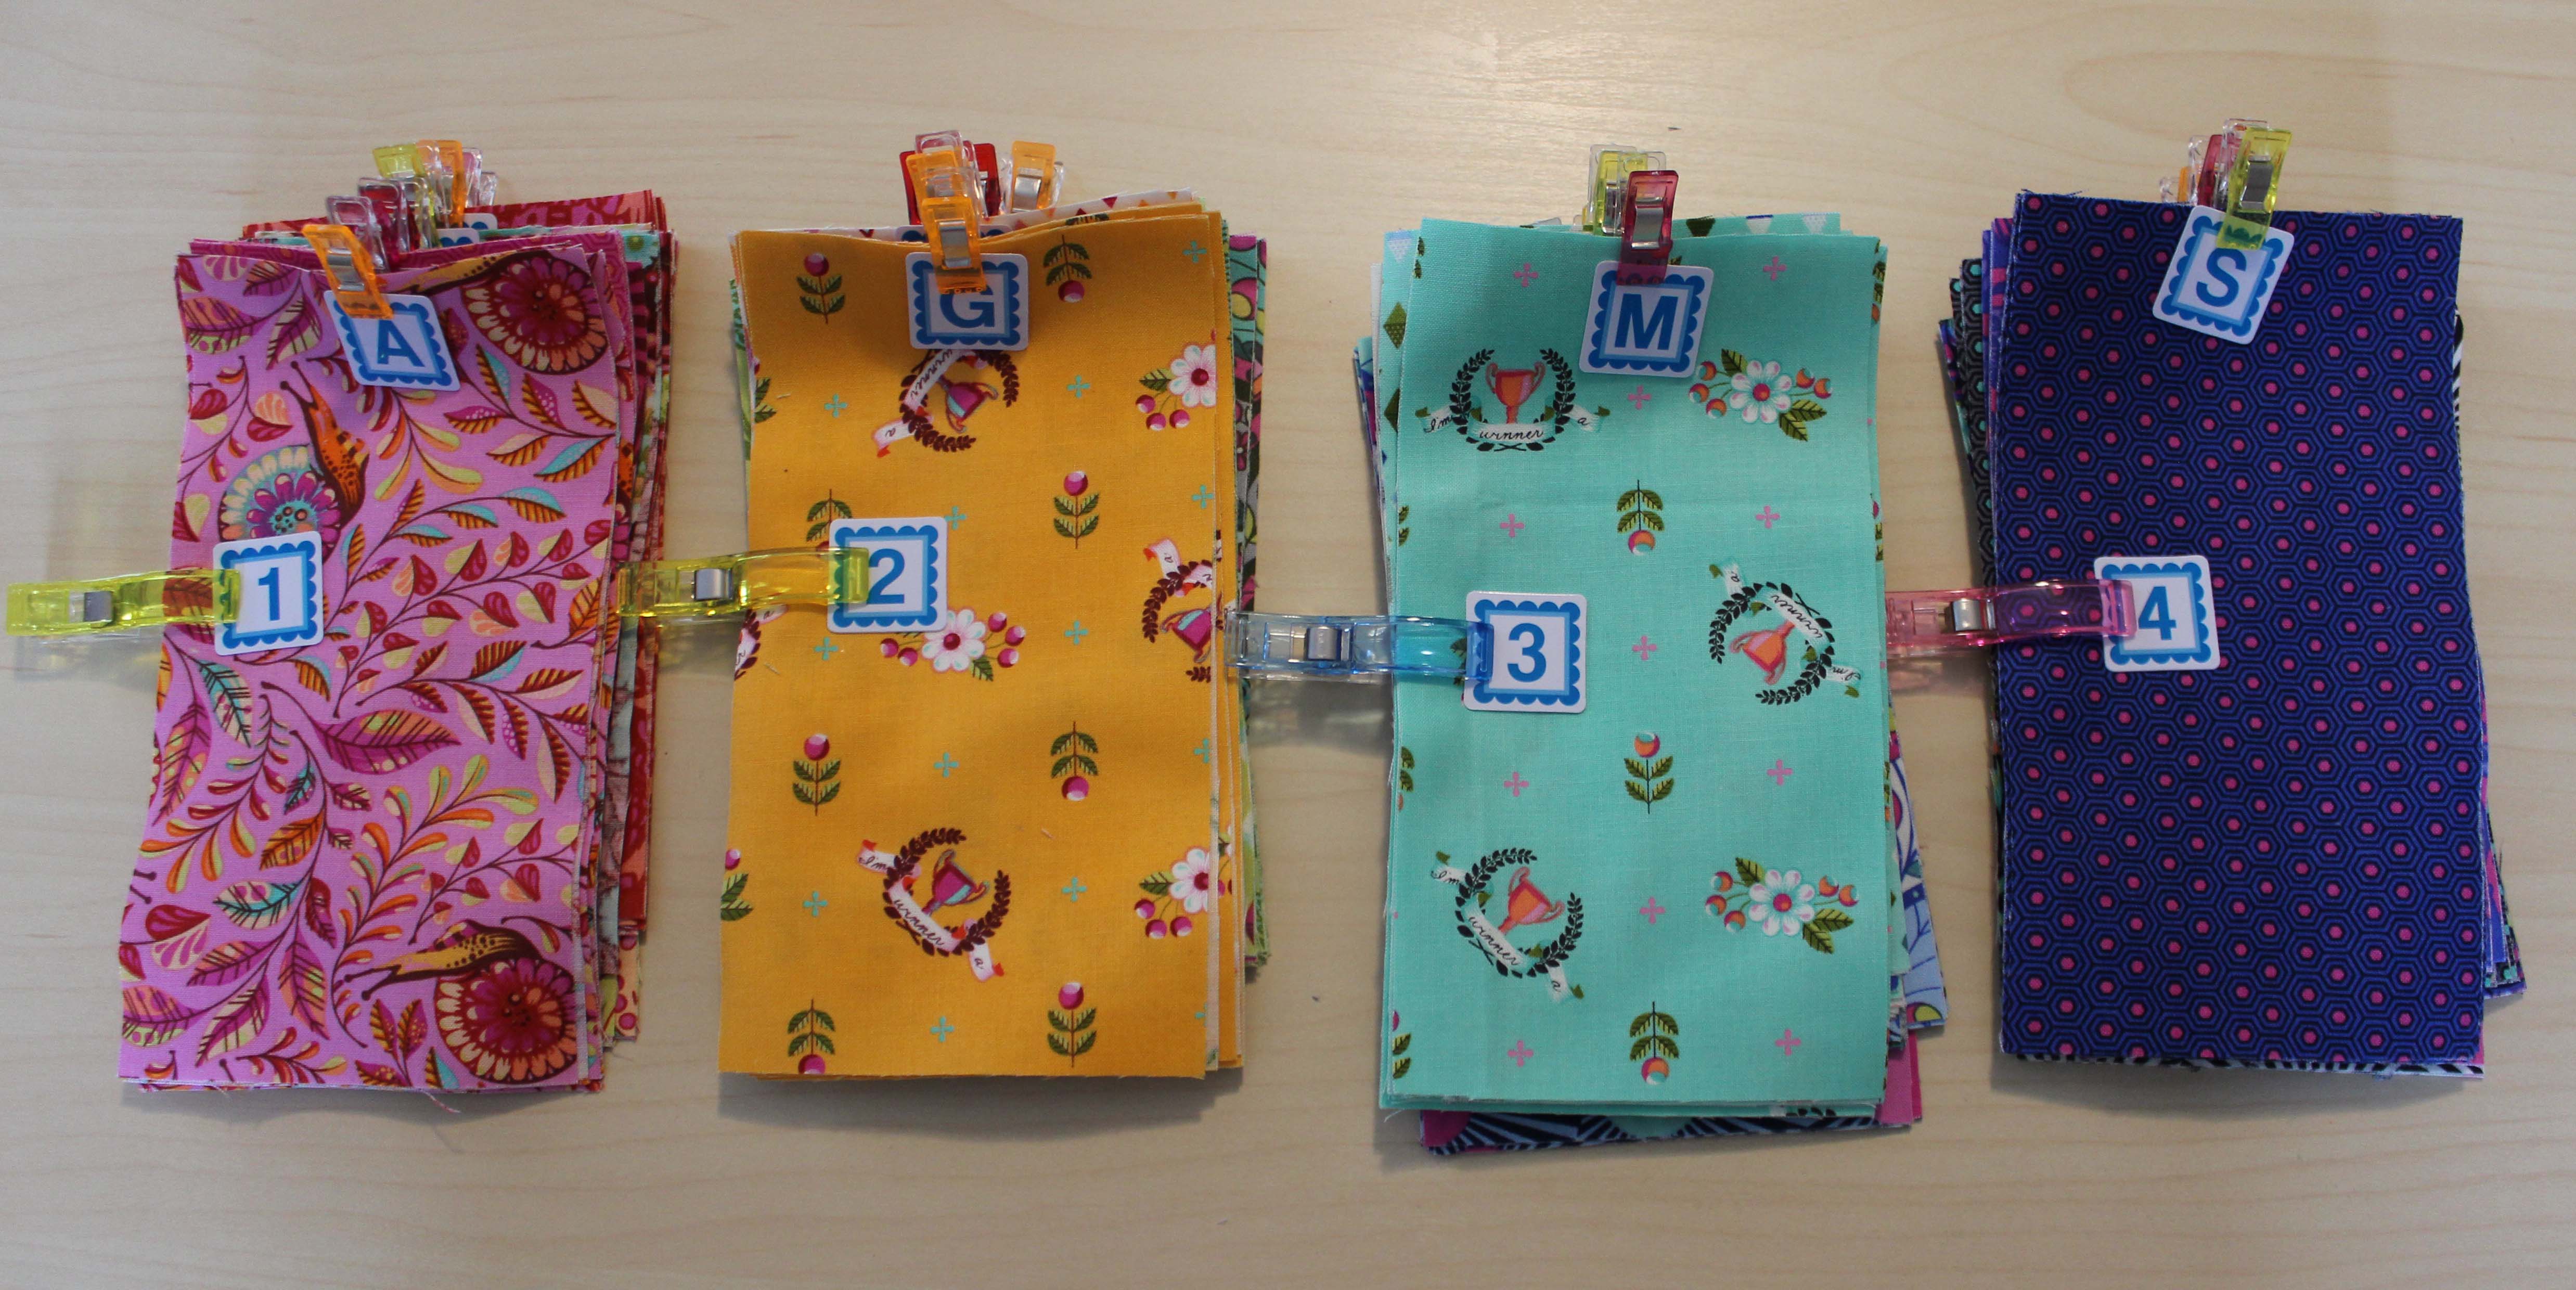
I received Alpha Bitties in my Sew Sampler box a while back so I brought those out along with clips to attach them with.  I labelled each fabric piece and then grouped them according to cutting directions.

tt2b

I love how organized this looks.

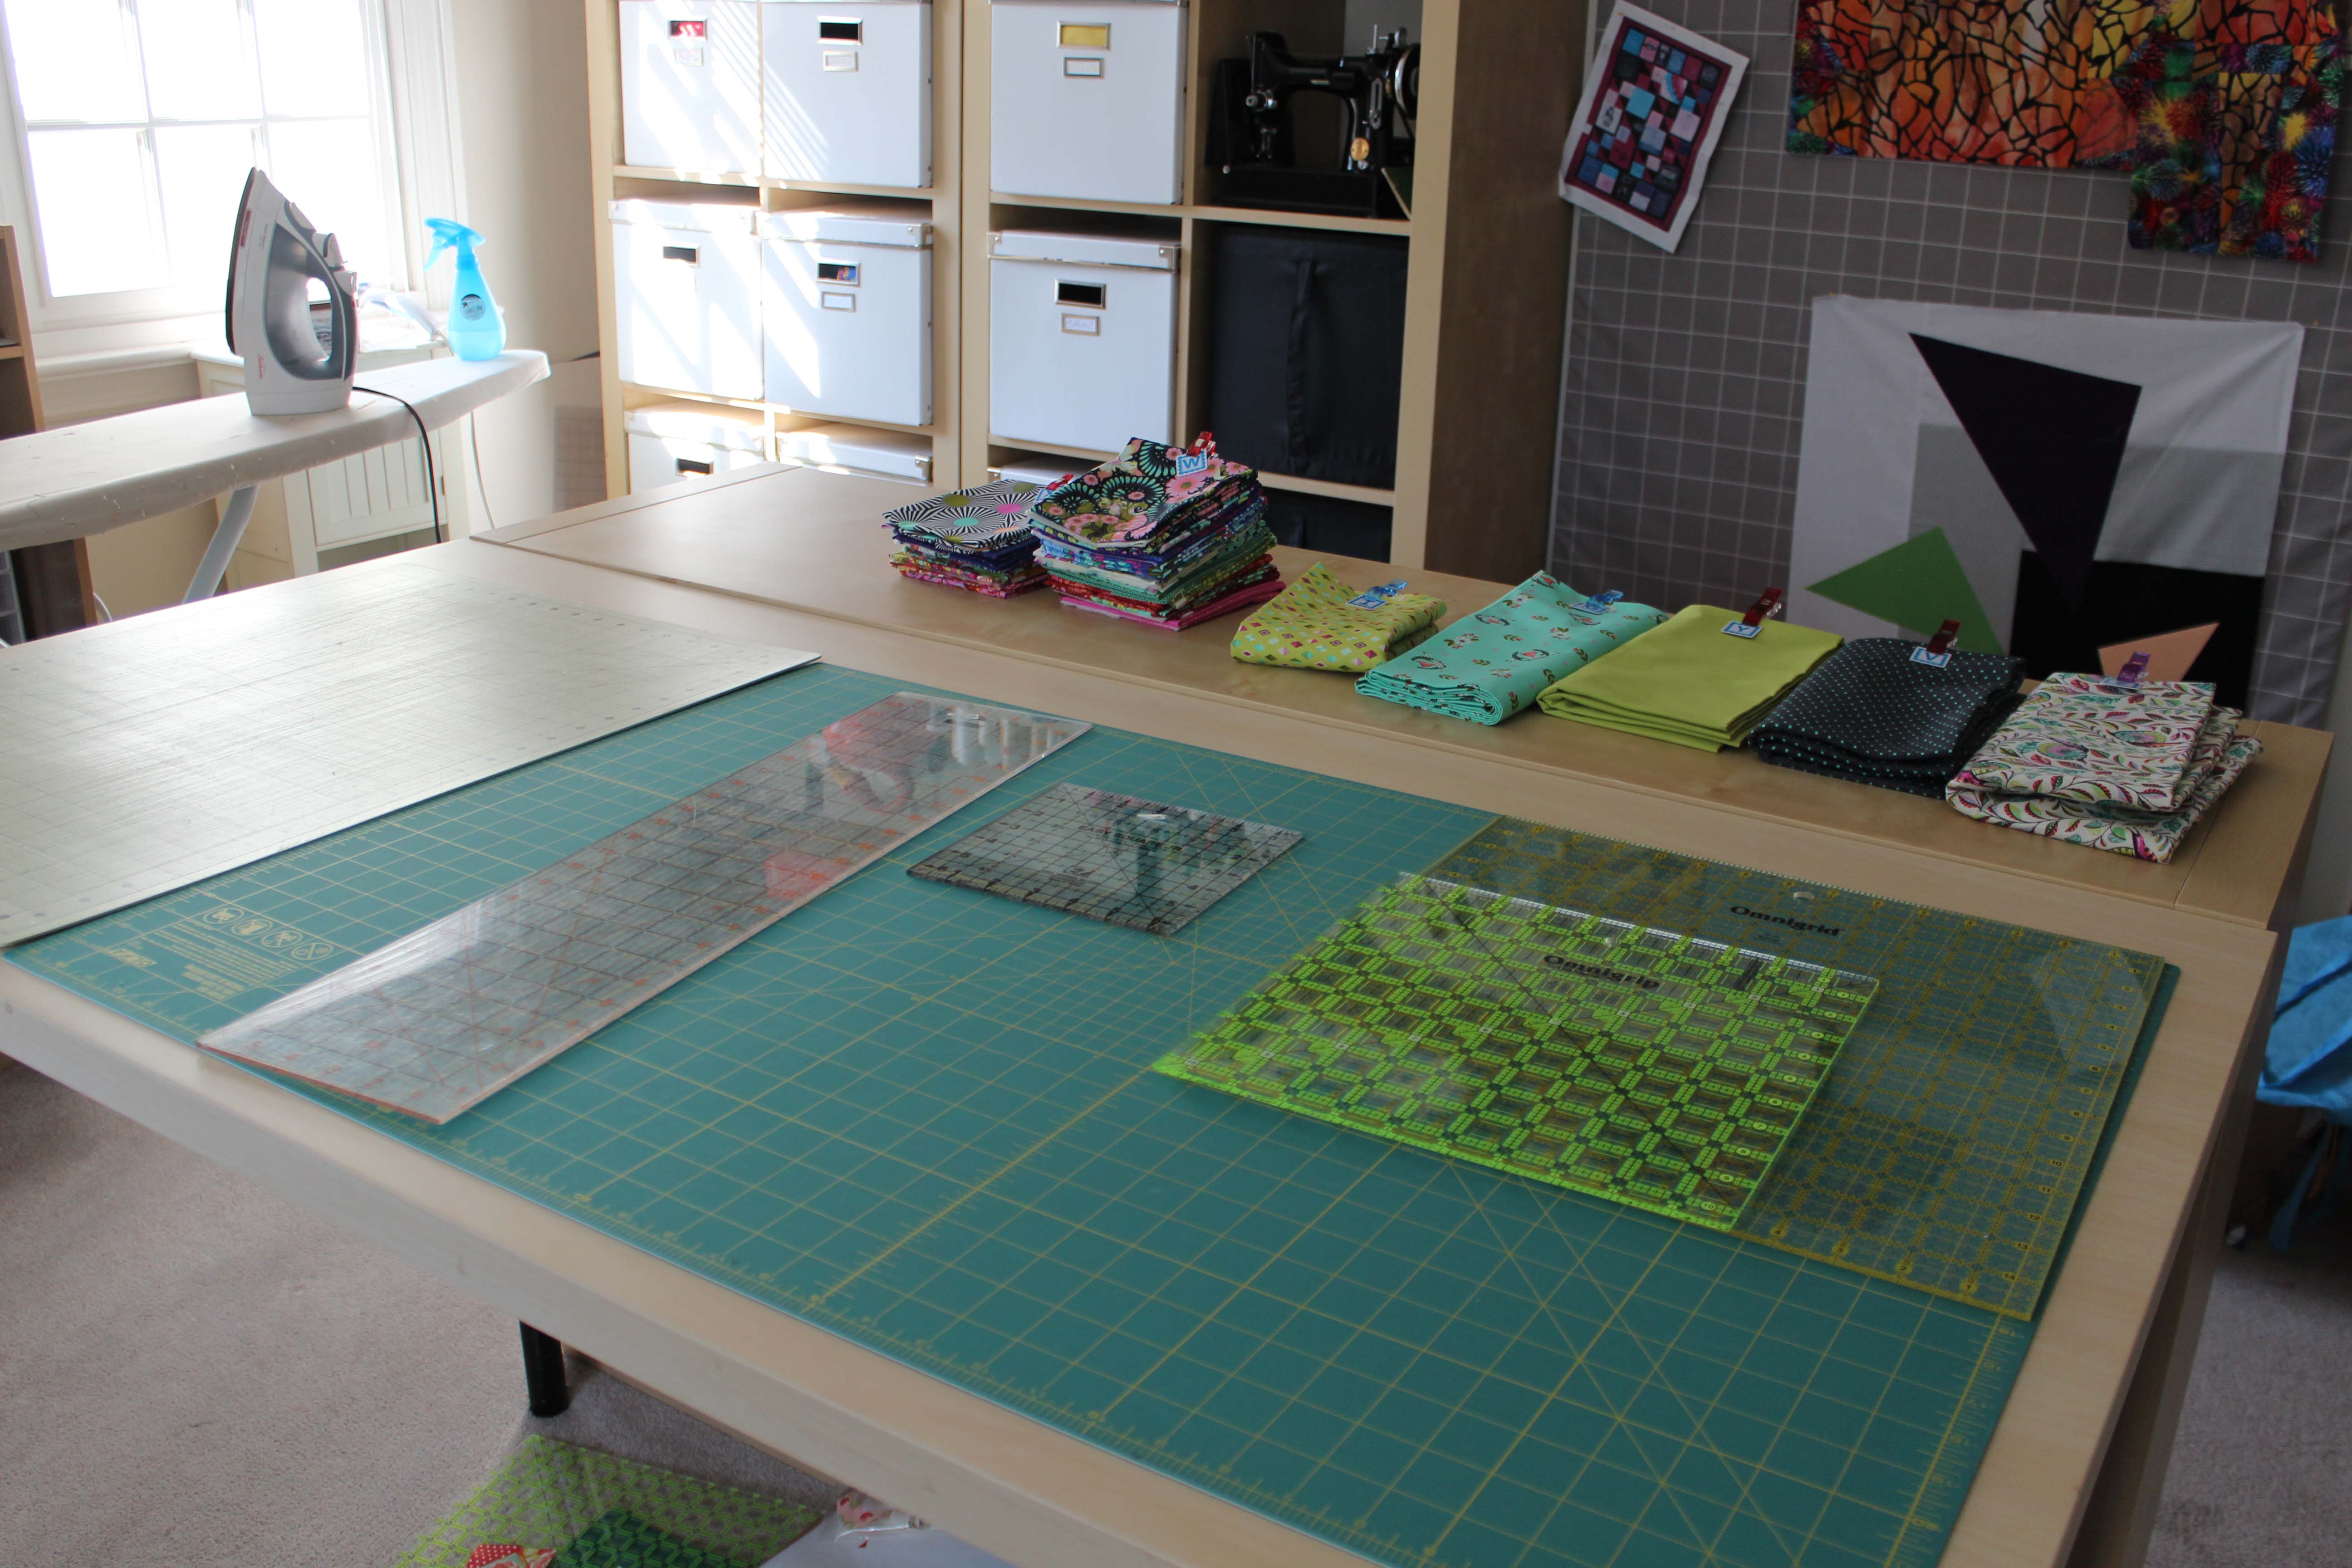
Ready to go?  I am.  I used my trusty 6×24 cutting ruler. I also have a 6 1/2 inch square that gets used quite a bit and some larger squares that get used from time to time.  For this project I did use my 20 inch square as well.

tt2c

I began with all the rotary cuttings.  As each fabric was completed, I clipped the alpha bittie label back on the cut pieces and then put all leftovers in my new Tula Pink scrap bag.  Something wonderful will happen with all those leftovers I am sure.

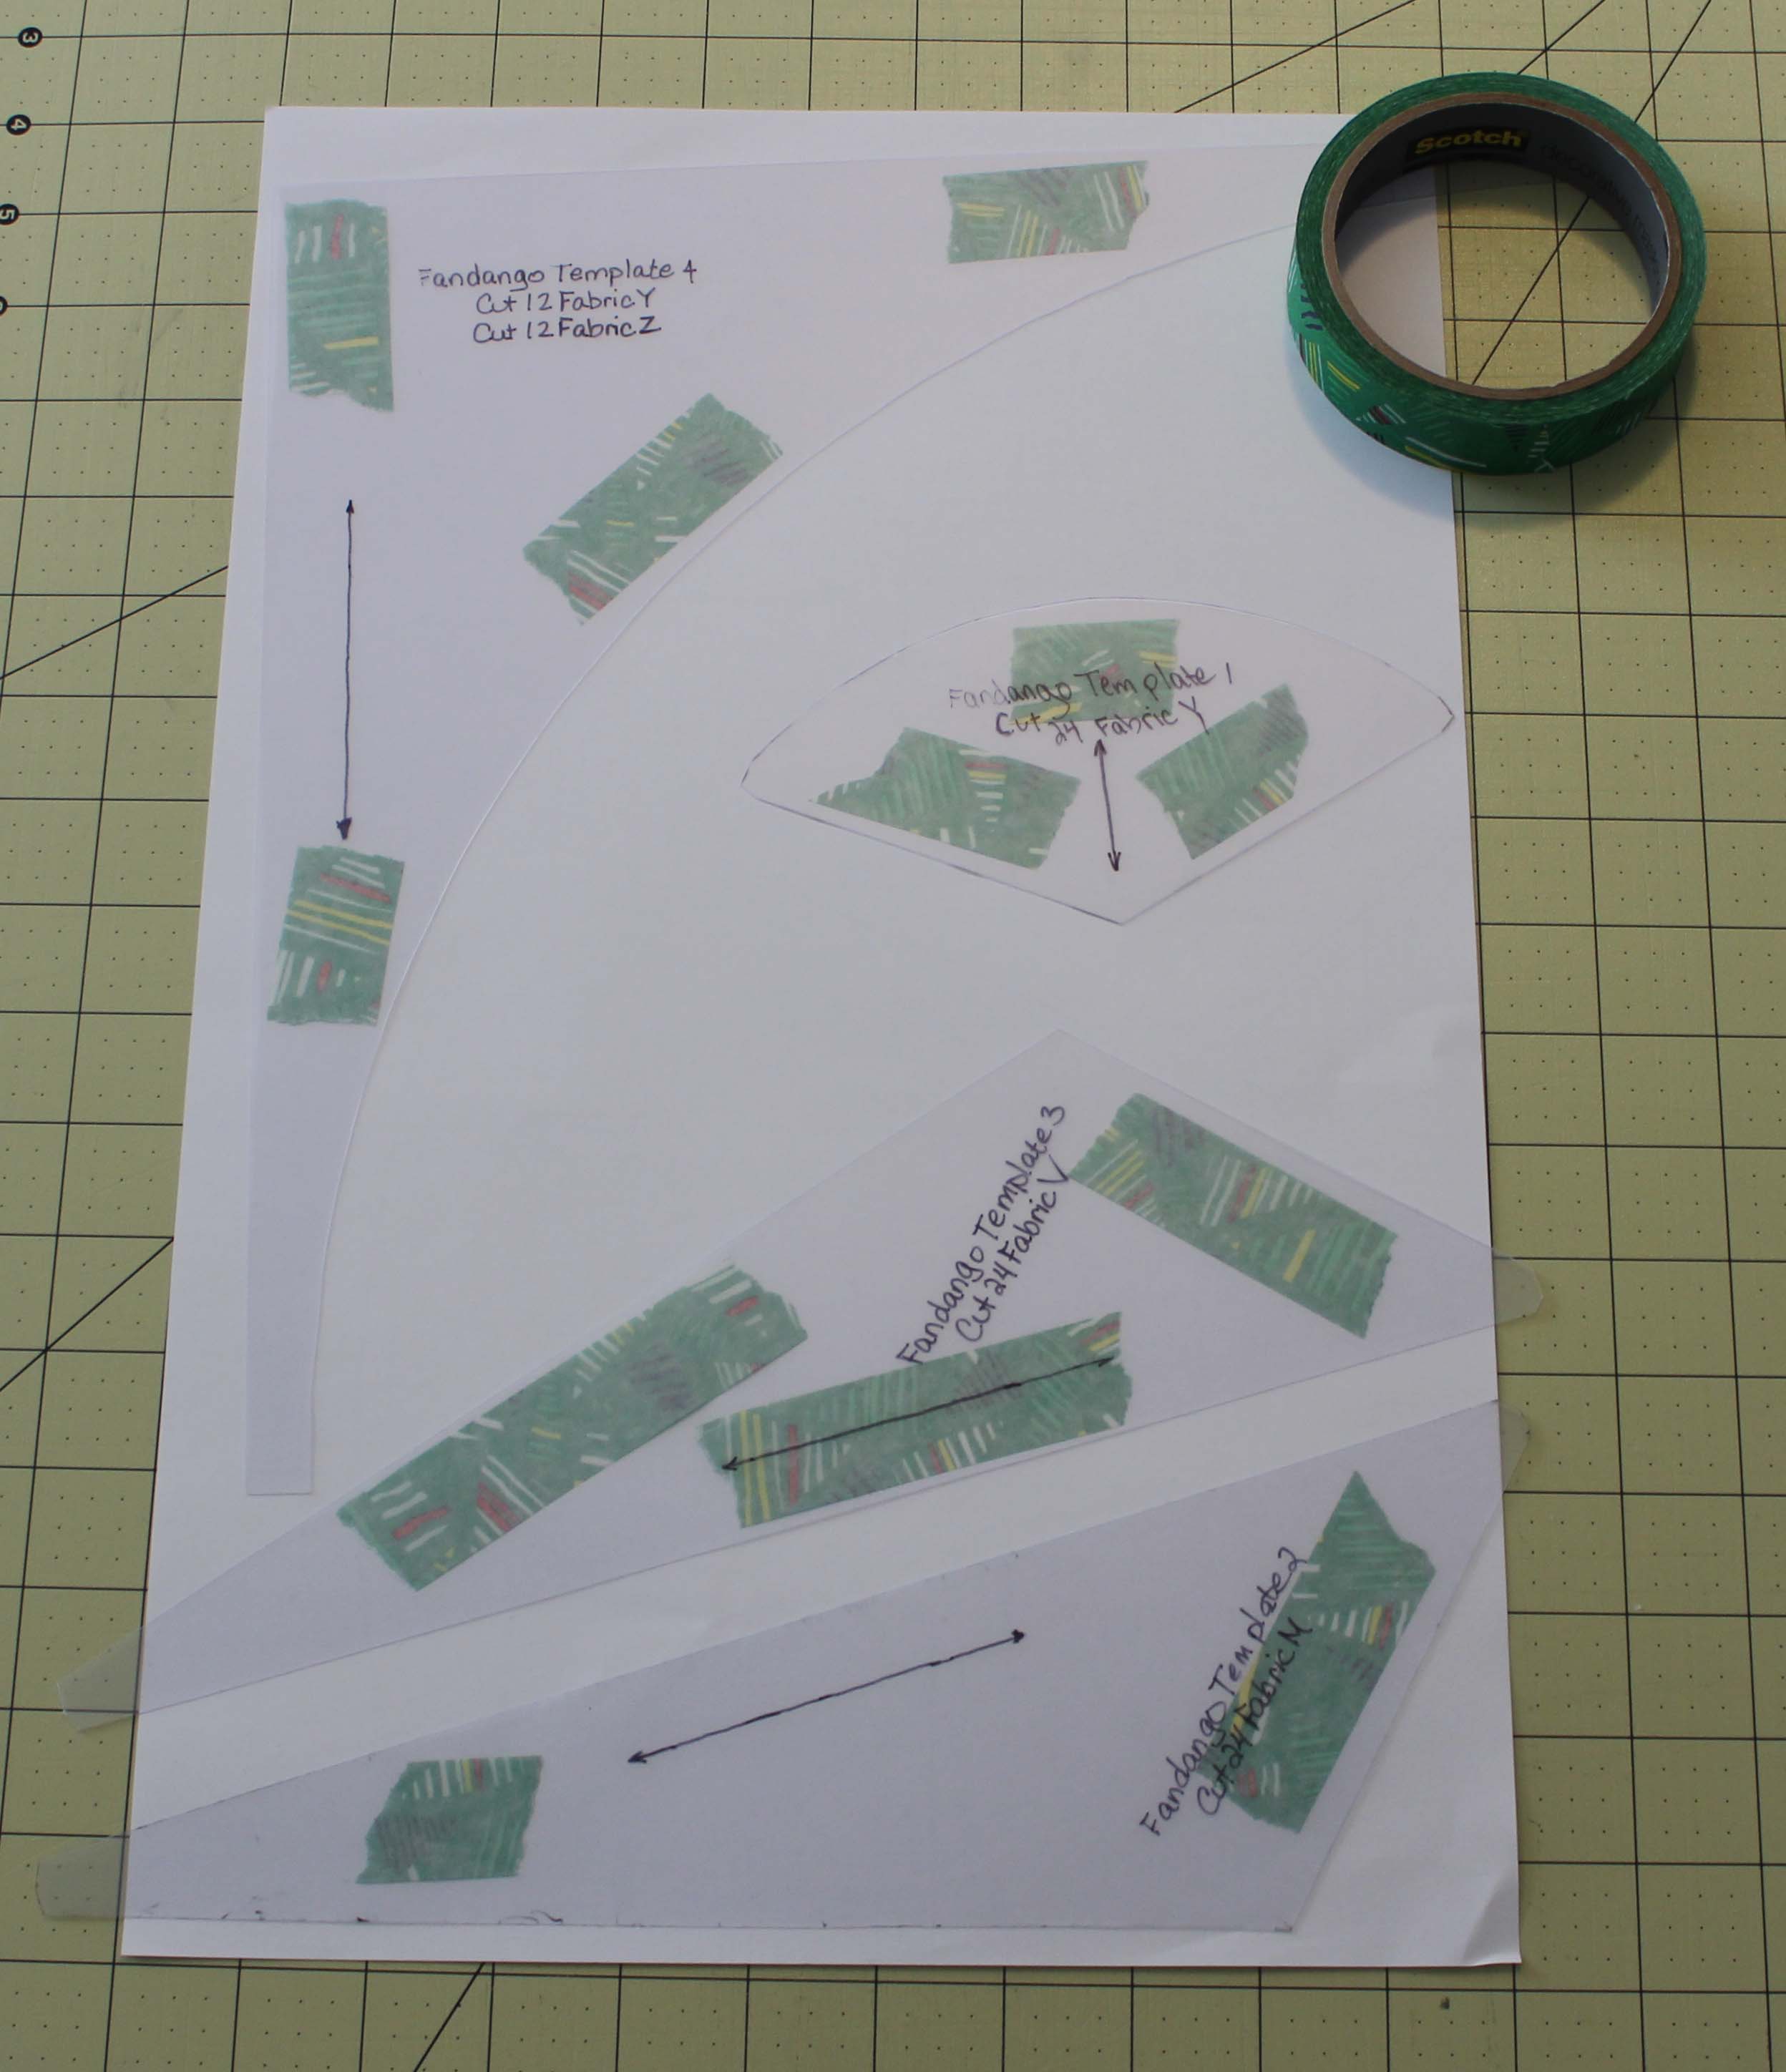
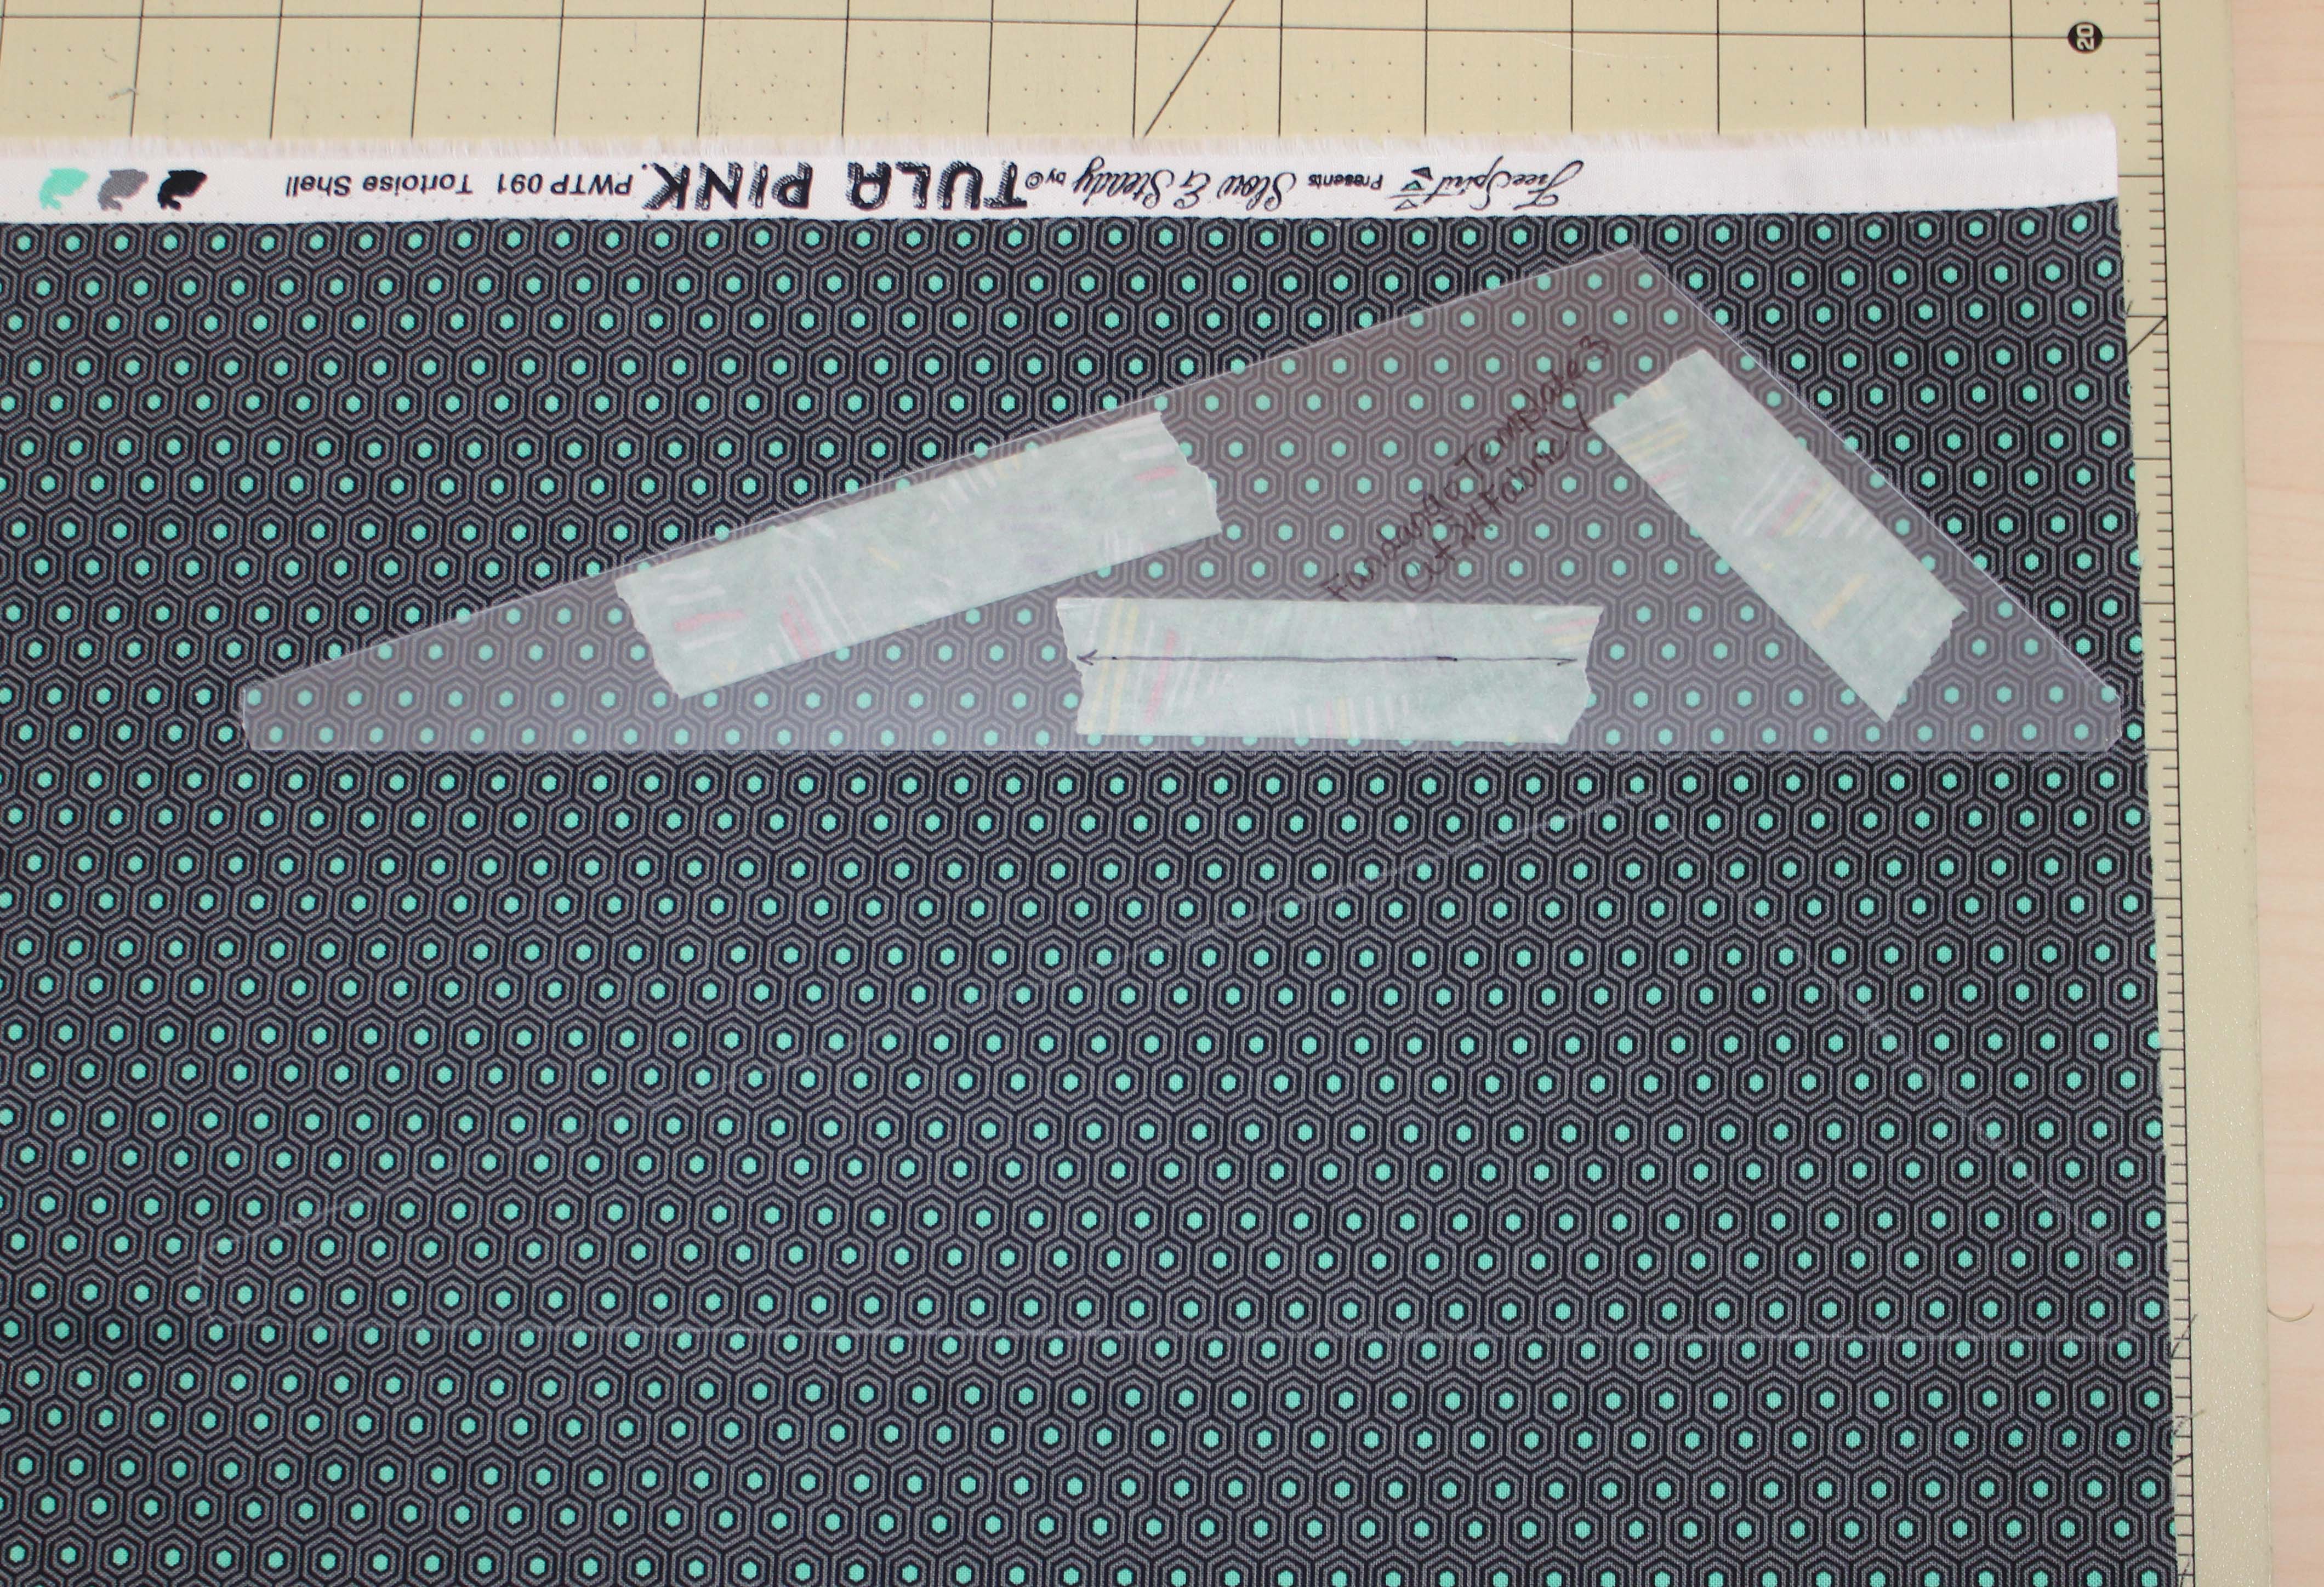
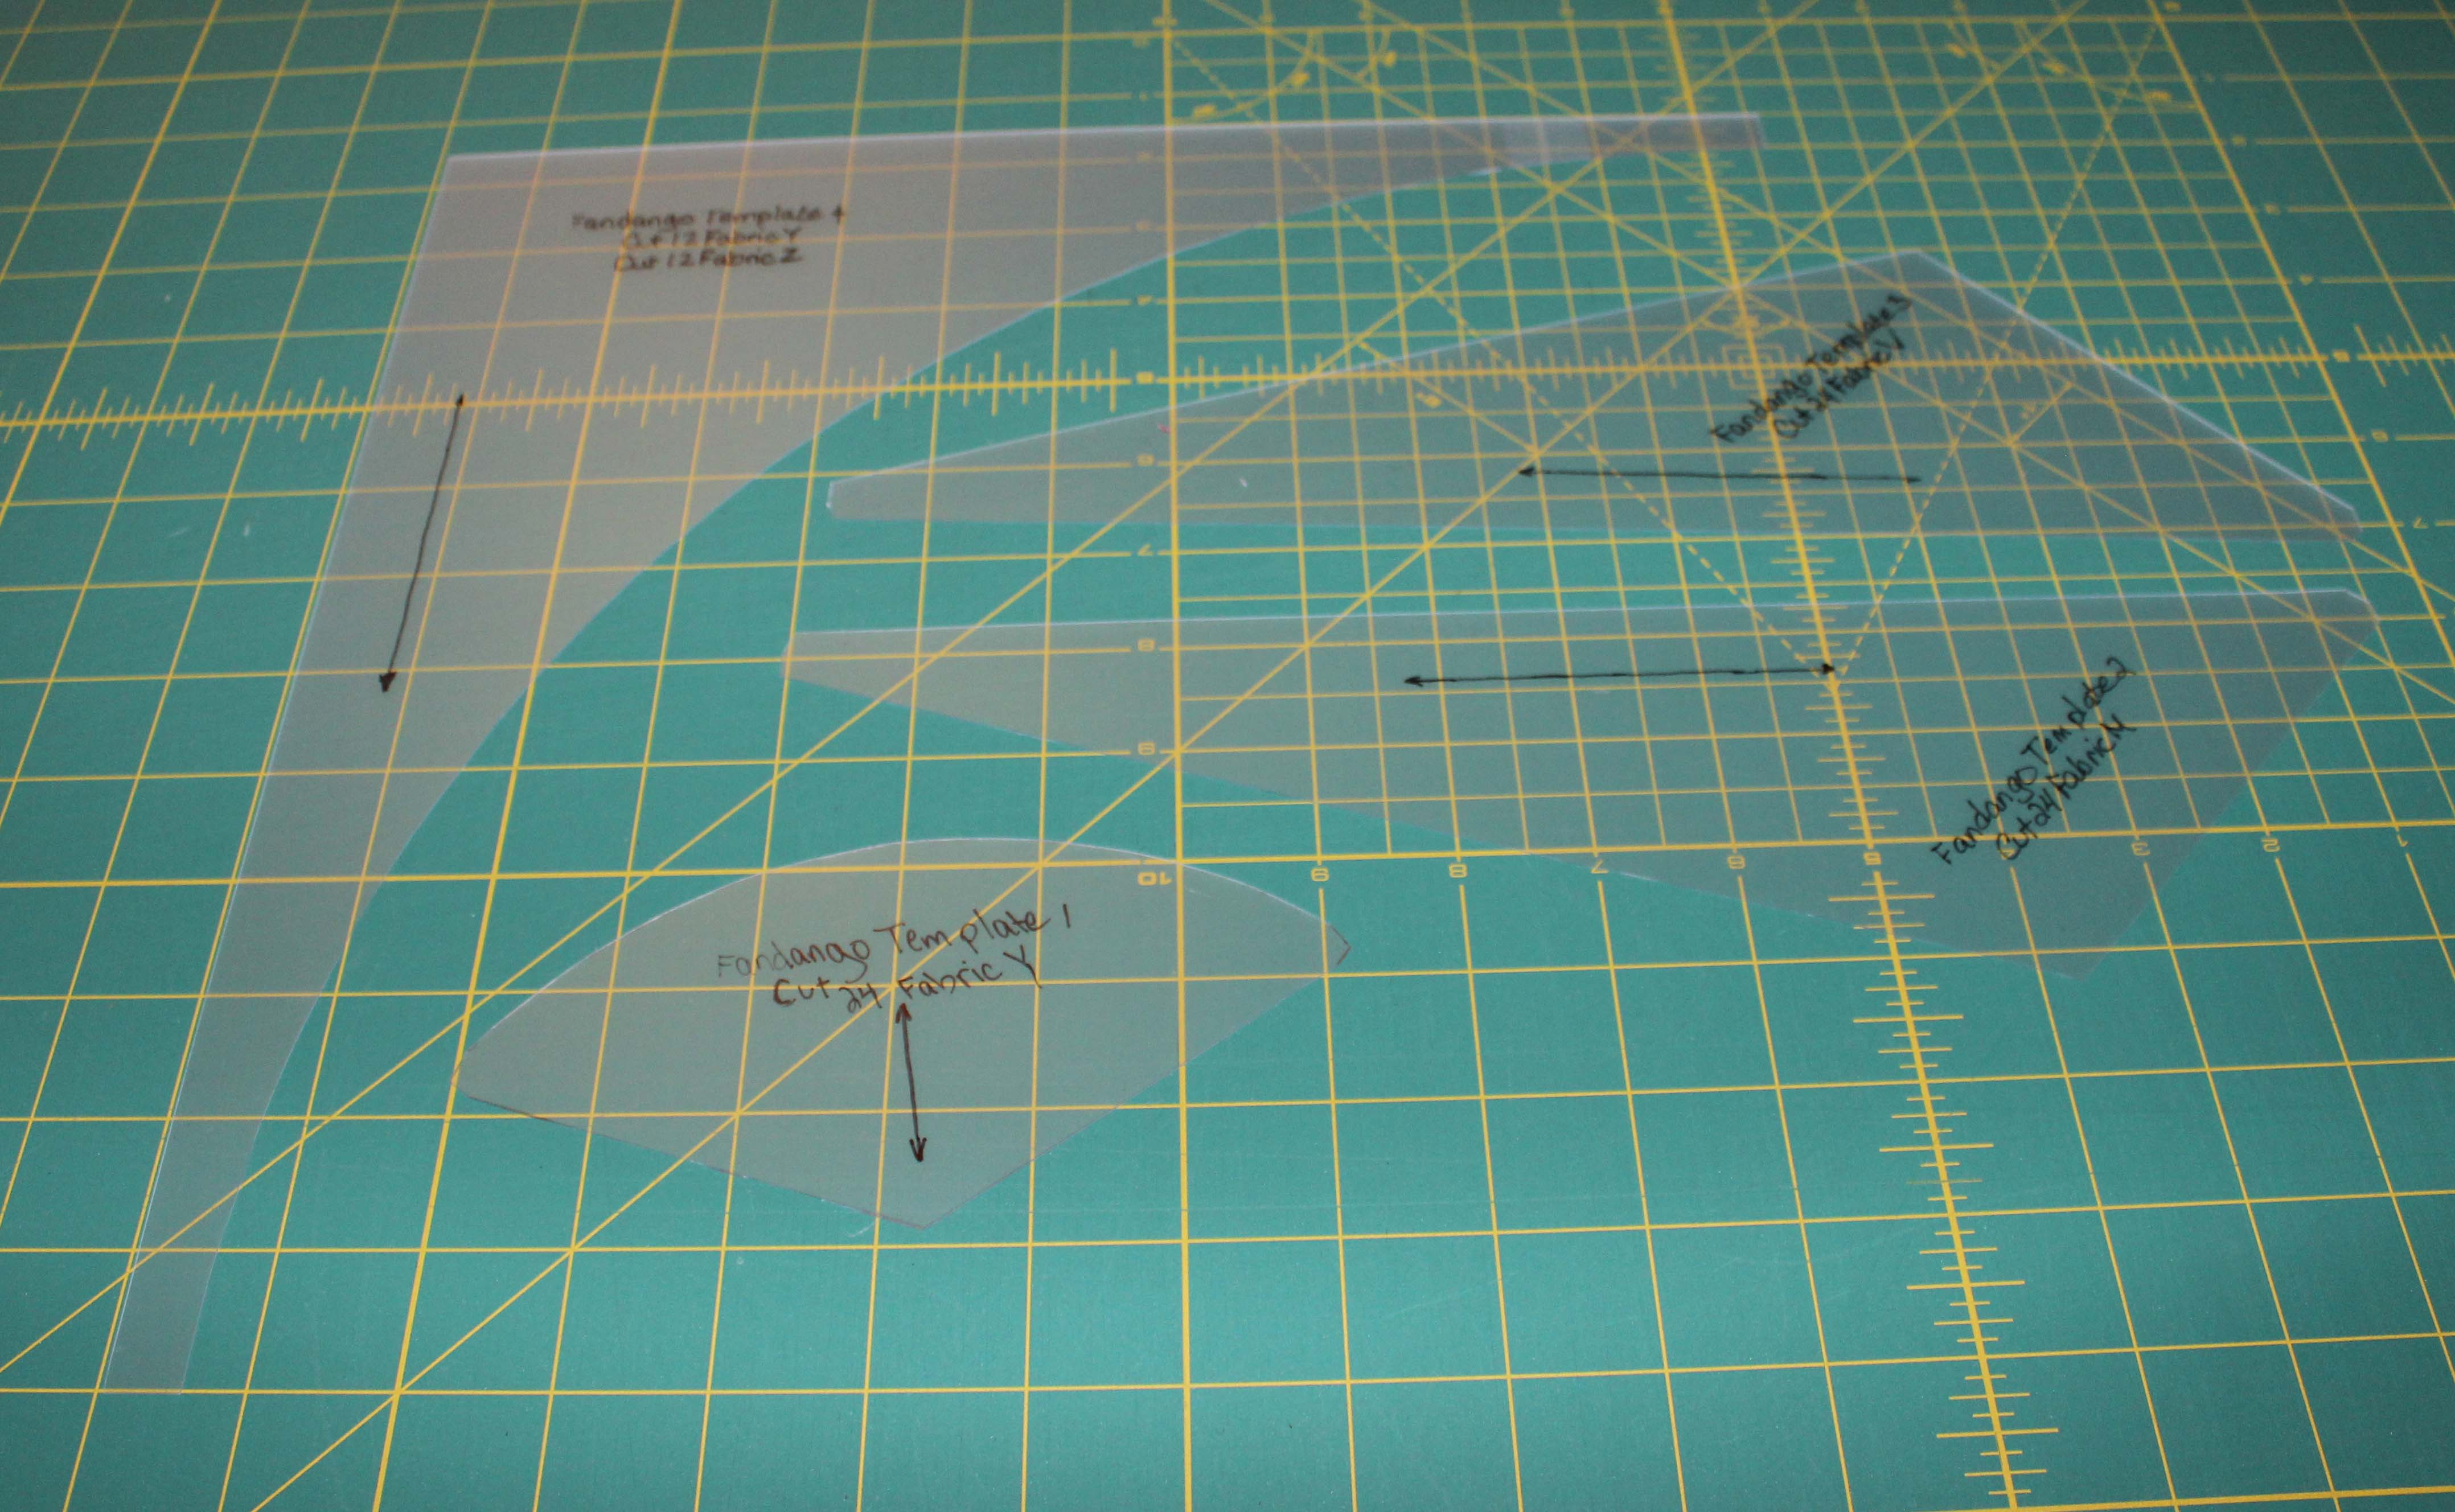
When that was all done, I pulled out my templates I made last week to trace and cut.  The first thing I discovered was how slippery those templates are.  I grabbed some masking tape and placed it on the wrong side of the template.  Not as great as some no-slip tape, but a world better than what I had going on before.

tt2d

Remember the arrows we traced on the templates?  Those are to show you the direction to place the template in.  It says to go with the grain.  The grain of the fabric runs parallel to the selvage end.tt2i.jpg

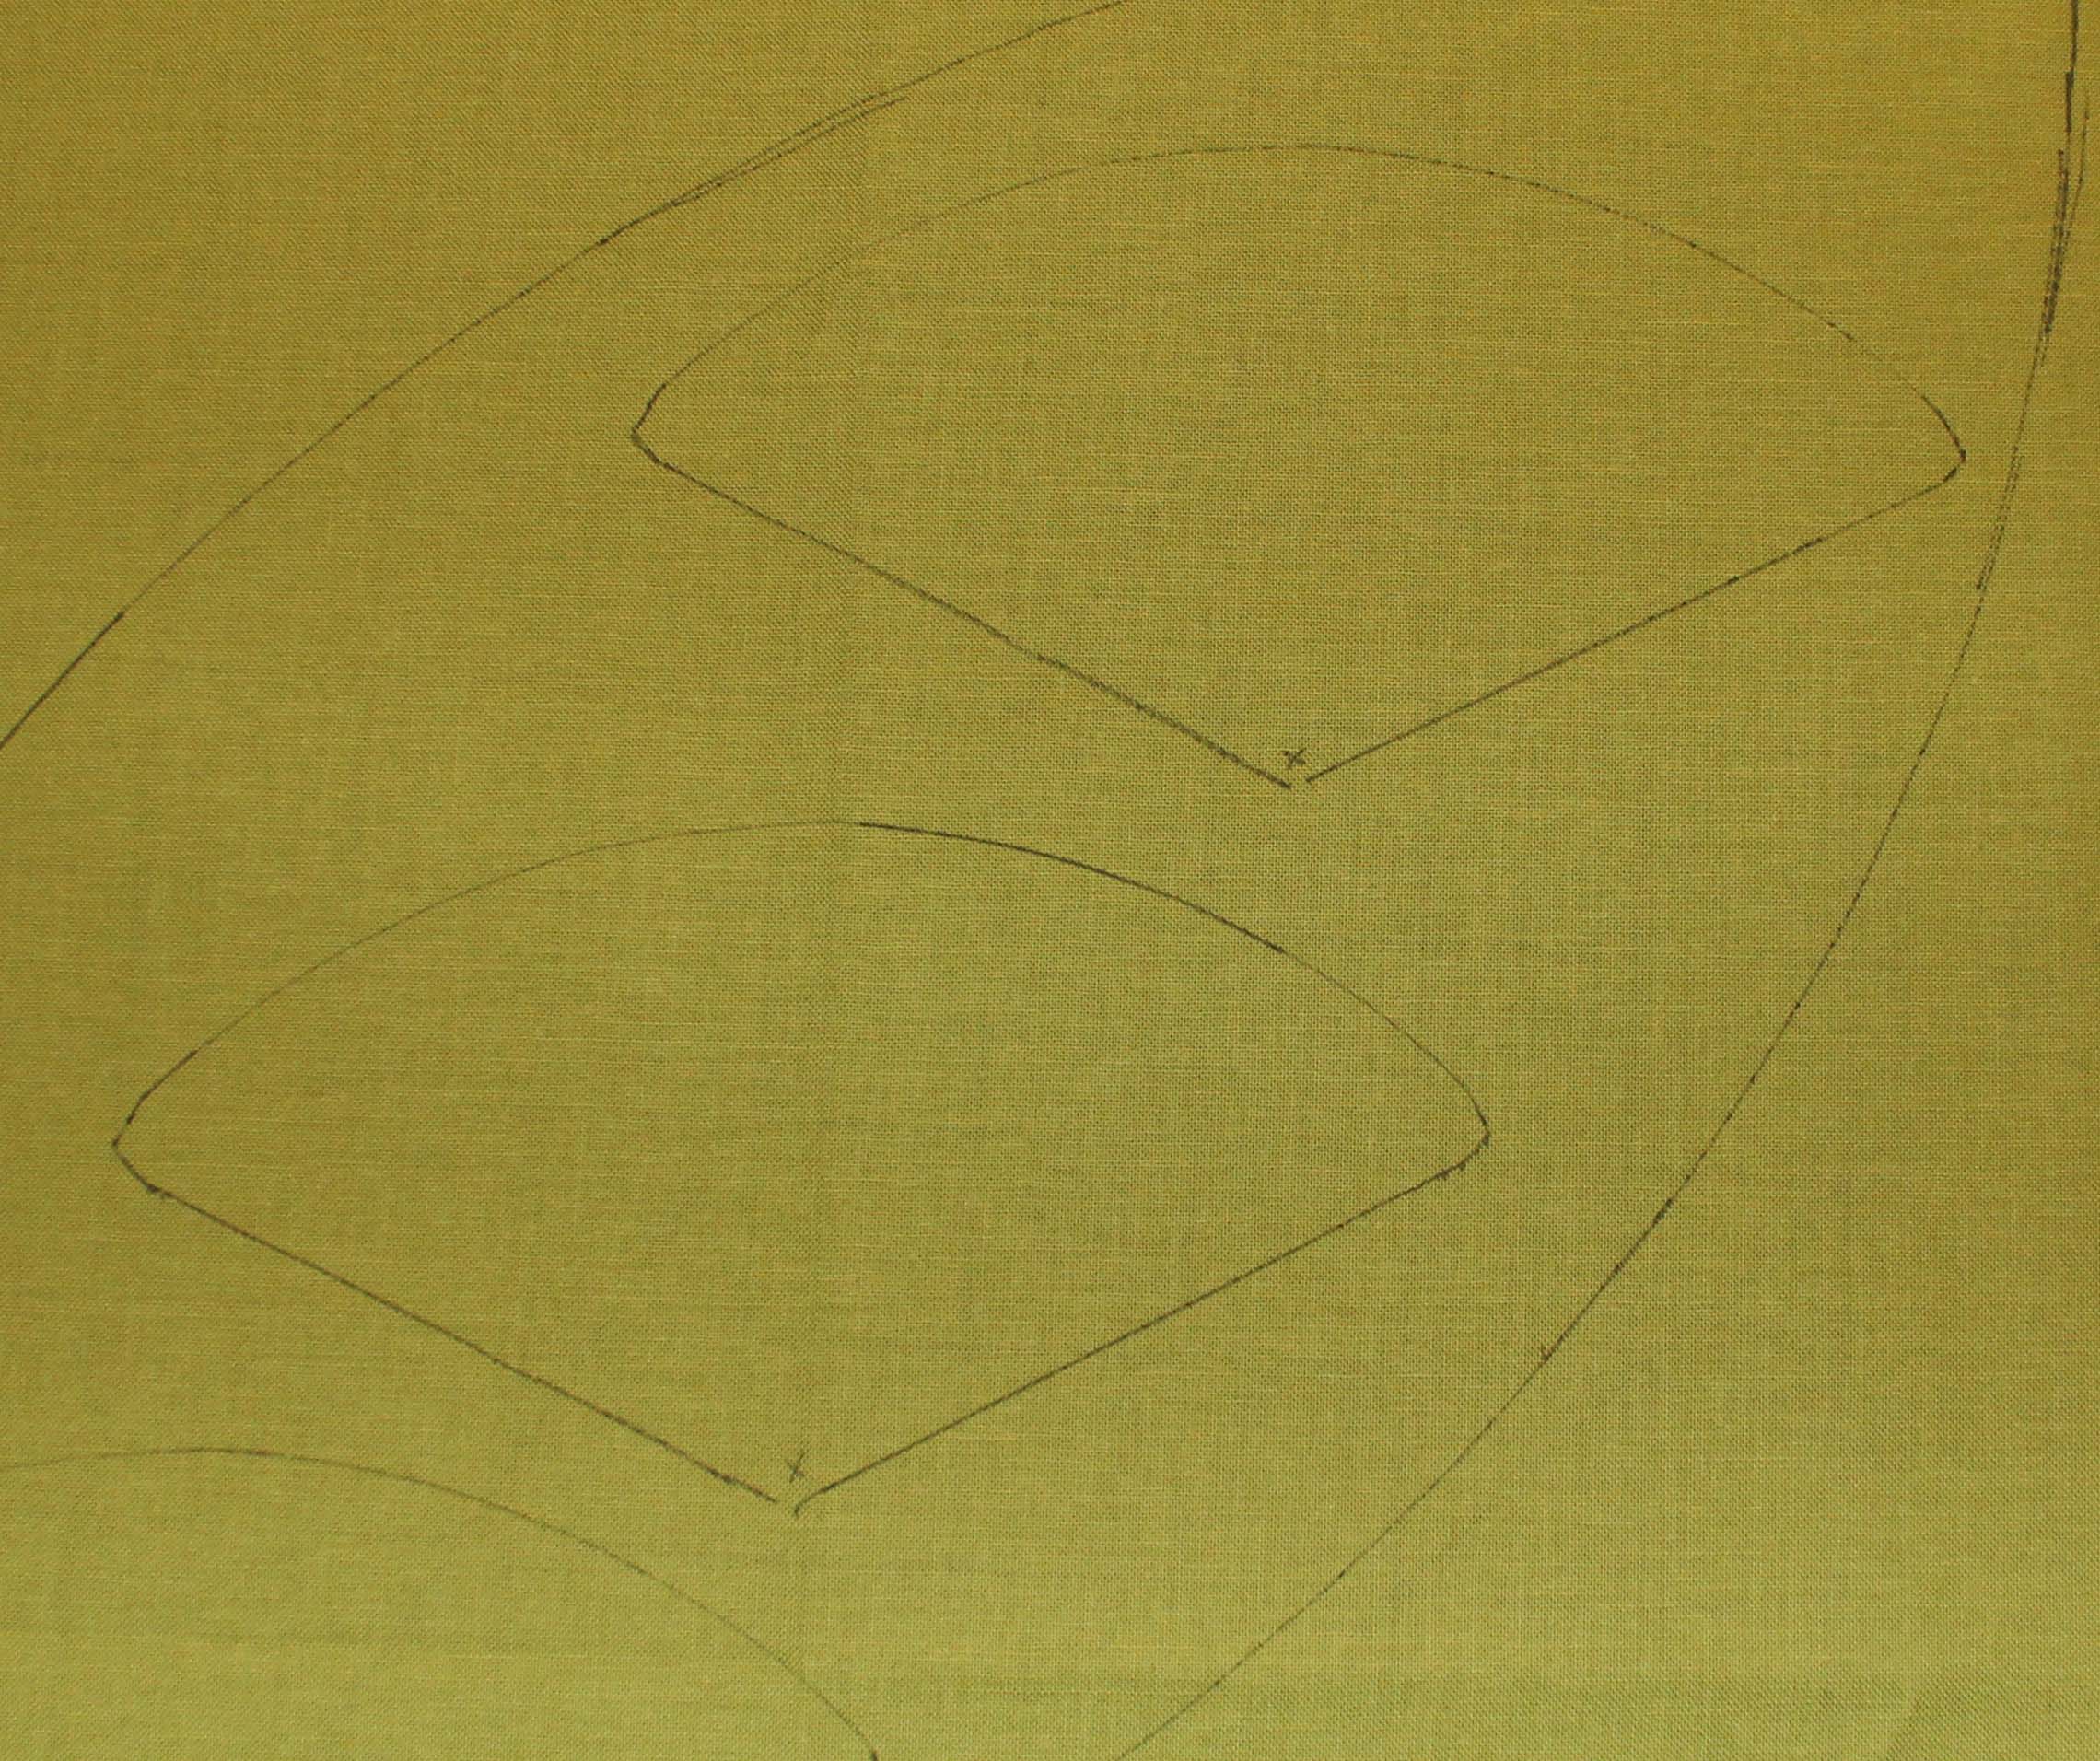
When I was tracing templates 1 and 4 to fabric Y, which is the solid charteuse, I made sure to make a small x in a corner to mark the wrong side BEFORE I cut it.

tt2e

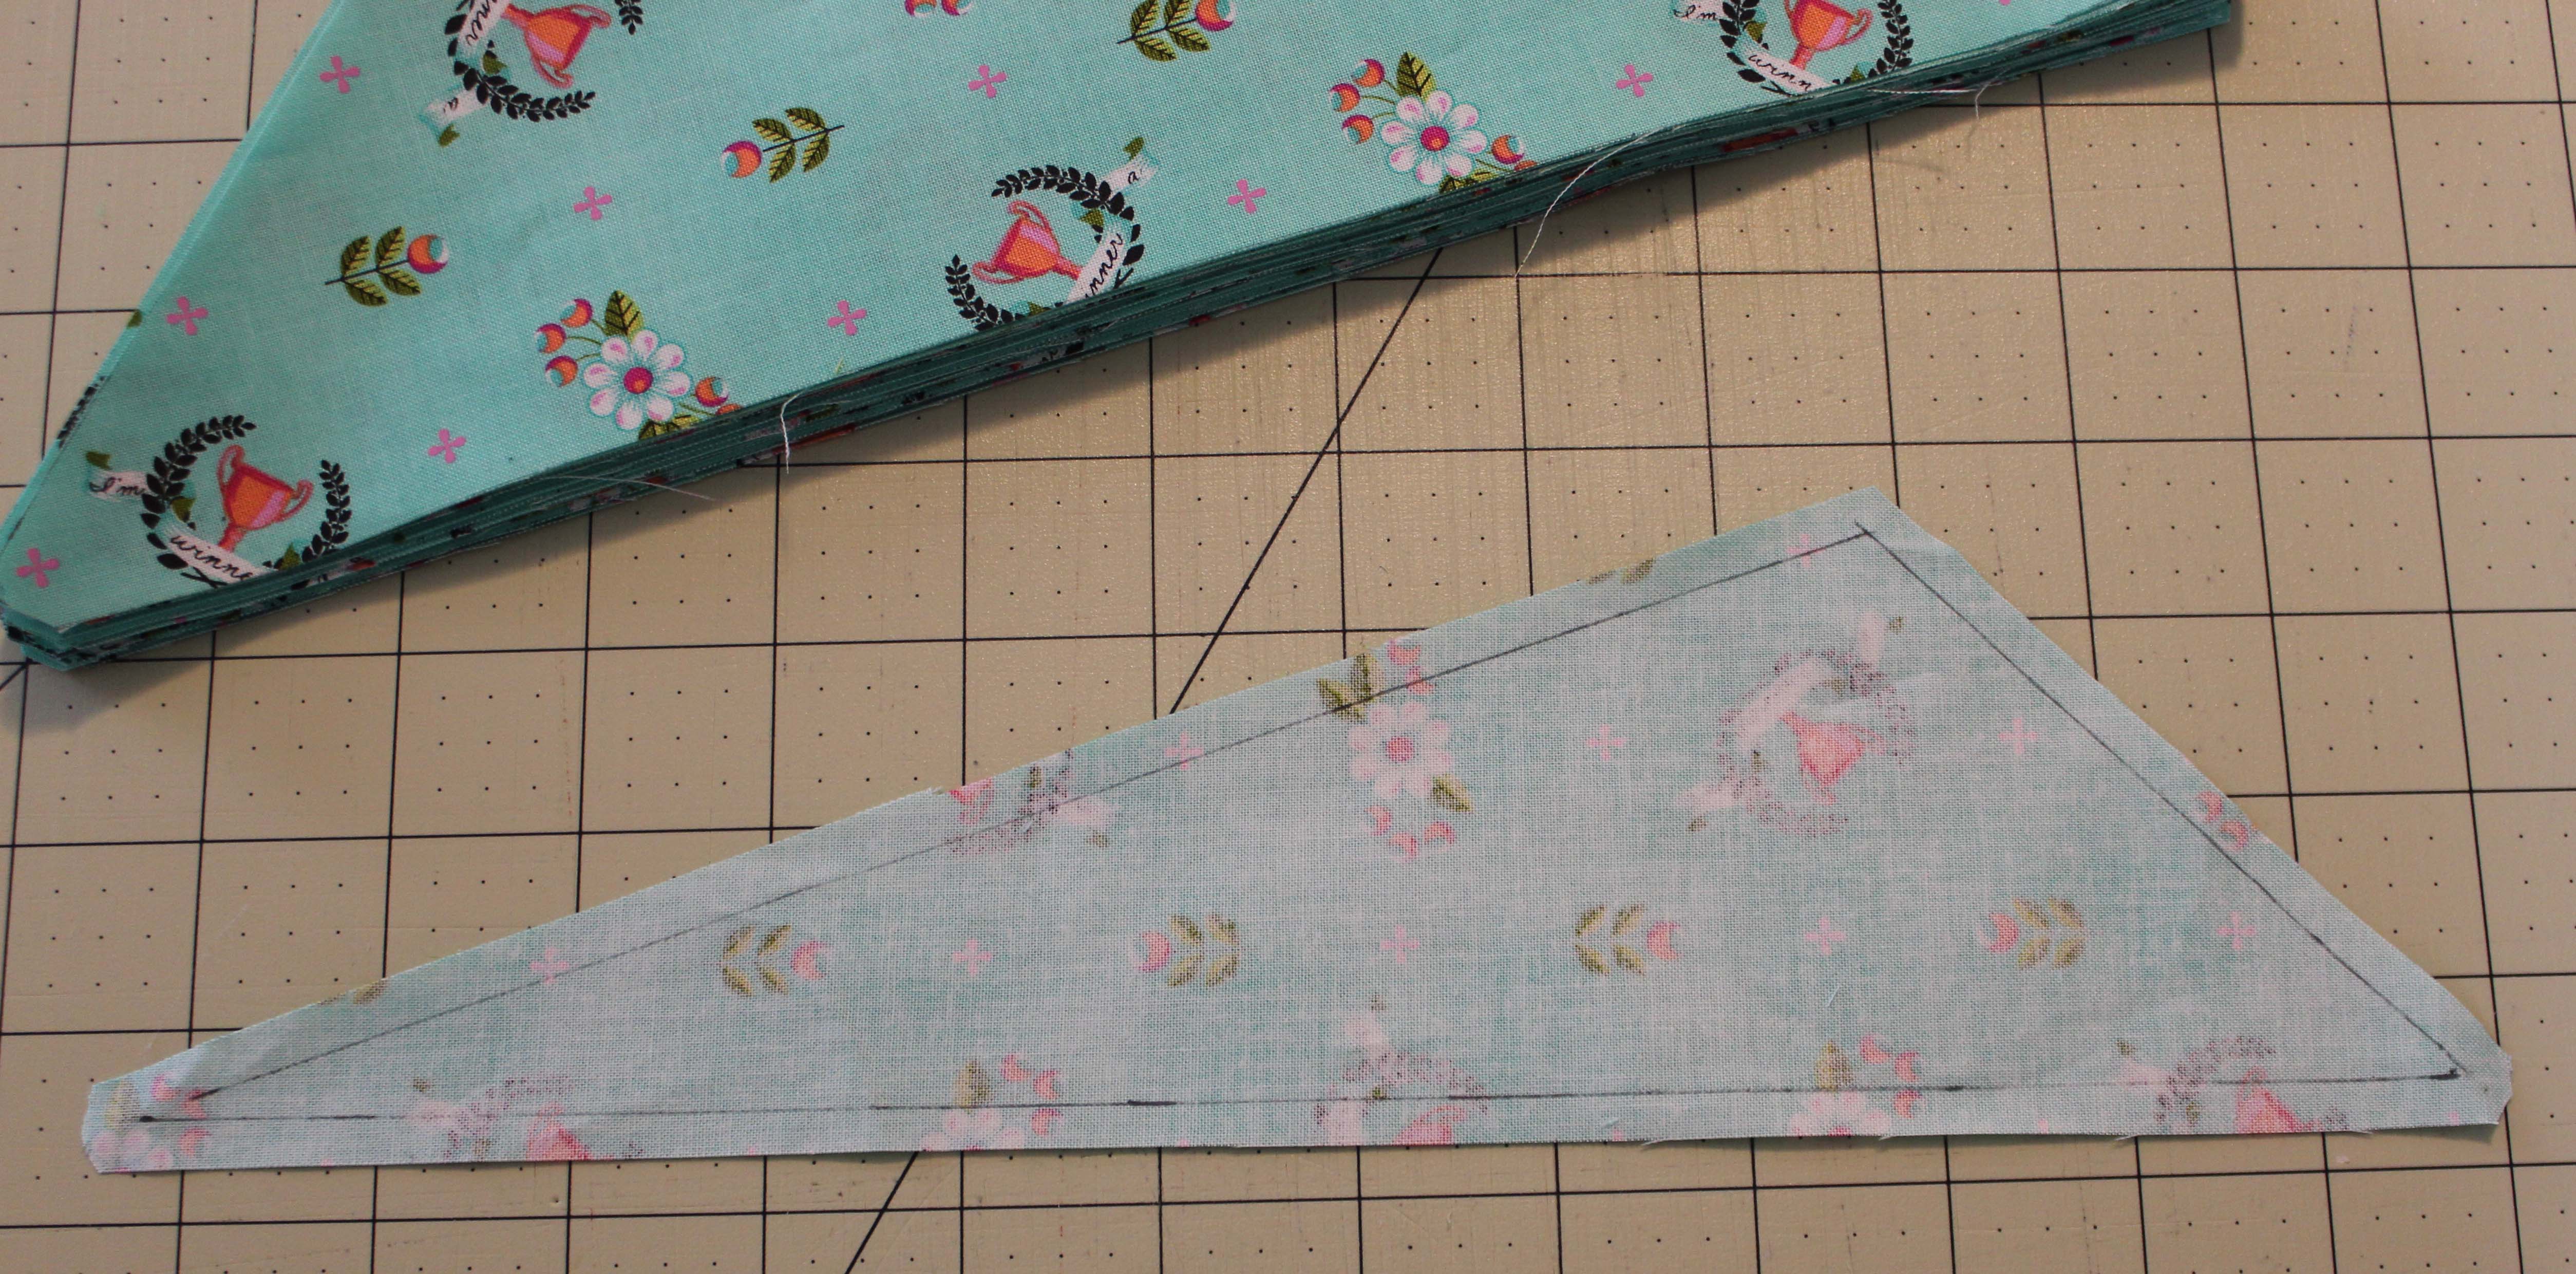
I’ve also already marked the seam allowances on all fabric I cut from templates 2 and 3.

tt2f

I do suggest placing the templates over each piece after you have cut them to make sure you don’t have any fabric over the cutting line.  Remember those 1/16 inch overages soon add up to 1/4 inch and then can really start throwing everything off.

Here’s everything all cut up and ready to be sewn.

tt2g

Another suggestion I have is regarding fabrics Y and Z which have a large edge of bias on them.  If you have somewhere to store them flat, do so.  You don’t want to have to iron them before you stitch them to the other pieces.  Ironing bias edges can make the piece distorted if you are not extremely careful.  In fact, if you haven’t cut template 4 or the setting triangles yet, don’t.  Just wait until you need them and then cut them out. The other templates have bias edges to them too, but not as long as the other ones.

The last thing I did was group the fabrics together for sewing.  I am now all ready to start sewing!

tt2h

I will be working on group 1, steps 2-6 for next week.  See you then!

Lovingly,

Lissa
Uncategorized

Tula Tuesday – Prep Work

Here we go!  Getting all ready to make the beautiful Fandango quilt by Stacey in Stitches featuring the Slow and Steady fabric line by Tula Pink

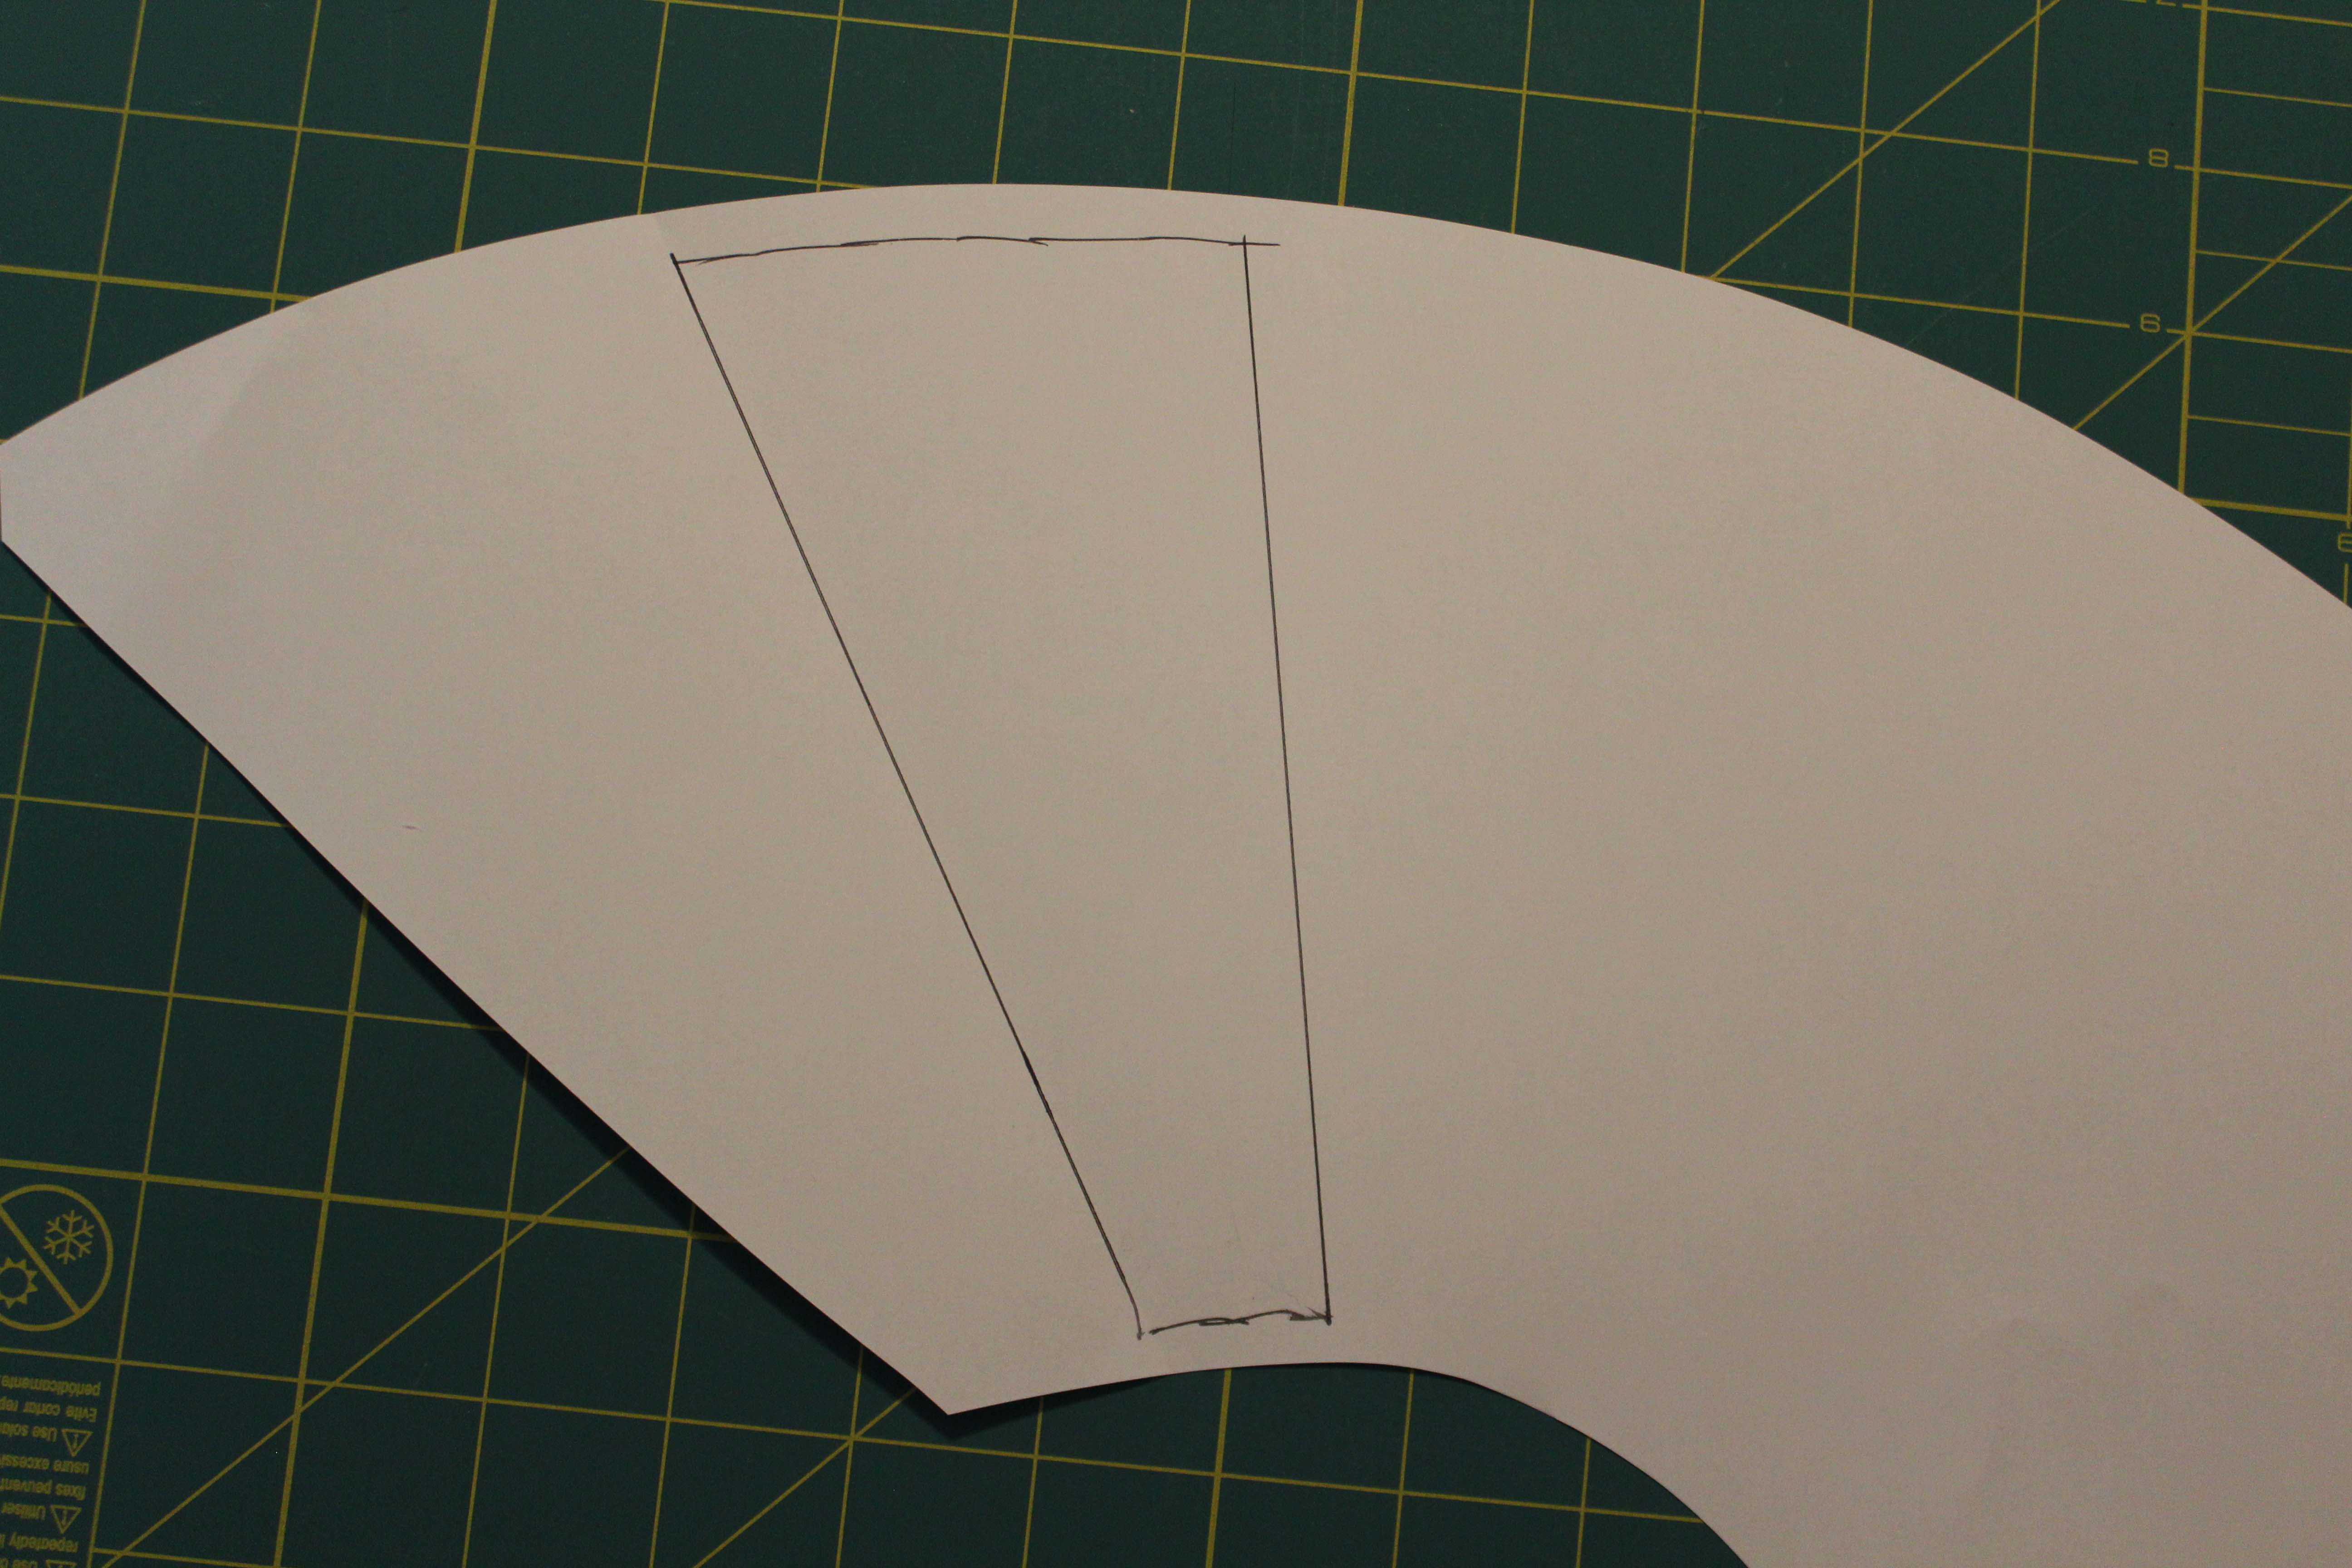
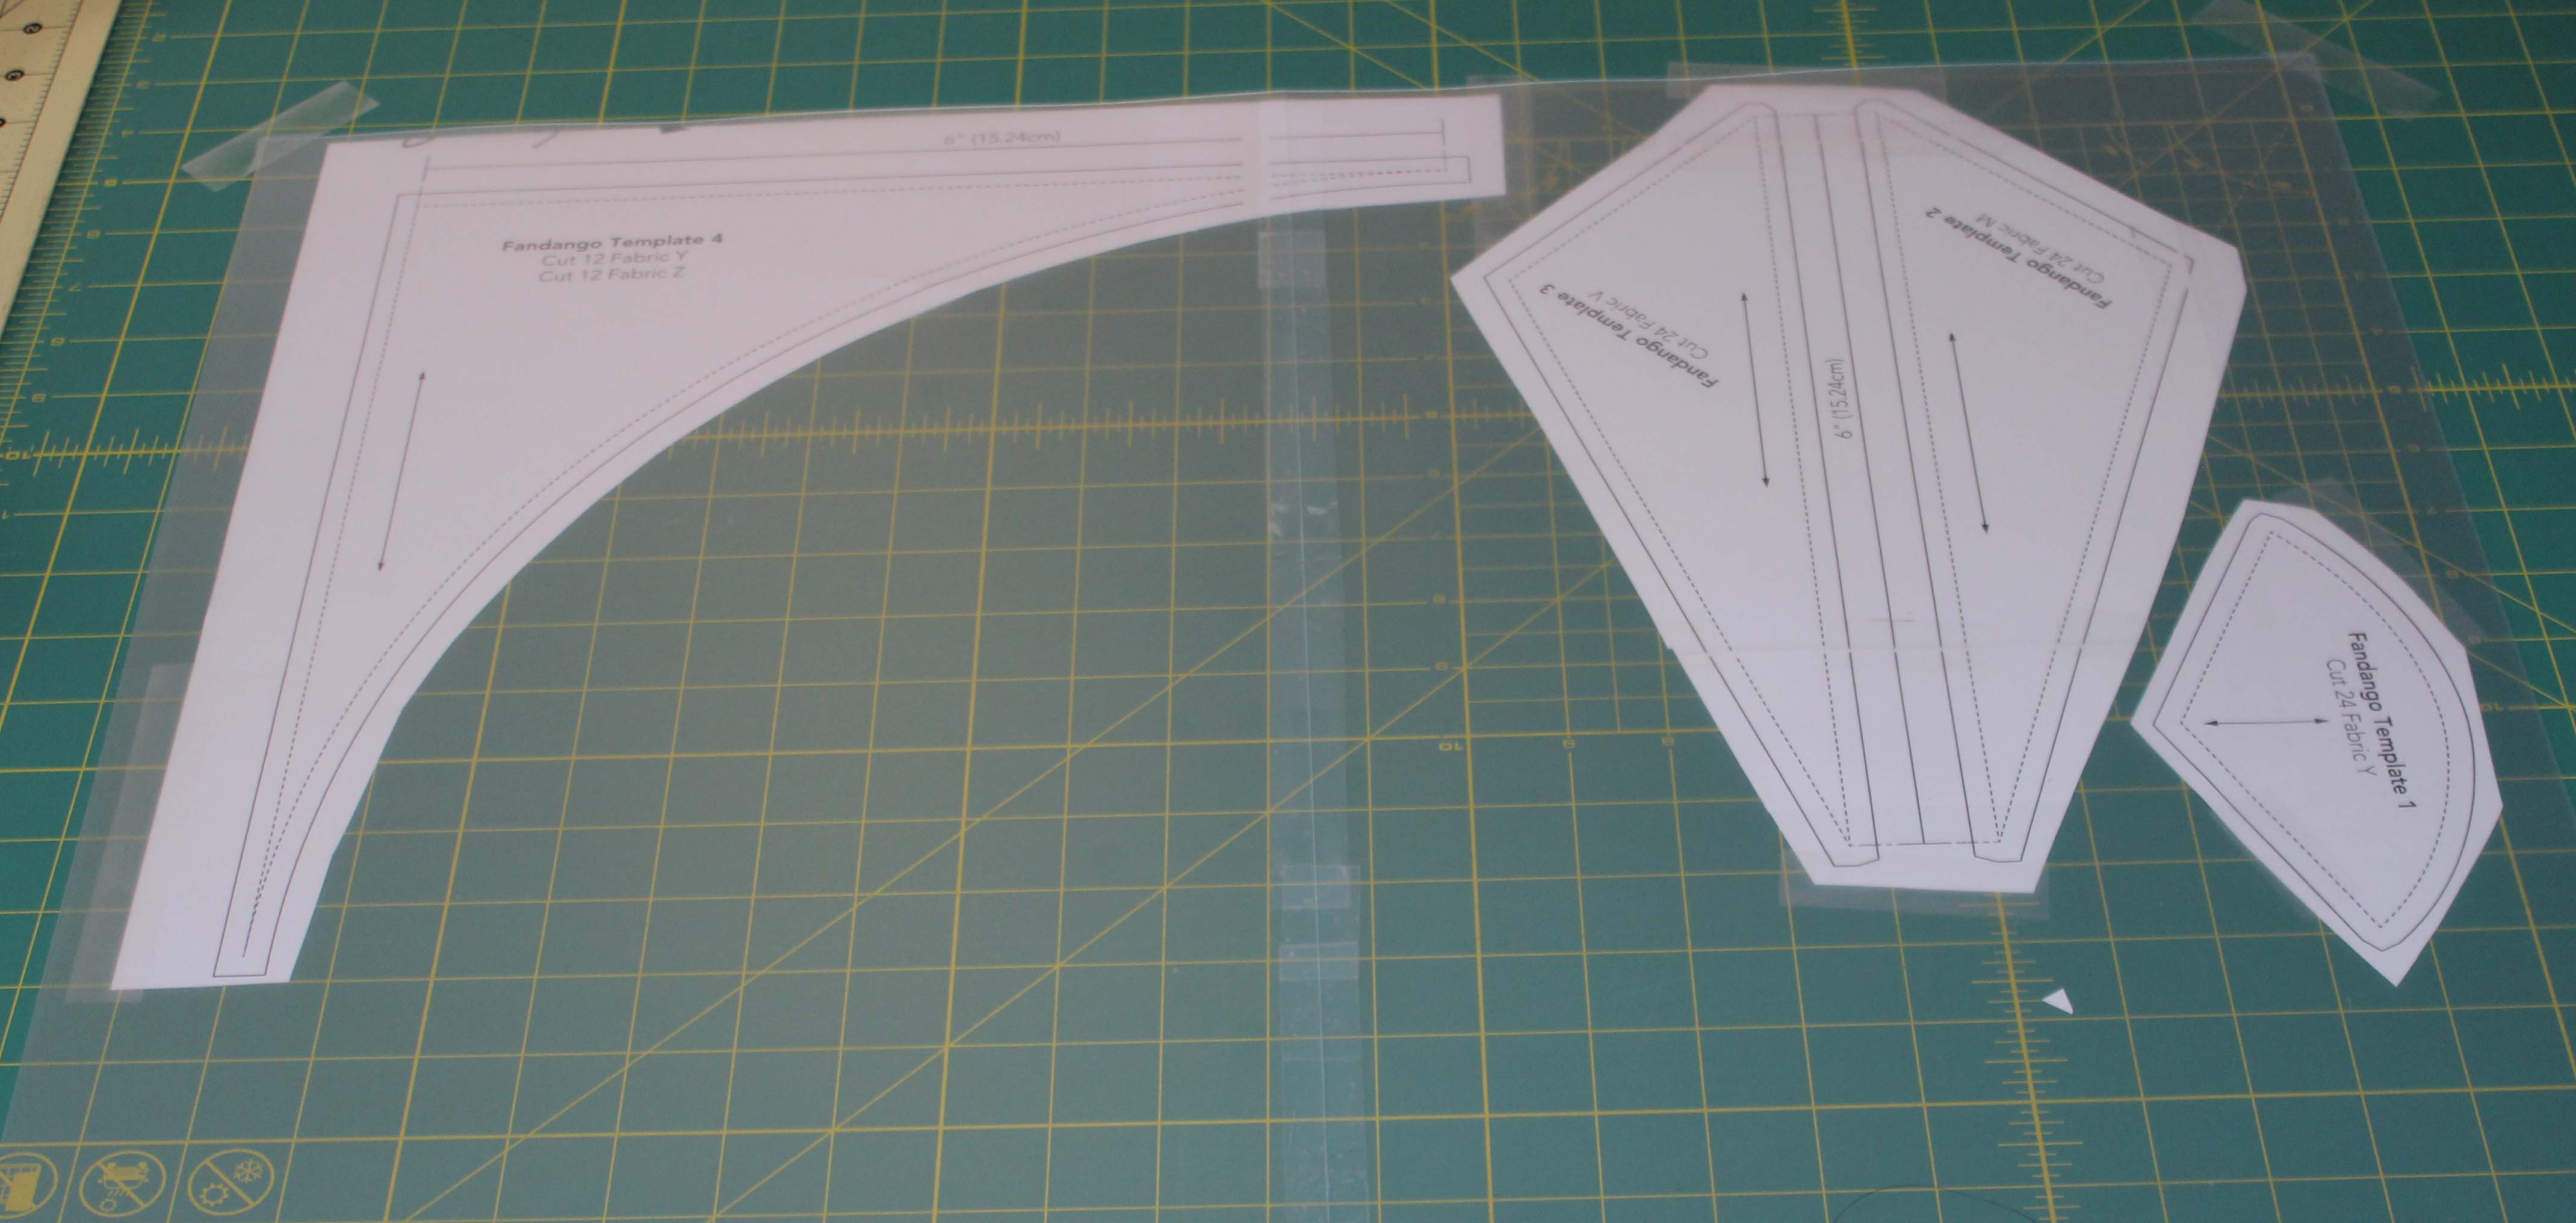
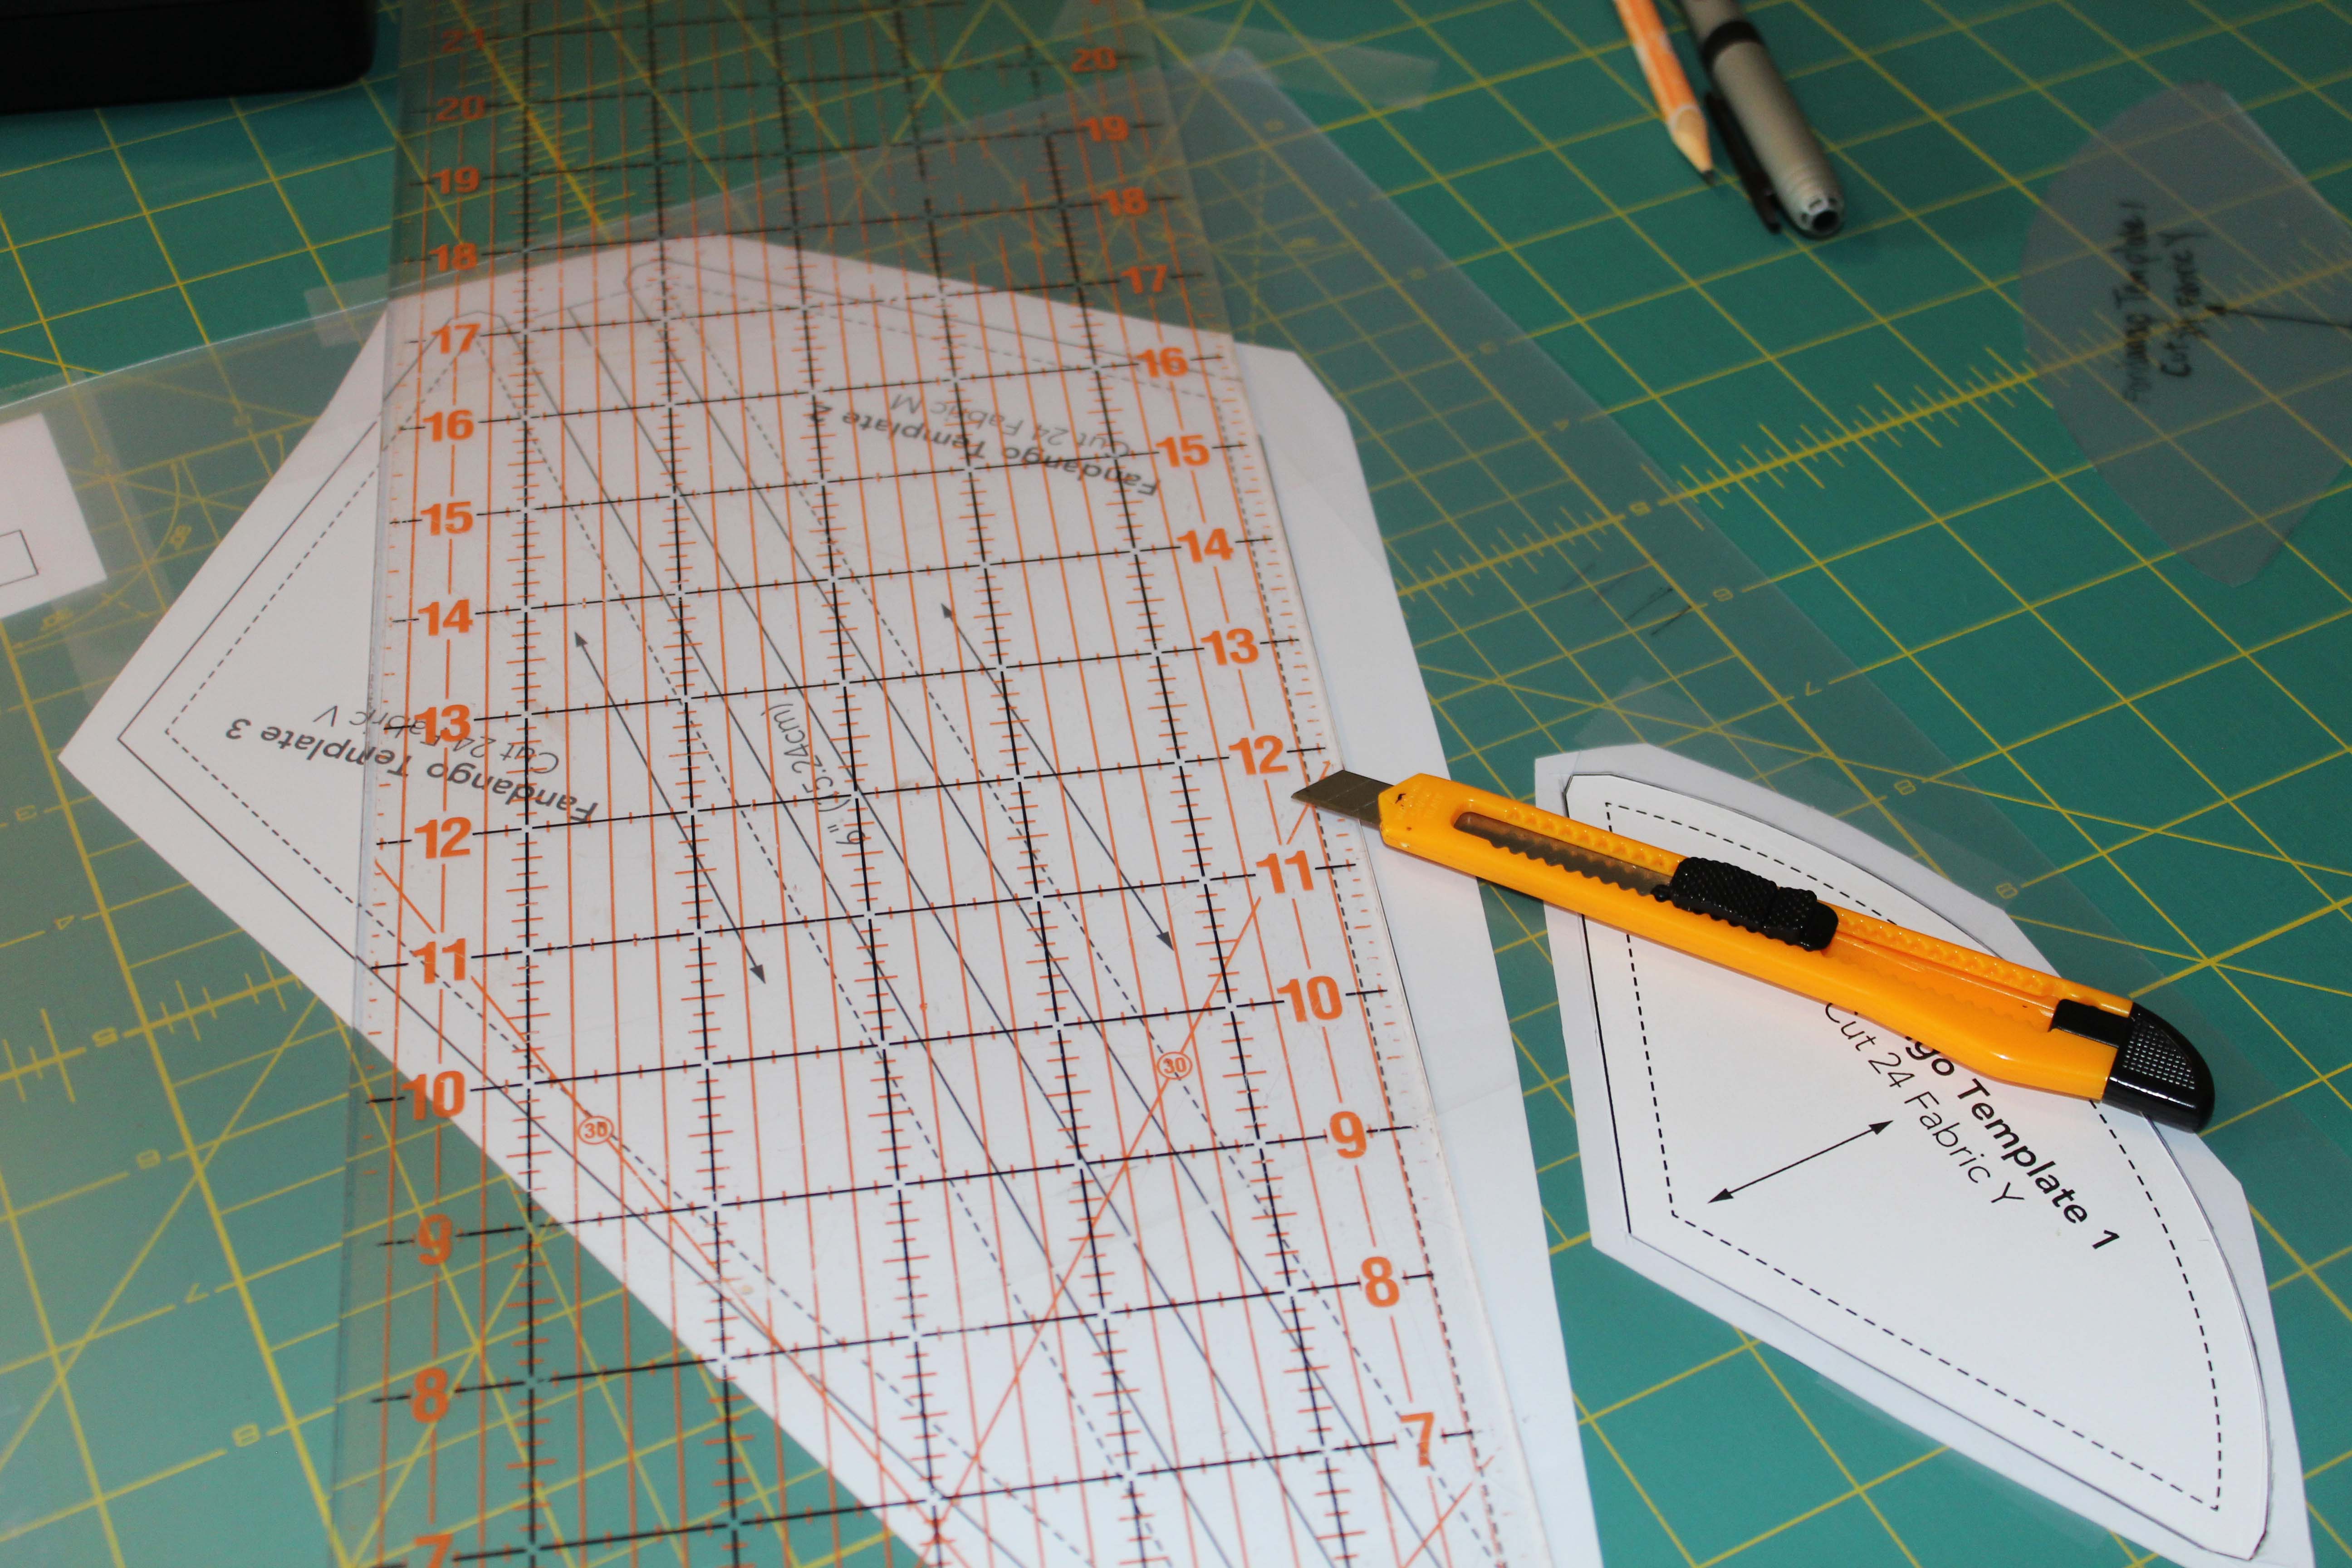
First we have to get the templates together.  I took the pattern to a copy place and enlarged the pieces 200%

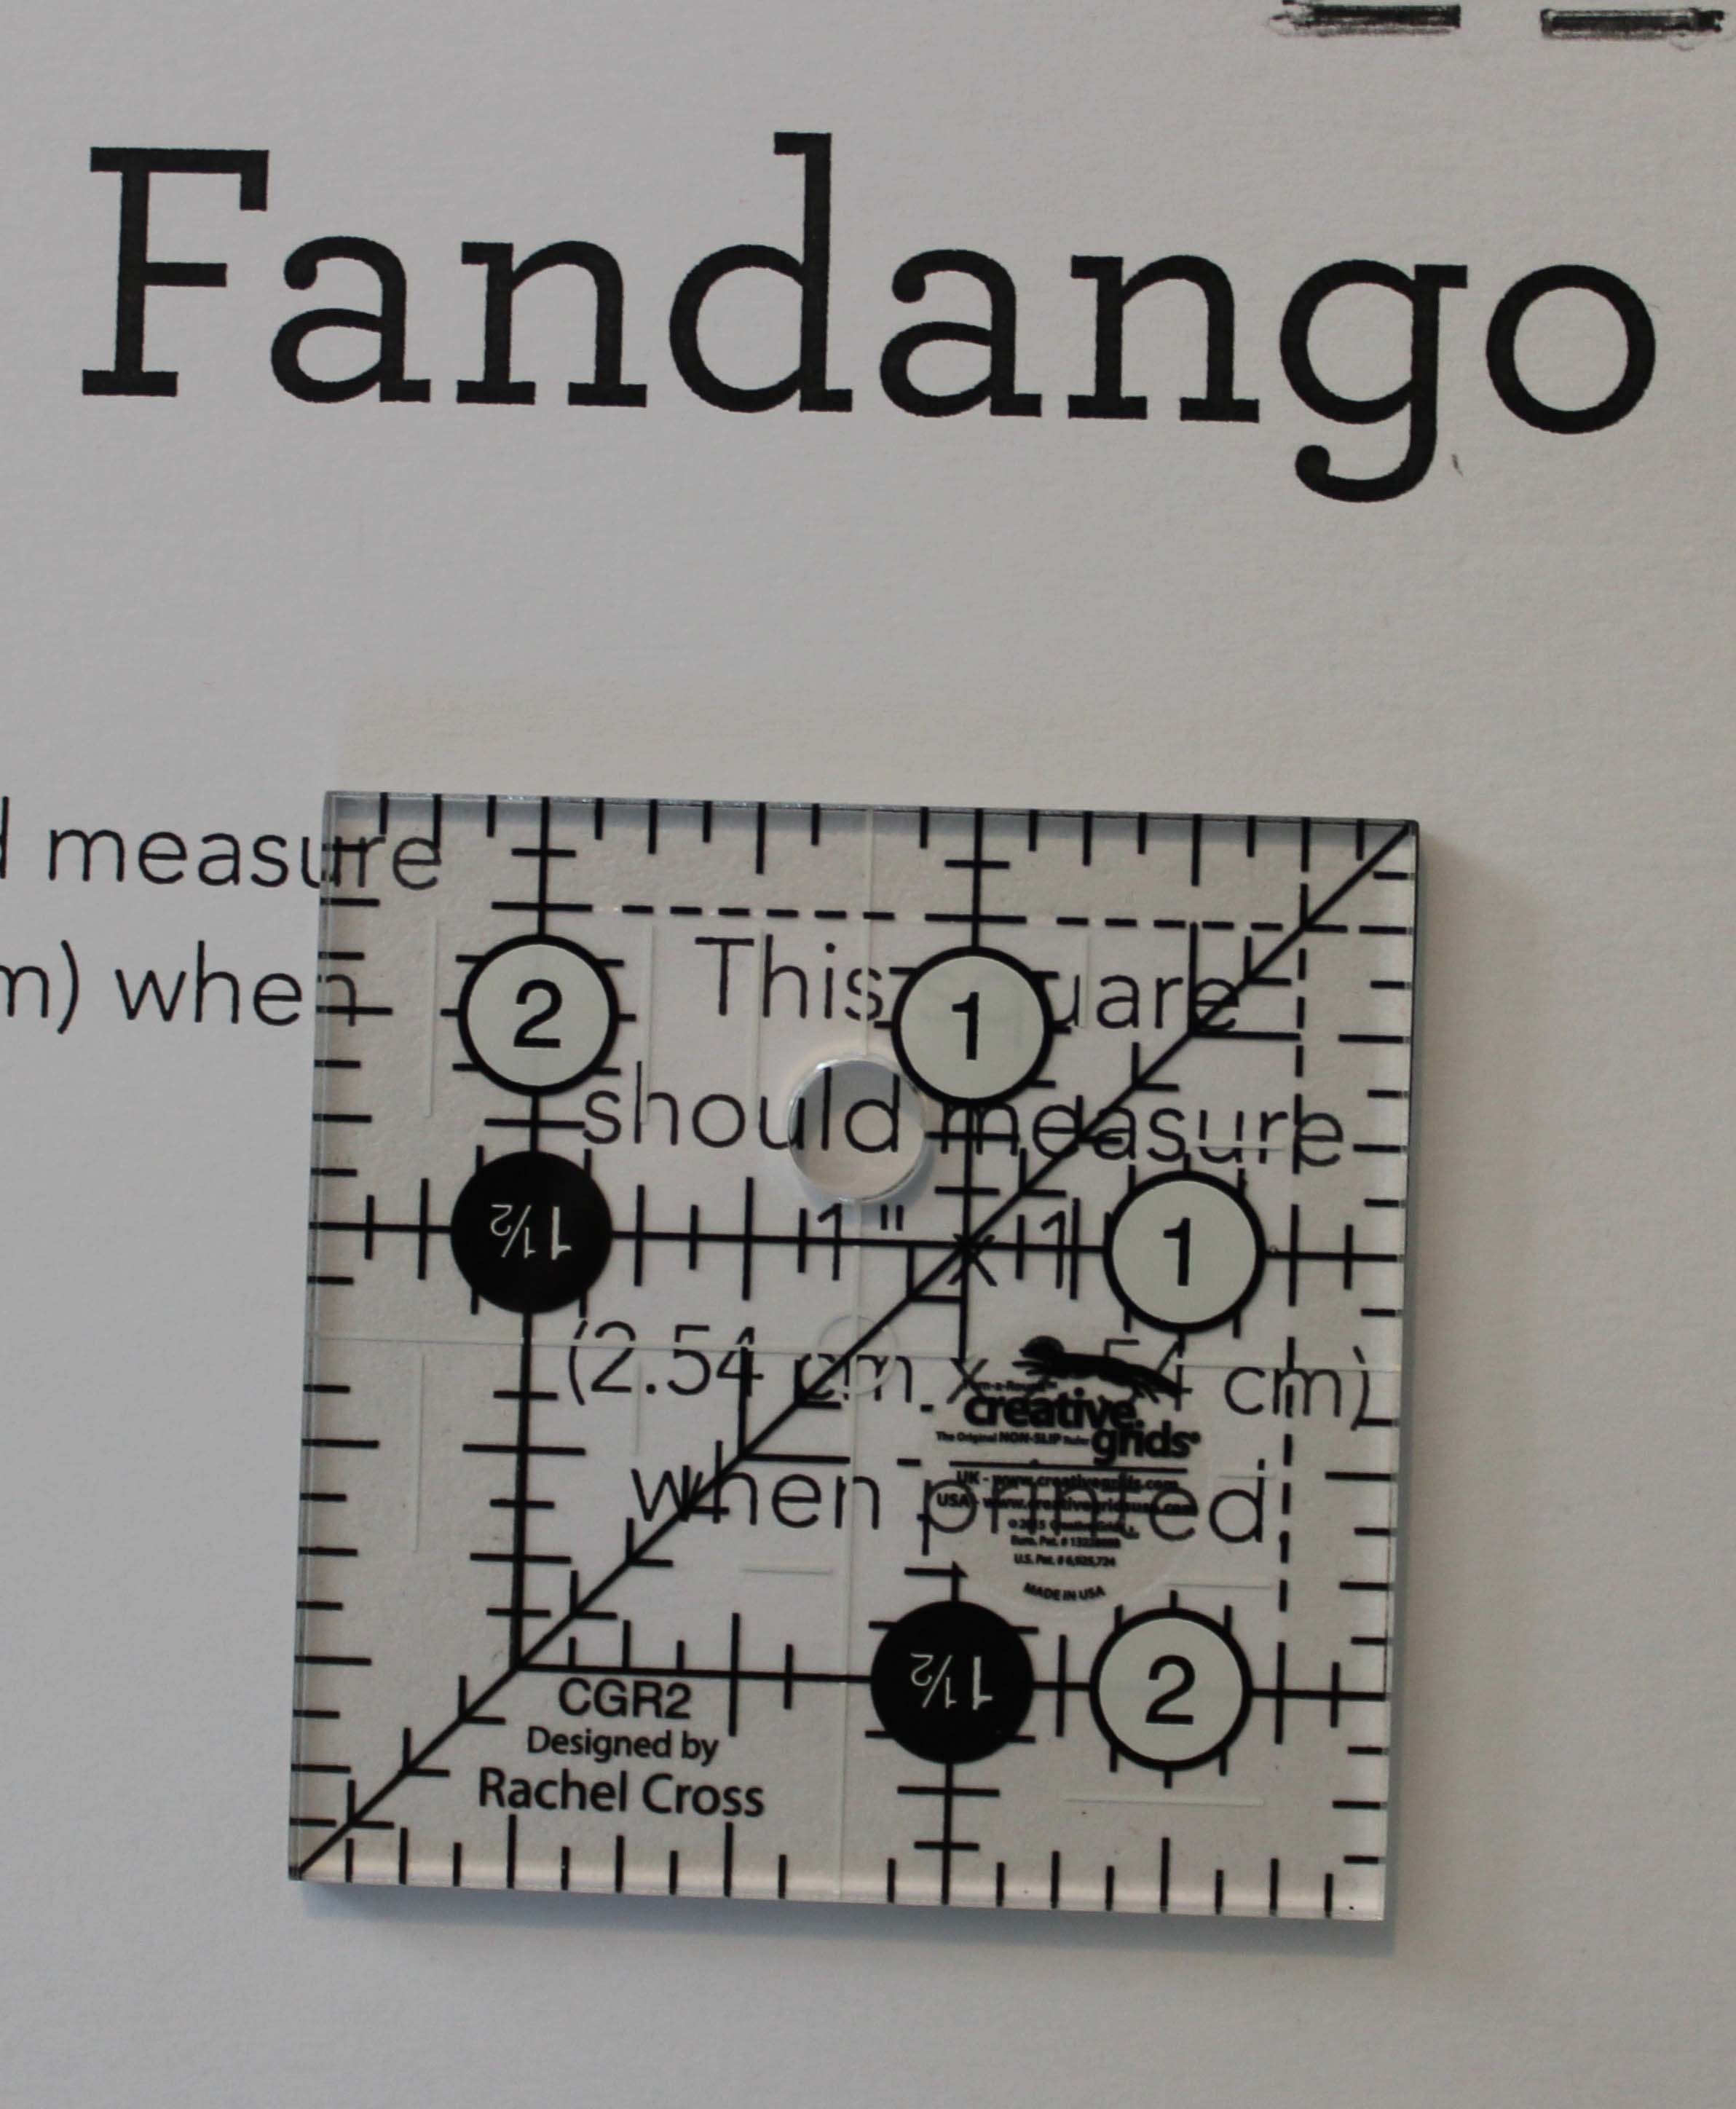
In the upper right corner of each template page you are copying is a small square.  This square should measure 2 inches by 2 inches after you enlarge the pattern.  It is REALLY, REALLY important to check and double check this before you continue copying.

tt1a

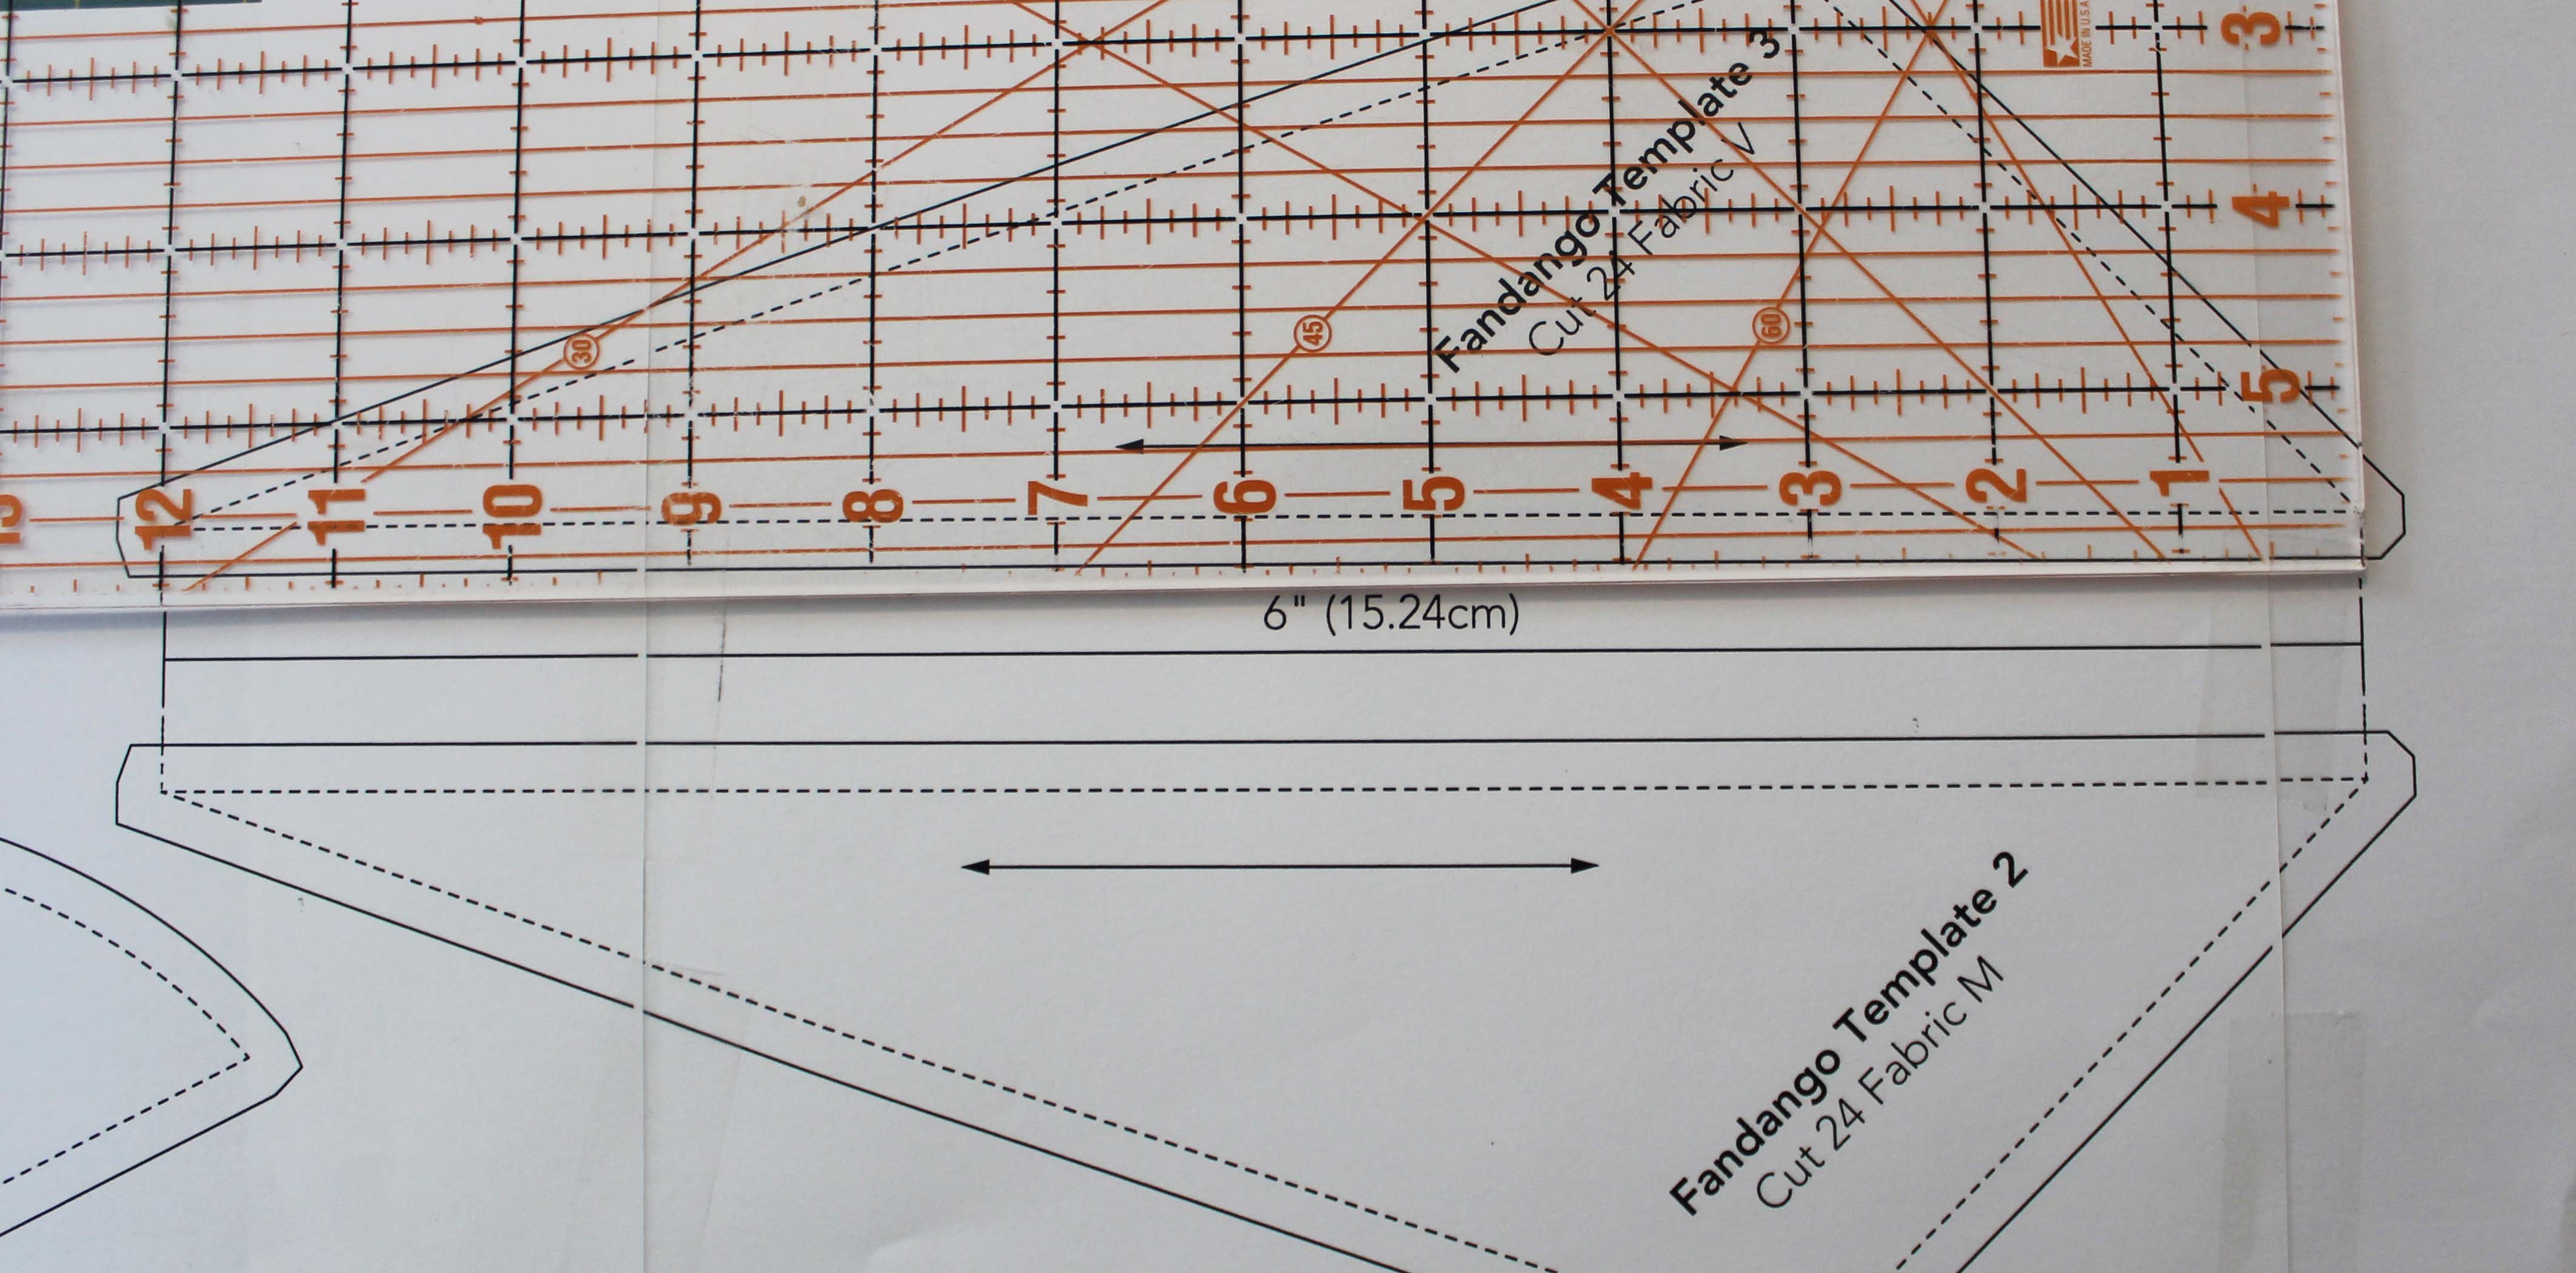
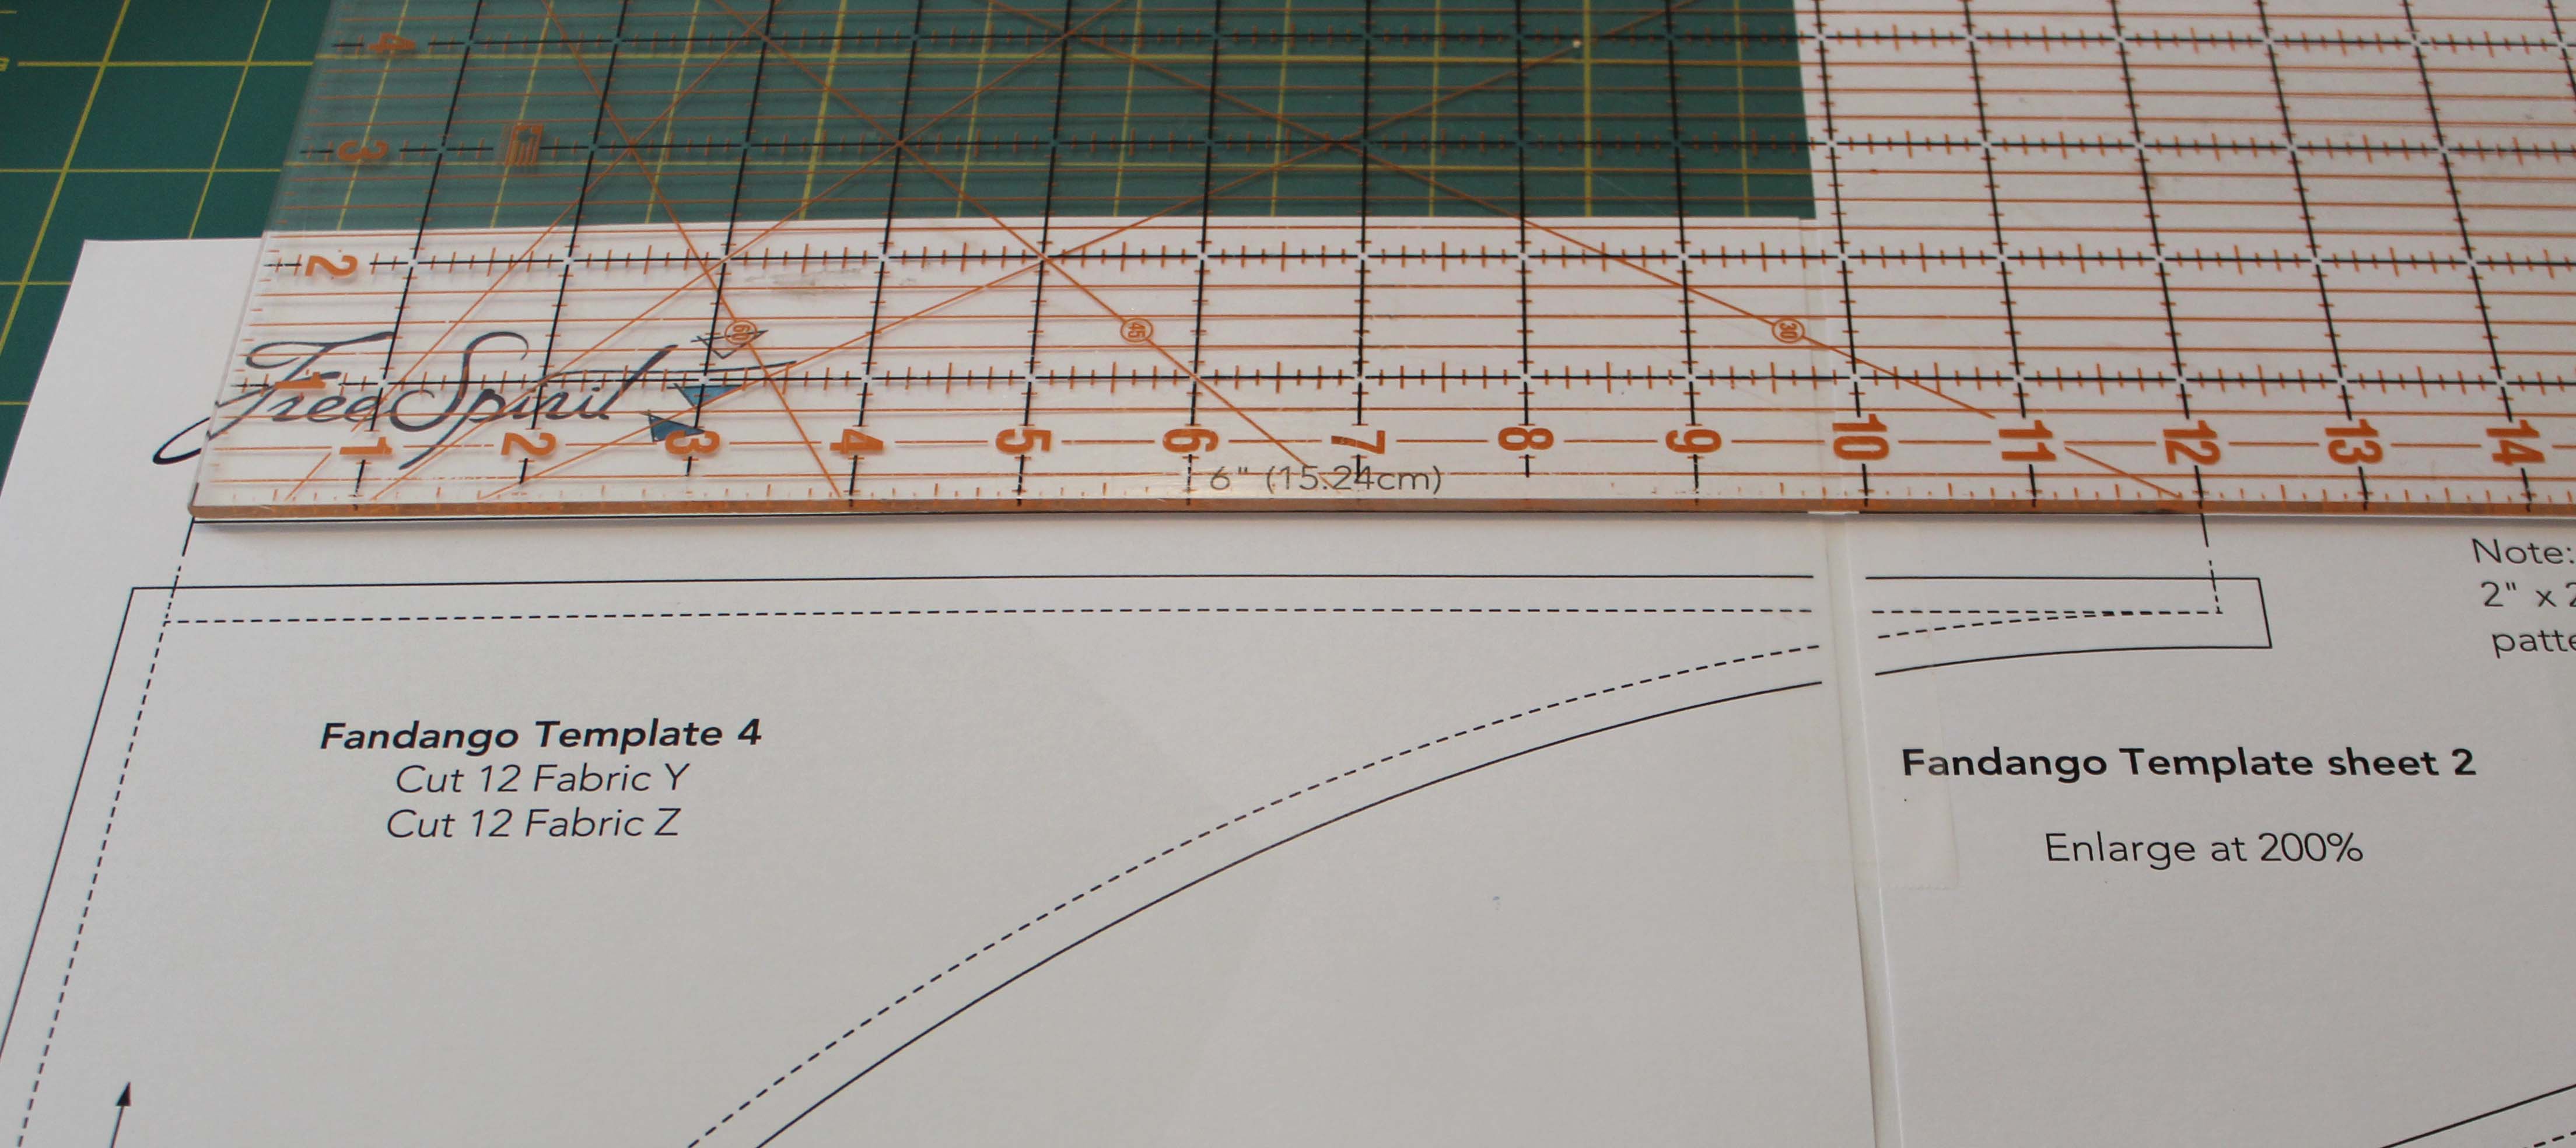
Also, Templates 2, 3 and 4 have a 6 inch measurement guide that should measure 12 inches after copying.

This measurement guide came in very helpful for me, since one of my templates didn’t overlap after I copied them.  I was able to line it up with the ruler and add a piece of paper in the gap.  You can see it above on the right.

I purchased template material at my local store, but sadly it didn’t measure big enough for template 4 so I had to tape two pieces together.

I laid the paper templates on my cutting mat and taped them down, then I laid the template acrylic on top and taped it down.  Seriously, I did a lot of taping.  In fact, the hardest part of all of this was tracking which child had taken my tape dispenser from my room!

tt1d

I used an extra fine tip sharpie to mark the templates and then a razor blade and ruler to cut along the outer lines

tt1f

The curves were done free hand, very slowly.

All cut out and I still have 10 fingers!

tt1g

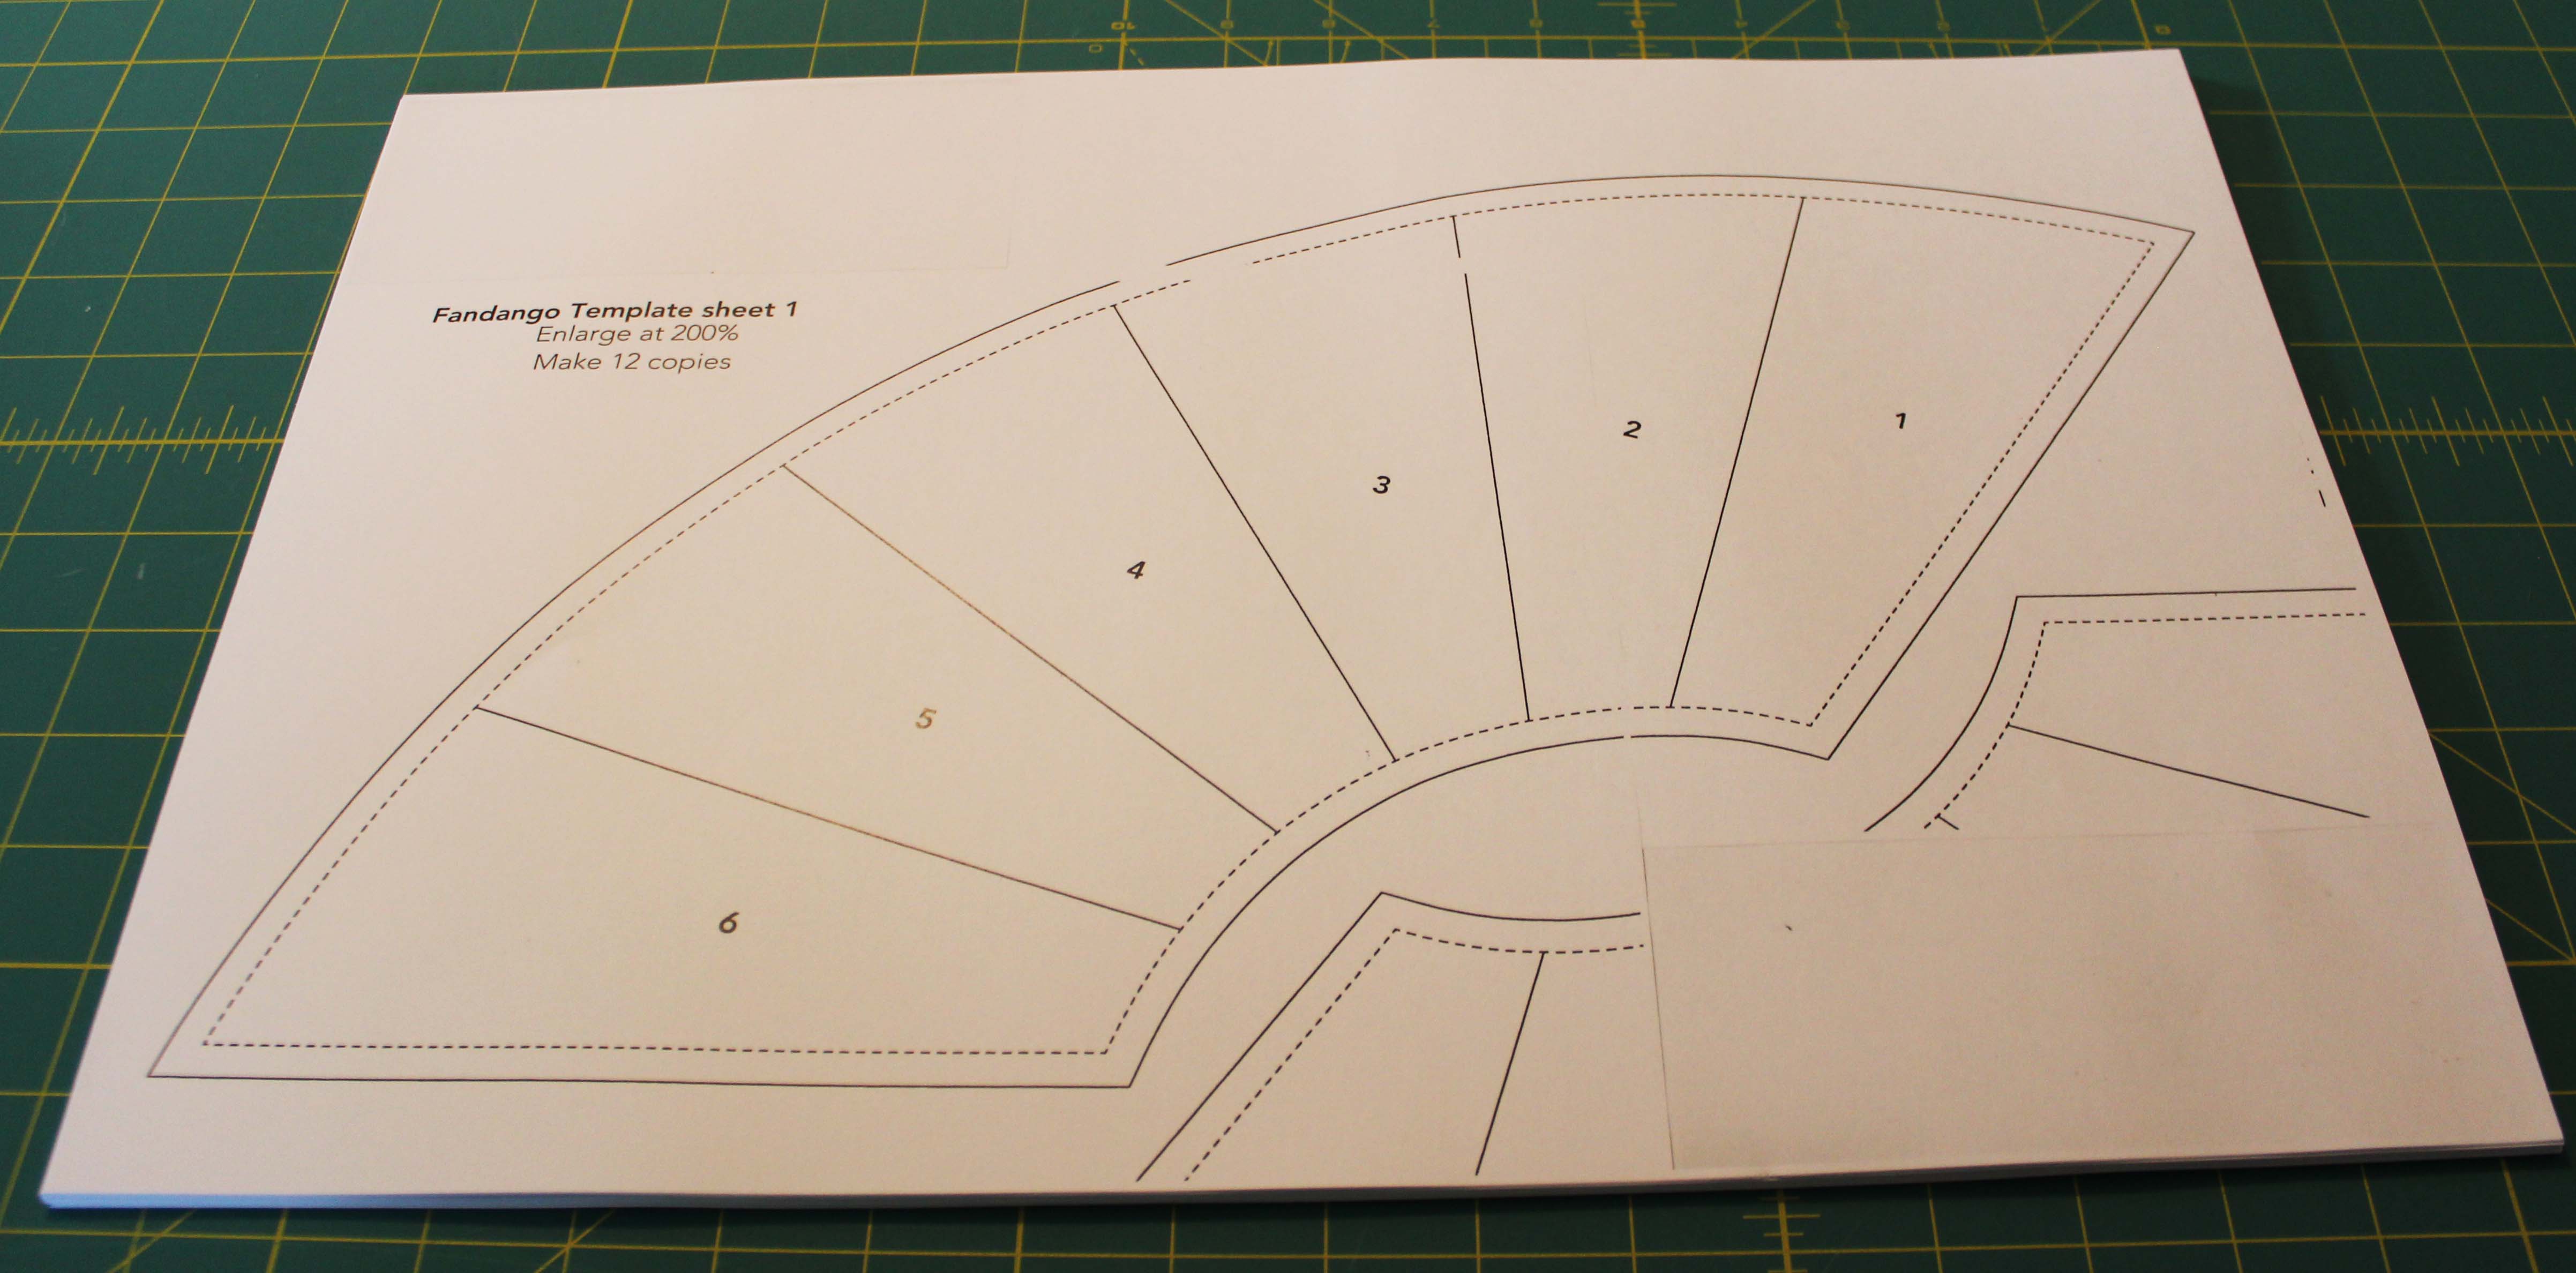
The paper piecing templates were just enlarged onto 11×17 paper.  I’ve always used regular paper when I paper piece with very tiny stitches and its always just been fine.  There are two curved pieces on the original pattern and you are supposed to make 12 copies.  I couldn’t see any difference between the two, so I enlarged the top one and made 30 copies (24 plus extras for mistakes)

tt1e

I am looking forward to playing with the fabrics this week!  We are cutting the fabric next, but will be sewing soon!

Are there any tips in prepping that you used?  Feel free to share them here and on my instagram, @lovinglylissa.

Lovingly,

Lissa
Uncategorized

Tula Tuesdays

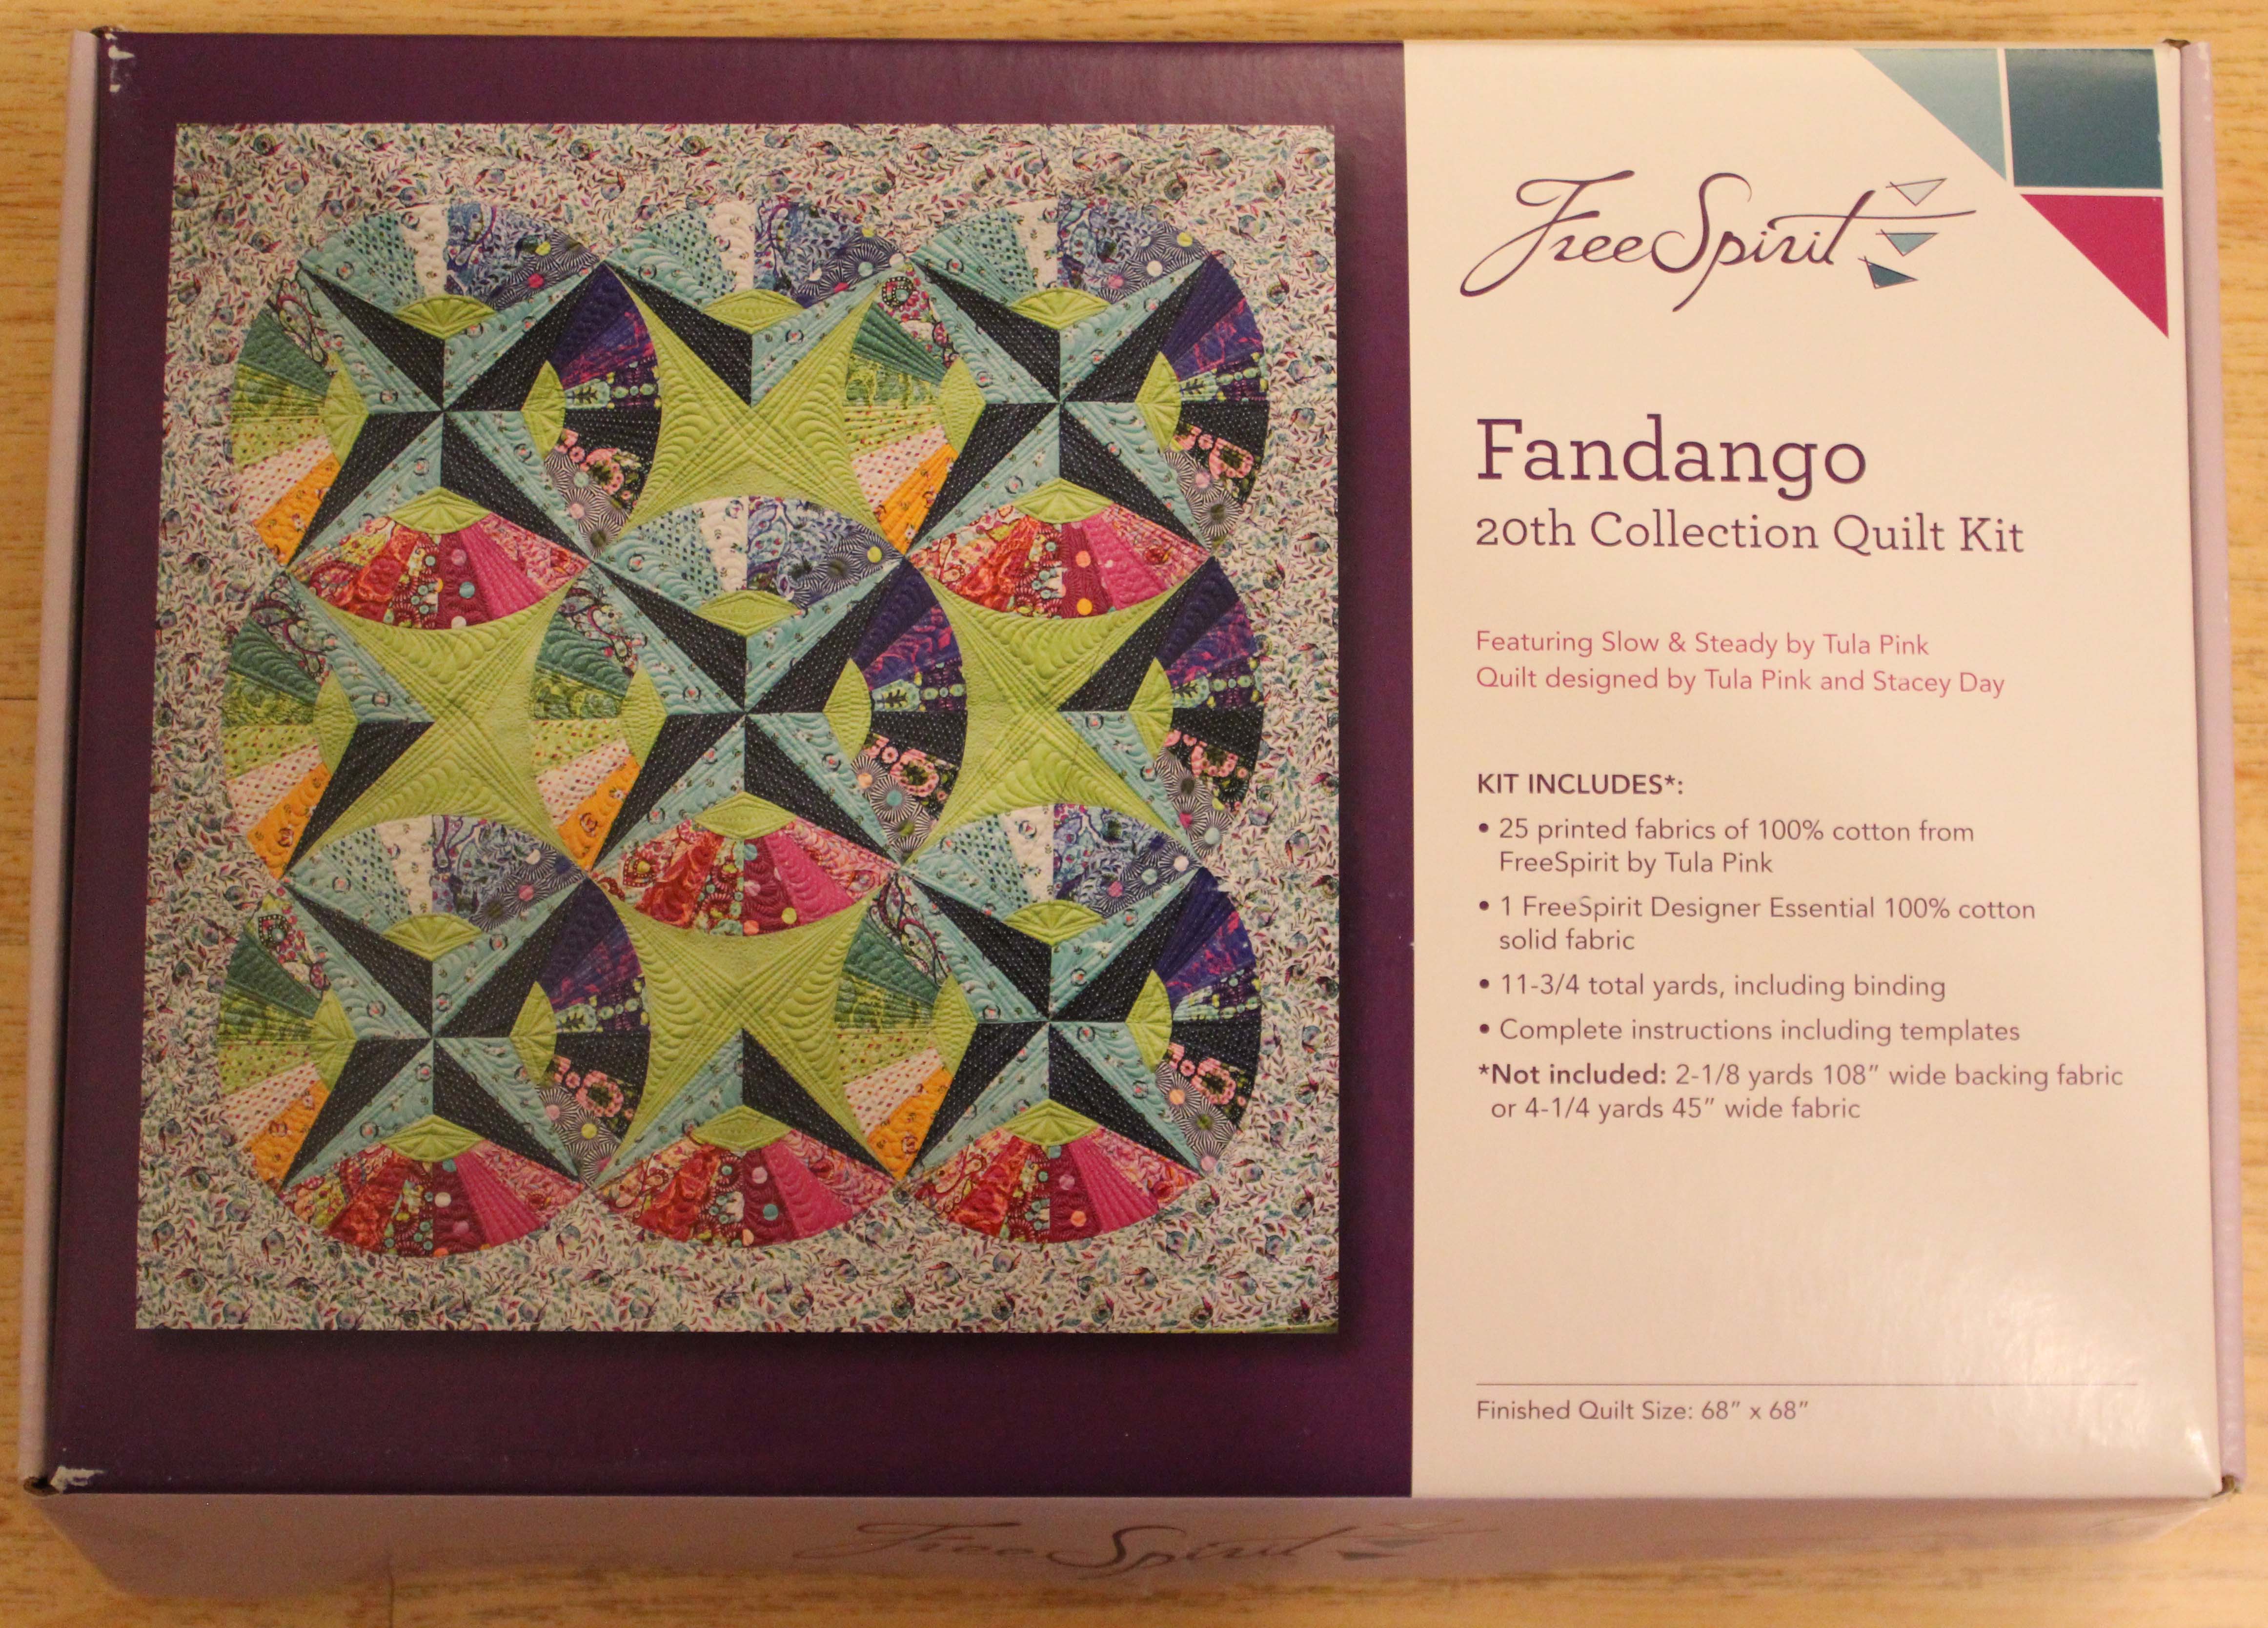
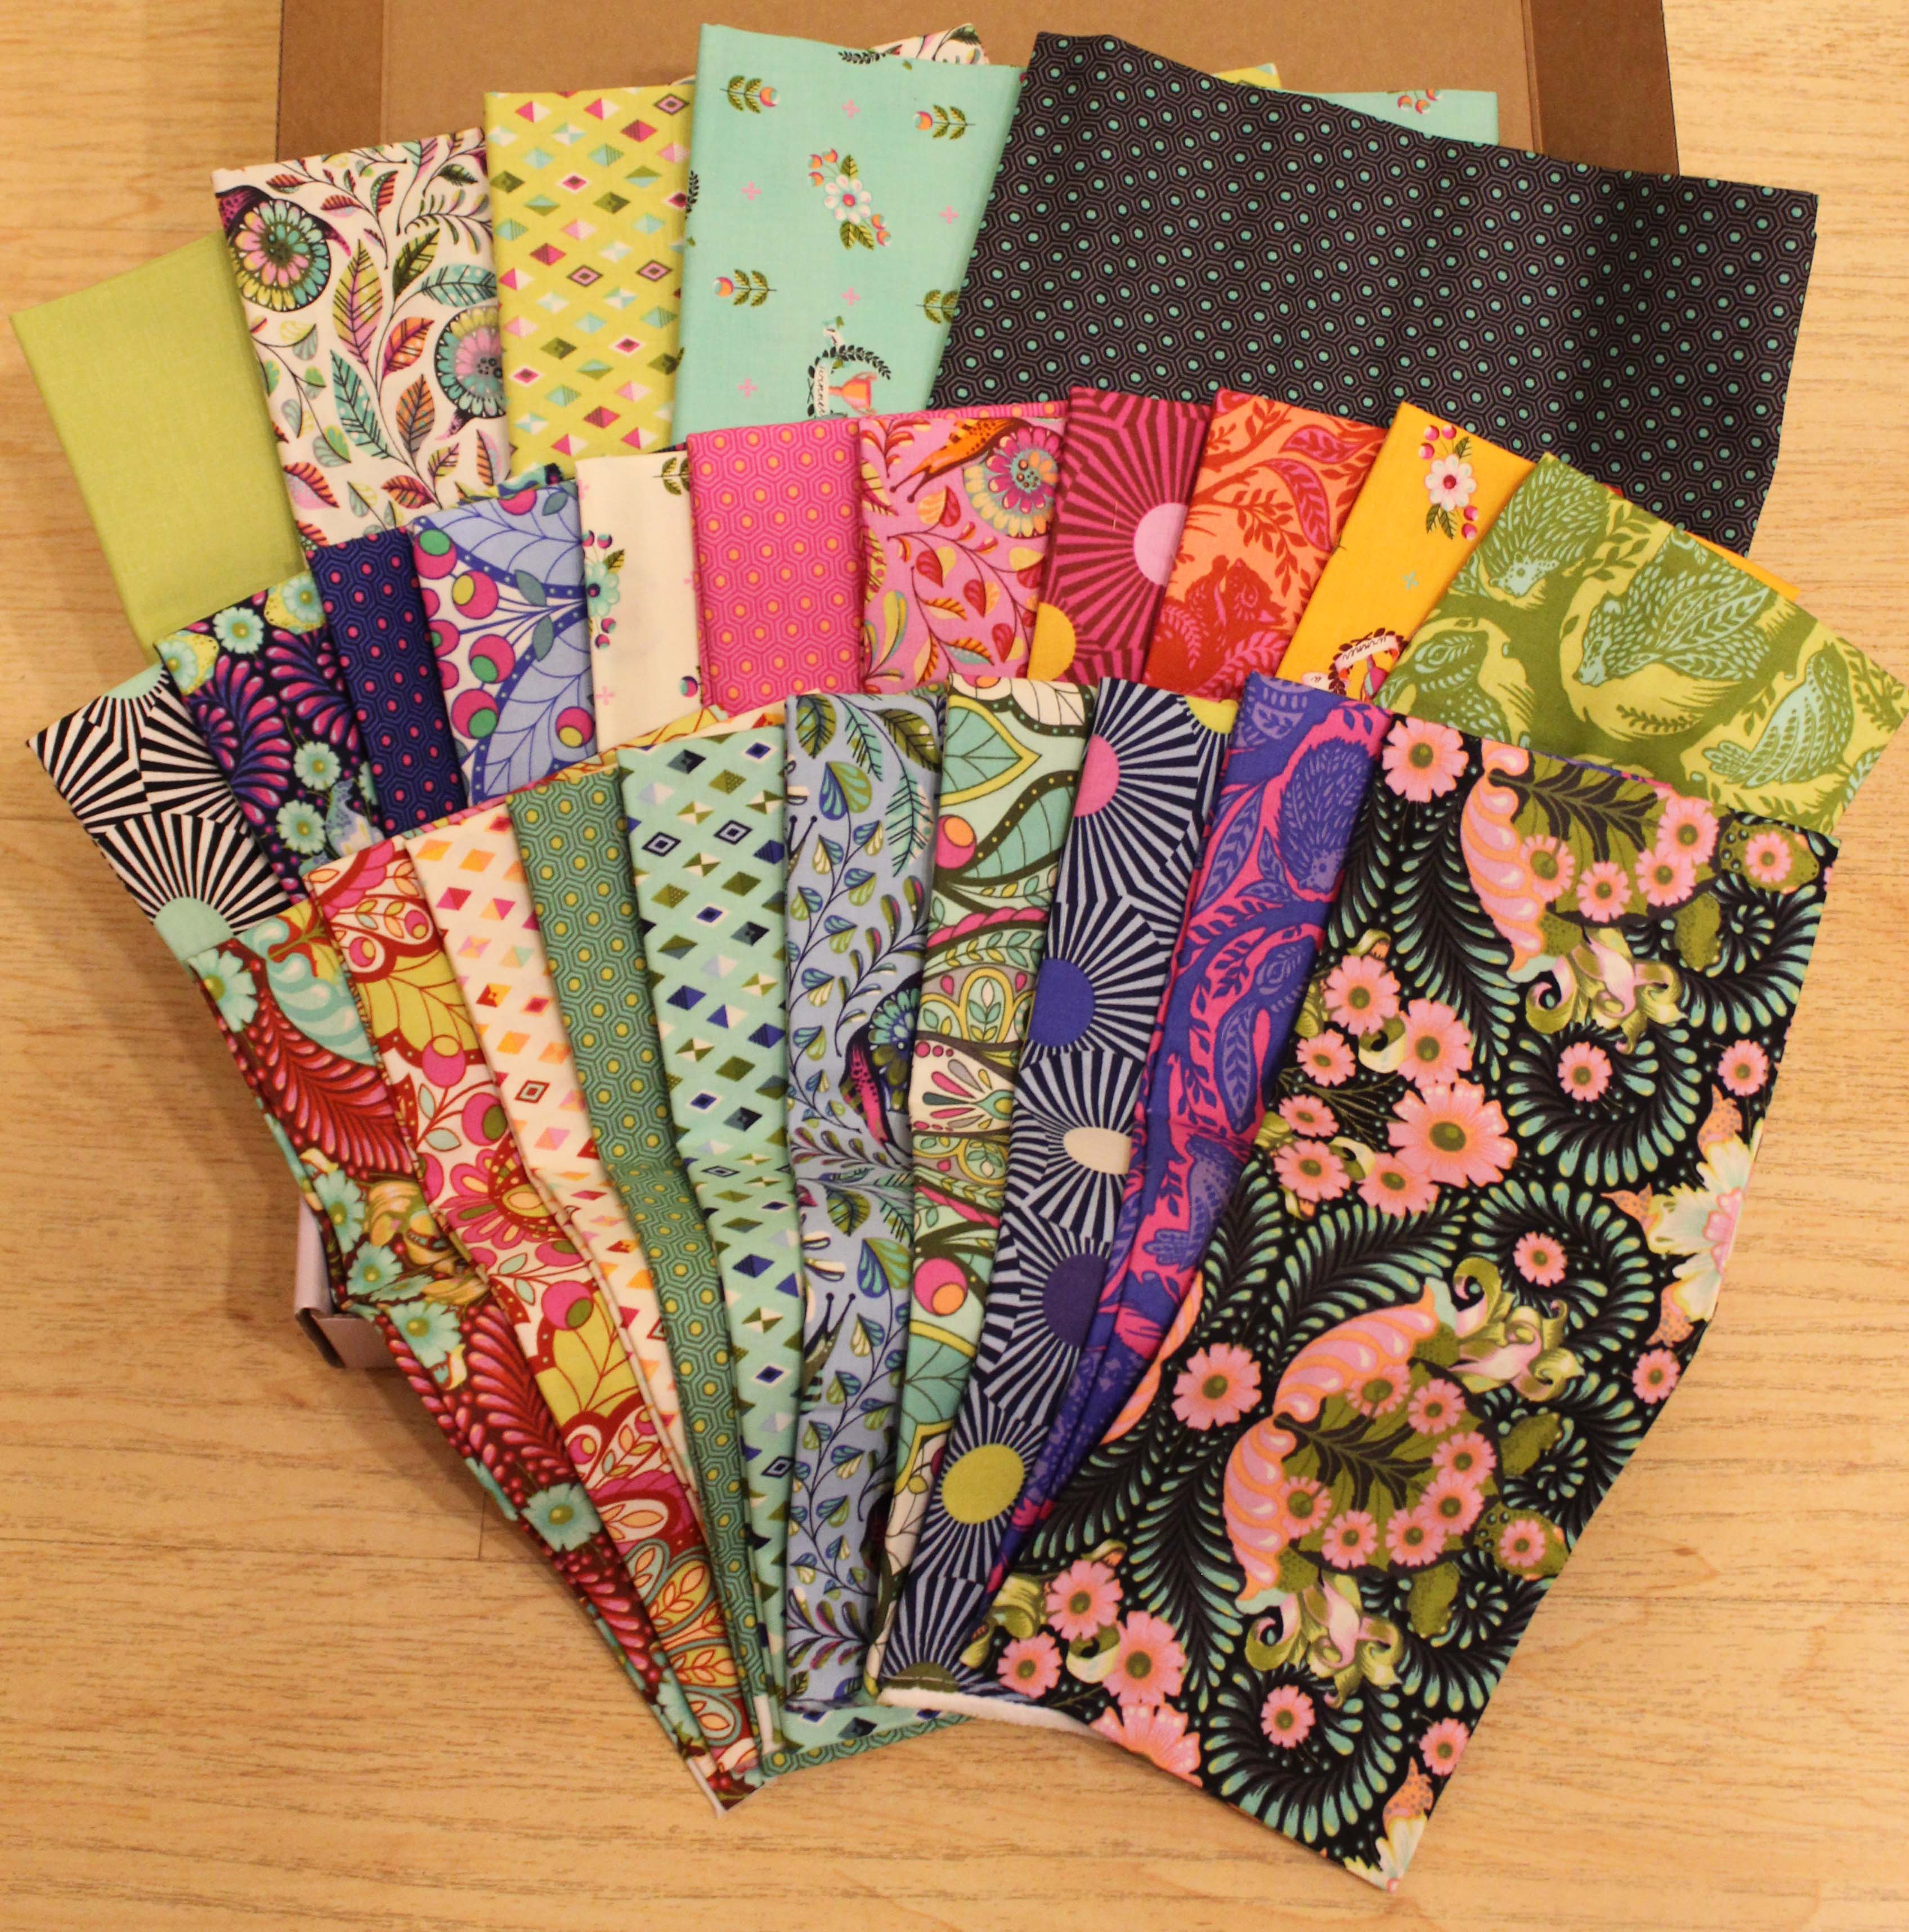
Have you seen the Fandango quilt kit using Tula Pink’s newest line, Slow and Steady?

It is breathtaking.  Mine arrived in the mail today.

fandango1

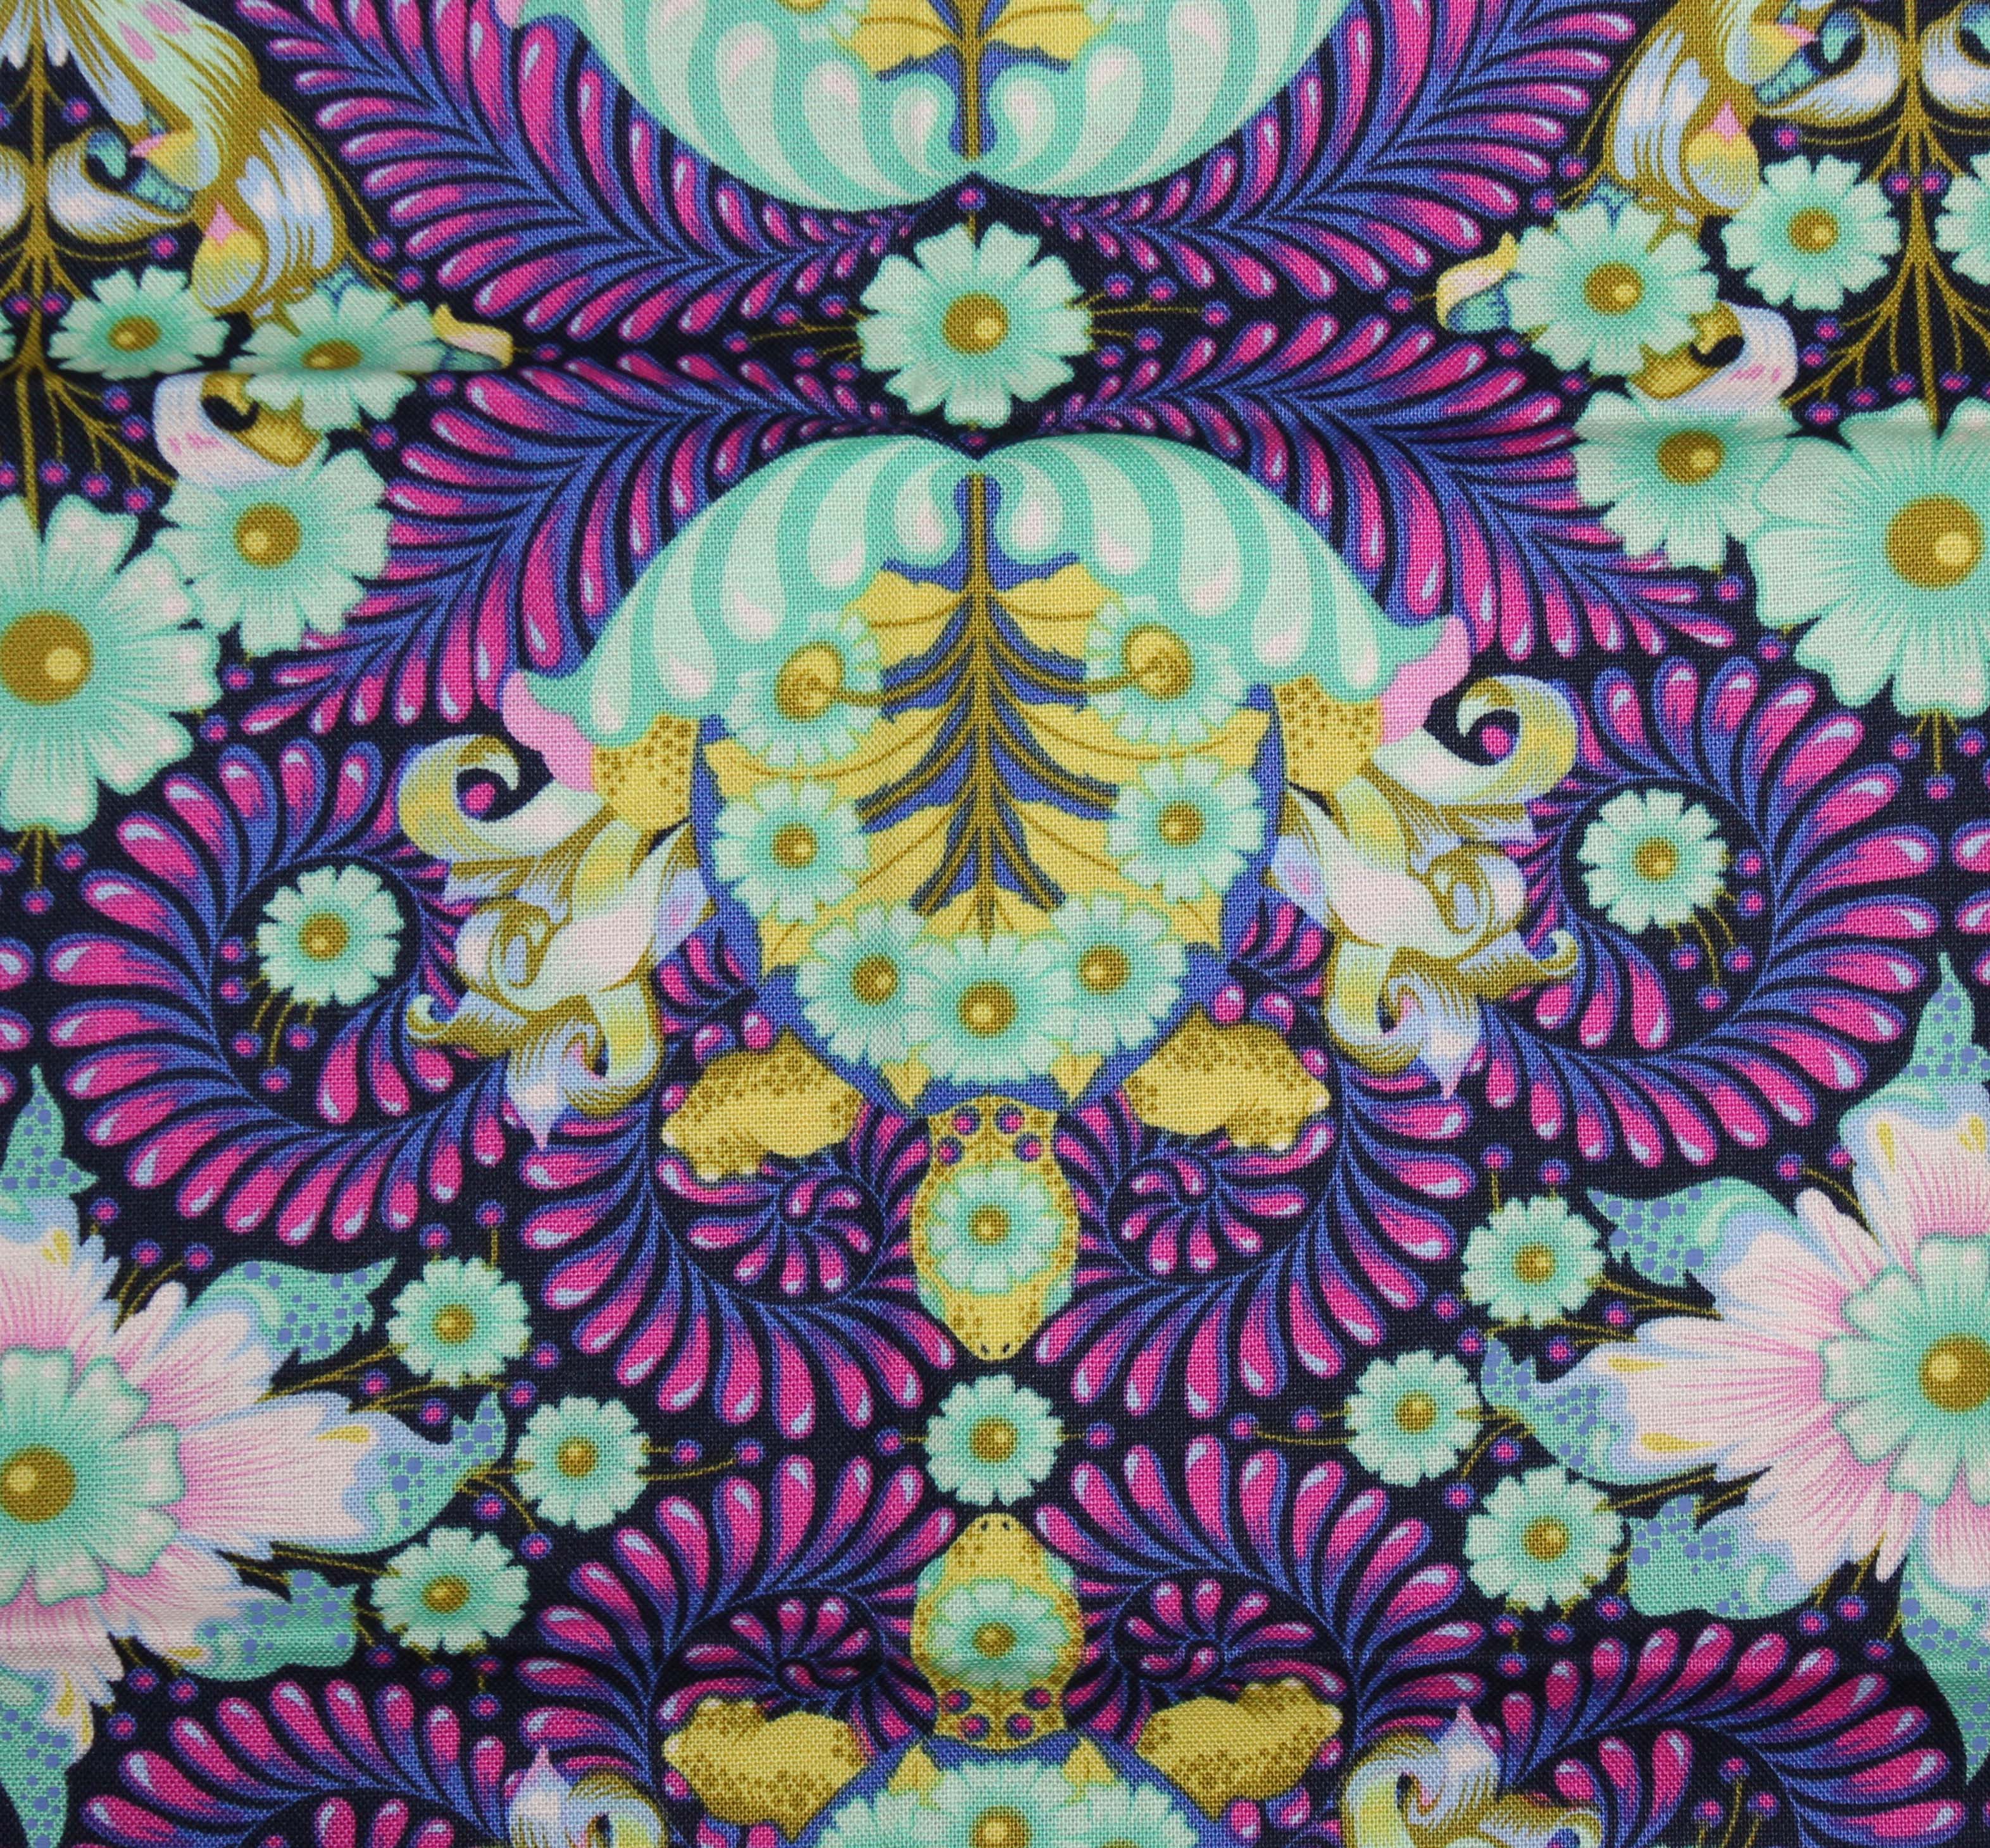
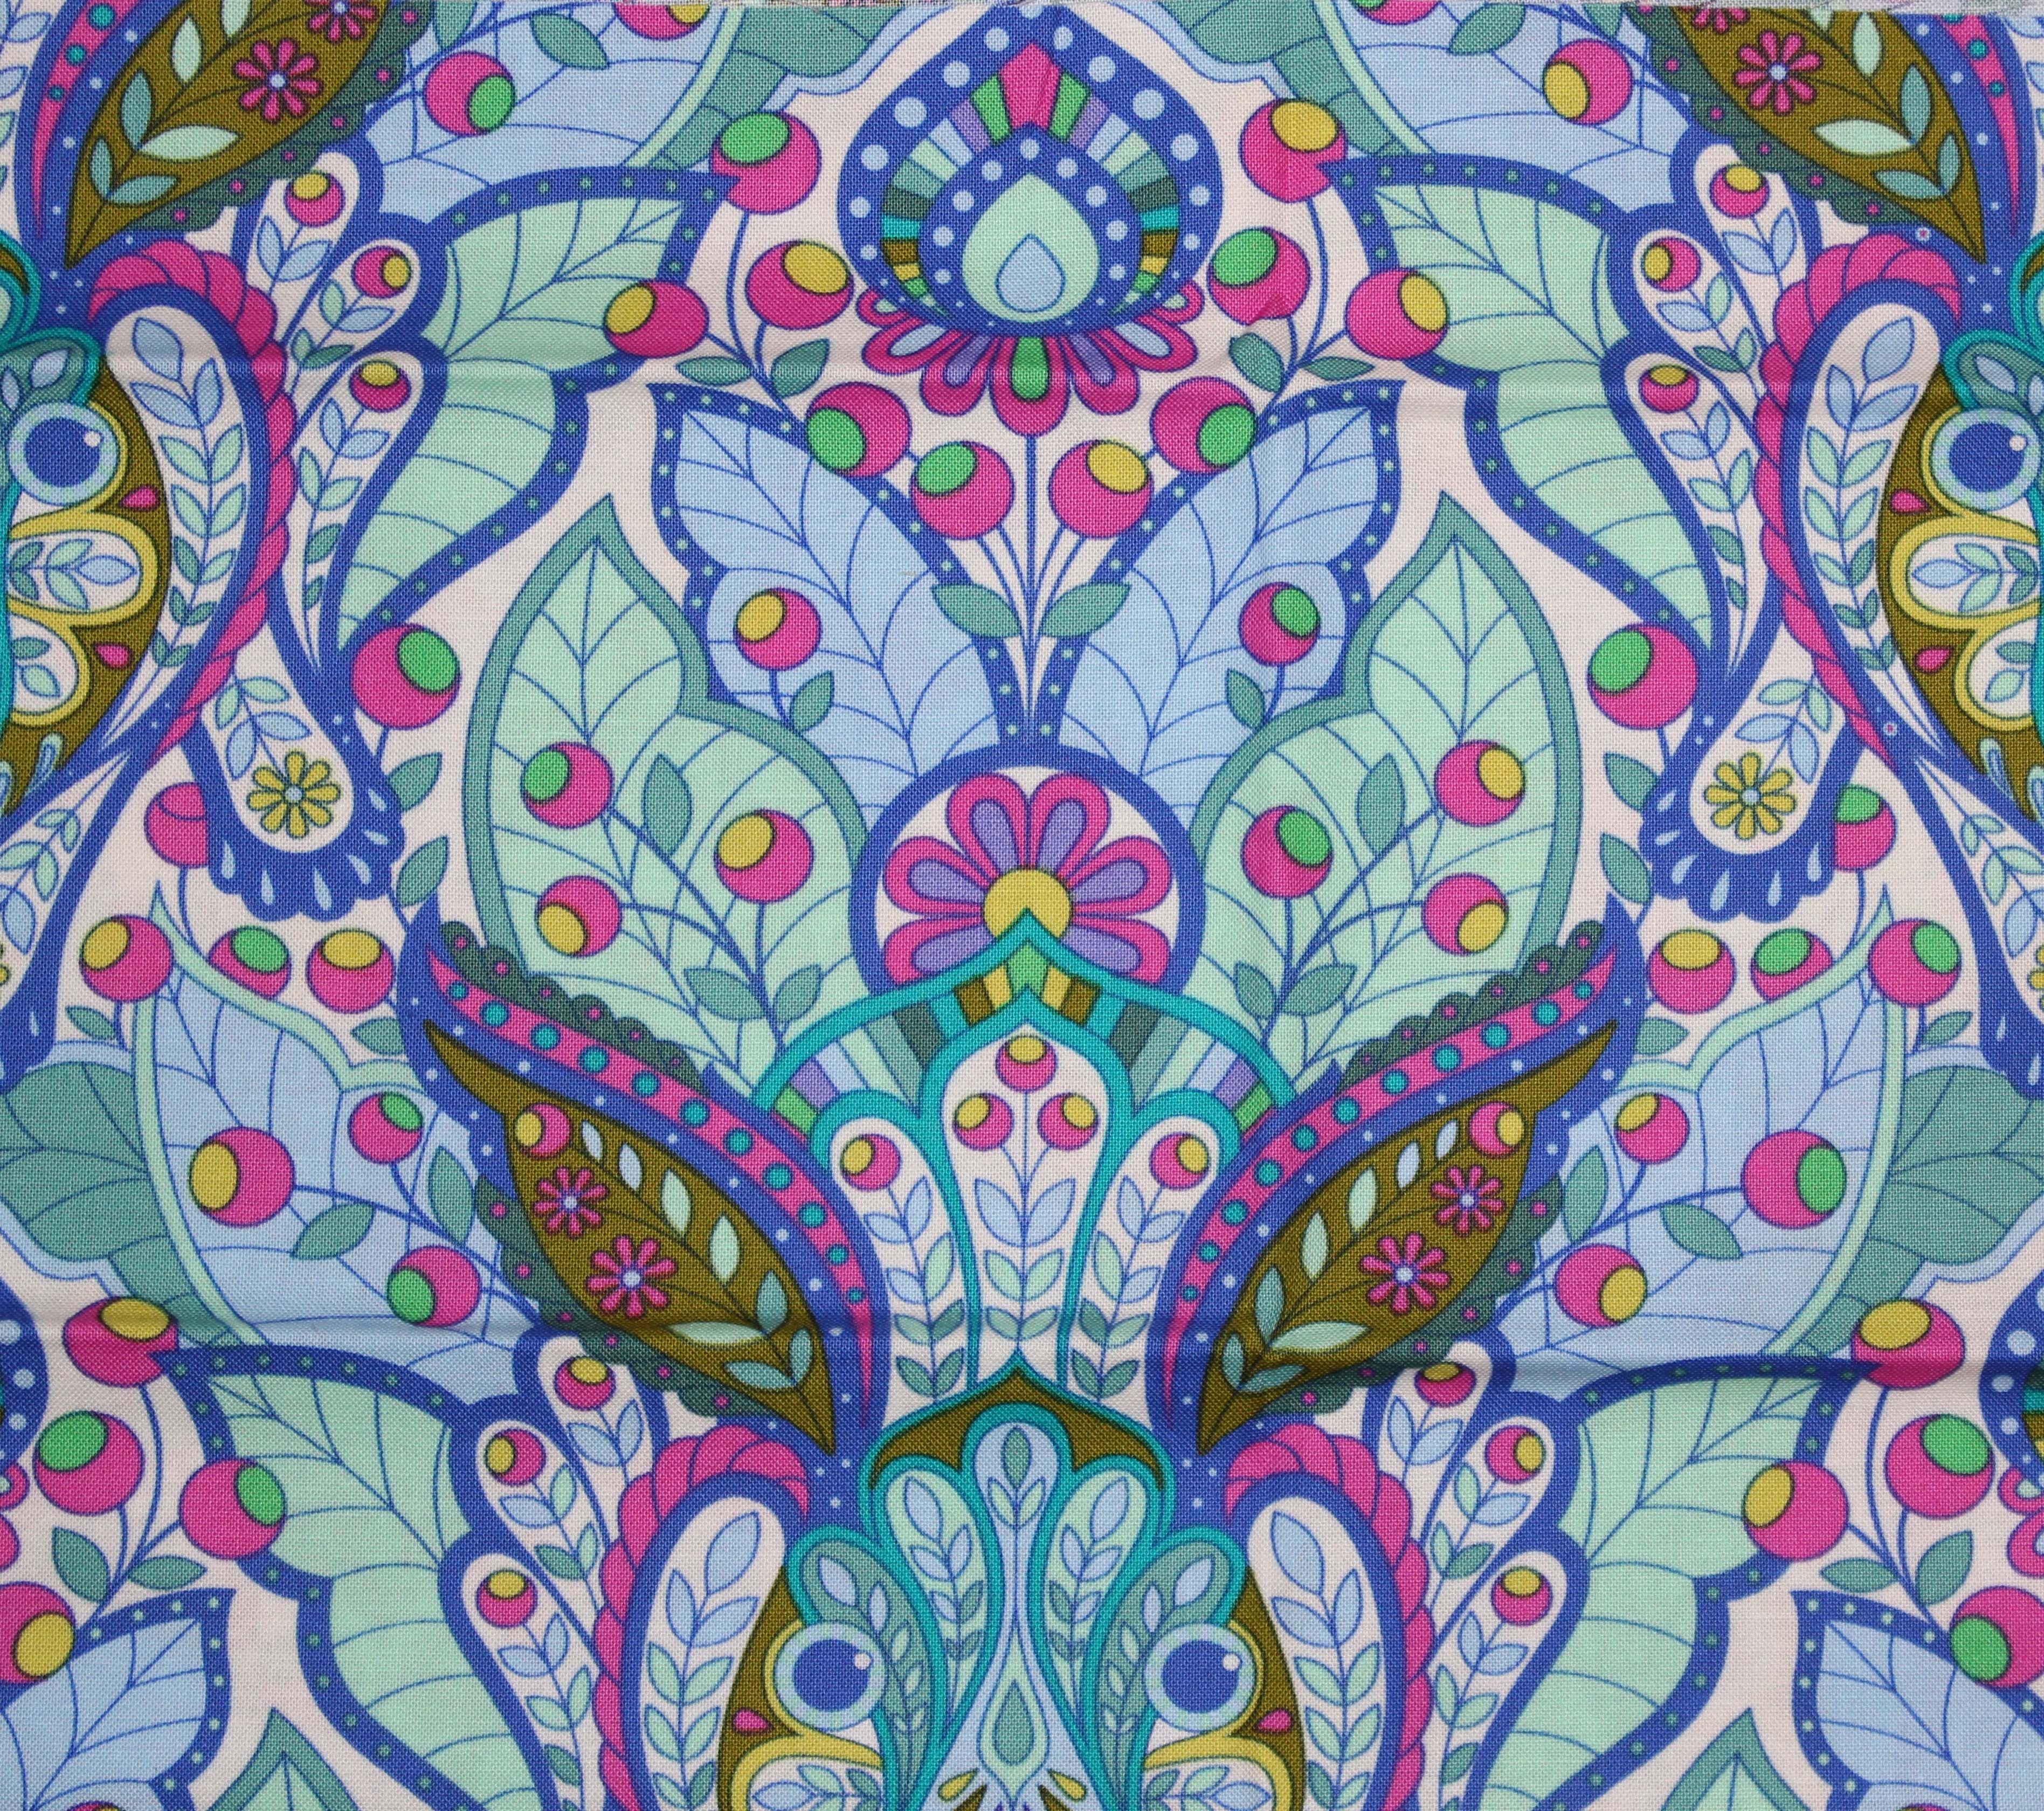
If the picture of the finished quilt isn’t tempting enough, look at these fabrics

fandango2

My word, I’m just drooling.  Look at these two pieces!  I think I may need some yards of these.

Let’s take a moment just to admire all of the above.

Done?  Good…down to business. (Don’t worry, you can always scroll back up to admire some more)

I’ve been looking over the directions and here are some things I want to share.

Techniques for piecing this include Foundation and Curved piecing and y-seams.  It is labelled advanced skill level.

Templates included need to be enlarged 200%.  And you will need plastic template materials.

I will be gathering all this up by next Tuesday, I hope you can too.

I’ll also be re-acquainting myself with paper piecing.  It’s been a while since I’ve done this.  The directions suggest this Paper Piecing Tutorial.

Craftsy has a nice step by step tutorial as well.

I’ve come up with a bit of a time line for this Quilt Along.  I plan on completing the steps on the following dates.  These can be subject to change as we go along.

October 4 – templates copied and prepared

October 11 – fabrics cut

October 18 – Group 1 blocks complete (steps 2-6)

October 25 – Group 2 blocks complete (steps 2-6)

November 1 –  Group 3 blocks complete (steps 2-6)

November 8 – Group 4 blocks complete (steps 2-6)

November 15 – Quilt top assembly.

December 1 for quilt finishing.

Now, this may be an ambitious timeline.  If it is, we can change it.  No worries.

I’ll be posting pictures on my Instagram, @lovinglylissa, so follow along there as well.  There will be more details and tips on the blog.

The pattern must be purchased with the kit, I will not be posting the pattern.

Everyone ready to dive in?

Let’s go!

Lovingly,

Lissa
 

Uncategorized

Where I’ve Been and Where I’m Going

Hello Everyone!  Long time no see.  The summer went by swiftly and we sure kept busy!

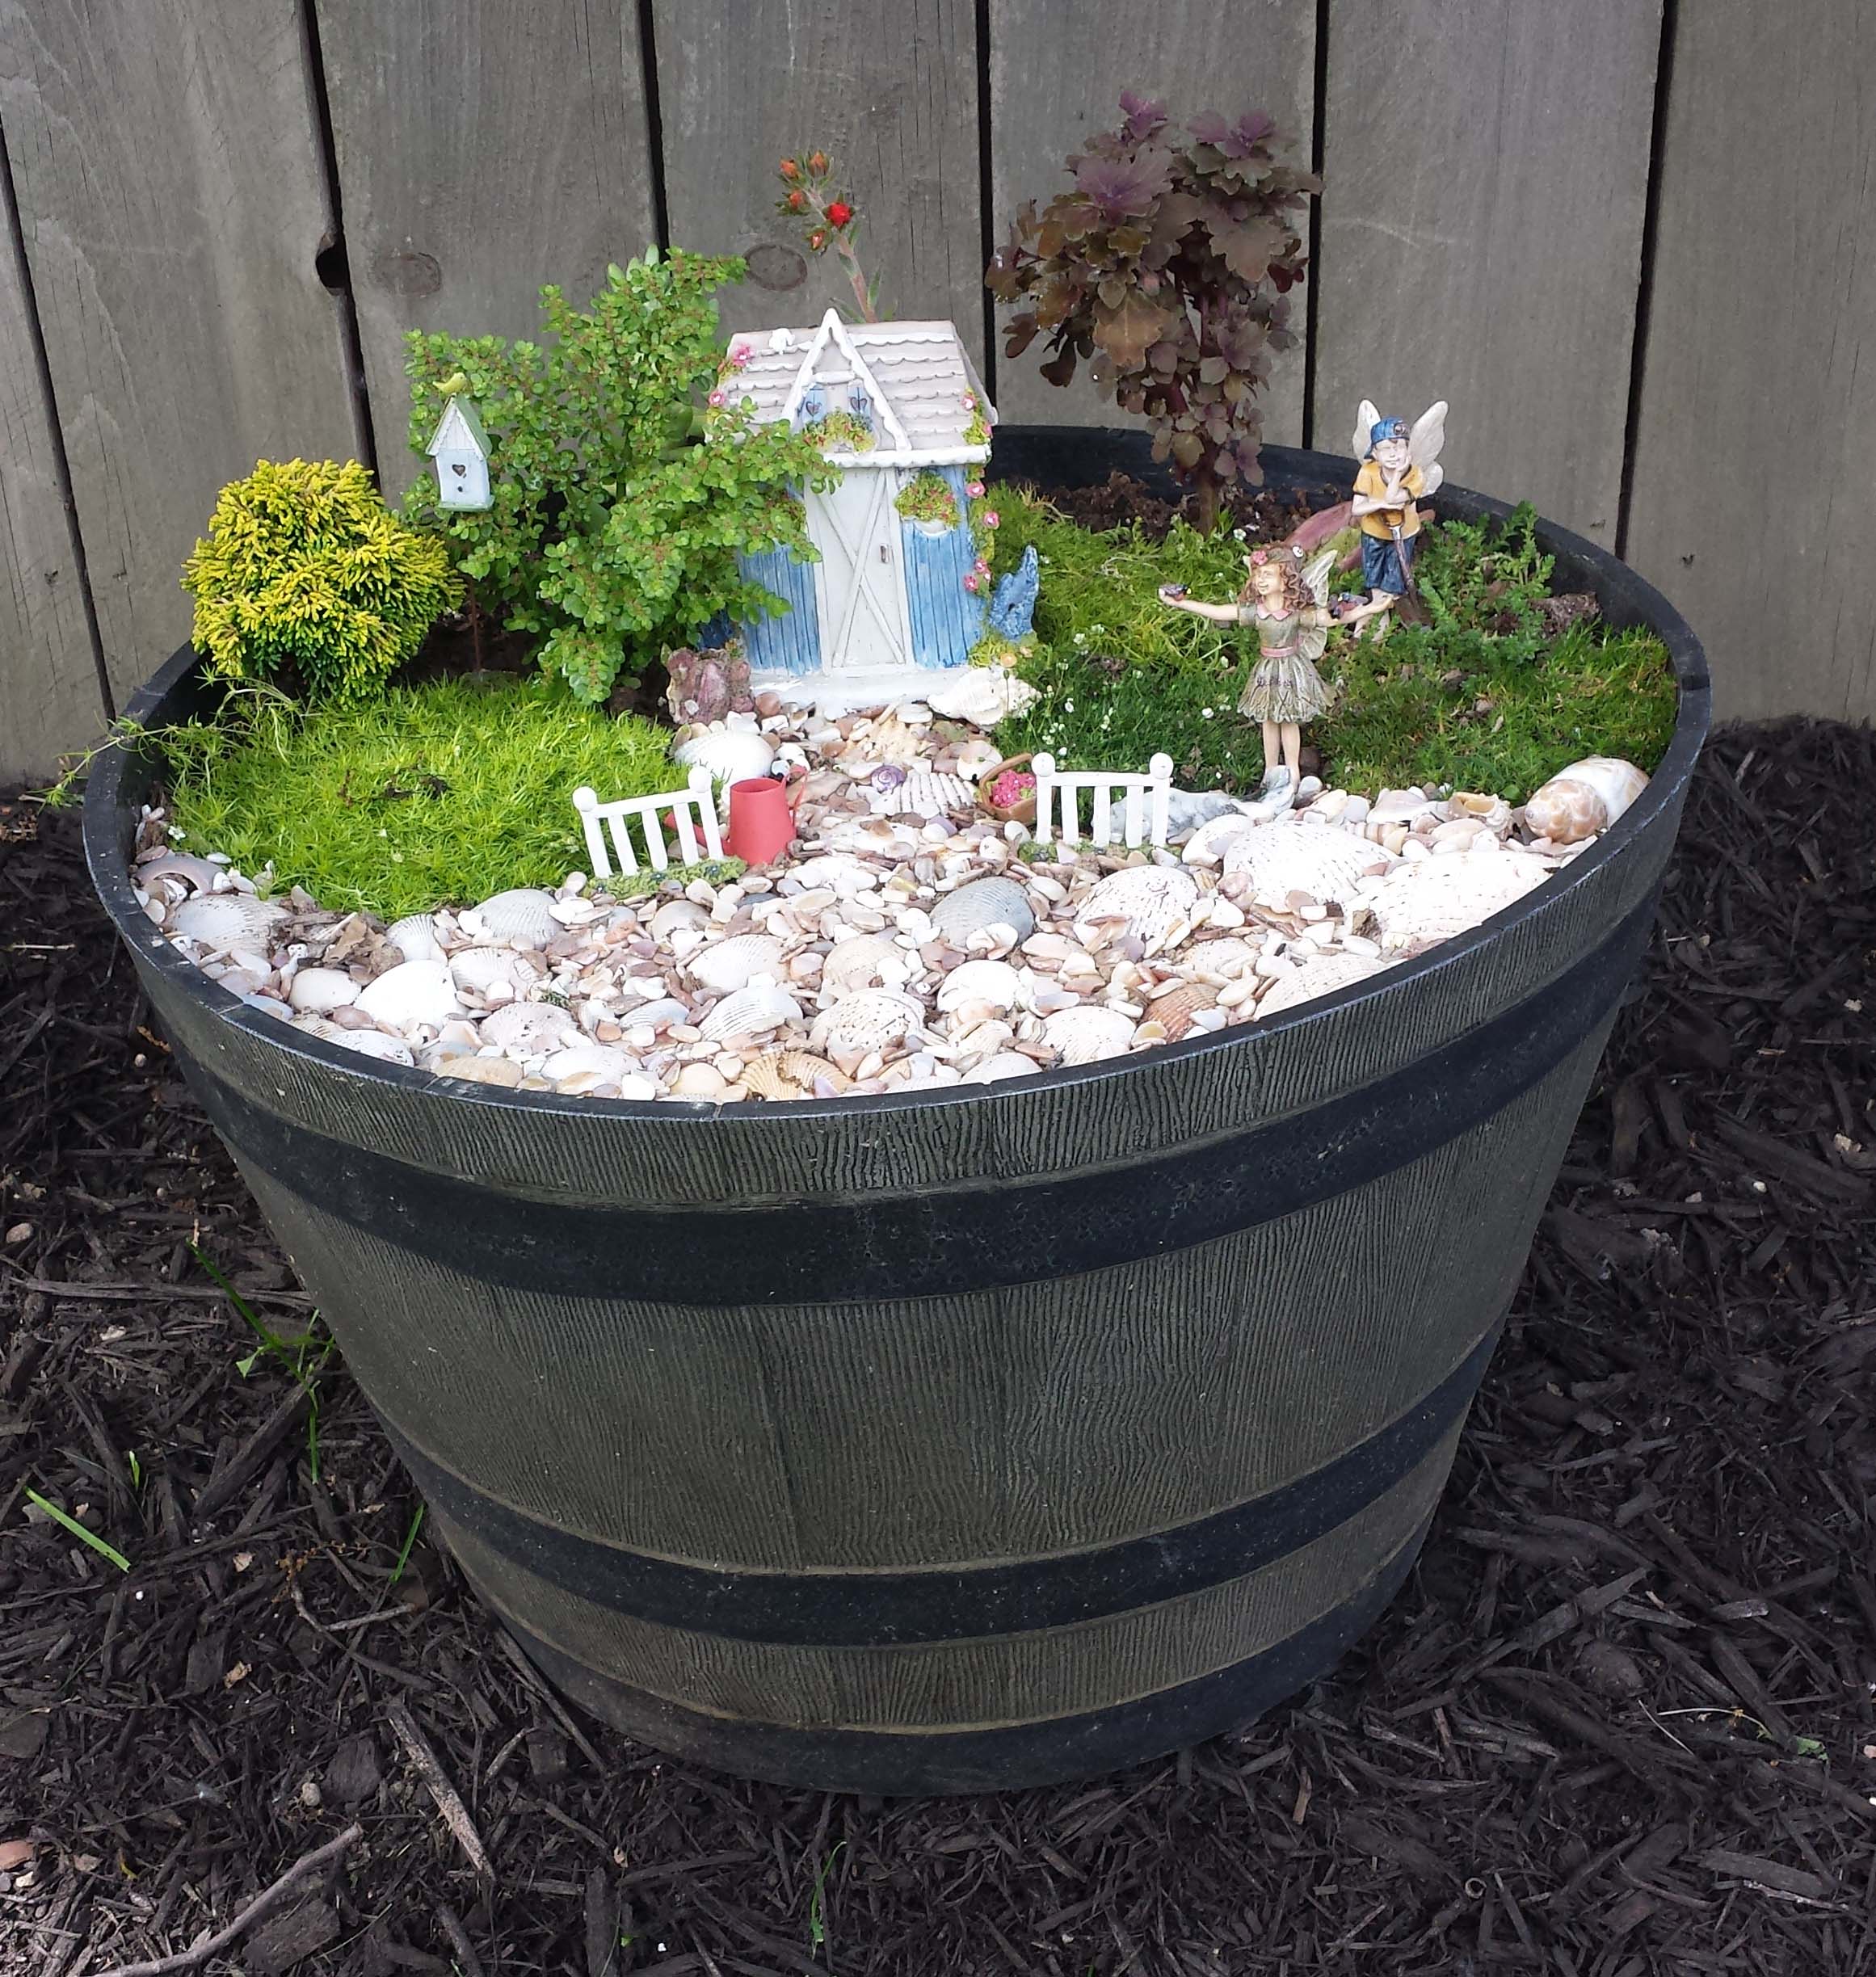
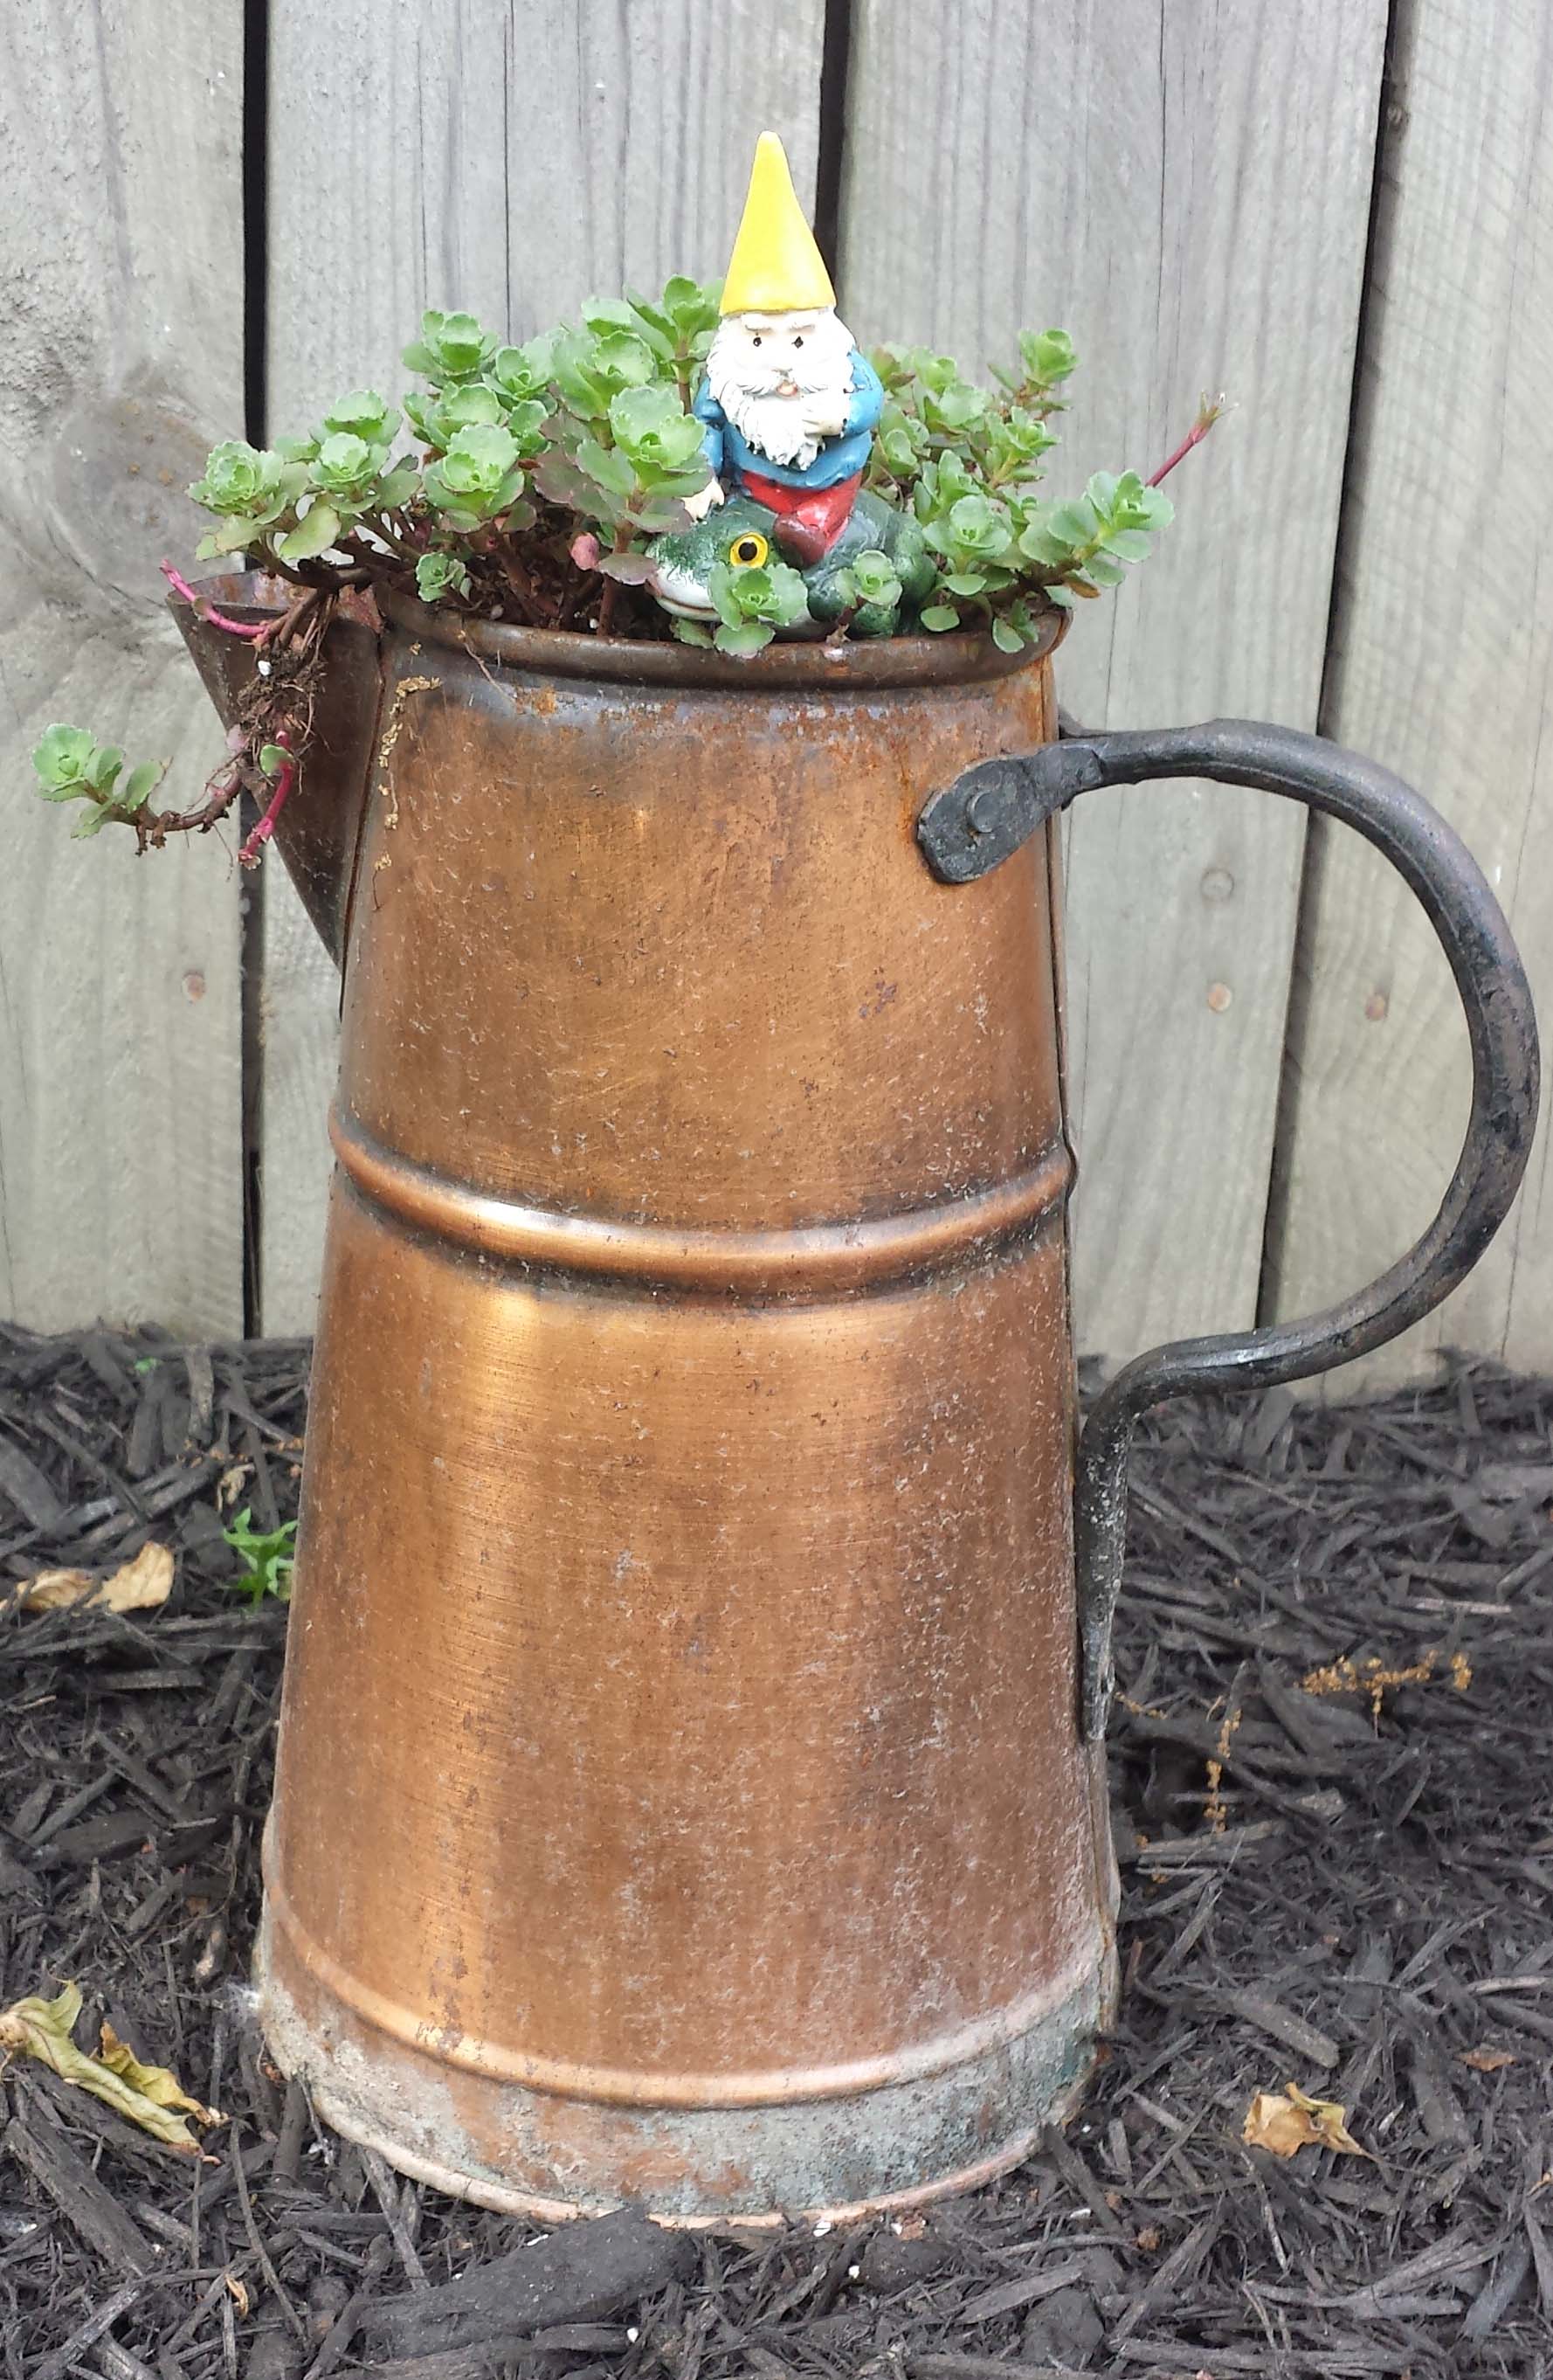
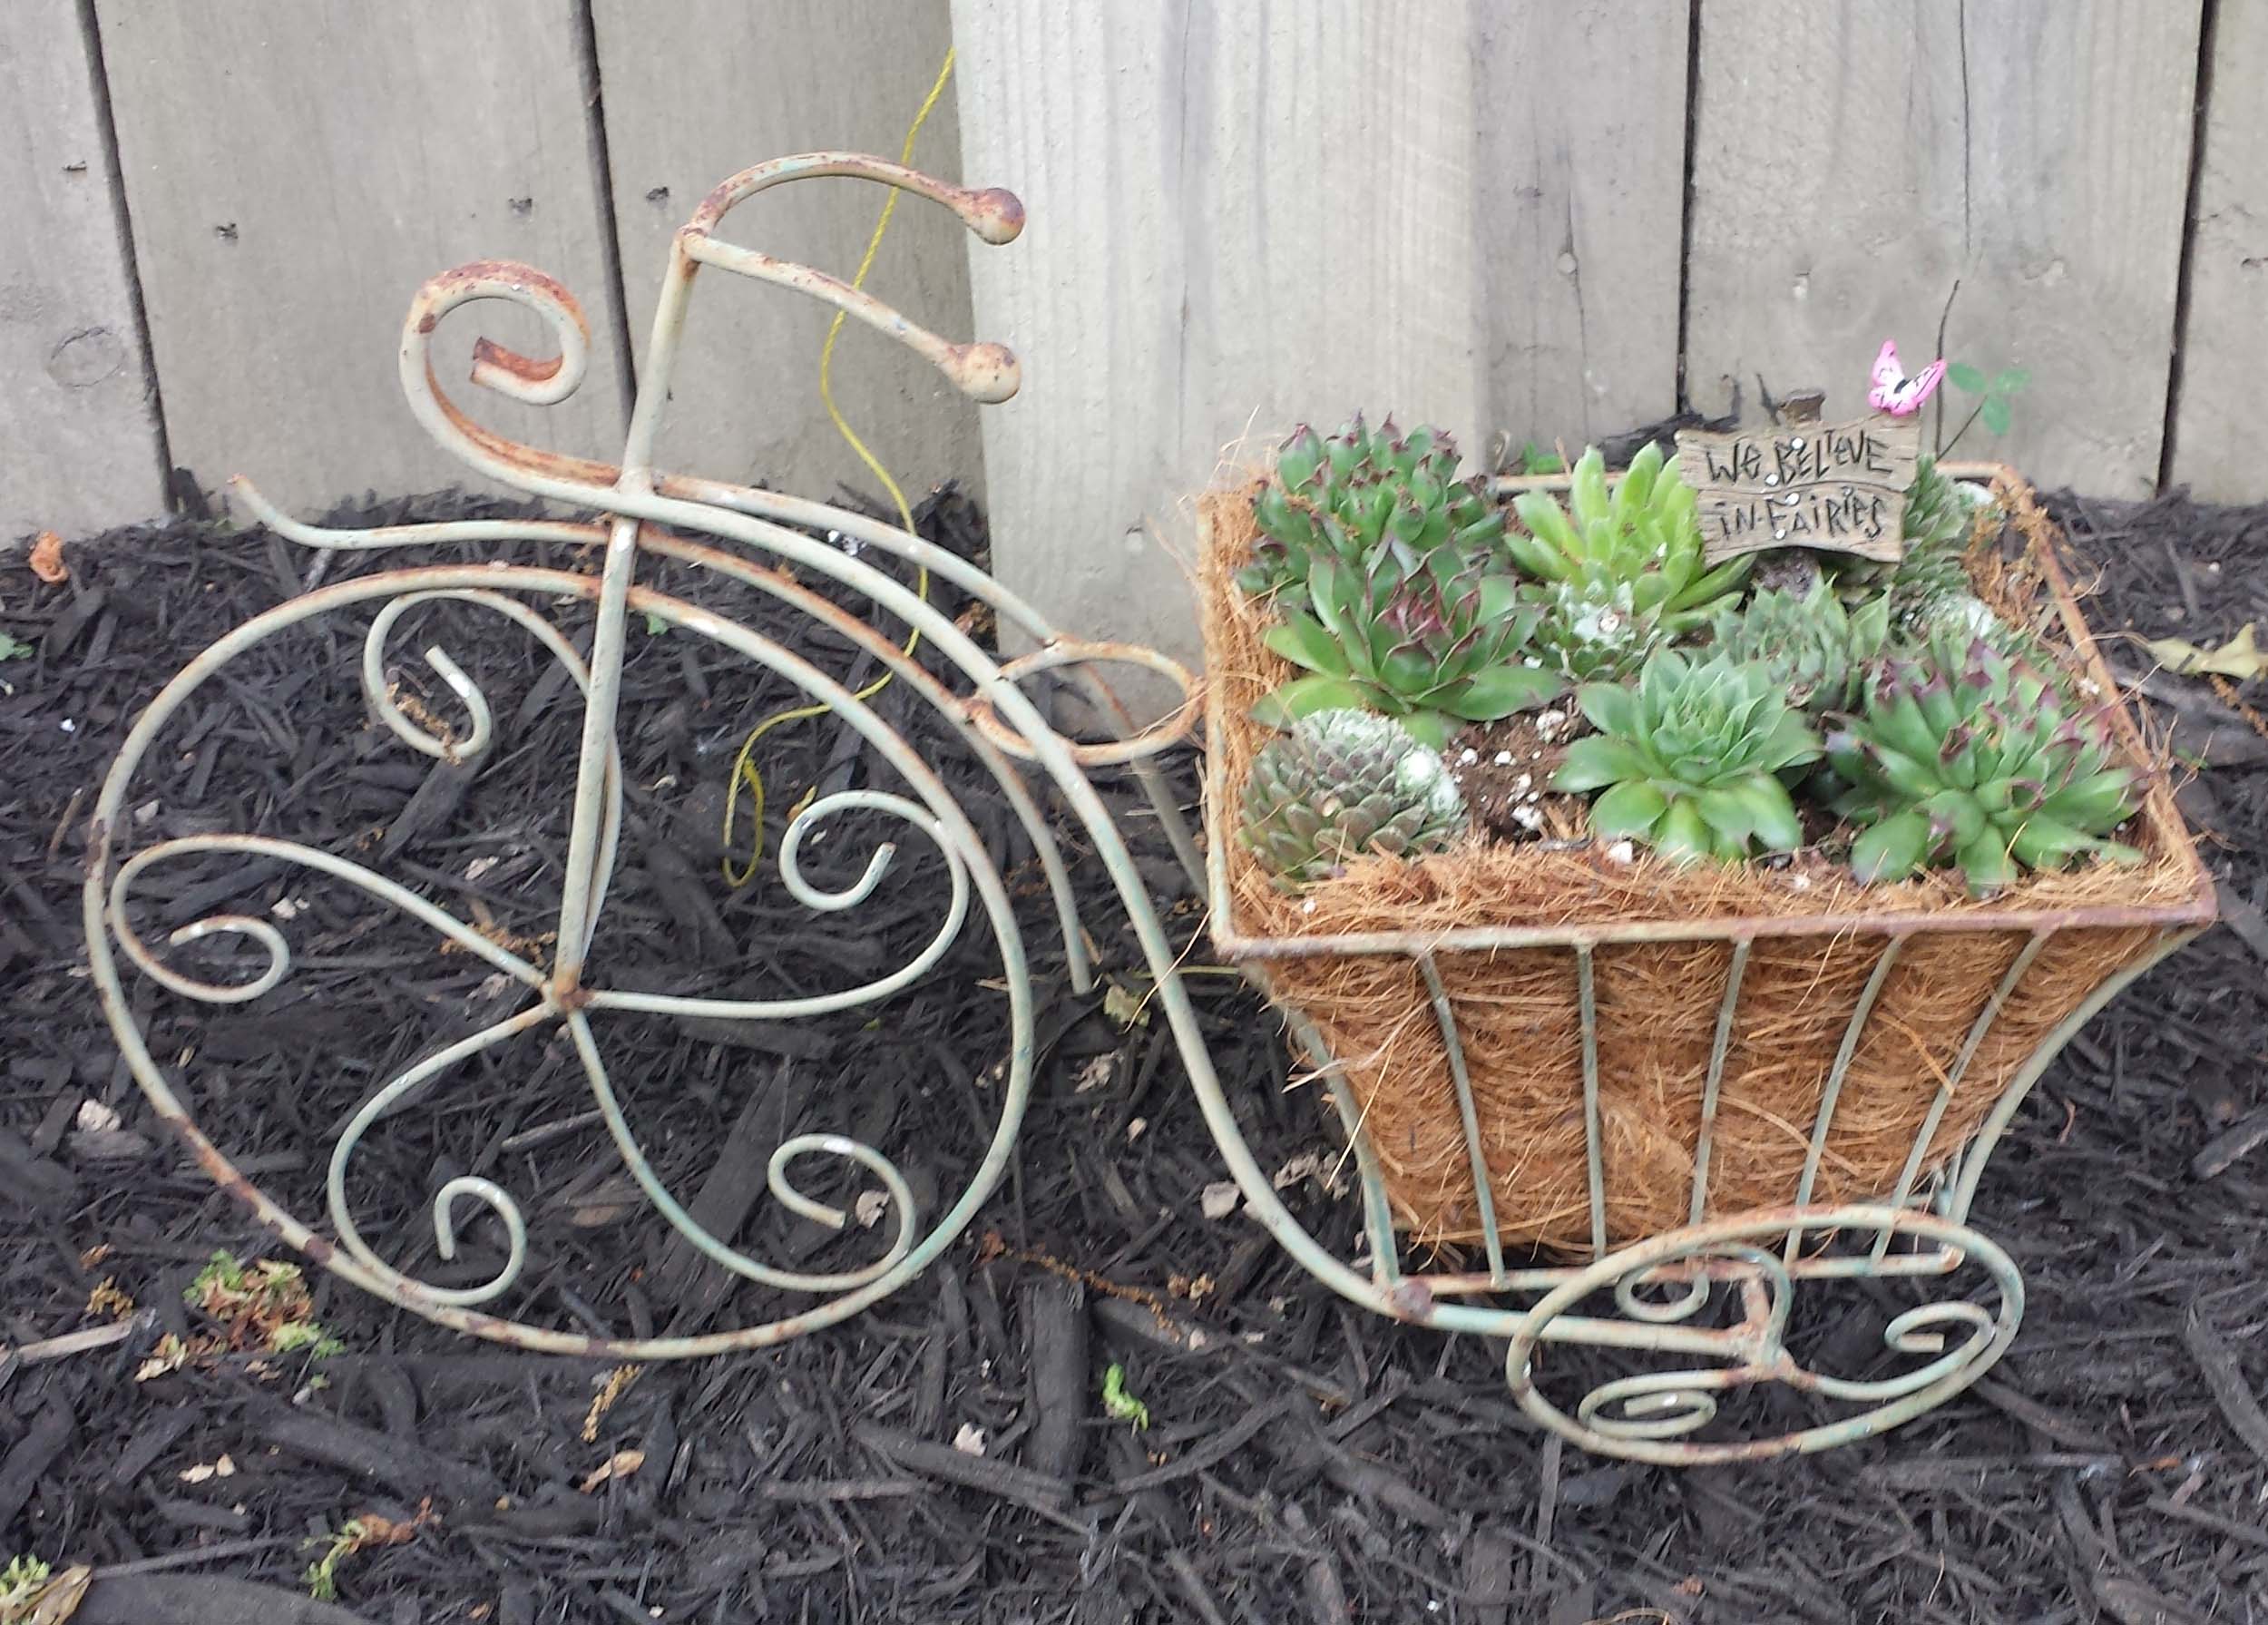
There were fairy gardens made


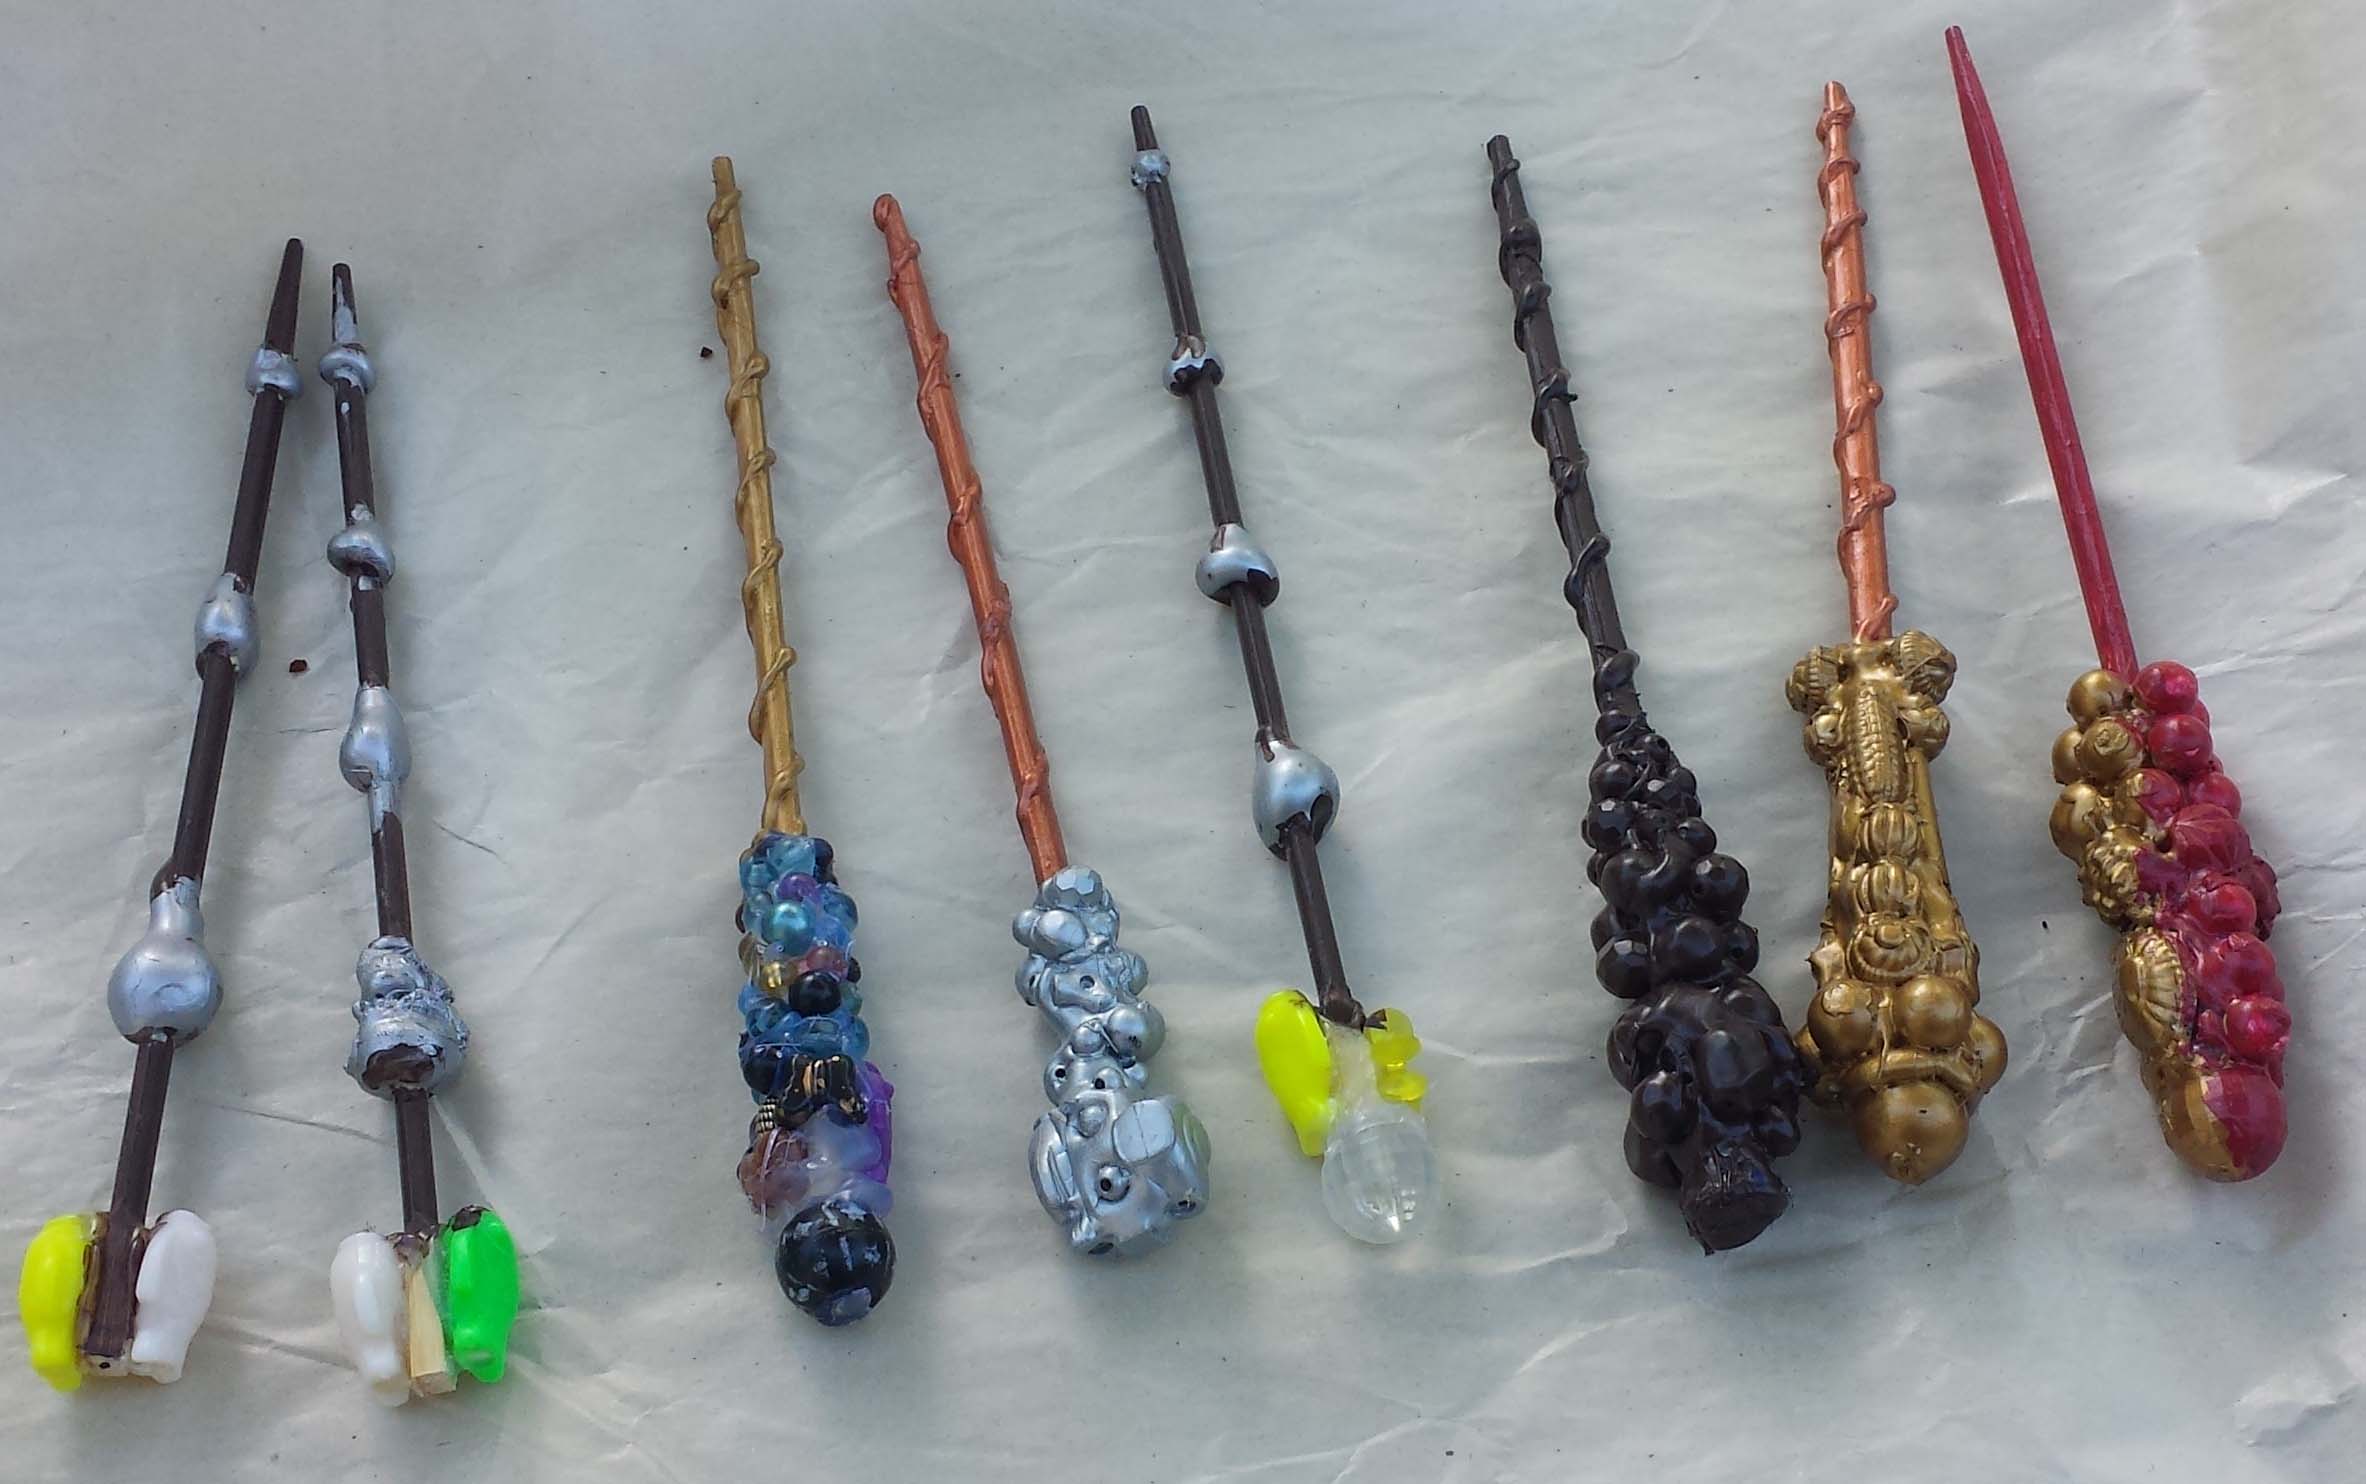
Wizarding wands magicked

wizardwands

I attended the Art Quilt Symposium in Columbus, OH

artquilt

I also attended SewPro in Chicago and met Tula Pink and Pat Sloan and many other wonderful members of the quilting industry.

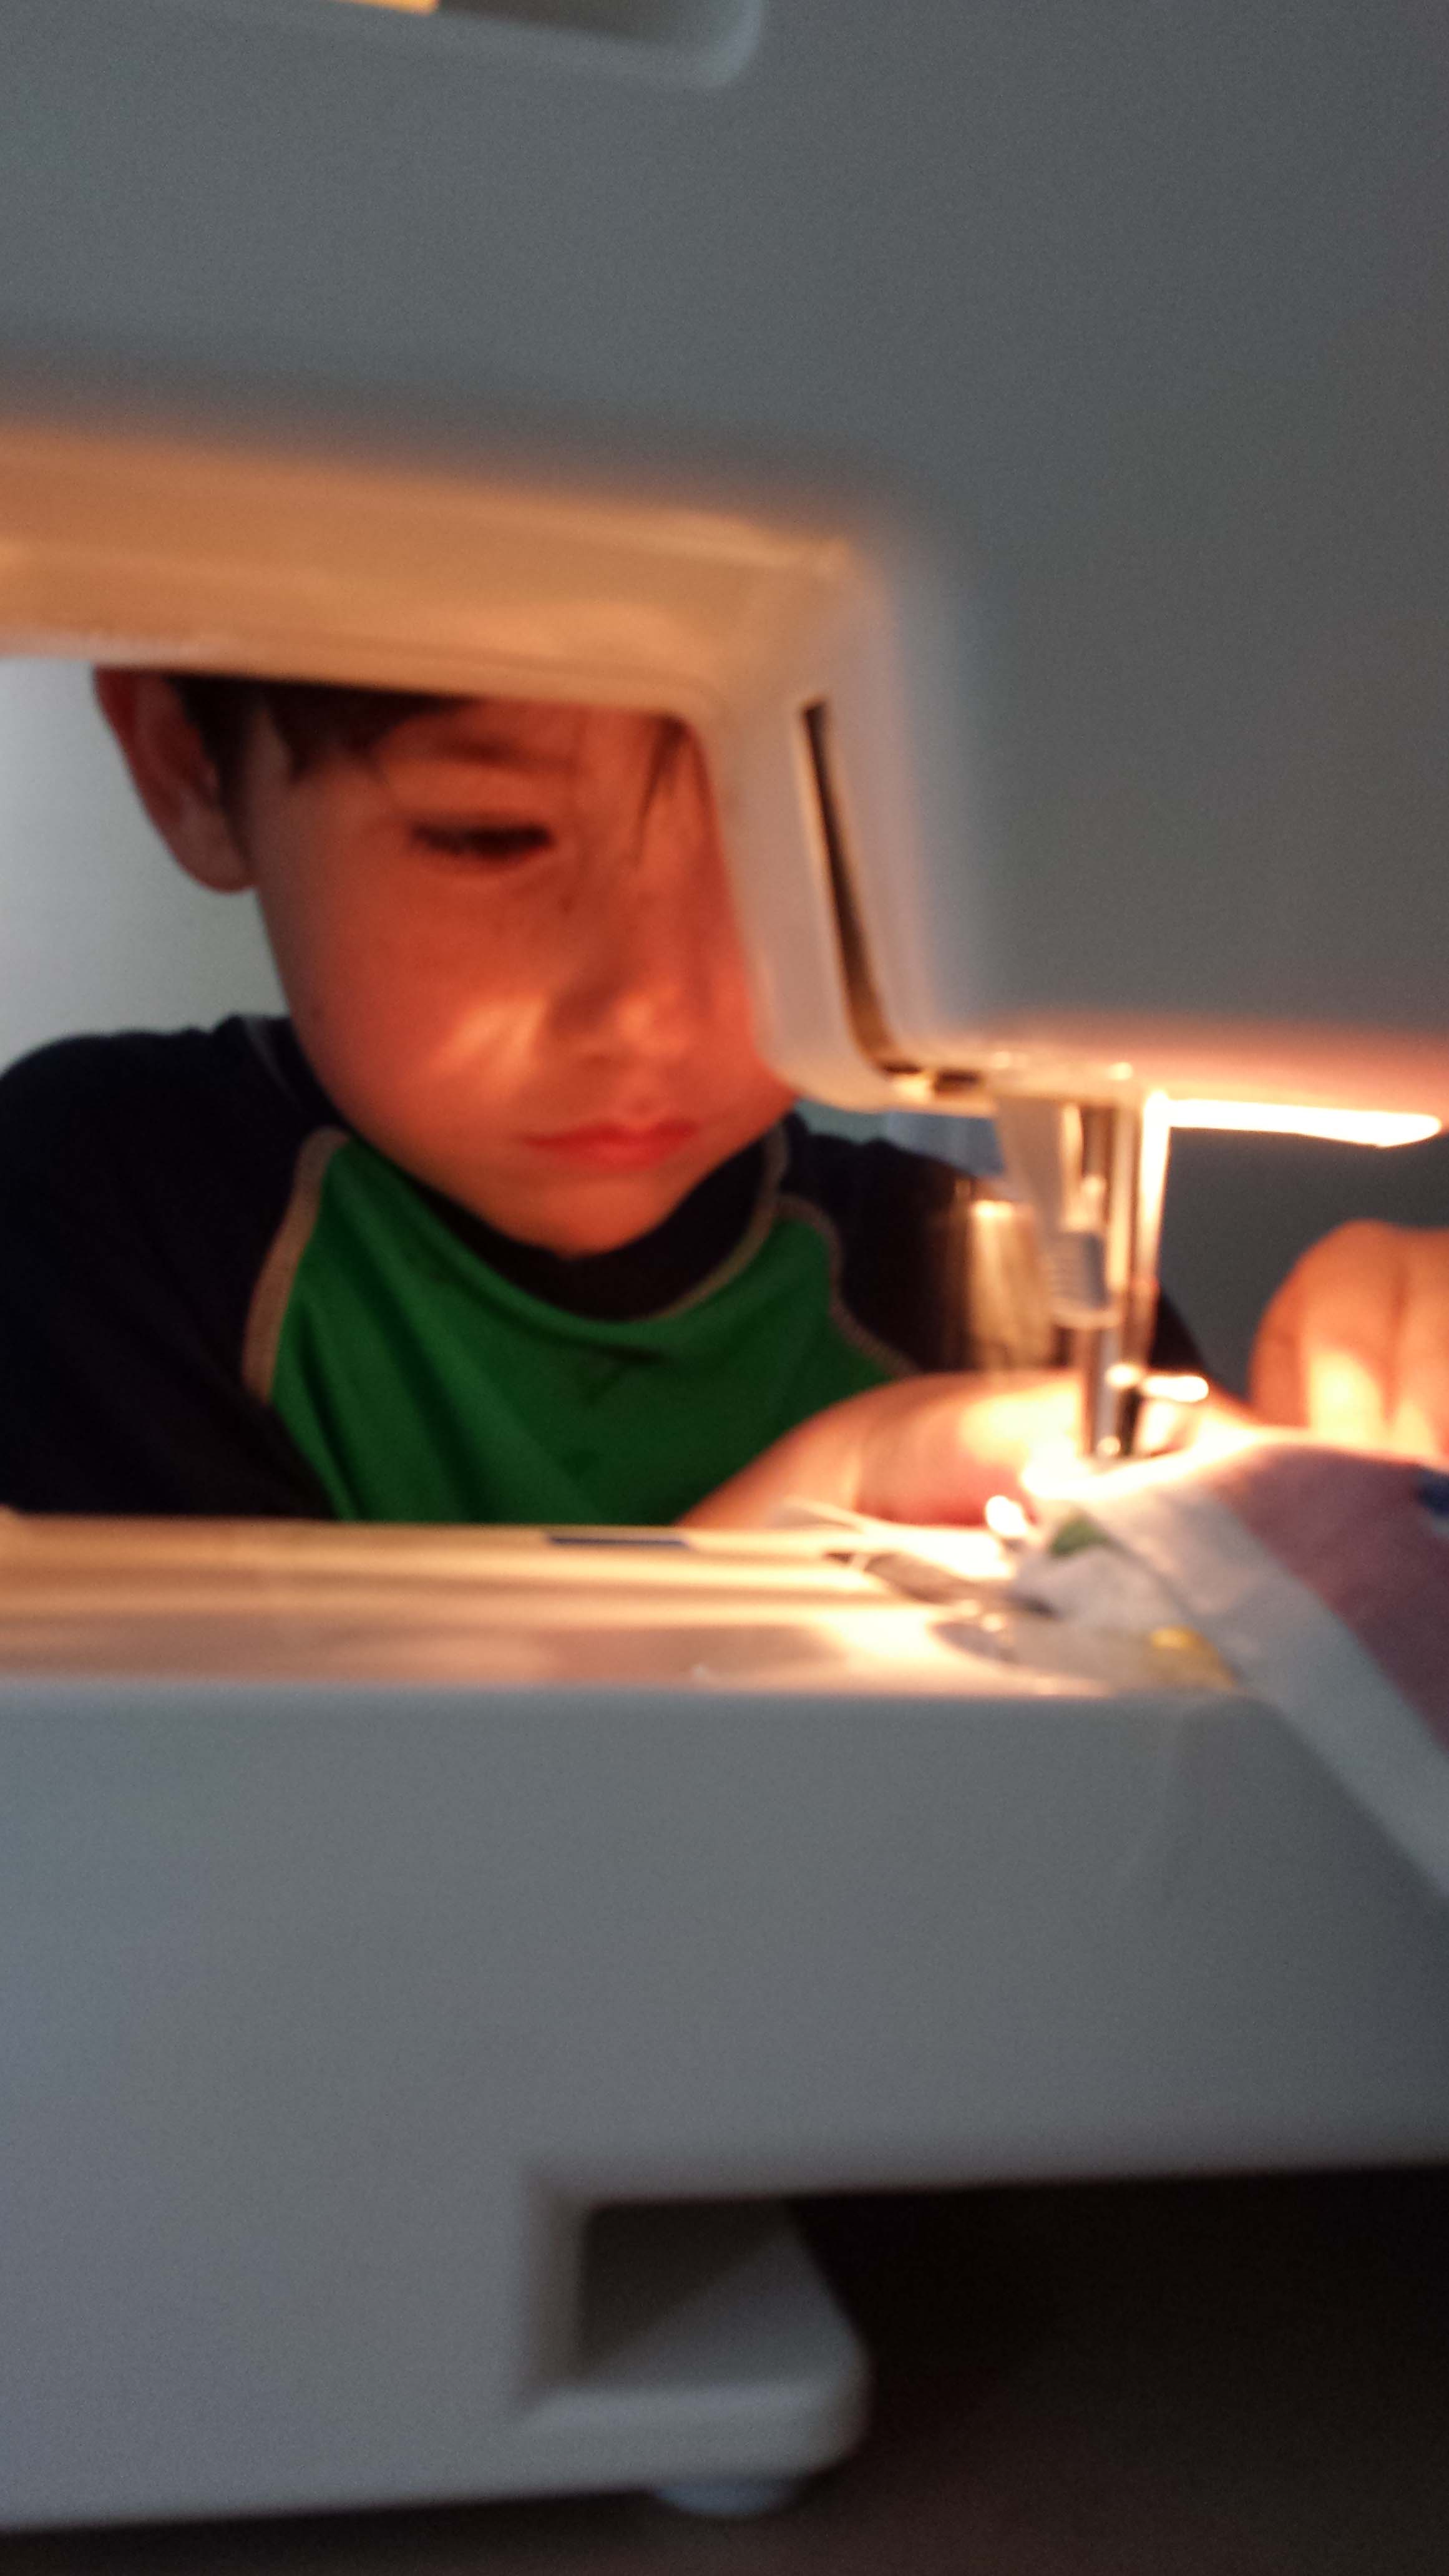
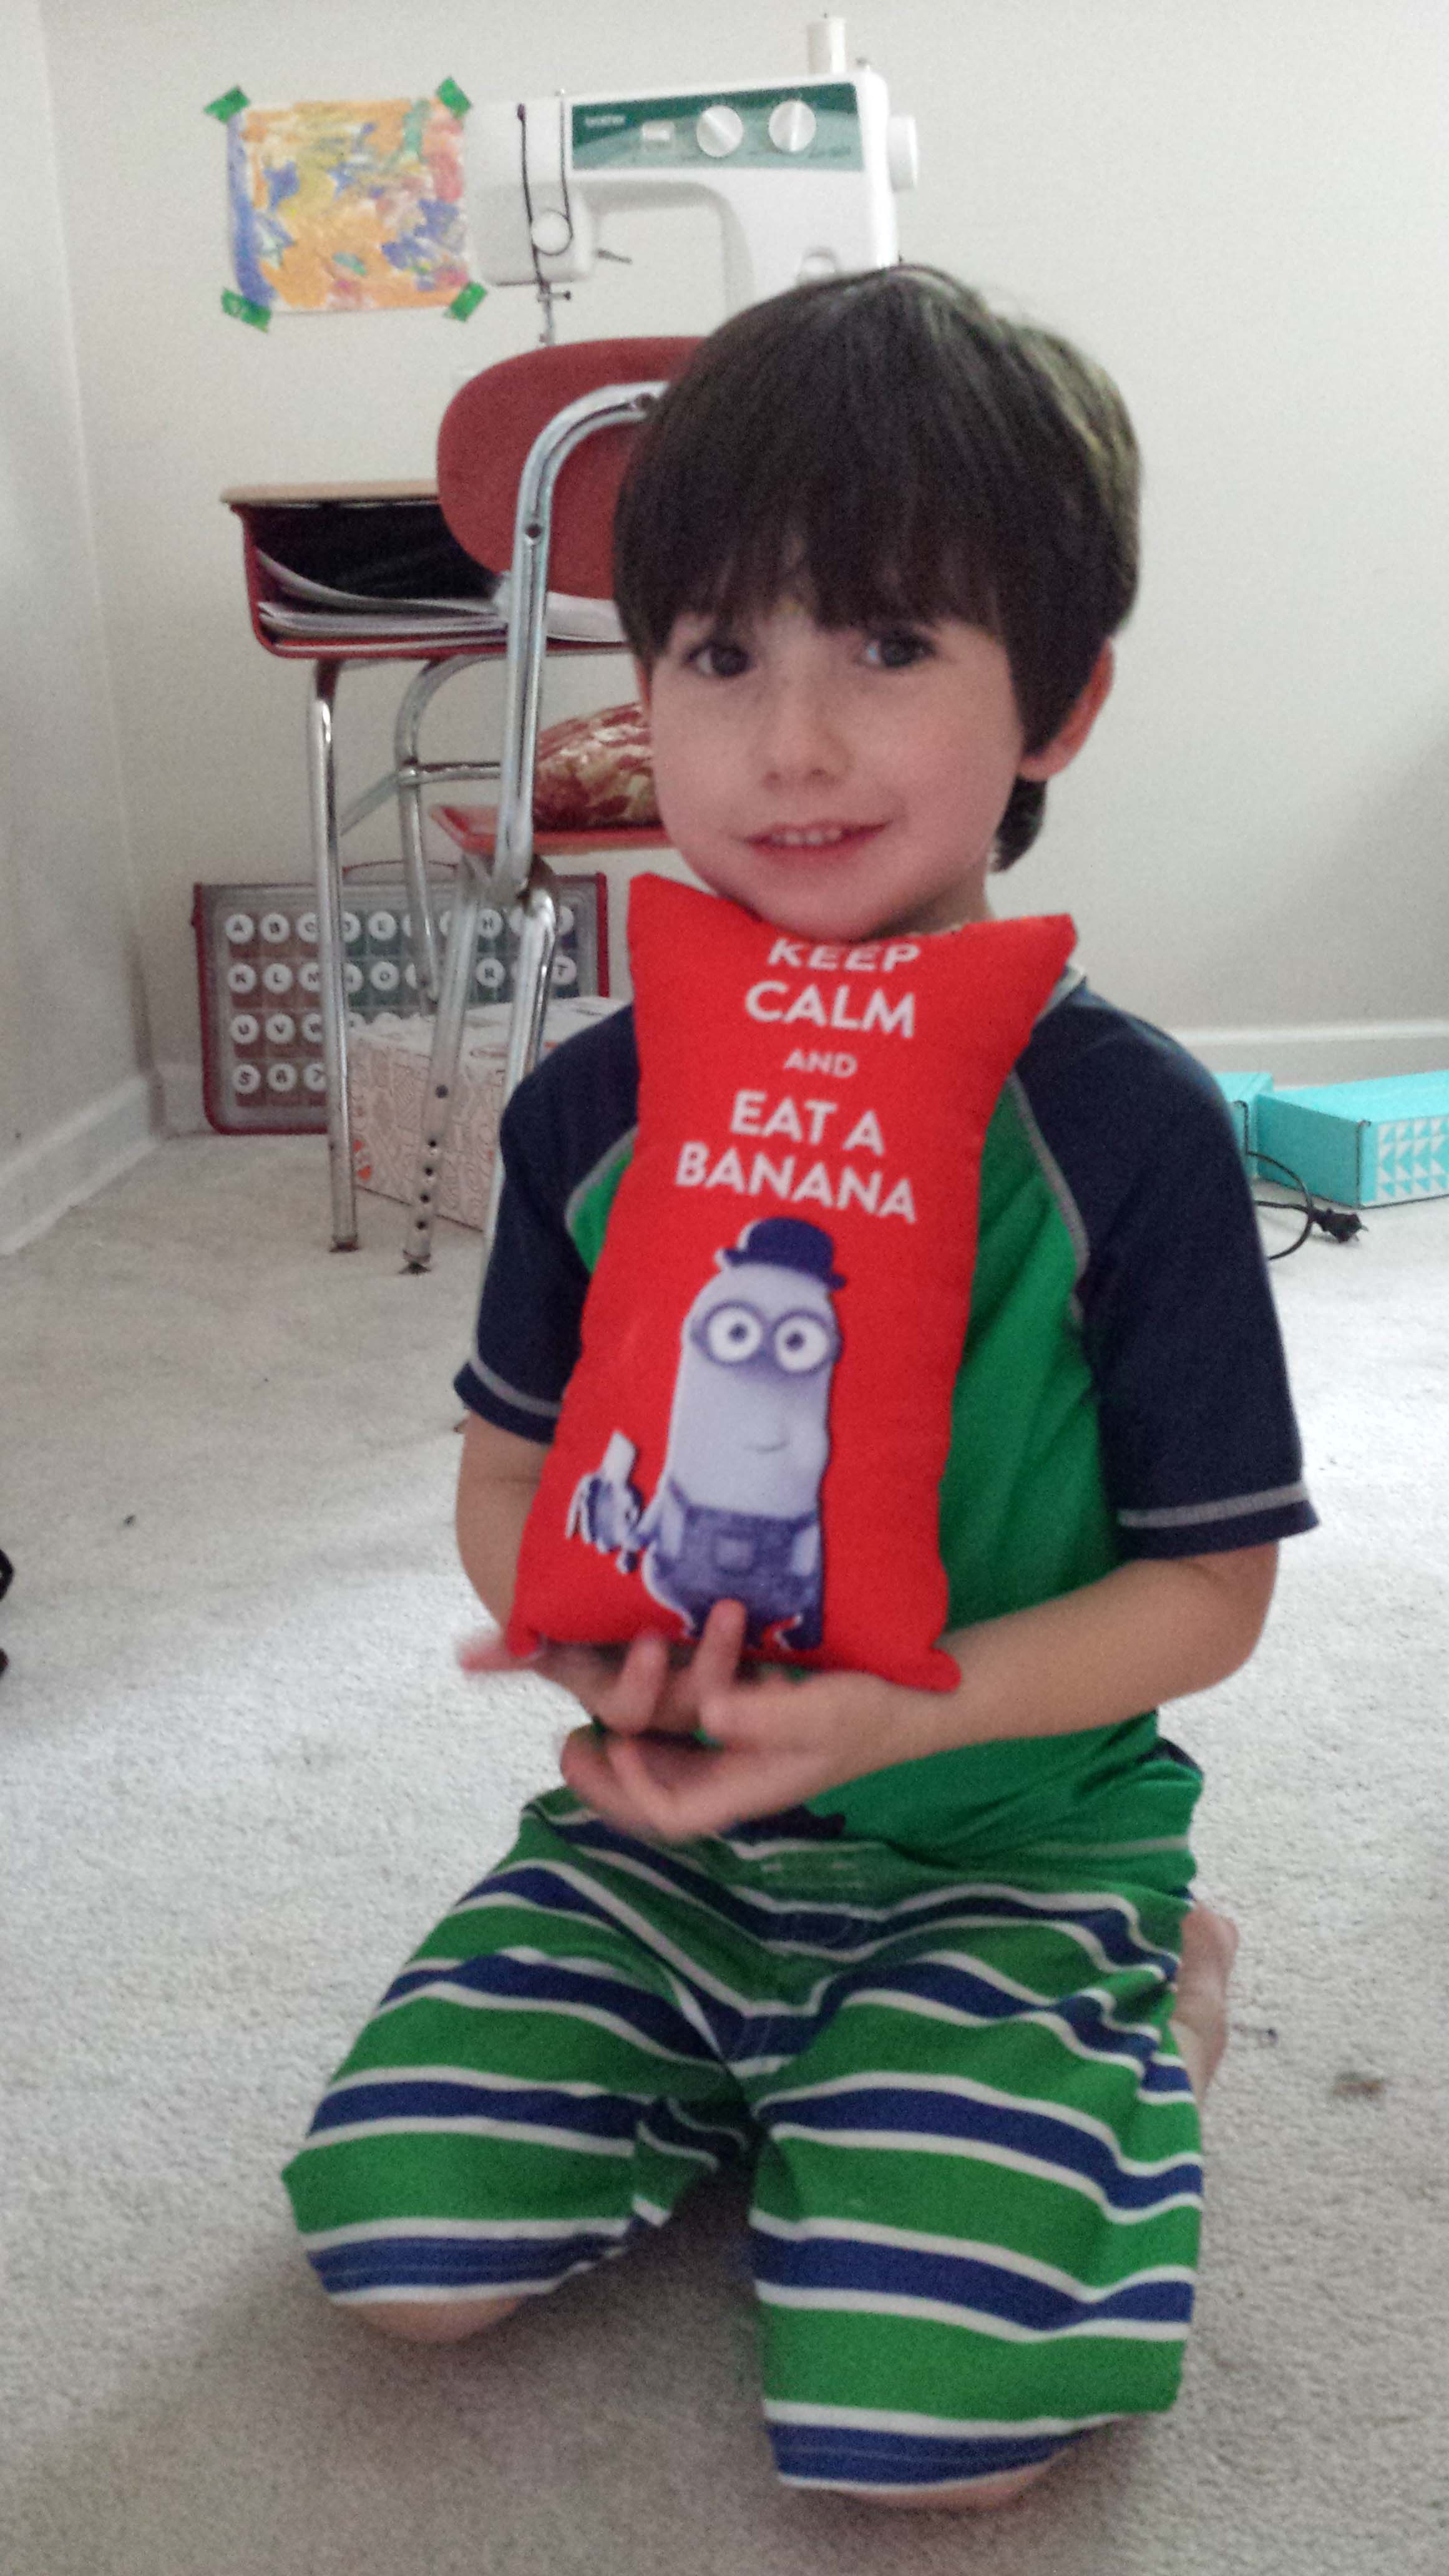
Lucas took a whirl at the sewing machine for the first time and made himself a pillow.

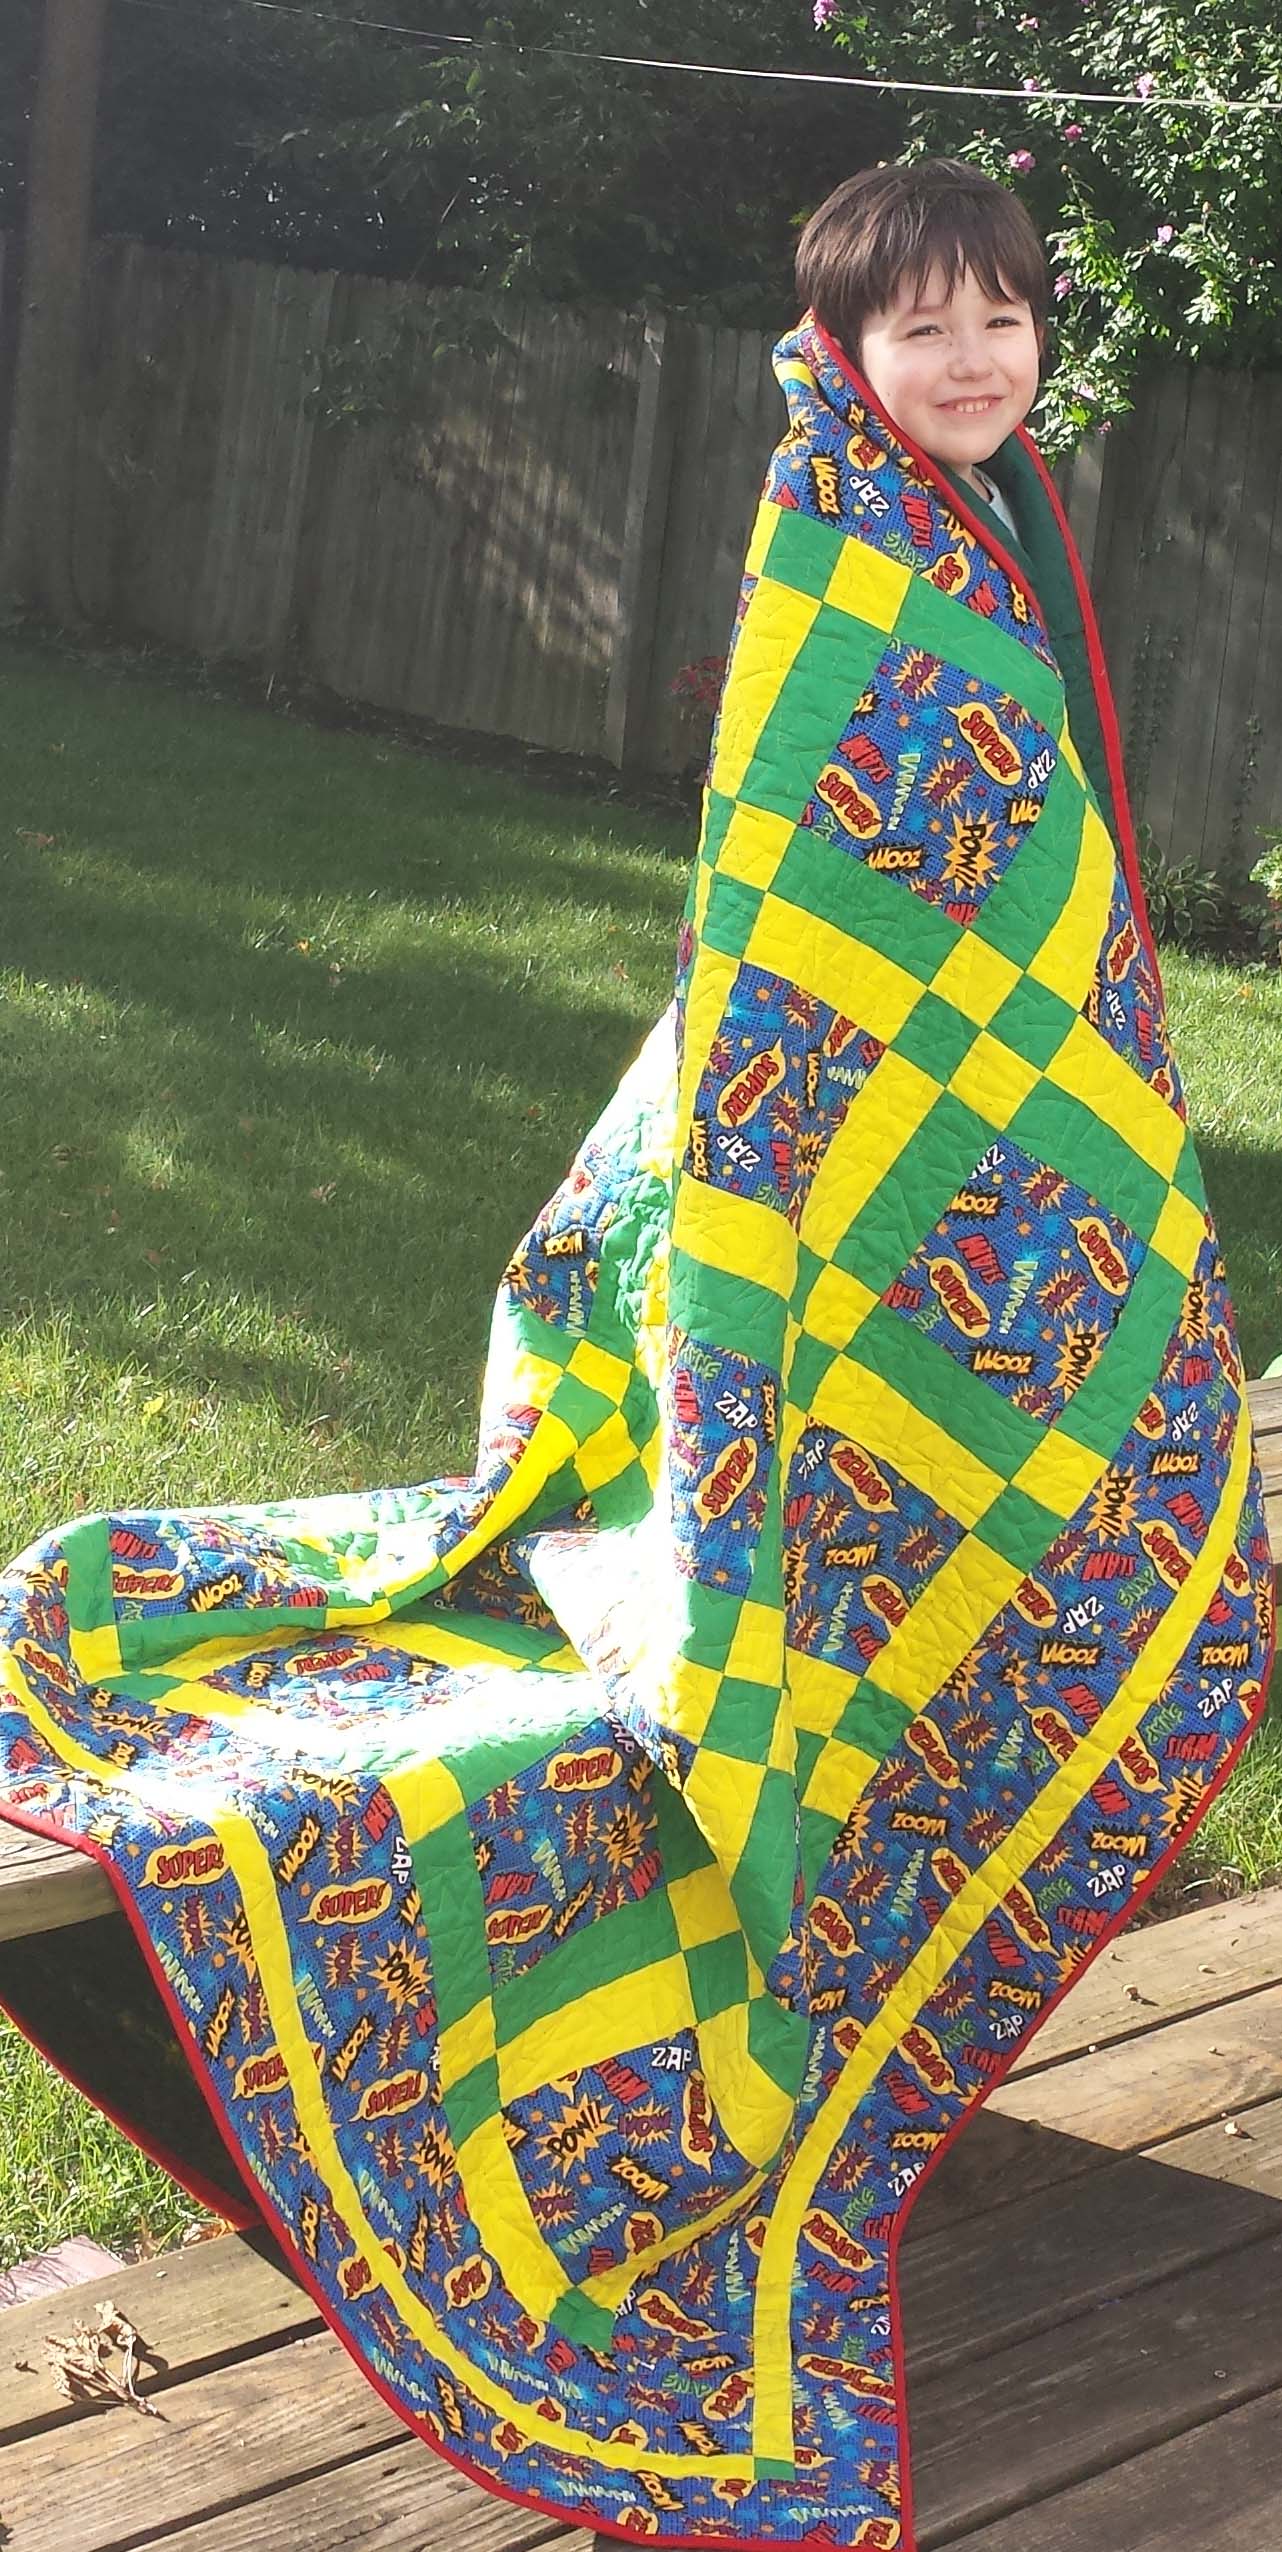
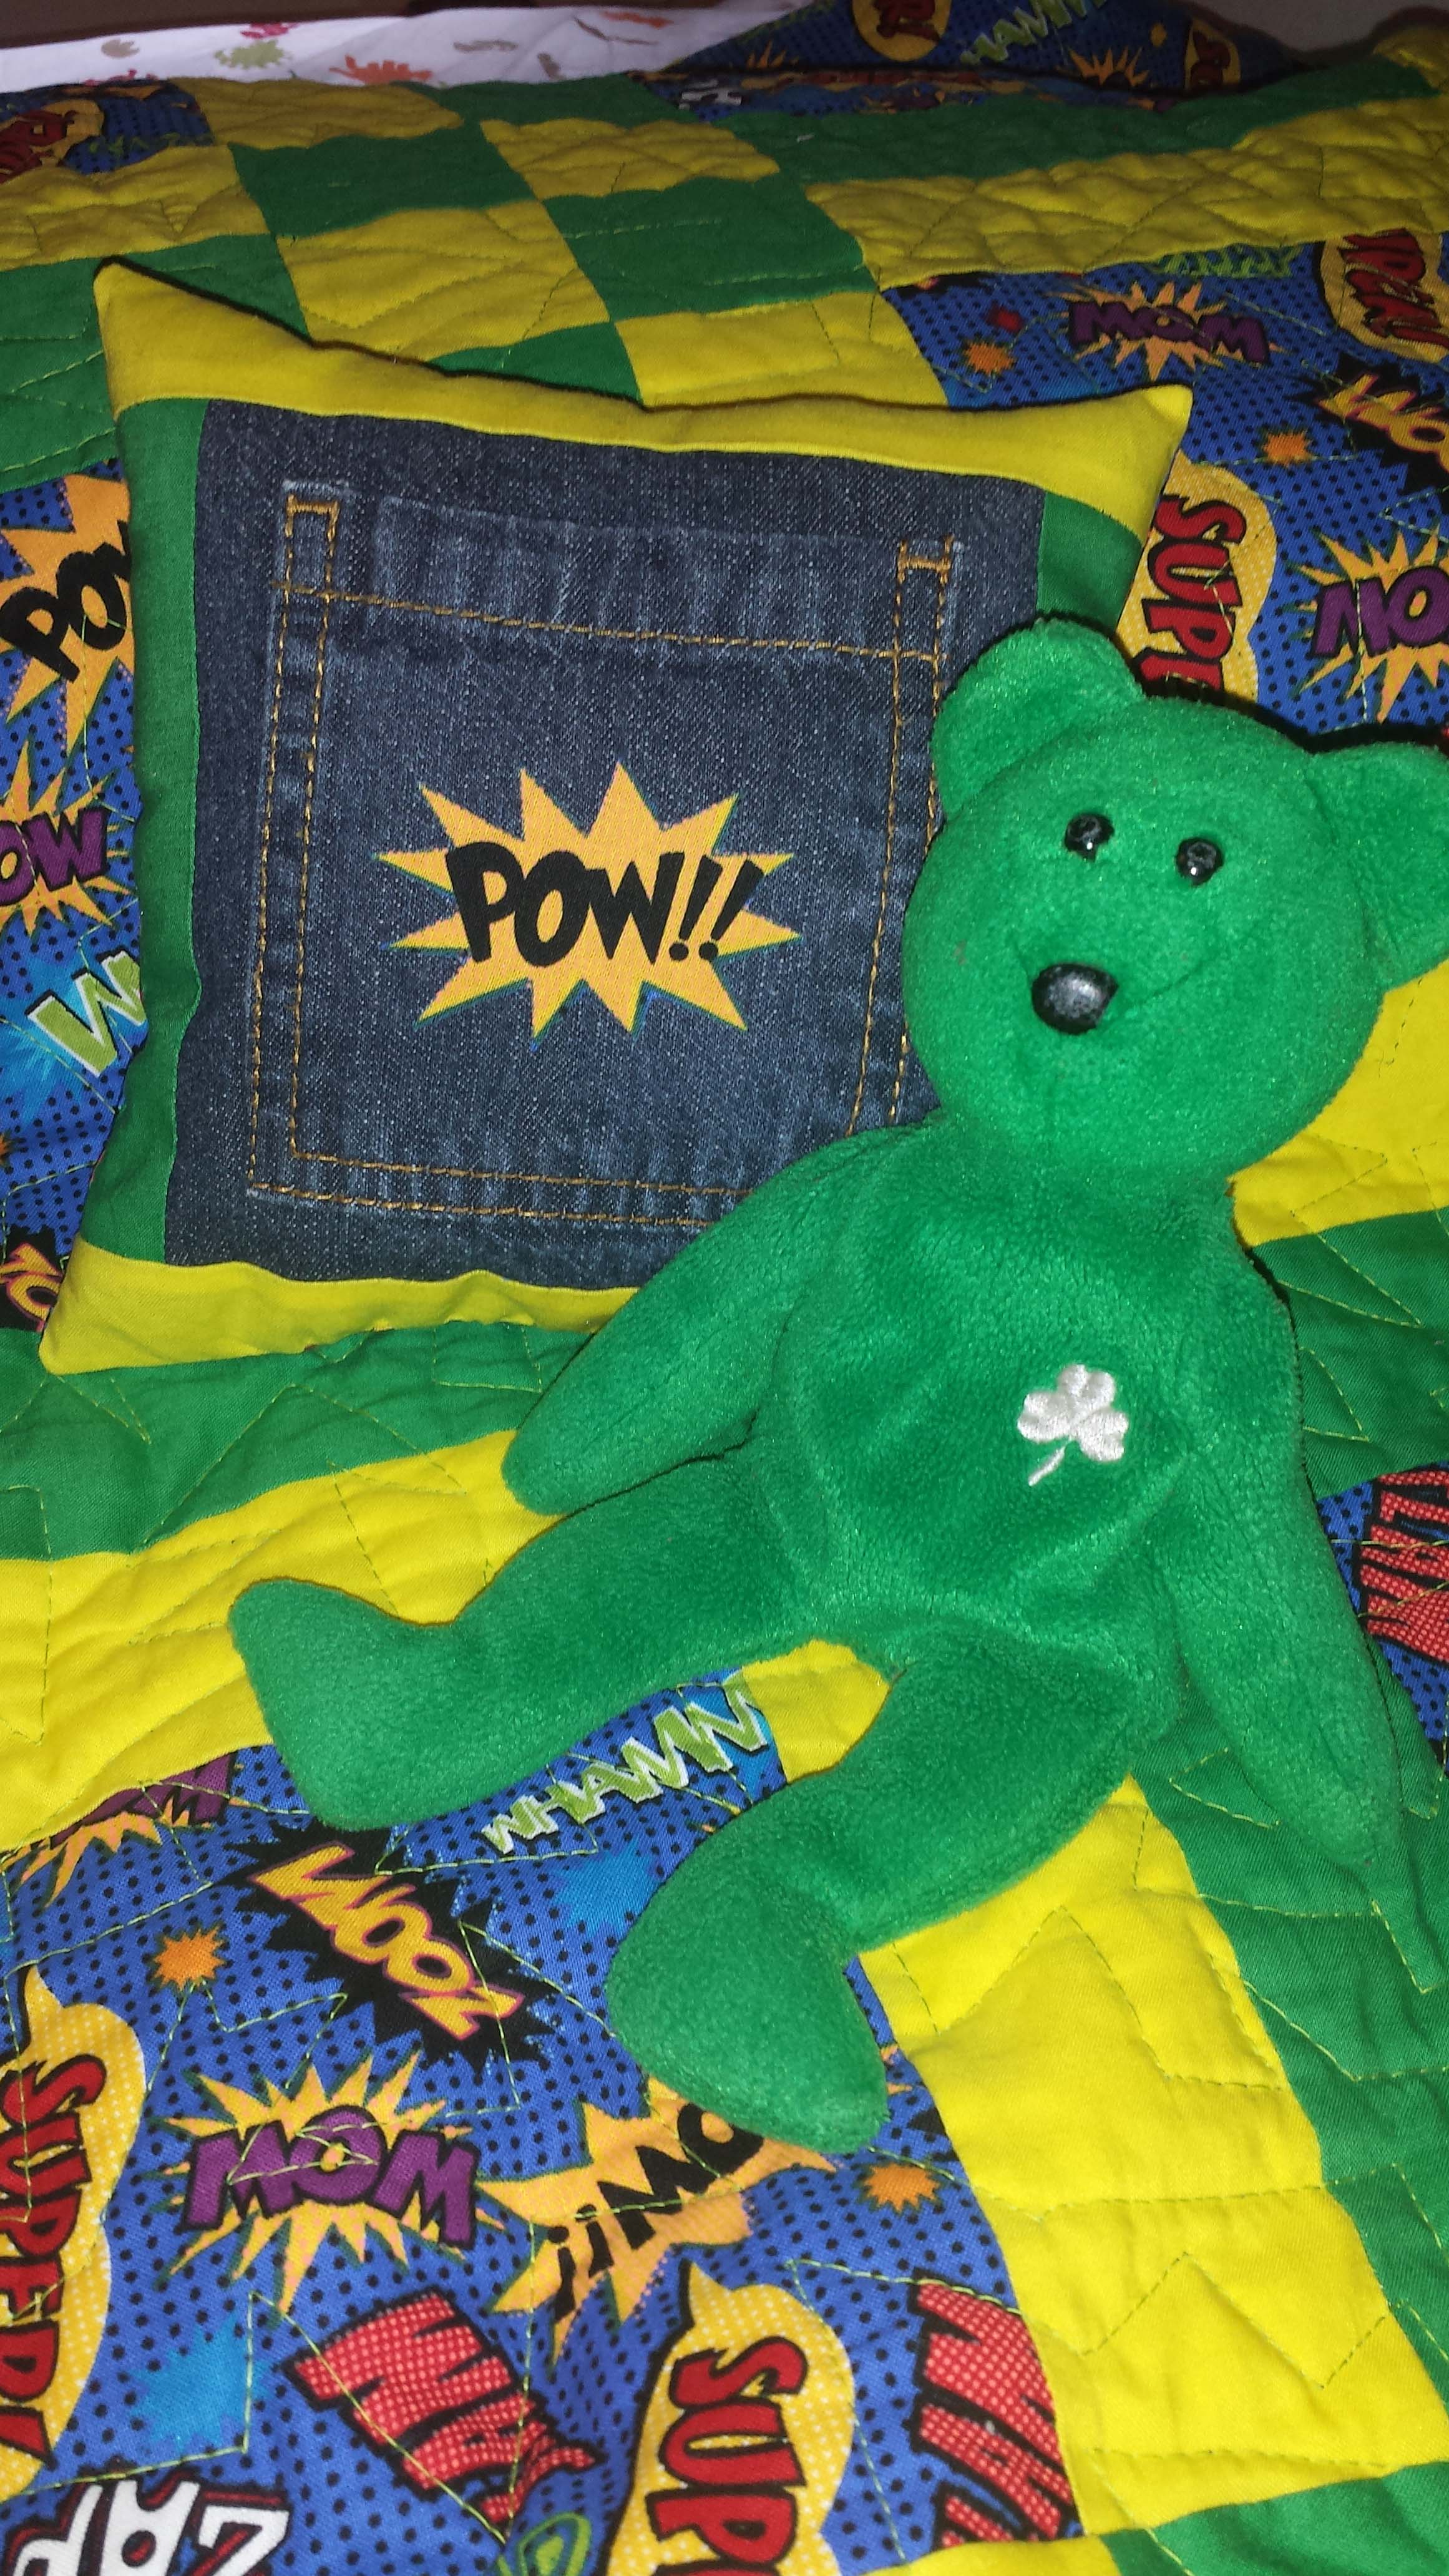
And he picked out fabrics for me to make him his own quilt.  The first of my three children to receive a handmade quilt from me.  I also made a matching toothfairy pillow that also works as a pillow for Rory.

There were also trips to see family and Harry Potter; visits to museums and beaches; days lounging at the pool or playing video games.  Such a fun filled summer.

Now that the kids are back to school, its back to work for me.  Guess what I’m doing?

A QUILT ALONG!!!!!

Yuppers.  I have purchased (as have many others) the Fandango Quilt Kit featuring Tula Pink fabrics.  I drooled over the quilt when I saw pictures of it at Quilt Market.  It was released recently and I thought I would do Tula Tuesdays here and on Instagram so that those of us who are making this piece have somewhere to share our journey.

I will not be posting directions for the pattern.  You must buy the kit for all that.  Please do and follow along.  It’s going to be a great time!!!

See you soon.

Lovingly,

Lissa
 

Uncategorized

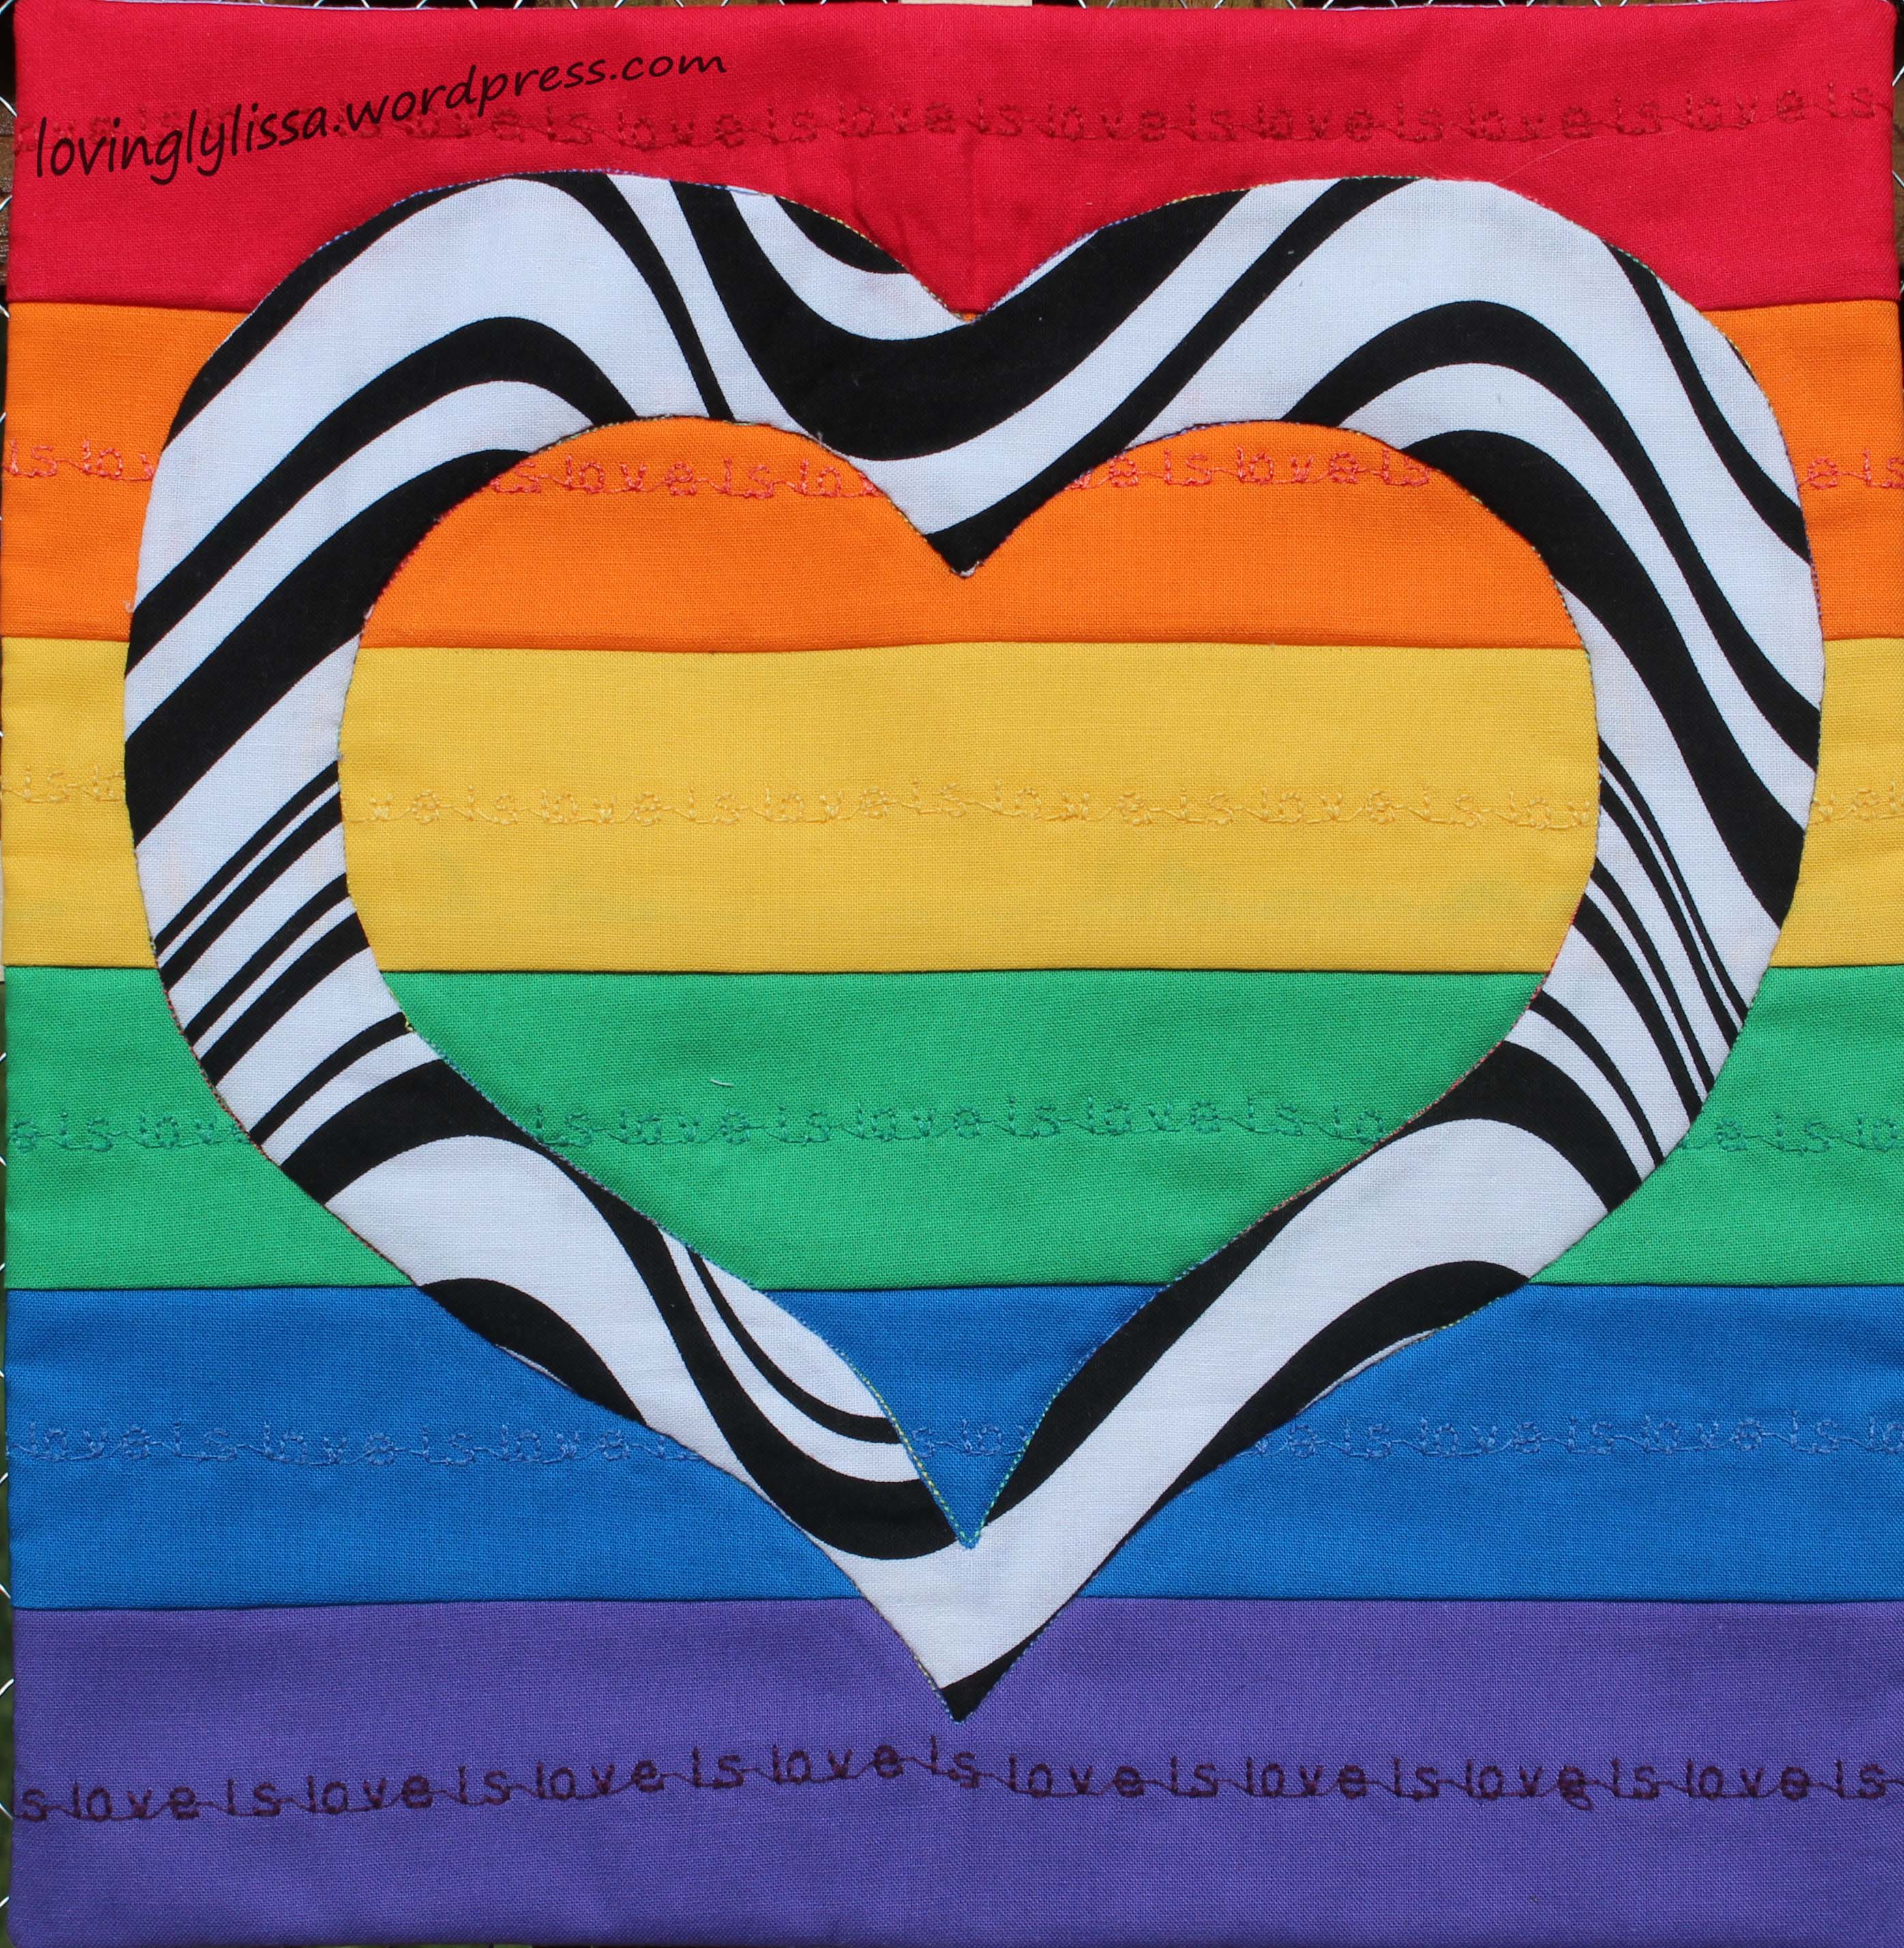
love is…Orlando Strong

I have been very busy since the end of school.  Many things I have planned on sharing with you, but haven’t had time to post anything.

This is important though.  This was something I HAD to do, had to create, and have to share.


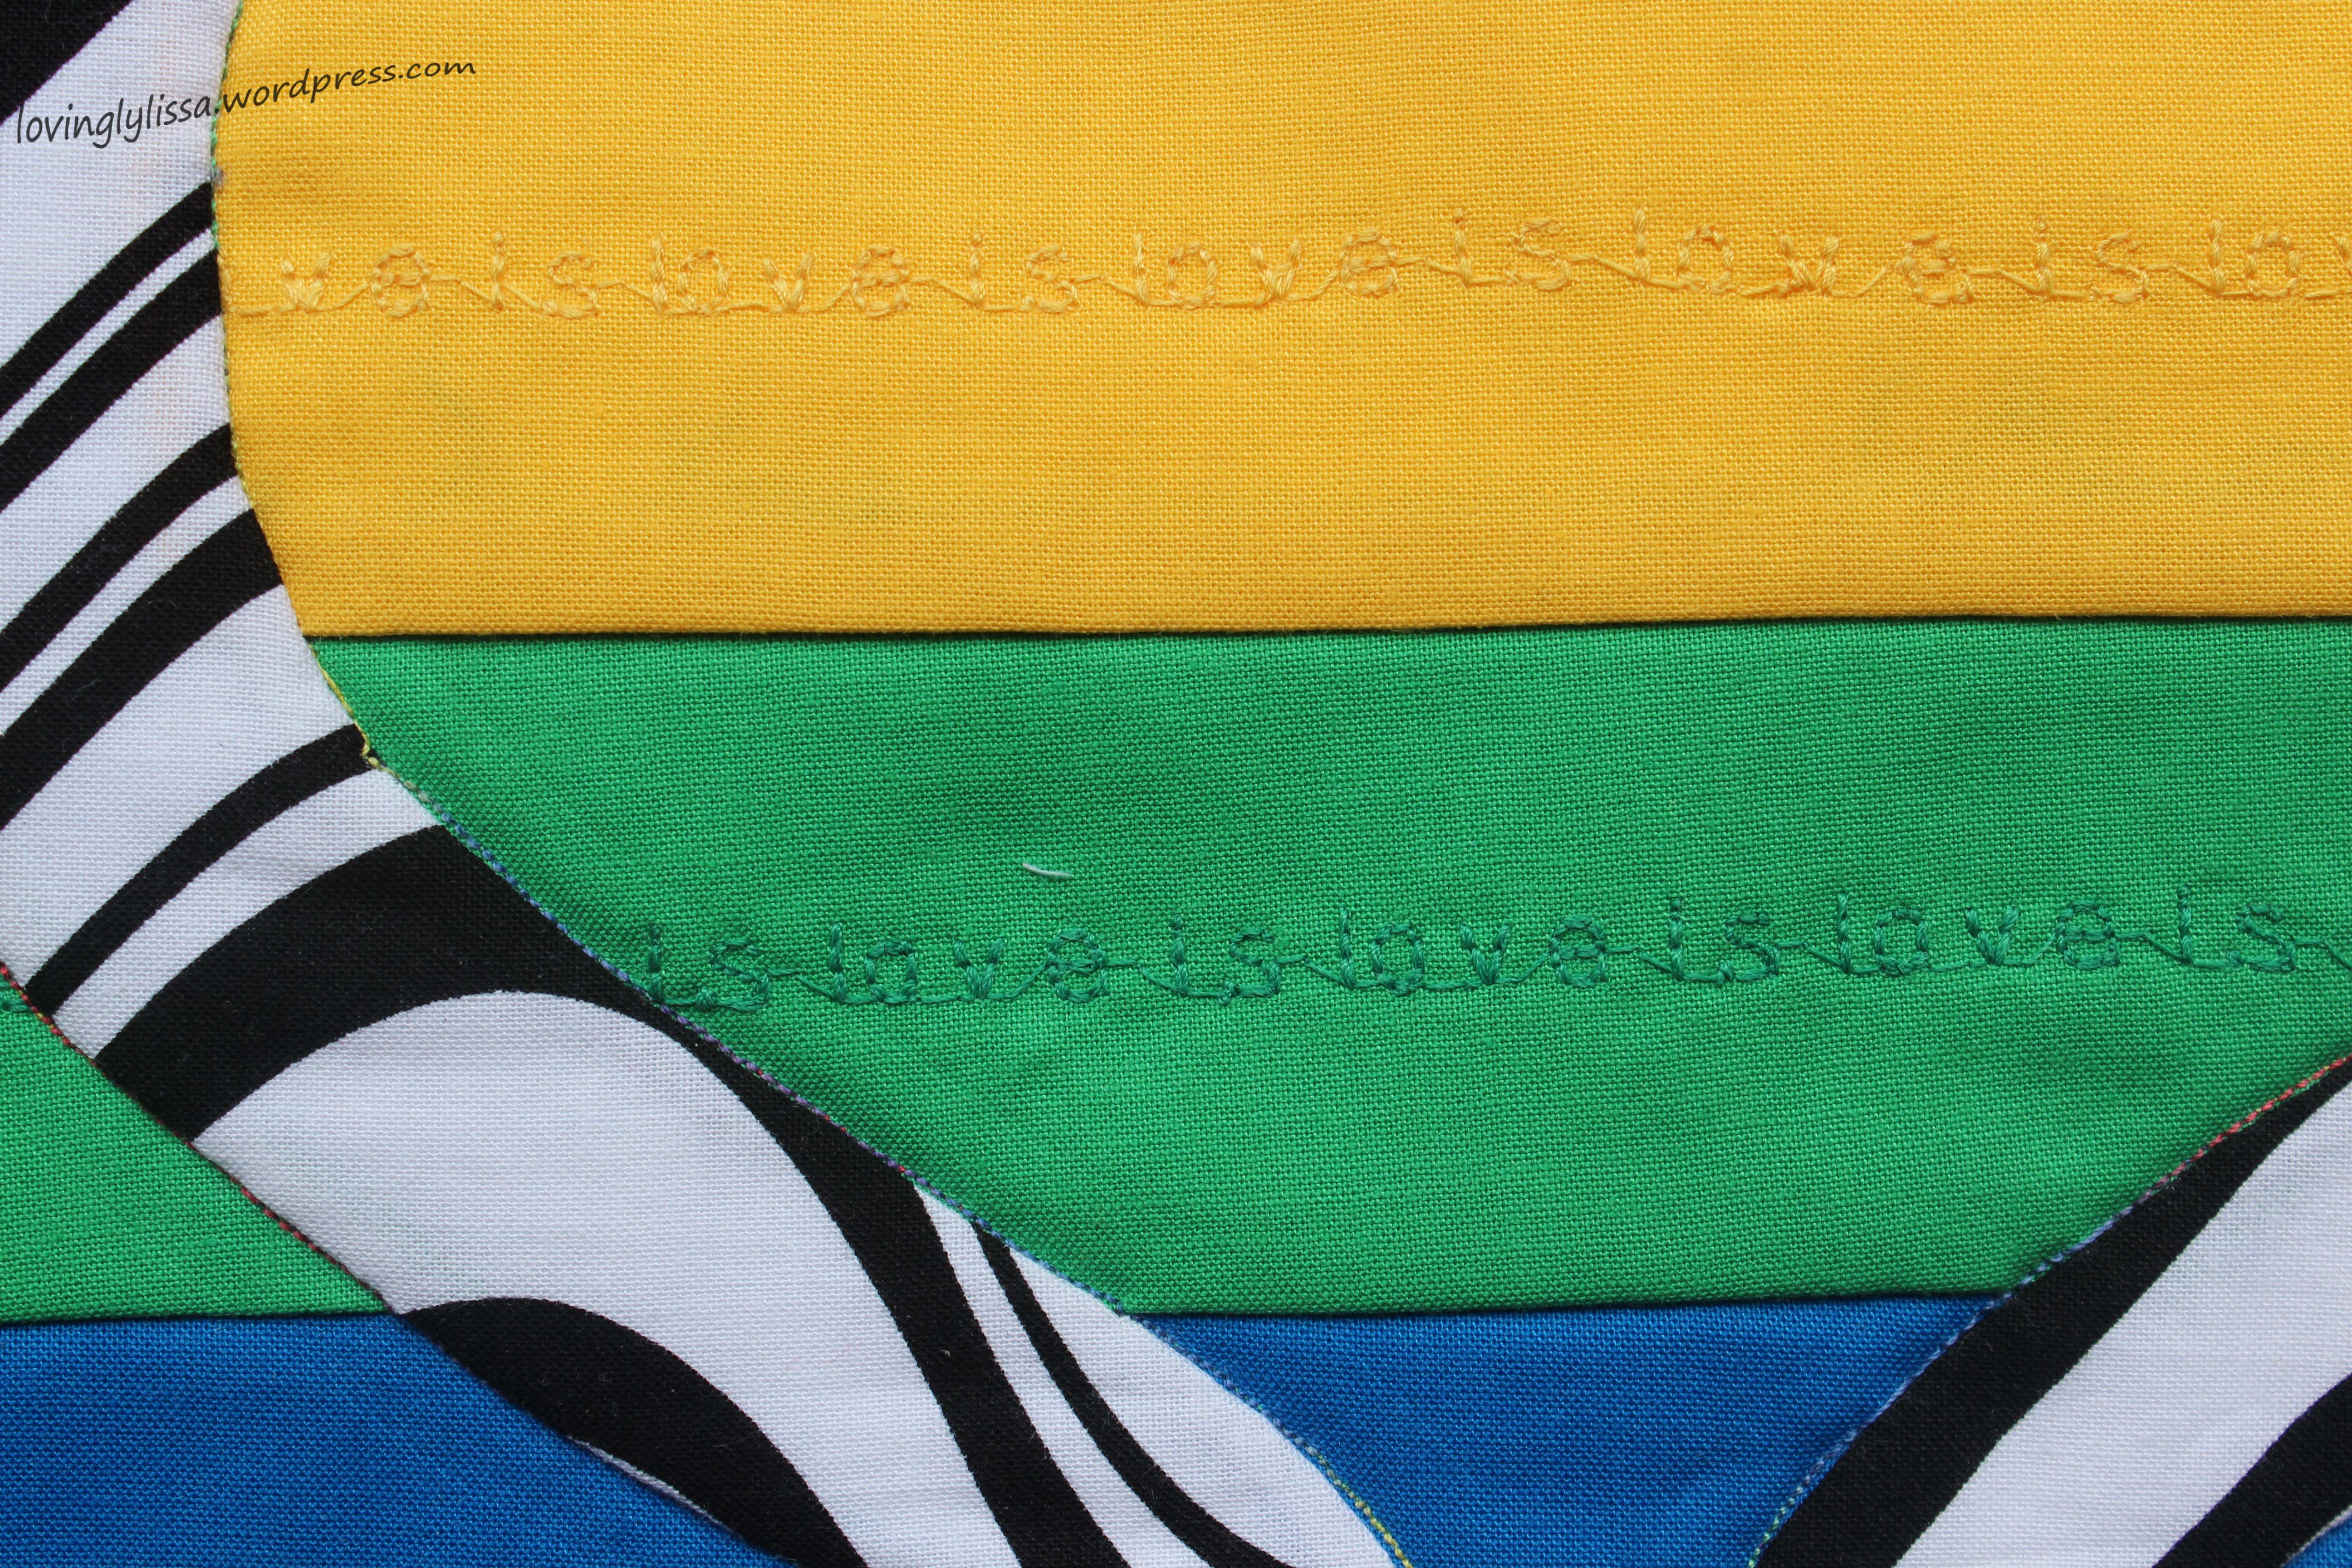
love is

This is called love is…Orlando Strong.  The background colors are for the LGBT community, the phrase “love is” repeated on each strip.  The heart is flowing black and white, because love does flow and to me love is black and white, that simple.  You just love.


The finished piece hangs about 11 inches square and is about to be packed up and shipped to someone special.

Lovingly,

Lissa
Crossroads Quilt Along · Sew Sampler · Uncategorized

A double post

Two fantastic things to show you all this post.

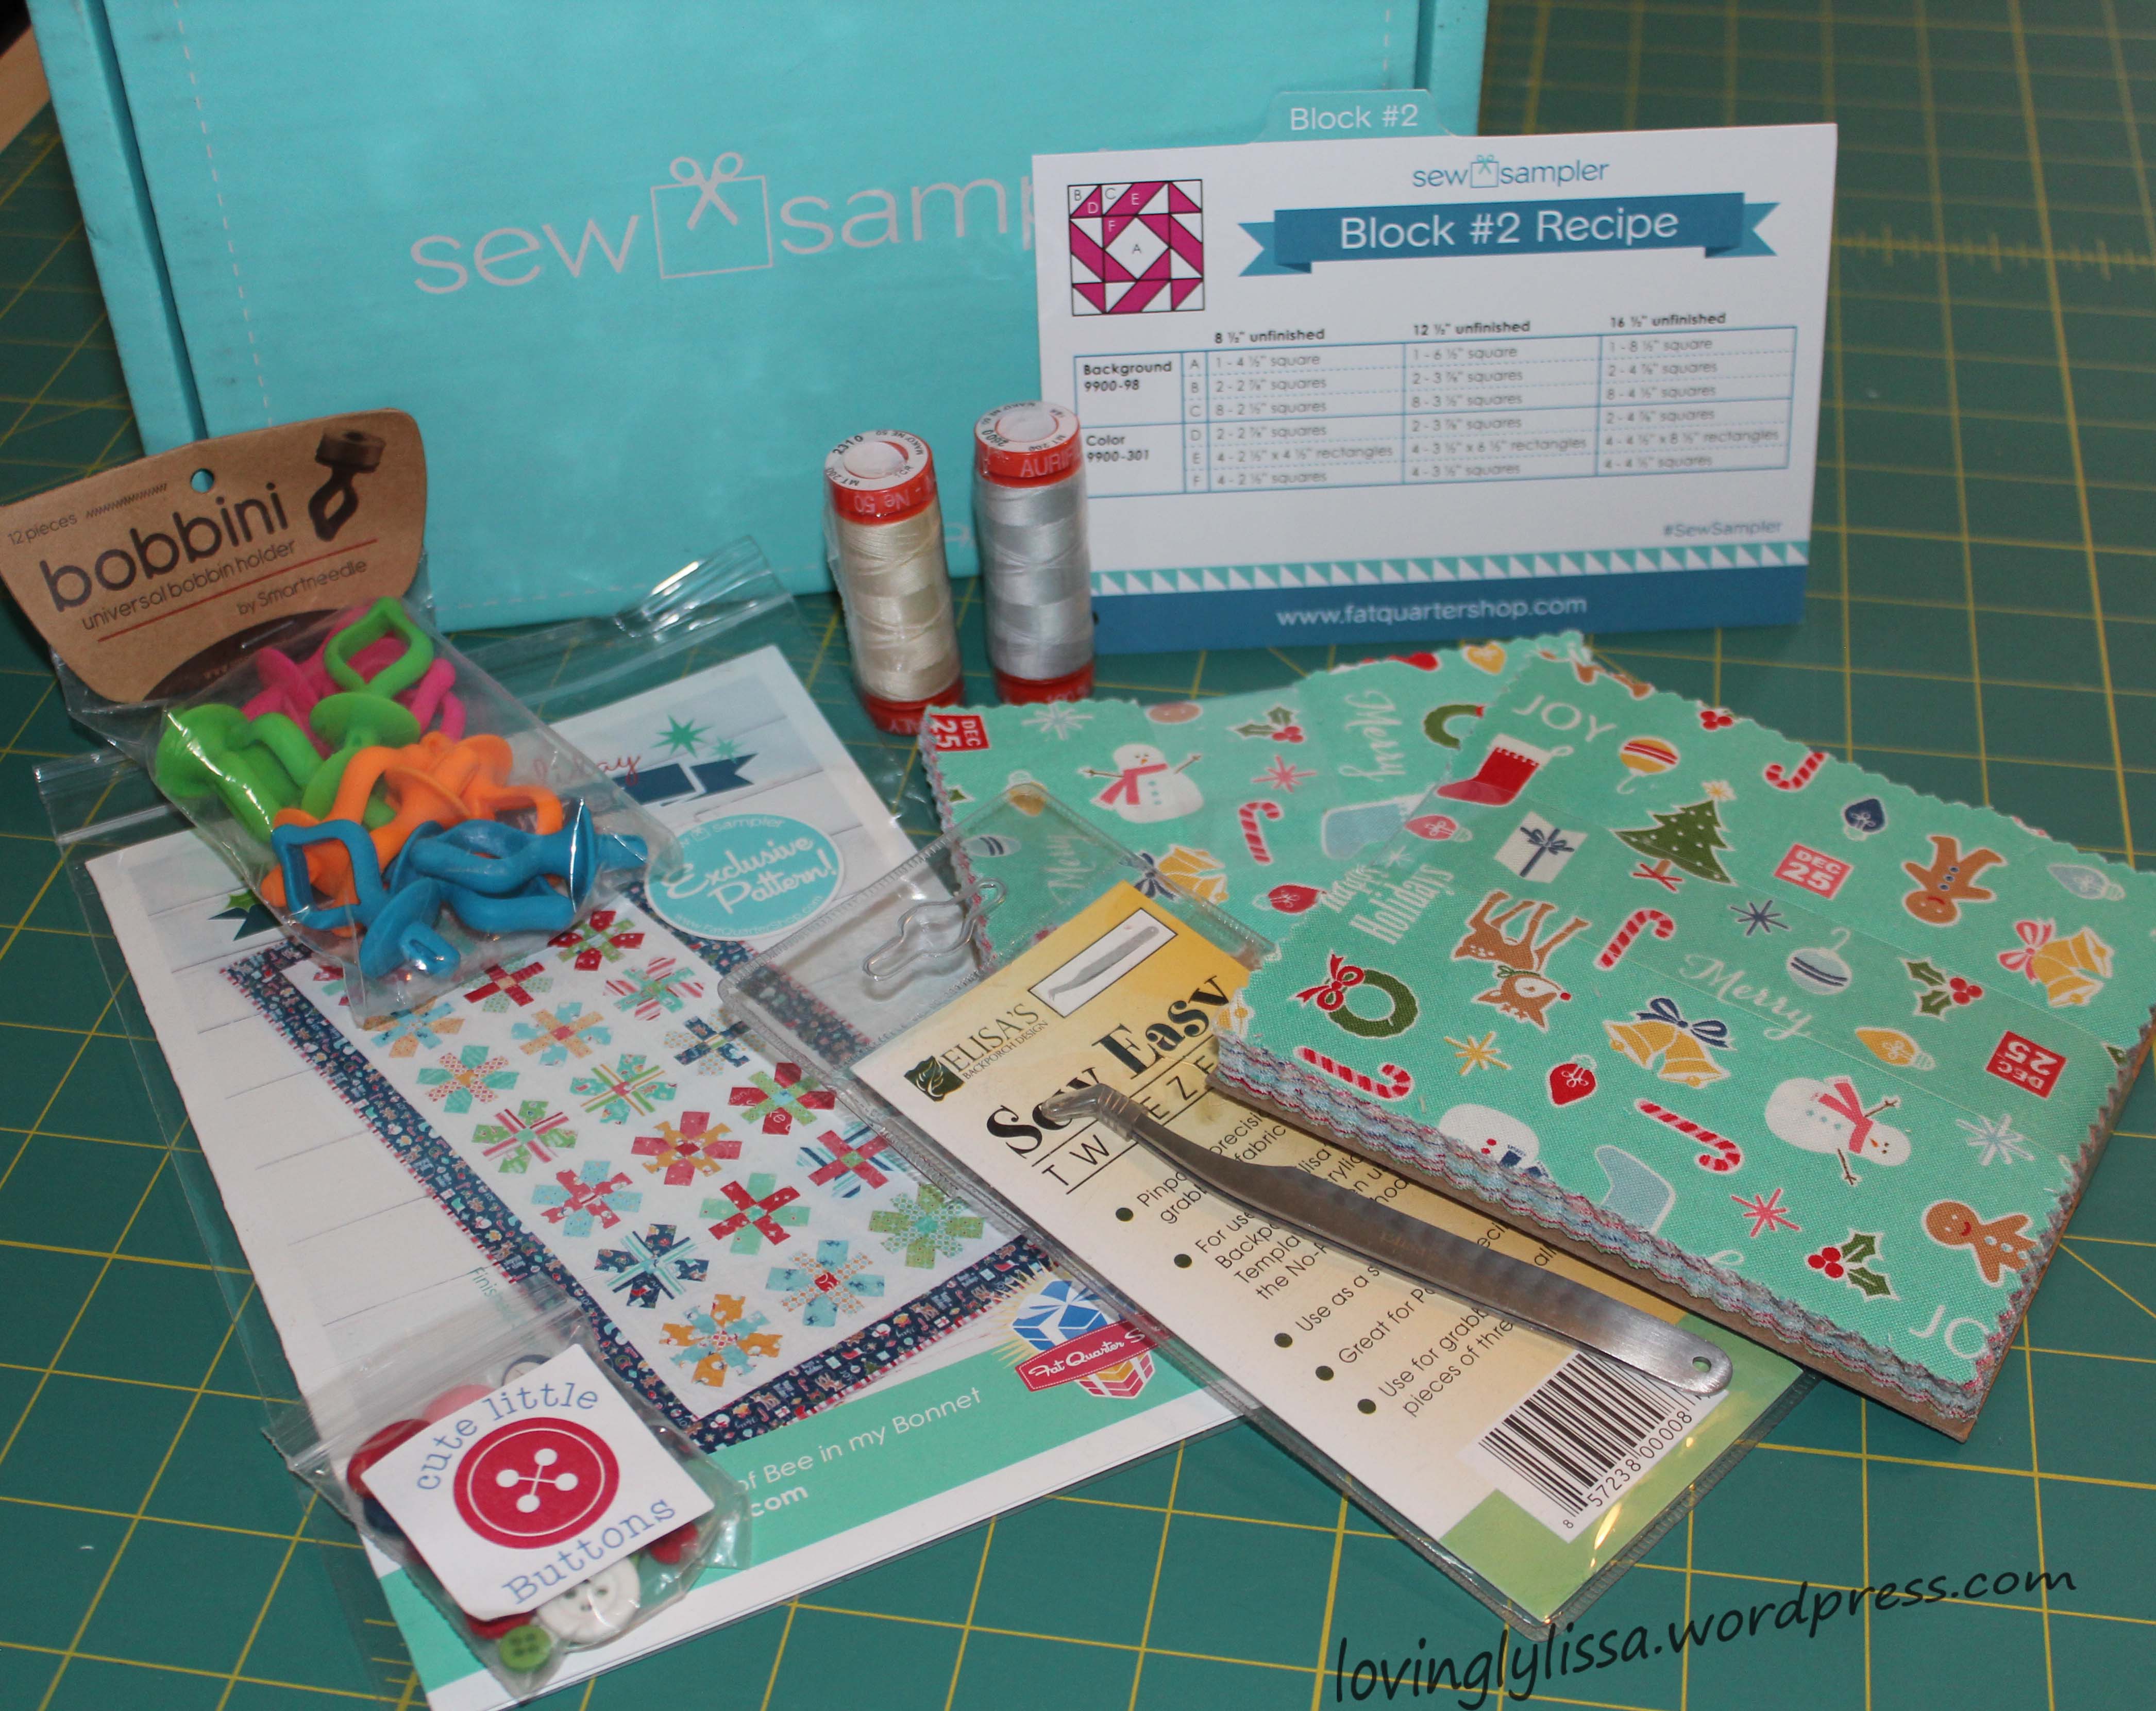
First, my second ever Sew Sampler box from Fat Quarter Shop has arrived.

Once again, Kimberly Jolly has read my mind on things I need or want to try.  I’ve been looking at different ways to store bobbins and can’t wait to try the Bobbini out. I keep hearing about Aurifil thread and want to test it out and here are two spools of it.  A guild I belong to has asked for handmade Christmas ornaments for a charity fundraiser, the fabrics in this month’s box will be put to good use.
sewsampler

I love the little ‘extra’ in the box.  Last month was a crossword, this month a coloring sheet.

color

What a relaxing way to end a day!

Also this post brings a new mini for the Crossroads Quilt Along by Sondra Davison of Out of the Blue Quilts.

maymini

I’m in love with my color choices for this and can not wait to see a finished product.

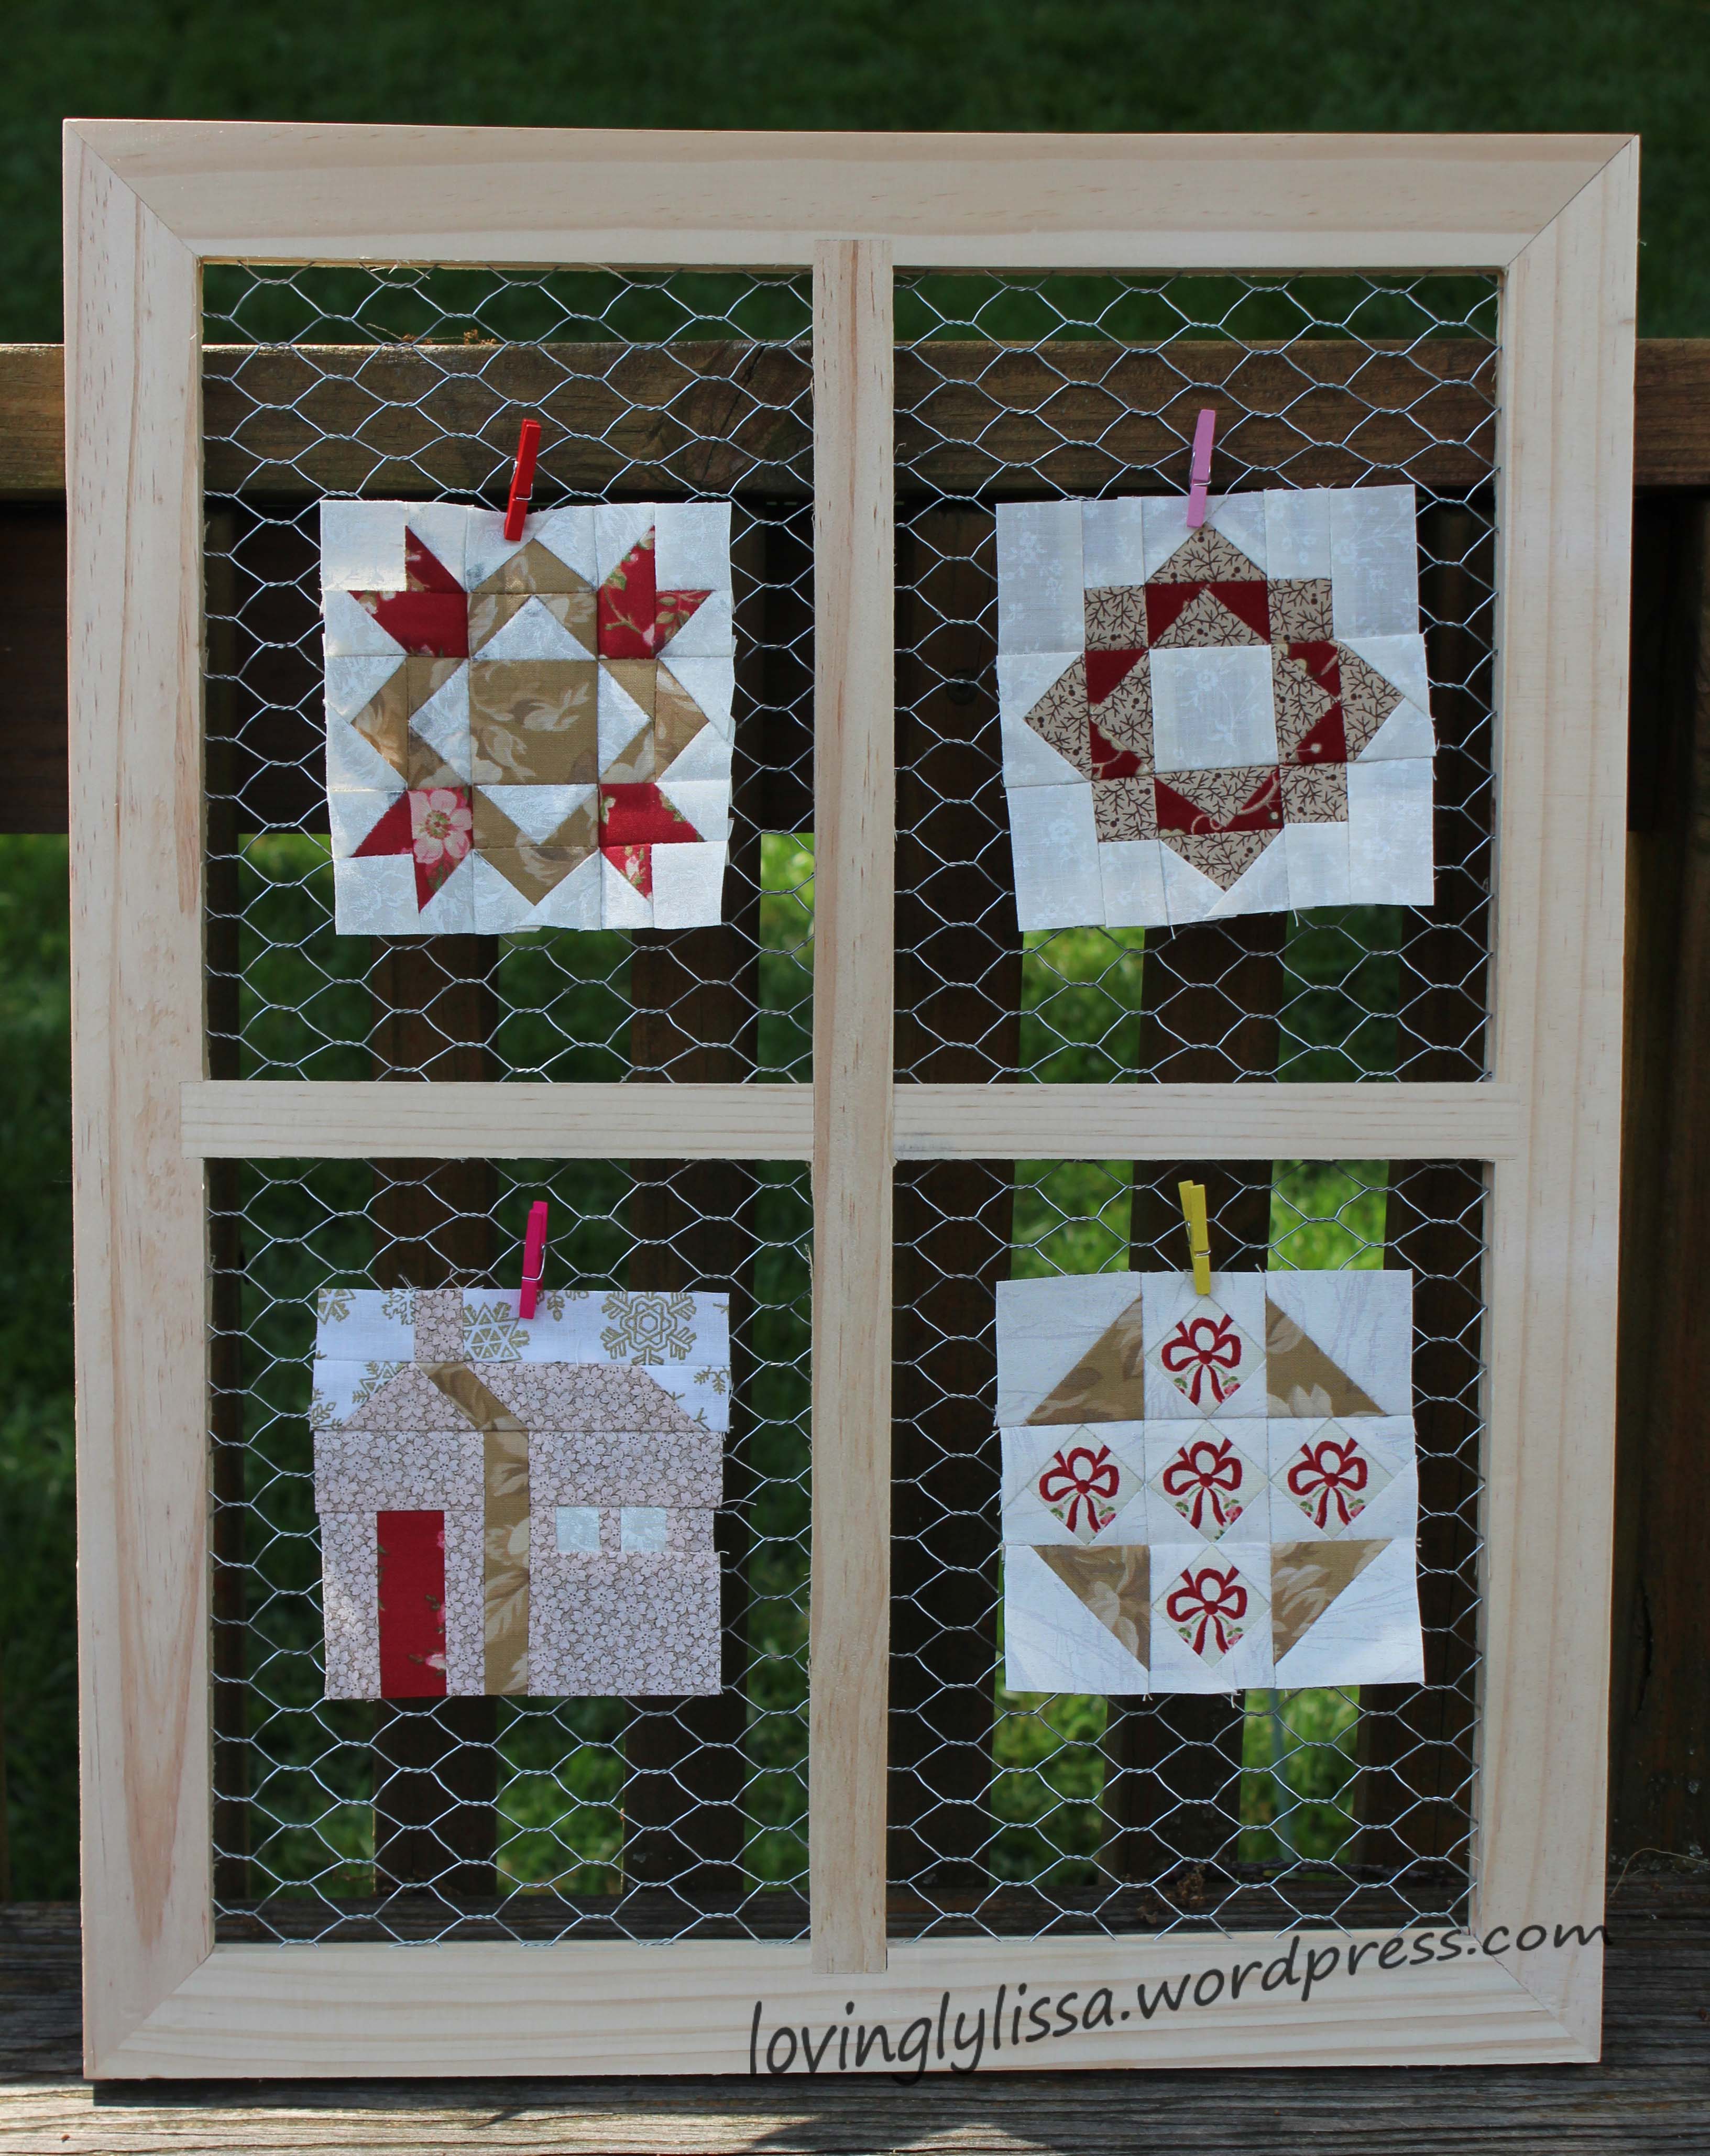
Here are the four I have made so far;

4minis


This post will be my last regular post till the end of August.  My kids are all out of school for the summer and I cannot guarantee time in my craft room when they are  home.  I will post as I complete projects but I know it won’t be twice weekly.

Enjoy your Summer!

Lovingly,

Lissa