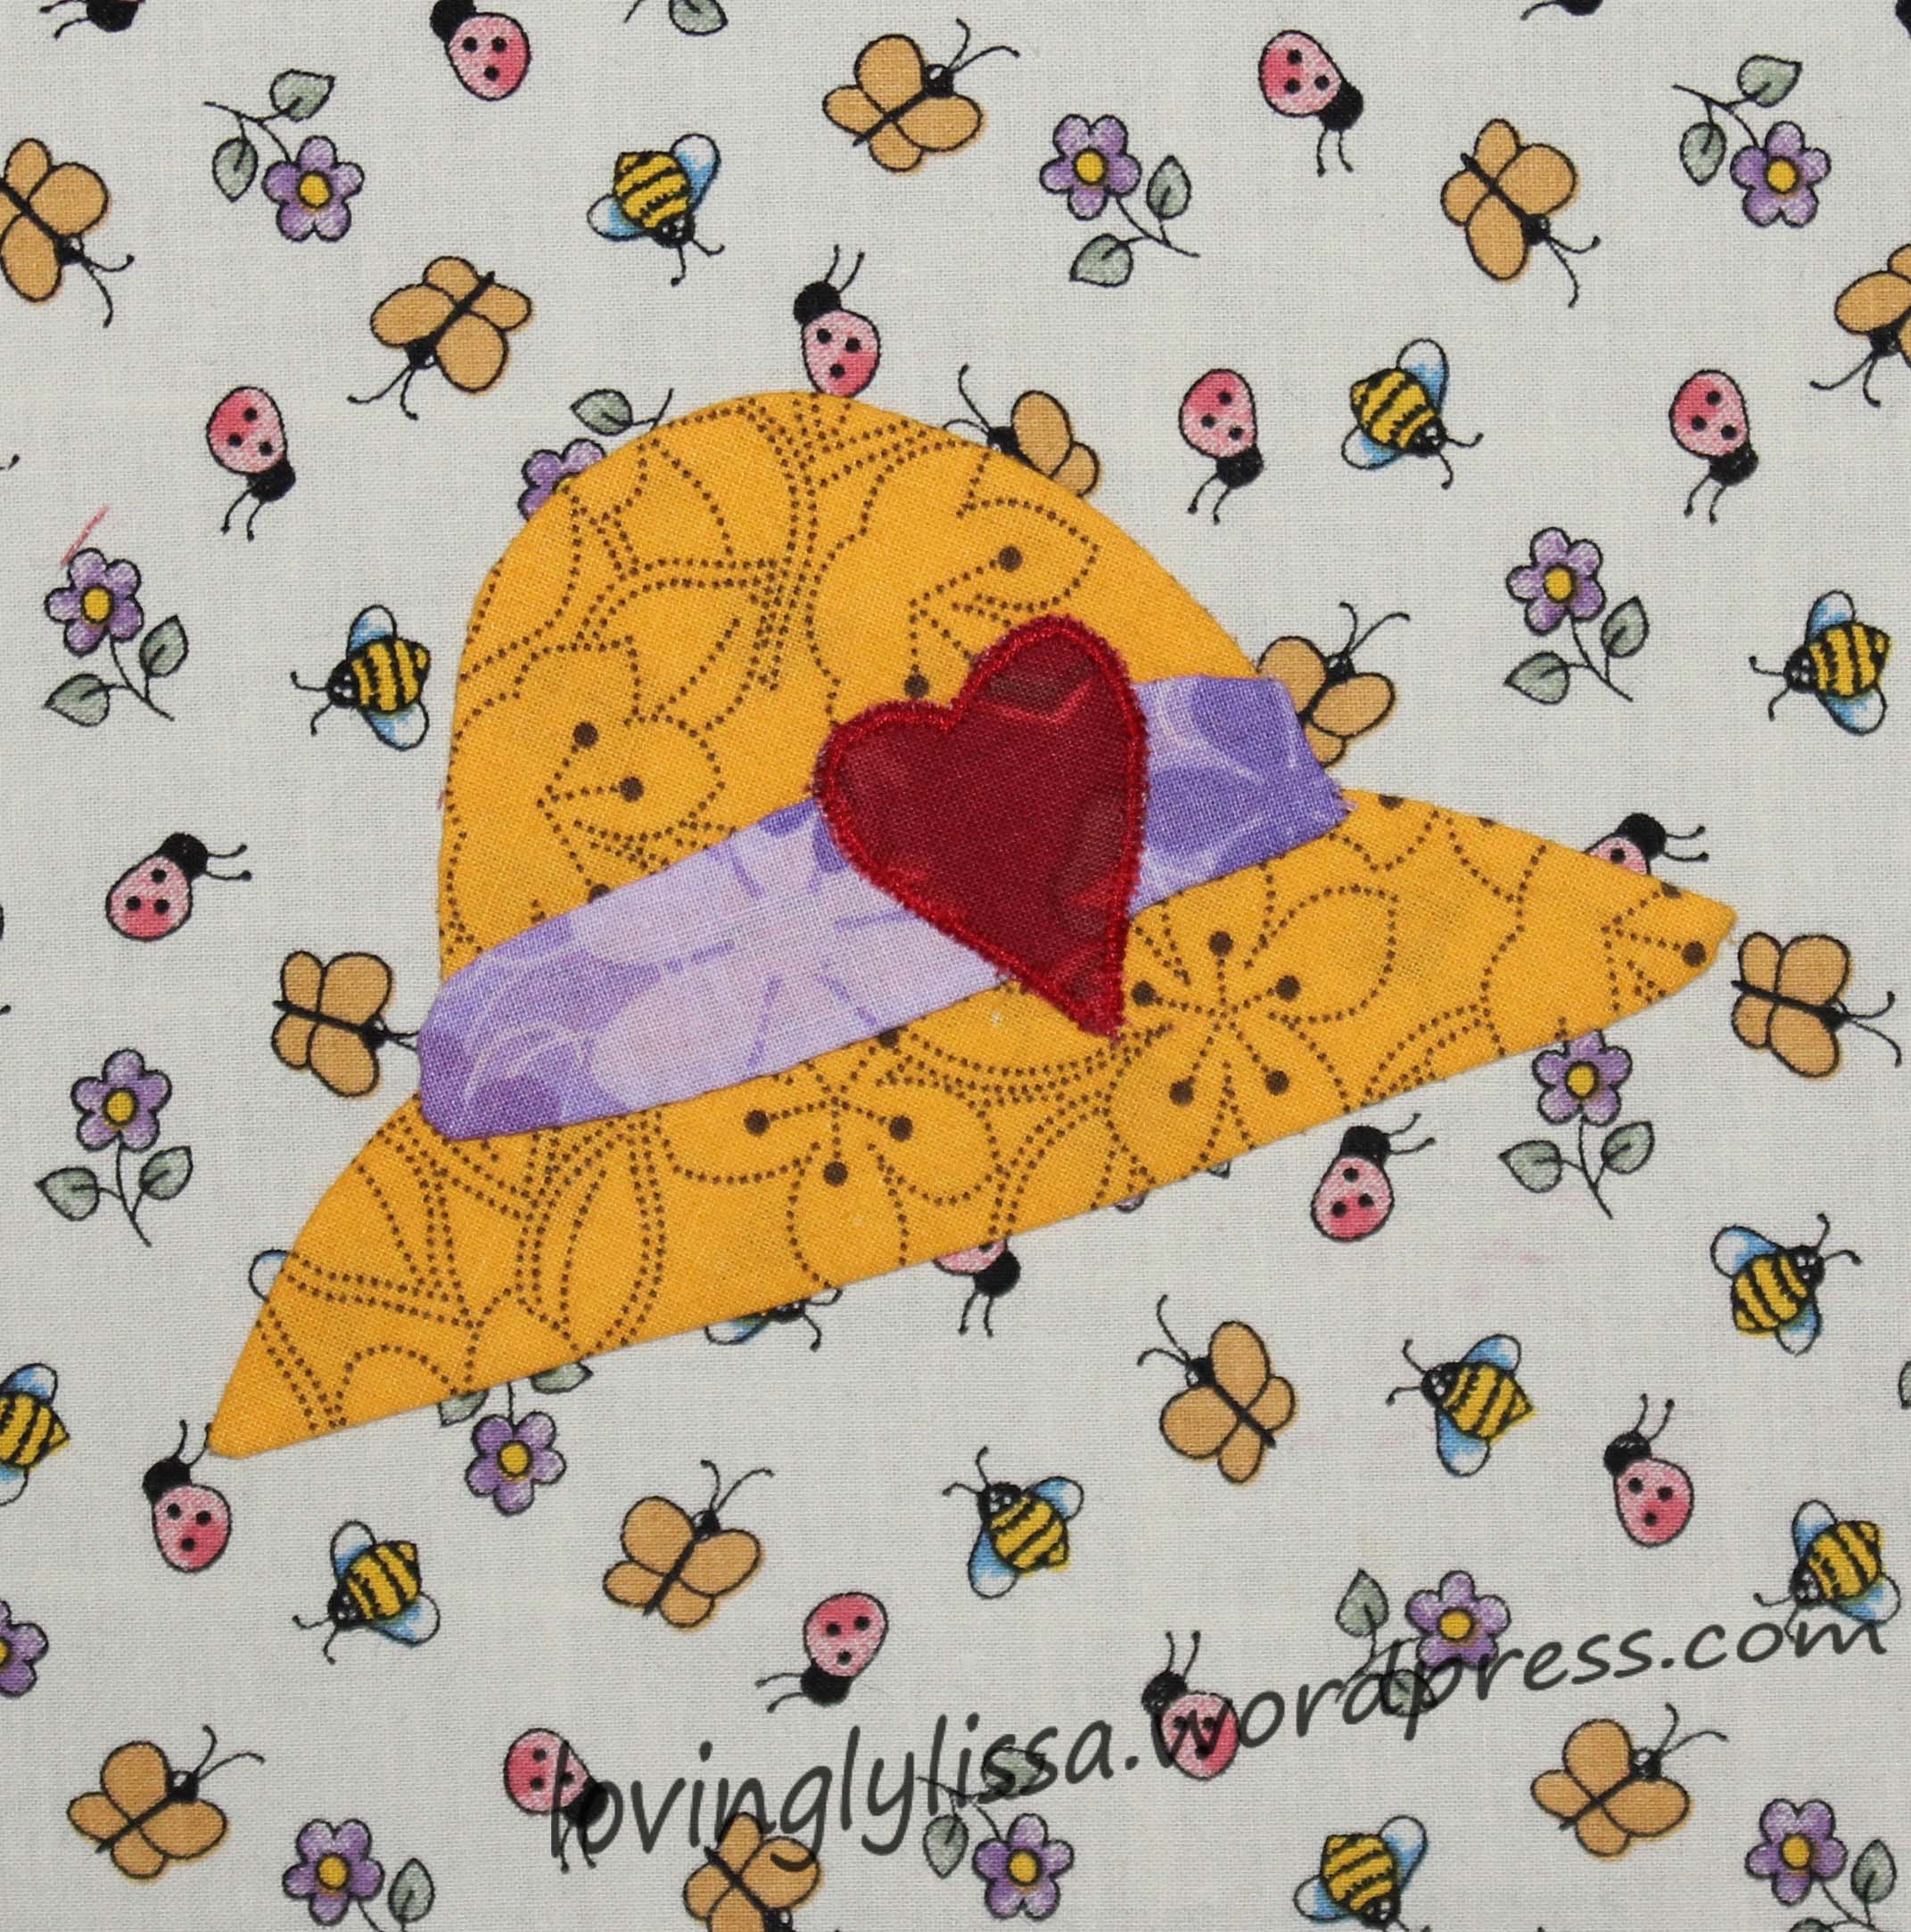
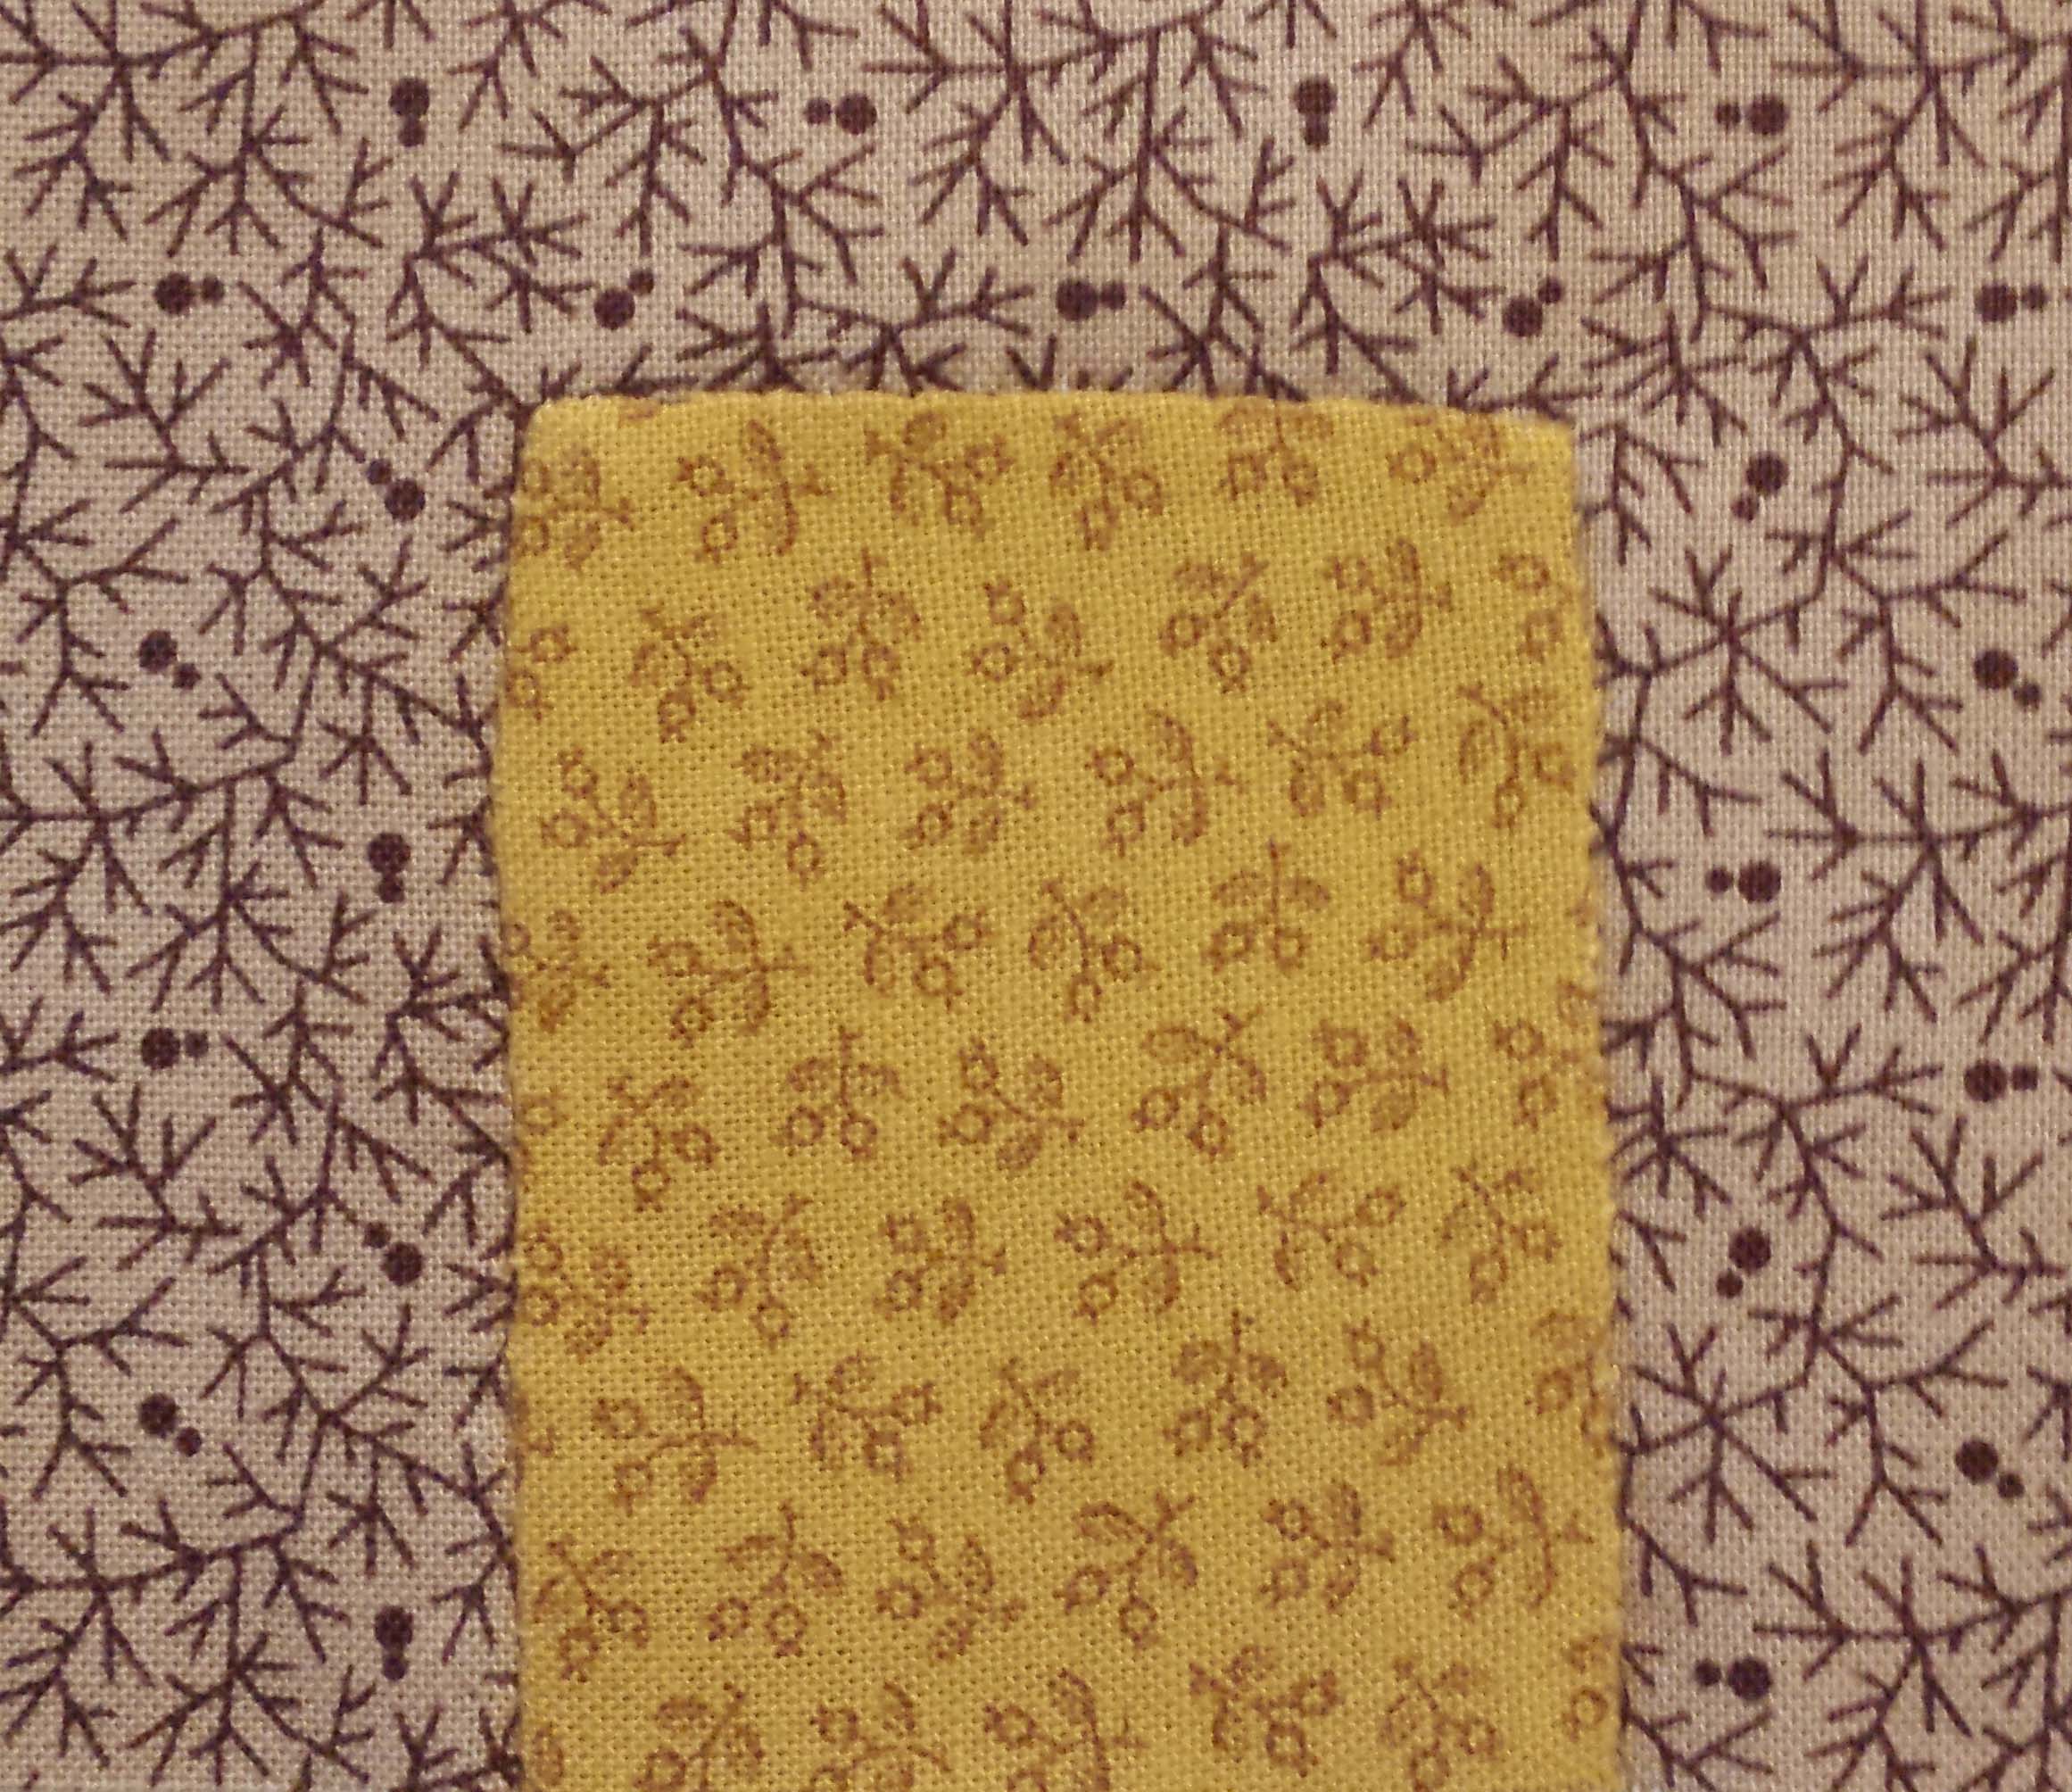
The Splendid Sampler had a Bonus Block and Challenge this week. The block is a cute derby hat and I had just finished sorting scrap fabric and figured I should use some of it up.
I tried the freezer paper technique for the applique of the hat and hat band and machine appliqued the heart. Of all the applique techniques I’ve tried so far, the backbasting method has been my favorite.
Every summer quilt shops across the U.S. and Canada participate in the Row by Row experience. You visit a participating shop and pick up a pattern for a quilt row. Each shop has their own unique pattern, but they all follow a theme.
I don’t really shop hop and gather rows each summer, instead I visit a local quilt shop from wherever I am vacationing with my family. Some time in the future I will have a wonderful blanket filled with memories of everywhere we went.
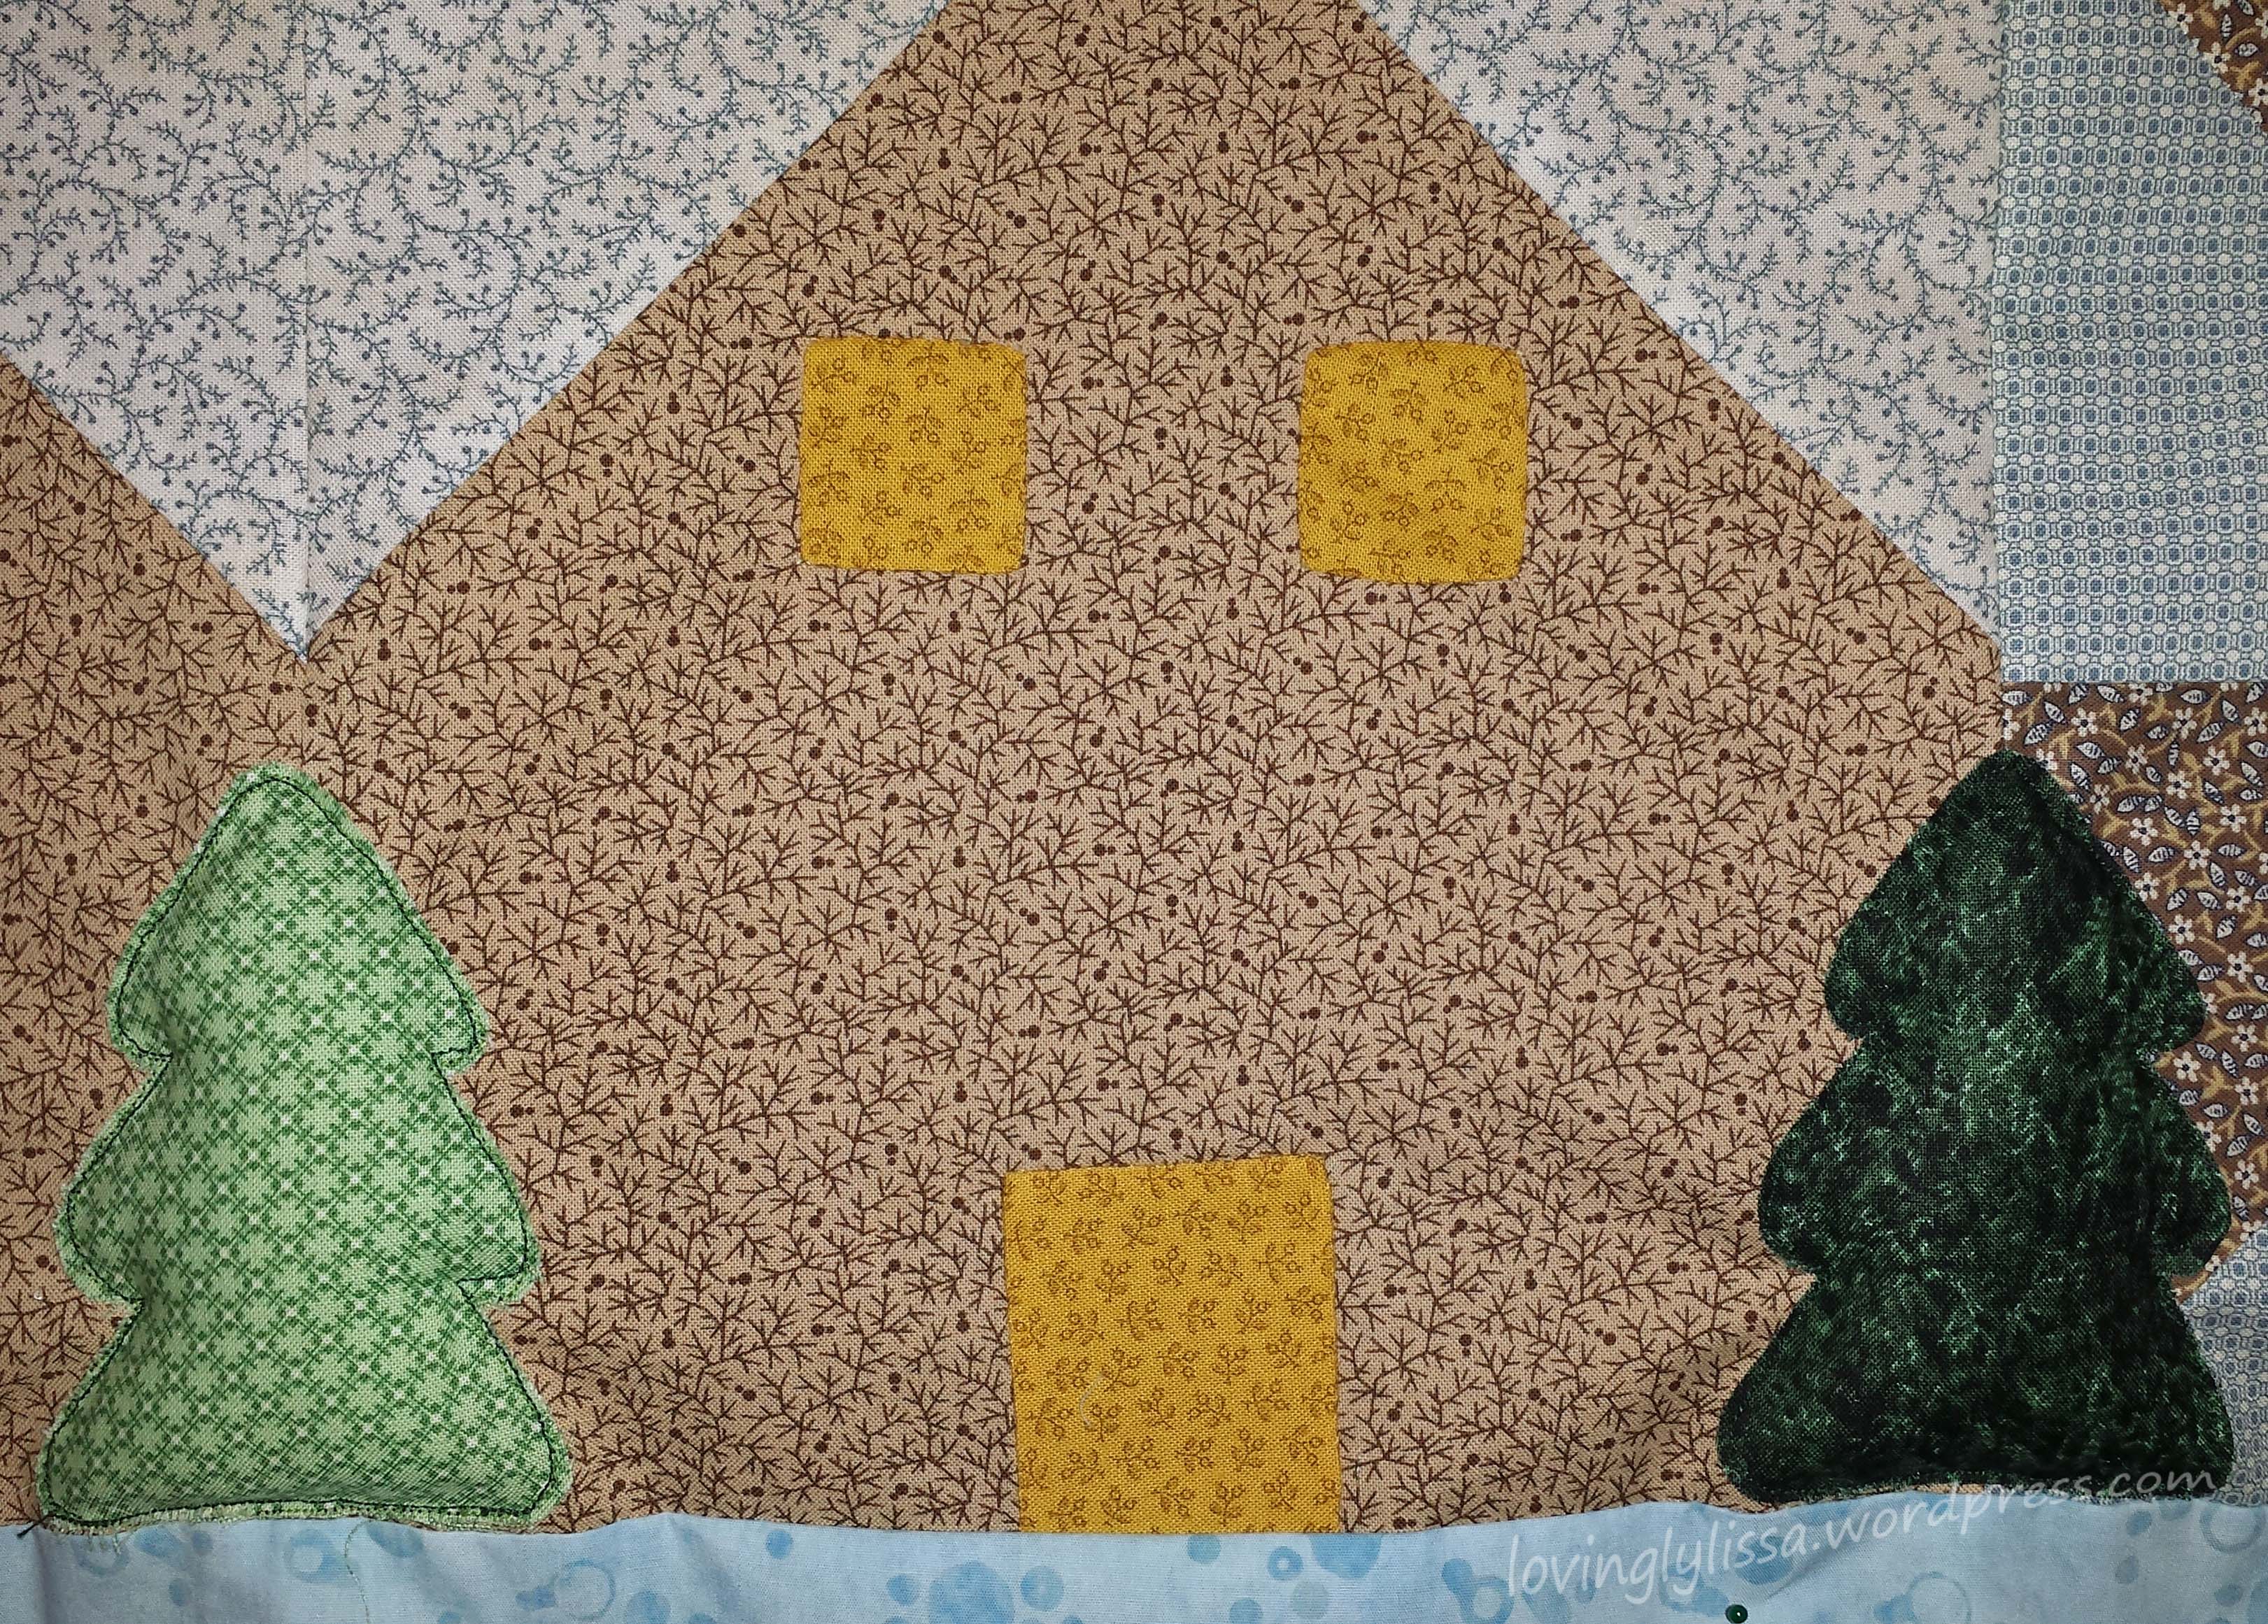
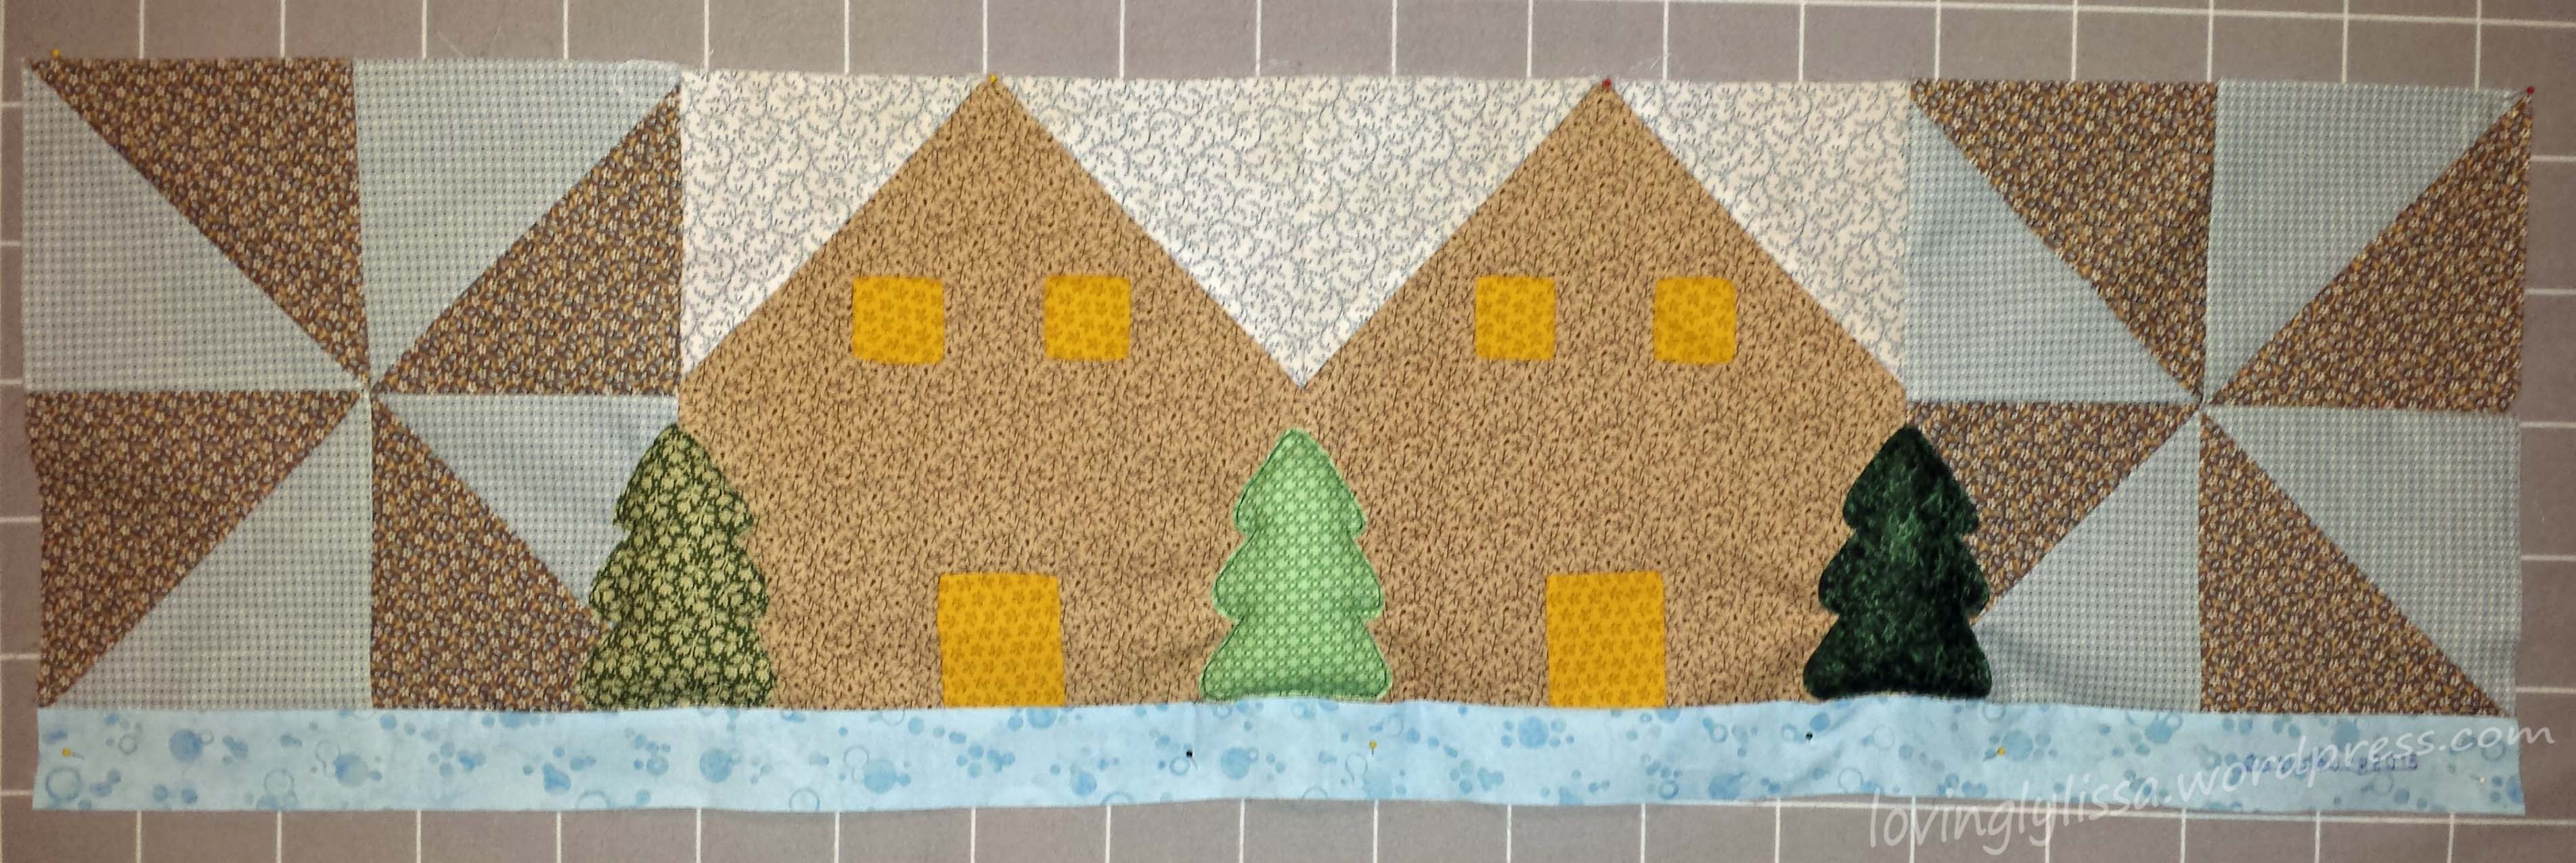
Last summer we went to Gatlinburg, TN and visited the Great Smokey Mountains. I made a stop at Mountain Stitches by Susan and purchased a kit to make her row of the grist mills and water wheels.
There was applique involved with this piece and I thought I would try it a few different ways. Just to see how it would turn out.
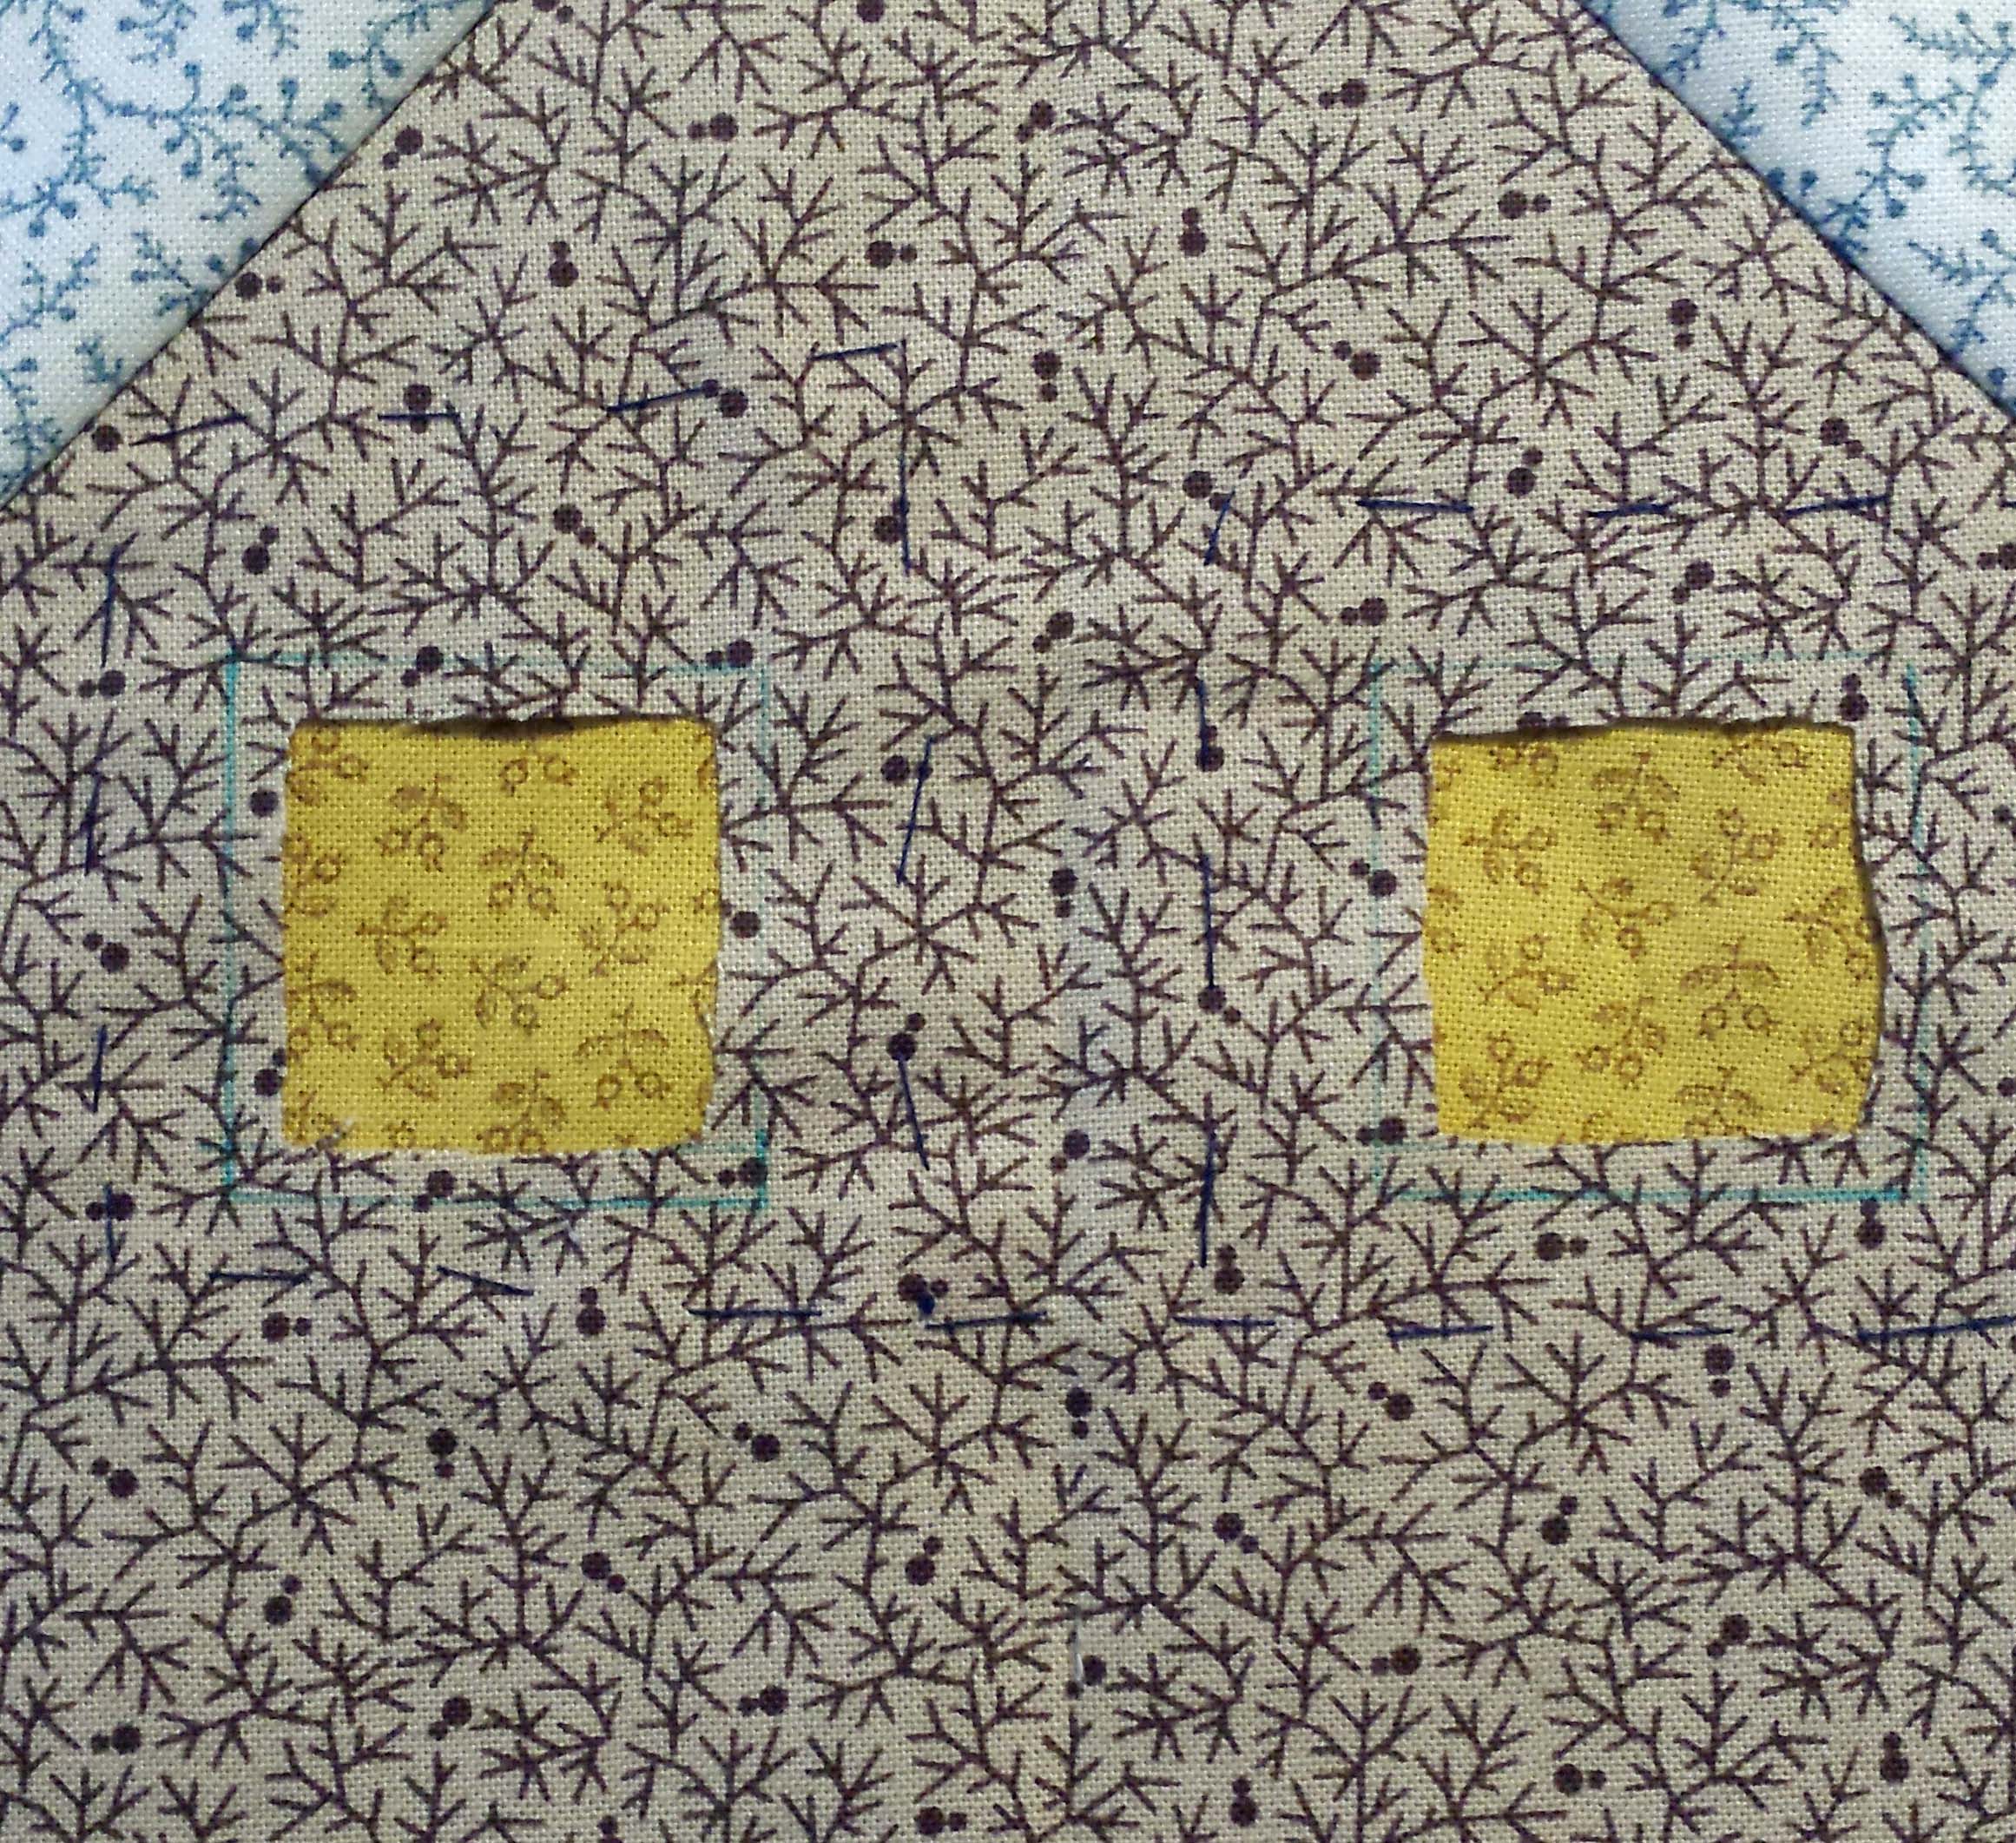
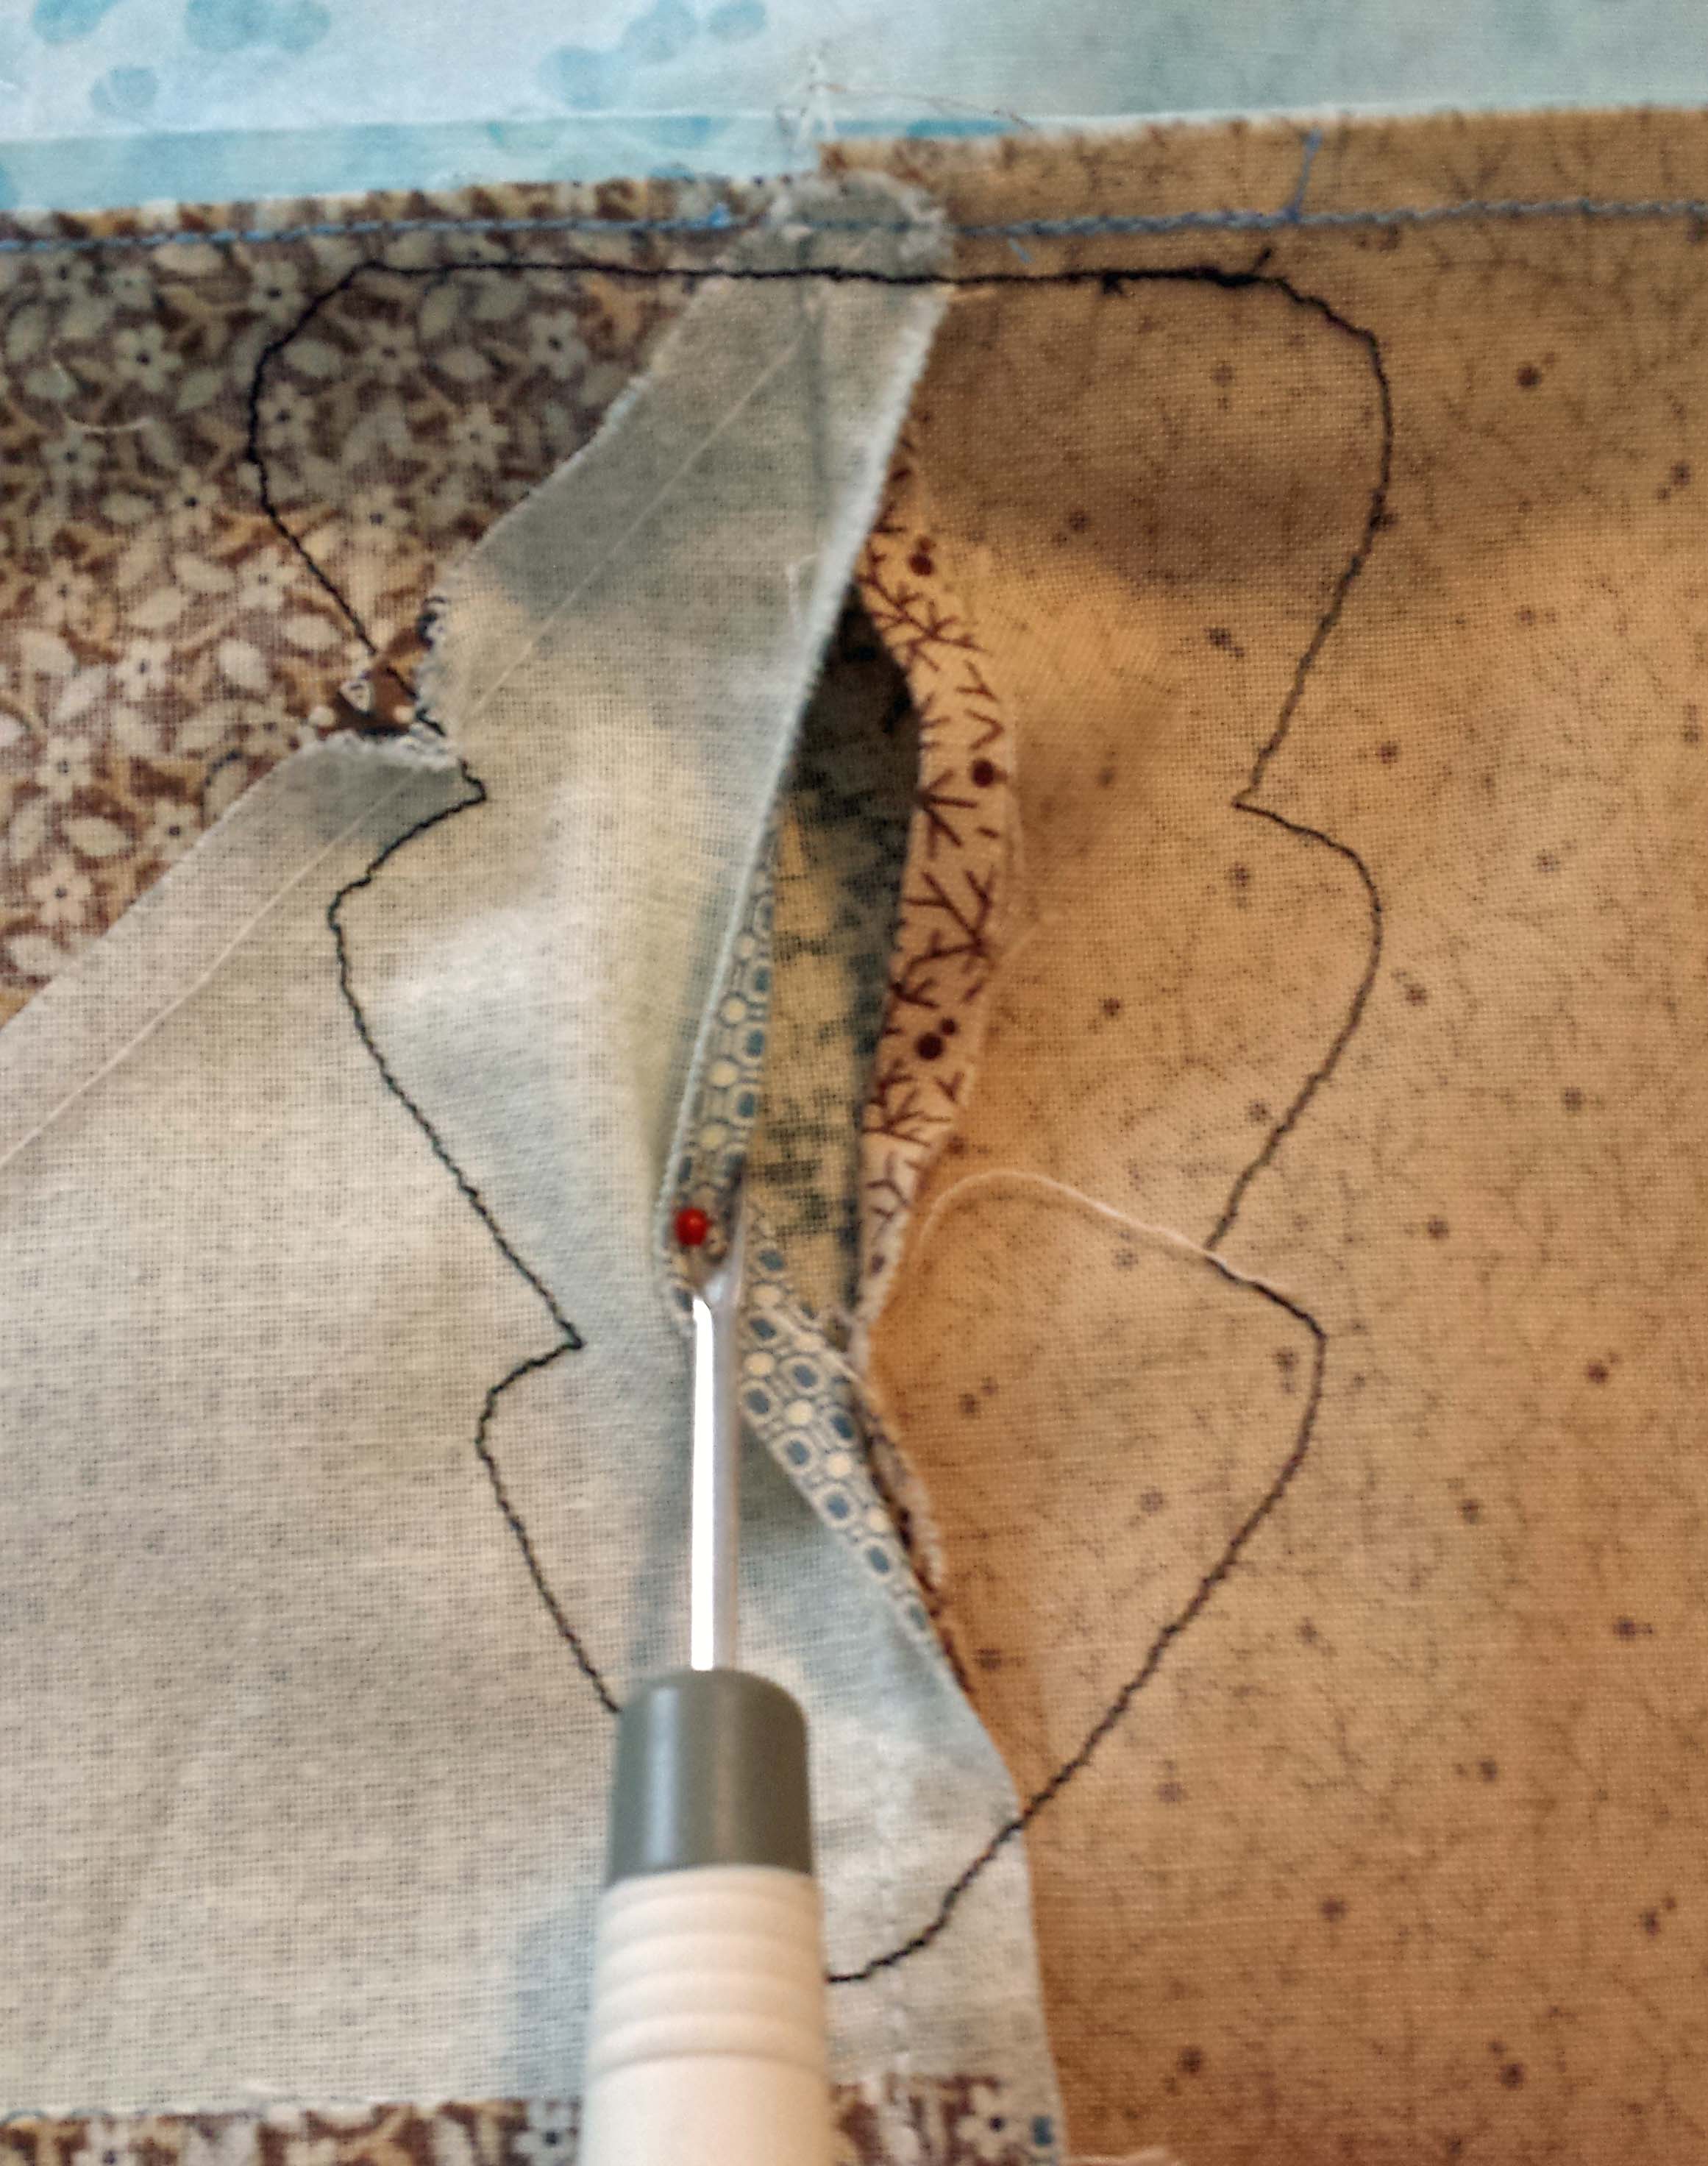
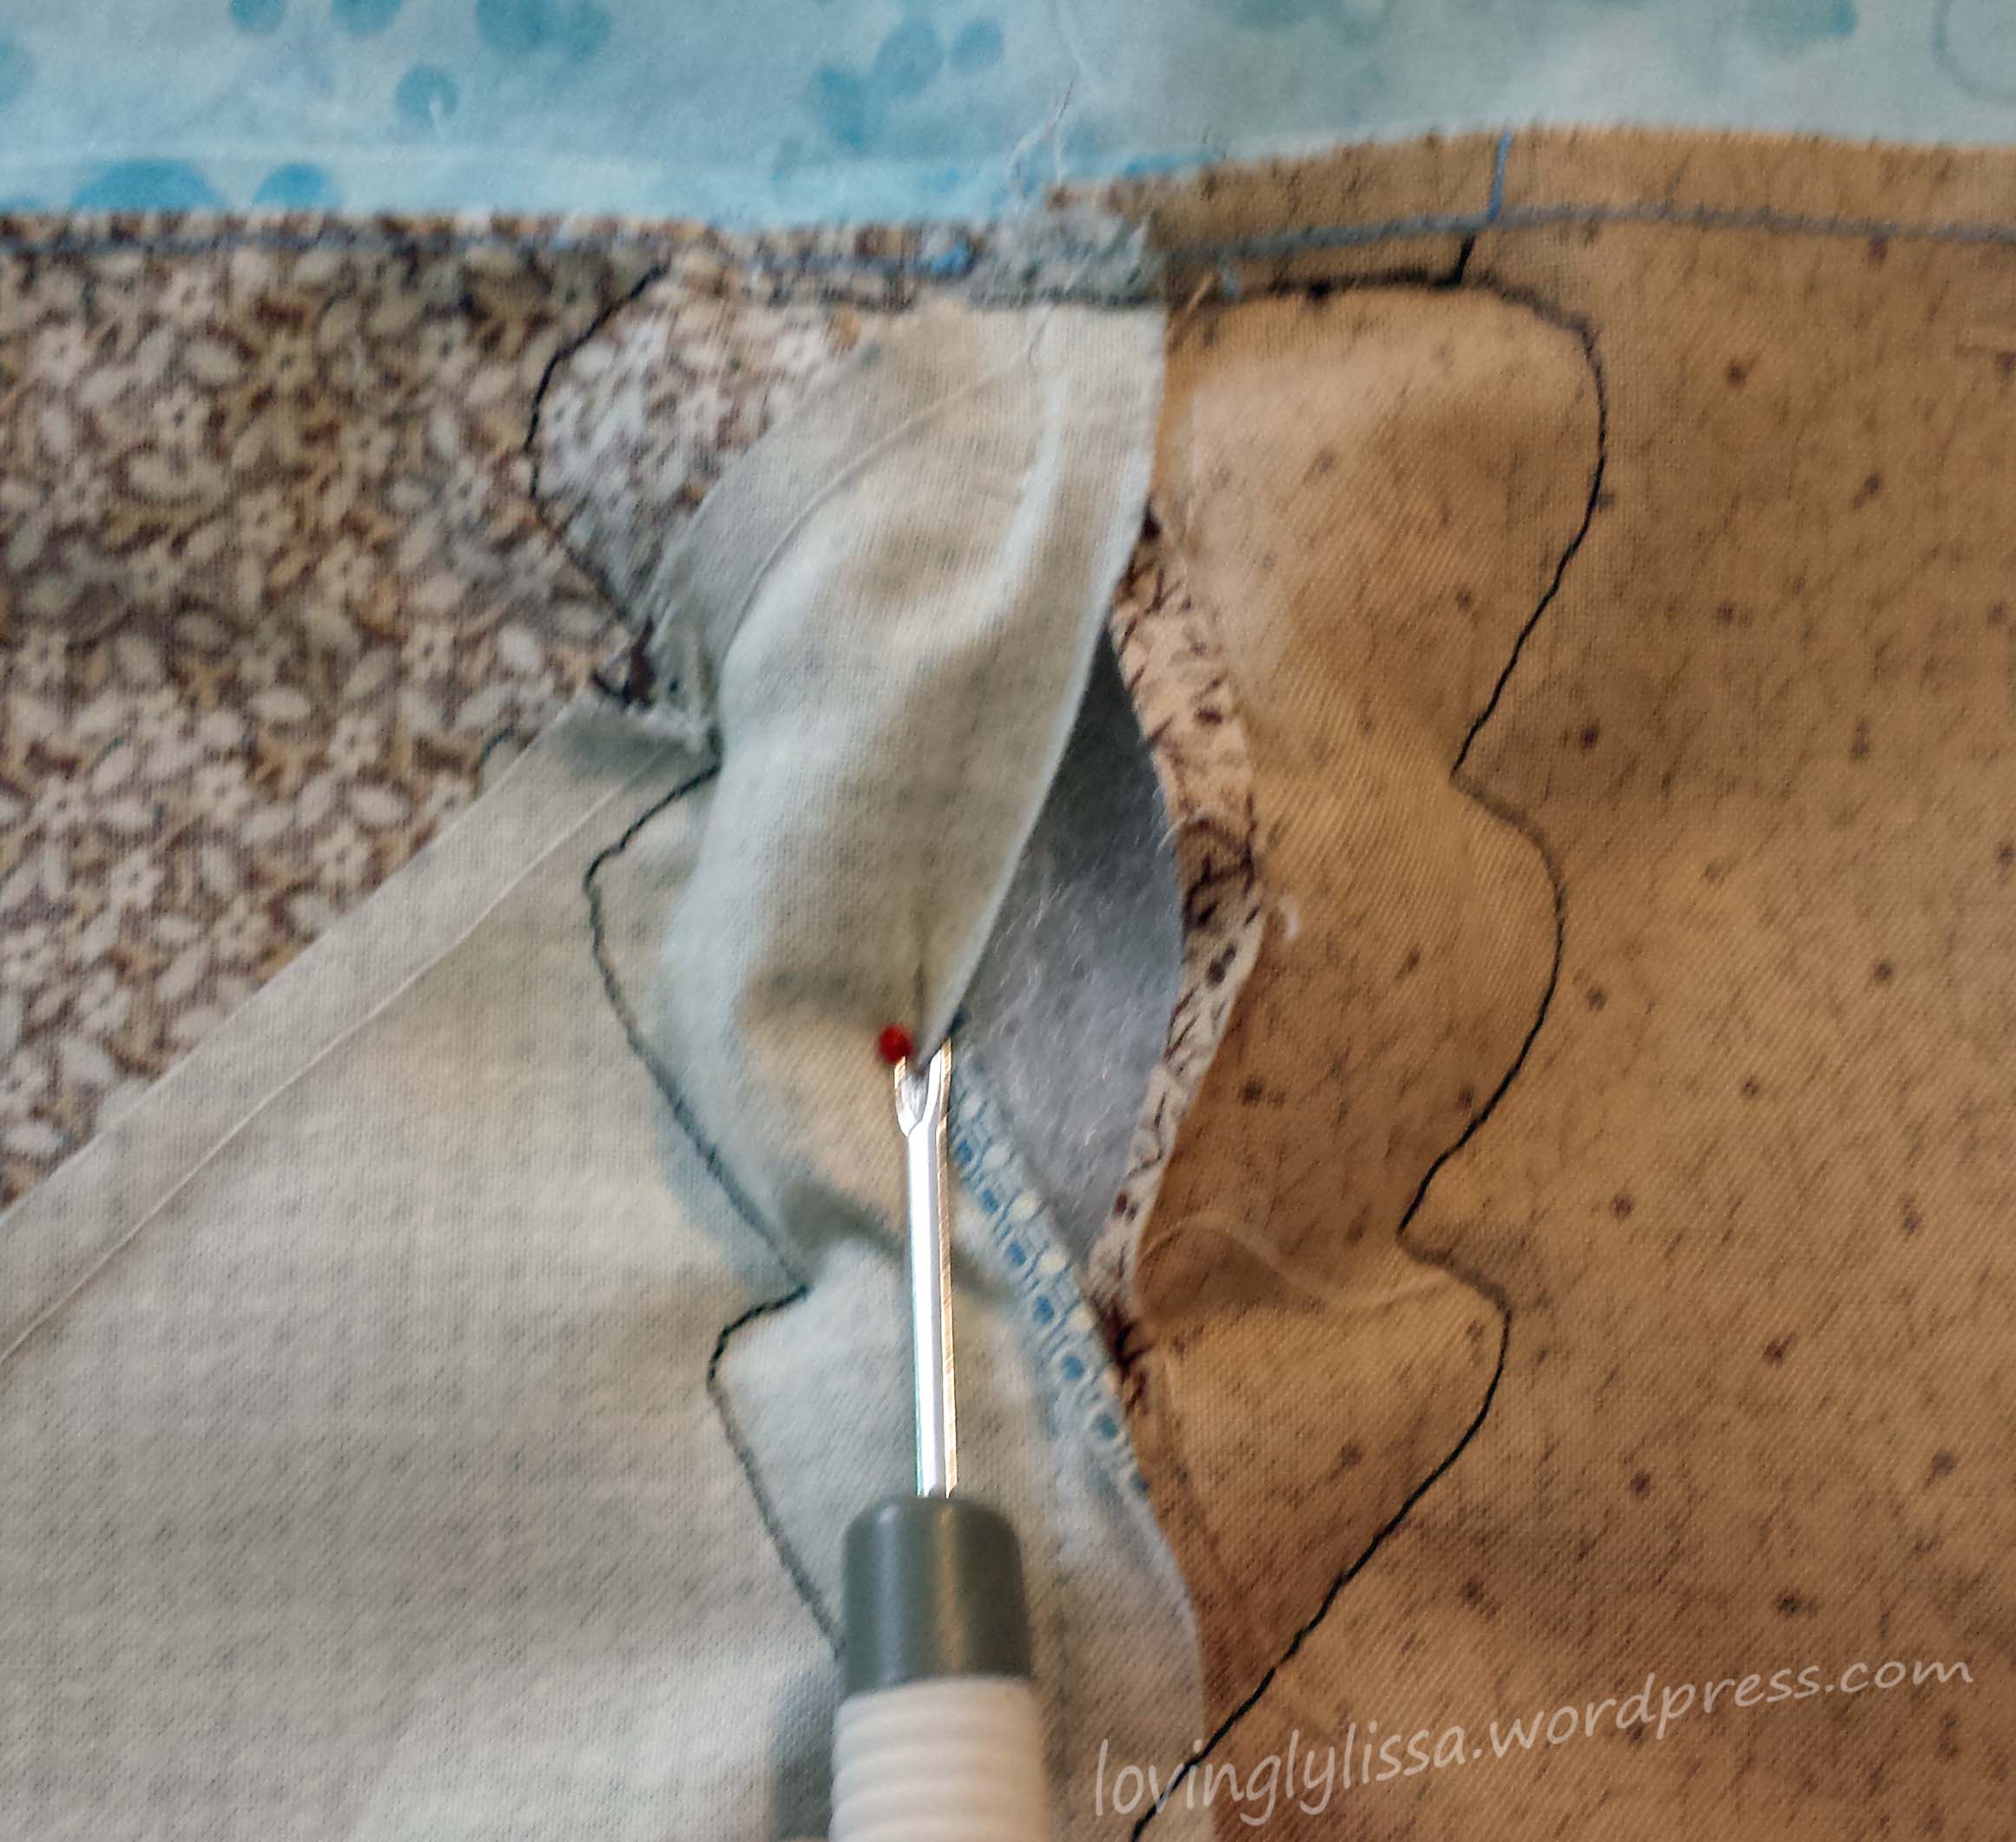
First, the upper windows of the grist mills were reversed appliqued. This meant I put the window fabric behind the grist mill, and cut the grist mill fabric to show the windows. I needled turned the grist mill fabric.
Prepping the applique. Note the brown fabric on top is cut to show the yellow fabric behind.
Finished.
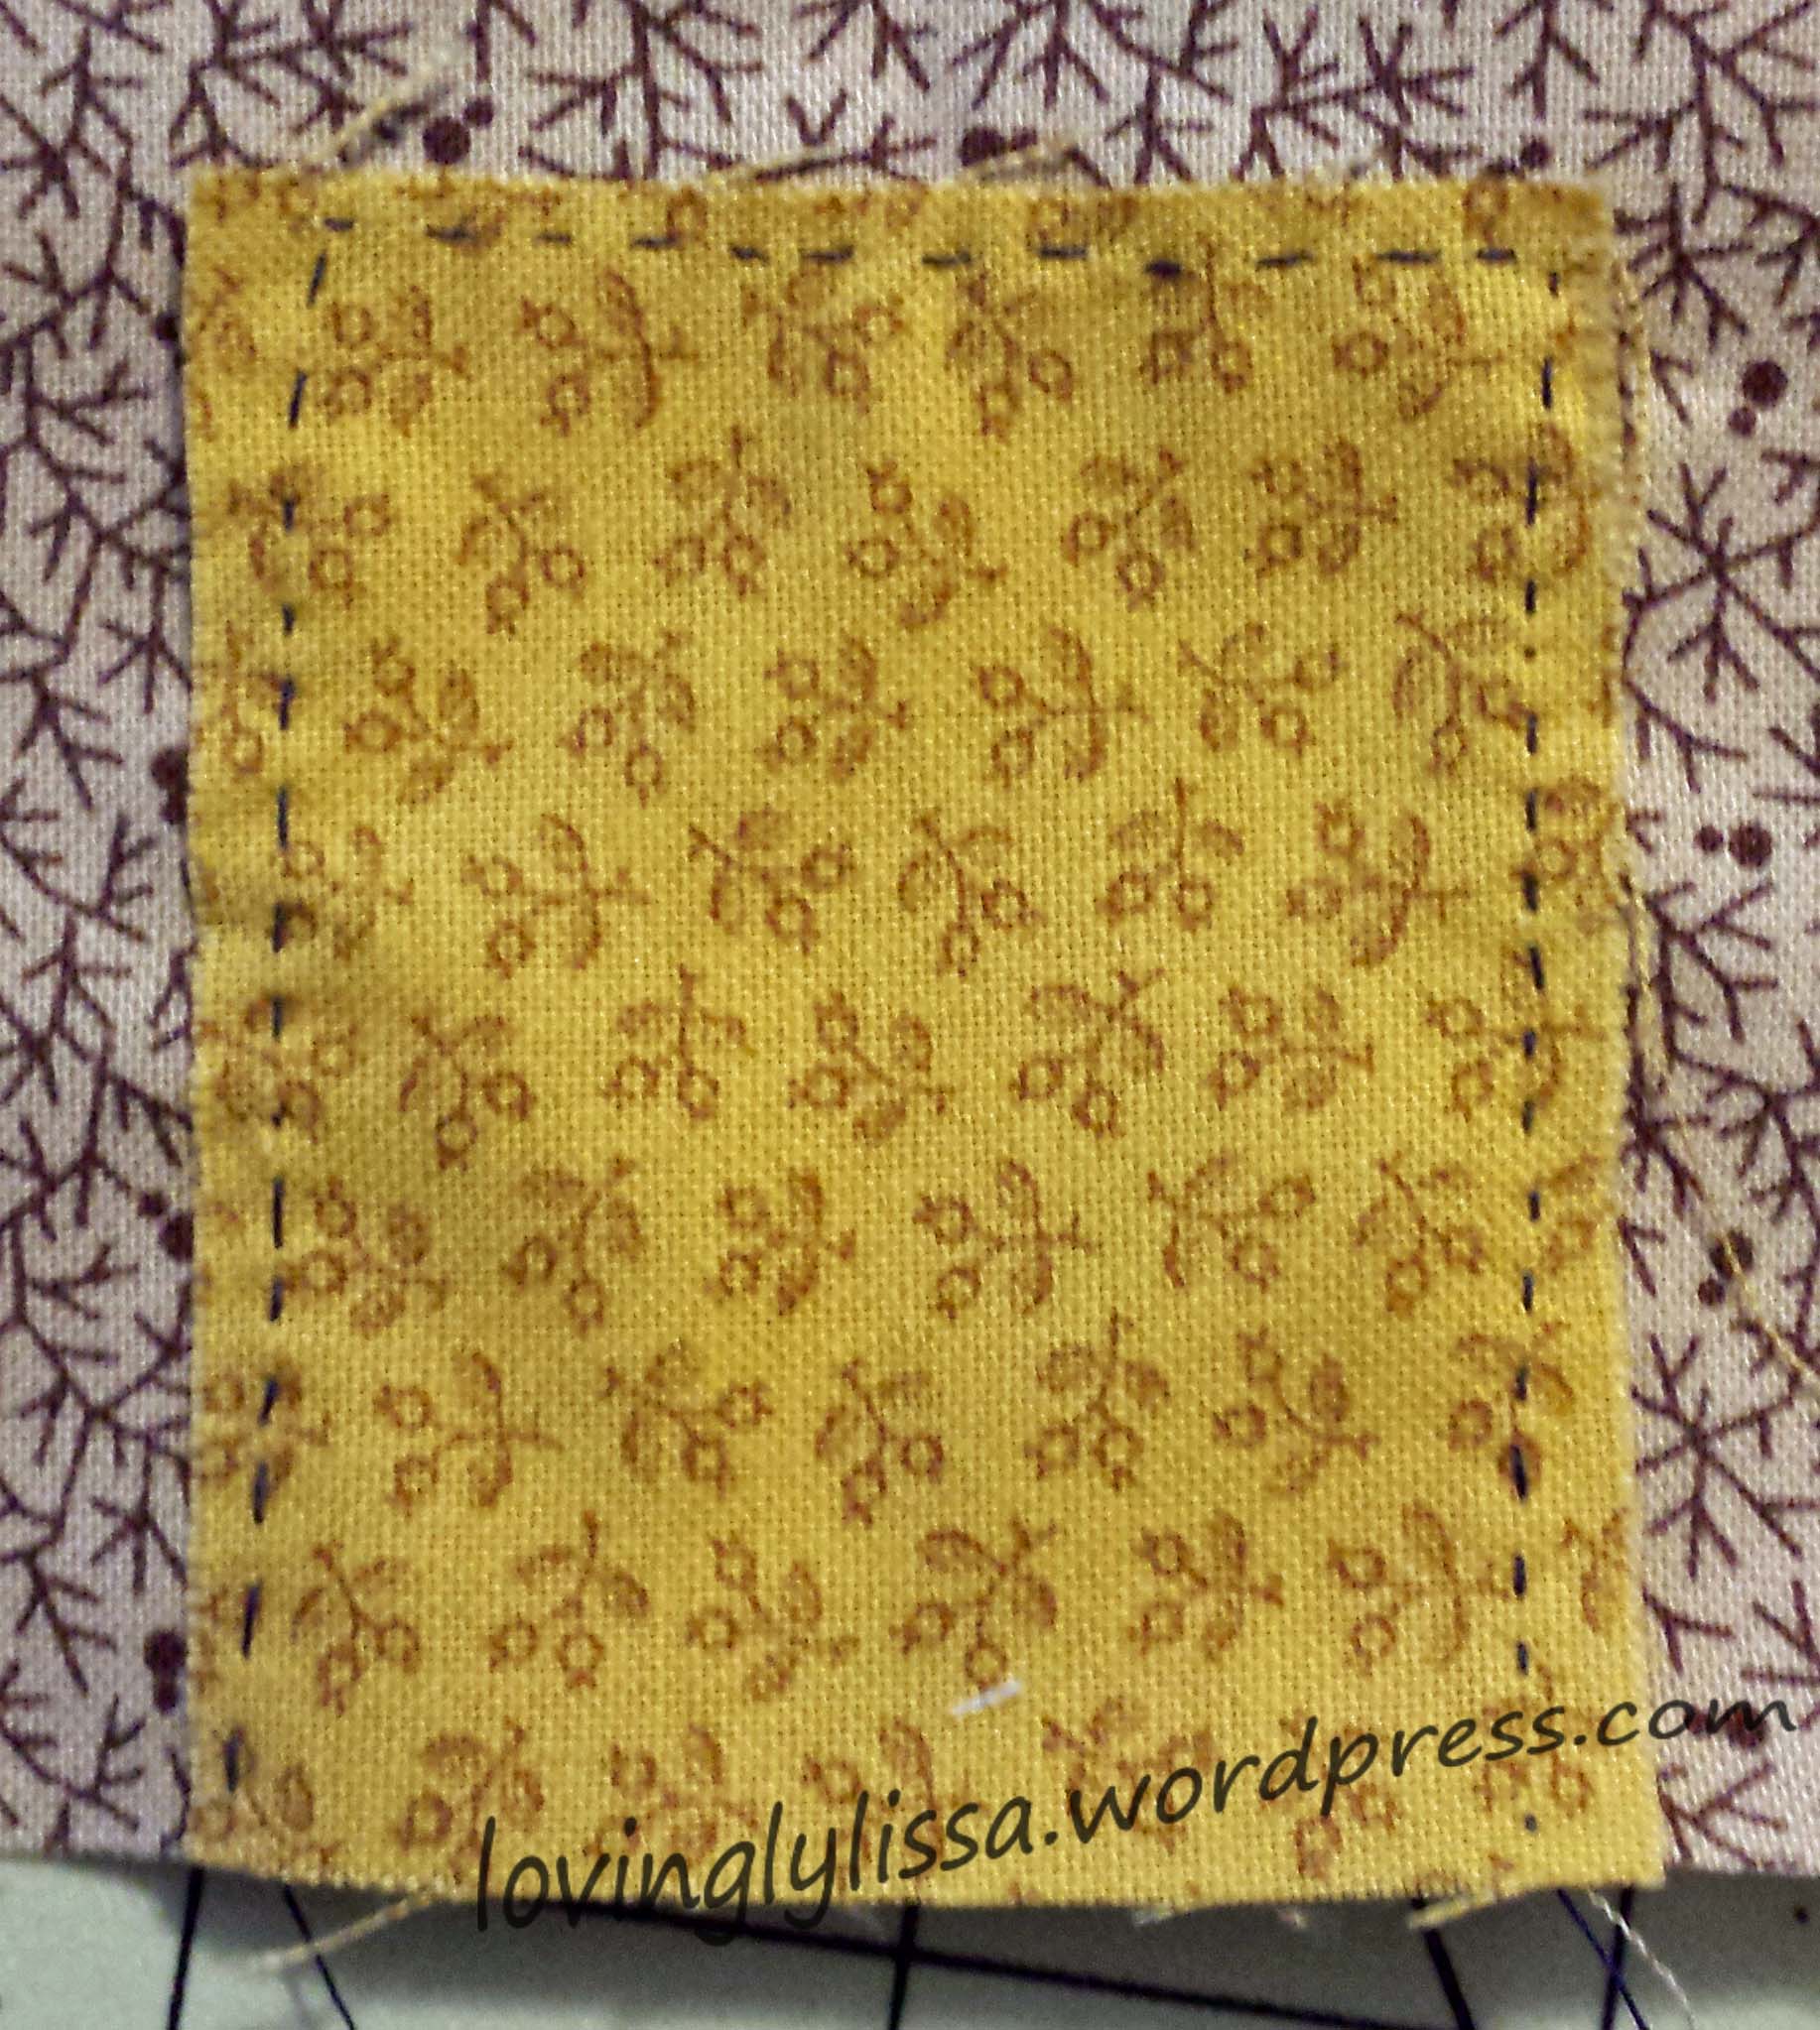
The door was next. For this applique I did the backbasted method. You draw the outline of your applique on the back of the piece you are sewing it onto. Then you lay the piece to be appliqued on top. Following the drawing you baste the piece on using tiny stitches. If you let it sit like this for a while, it makes a perforation of the fabric to make turning under easier. I just pull out a few basting stitches and needle turn the fabric.
The yellow fabric is basted on top of the brown.
Finished
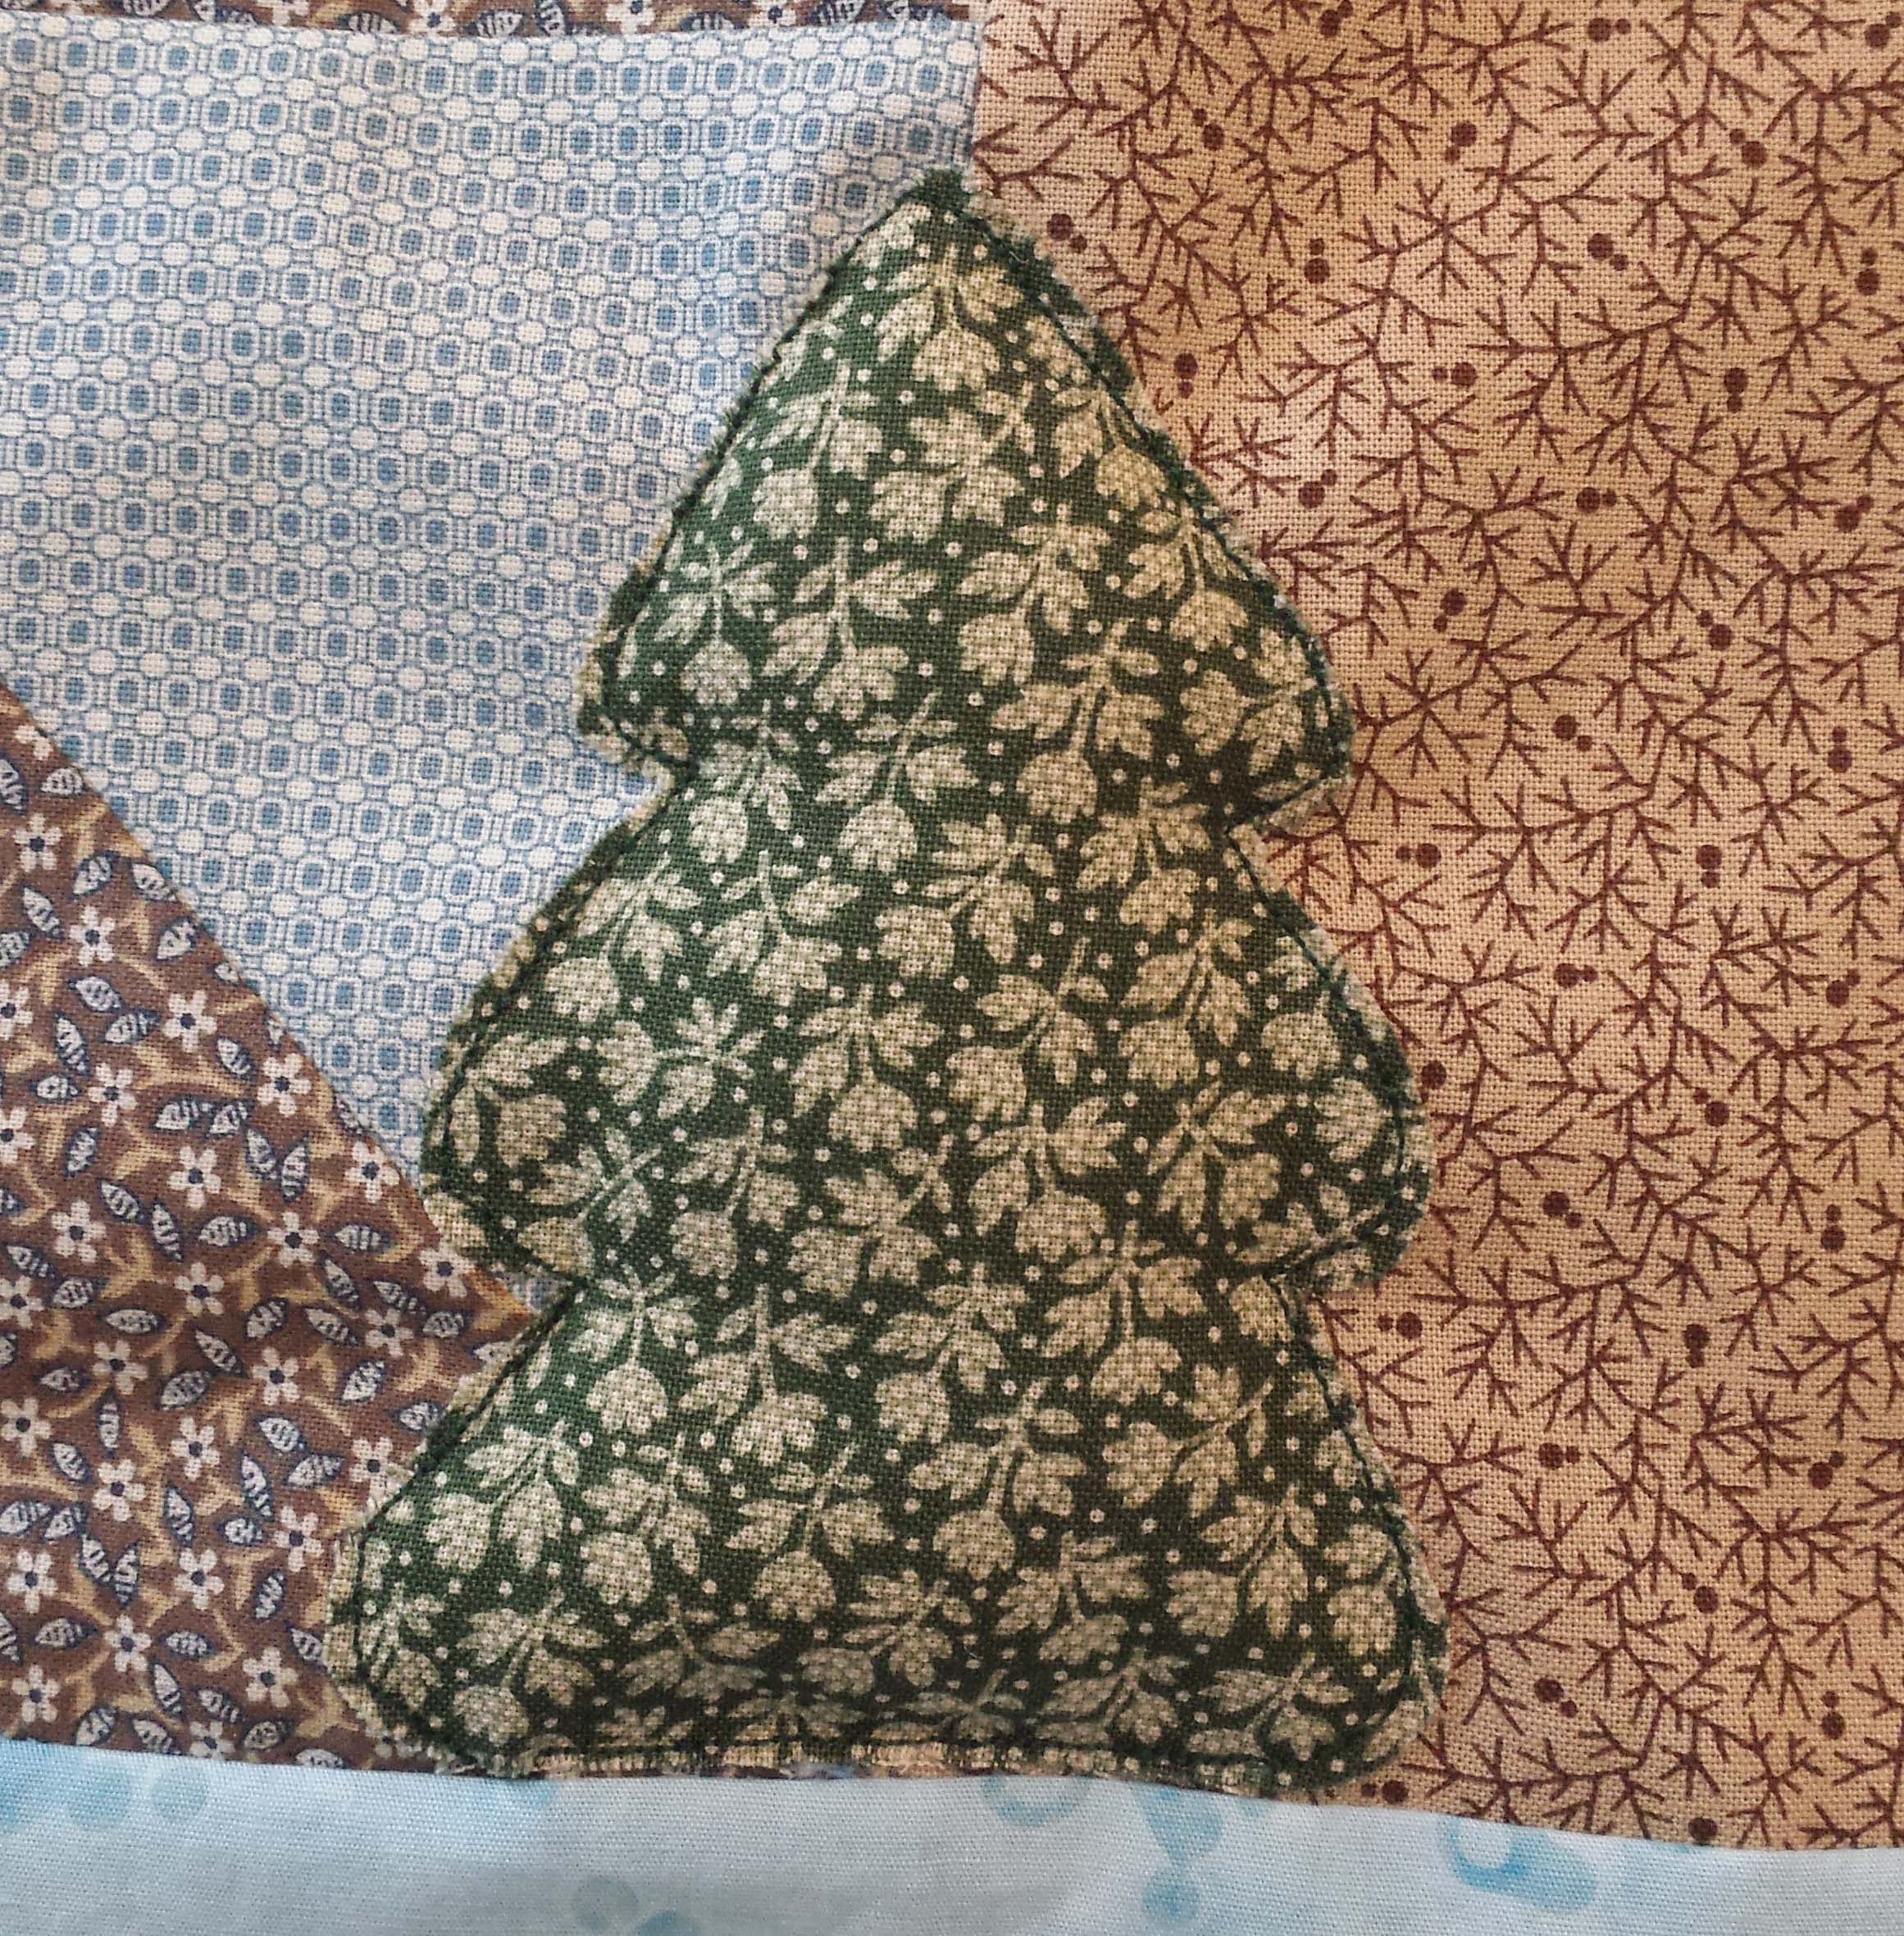
Finally the trees were machine appliqued. I cut the design directly on the green fabric and used a straight stitch along the edges. The fabric may fray as time goes on, but I think that would be in keeping with the trees.
To make the trees pop and add dimension, I opened the seams behind them and stuffed the insides.
Open the seam.Add stuffing.Finished tree.
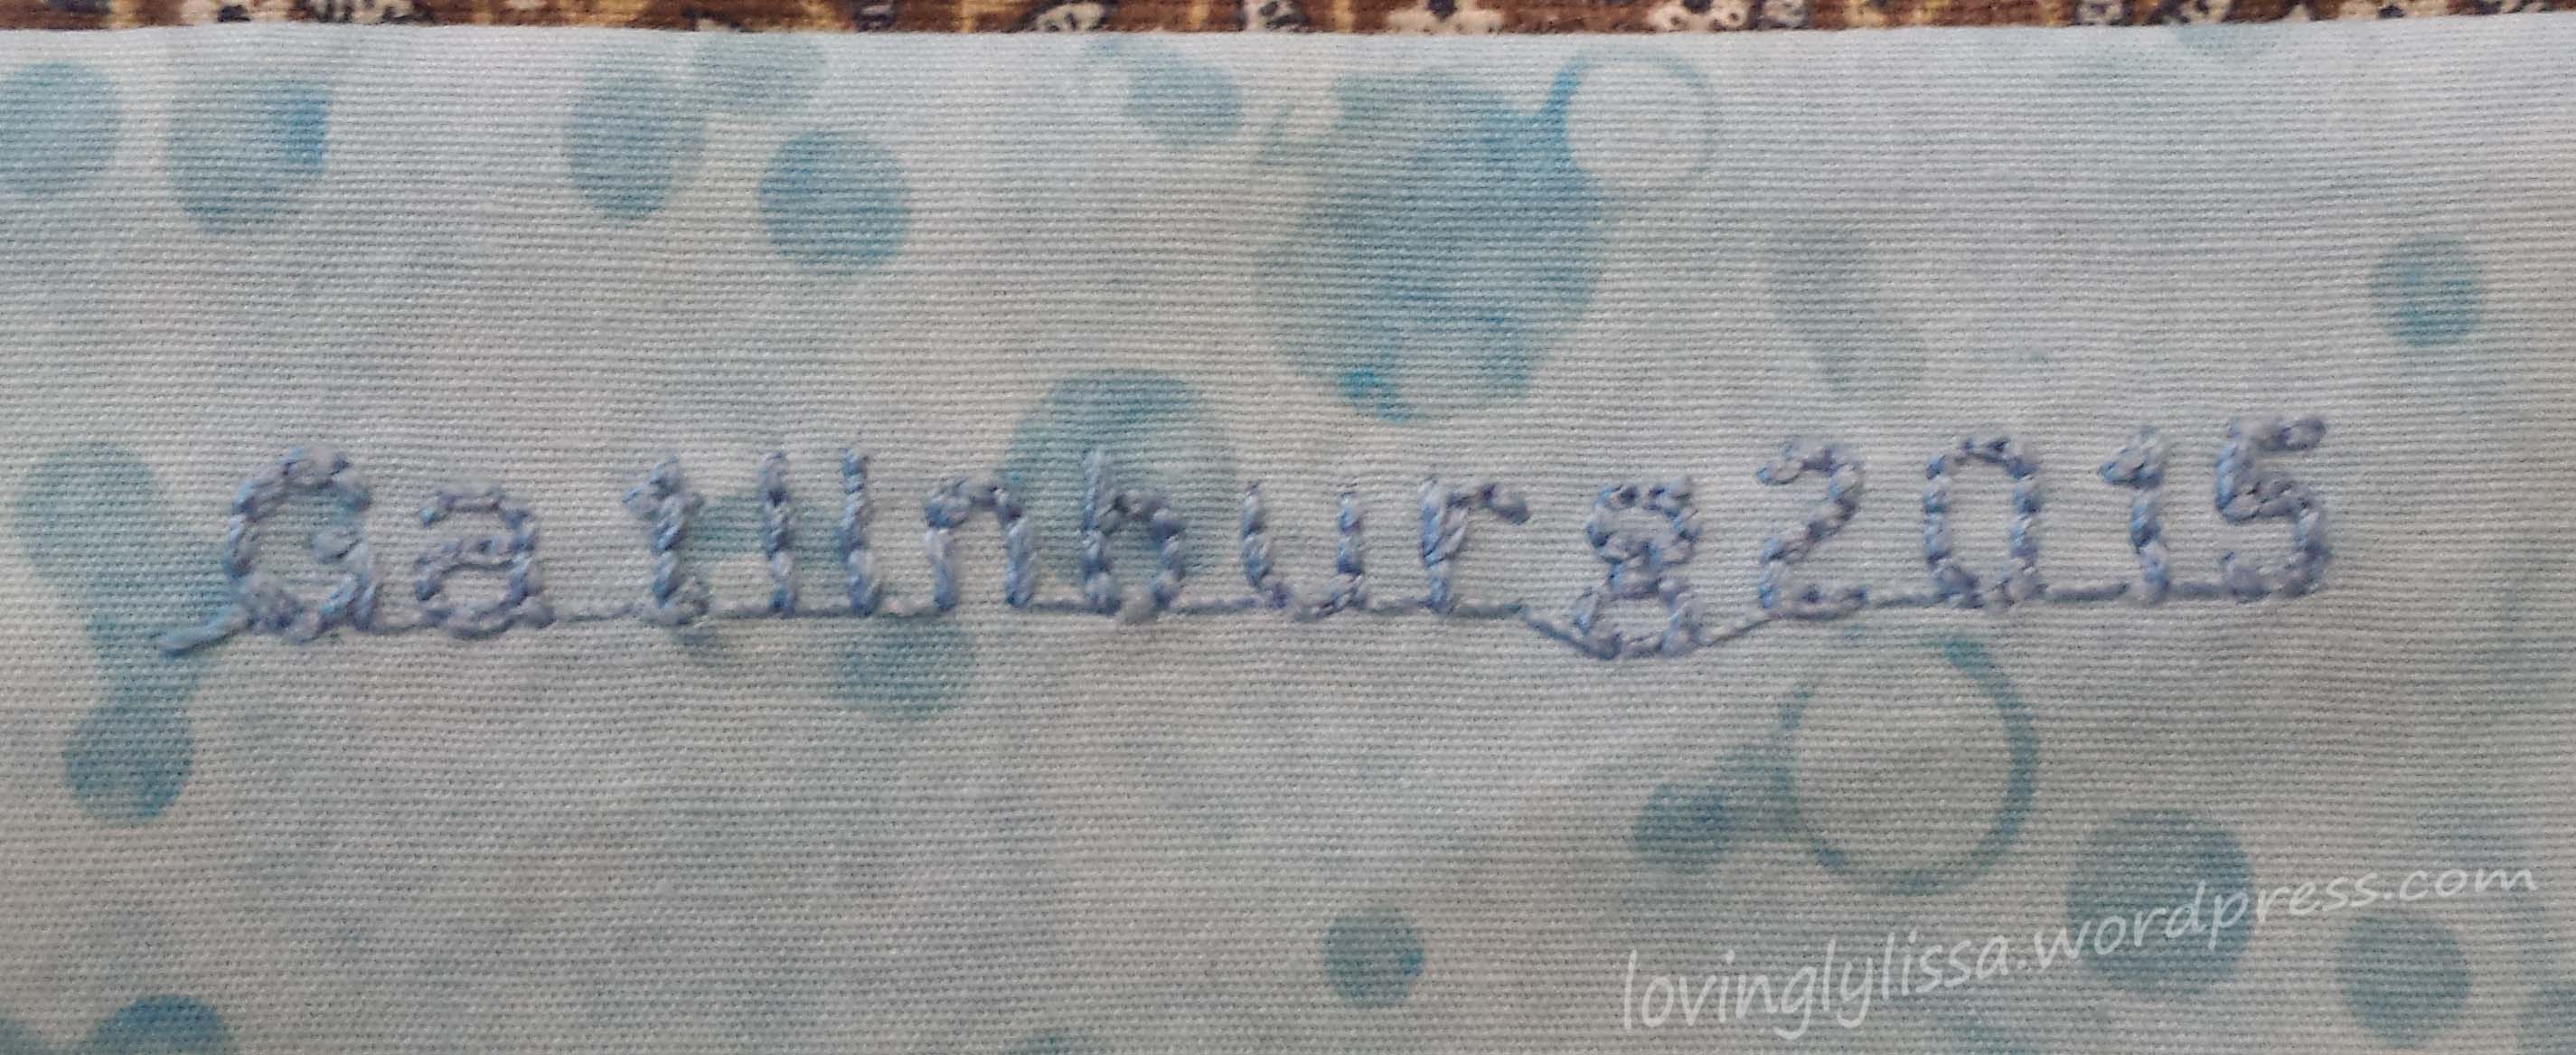
Finally, I added some embroidery to the bottom. Just to remember where and when.
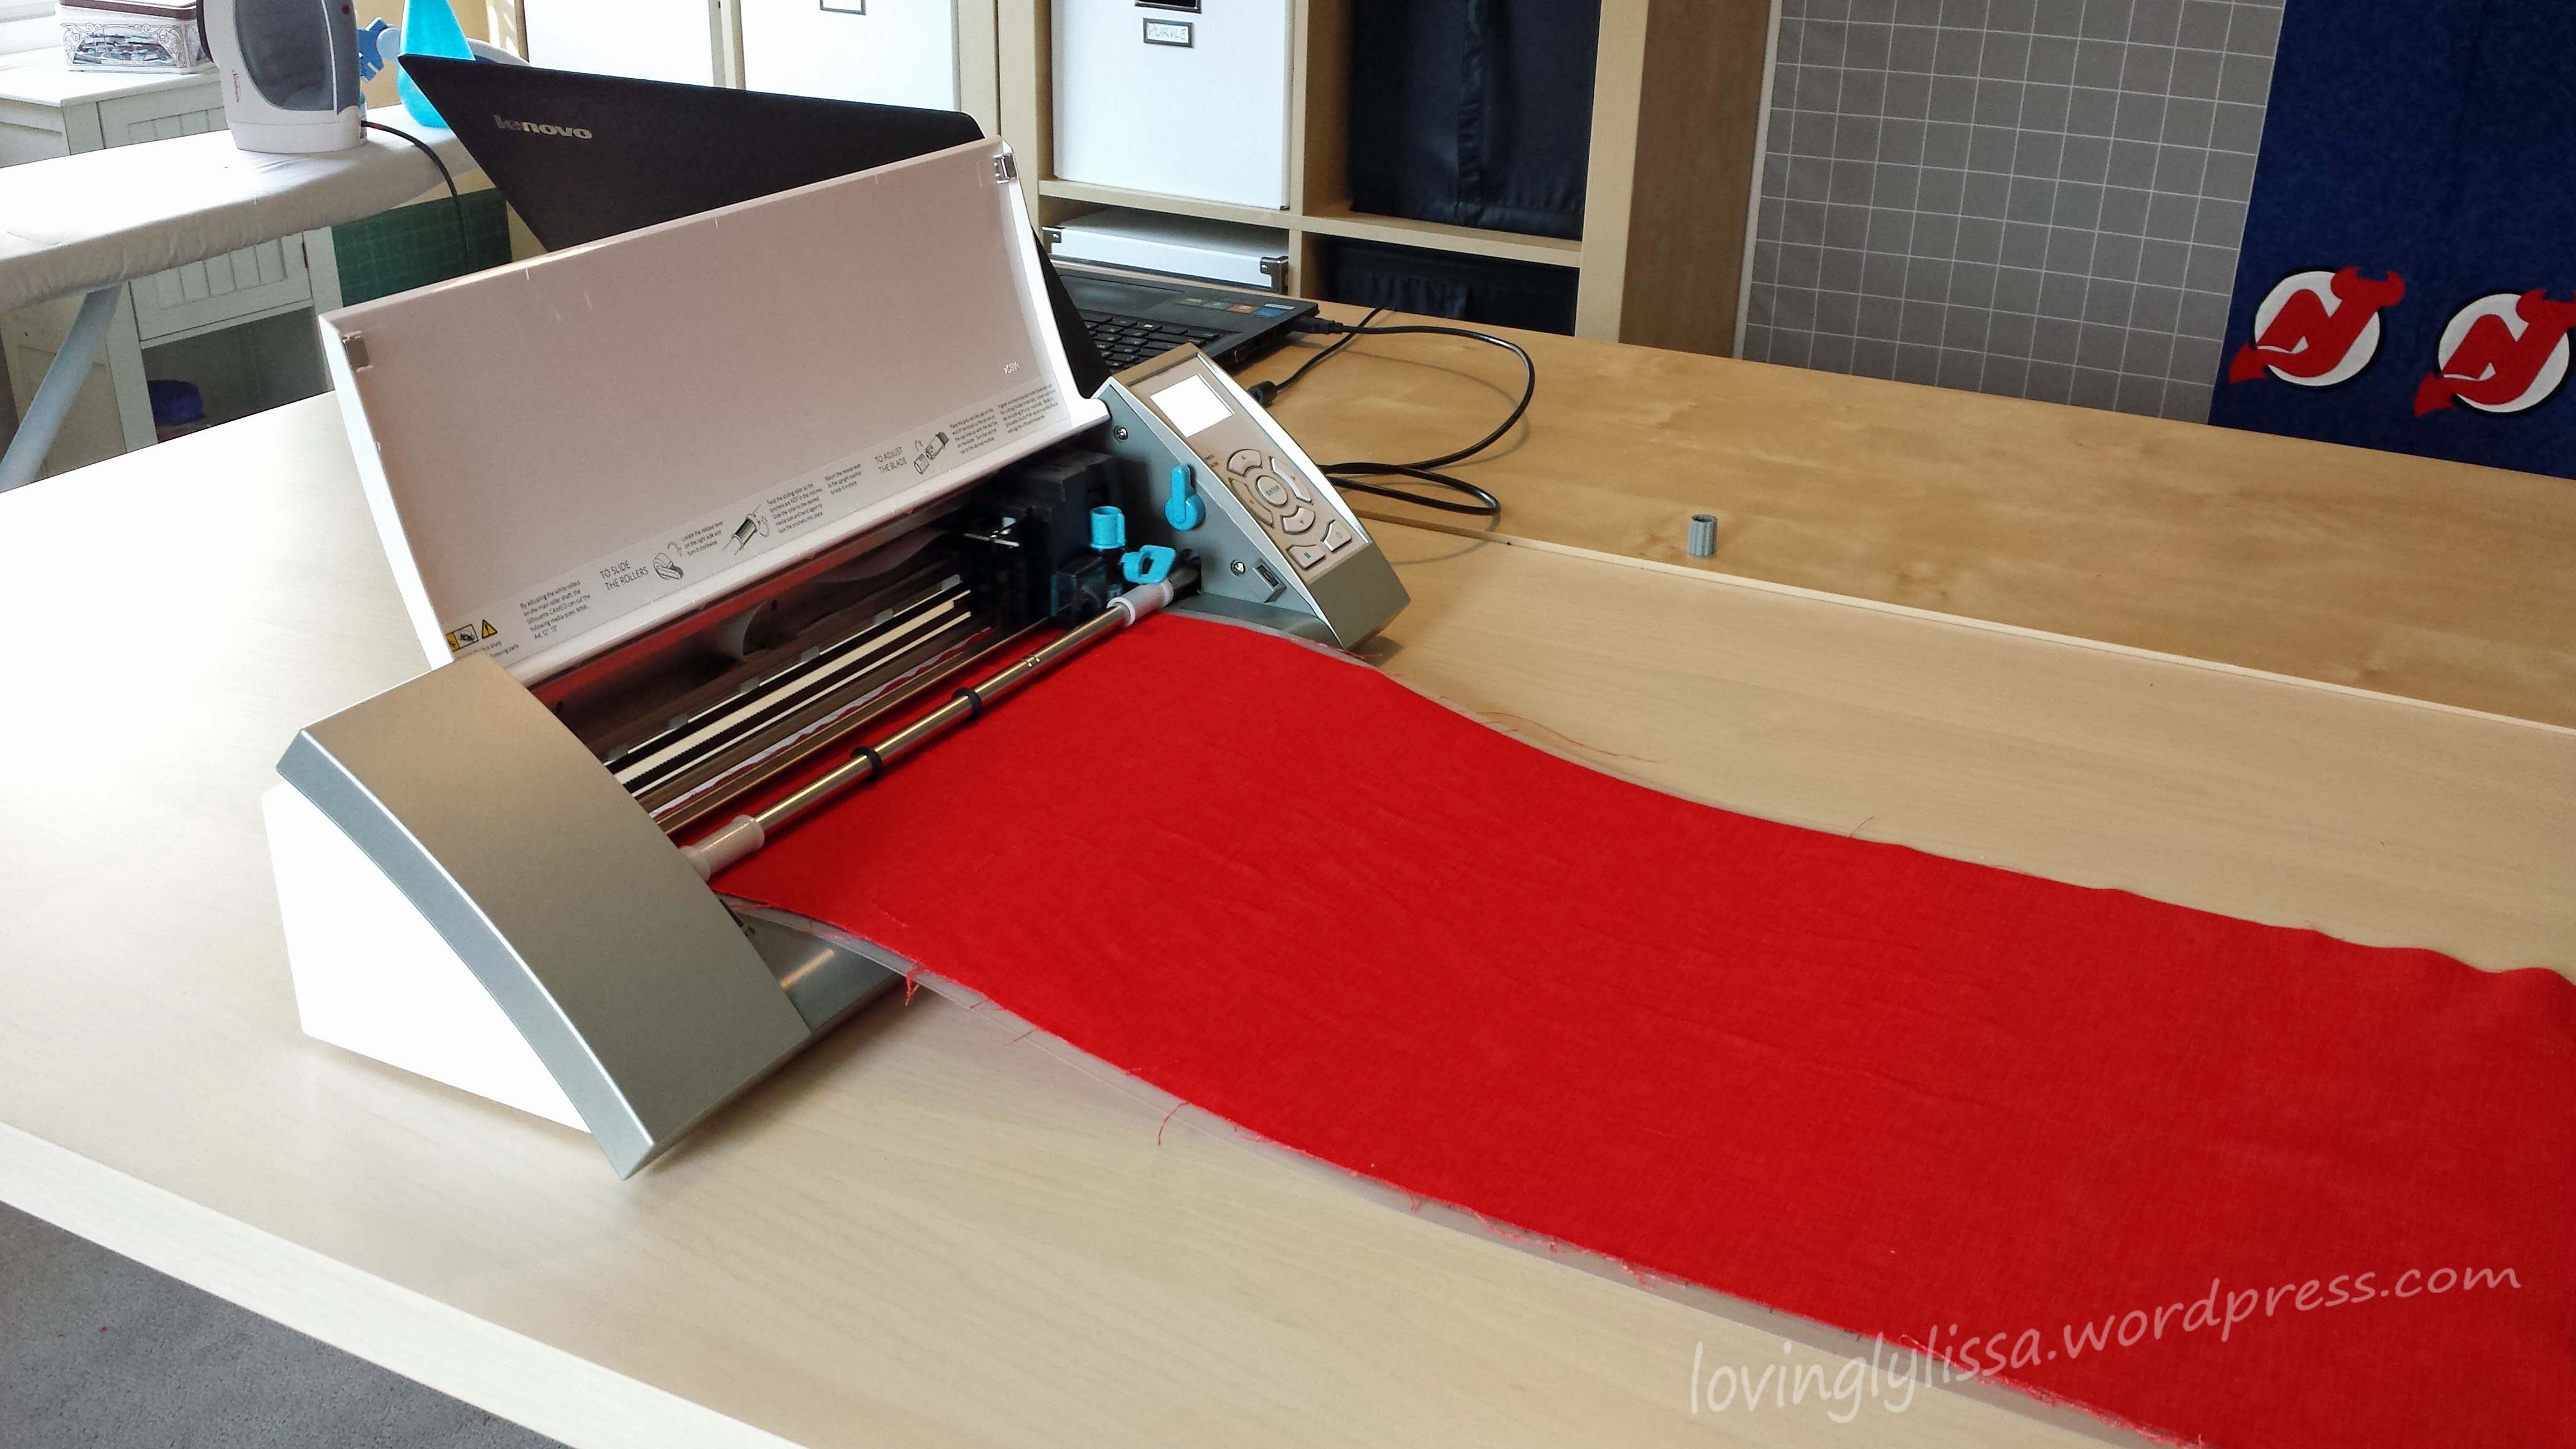
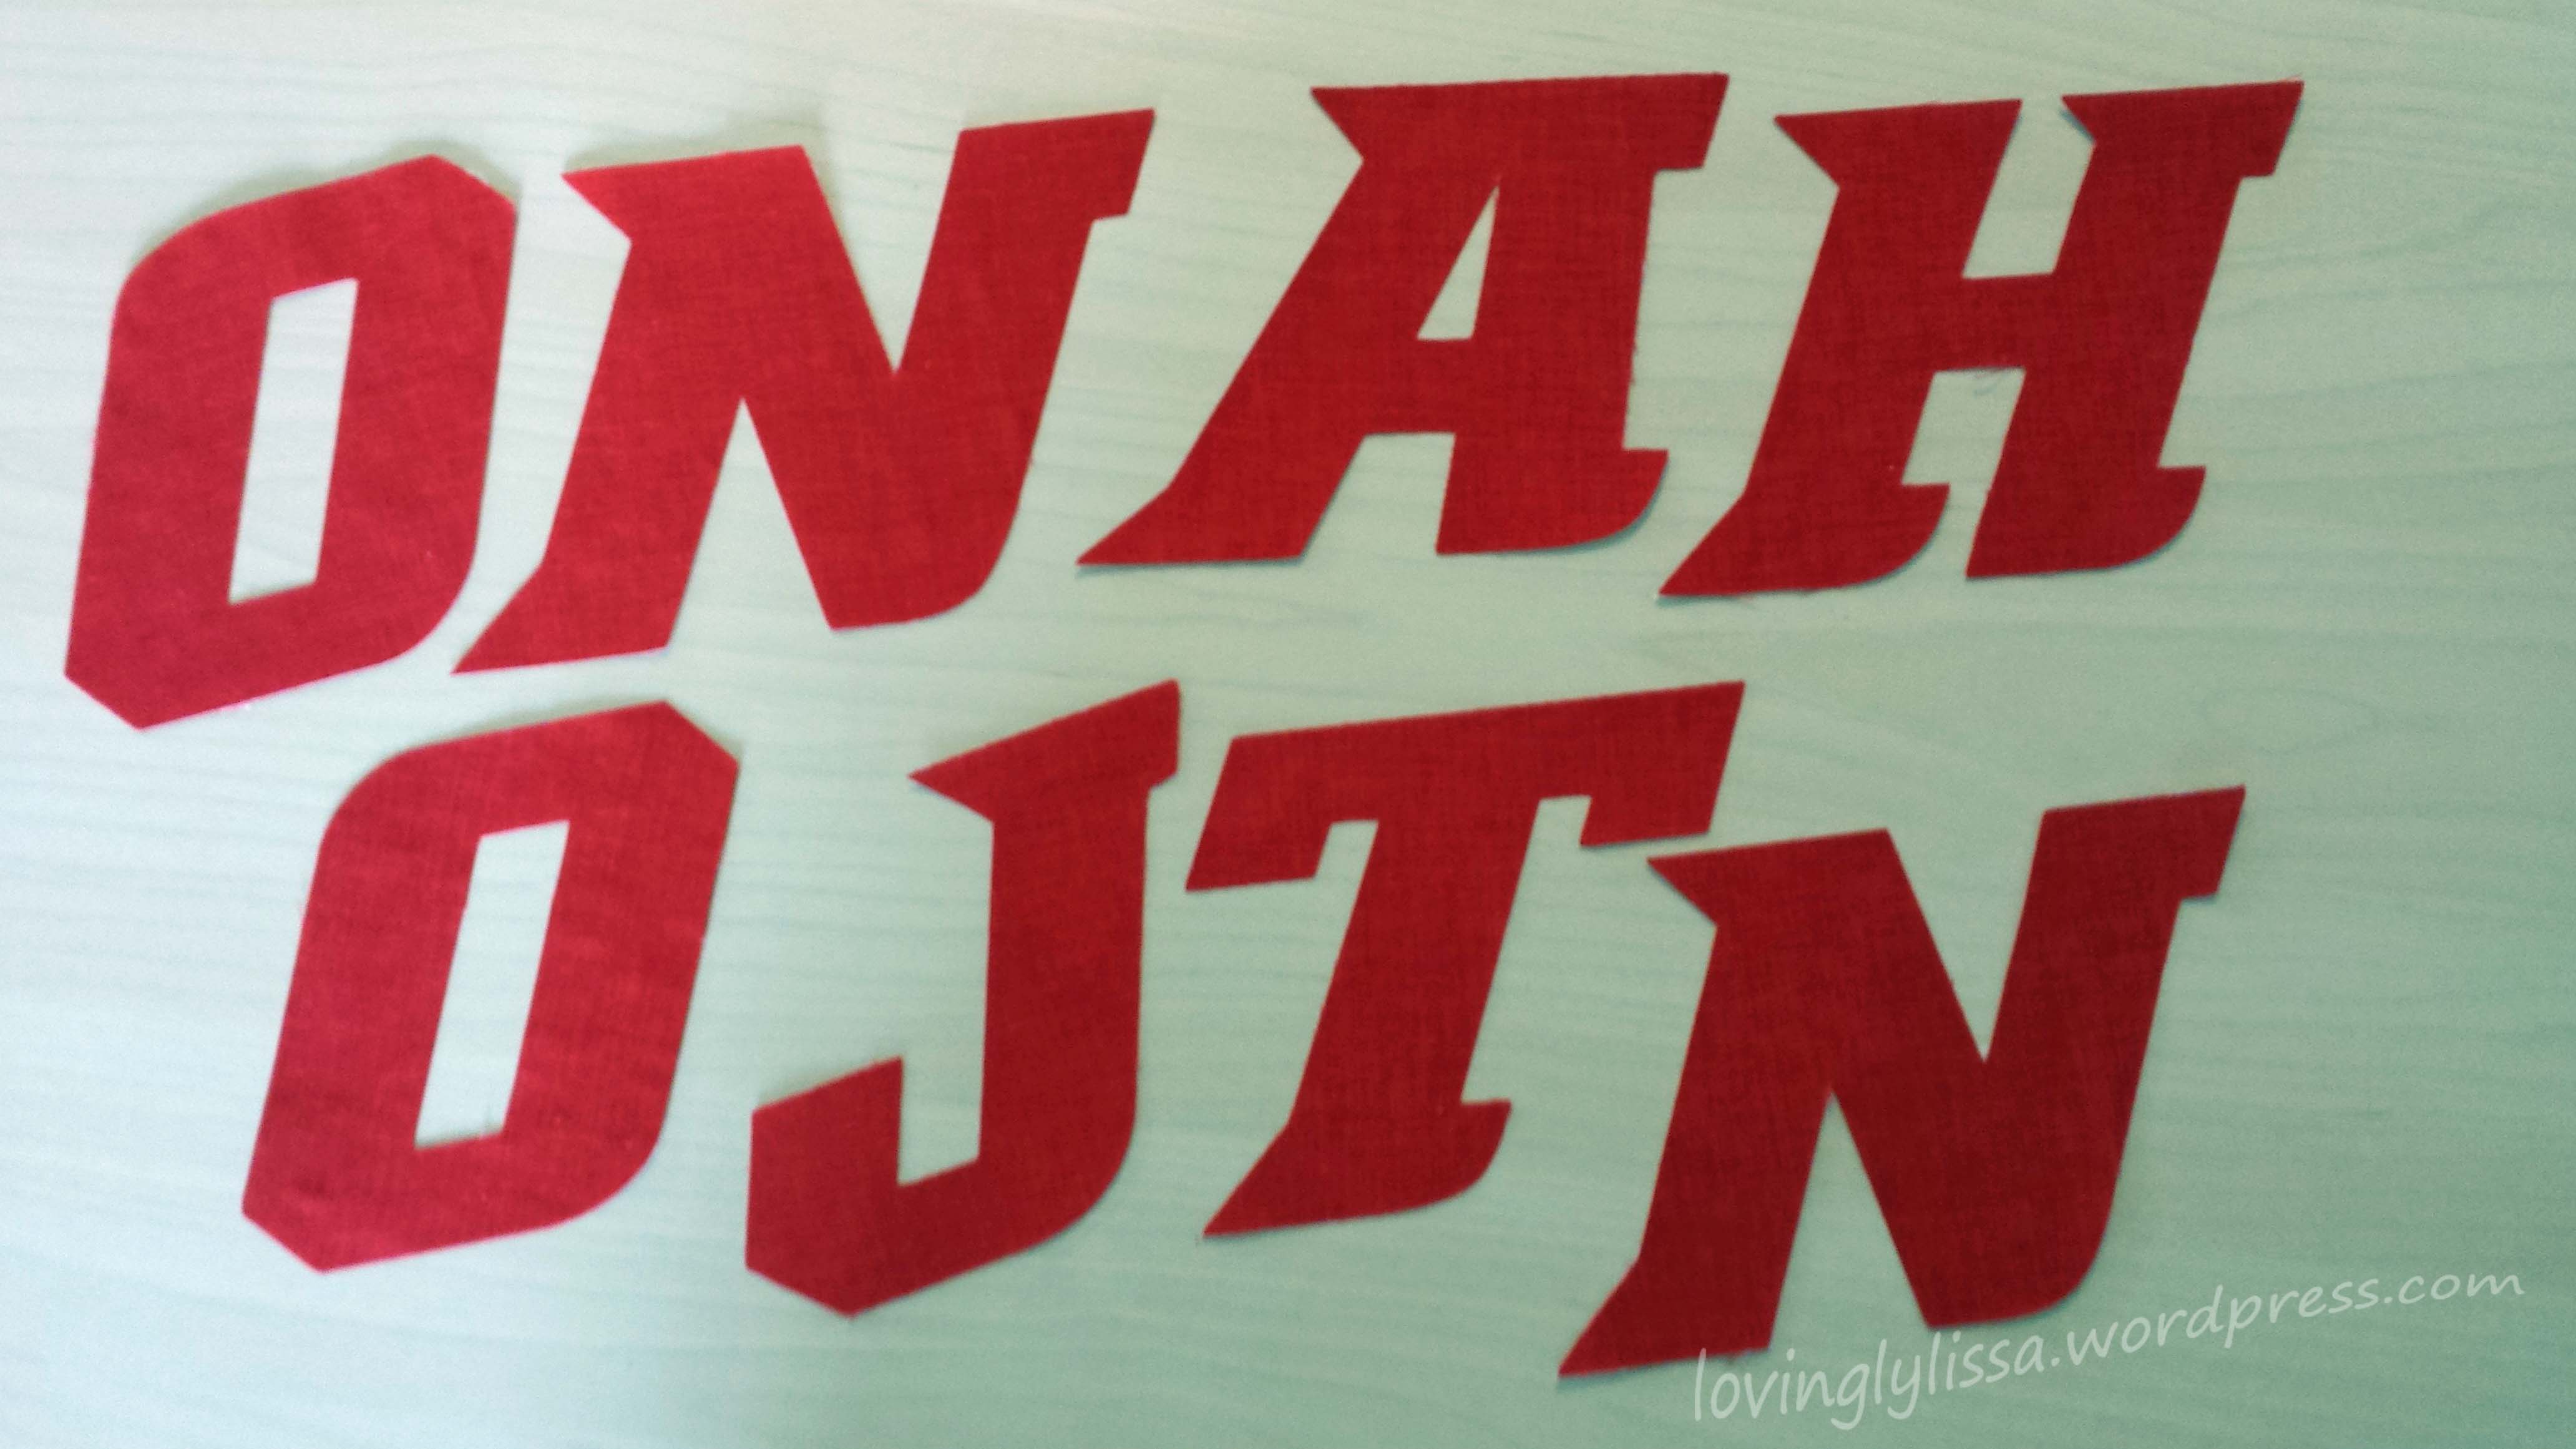
I’m finishing off the Hockey quilt top for my nephew. I want to applique his name on the top of the quilt. I used my Cameo Silhouette to cut the letters out using the same font as the team uses.
I put Wonder Under under a large piece of fabric and sent it through the machine.
They came out really nice.
After that it was just a matter of ironing them onto the top border and machine appliqueing them on. I used black thread to give them a little pop.
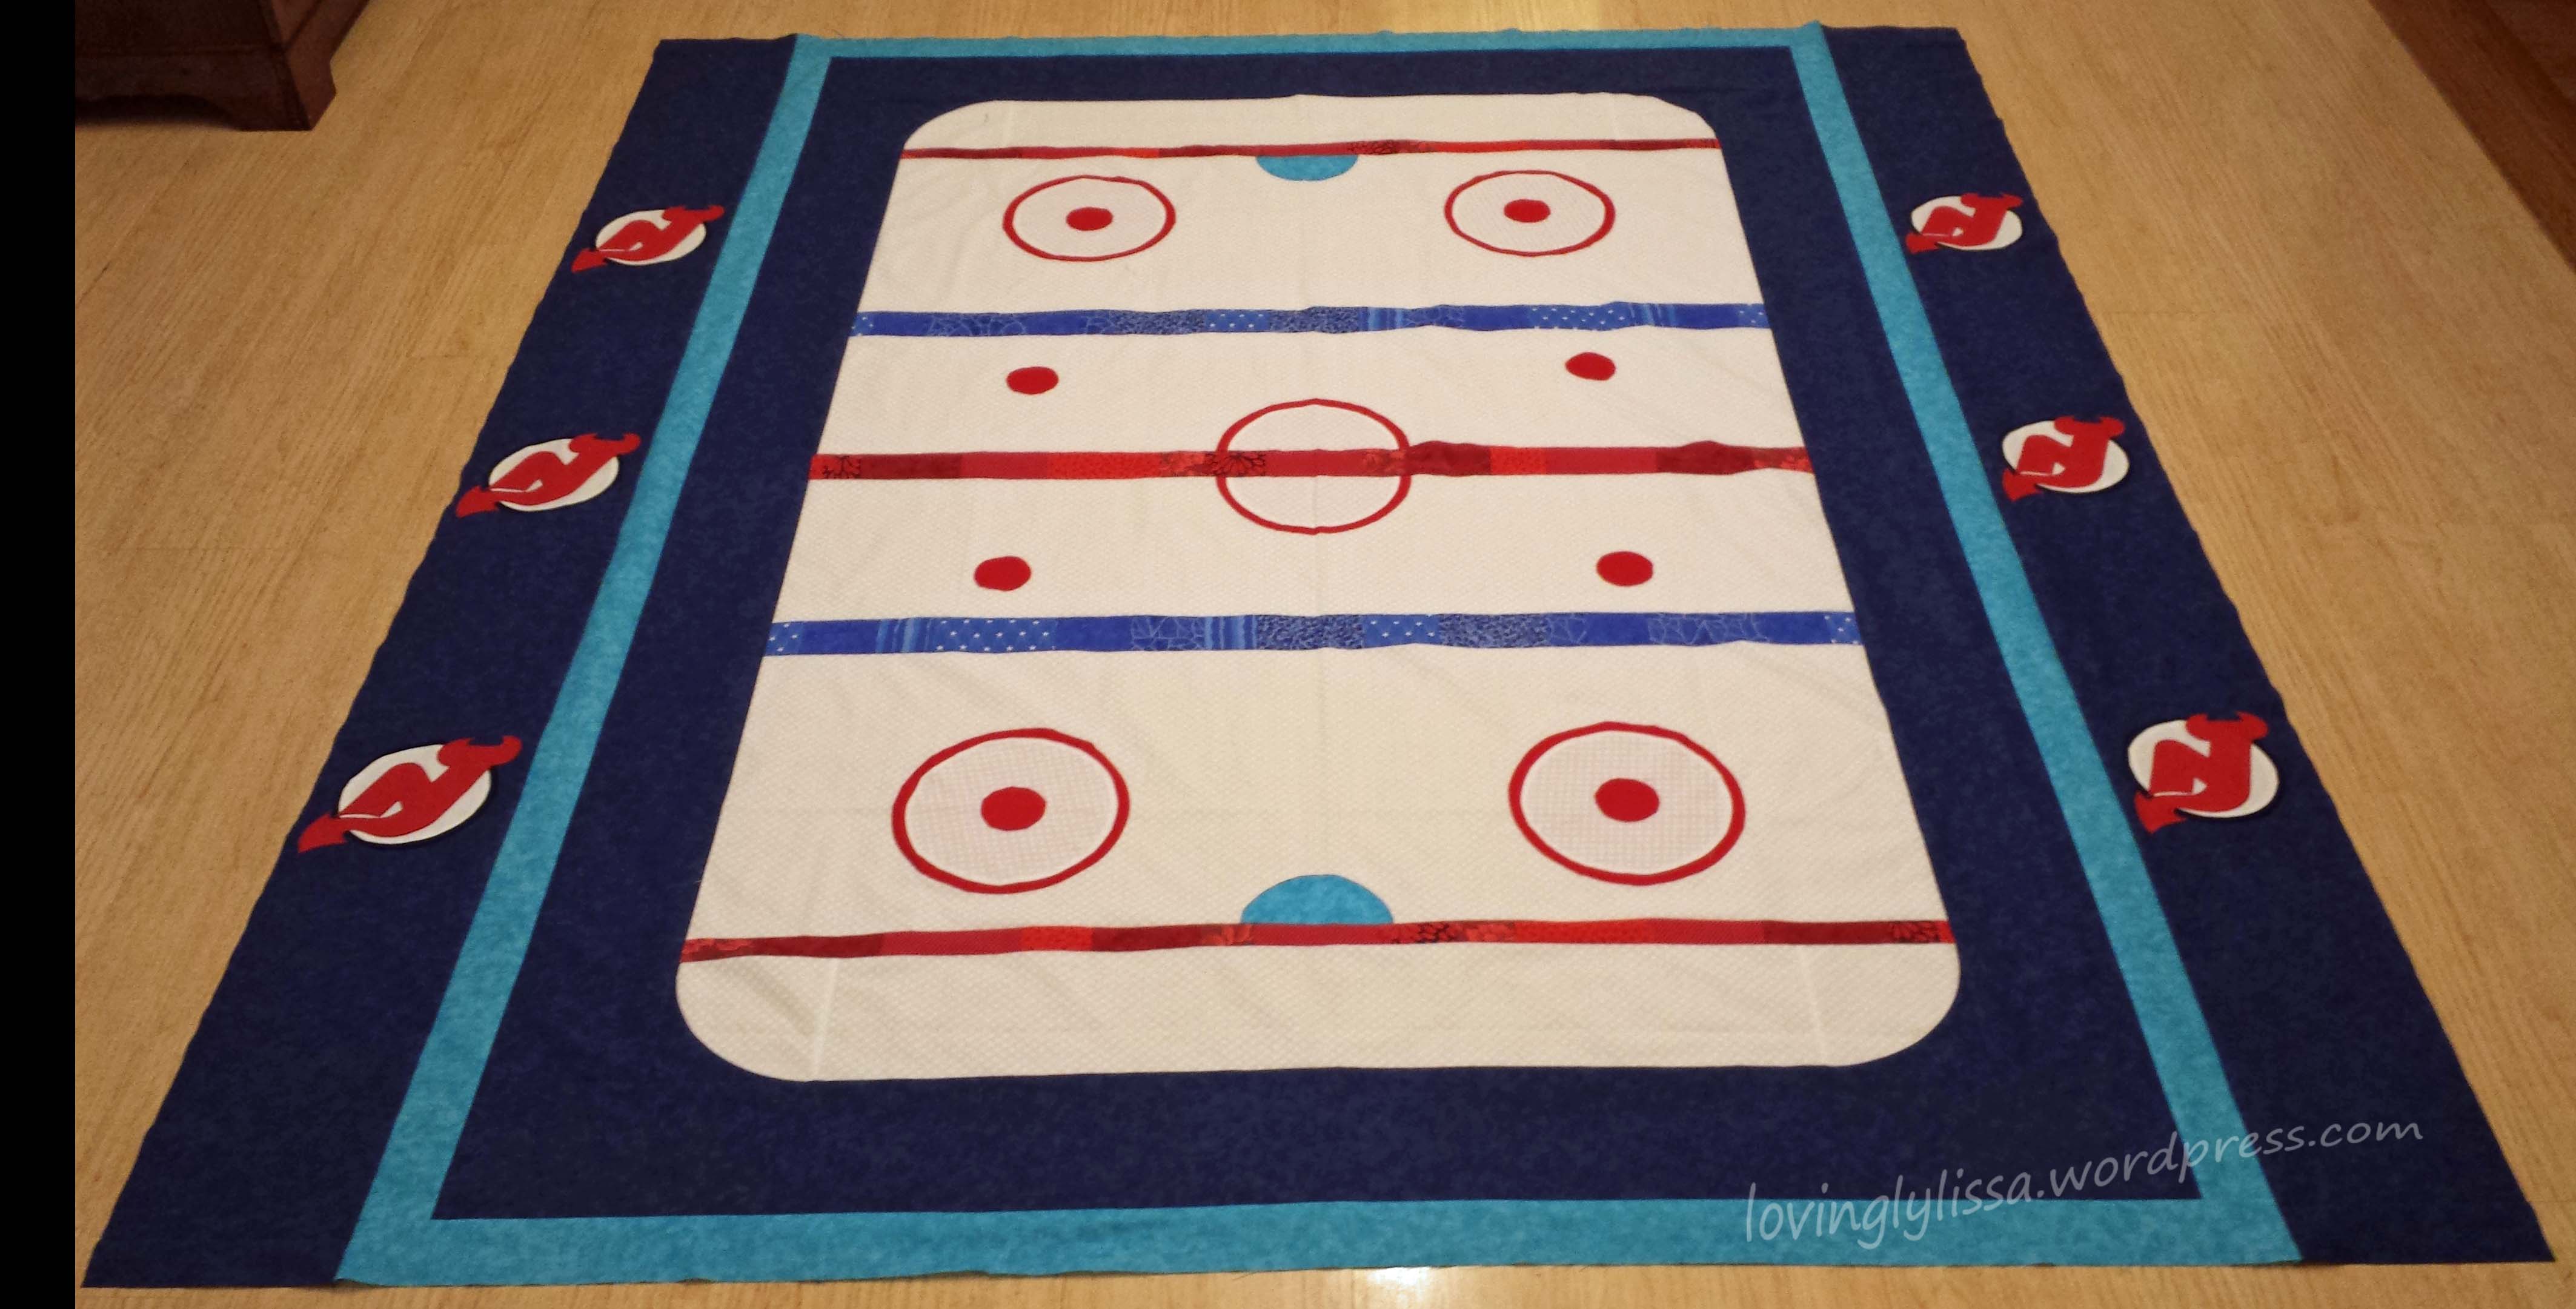
I added the top and bottom borders and the top is finished!
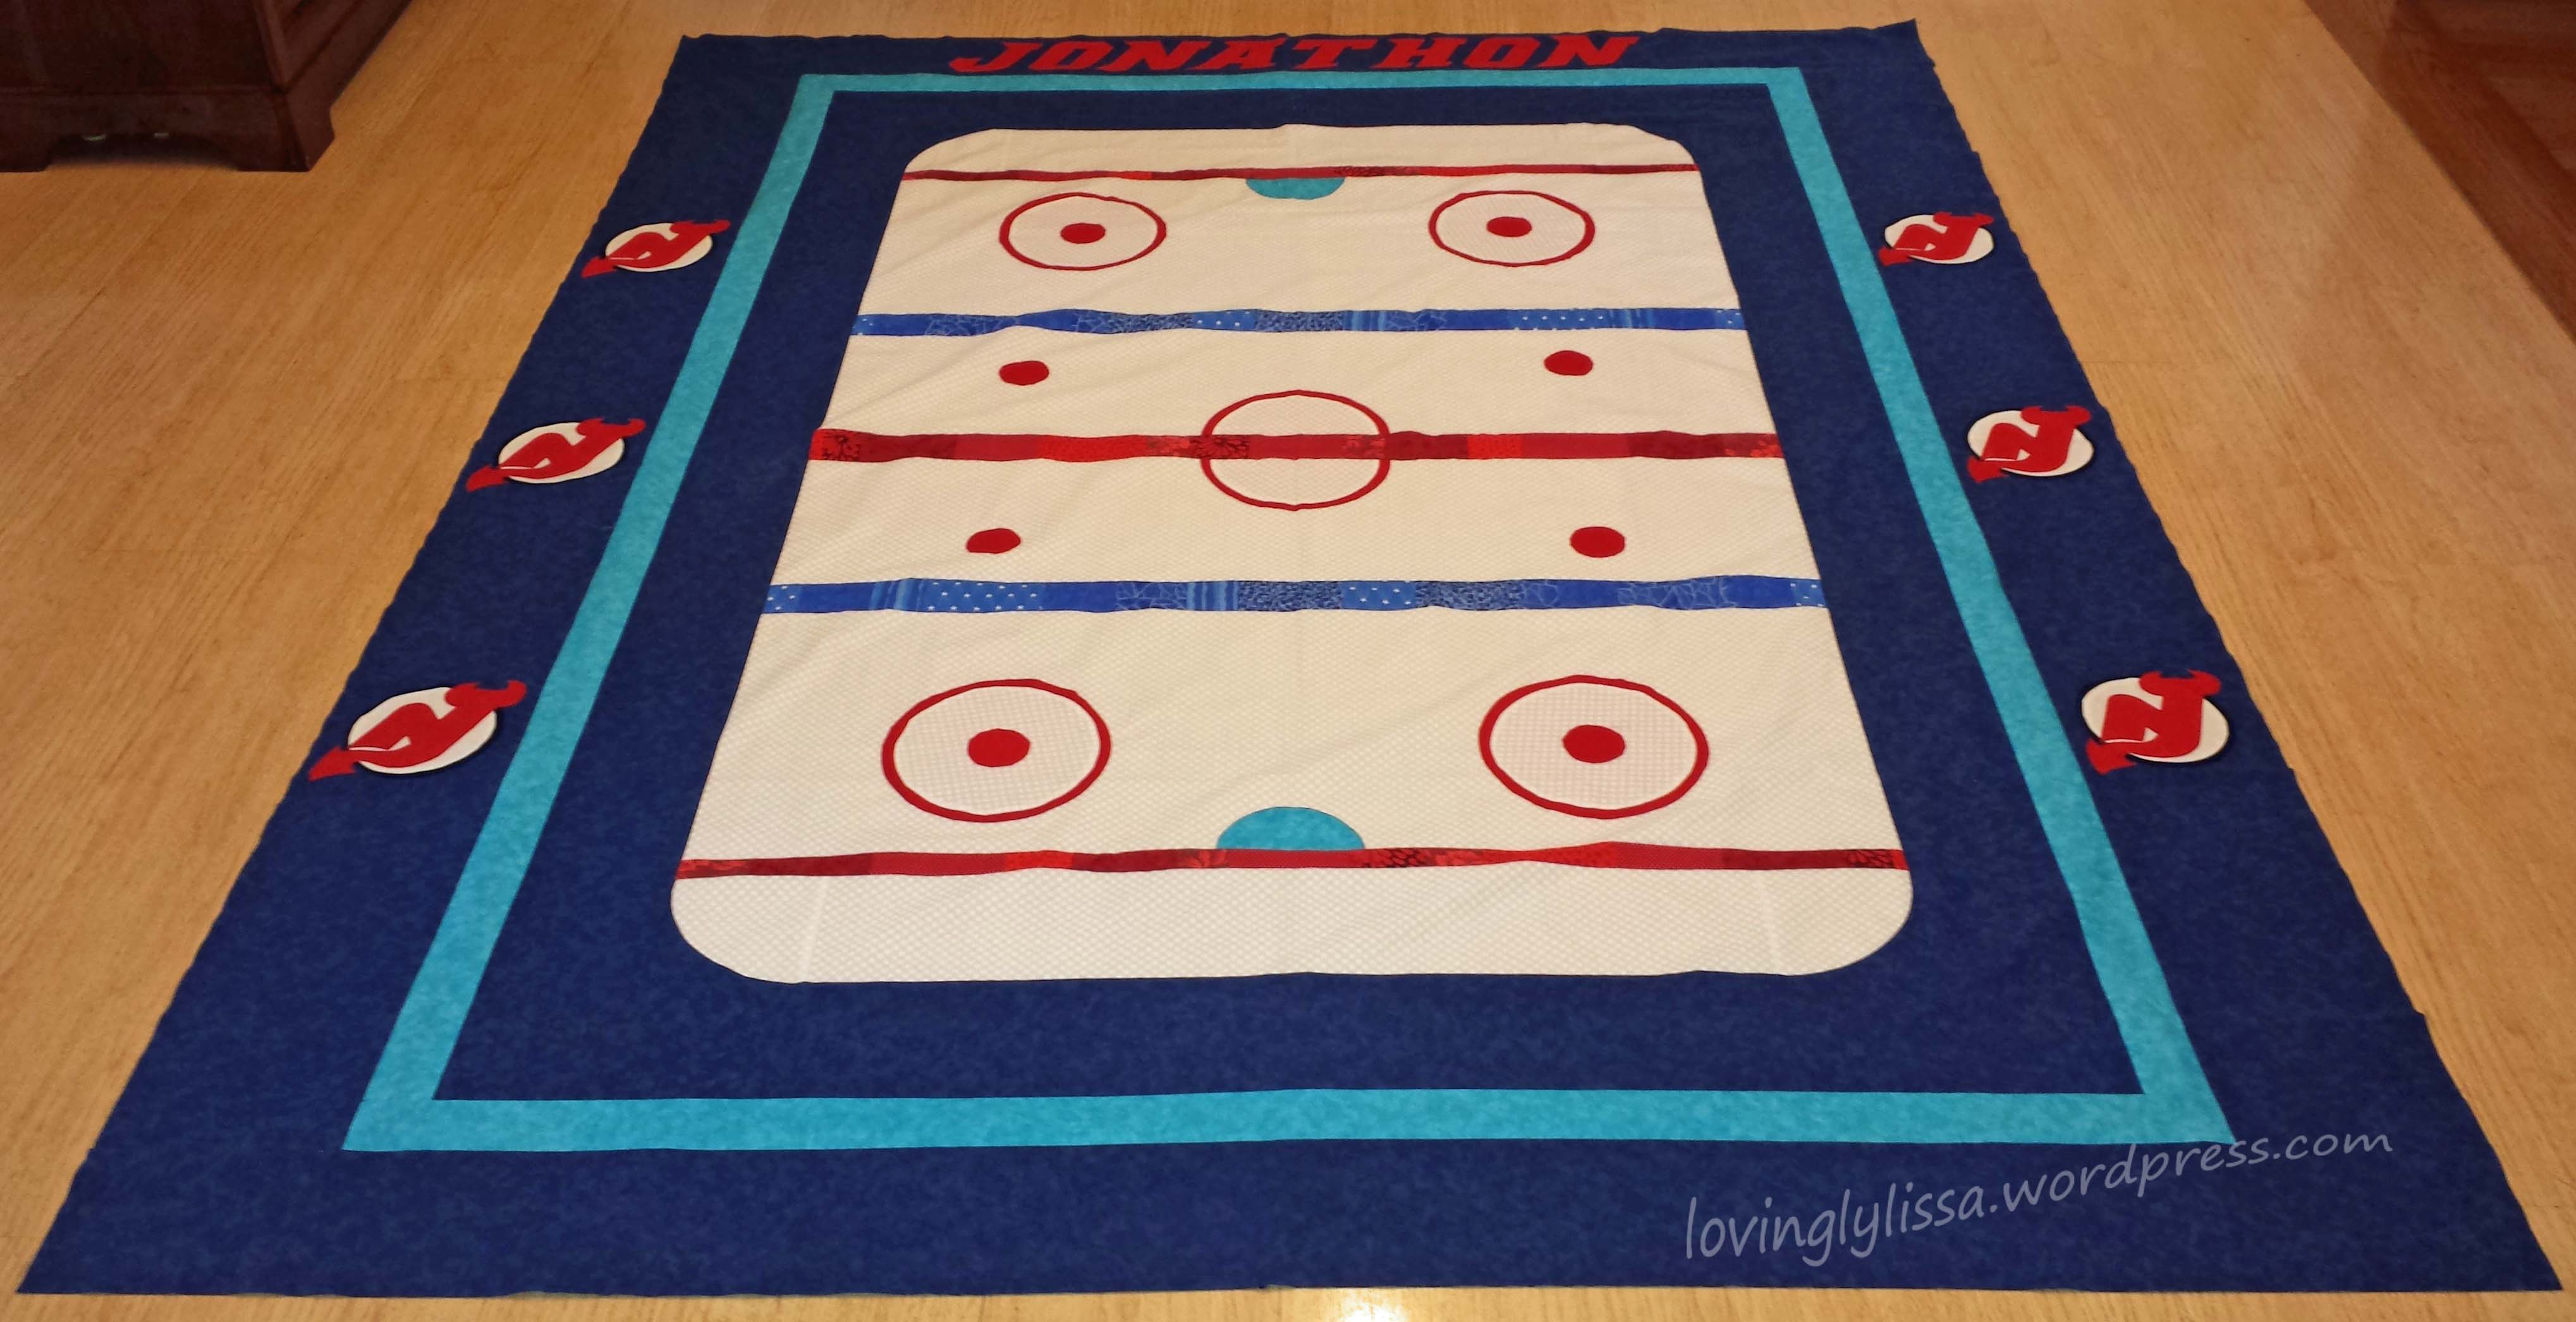
So here it is, the finished top. I don’t have a back fabric for it yet. This team is one of the few NHL teams that doesn’t have a licensed fabric. I may just go with the navy blue, but I’m opened to suggestions.
If you know of a fabric you think would go great with this top, leave a comment and let me know!
Well…not really, because this quilt is a hockey quilt and I don’t think they use balls in hockey.
As you can probably tell, I’m not much of a hockey fan. I do like baseball and football, but just can’t get into hockey. However, I have family members who are fans and a nephew who never got his baby blanket from me.
My sister and I did some searching and found this pattern by Kristie at OCD: Obsessive Crafting Disorder and I got to work.
I wanted to personalize the borders and decided on some applique. I will be putting my nephew’s name at the top and on the sides I decided the logo for their favorite team would be perfect.
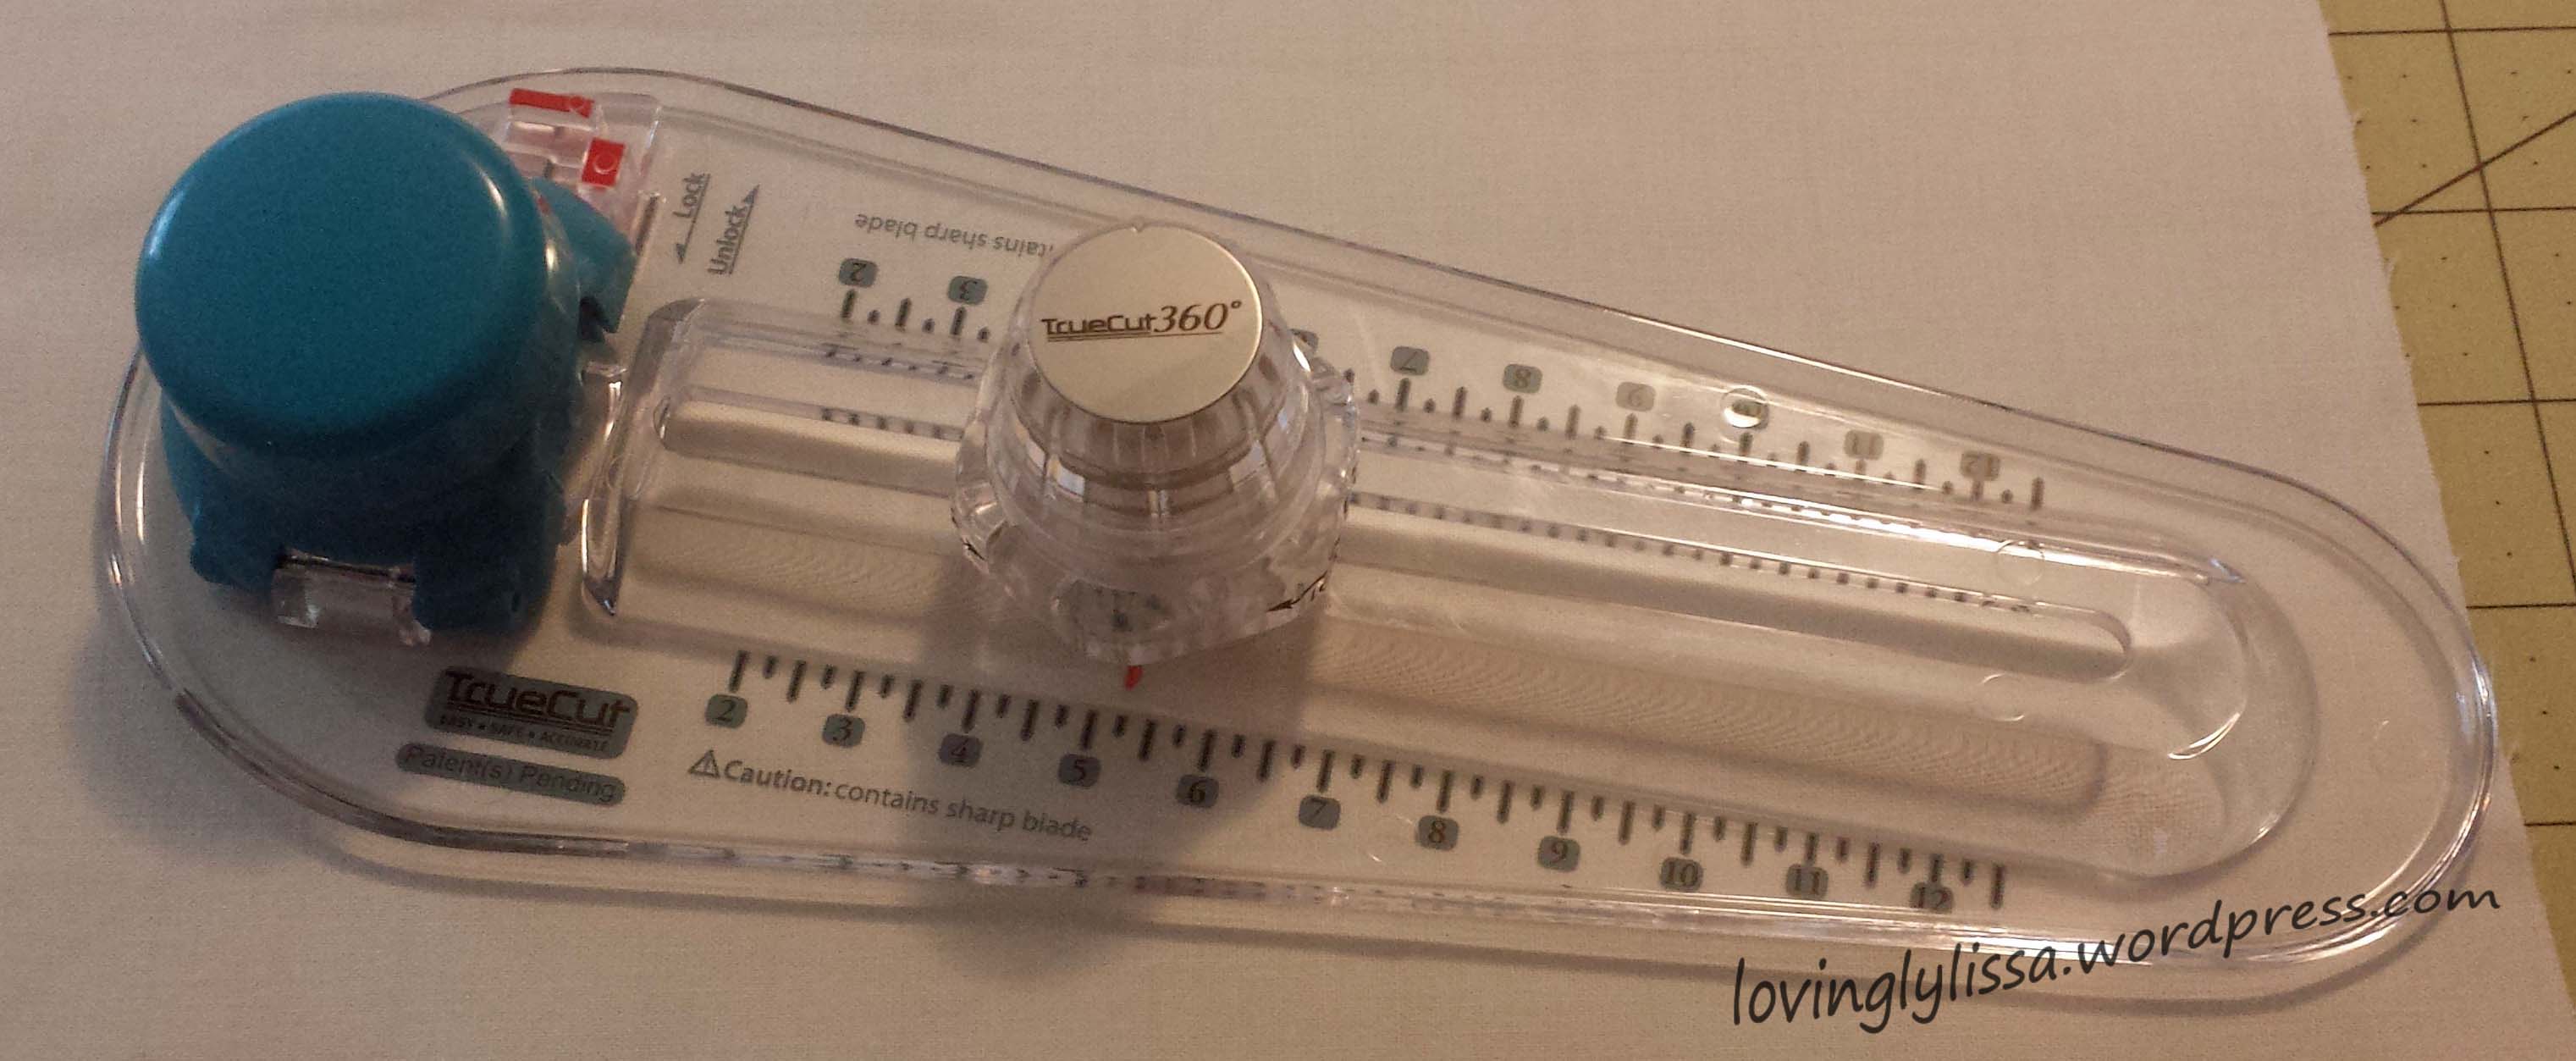
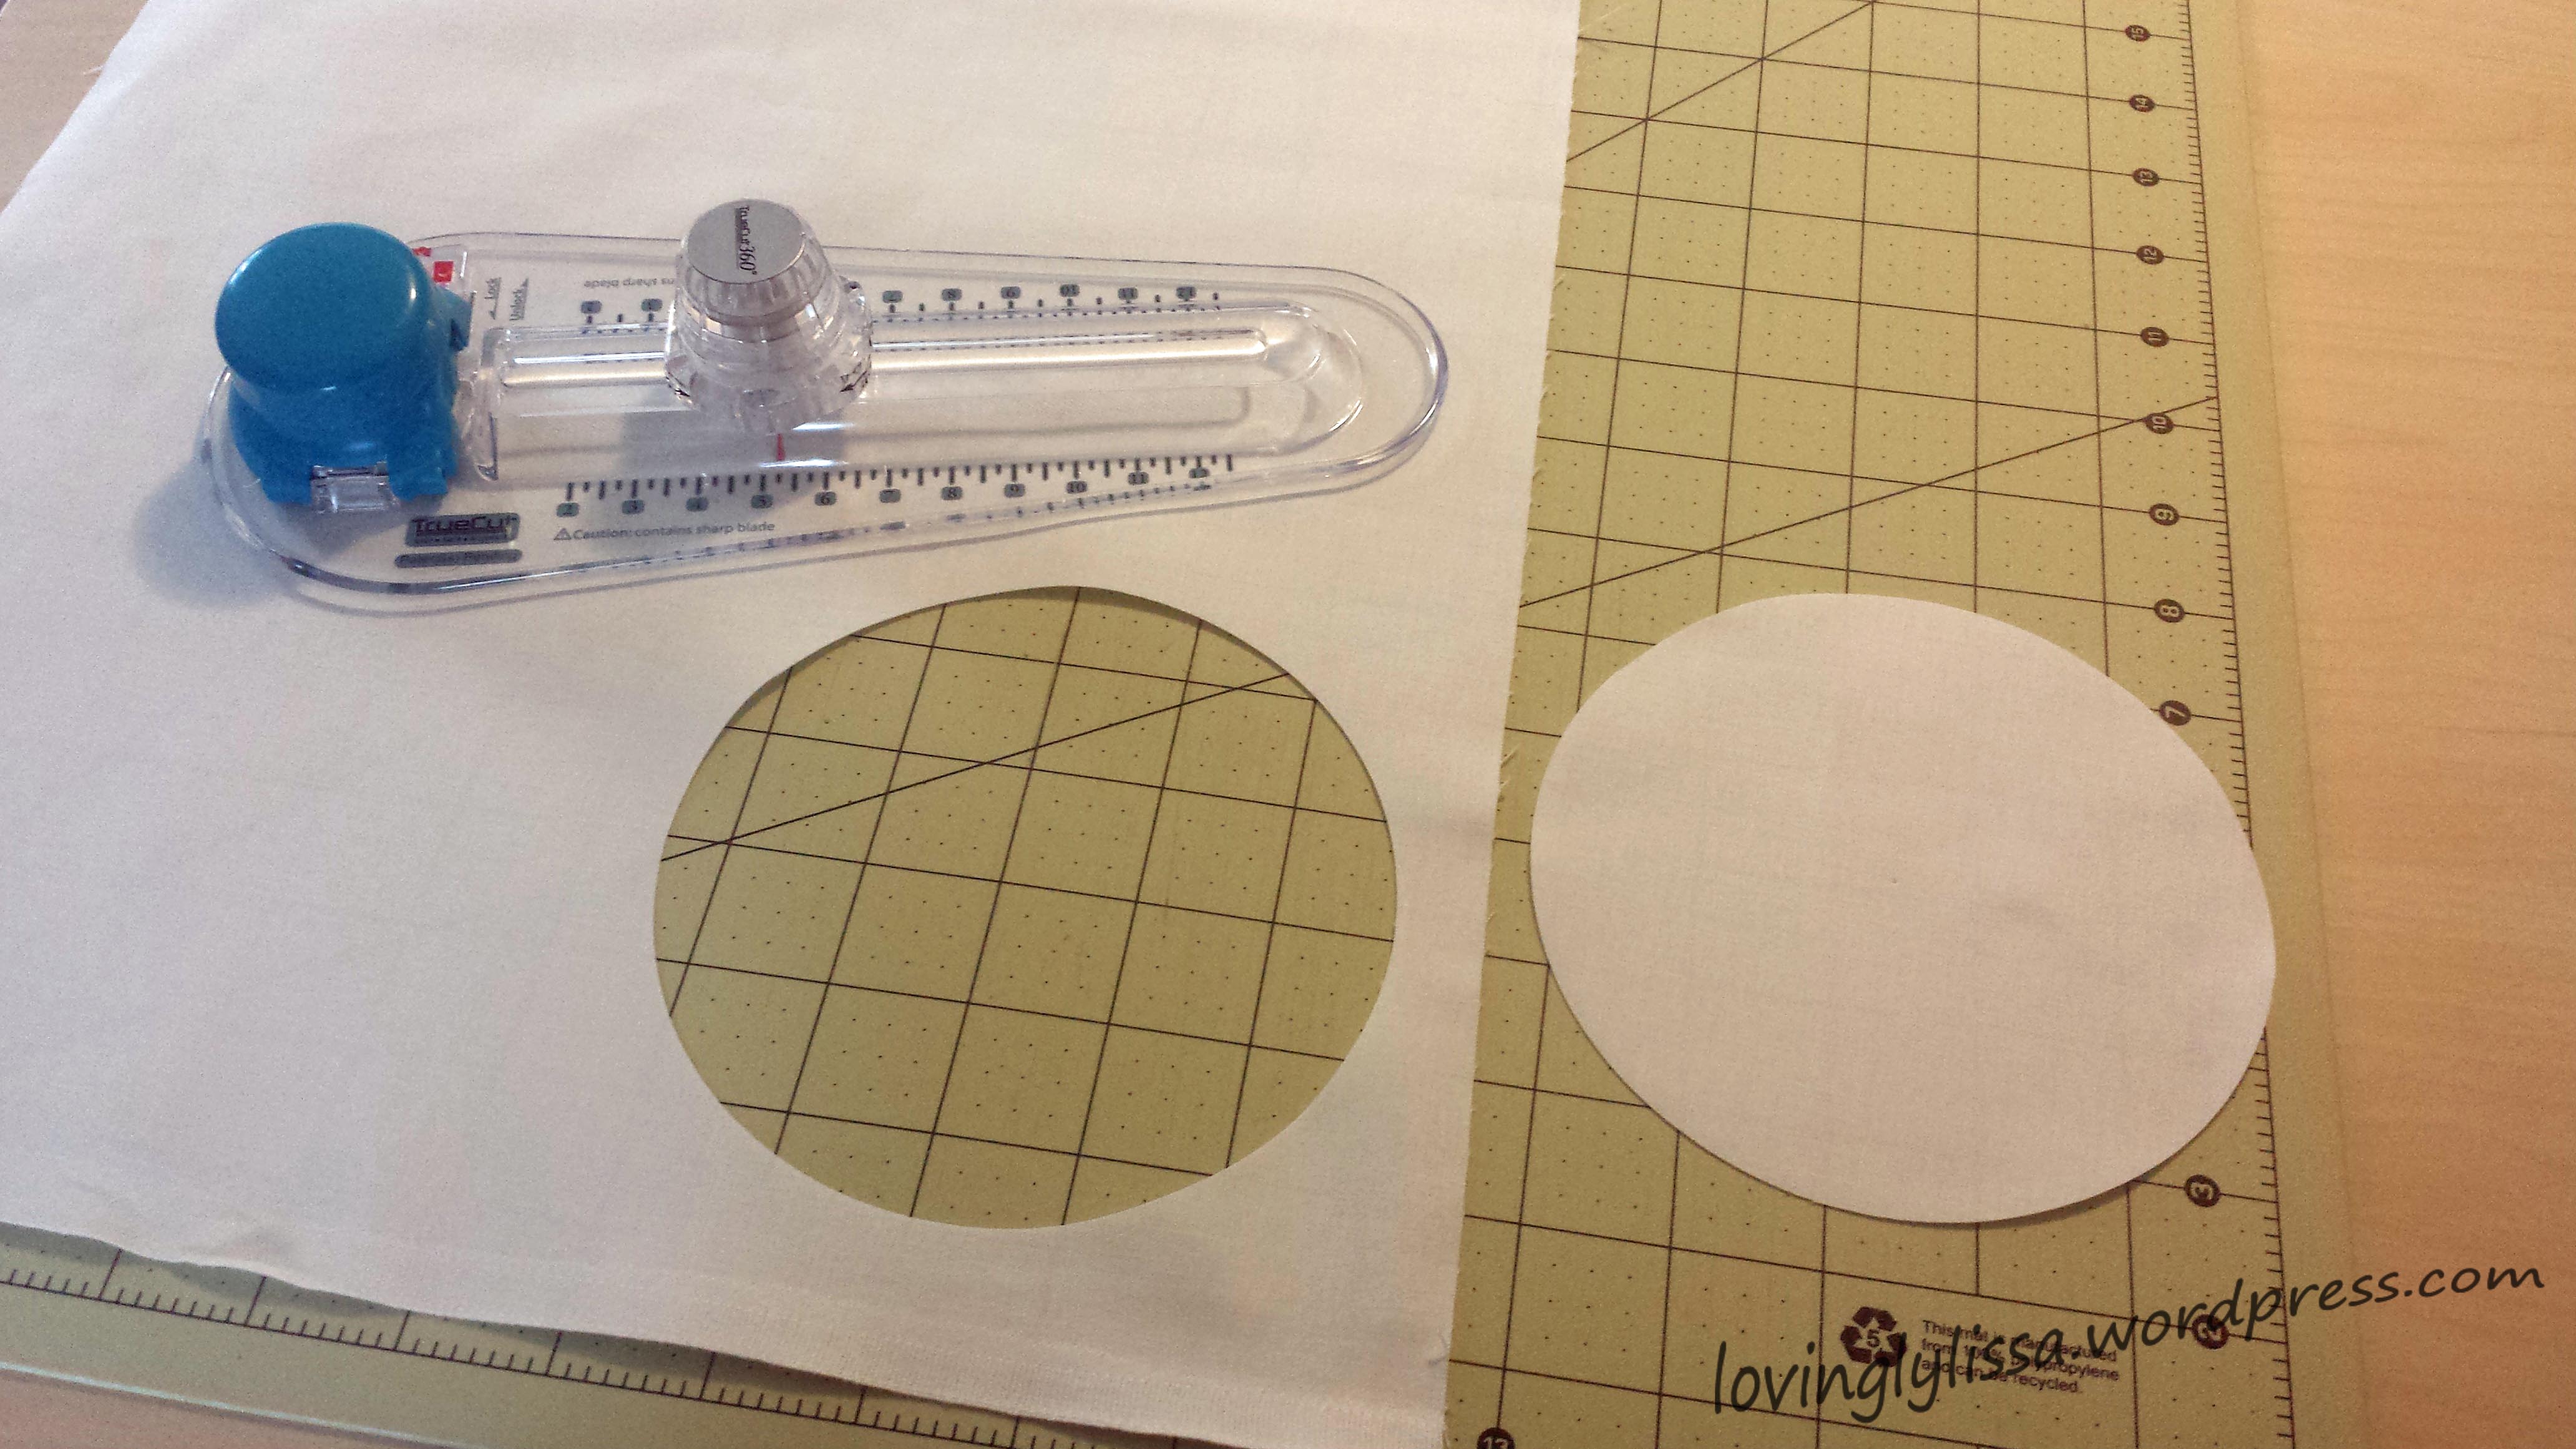
I have this great circle cutter that I’m in love with. I used it to cut the black and white circles I needed for the logo.
Perfect!
The circles were cut larger than I needed and I used this method by Anna Maria Horner and machine appliqued them.
For the main part of the logo I used Wonder Under and cut out the main part.
Once the circles were machined appliqued on, I ironed the main part of the logo onto them and machine appliqued that on as well.
I attached the borders to the sides and they are looking great on the quilt!
Stay tuned for my next post to see the finished top!