Uncategorized

Quilting Community

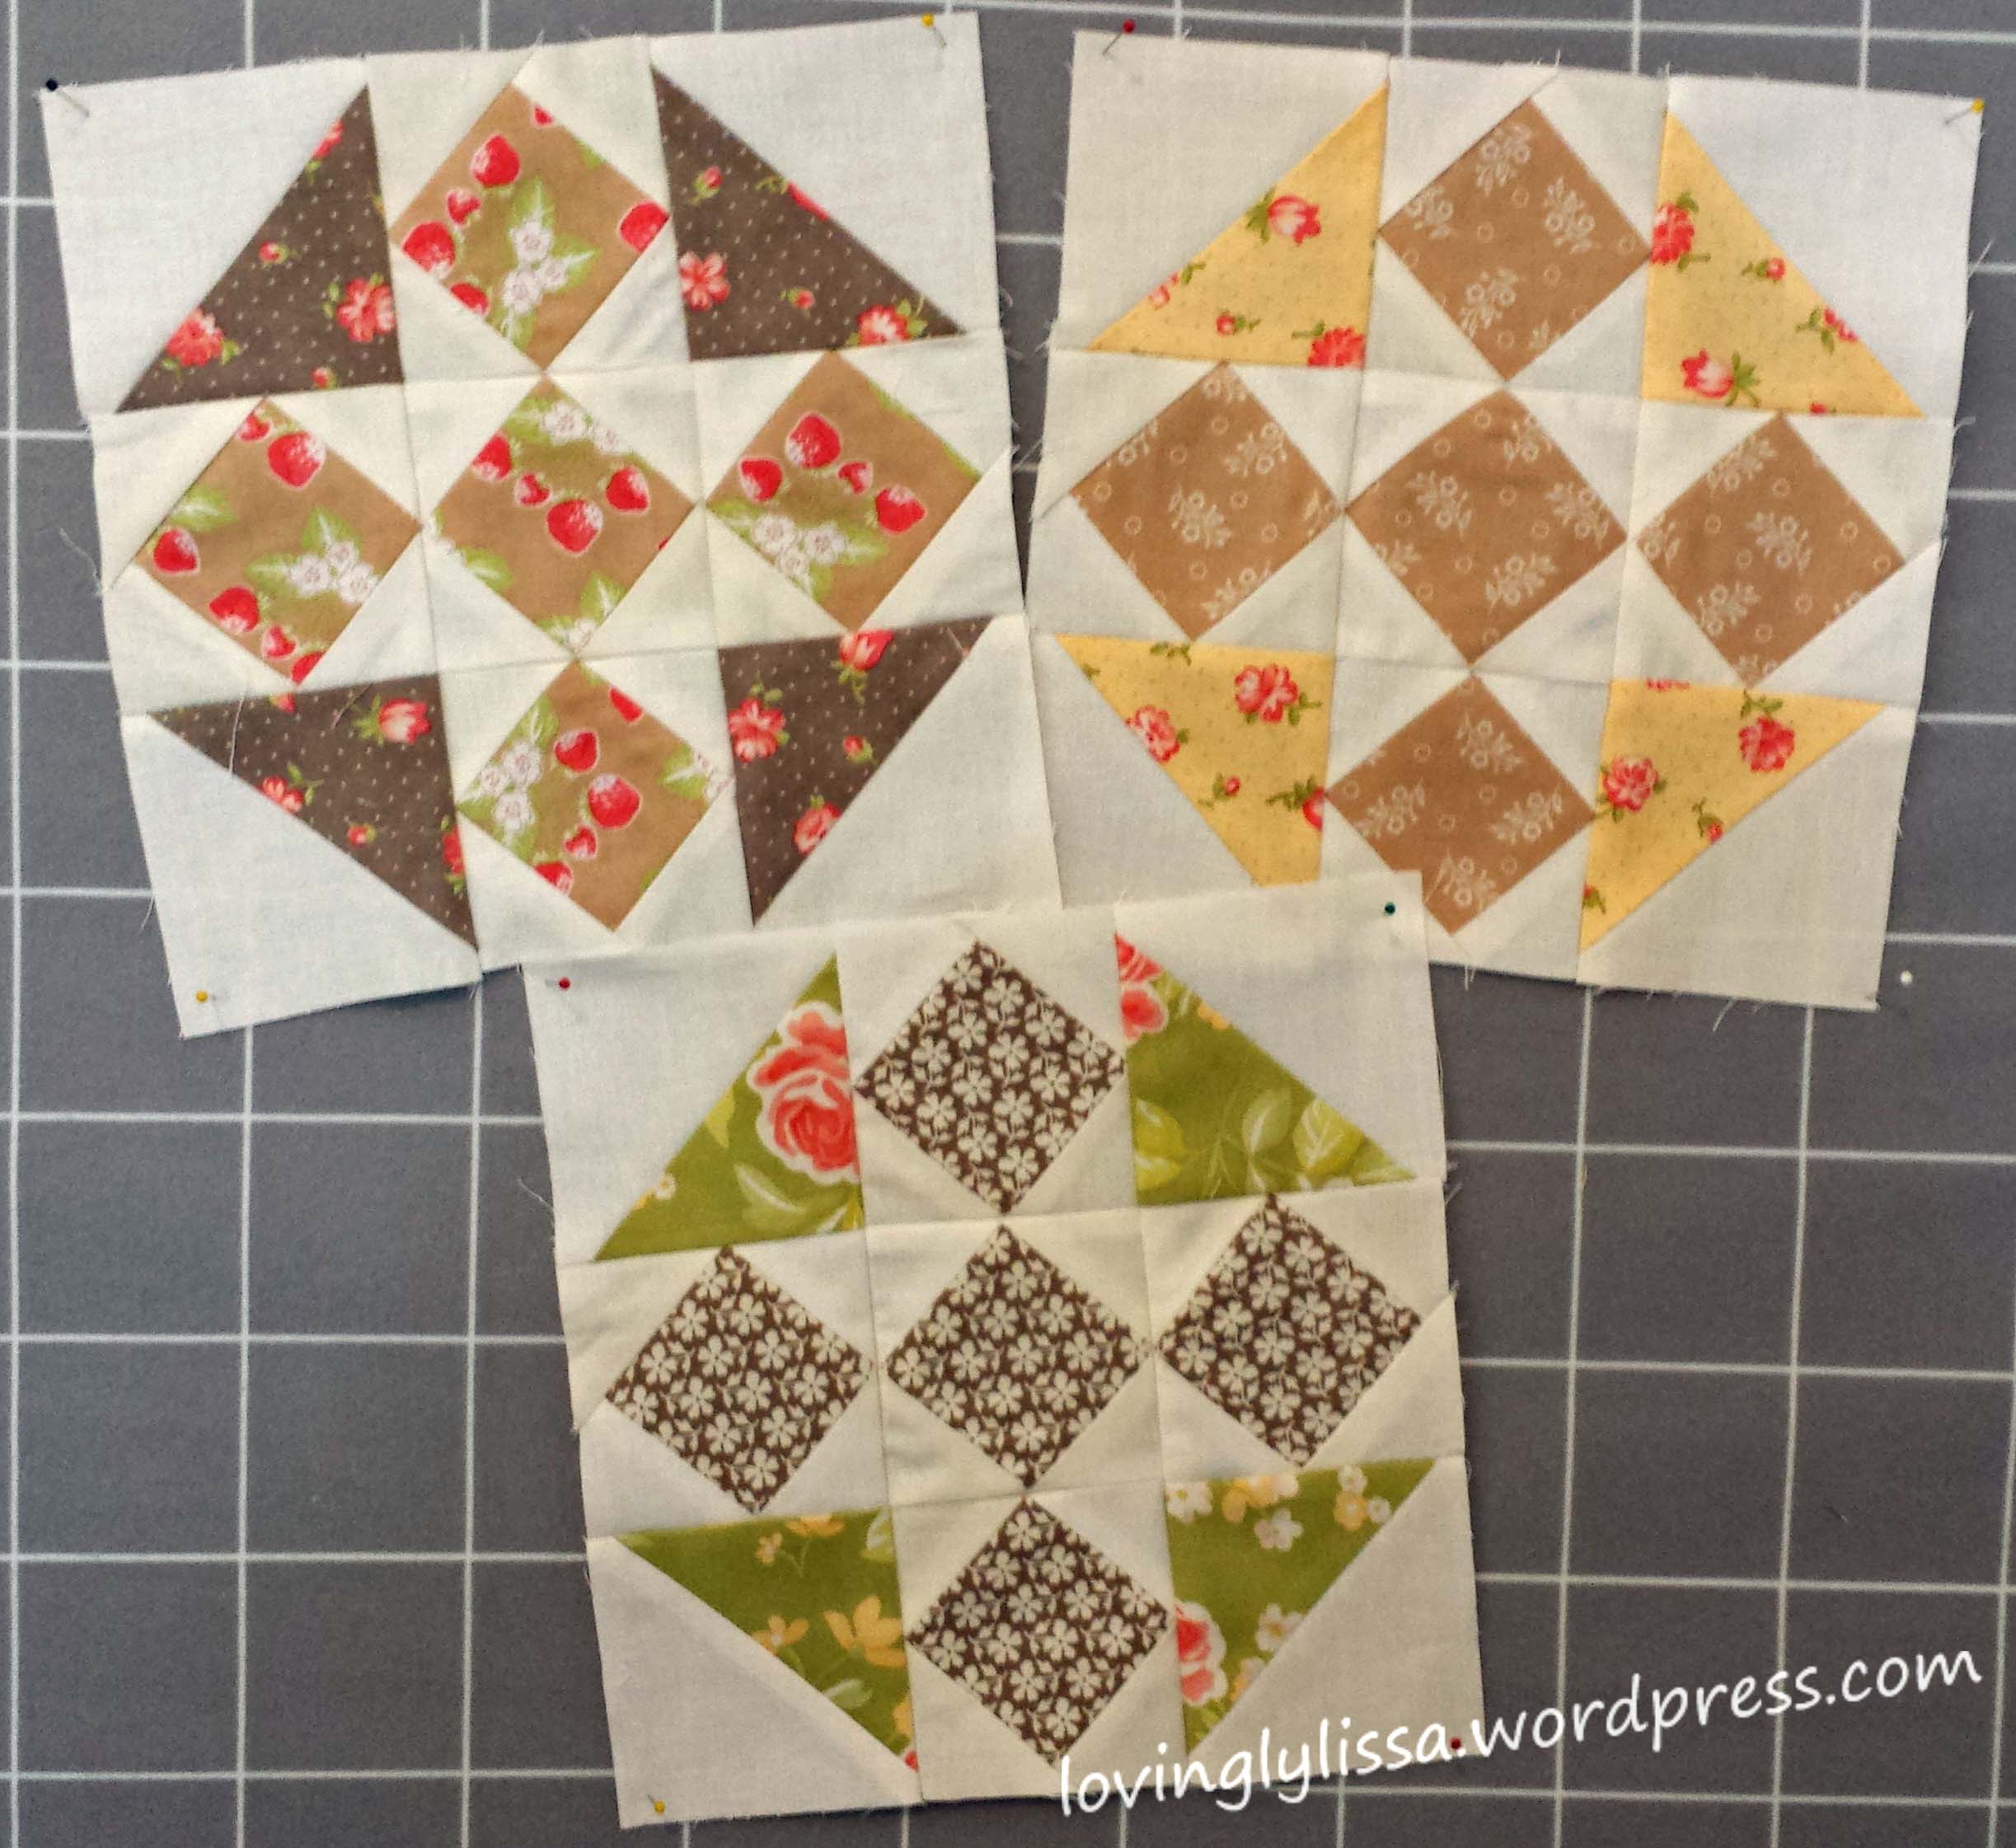
I have always been a lone quilter.  I’ve attended classes, but by and large I am self taught.  I get lonely at times.

Recently I attended my first one of these!

qs

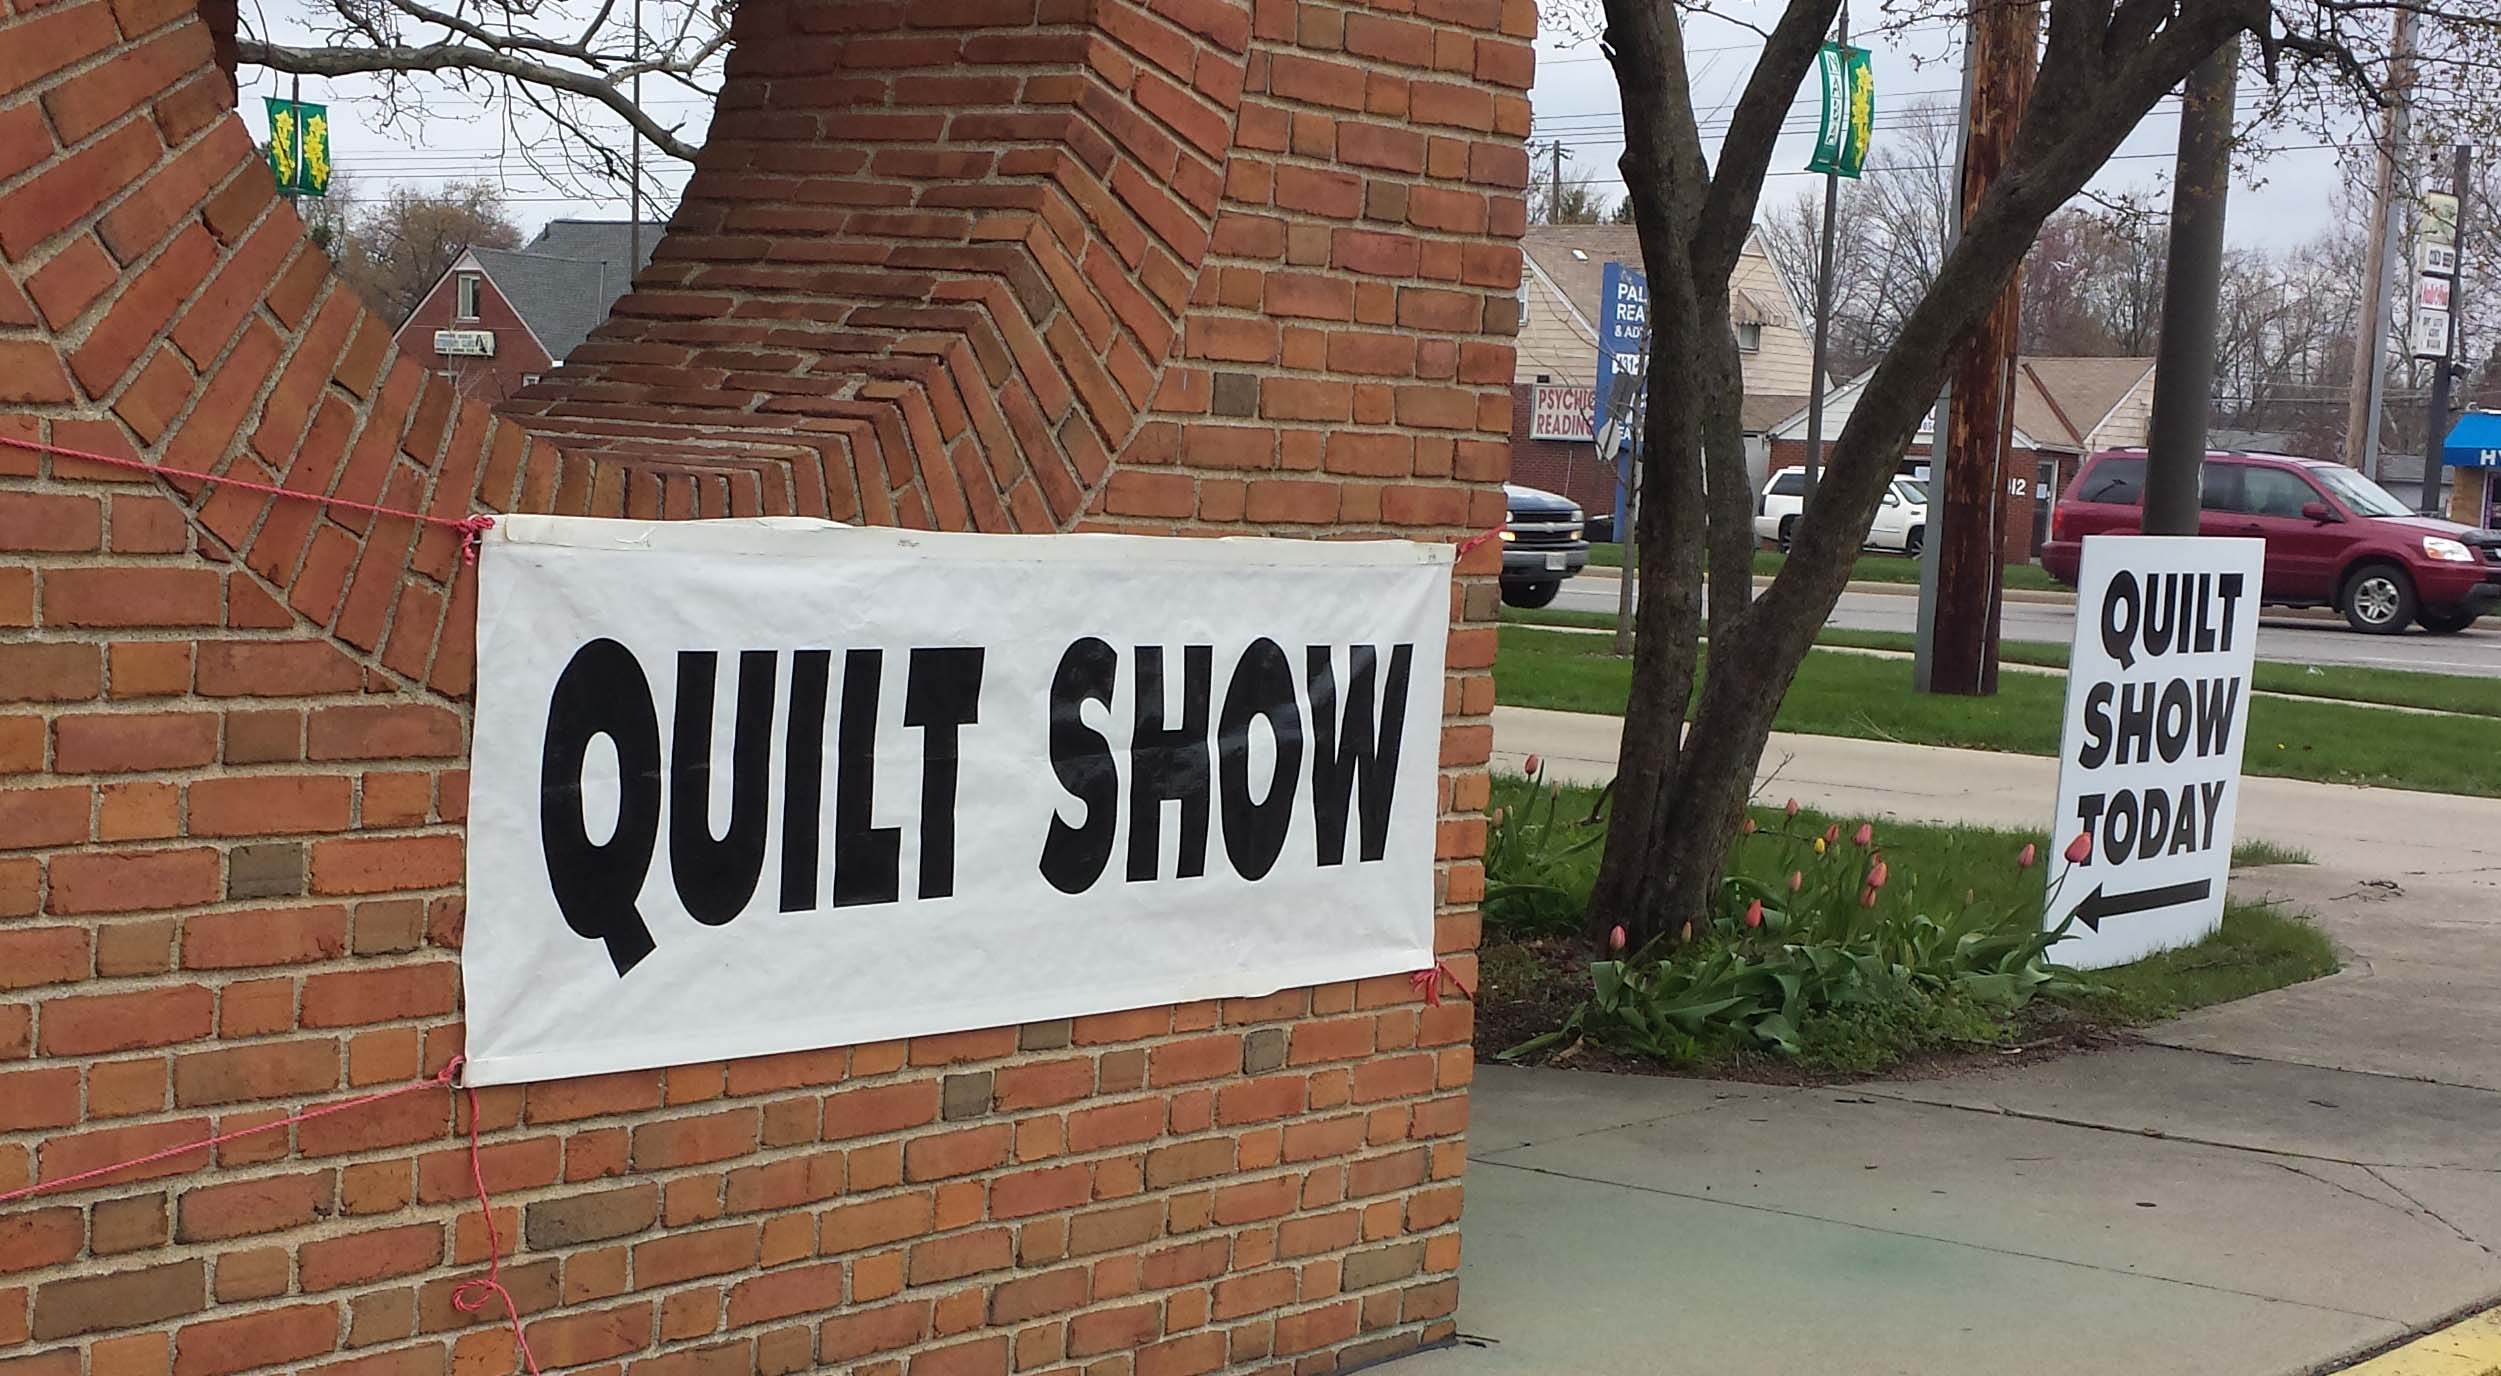
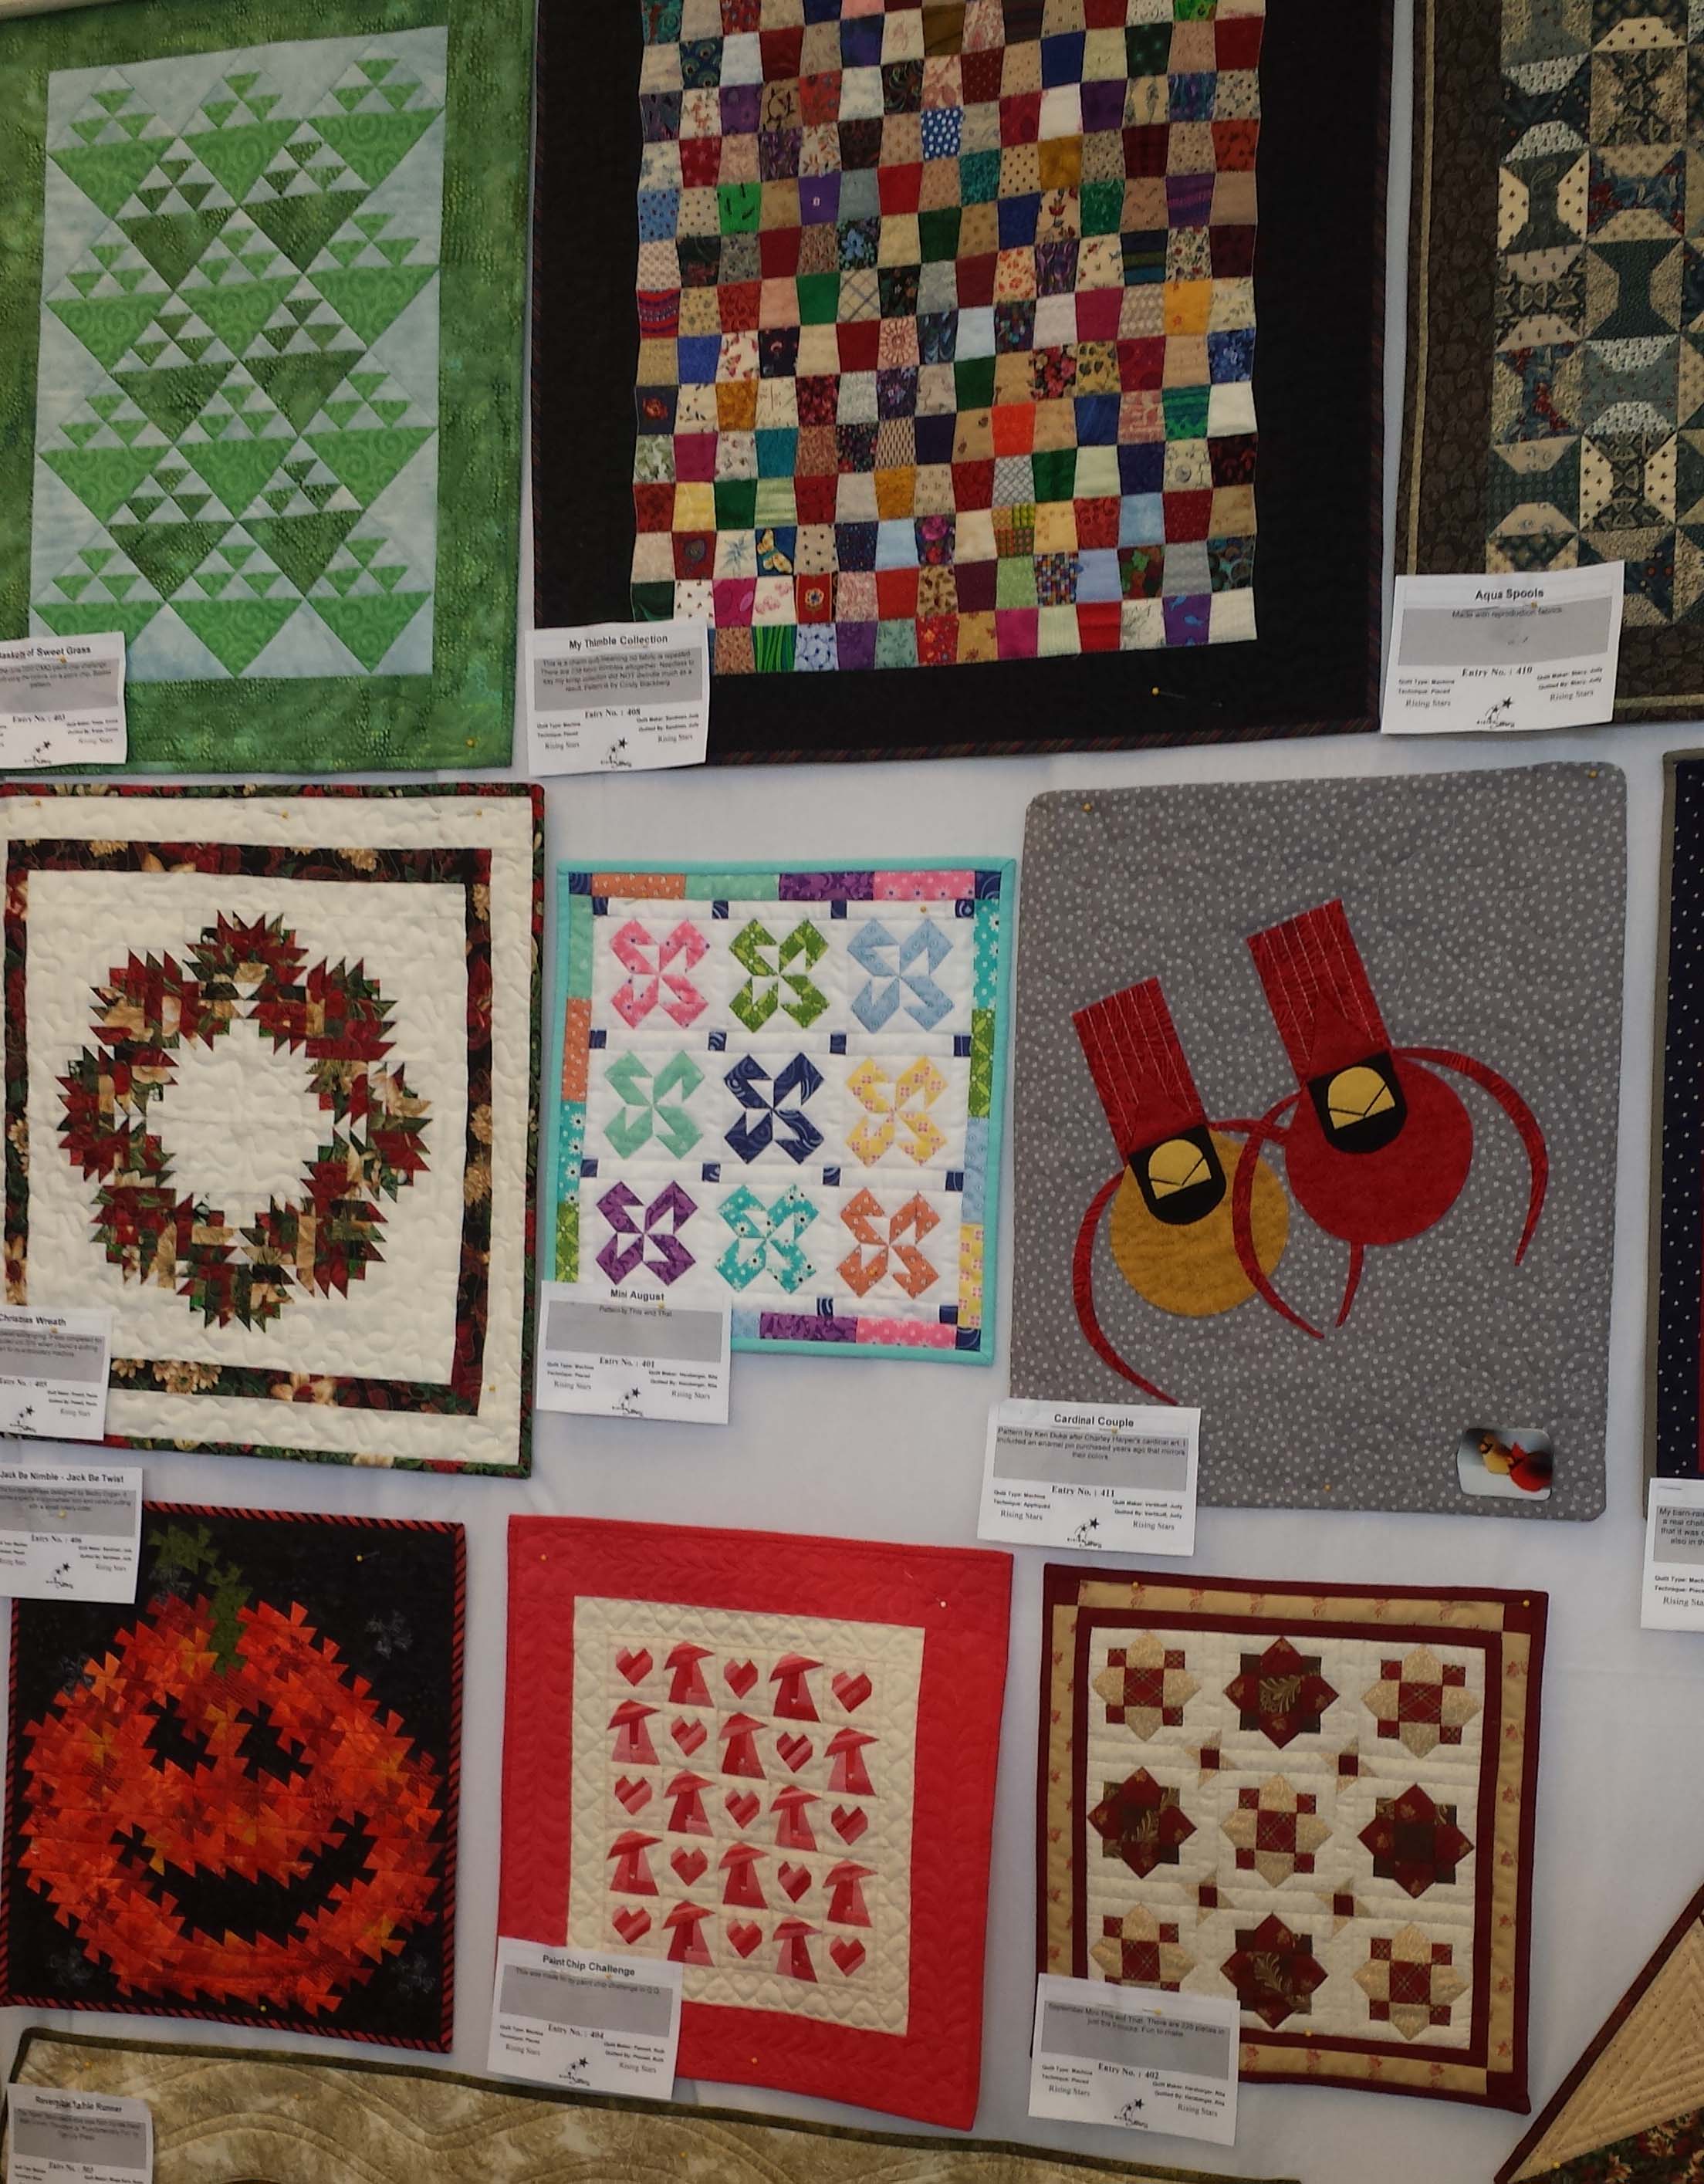
I walked in and immediately felt at home.  The quilts were so beautiful!  It was hard to get pictures but here are some of my favorites.

Look at these gorgeous scrappy quilts.

qs3scraps

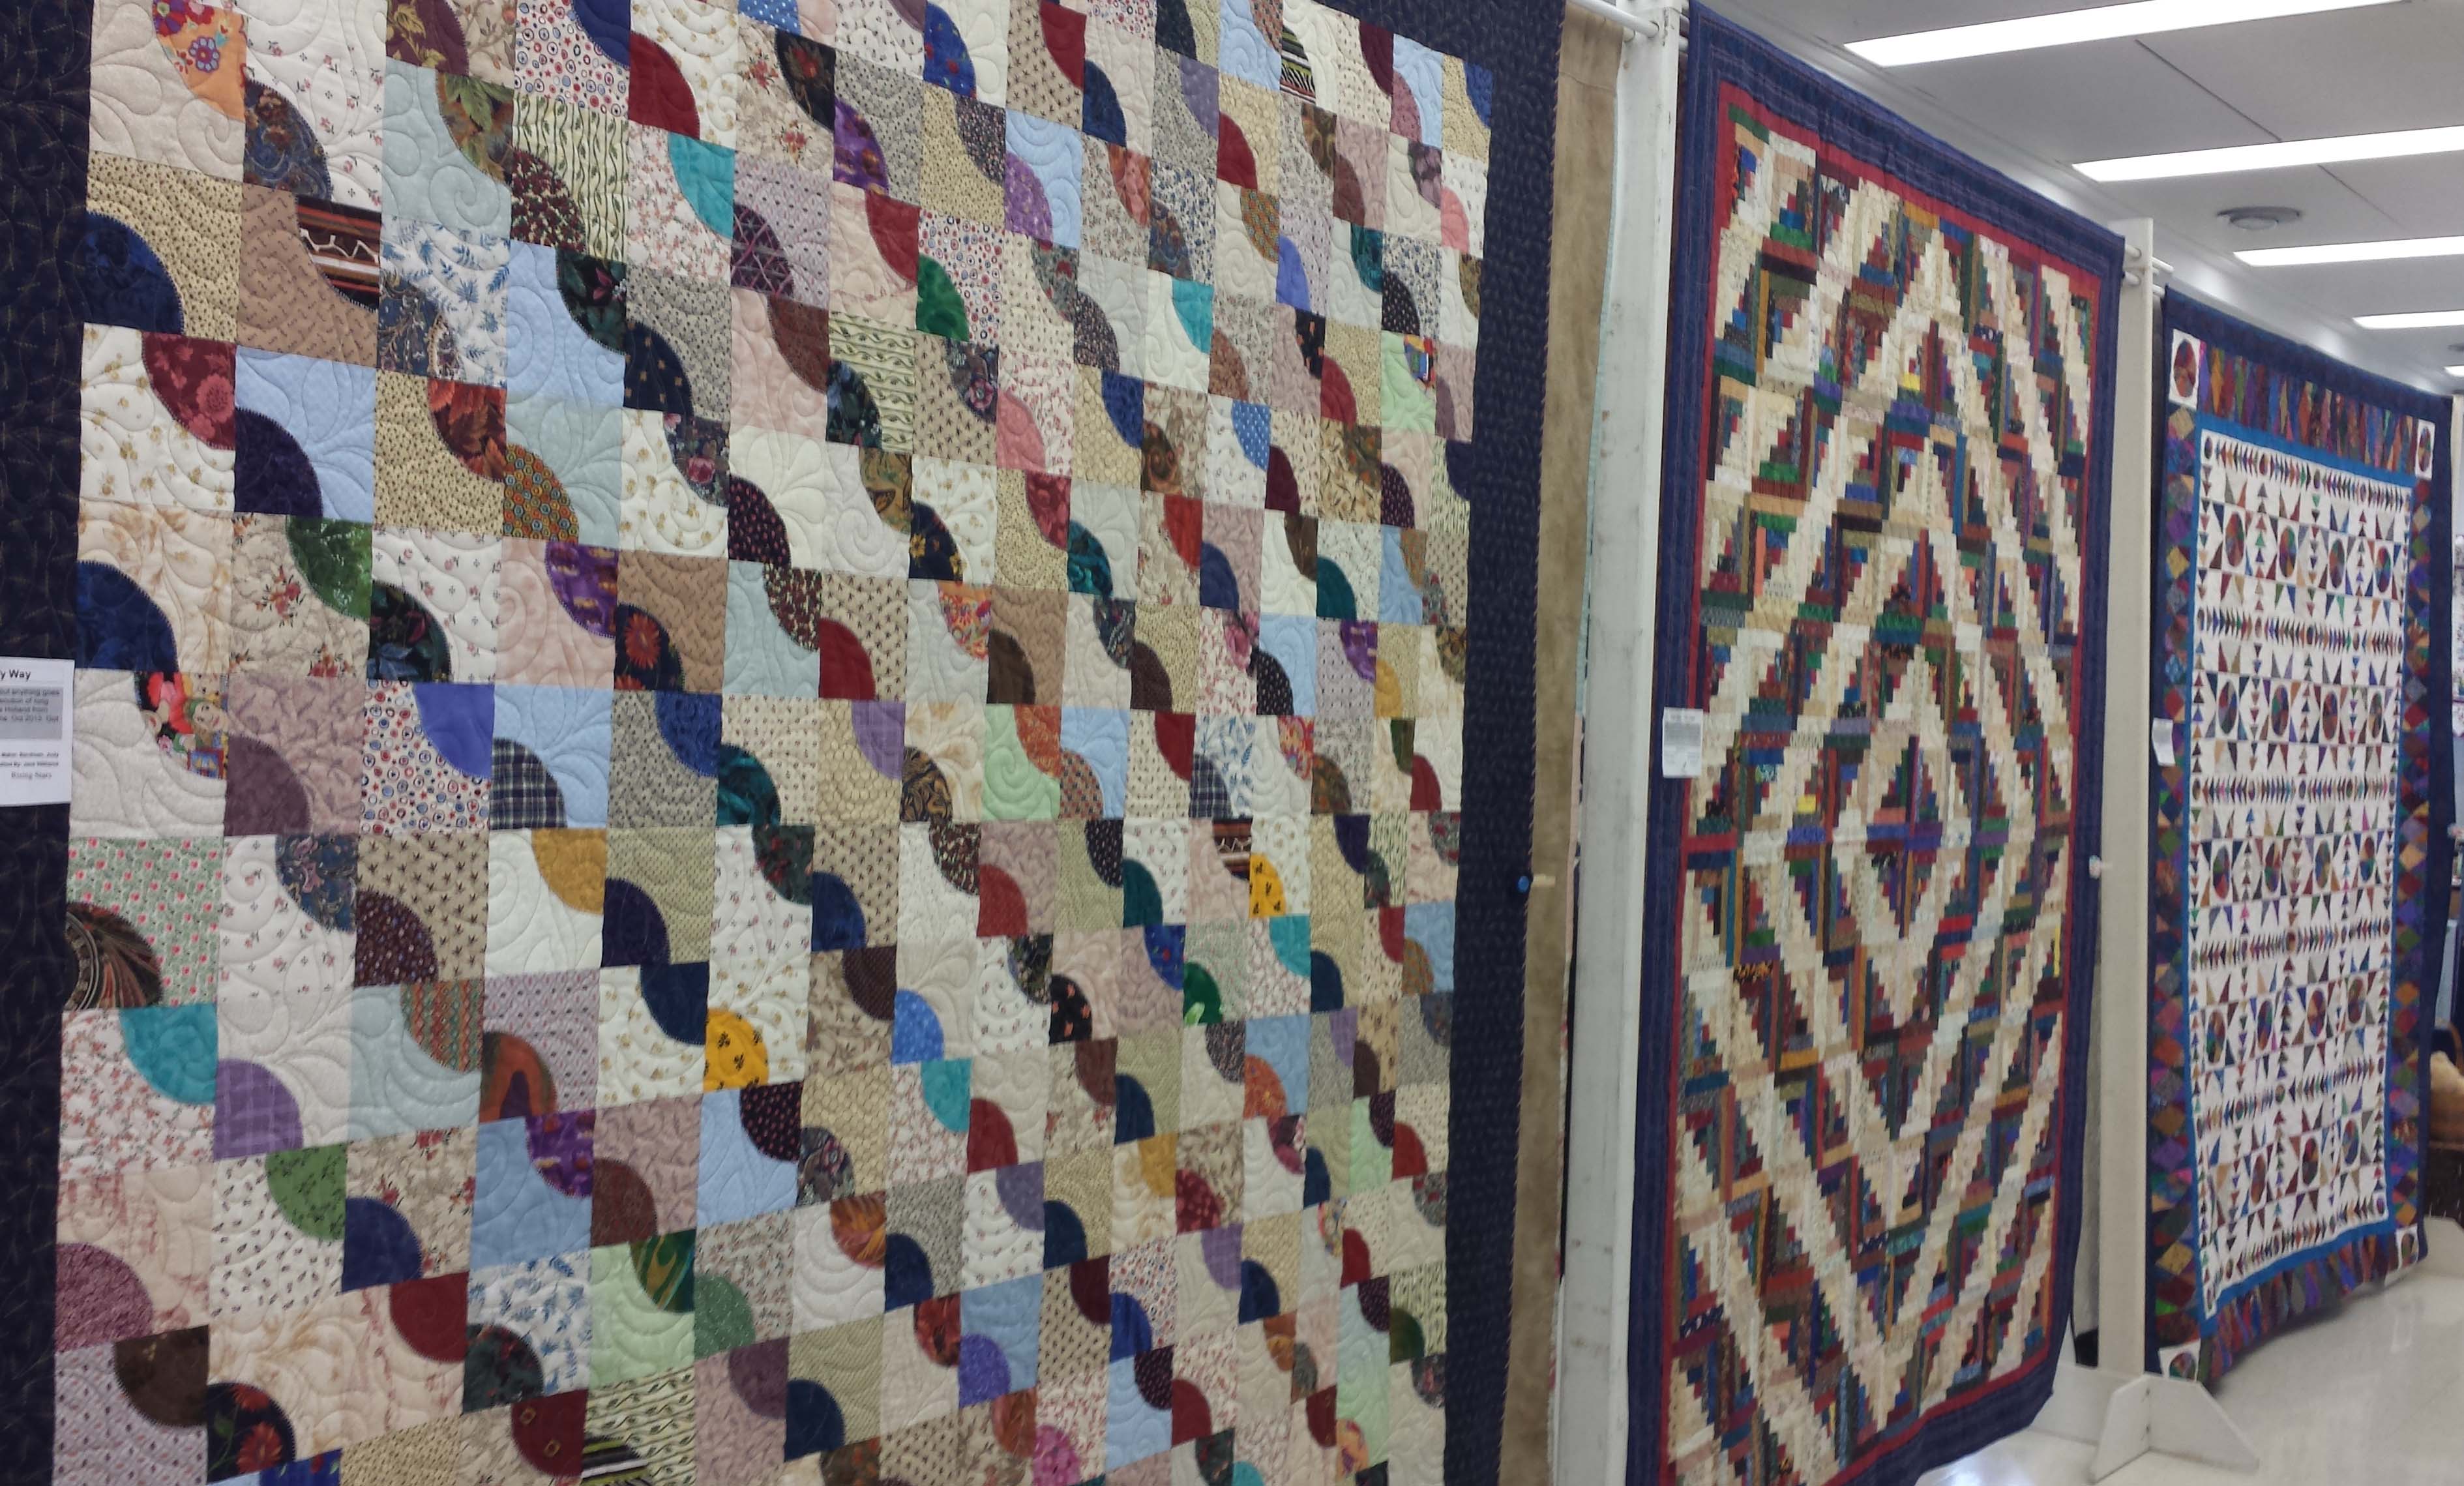
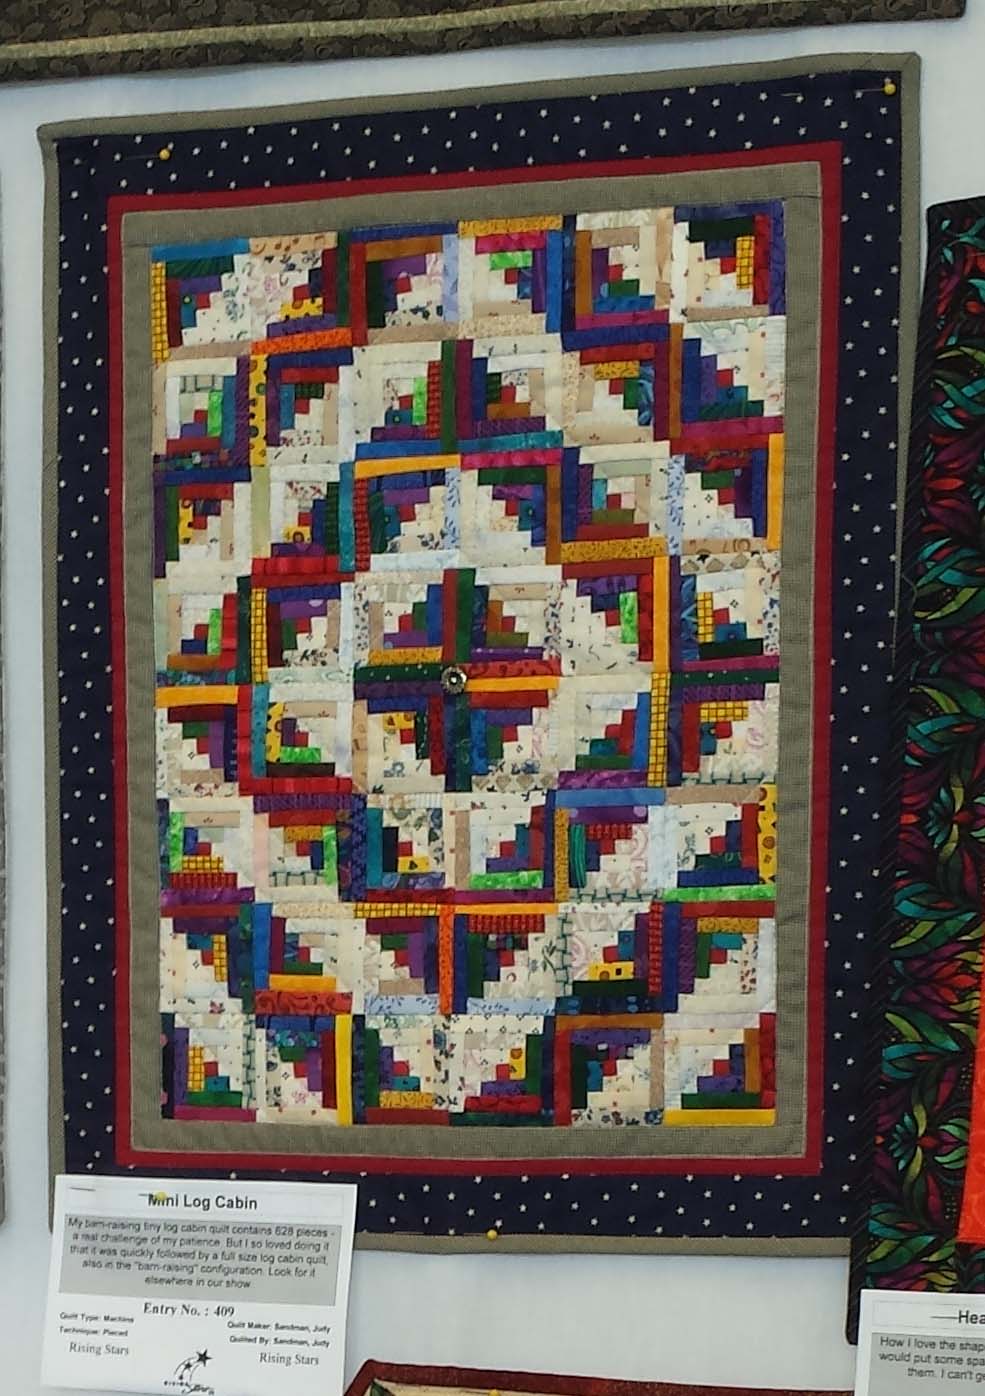
This scrappy one is my favorite!

qsscrap1


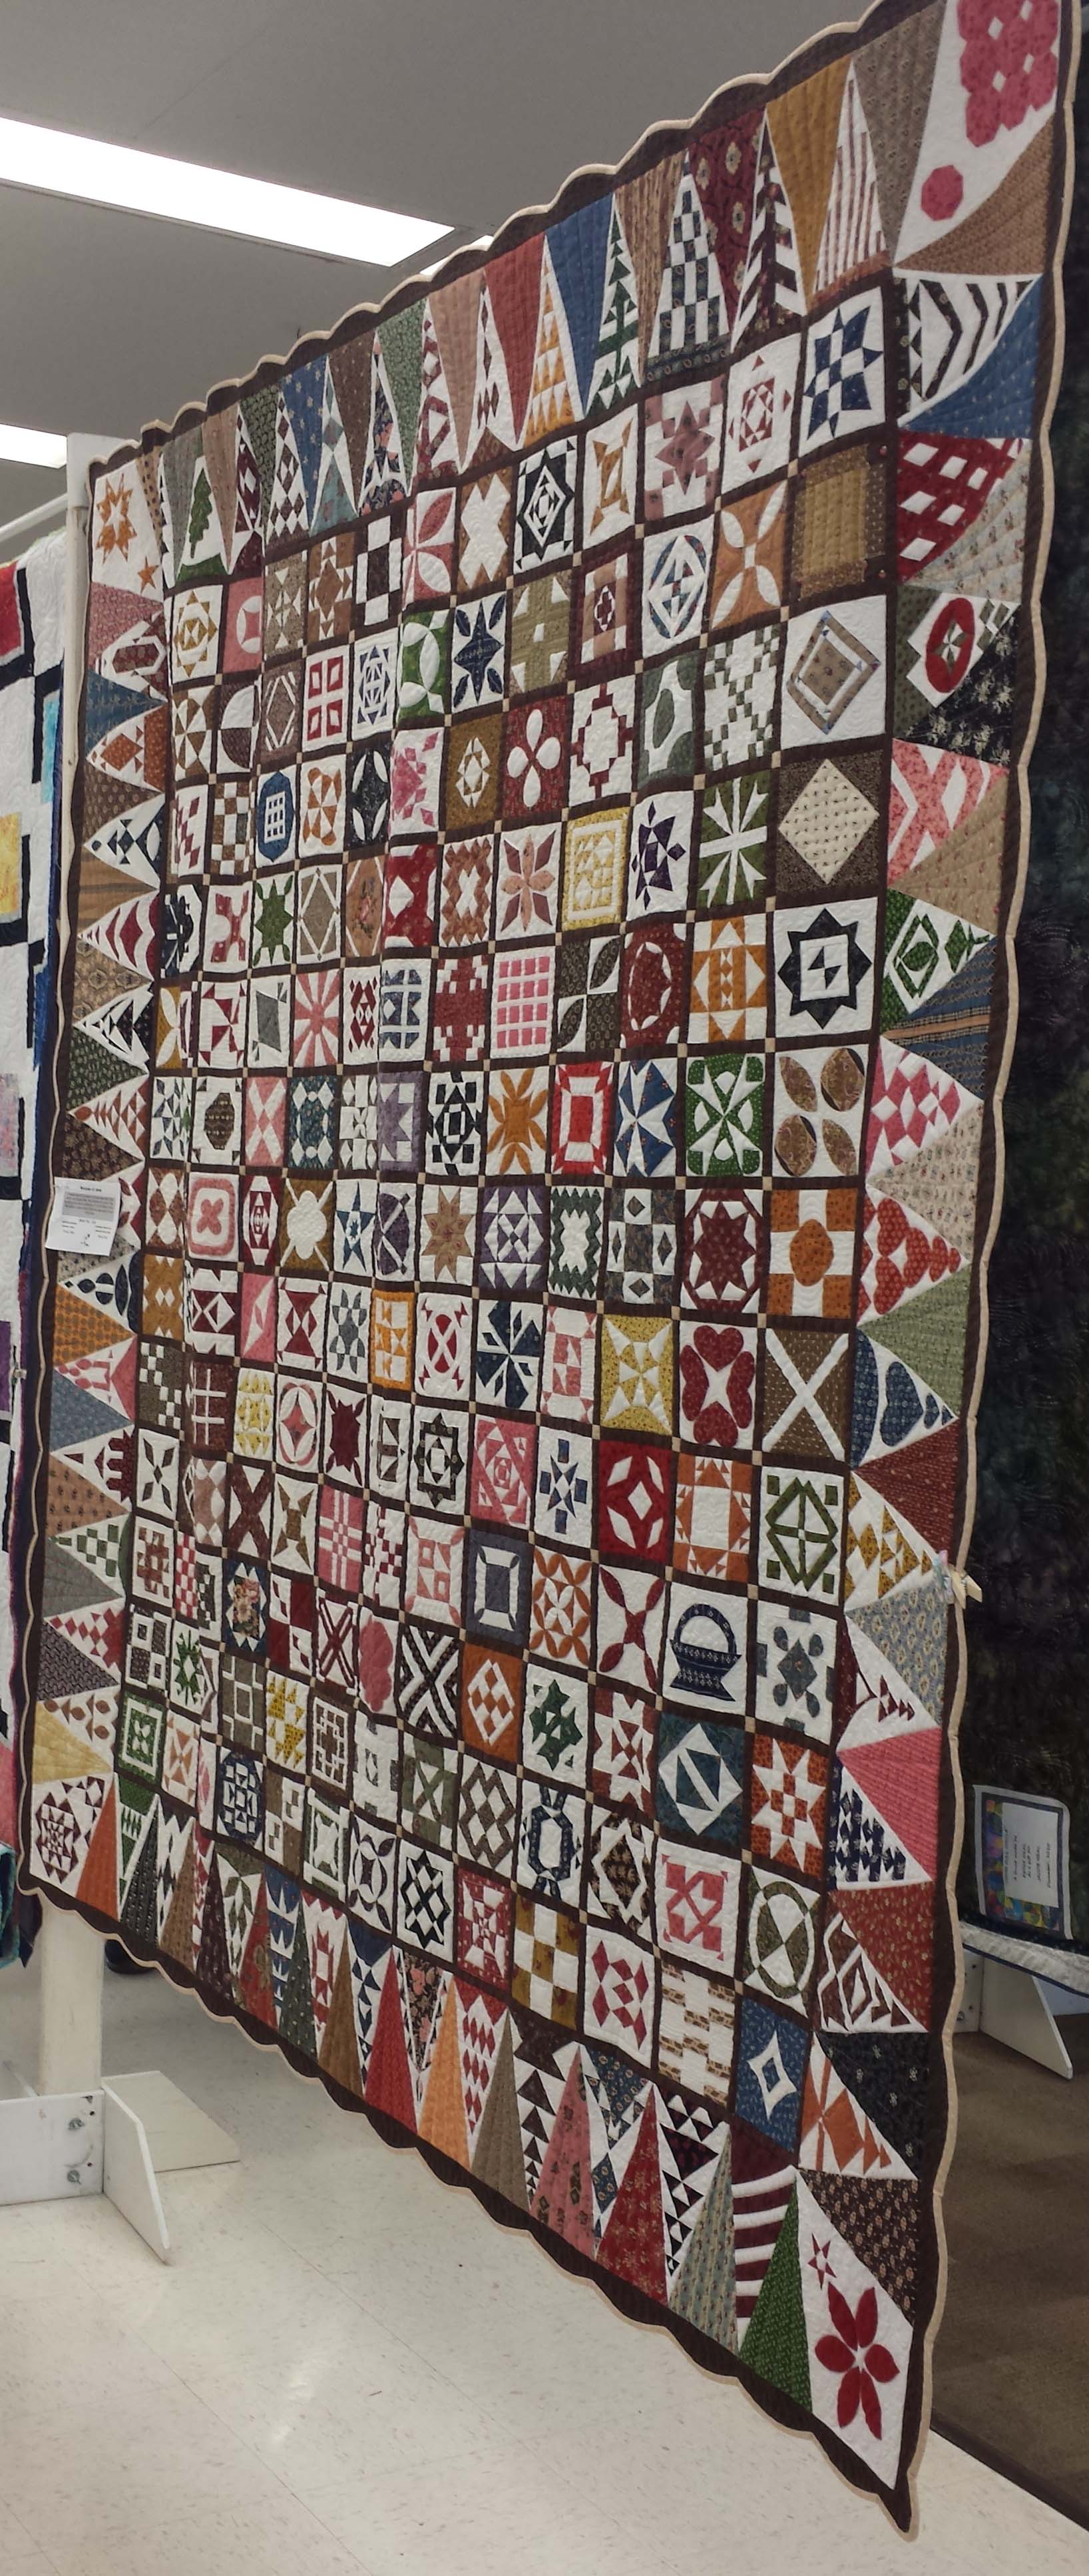
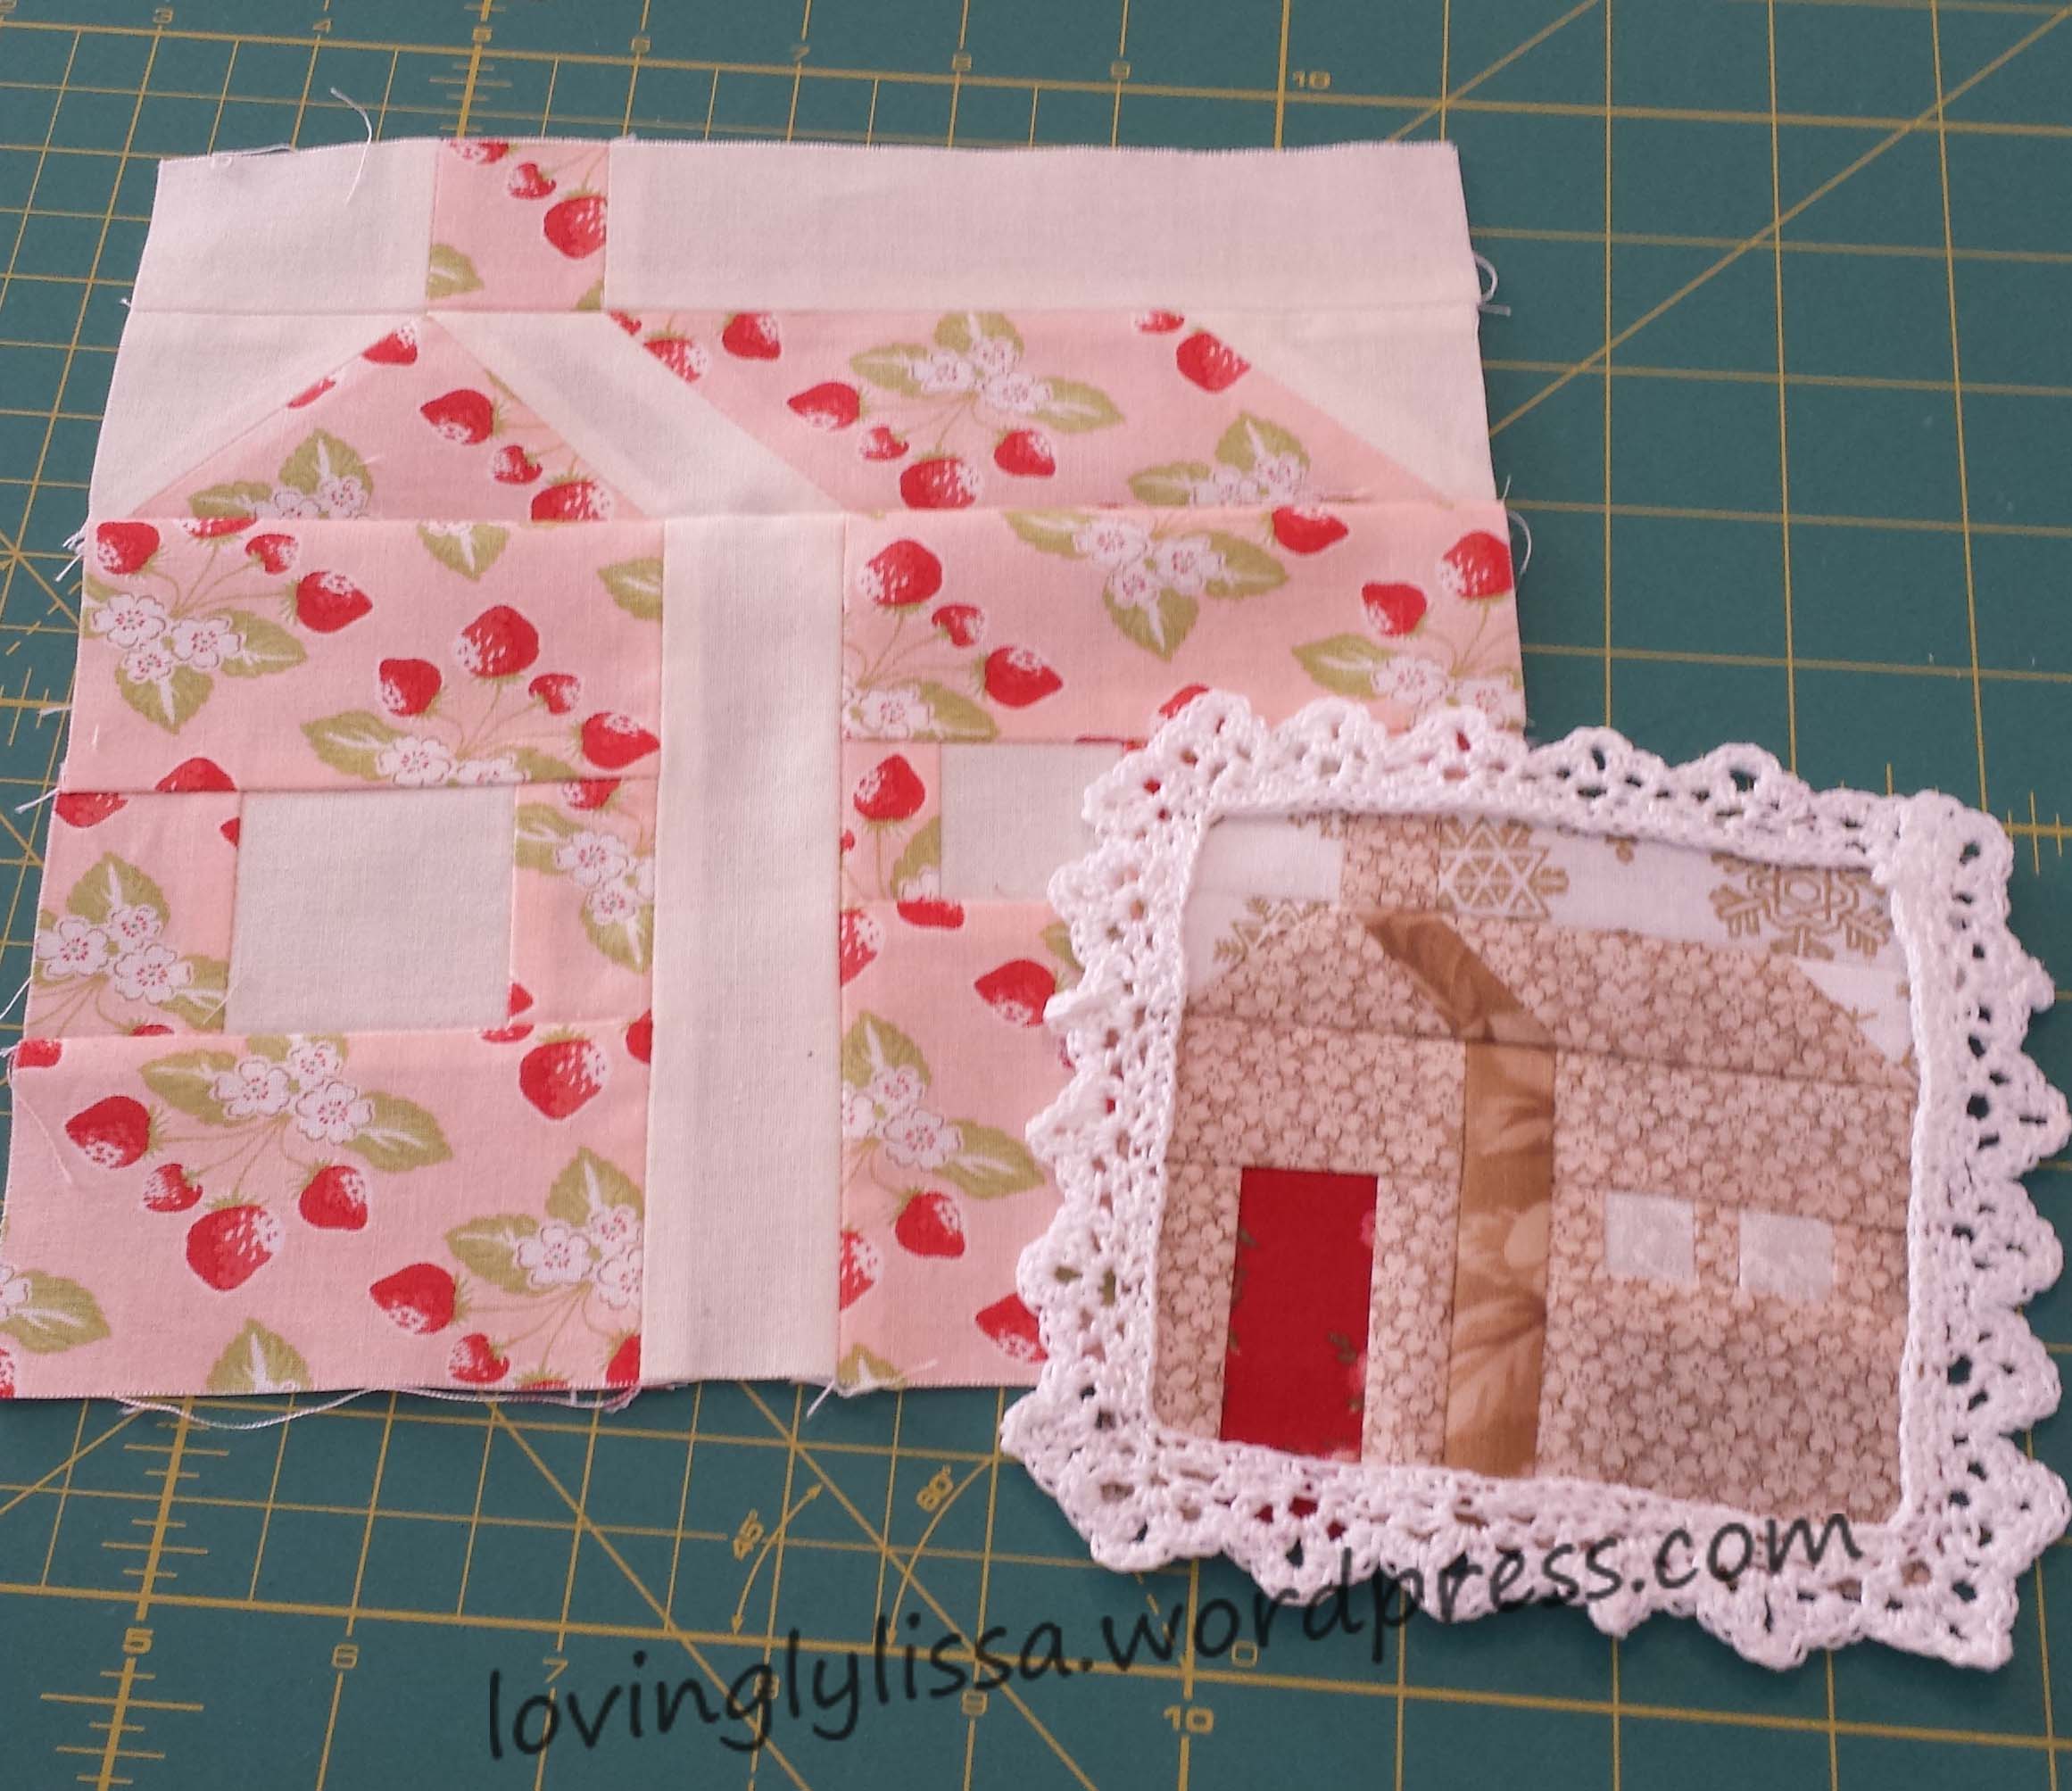
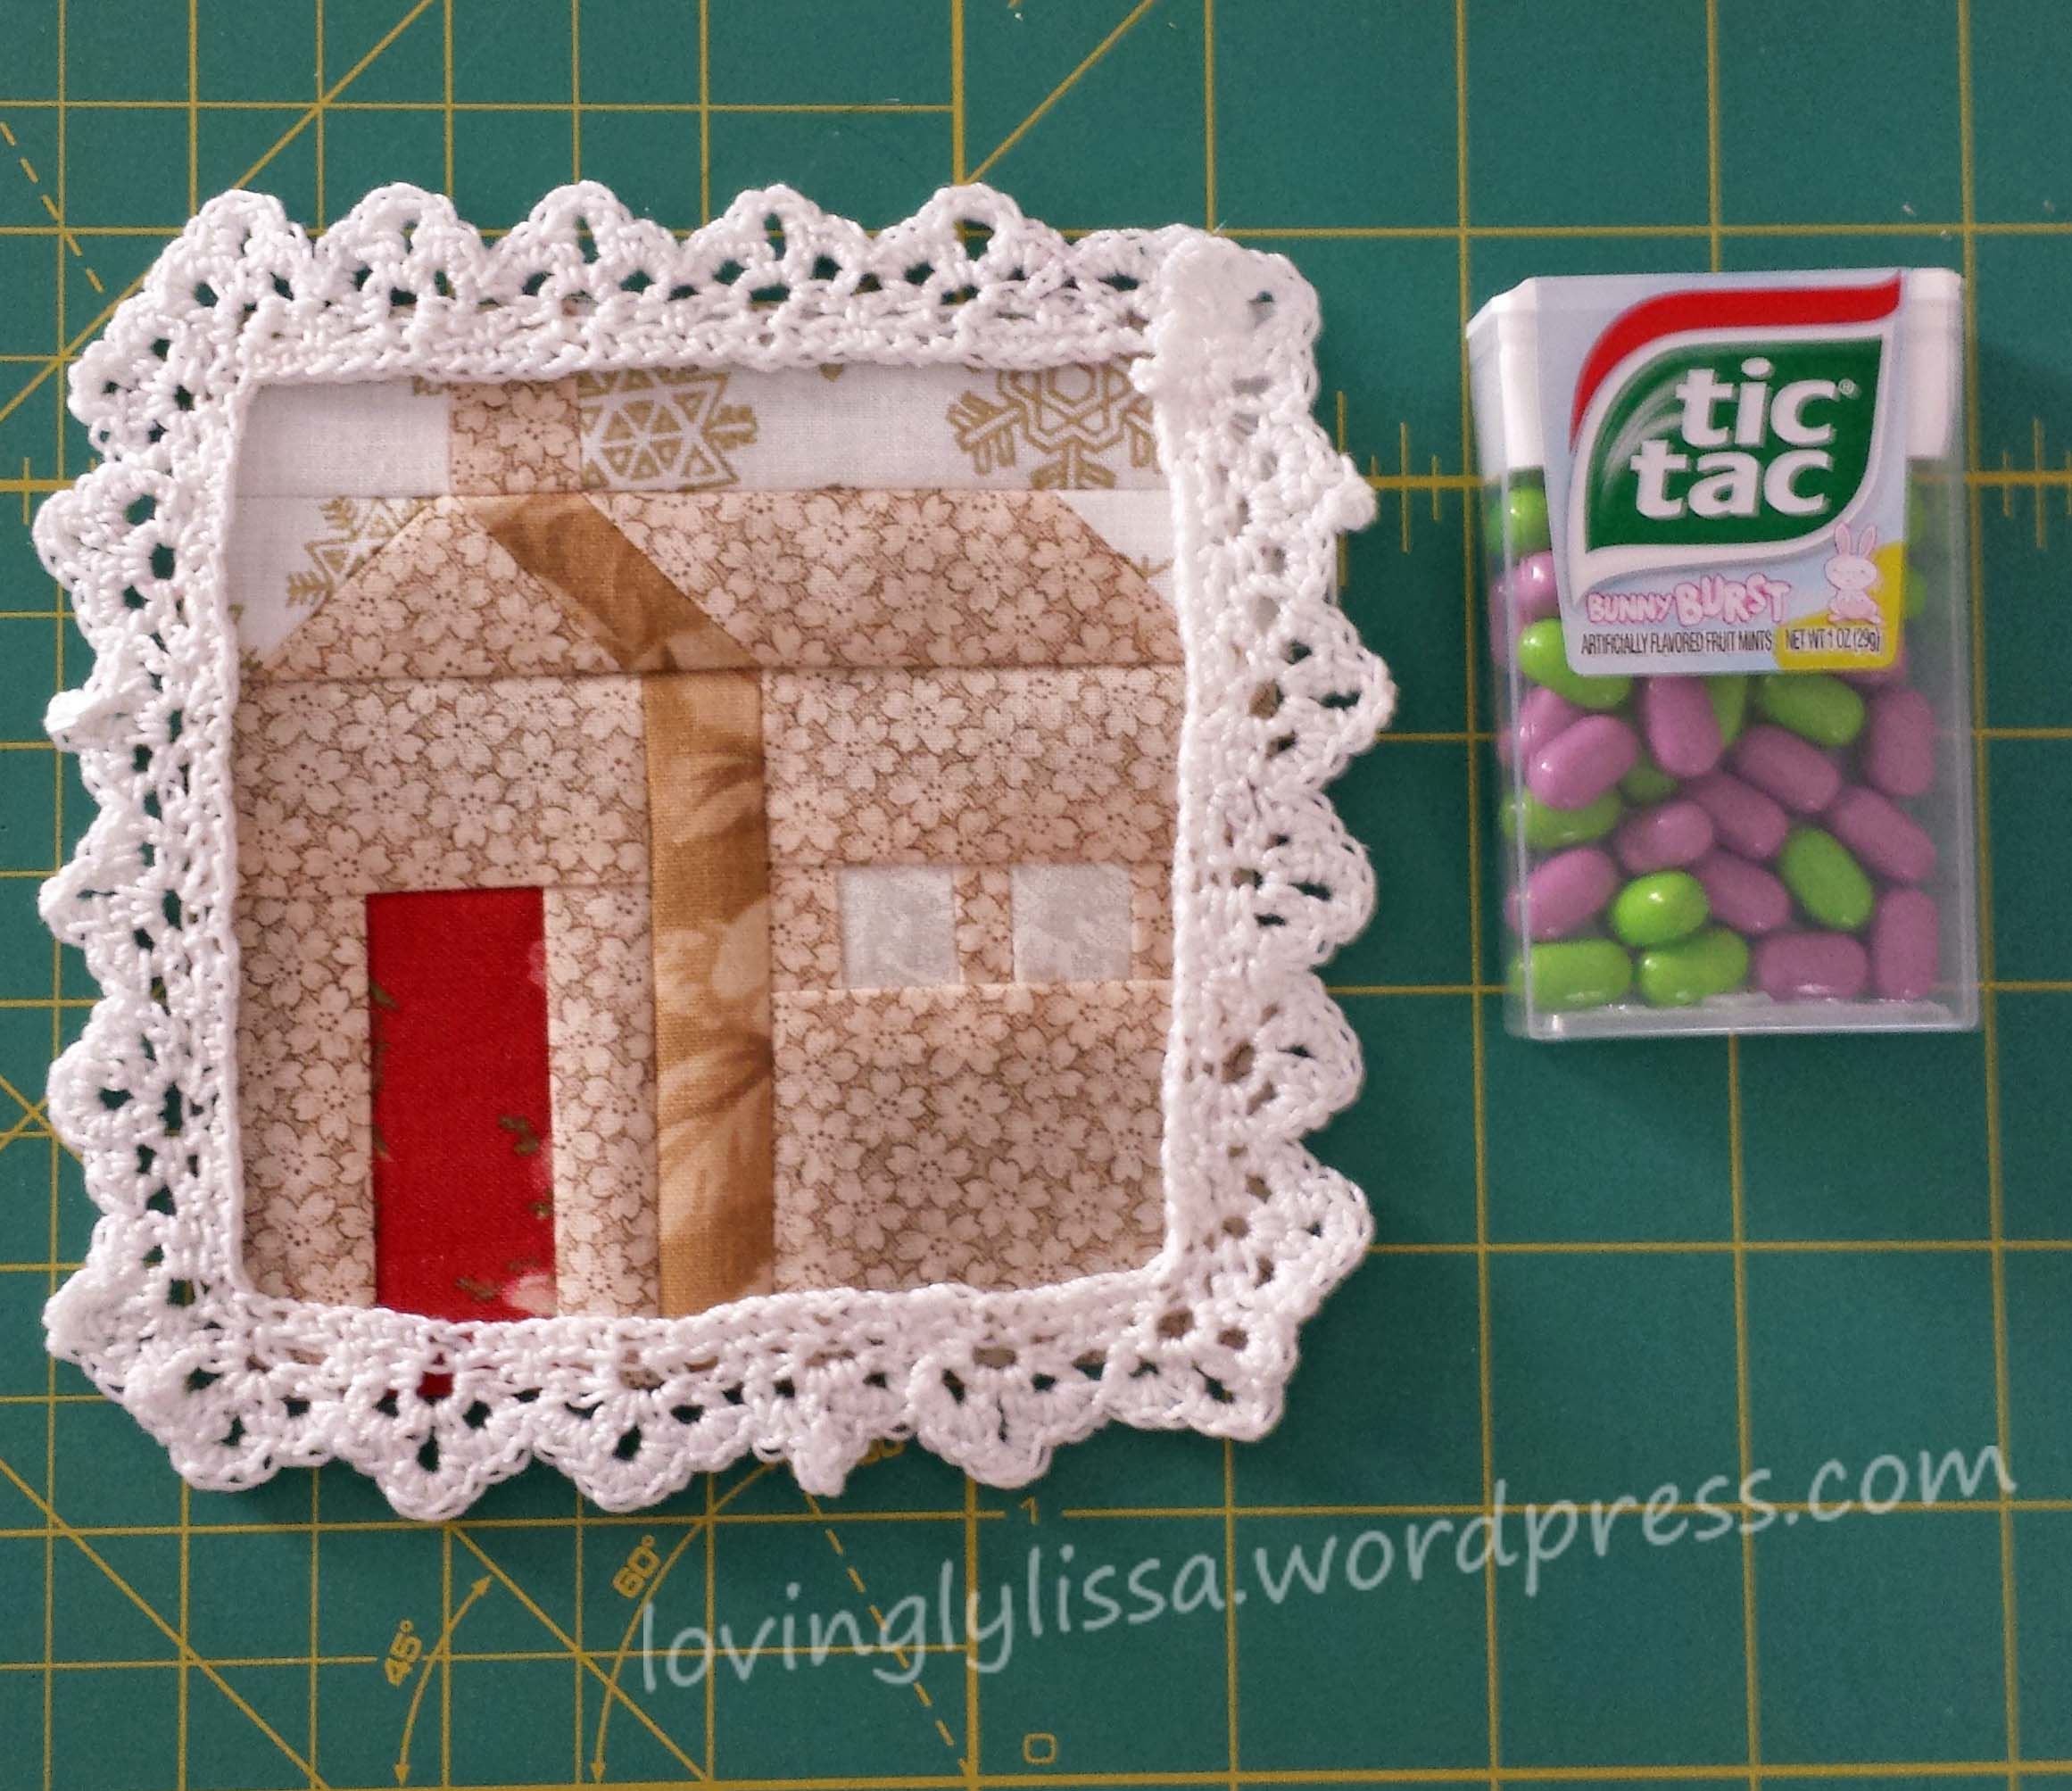
But I don’t think any of them can beat this mini (yes mini) log cabin scrappy.   The note card read there are 628 pieces of fabric in this mini quilt.

qsminilogcabin

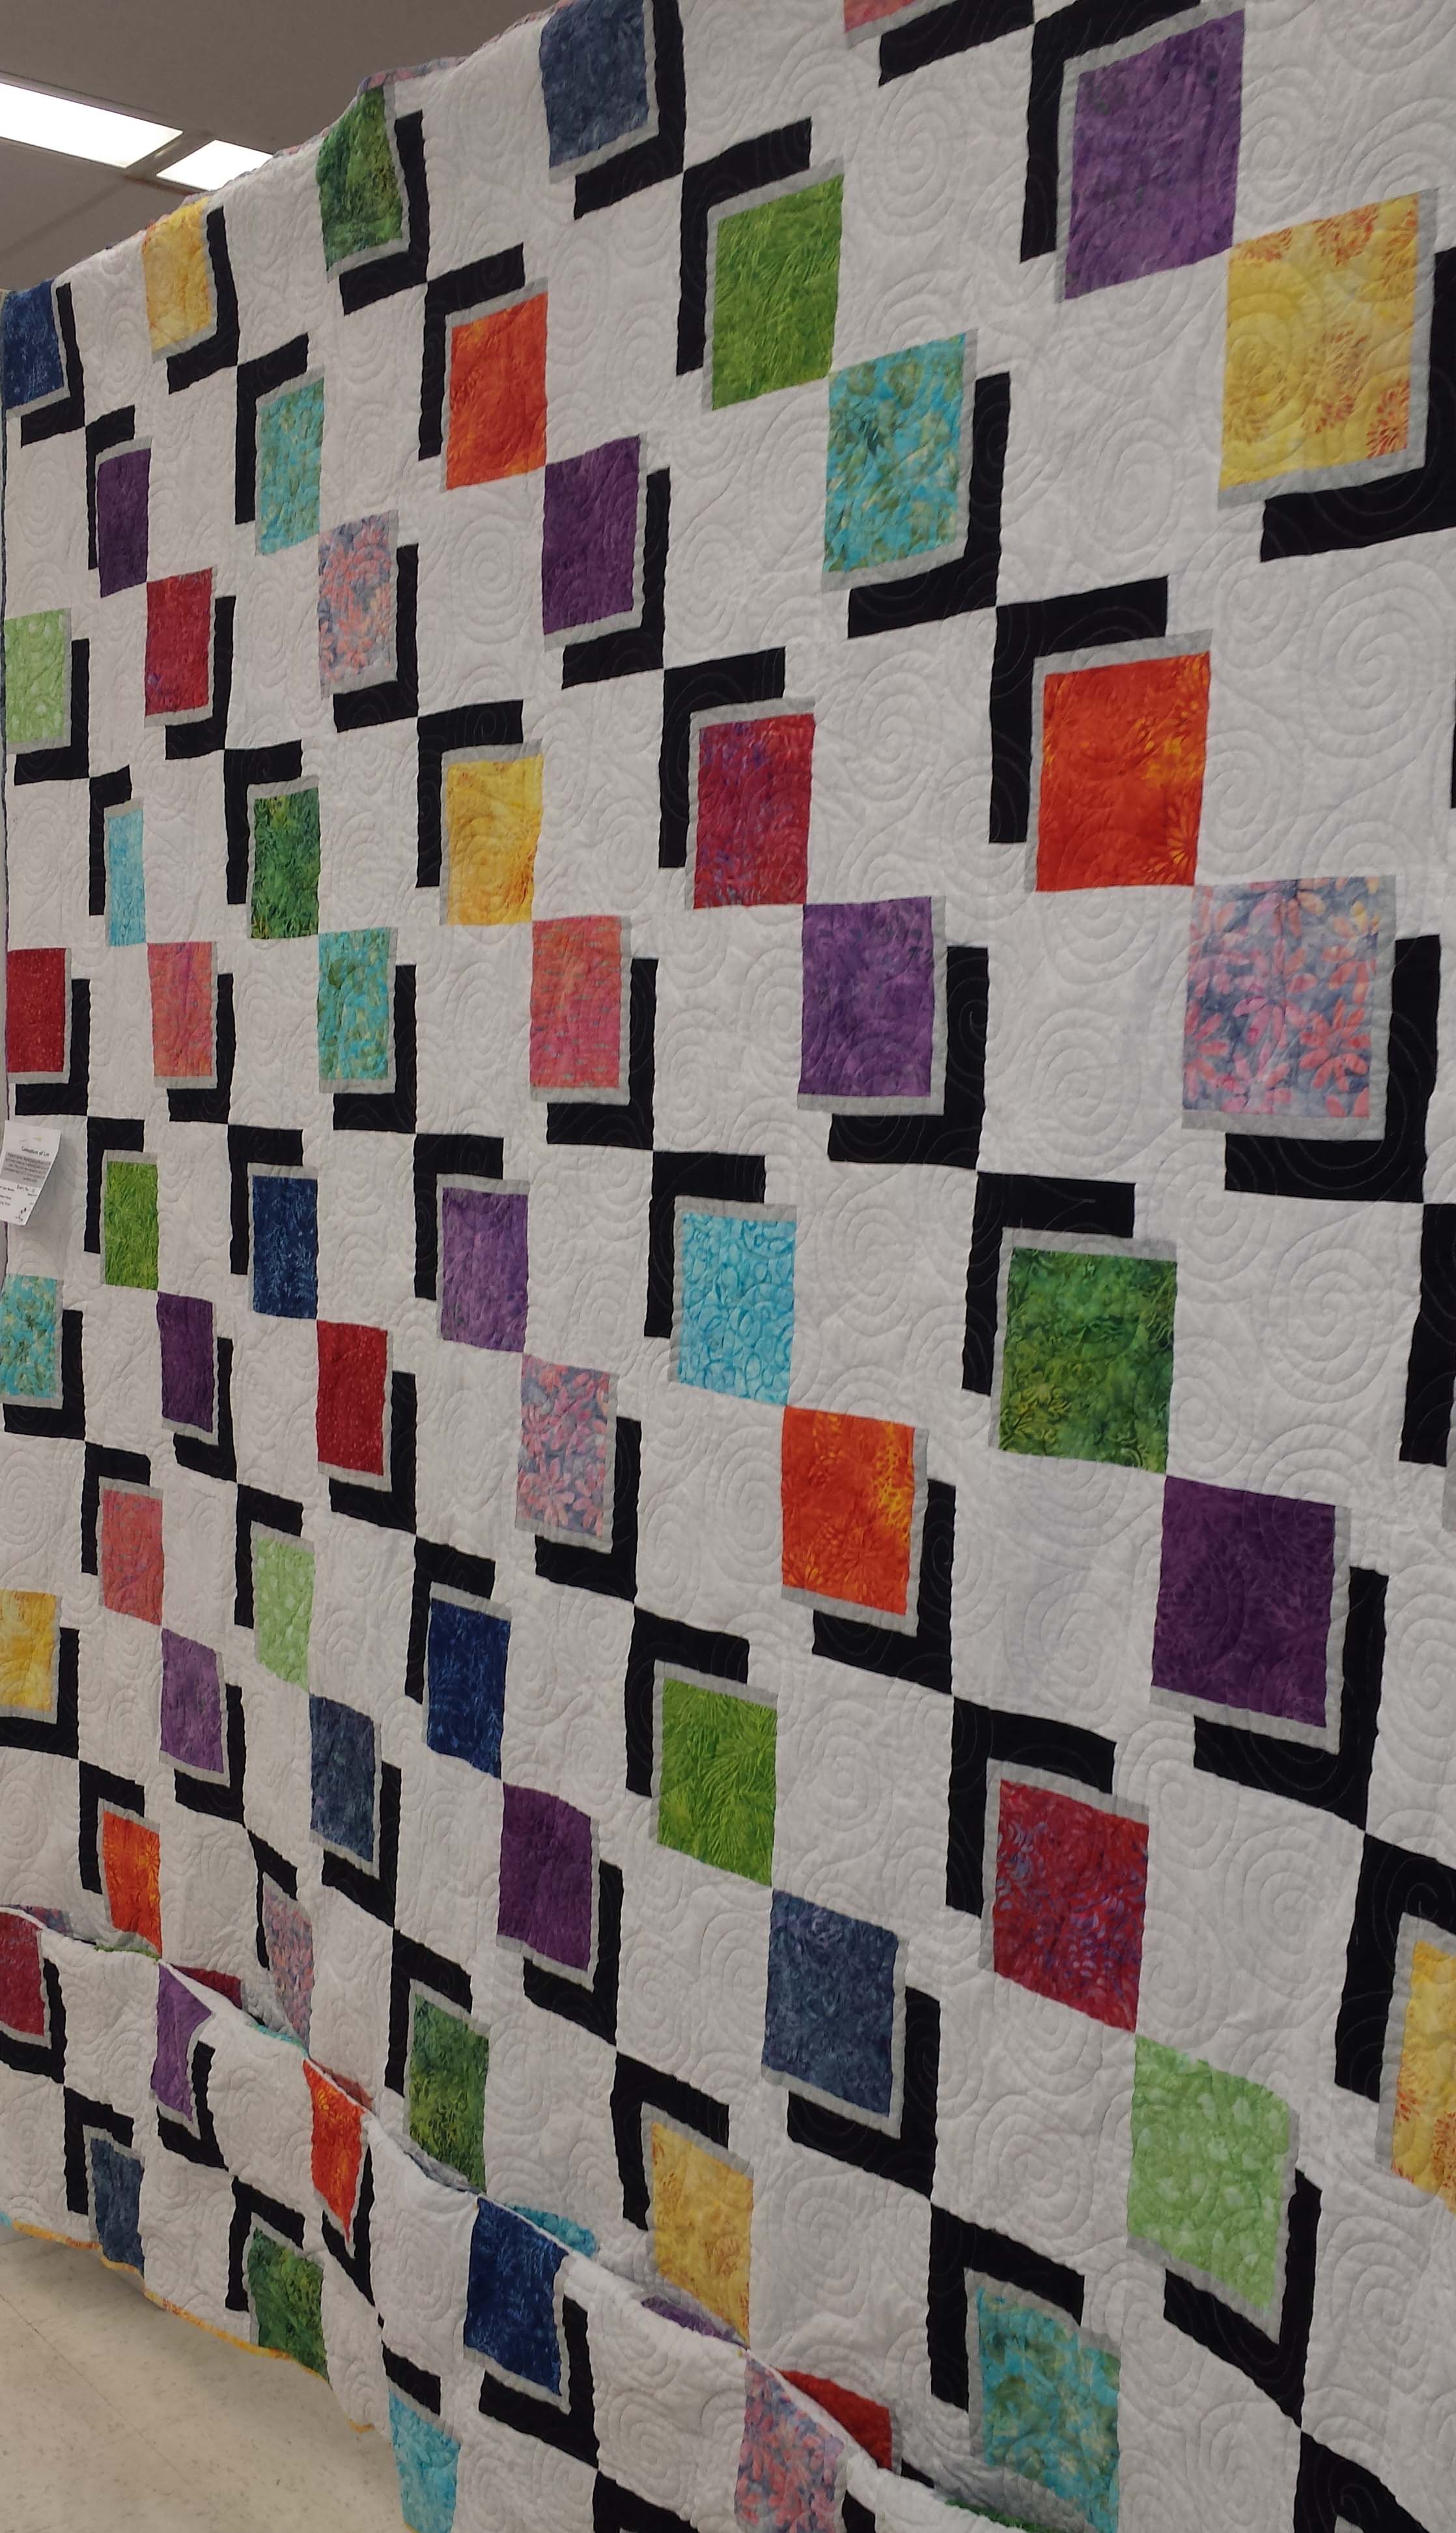
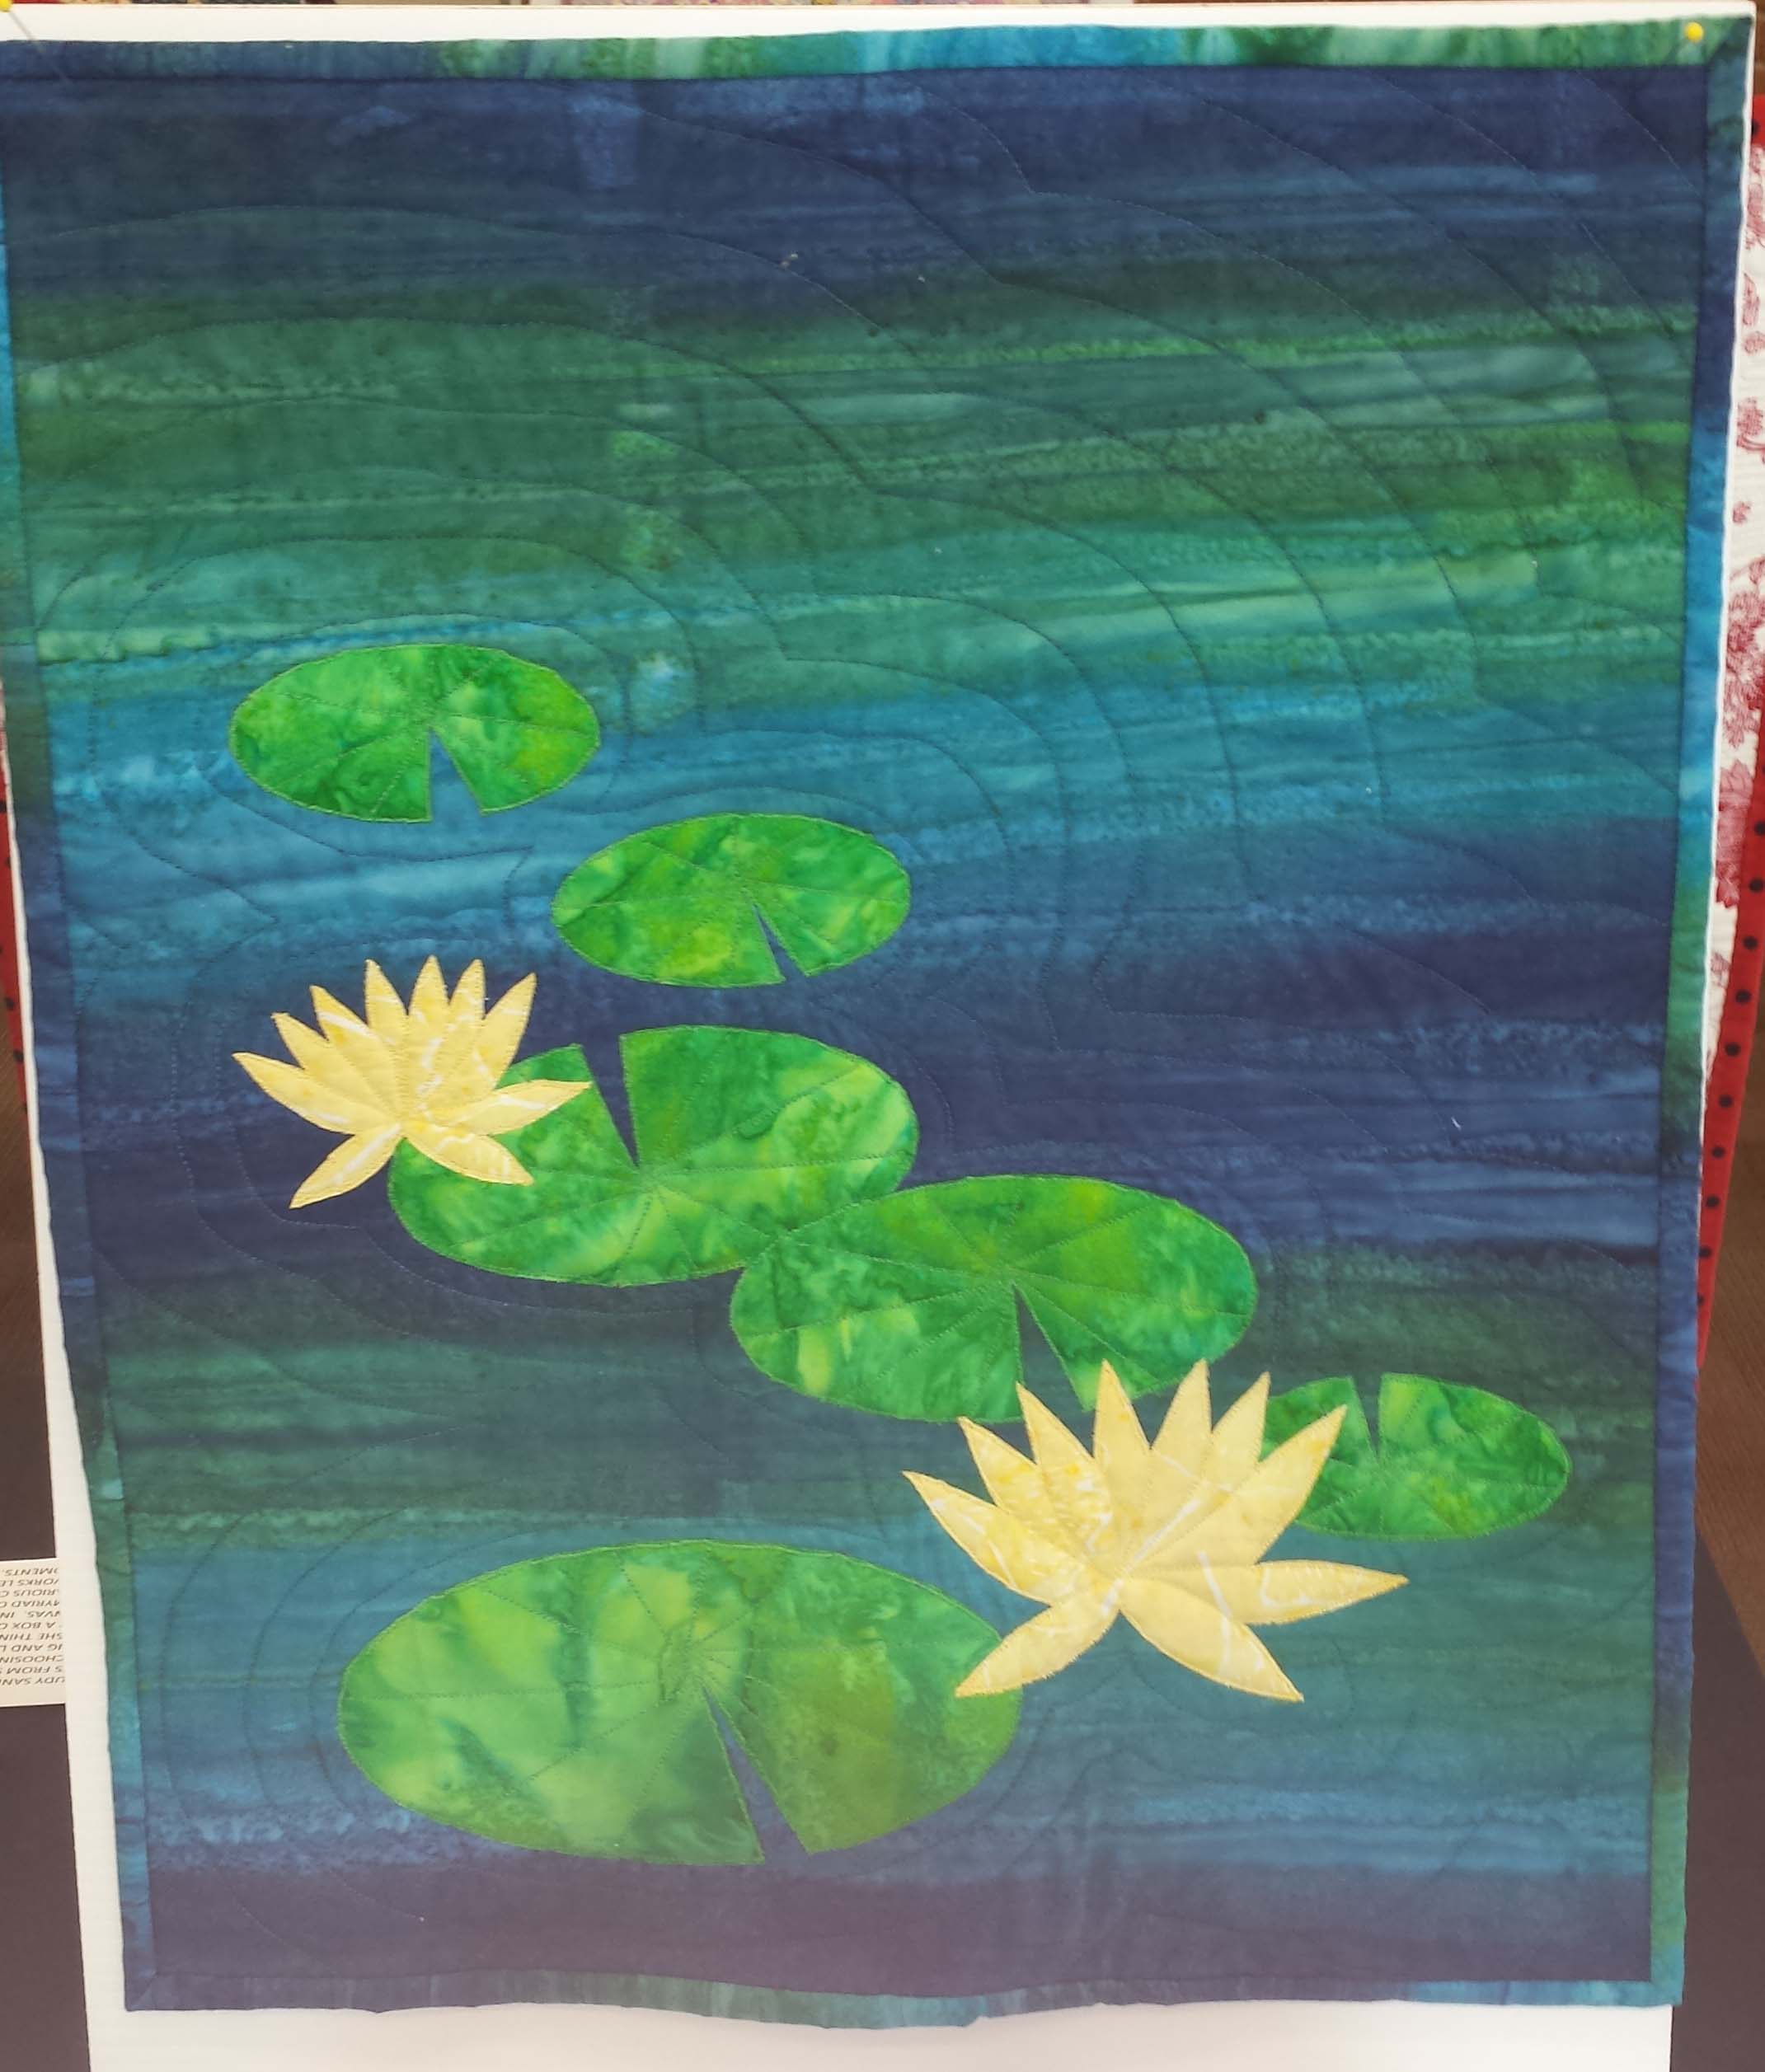
There were beautiful floating blocks.

qsfloatingblocks

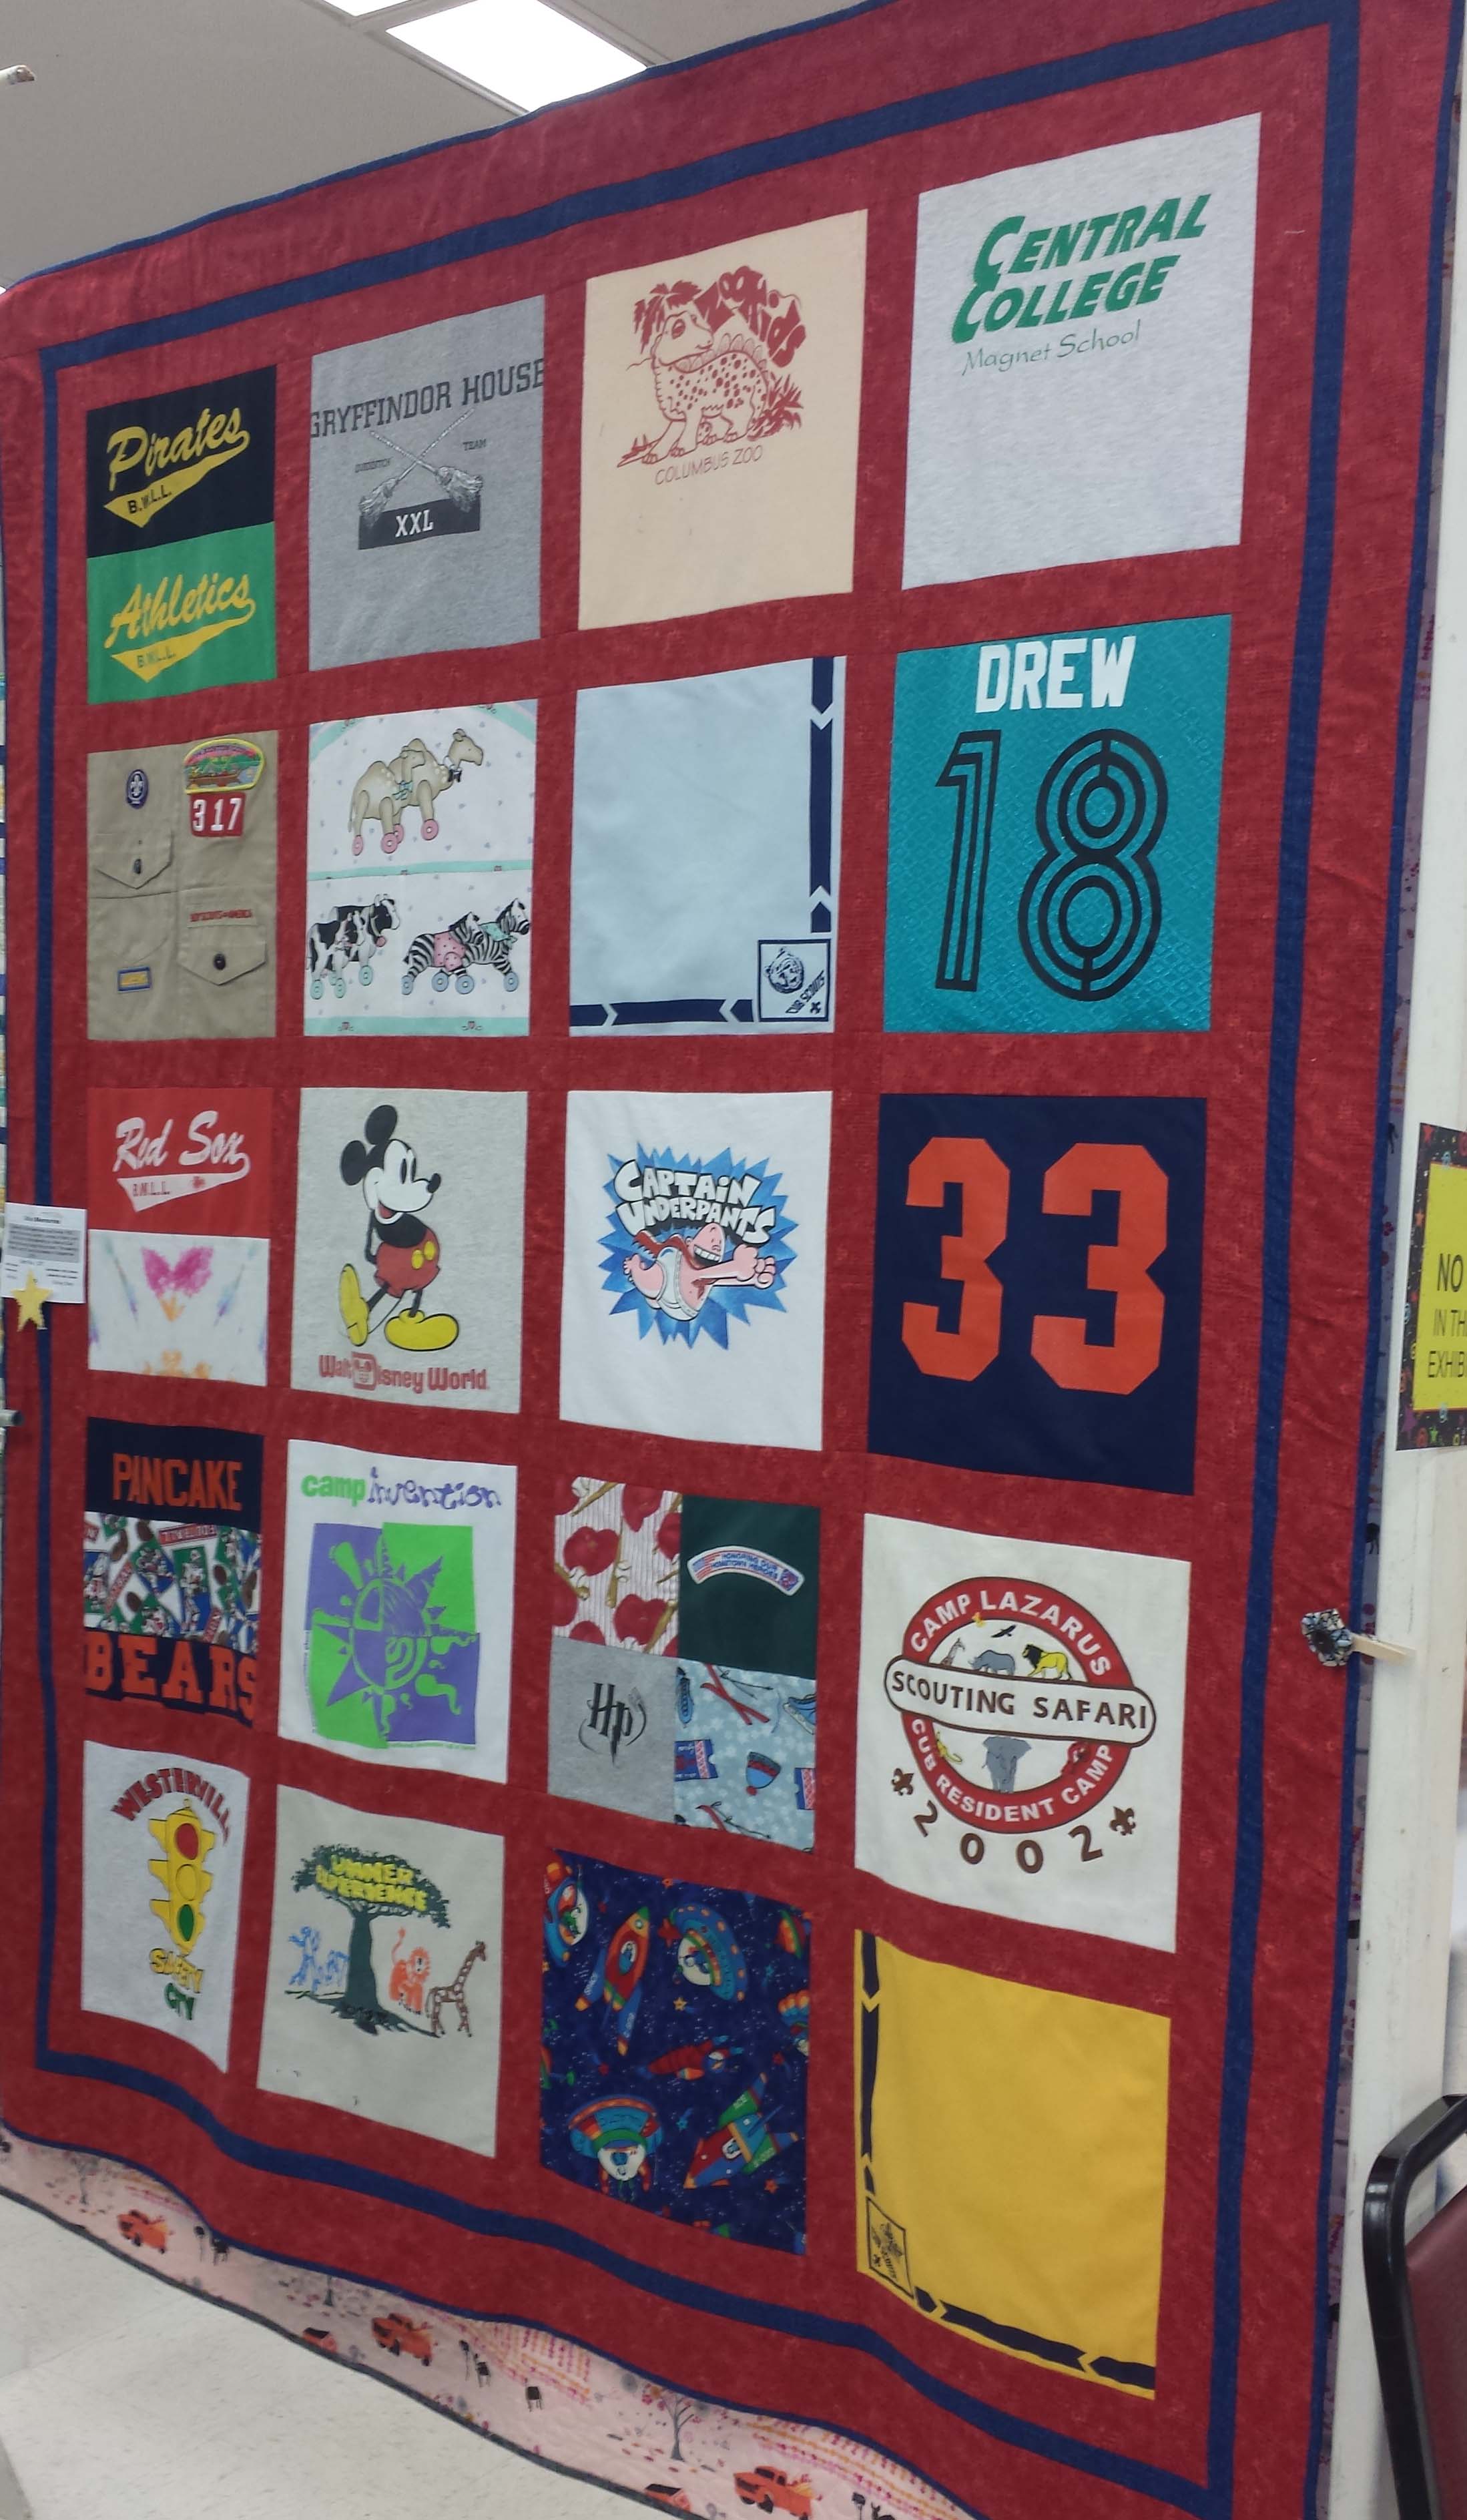
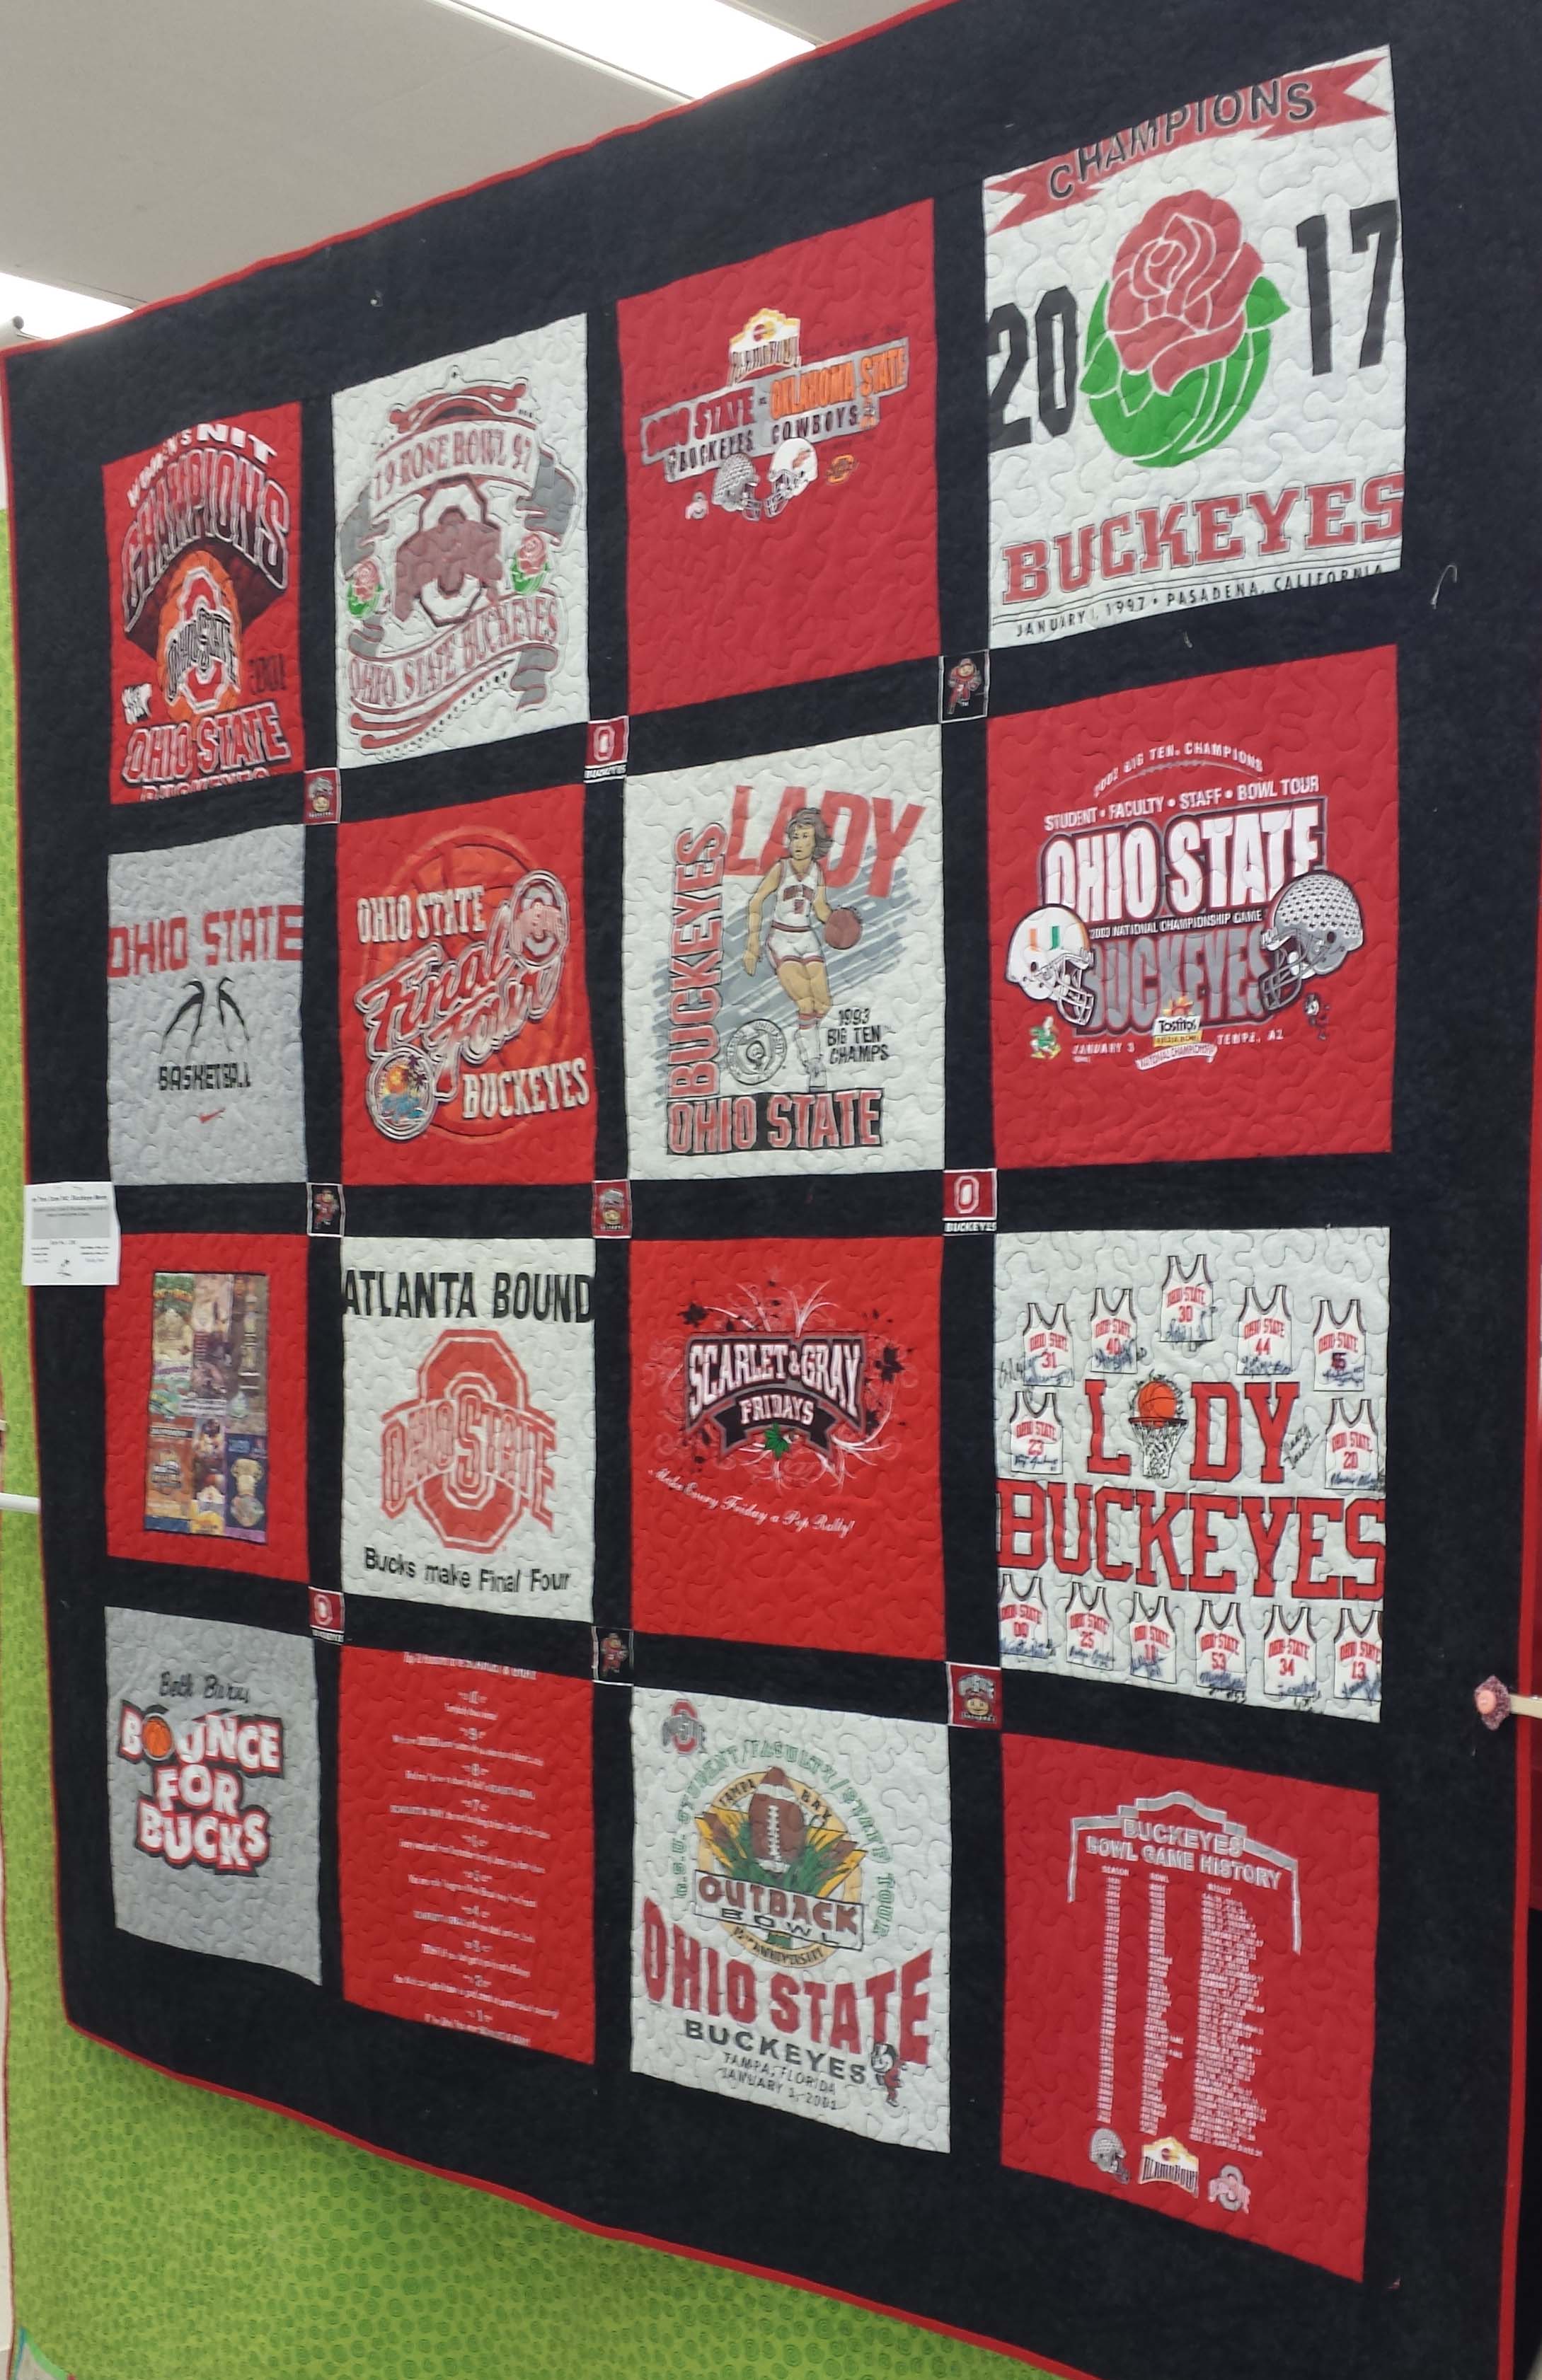
A few t-shirt quilts that I spent time admiring.

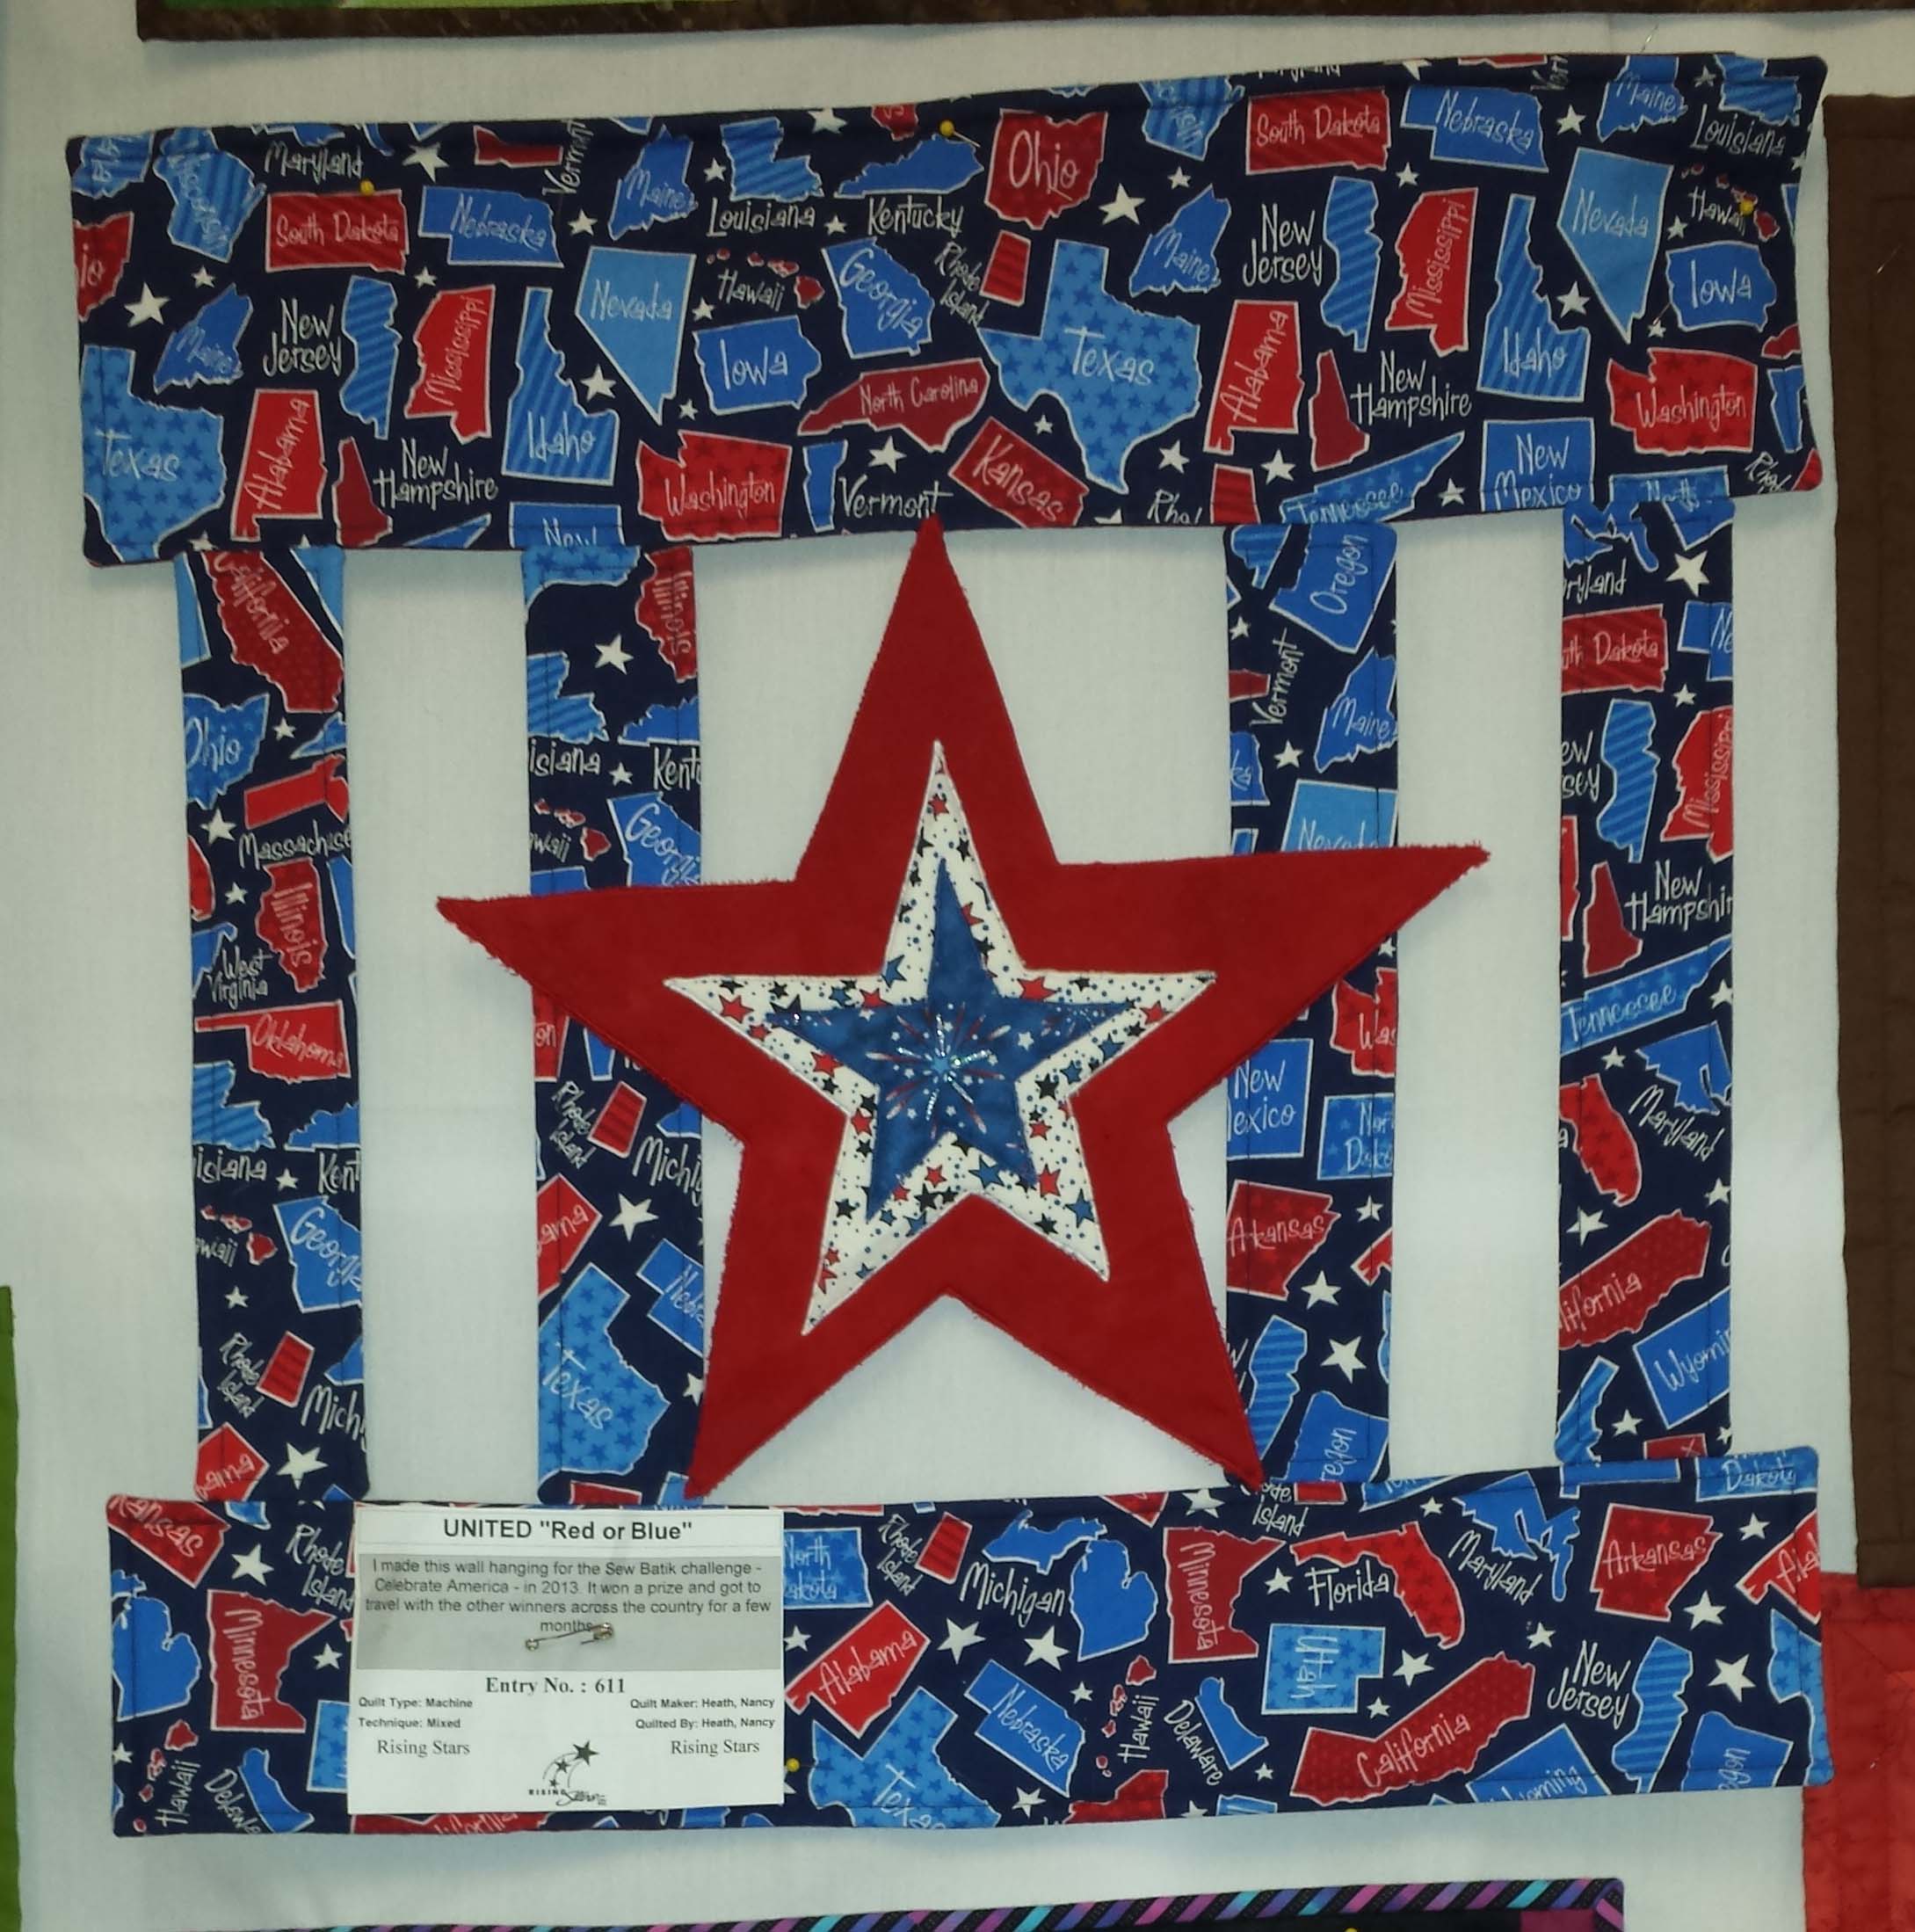
A few more mini quilts..I have a special place in my  heart for mini quilts.

My absolute favorite is the next one.  It is amazing.  The artist created it for a show that was themed Fantasy Sports.  The Red Dragon is The Ohio State University and the Blue Dragon is Michigan.  They are holding their school signs with their tails.

qsdragon1.jpg

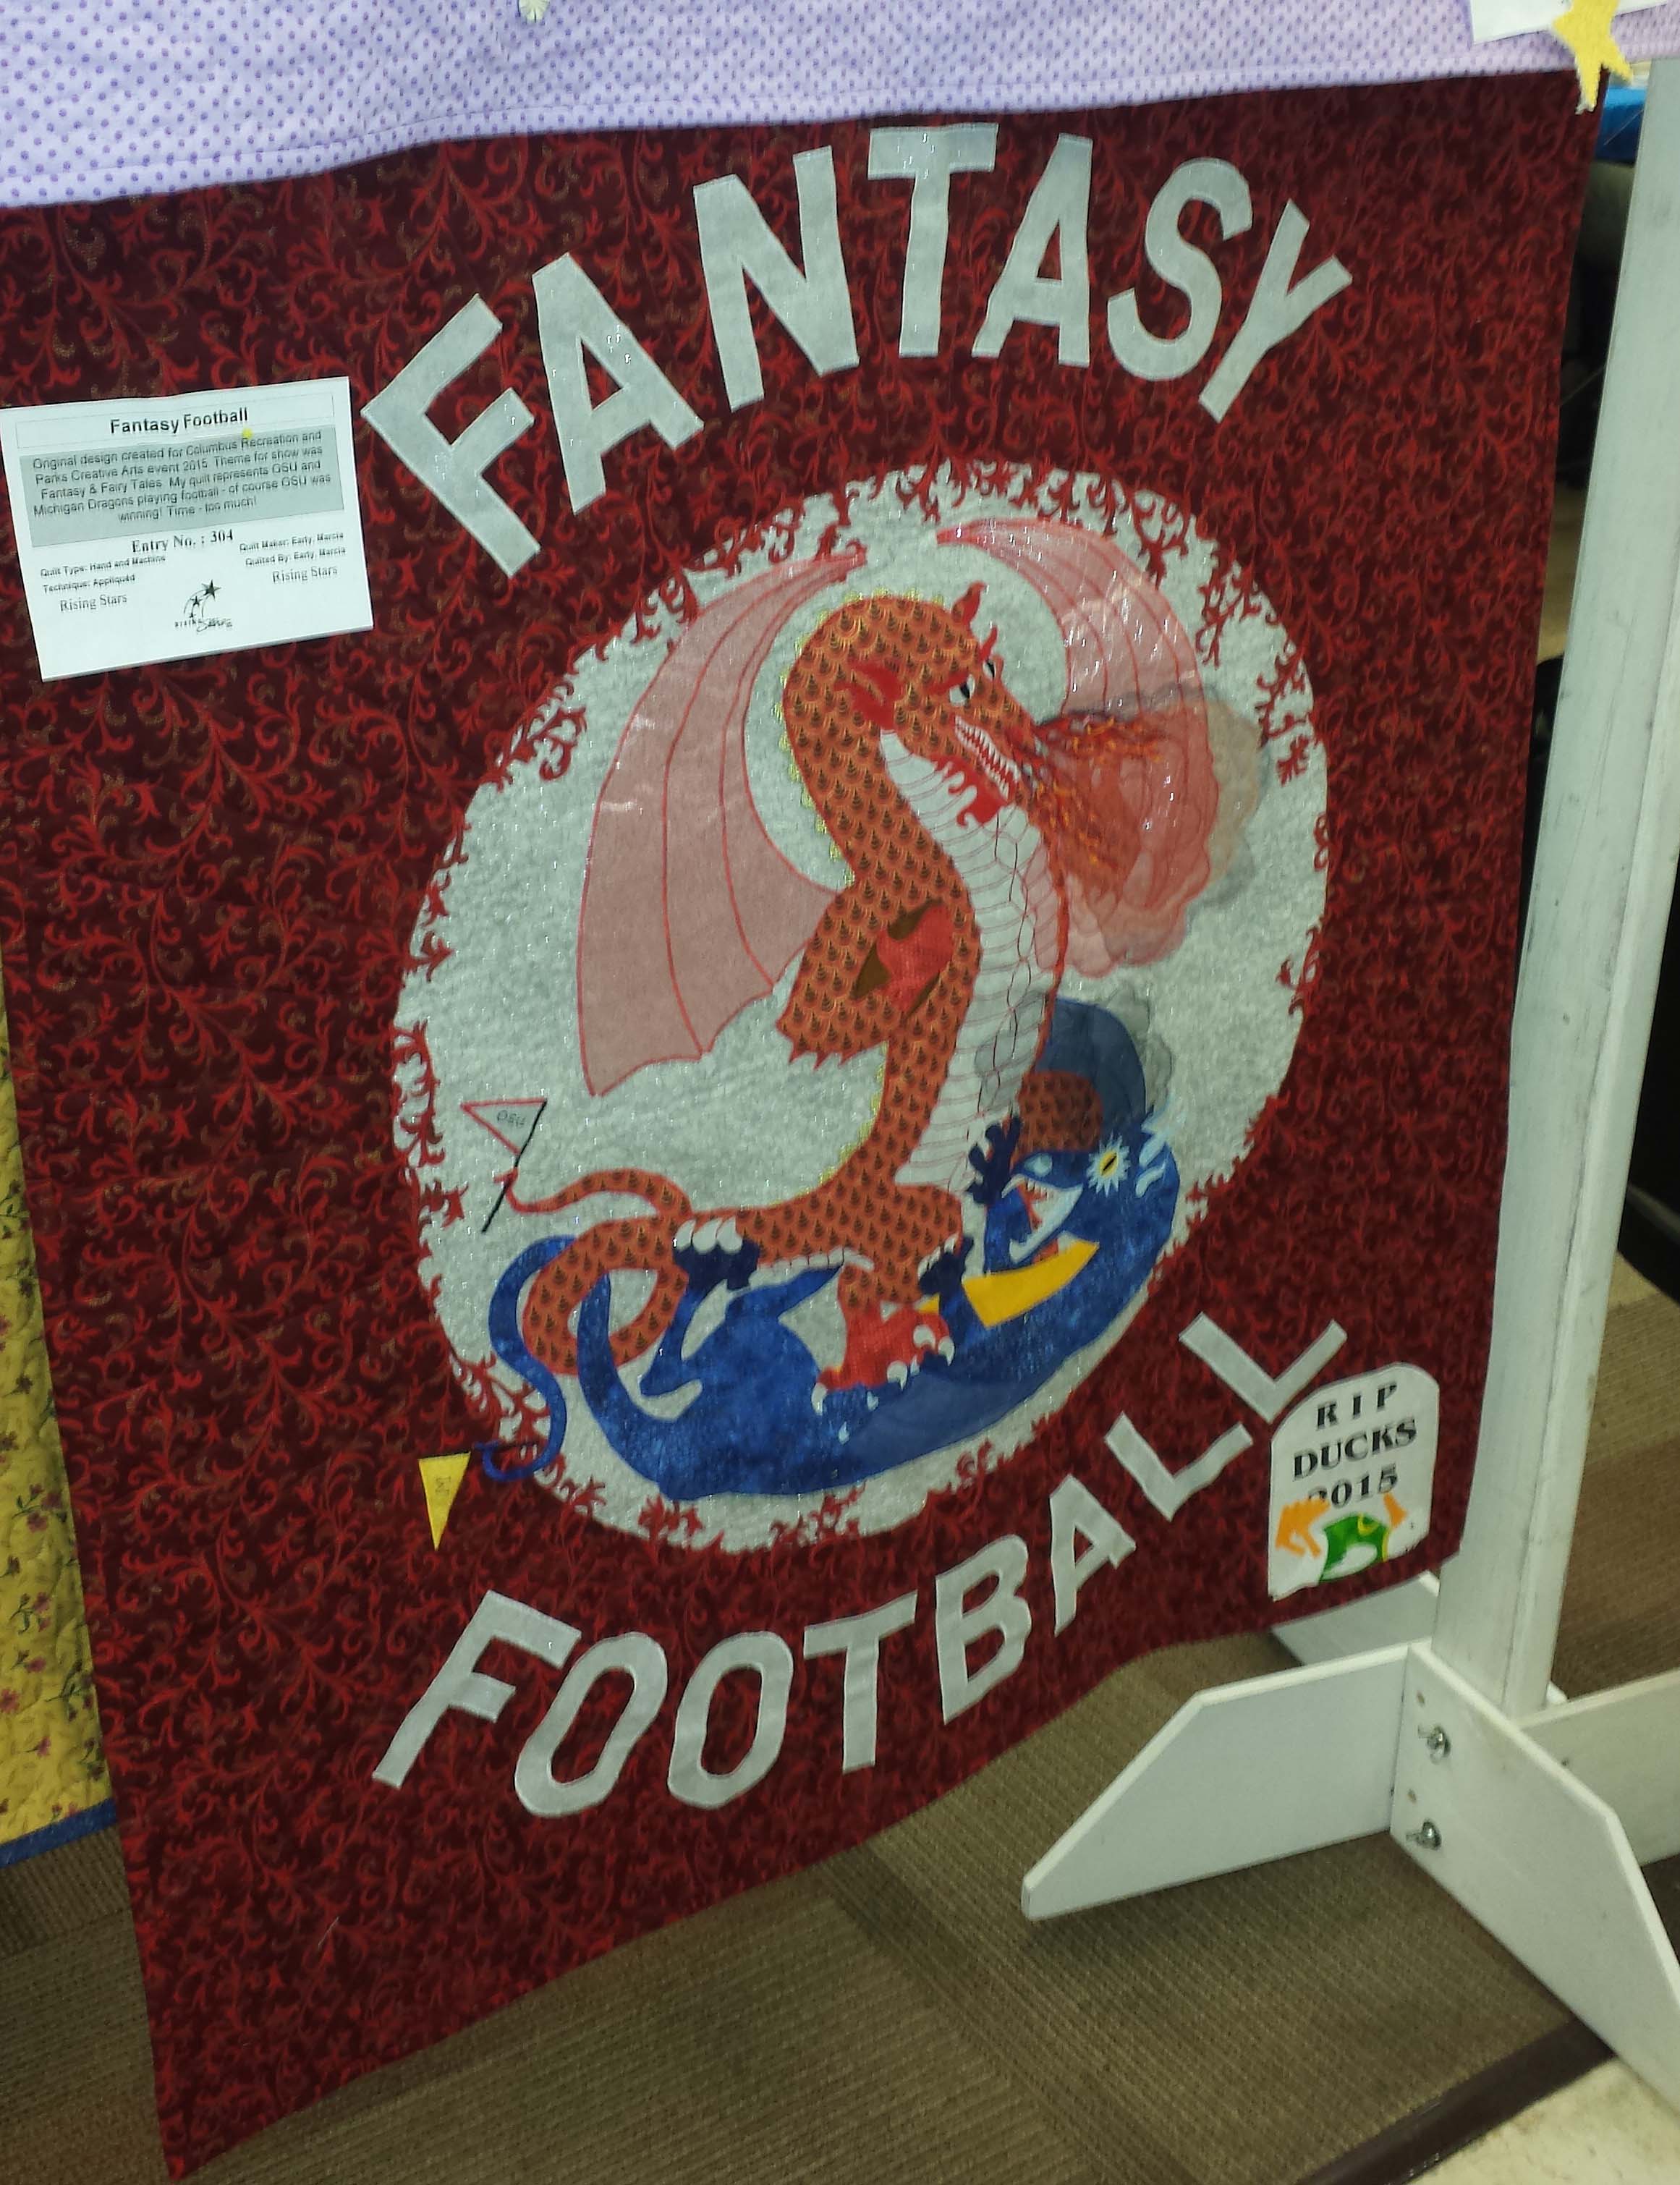
Here is a close up of just the dragons.

qsdragon2.jpg

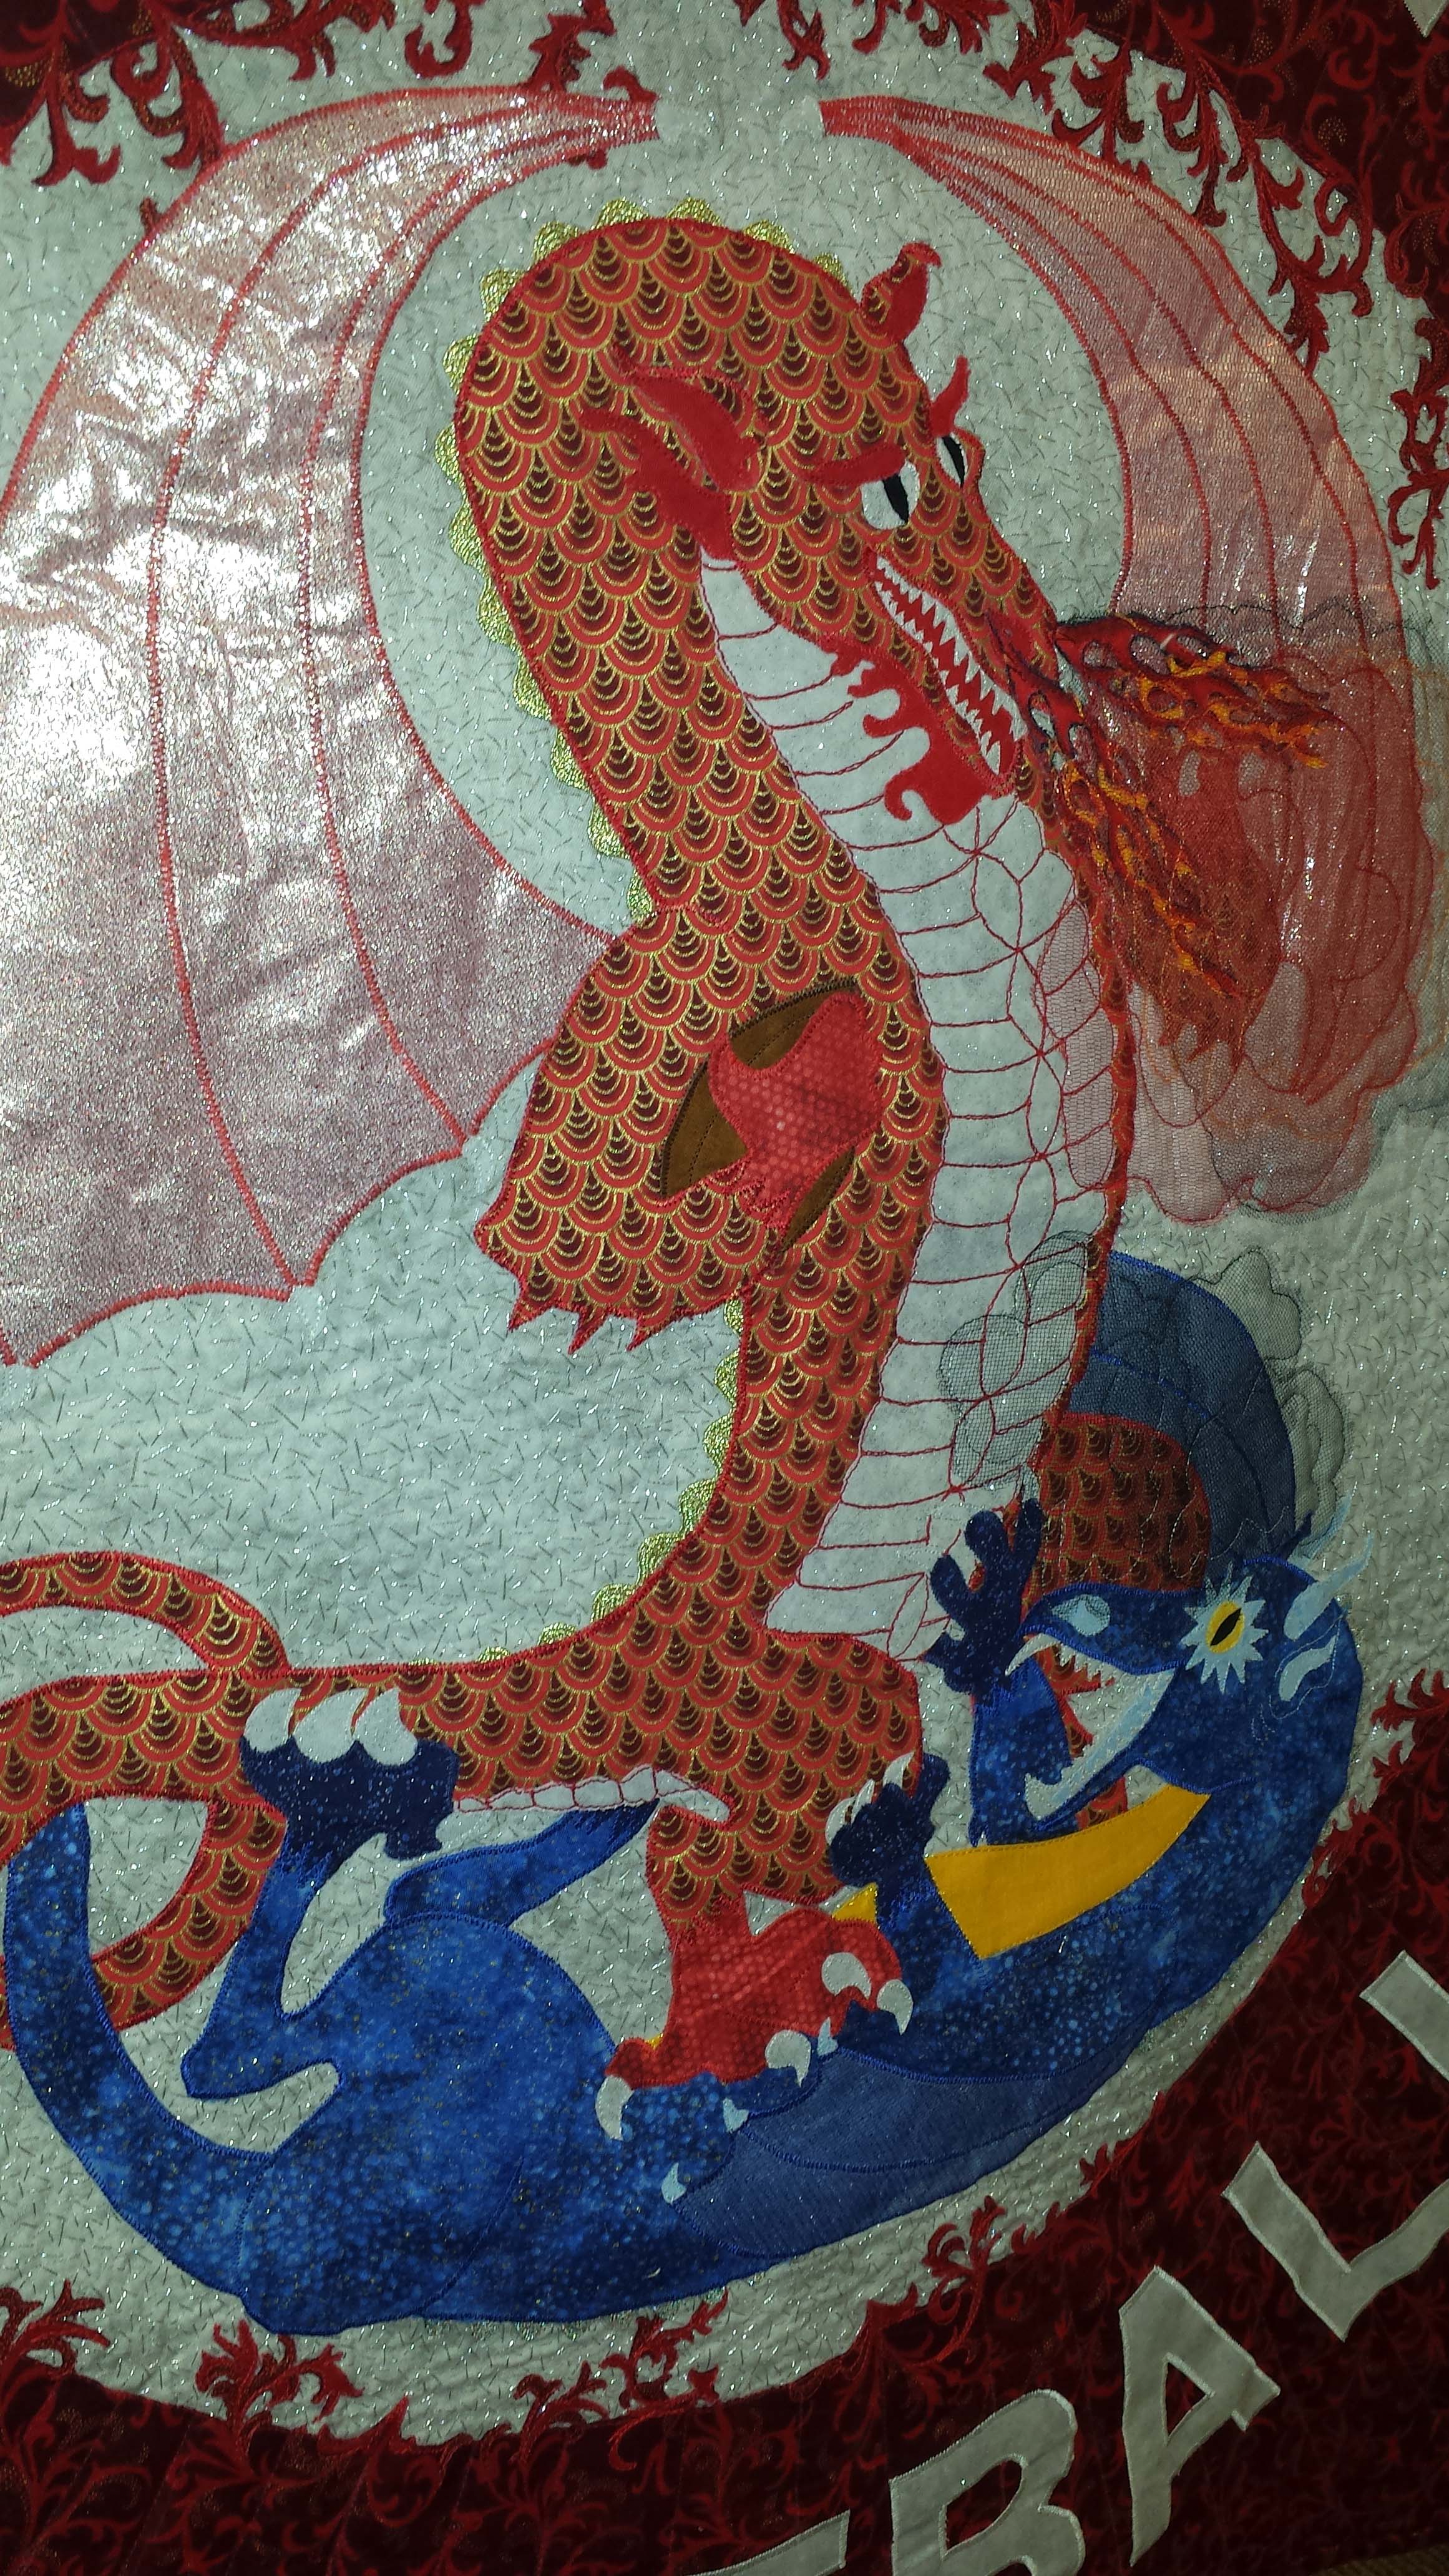
I can’t get over all the details!  I’m just in love.

Of course I spent some time shopping, too!  There were a few vendors and a garage sale from the members of the quilting society running the show.

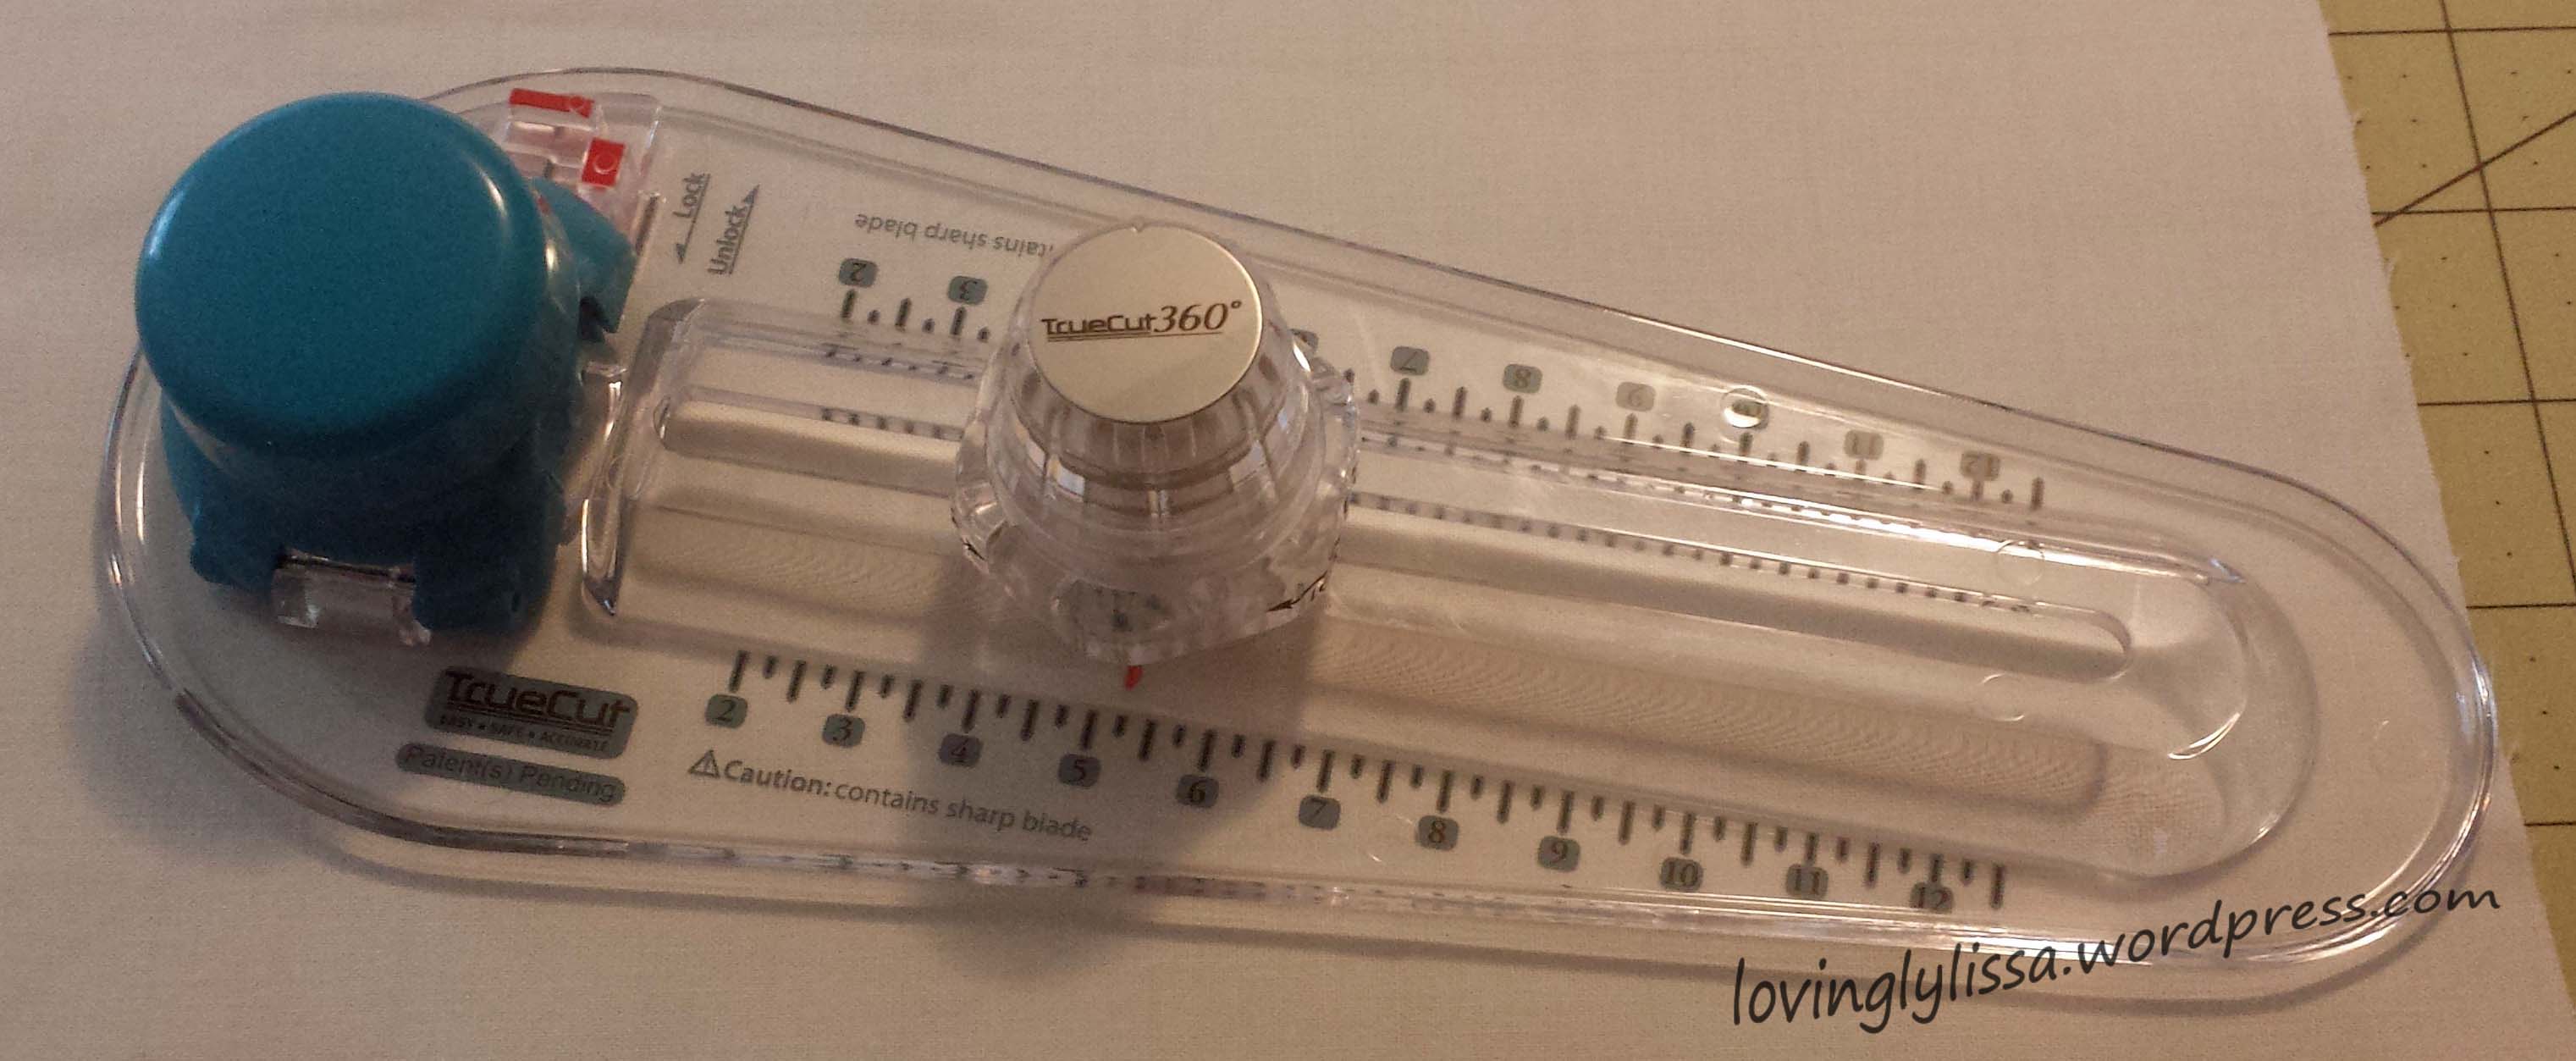
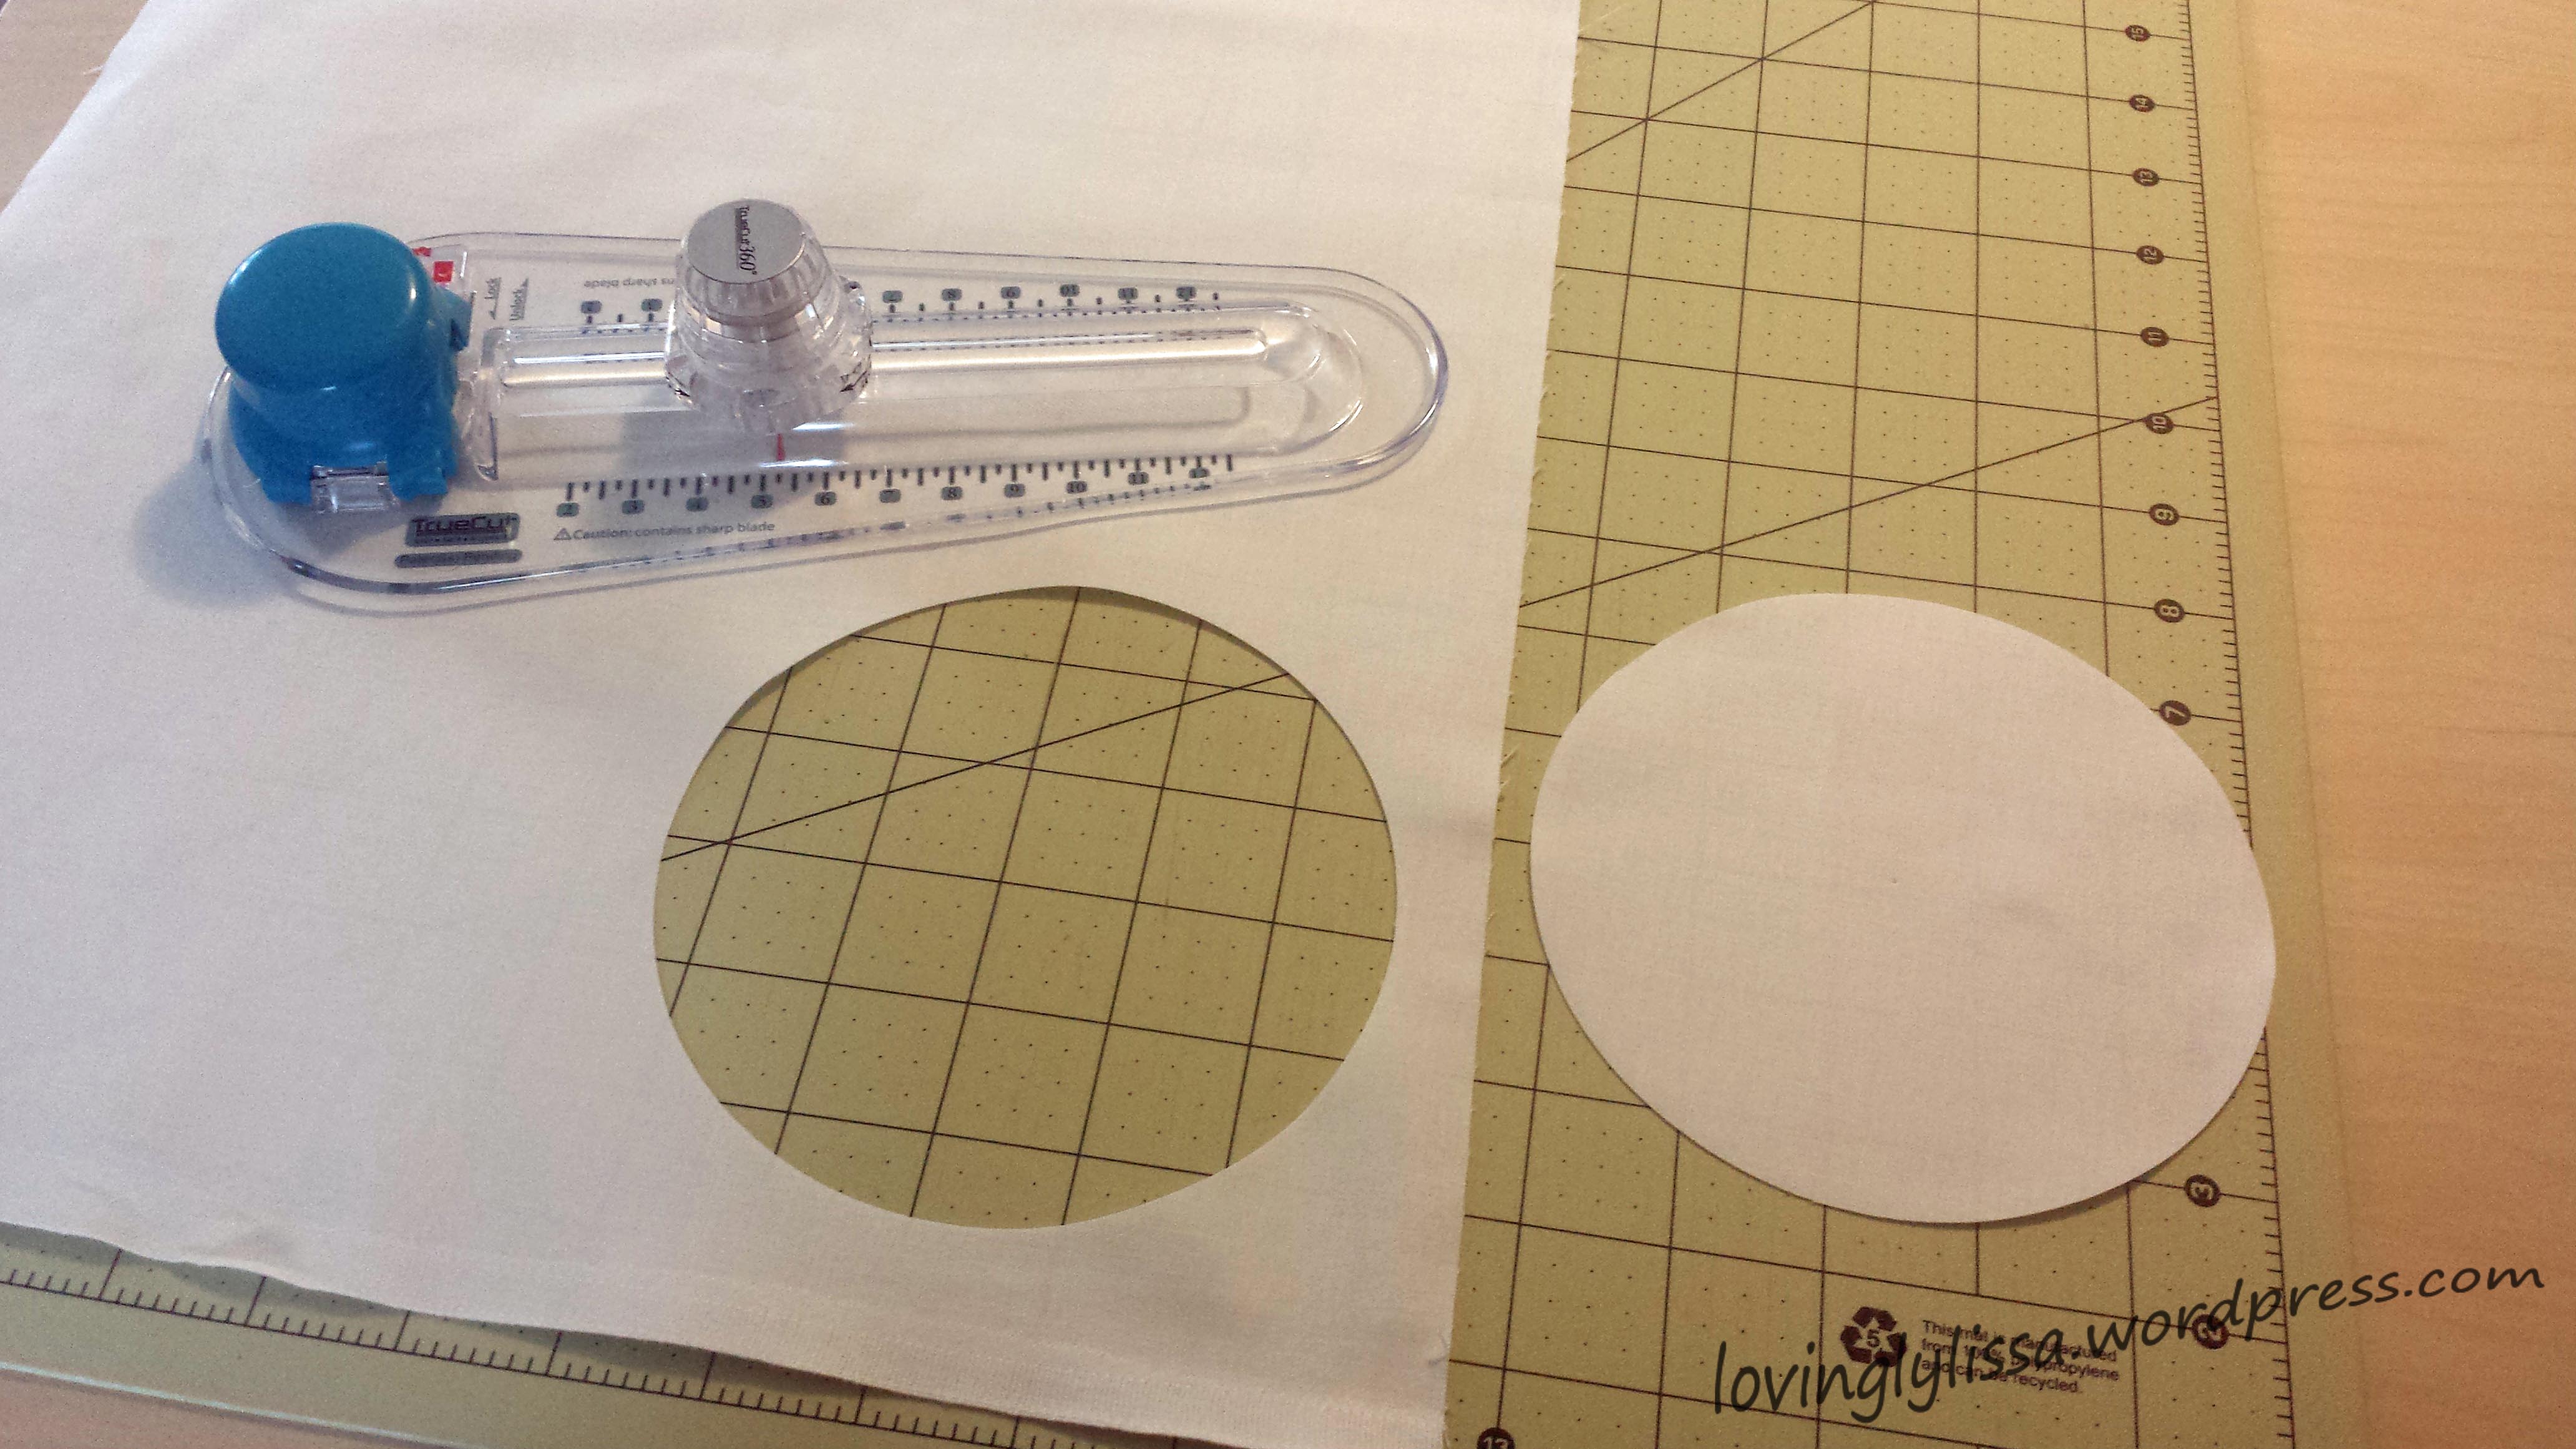
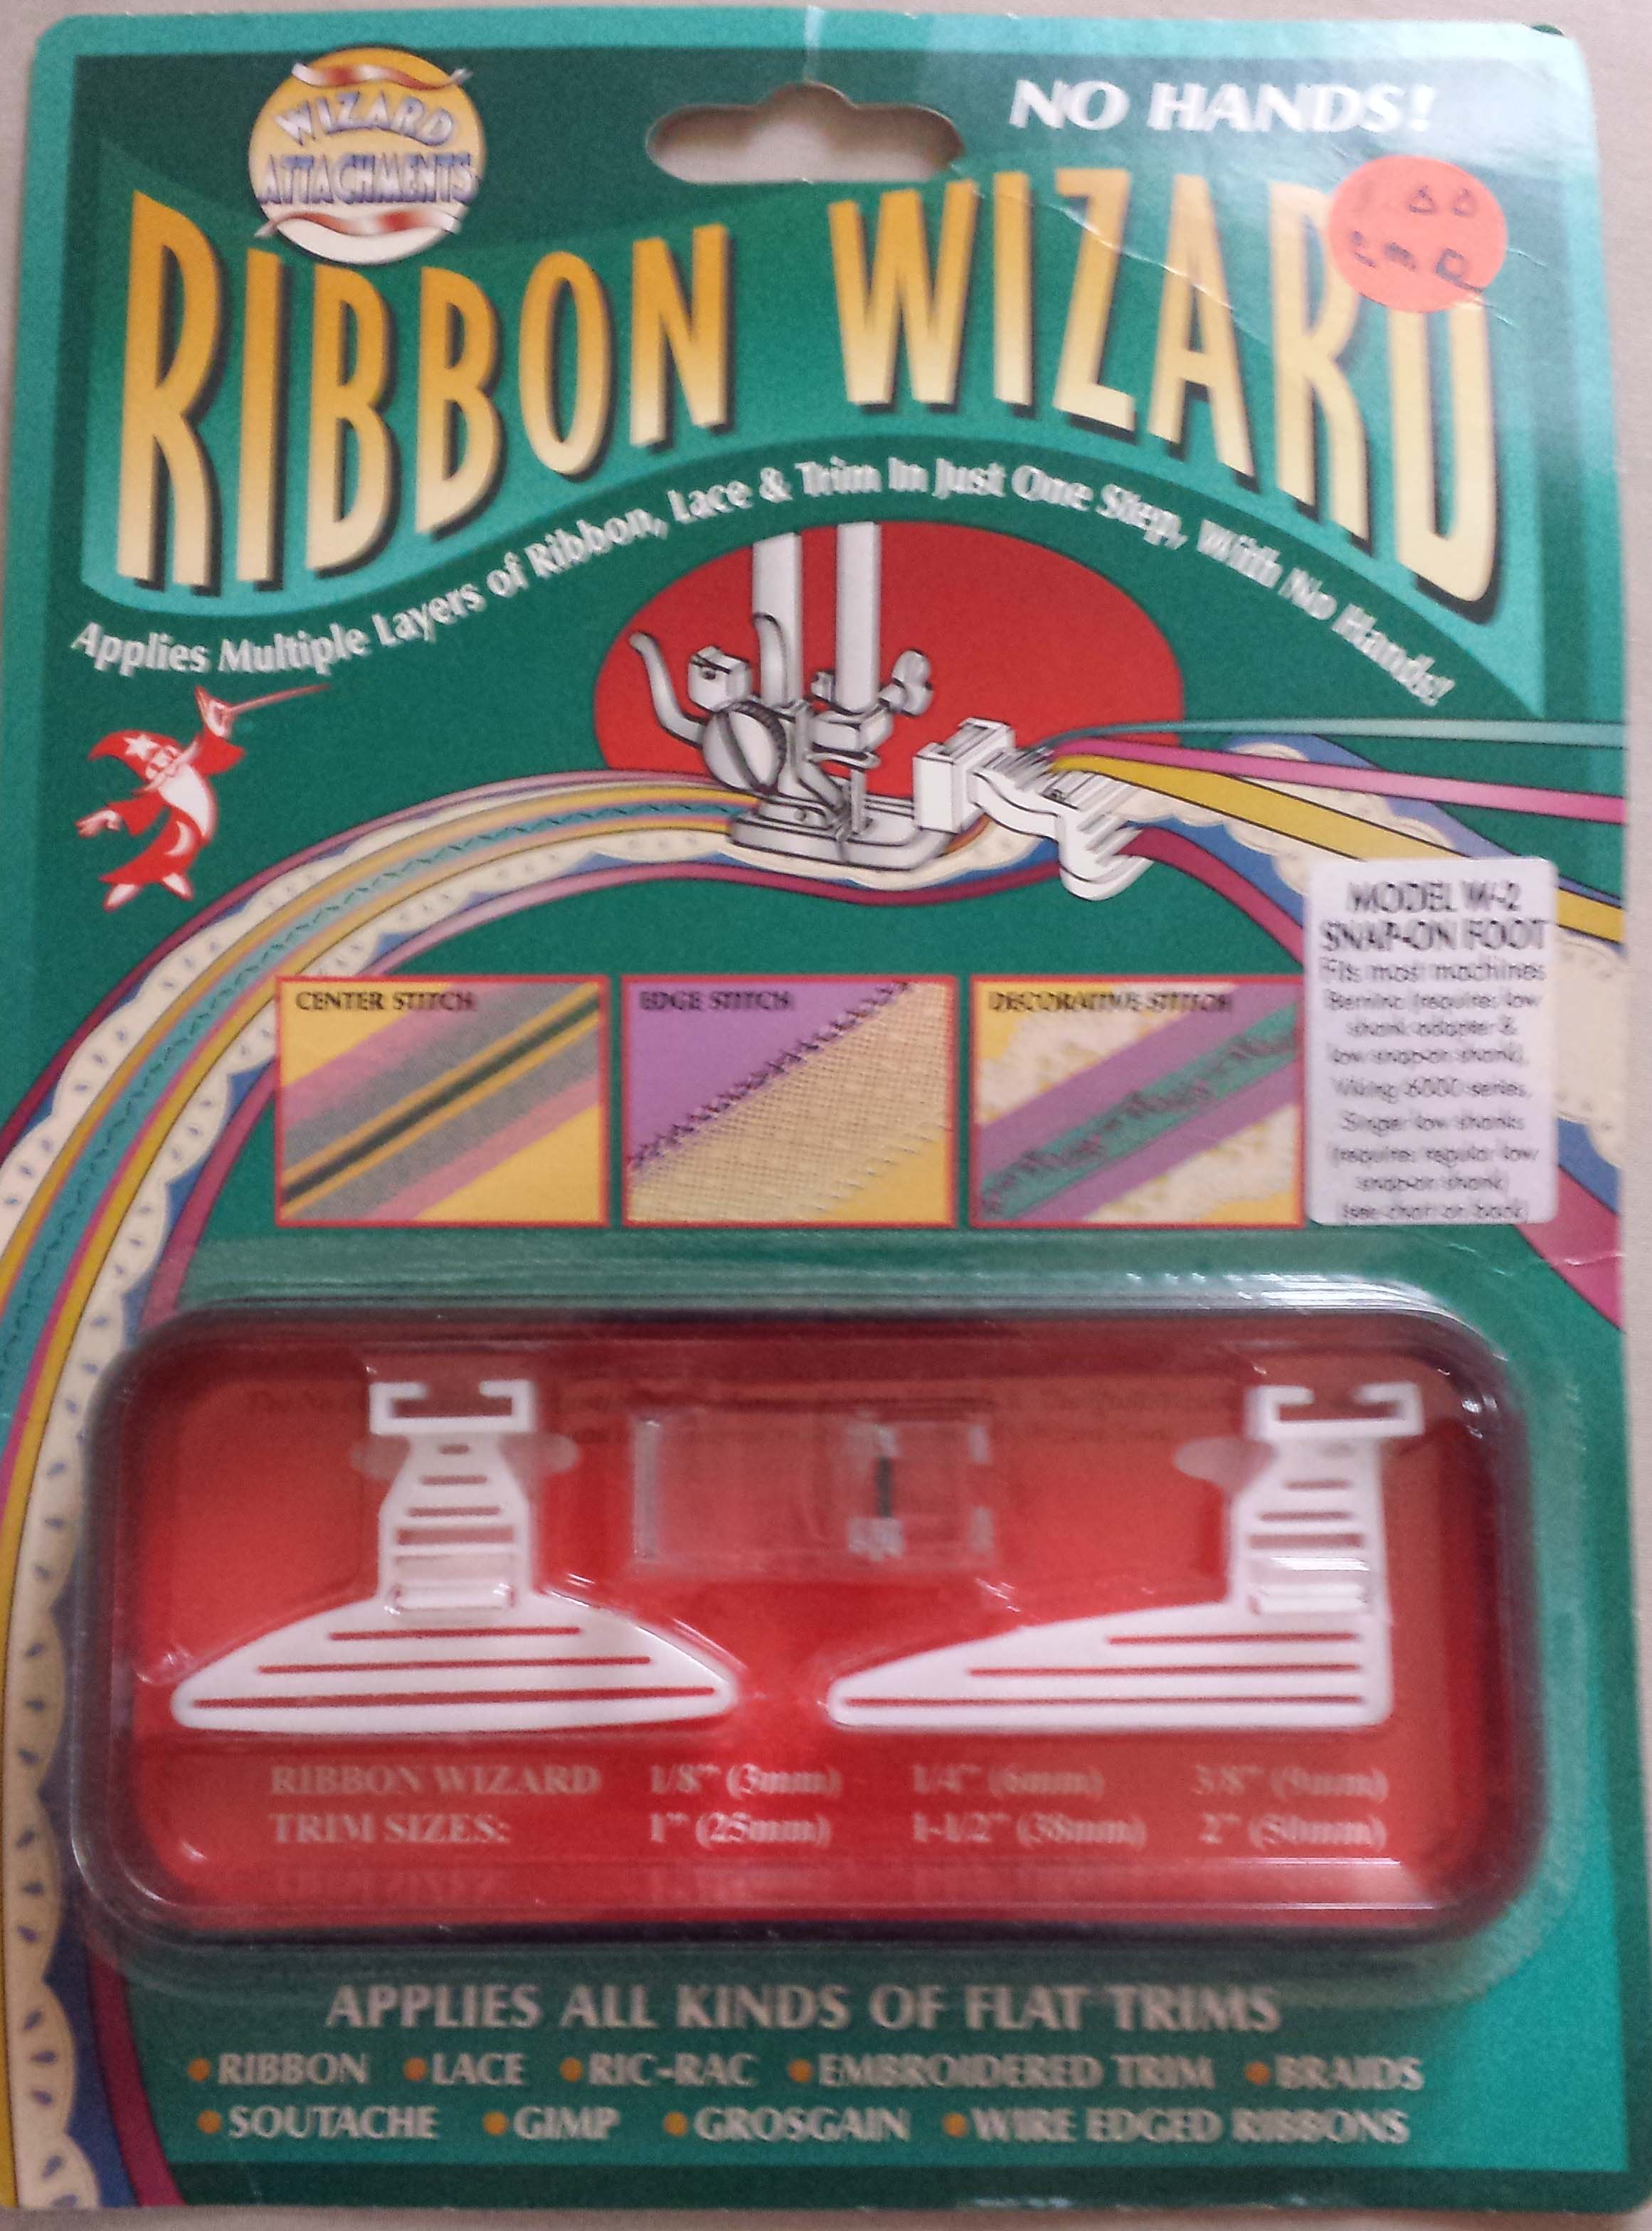
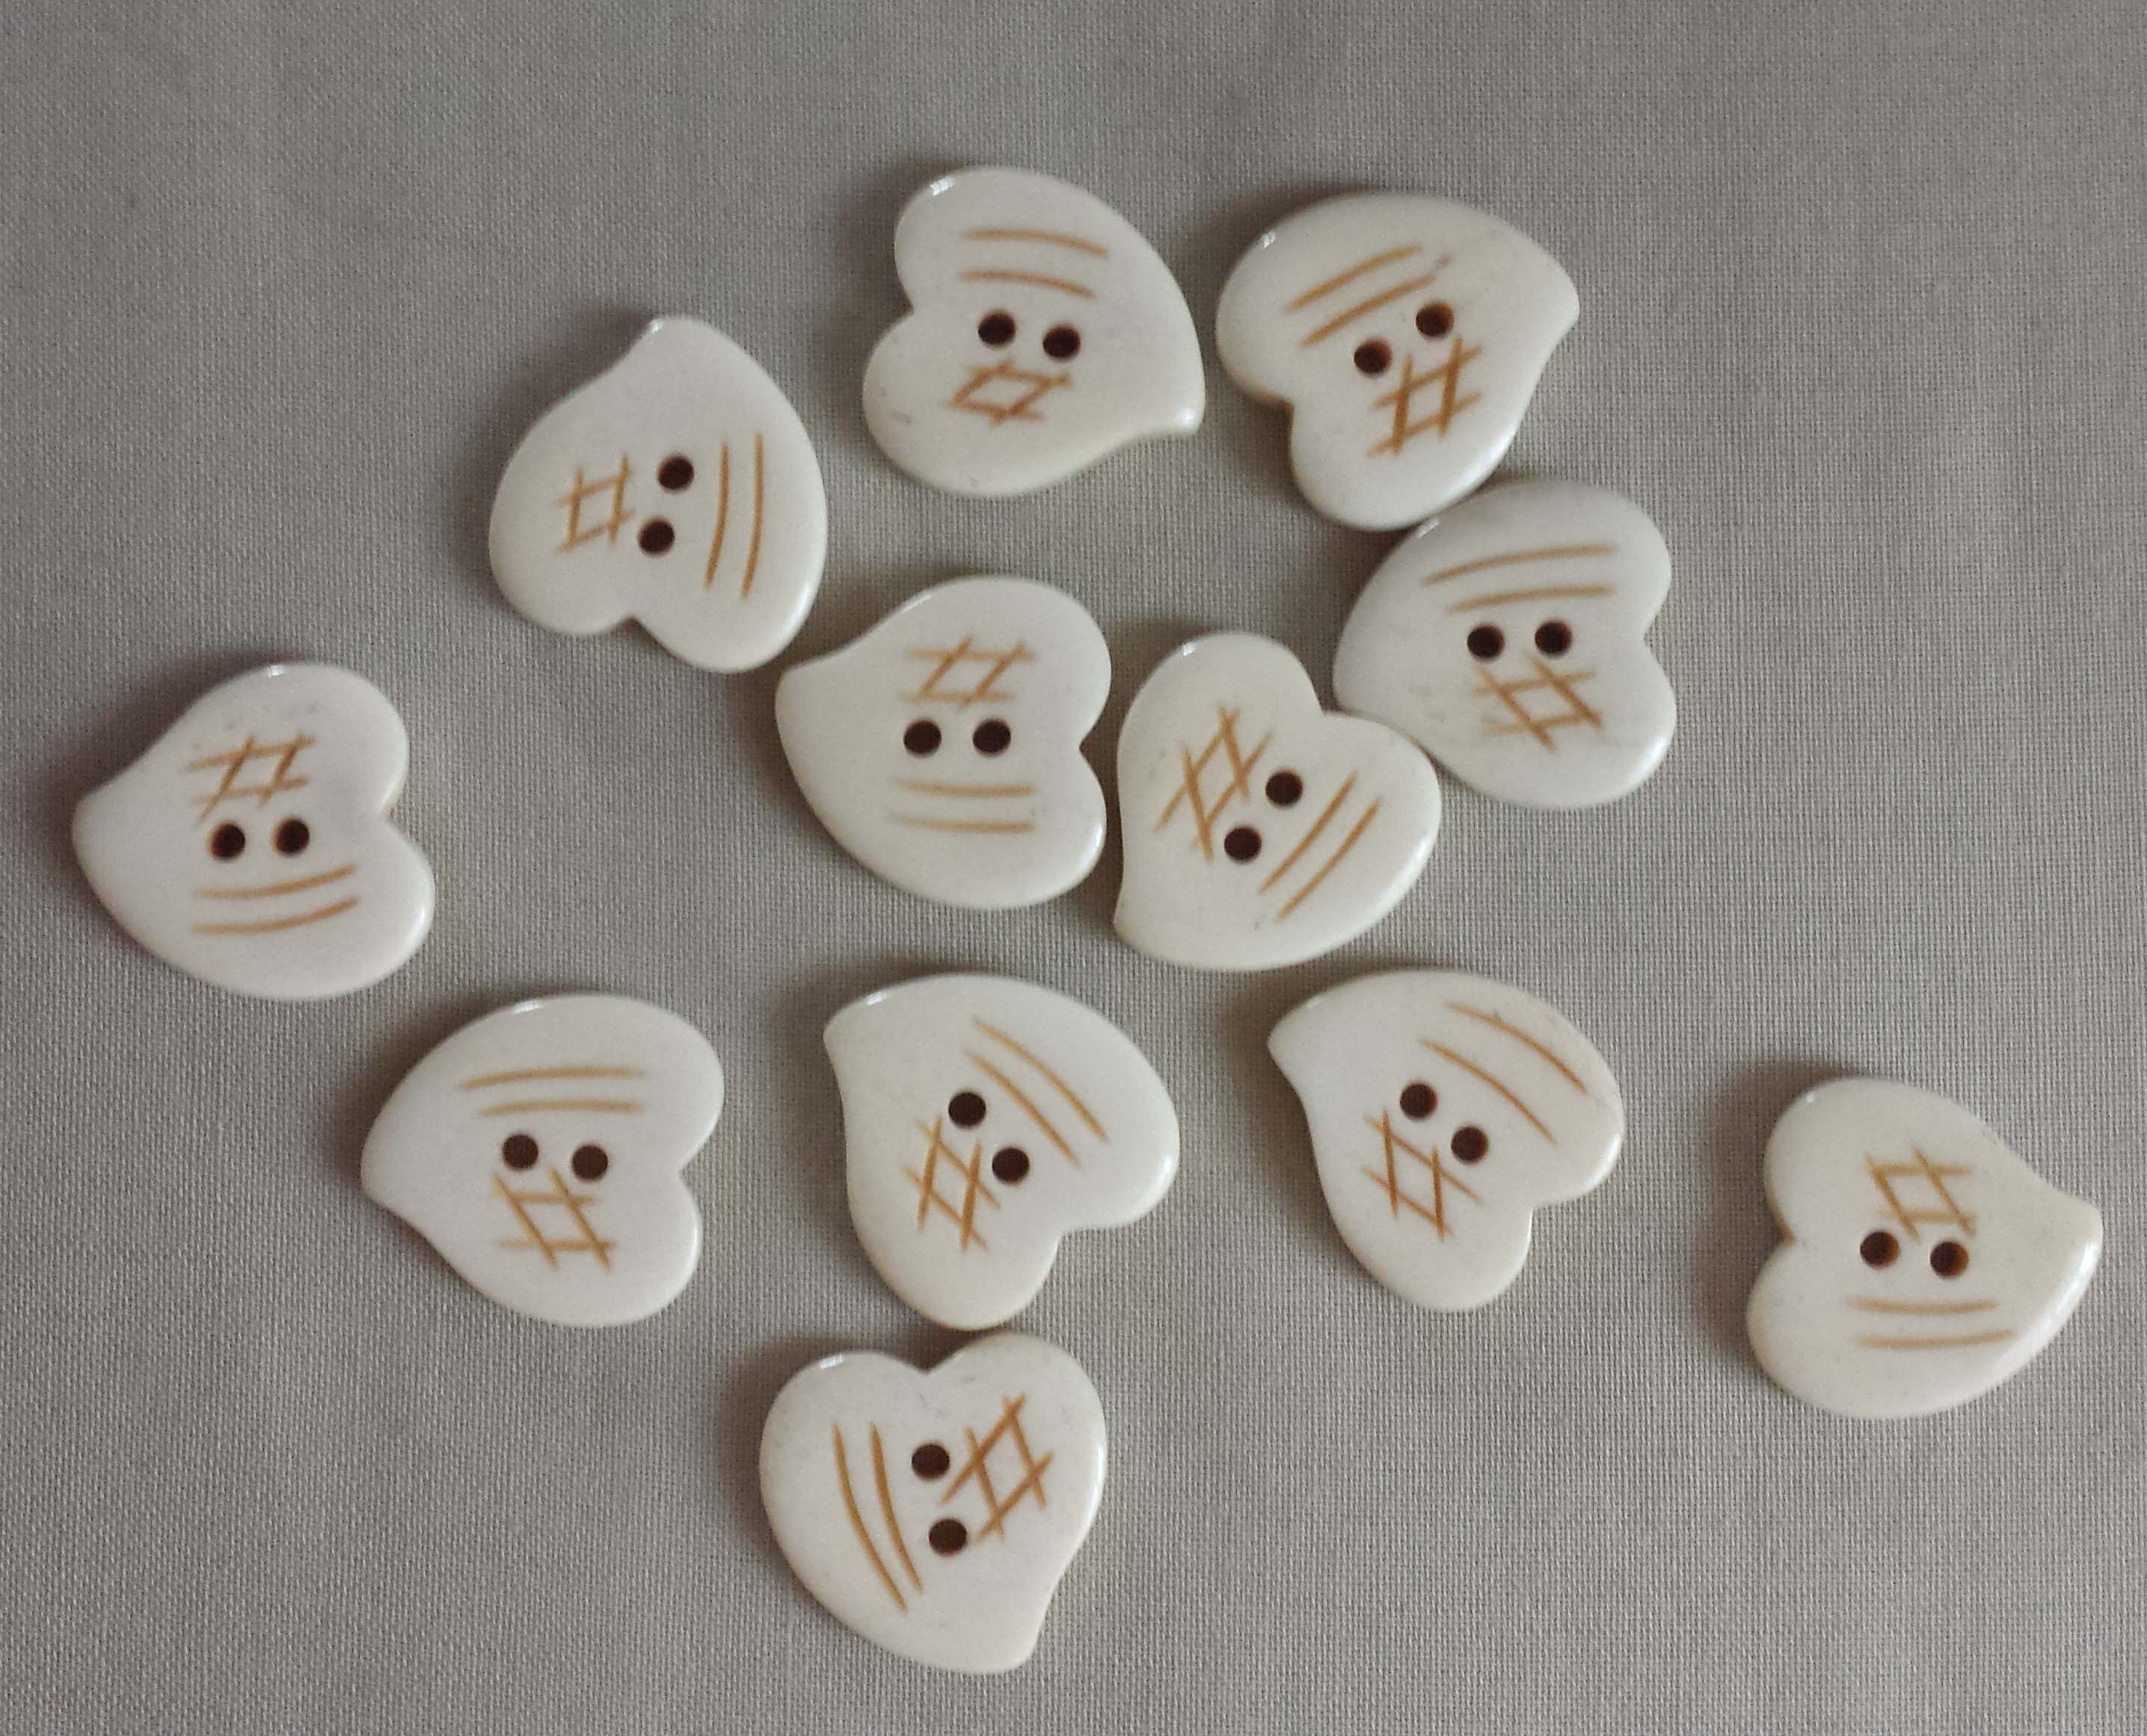
I purchased an interesting looking tool and beautiful buttons (I see more pincushions in my future)


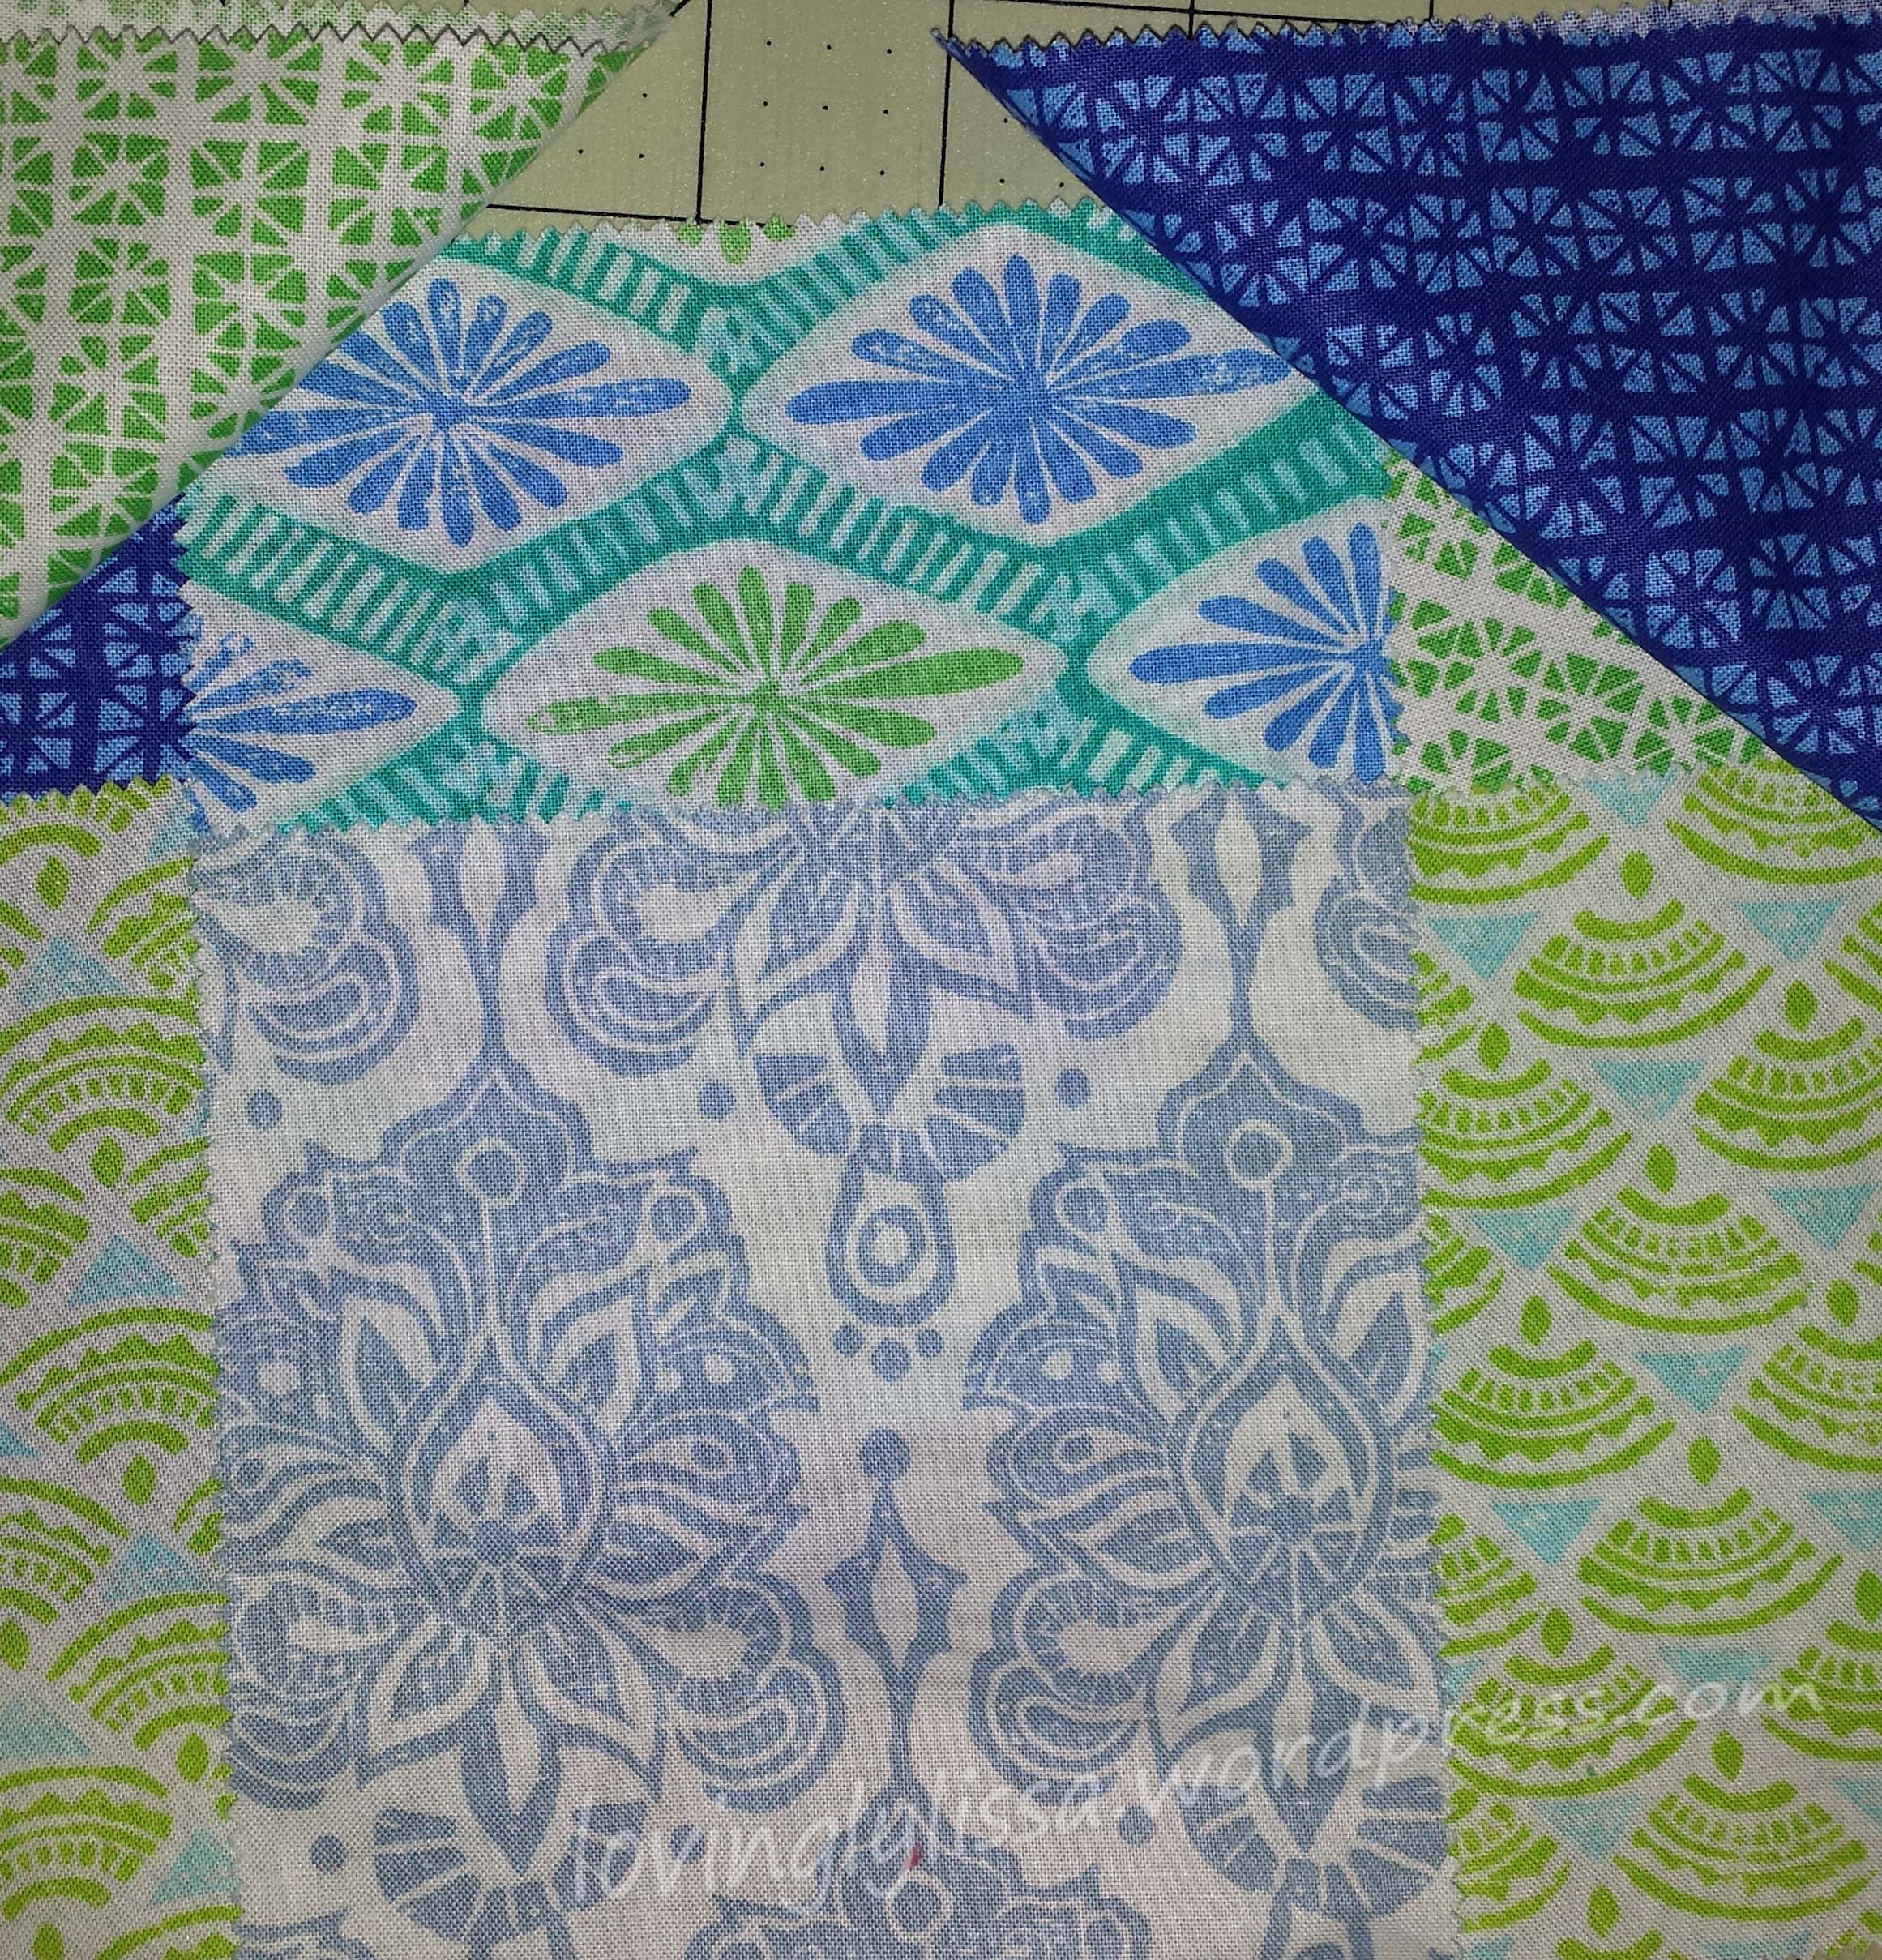
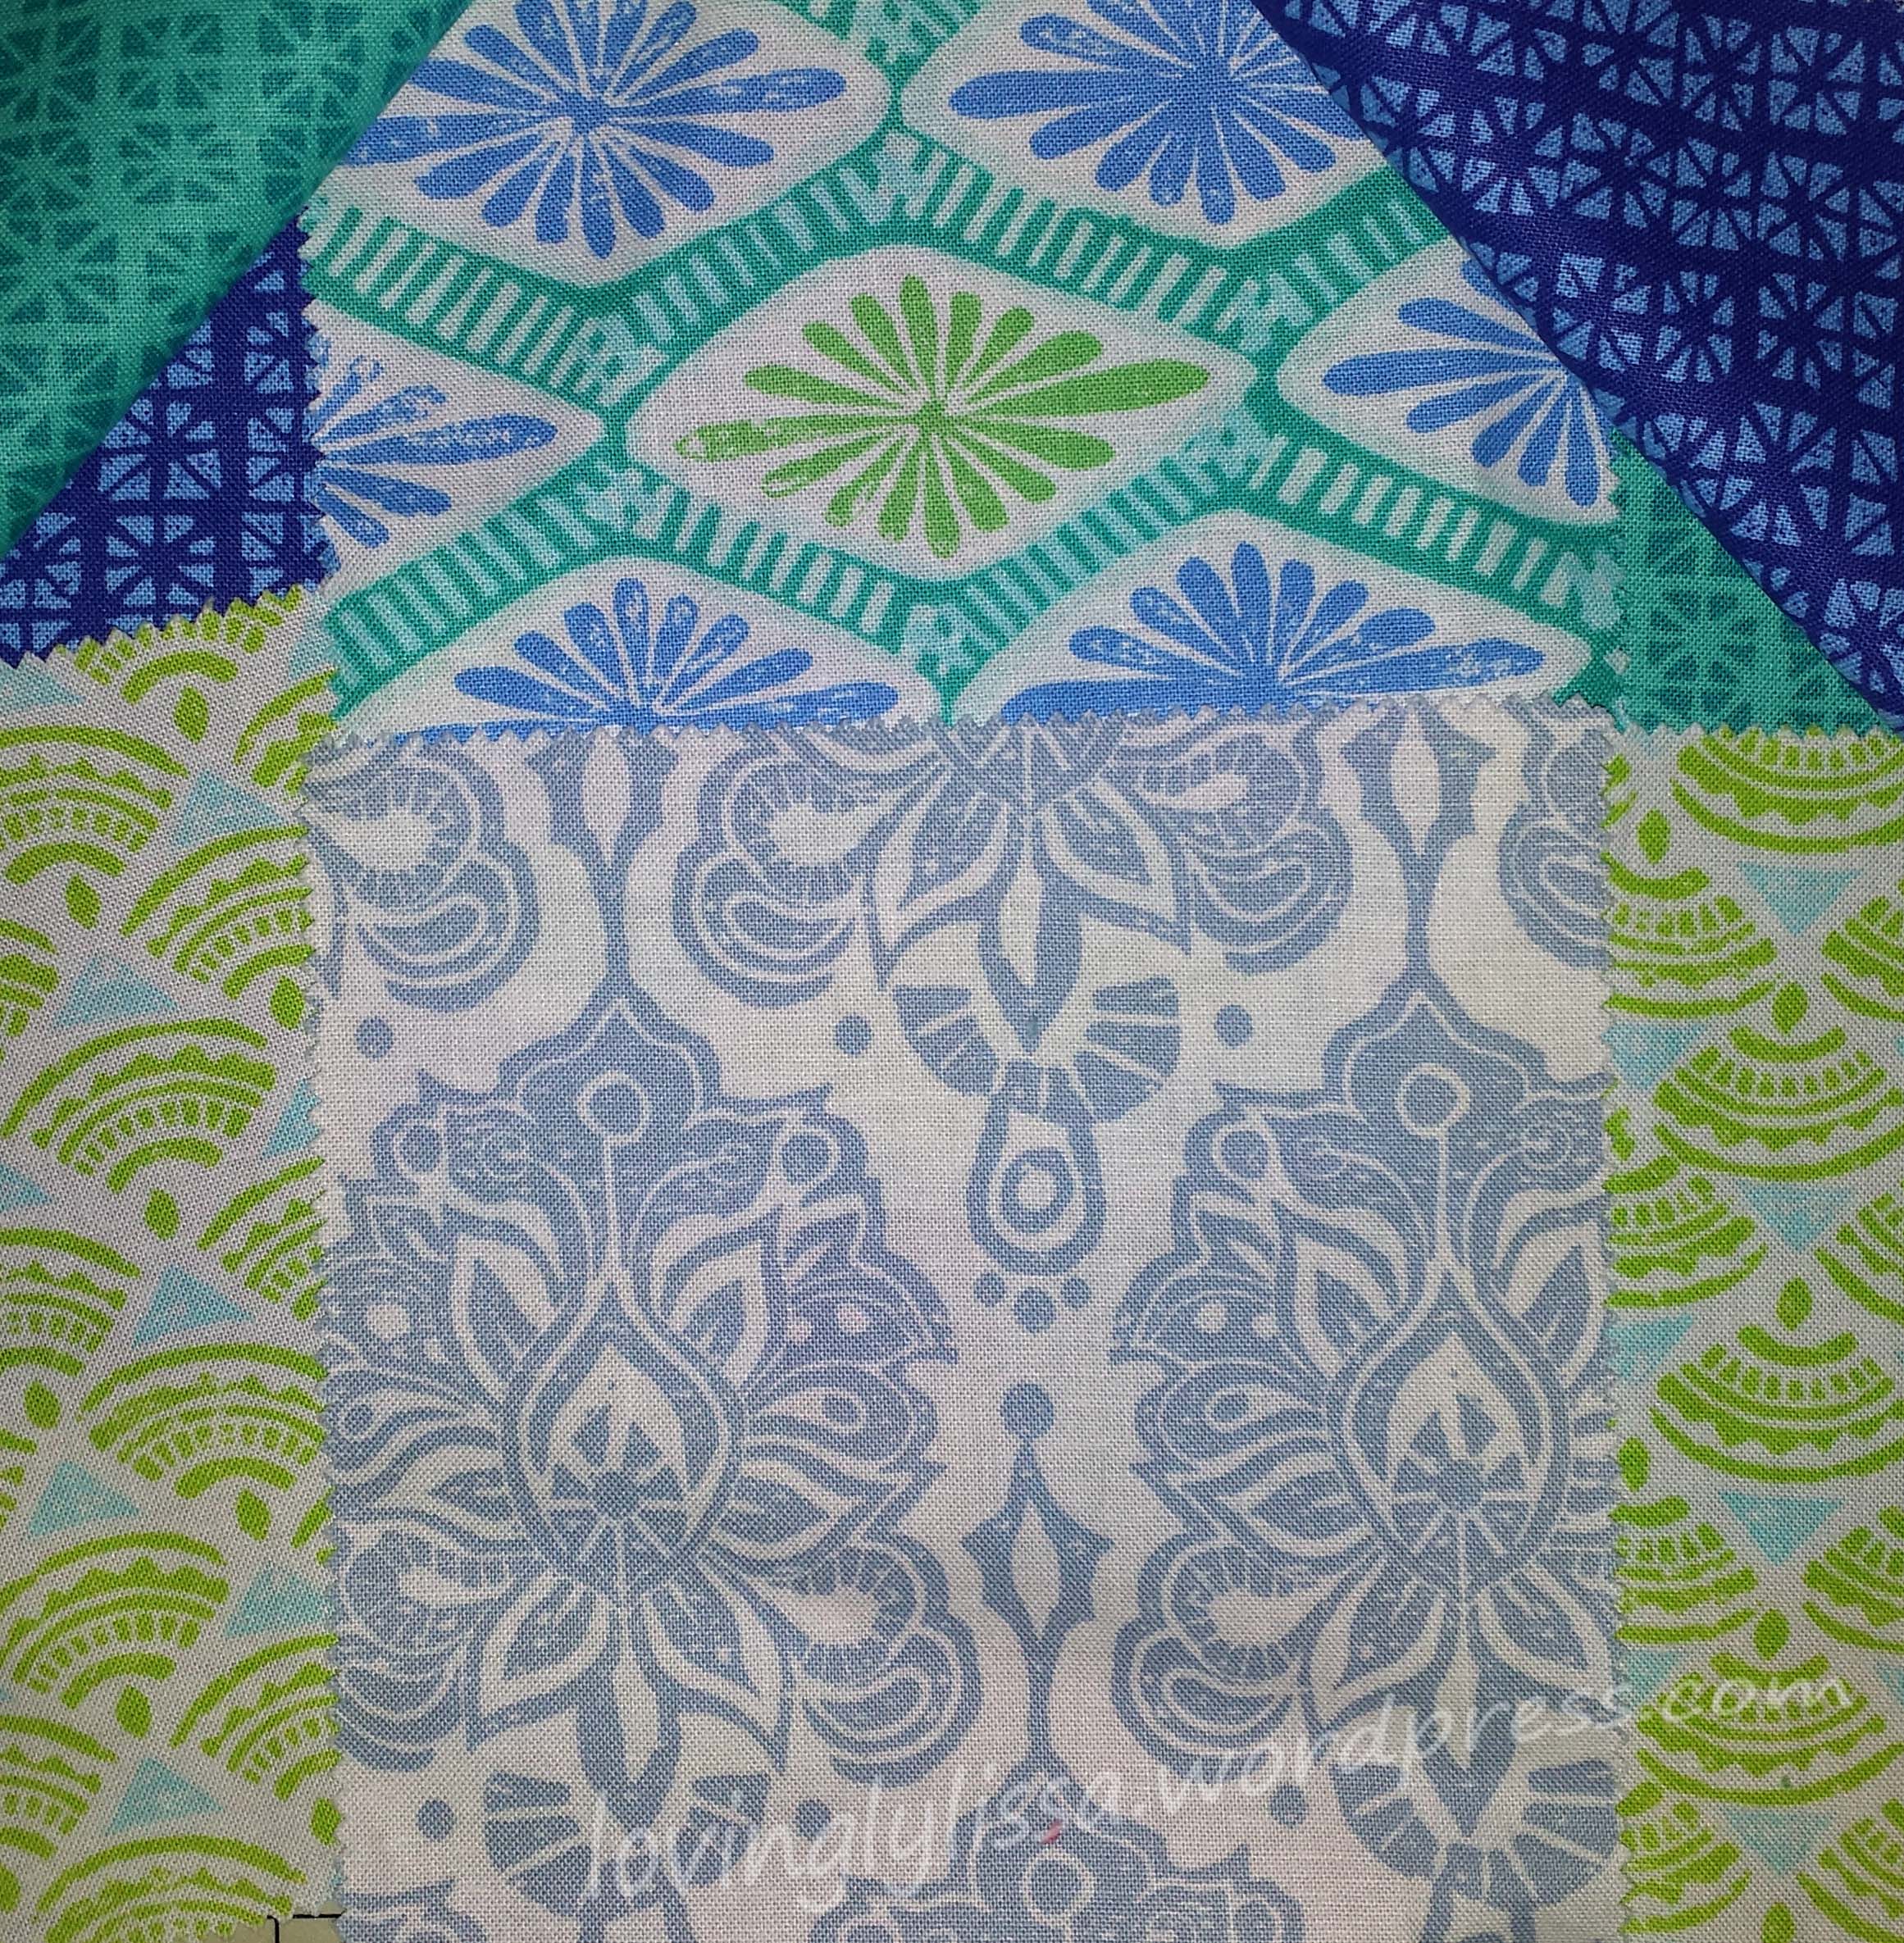
I am always on the look out to build my stash.  I’m very low on purples and oranges.  I found a great little bundle of purples and was just delighted when I got home and opened one up to find this stunning peacock.

qsfabric

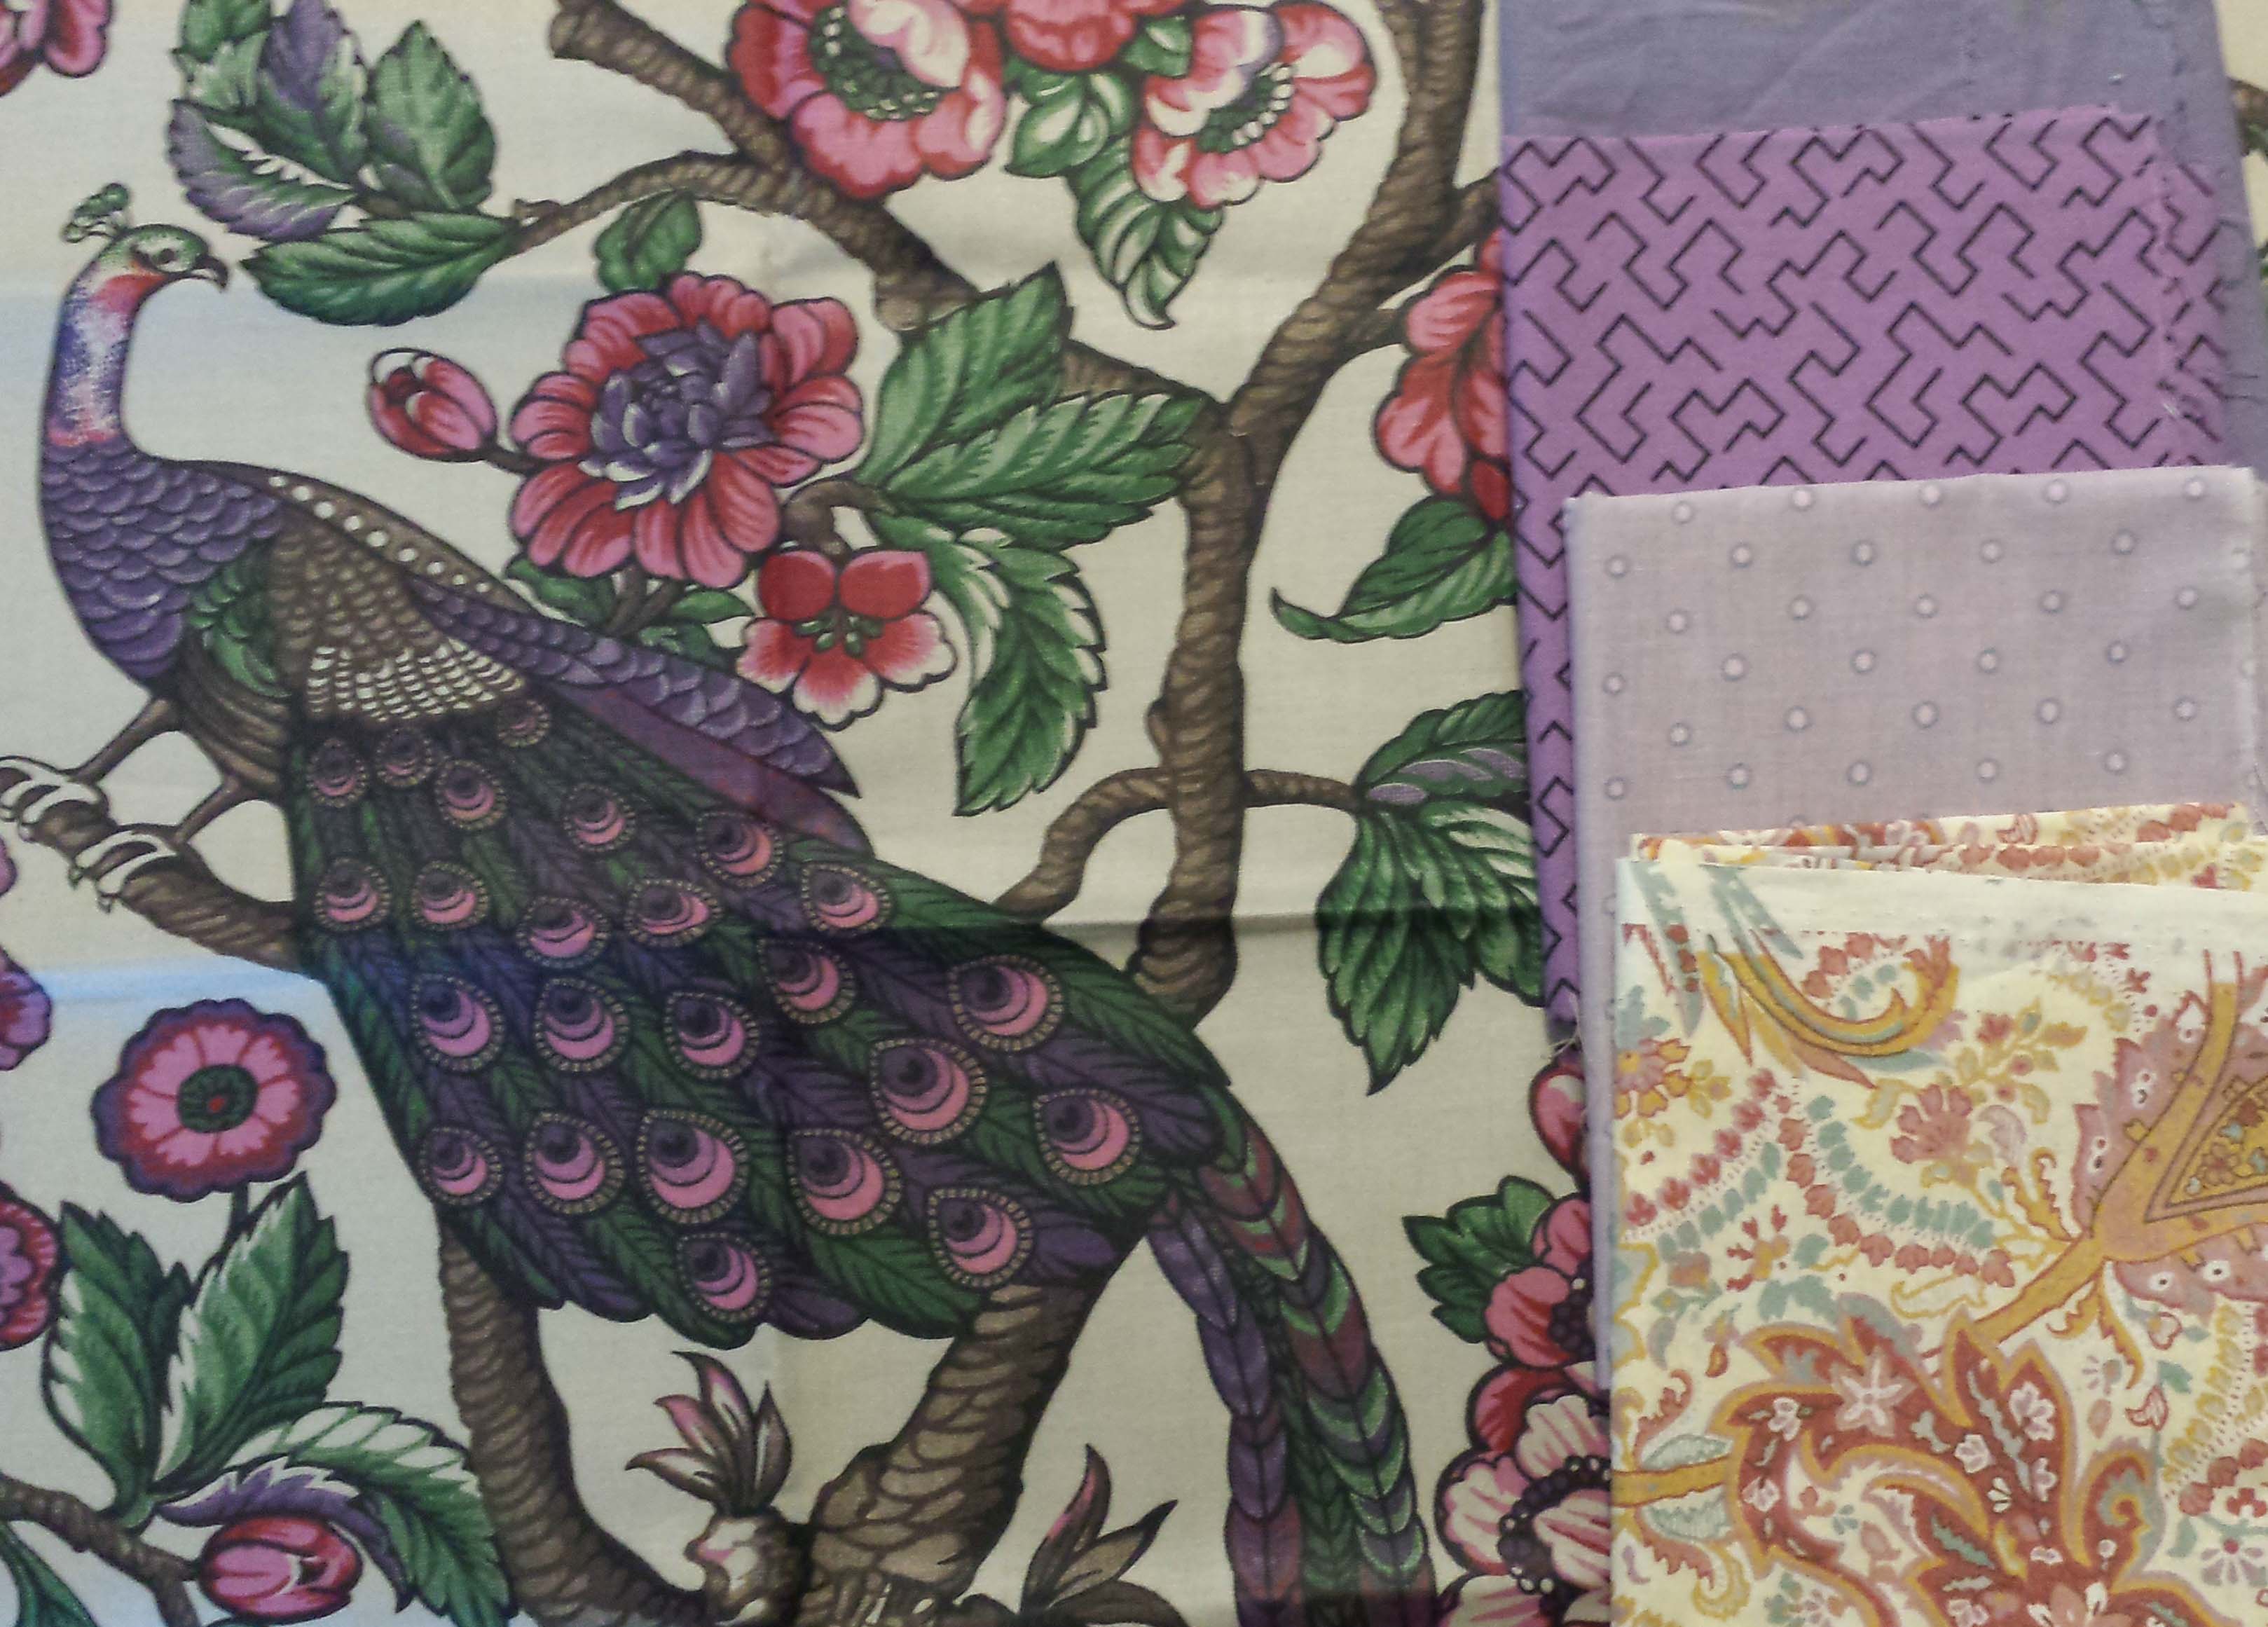
I immediately started making plans for her.

Before I left I did one last thing.  I joined the quilting society running the show.  My first meeting with them is in a few weeks and I am looking forward to it.  I can’t wait to see and learn and explore with all these fine quilters.


hockey quilt · Quilting tips and techniques · Uncategorized

Take Me Out to the Ballgame 2

I’m finishing off the Hockey quilt top for my nephew.  I want to applique his name on the top of the quilt.  I used my Cameo Silhouette to cut the letters out using the same font as the team uses.

I put Wonder Under under a large piece of fabric and sent it through the machine.

cameo cutting

They came out really nice.

letters

After that it was just a matter of ironing them onto the top border and machine appliqueing them on.  I used black thread to give them a little pop.

jonathon

I added the top and bottom borders and the top is finished!

hockeyfinish

So here it is, the finished top.  I don’t have a back fabric for it yet.  This team is one of the few NHL teams that doesn’t have a licensed fabric. I may just go with the navy blue, but I’m opened to suggestions.

If you know of a fabric you think would go great with this top, leave a comment and let me know!

Quilting tips and techniques · Uncategorized

Take Me Out to the Ballgame

Well…not really, because this quilt is a hockey quilt and I don’t think they use balls in hockey.

As you can probably tell, I’m not much of a hockey fan.  I do like baseball and football, but just can’t get into hockey.  However, I have family members who are fans and a nephew who never got his baby blanket from me.

My sister and I did some searching and found this pattern by Kristie at OCD: Obsessive Crafting Disorder and I got to work.

I wanted to personalize the borders and decided on some applique.  I will be putting my nephew’s name at the top and on the sides I decided the logo for their favorite team would be perfect.

I have this great circle cutter that I’m in love with. I used it to cut the black and white circles I needed for the logo.

circle cutter

cut circle

Perfect!

The circles were cut larger than I needed and I used this method by Anna Maria Horner and machine appliqued them.

For the main part of the logo I used Wonder Under and cut out the main part.

red logo

Once the circles were machined appliqued on, I ironed the main part of the logo onto them and machine appliqued that on as well.

border logo

I attached the borders to the sides and they are looking great on the quilt!

hockeyborder1

Stay tuned for my next post to see the finished top!


Quilting tips and techniques · The Splendid Sampler · Uncategorized

Colors

I have been following along with The Splendid Sampler quilt along.  I’m not making every block as I have too many projects going on.  However, every now and then a pattern has struck me and I’ve just HAD to make it.  This happened recently and it was great timing as it was an embroidered block and I was looking for something to do while waiting for my car to be serviced.  I love projects that are portable.

This block is called Crocheted Thoughts and is by Alyssa Thomas.

I found some blue variegated thread in my container and was thrilled.  Not only do I love blue, but I have SOOOOO much blue fabric.  I started pulling out of the bins and laying them out.  I take pictures with my phone so I can step back and get a better read.

At first I tried to use some fabrics that came together in a pack and moved them about a bit.

colors7 colors9

But I wasn’t happy, so I tried a new arrangement.

colors6

I got closer with that arrangement.  I really like the center fabric, it is a very pale blue, but I didn’t like all the other blues around it.

So, I figured I would use some color theory and asked myself what the complementary color of blue is.  Answer is orange!

No way, orange with blue?!  There was no way I was going to like it, but I went to my orange fabrics and pulled some out.

colors5

Oh my goodness, I think I was falling in love.  But to be sure, I cut all the pieces out and laid out the block.

colors3

Yes, this is definitely a winner!

crochet block

The finished block is 6 inches.  Not sure what my plans for it is yet, right now I just enjoy looking at it.

Crossroads Quilt Along · Uncategorized

My March Mini

Here is the next mini Crossroads block from Sondra Davison.  The last one I made, I tried something new for me.  I tried something new for me this time as well.  I tried out fussy cutting fabric for the block.  It took some doing, especially as the square was only one and three quarter inches big, but I am happy with the results.

The sun was gorgeous today, so I left the craft room for a photography session outside.

march mini

Here it is again with the Mama block from Crossroads.

march big mini

The large block is finished at 7.5 inches and the mini is finished at 3.75 inches.

The Crossroads quilt along is run by Kimberly Jolly at the Fat Quarter Shop and benefits the March of Dimes.  Please join along or consider making a donation.

Crossroads Quilt Along · Quilting tips and techniques

Stabilize it!

While we wait for the next pattern for Crossroads, Sondra Davison from Outofthebluequilts is giving measurements to make mini versions of the Crossroads Blocks.

I decided to give it a try, with a few changes to the original block.  Instead of the line down the side of the house matching the background fabric, I made it a darker color of the house, and I took out the main window and added a door.

Here are my fabrics. They are just from my stash, I don’t know the lines or designers.

fabric choices mini

I knew the pieces were going to be tiny so I decided to try a fabric stabilizer I had on hand and see if that would make sewing easier.

sew stable

I mixed it up with some water according to the directions, laid the fabrics on a towel, and sprayed away.

wet fabric

It was fun to play with the pieces in the morning.  They felt like thin pieces of paper.  See?  No flopping!

stiff fabric

I did find it much easier to cut and sew these tiny, tiny pieces with the stabilizer applied.  There was less movement when cutting and sewing and no fraying.

Here’s Momma house and Baby house. Baby house was so cute, I made it a little crocheted frame.

mini house w full

And so you can see how tiny the finished block is, here it is next to a tic tac box.  Finished size of the mini block is 3.75 inches by 3.75 inches.

mini house w tic tac

I can’t wait for the mini diamond block to come out!

lovingly, lissa

Quilting tips and techniques

Trying something new

I have so many projects going on right now and have told myself, “No More.”  I’m sure you’ve all said that to yourself at some point or another.  However I am following Pat Sloan and Jane Davidson’s Splendid Sampler.  They release two new blocks a week and have bonus projects as well.  I simply do not have the time to join in, but every now and then something strikes me and I just HAVE to do it.

First was this wonderful pincushion, a bonus project. http://www.thesplendidsampler.com/2016/02/11/meet-the-splendid-sampler-designers-4/

Now, I have never made a cathedral window block before.  They honestly made me a little nervous.  But I just had to give this a try.  I pulled down a basket of fat quarters that my wonderful Mother in Law gave me that I new would just be perfect.

The fabrics are “Sew…A Needle Pulling Thread” and “Quilting Companions” by Cat Williams and “Stitching in the Woods” by Robin Betterley.

image

Fabulous, aren’t they?

Here is what I learned while making the block;

  • Iron very carefully.  You want your edges to line up as exact as possible to the guidelines you ironed into the fabric.

image


  • Make sure your center points line up and meet as close as you can.

image


  • When you begin folding back the fabric do not force it as far as it can go.  You may want to show off as much as the peeking fabric as you can, but this warps the block a bit.

image


* Instead, just turn them gently and pin them down.  You will still get plenty of your peek-a-boo fabric


image


  • When you fold back the ‘petal’ fabric the raw edges of the triangle fabrics may show.  Use a small scissor or seam ripper to tuck it back under the petal when you put the block on your machine.


image


image


  • Holding the petal down with my finger, I just sew right along the edge of the petal.

image


  • Here they are, all sewn.  So pretty!


image


  • When sewing the back, press the seams open.  I find this helps with the hand stitching later.

image


  • What to fill the pin cushion with?  There were many suggestions on the Splendid Sampler Facebook page and I did some googling.  Crushed walnut shells seemed to be popular and easy to find at a pet store.  Some suggested going to a local hardware store and asking for sawdust.  There were also suggestions of fabric and batting scraps, but I like weight to my pin cushions so I went with the suggestion of play sand.  Also, I had it on hand, so I can keep going with the project!  Remember to use play sand, not beach sand.  Mine is unused and has been stored in bucket, so I knew it was safe to use.

image


  • Give it some shakes to make sure the sand gets into the corners.

image


  • I cut a 4 inch square piece of batting to put on top of the sand.  I couldn’t imagine trying to sew this shut with the sand spilling everywhere.

image


  • Remember when I pressed the seams open?  I used the press marks as a guideline for sewing it shut.

image


  • Voila!!!

image


I am thrilled to tell you that I am no longer scared of cathedral windows!!  In fact I have fallen in love with them!  I had to  make more, it was addictive.  These are for my two high school friends who I am doing a quilt a long with.  We live in three different states and I’m so thankful for the internet and this quilt a long to bring us together.  (I’ll be posting about this quilt a long soon)

image


Of course I made one for myself too!


image

I took mine a step further by adding a thread catcher to it.  I used the pattern found at http://mypolkadotapron.blogspot.com/2011/05/thread-catcher-tutorial.html?spref=bl

I love it!  I carry it with me all over the house when I do hand stitching.  I guess I just need to make more so this one can live on my sewing table, because now….

image


I FINALLY HAVE A BERNINA!!!!!!!!!!!

image